
| 
| |
|
|
This page contains present day photos (Year 2000 to date) of Ontario's King's Highway 17, arranged by location from the
Secondary Highway 548 Junction westerly to Sault Ste. Marie. All photographs displayed on this page were taken by the Webmaster (Cameron Bevers), unless specifically
noted otherwise. Click on any thumbnail to see a larger image!
Please note that all photographs displayed on this
website are protected by copyright. These photographs must not be reproduced, published,
electronically stored or copied, distributed, or posted onto other websites without
my written permission. If you want to use photos from this website, please
email me first for permission. Thank-you!
|
|---|
|
Page 24: Present Day King's Highway 17 Photographs (Hwy 548 to Sault Ste. Marie)


Left - Green guide sign approaching the Hwy 548 Junction on Eastbound Hwy 17 near Desbarats. Hwy 548 forms the only road link to nearby St. Joseph
Island on Lake Huron. (Photograph taken on September 1, 2008 - © Cameron Bevers) Right - Facing south along Hwy 548 from the Hwy 17 Junction near Desbarats. Note the older highway distance sign, which still has an educational "km" tab affixed to it. After Ontario's highways converted to Metric measurements in 1977, these tabs were placed on all distance signs to advise motorists that the distances were in kilometres, not miles. Although many of the these "km" tabs have been removed from distance signs over the years, a handful still remain, particularly on highways which carry a high percentage of tourist traffic. (Photograph taken on September 1, 2008 - © Cameron Bevers) 

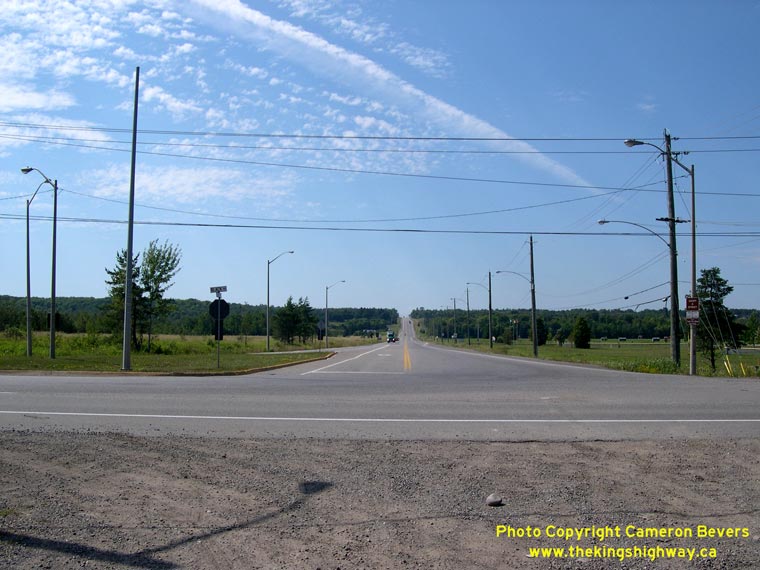
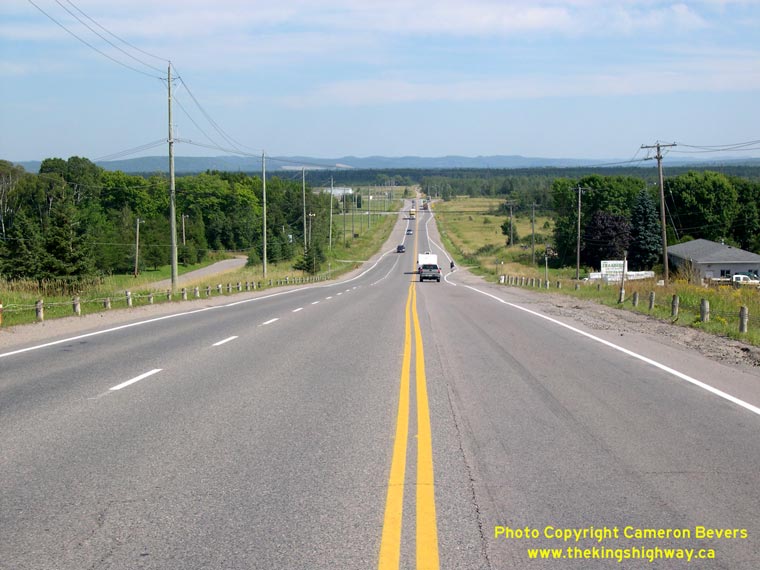
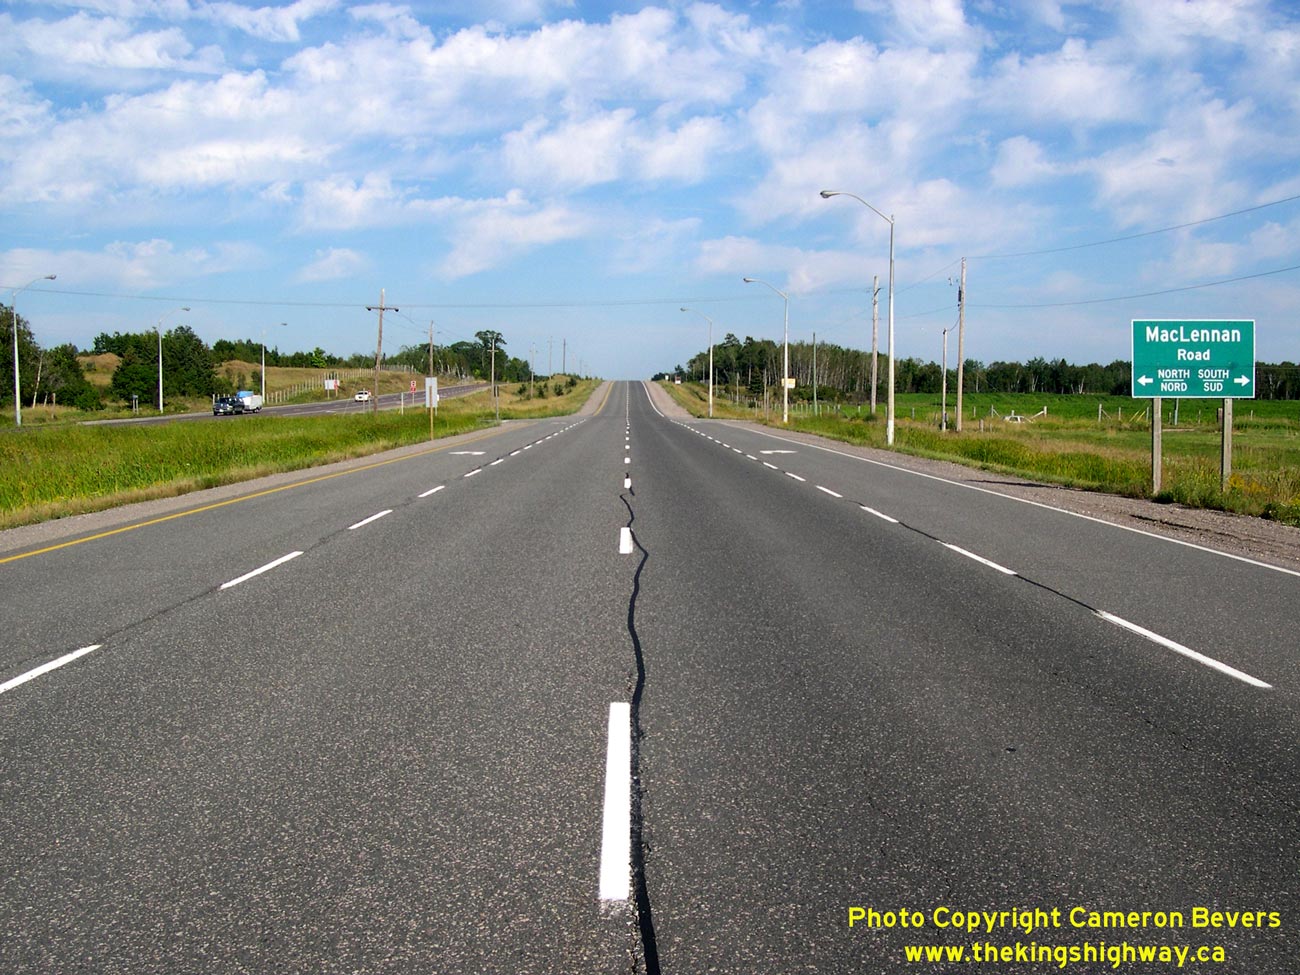
Left - Facing east along Eastbound Hwy 17 approaching the Hwy 548 Junction. See an
Enlarged Photo here. (Photograph taken on September 1, 2008 - © Cameron Bevers) Right - Facing east along Eastbound Hwy 17 approaching McLennan Road west of Desbarats. See an Enlarged Photo here. (Photograph taken on September 1, 2008 - © Cameron Bevers) 

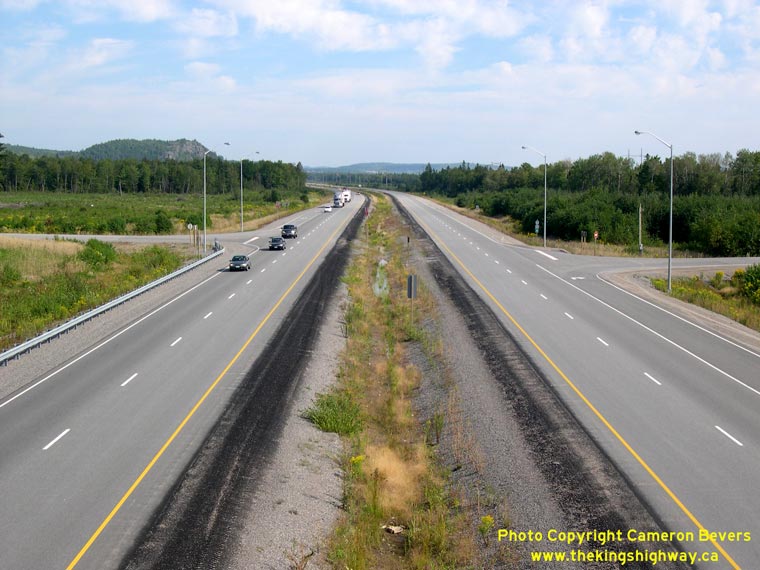
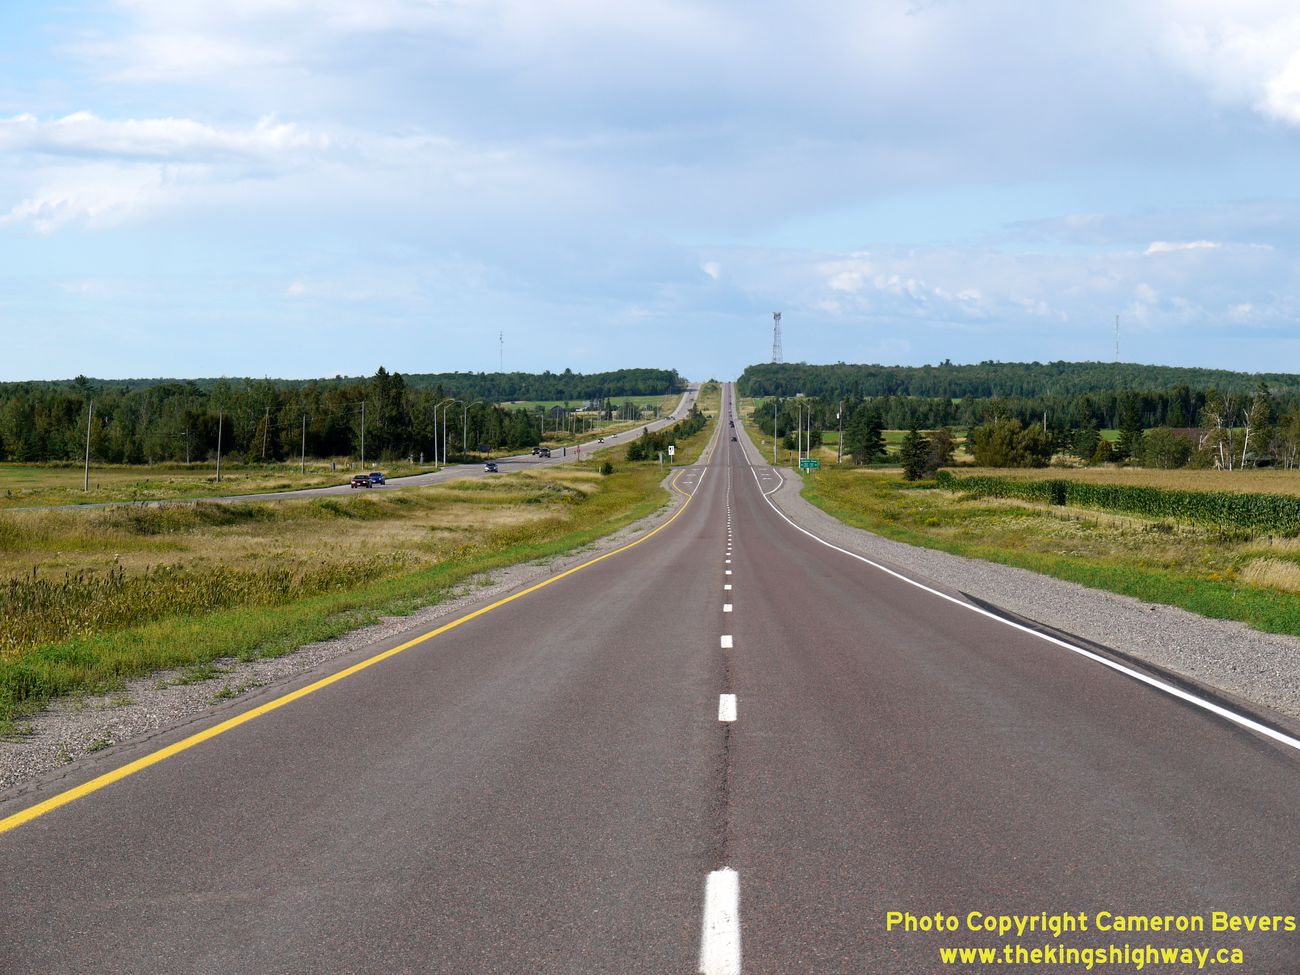
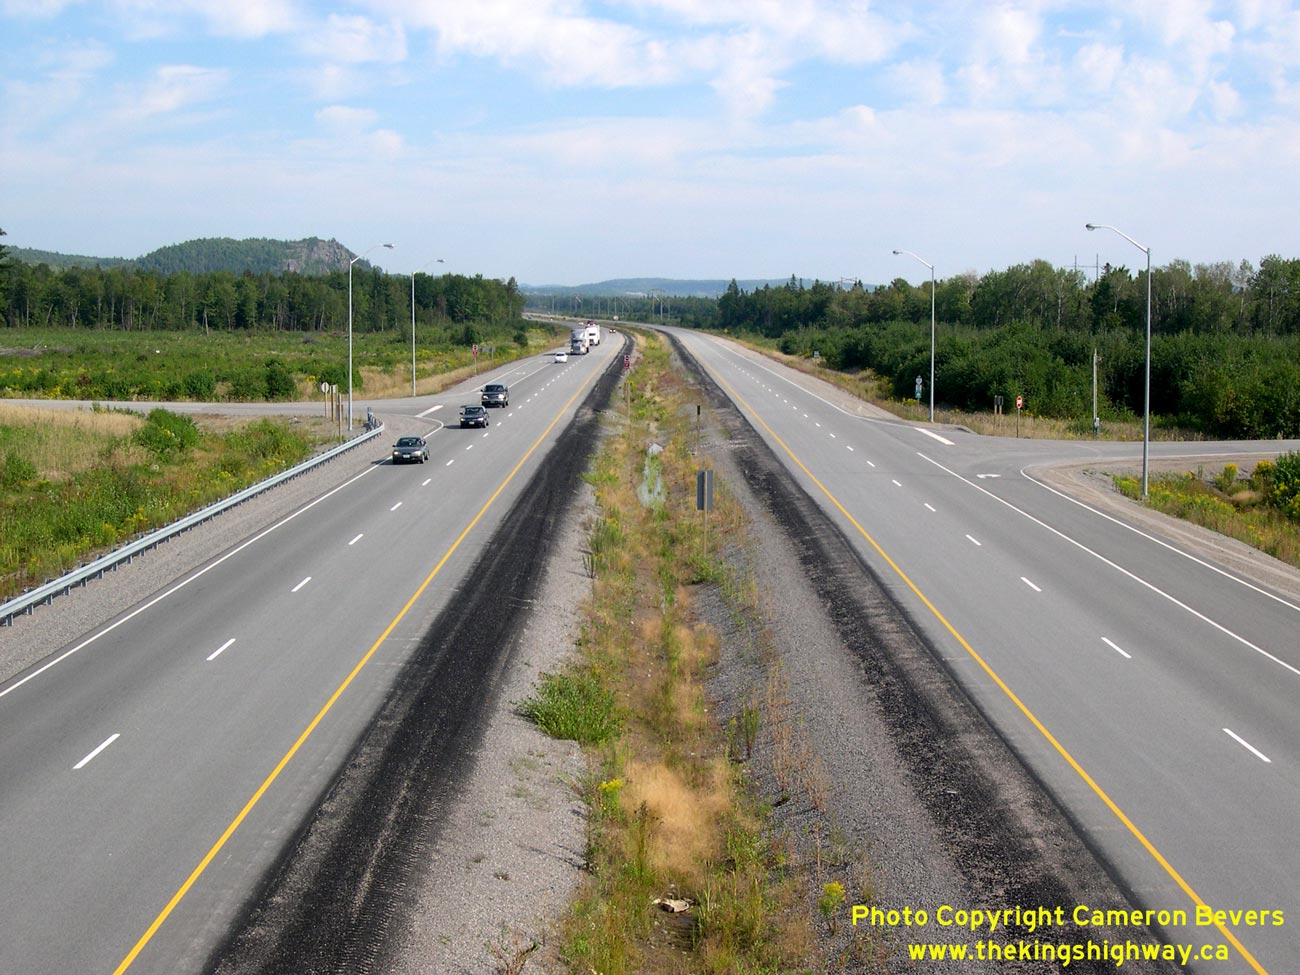
Left - When designing the twinned Hwy 17 near Desbarats, engineers had more freedom to design the new westbound lanes with improved vertical
geometry, since there were few design constraints and property access points. The original 1937 alignment, which forms the eastbound lanes in the
foreground, has a different vertical alignment in order to accommodate all of the property access points situated along the original highway. (Photograph taken on September 1, 2008 - © Cameron Bevers) Right - Facing west along Westbound Hwy 17 between the Hwy 548 Junction and Echo Bay. See an Enlarged Photo here. (Photograph taken on August 28, 2011 - © Cameron Bevers) 

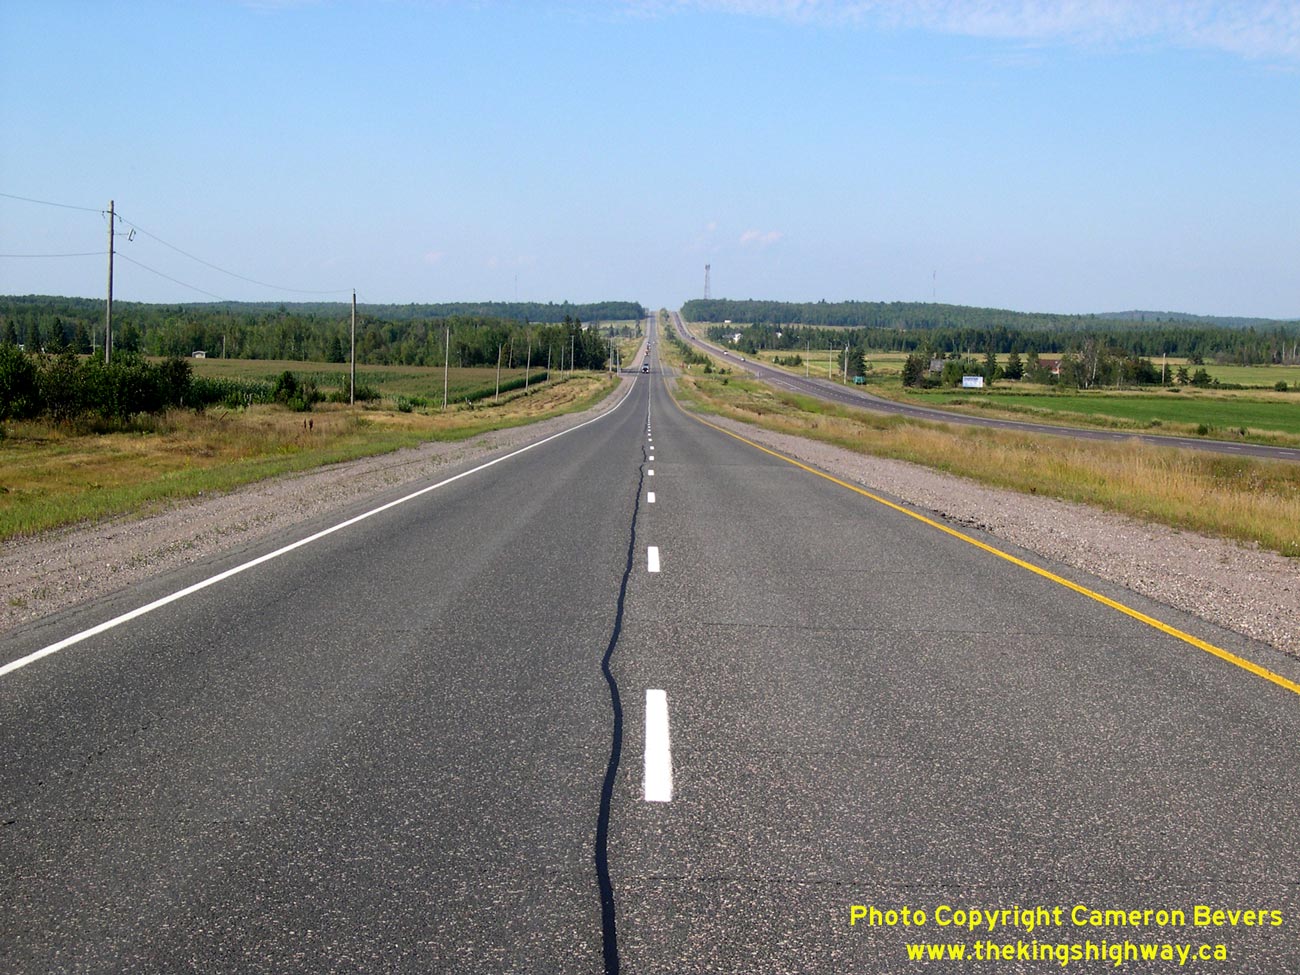
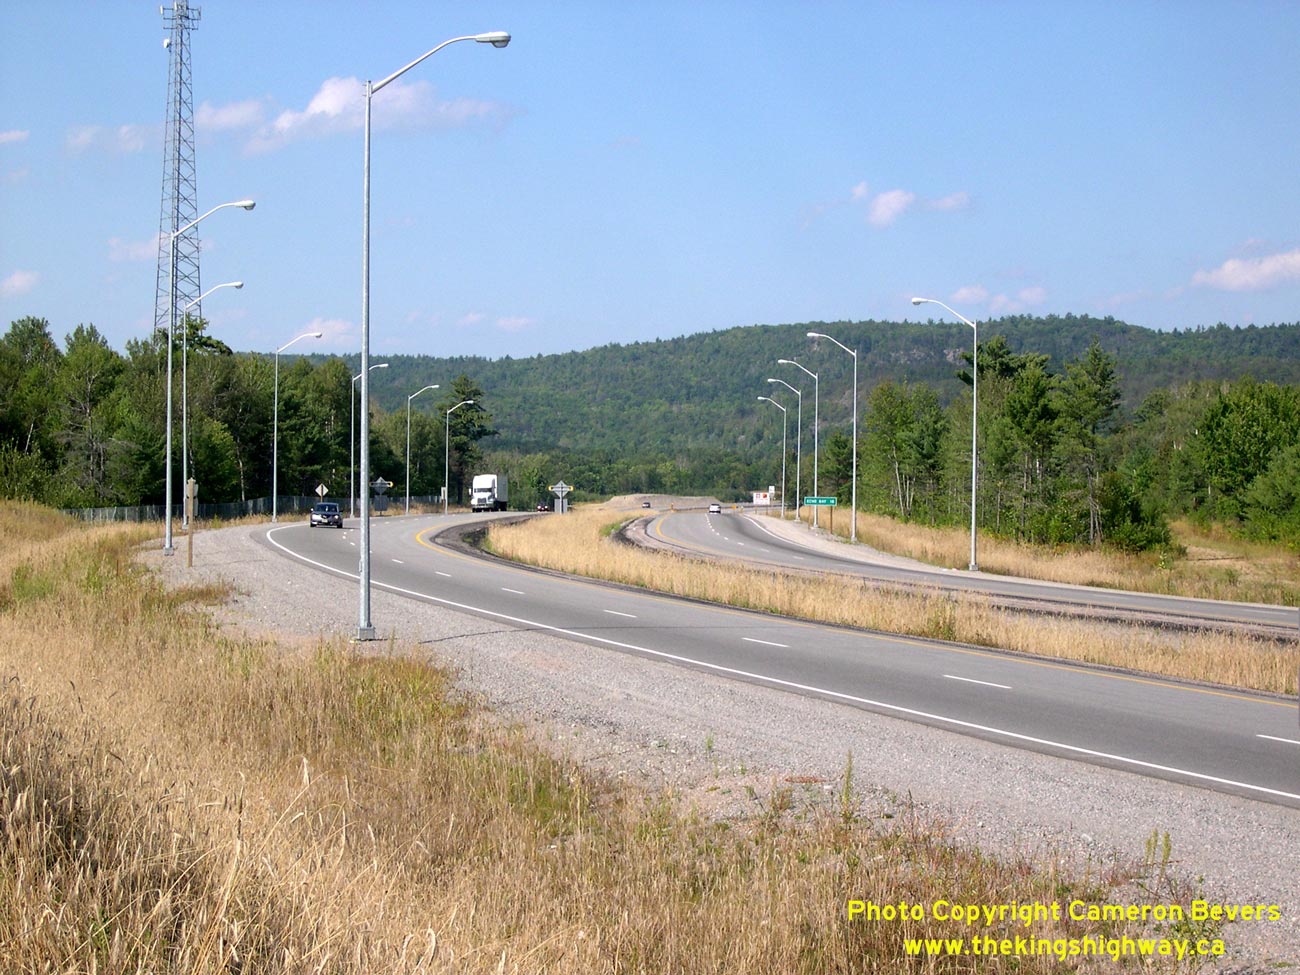
Left - Facing west along Eastbound Hwy 17 between the Hwy 548 Junction and Echo Bay. See an
Enlarged Photo here. (Photograph taken on September 1, 2008 - © Cameron Bevers) Right - Facing west along Westbound Hwy 17 approaching Lake George Road. Note the reverse curve in the background, where the road widening transitions to the opposite side of the highway. For most of the distance between Desbarats to this point, the original 1937 highway alignment carries the eastbound lanes of Hwy 17, while the twin roadway built in the 1970s carries the westbound lanes. Beyond these curves near Echo Bay, the original 1937 highway alignment carries the eastbound lanes of Hwy 17, while the twin roadway carries the westbound lanes. See an Enlarged Photo here. (Photograph taken on August 28, 2011 - © Cameron Bevers) 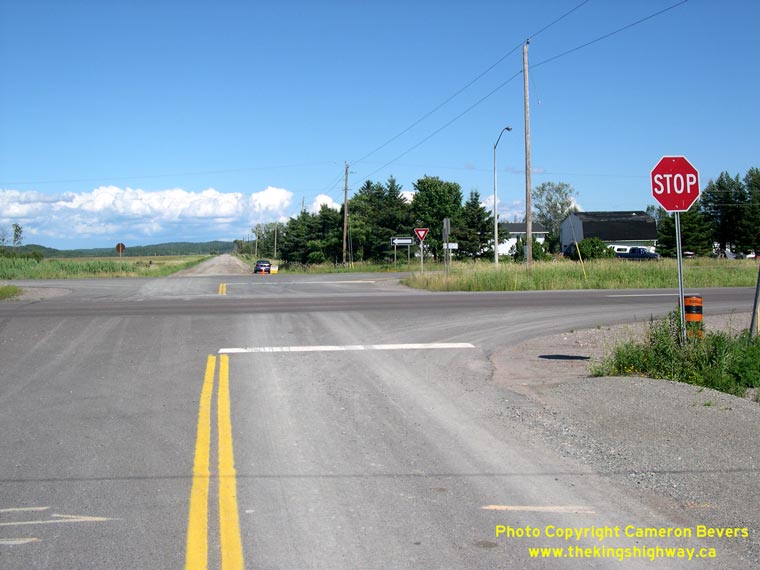

Left - Eastern terminus of Hwy 17B (Bar River Road) at Hwy 17 near Echo Bay. (Photograph taken on July 15, 2007 - © Cameron Bevers) Right - Facing west along existing Hwy 17 at Bar River Road in 2006. The future Garden River Diversion will join existing Hwy 17 near this location. (Photograph taken on September 5, 2006 - © Cameron Bevers) 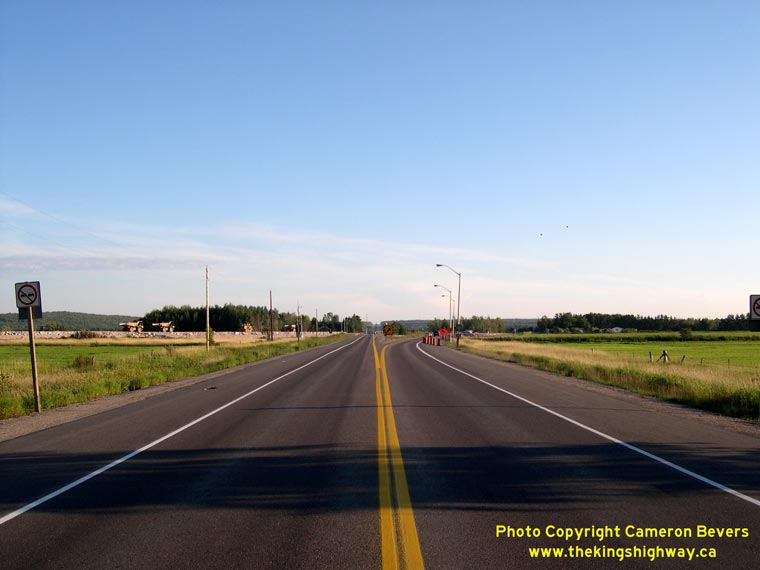

Left - Facing east along Hwy 17 towards the beginning of the existing four-lane divided highway at Echo Bay in 2006. The section of Hwy 17 seen here
was closed off and realigned during reconstruction. Old Hwy 17 (now Hwy 17B) connects to adjacent Bar River Road, where traffic can return to Hwy 17. See
an Enlarged Photo here. (Photograph taken on September 5, 2006 - © Cameron Bevers) Right - Beginning of the four-lane divided highway between Echo Bay and Desbarats in 2006. The new Garden River Diversion (Hwy 17 New) has now been completed and joins into the existing Hwy 17 at this location. Grading for the new highway diversion can be seen off to the left. See an Enlarged Photo here. (Photograph taken on September 5, 2006 - © Cameron Bevers) 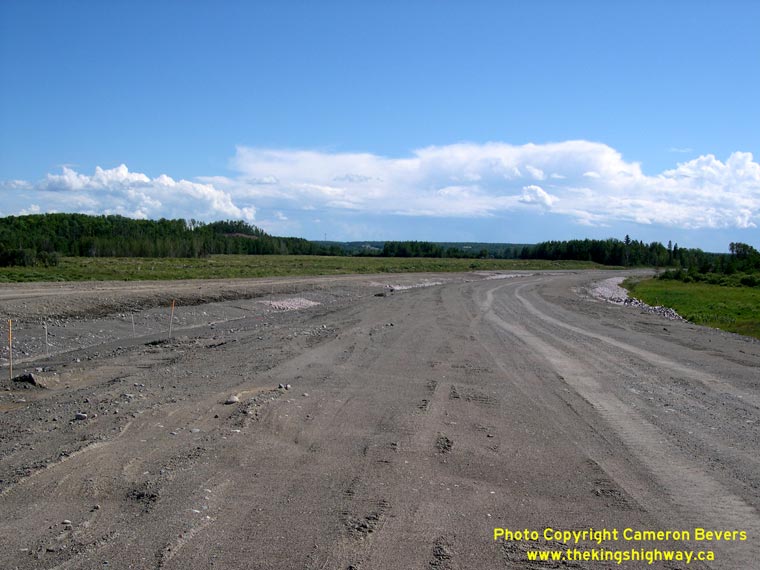
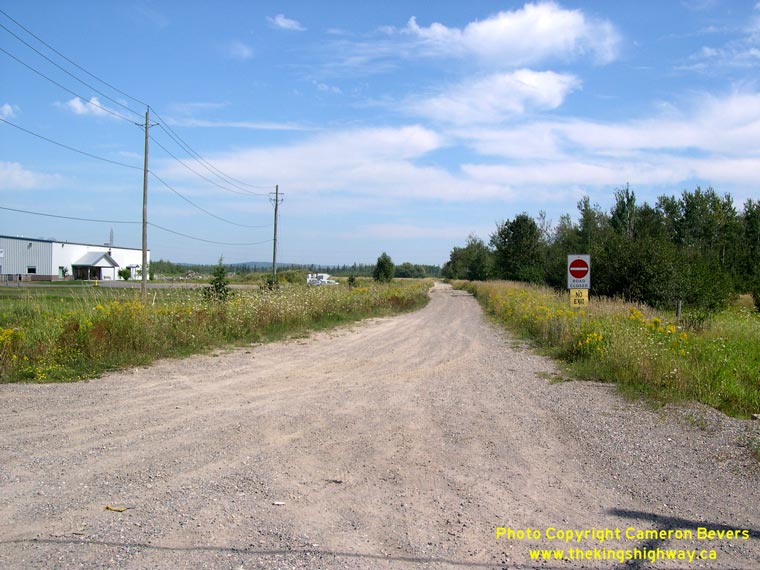
Left - Graded roadways for the new Hwy 17 Garden River Bypass south of Echo Bay in 2007. (Photograph taken on July 15, 2007 - © Cameron Bevers) Right - Facing west along Hwy 17 at the future tie-in to the Hwy 17 Garden River Bypass in 2007. (Photograph taken on July 15, 2007 - © Cameron Bevers) 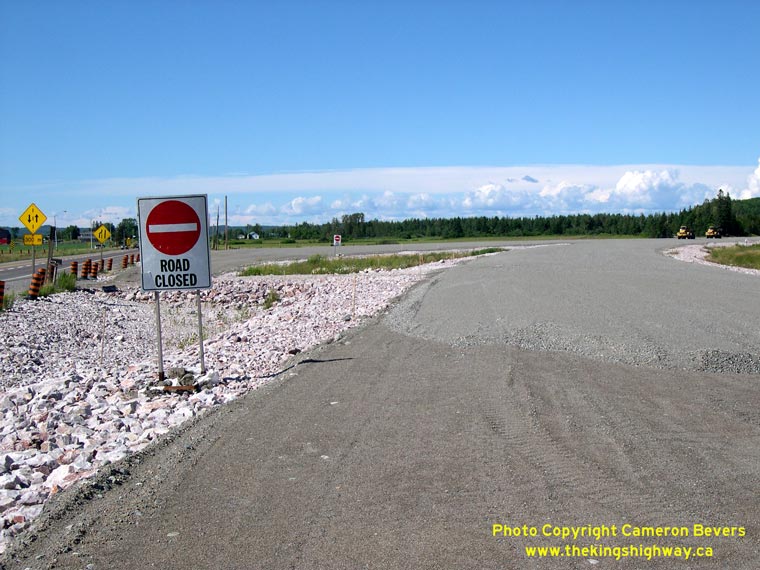

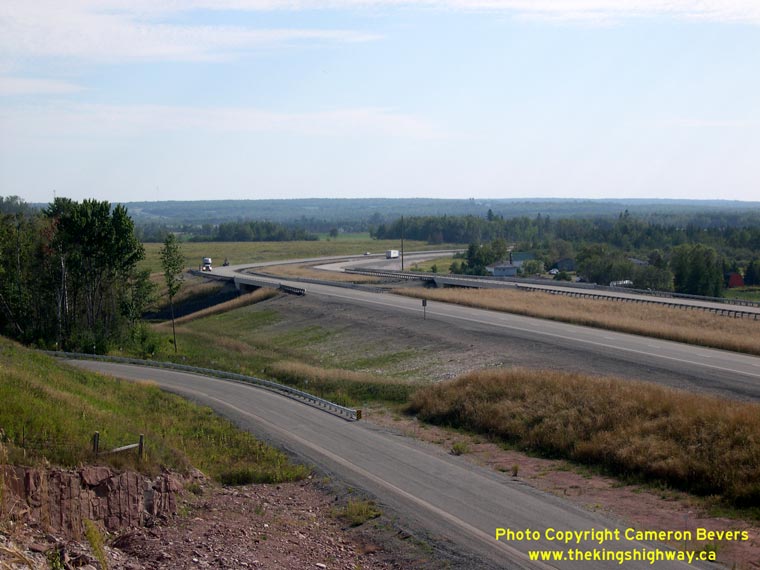
Left - Facing west along the future Garden River Bypass from the existing route of Hwy 17 near Echo Bay in 2007. (Photograph taken on July 15, 2007 - © Cameron Bevers) Right - Facing east along the future Garden River Bypass in 2007, at the tie-in to the existing route of Hwy 17 near Echo Bay. (Photograph taken on July 15, 2007 - © Cameron Bevers) 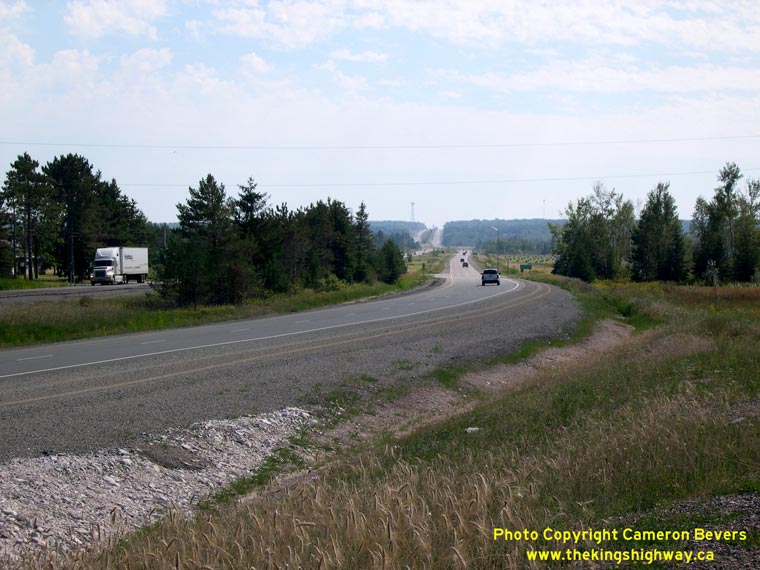

Left - Facing east along Hwy 17 towards Bar River Road, showing the completed Garden River Bypass tie-in east of Echo Bay. See an
Enlarged Photo here. (Photograph taken on September 1, 2008 - © Cameron Bevers) Right - Facing west along the new Hwy 17 Garden River Bypass at the tie-in to existing Hwy 17, east of Echo Bay. (Photograph taken on September 1, 2008 - © Cameron Bevers) 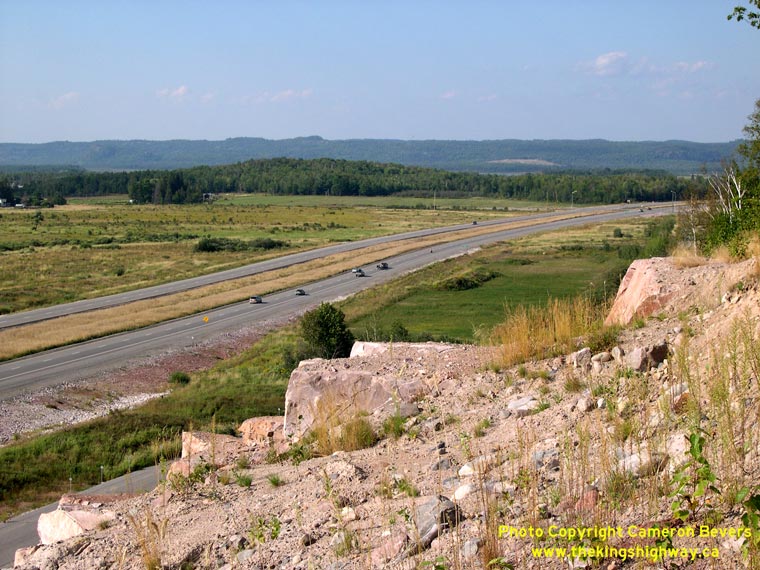
Left - Facing west along the new Hwy 17 Garden River Bypass, east of Echo Bay. See an
Enlarged Photo here. (Photograph taken on September 1, 2008 - © Cameron Bevers) Right - Facing east along the new Hwy 17 Garden River Bypass, east of Echo Bay. See an Enlarged Photo here. (Photograph taken on September 1, 2008 - © Cameron Bevers) 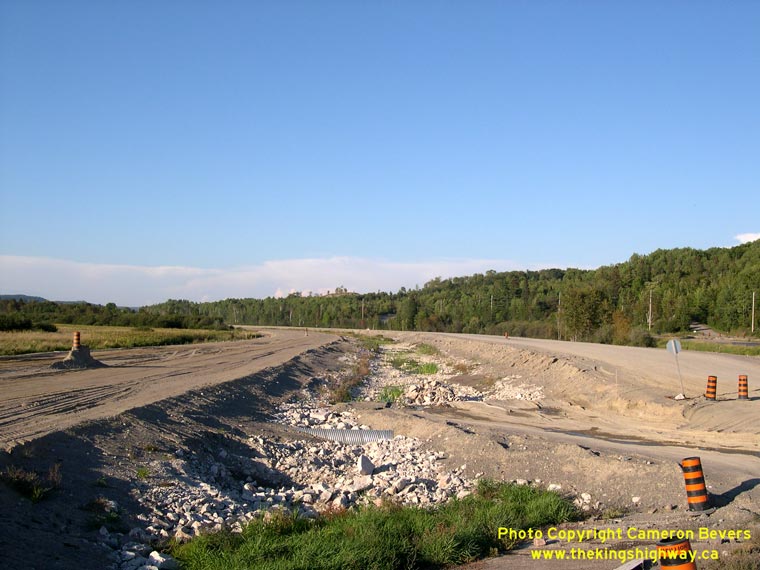

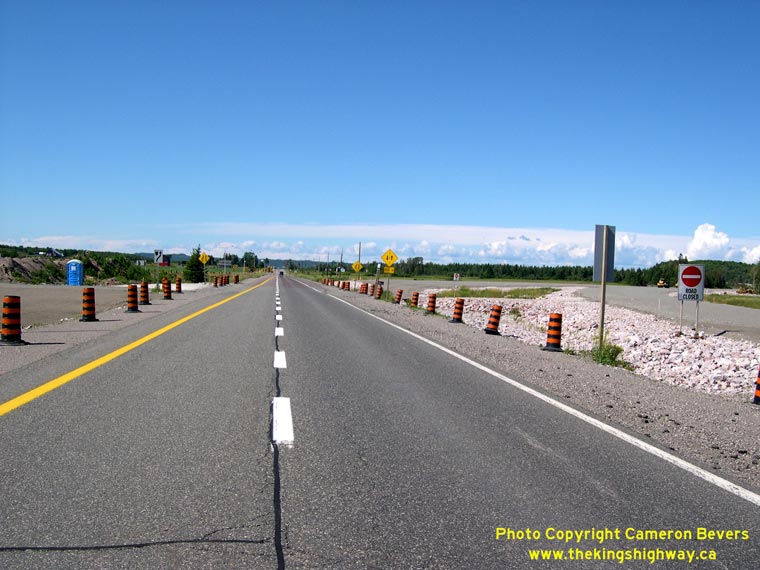
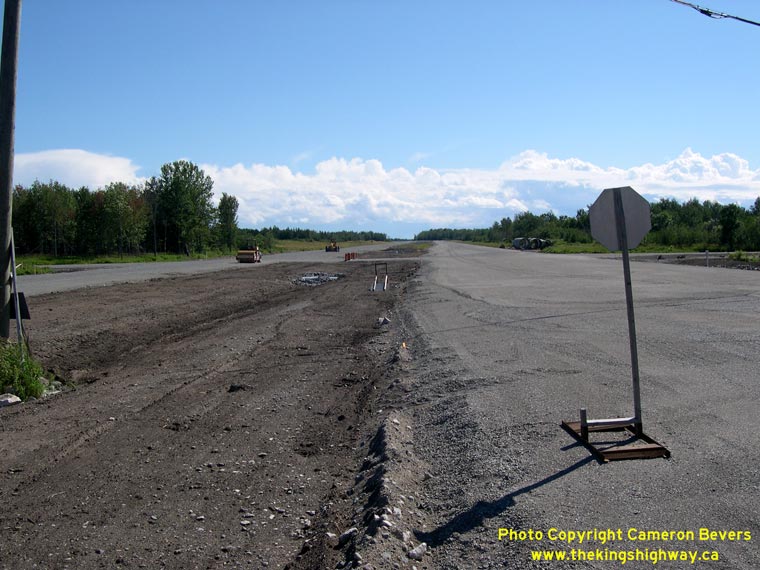
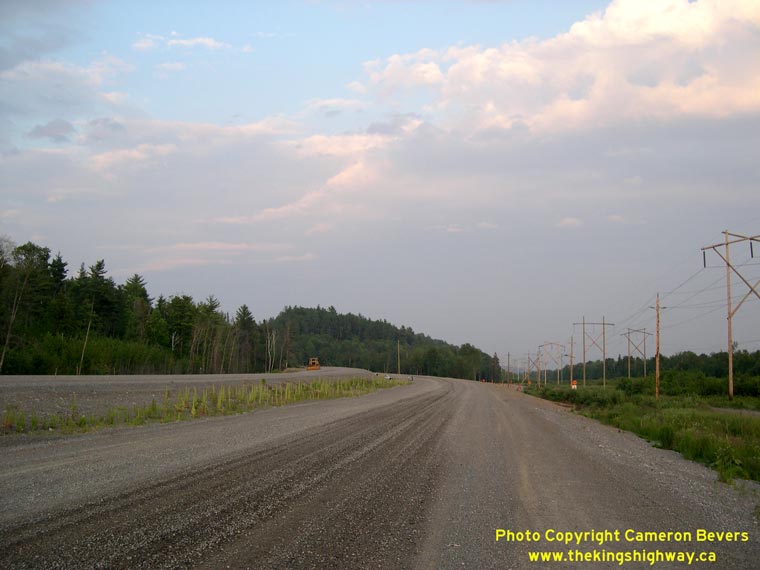
Left - Facing west along the future Hwy 17 Garden River Bypass from the Hwy 638 Junction at Echo Bay. The median width at this point is significantly
wider than the remainder of the Garden River Bypass. (Photograph taken on September 5, 2006 - © Cameron Bevers) Right - Facing west along the future Hwy 17 Garden River Bypass from the Hwy 638 Junction at Echo Bay in 2007, shortly before paving. (Photograph taken on July 15, 2007 - © Cameron Bevers) 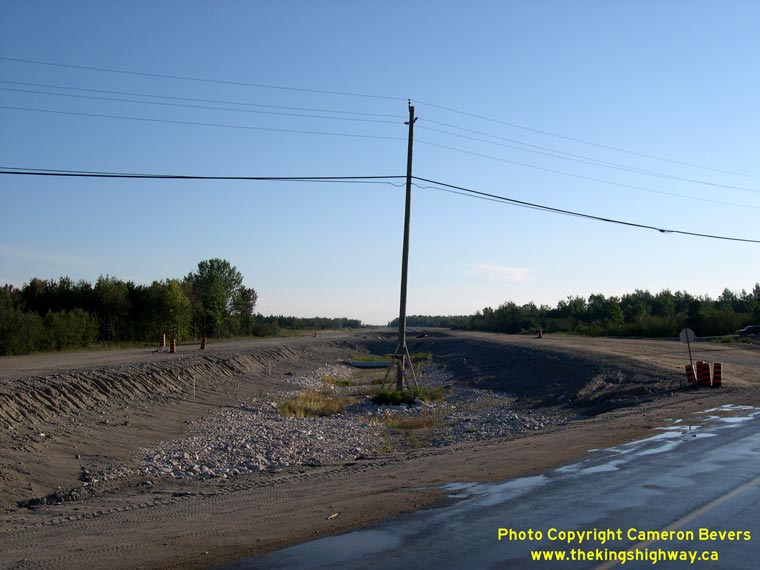
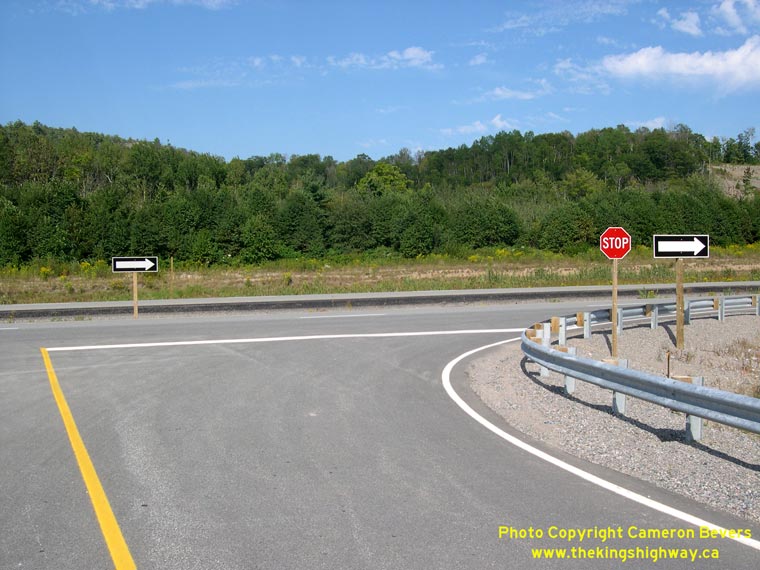
Left - Facing east along the future Hwy 17 Garden River Bypass at the Hwy 638 Junction near Echo Bay. The Hwy 638 Junction at Echo Bay is an at-grade
intersection. (Photograph taken on September 5, 2006 - © Cameron Bevers) Right - Facing east along the future Hwy 17 Garden River Bypass from the Hwy 638 Junction at Echo Bay in 2007, shortly before paving. (Photograph taken on July 15, 2007 - © Cameron Bevers) 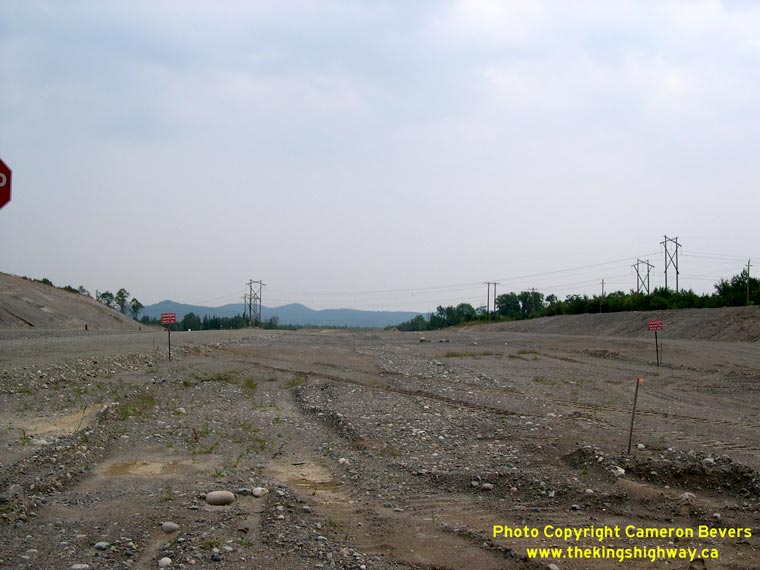
Left - Heavy grading for the future Hwy 17 Garden River Bypass near the Echo River Bridge in 2004. (Photograph taken on September 1, 2004 - © Cameron Bevers) Right - Grading for the future Hwy 17 Garden River Bypass in 2006. Note the narrow median width on this section of the divided highway. See an Enlarged Photo here. (Photograph taken on July 2, 2006 - © Cameron Bevers) 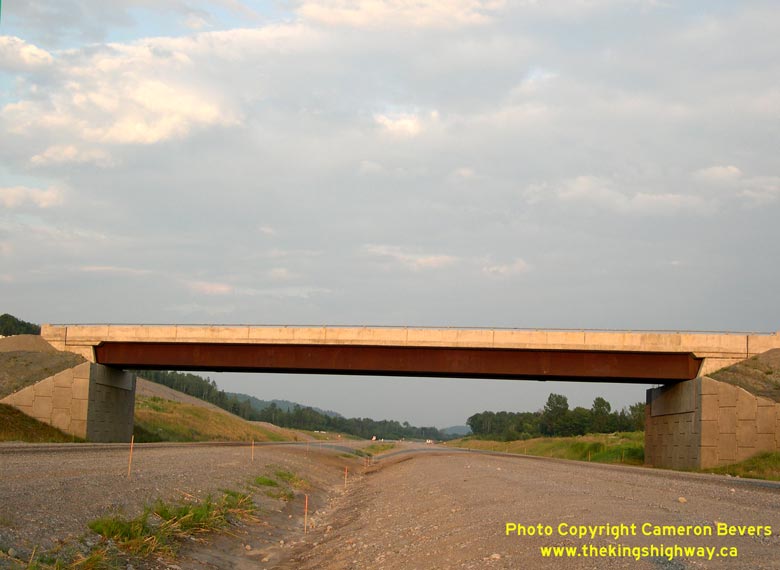
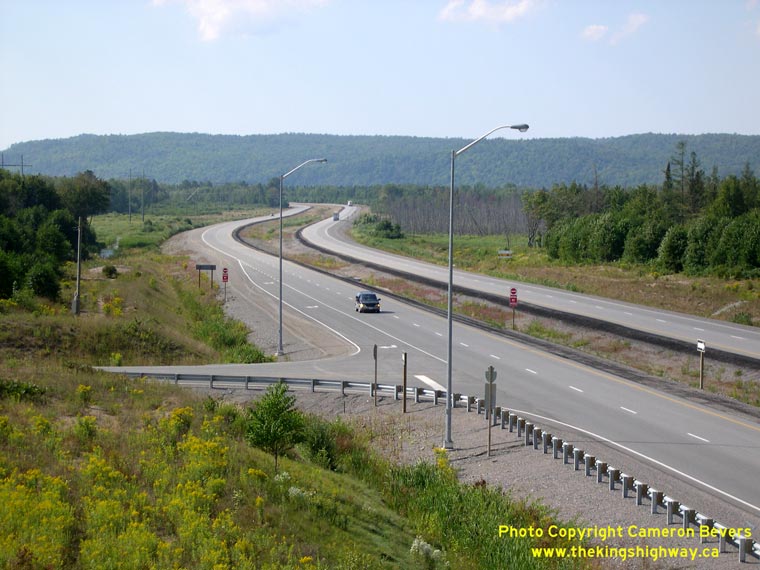
Left - New Noonday Road Overpass across the future lanes of the new Hwy 17 Bypass at Garden River in 2006. (Photograph taken on July 2, 2006 - © Cameron Bevers) Right - Facing east along the completed four-lane Hwy 17 from the Noonday Road Overpass in Garden River. See an Enlarged Photo here. (Photograph taken on September 1, 2008 - © Cameron Bevers) 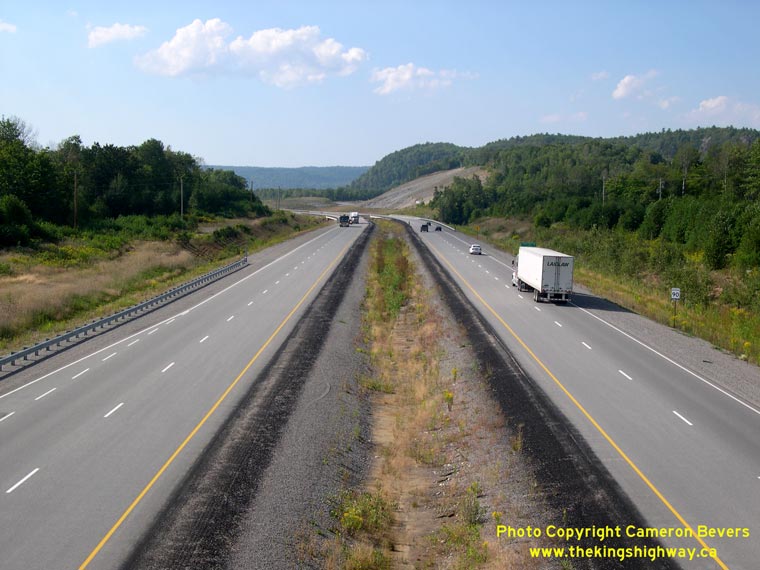
Left - Facing west along the completed Hwy 17 Garden River Bypass from the Noonday Road Interchange. See an
Enlarged Photo here. (Photograph taken on September 1, 2008 - © Cameron Bevers) Right - The Noonday Road "Interchange" on the Hwy 17 Garden River Bypass is effectively a right-in-right-out road access. (Photograph taken on September 1, 2008 - © Cameron Bevers) 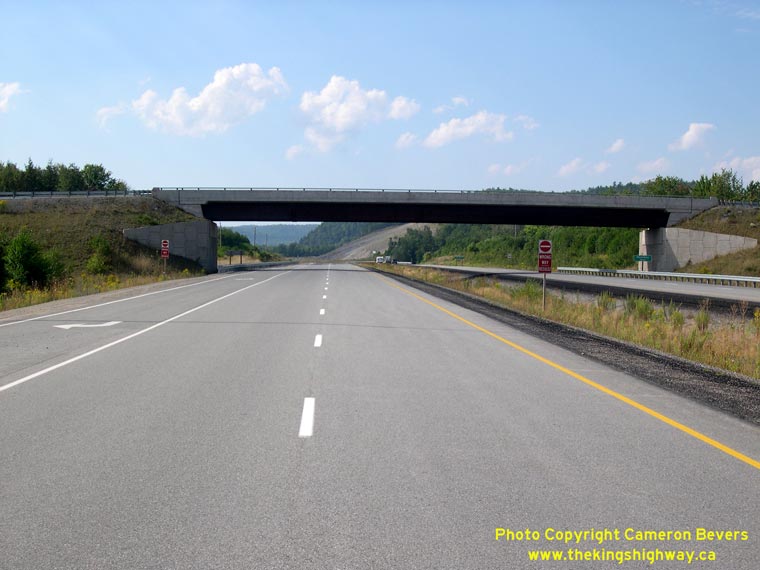
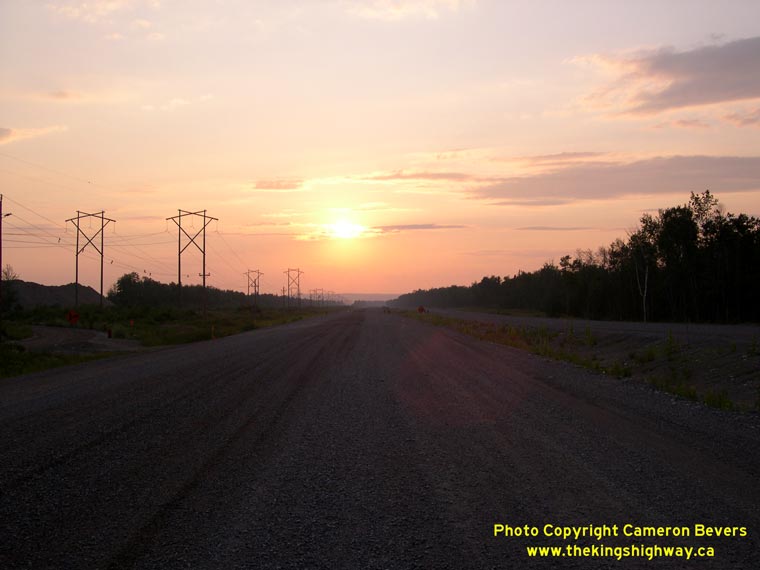
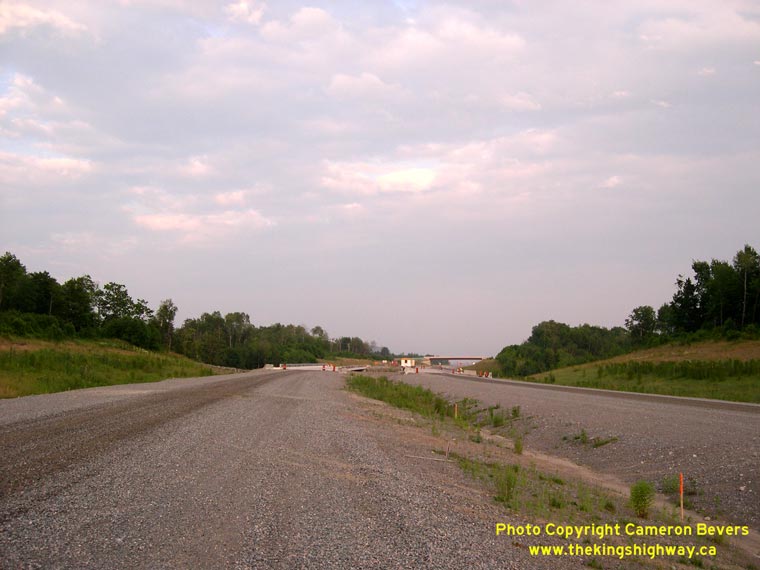
Left - Completed Hwy 17 Garden River Bypass at the Noonday Road Overpass. (Photograph taken on September 1, 2008 - © Cameron Bevers) Right - Sunset over the future Hwy 17 Garden River Bypass near Sault Ste. Marie in 2006. See an Enlarged Photo here. (Photograph taken on July 2, 2006 - © Cameron Bevers) 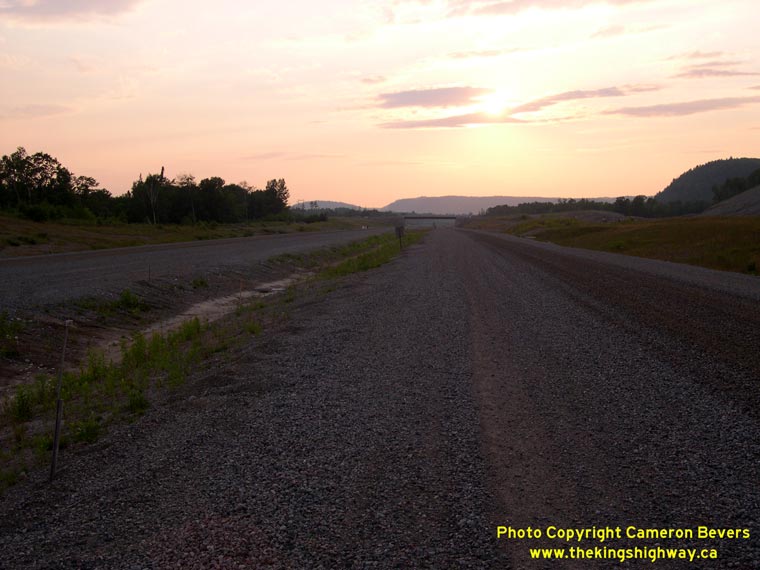
Left - Graded roadways for the future Hwy 17 Garden River Bypass, facing west near Jardin Mine Road in 2006. (Photograph taken on July 2, 2006 - © Cameron Bevers) Right - These dual roadways will soon carry Hwy 17 traffic on a limited-access route through Garden River. The new Hwy 17 Bypass was completed and opened to traffic about a year after this photo was taken. (Photograph taken on July 2, 2006 - © Cameron Bevers) 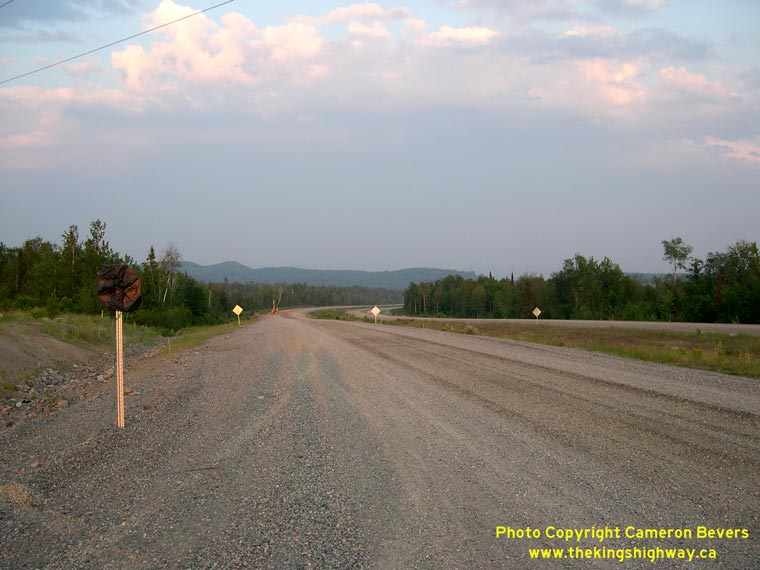
Left - Graded right-of-way for Hwy 17 New near Garden River east of Sault Ste. Marie. The new highway was under construction for several
years, but it is now complete. The new highway was officially opened to traffic in October, 2007. (Photograph taken on July 2, 2006 - © Cameron Bevers) Right - Completed Hwy 17 Garden River Bypass at the Jardin Mine Road Interchange, facing west towards Sault Ste. Marie. See an Enlarged Photo here. (Photograph taken on September 1, 2008 - © Cameron Bevers) 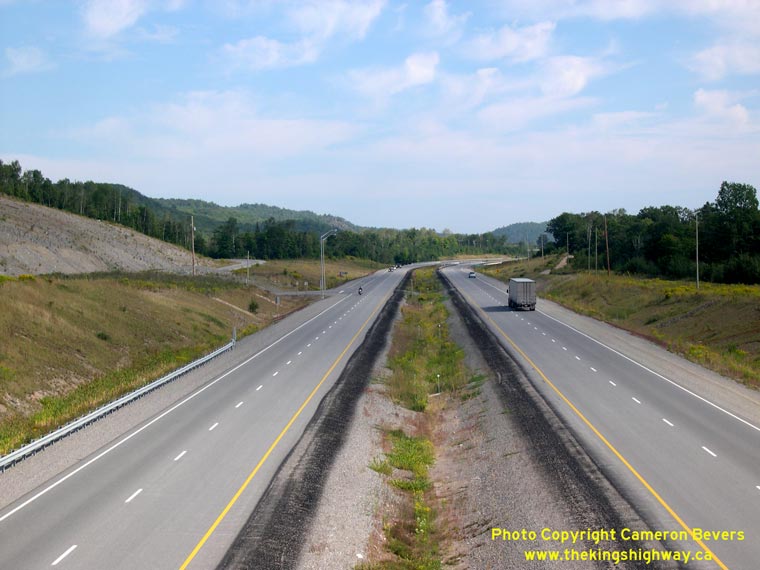
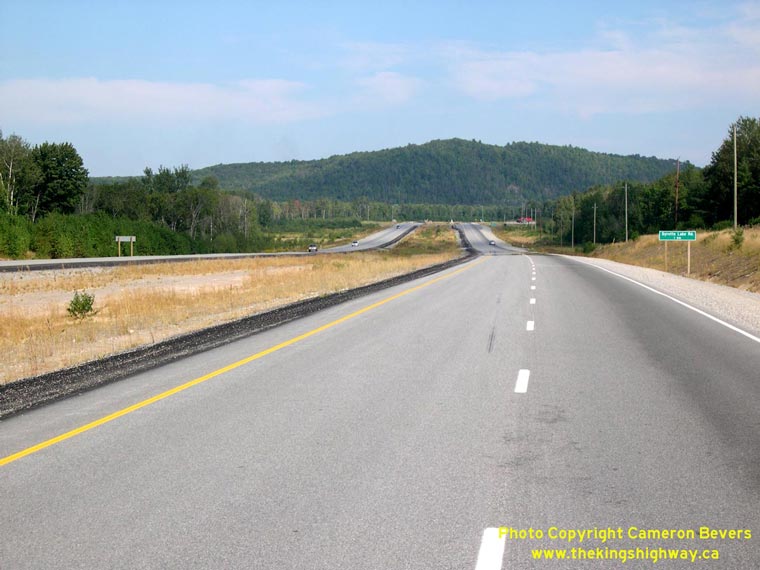
Left - Facing east along the new Hwy 17 Garden River Bypass towards Echo Bay from the Jardin Mine Road Overpass. (Photograph taken on September 1, 2008 - © Cameron Bevers) Right - Completed Hwy 17 Garden River Bypass approaching Syrette Lake Road. This is the only at-grade crossroad along the Garden River Bypass. See an Enlarged Photo here. (Photograph taken on September 1, 2008 - © Cameron Bevers) 
Left - Facing east along the Hwy 17 Garden River Bypass from the site of the future Second Line Connector. In the coming decade, the Hwy 17
Bypass will be extended west from this point to meet Second Line in order to form a more effective bypass around Sault Ste. Marie. See an
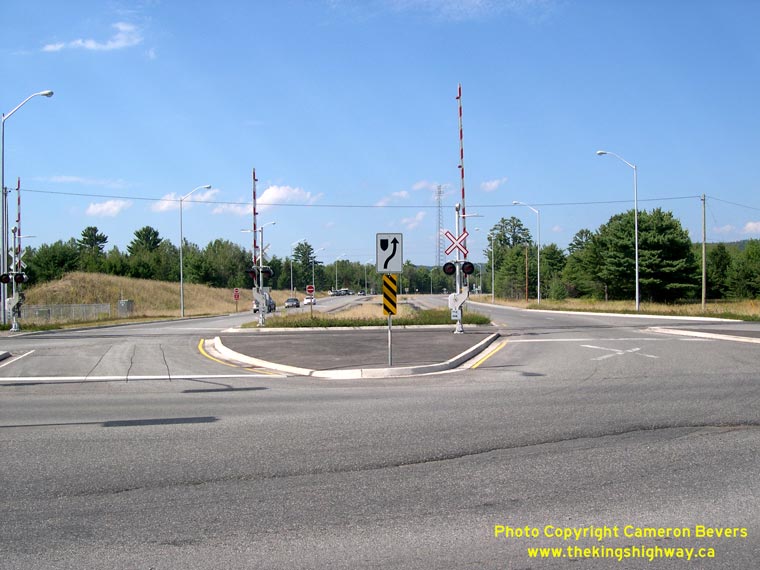
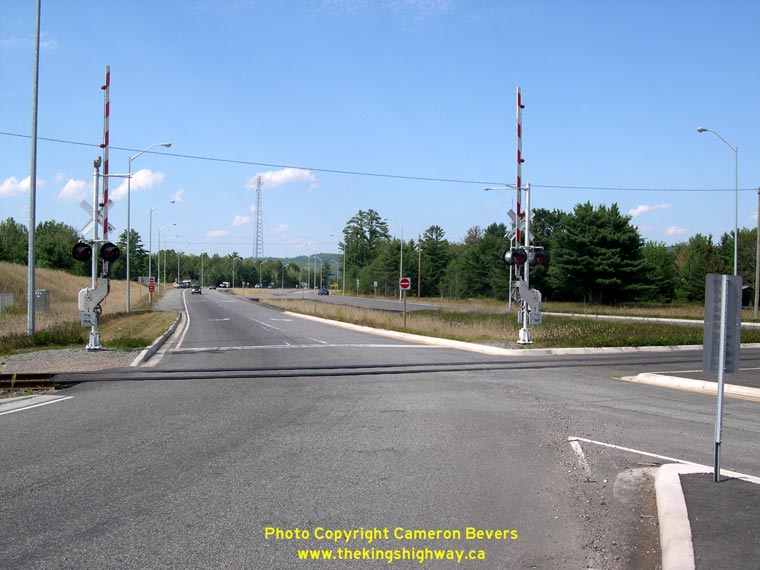
Enlarged Photo here. (Photograph taken on September 1, 2008 - © Cameron Bevers) Right - Start of the new Hwy 17 Garden River Bypass from the Hwy 17B Junction at Garden River. This intersection is complicated by an at-grade railway crossing immediately adjacent to the traffic signals. (Photograph taken on September 1, 2008 - © Cameron Bevers) 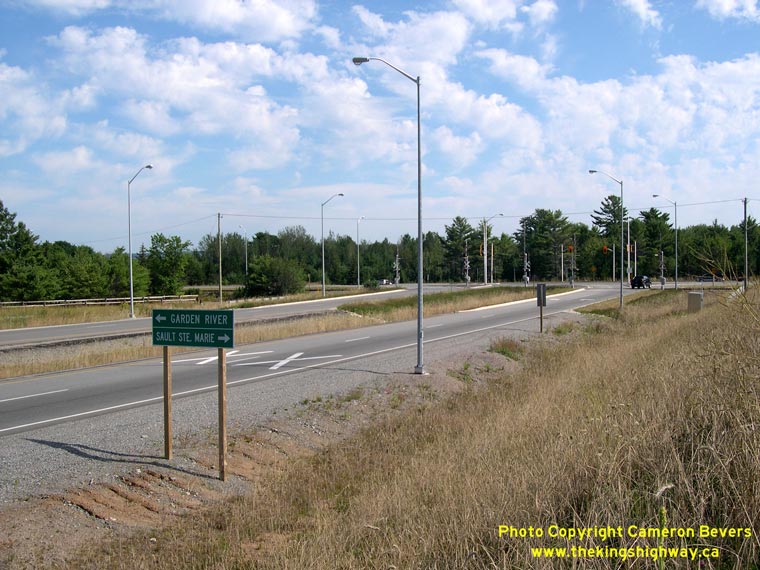
Left - Completed Hwy 17 Garden River Bypass approaching the Hwy 17B Junction between Sault Ste. Marie and Garden River. (Photograph taken on September 1, 2008 - © Cameron Bevers) Right - Approaching the end of the Hwy 17 Garden River Bypass. At the traffic signals, Hwy 17 turns right onto Trunk Road and proceeds west into Sault Ste. Marie. (Photograph taken on September 1, 2008 - © Cameron Bevers) 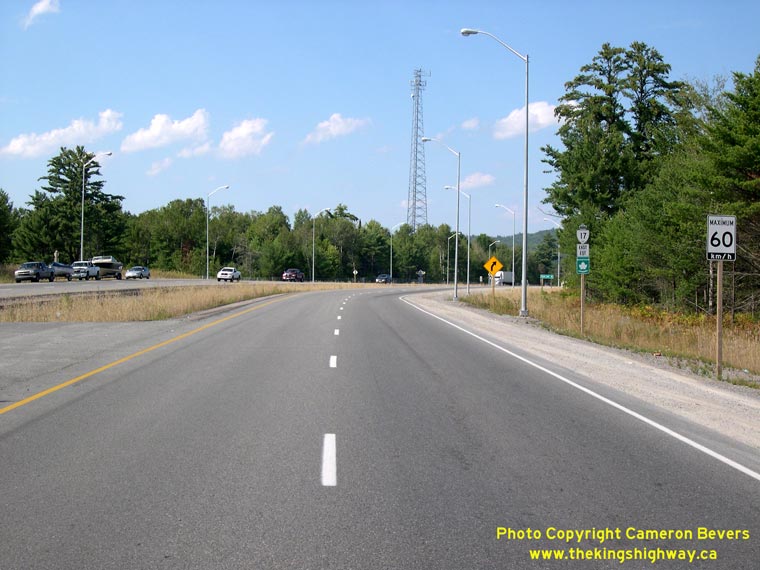
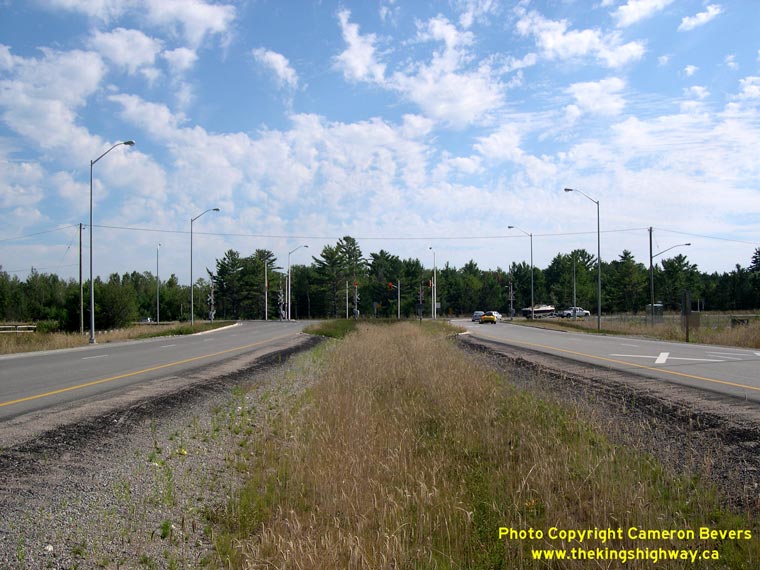
Left - Facing east along the eastbound lanes of the new Hwy 17 Garden River Bypass from the Hwy 17B Junction at Garden River. (Photograph taken on September 1, 2008 - © Cameron Bevers) Right - Facing east along the westbound lanes of the new Hwy 17 Garden River Bypass. Traffic in the right lane continues into Sault Ste. Marie, while traffic in the left lane returns to Garden River and Echo Bay via Hwy 17B. (Photograph taken on September 1, 2008 - © Cameron Bevers) 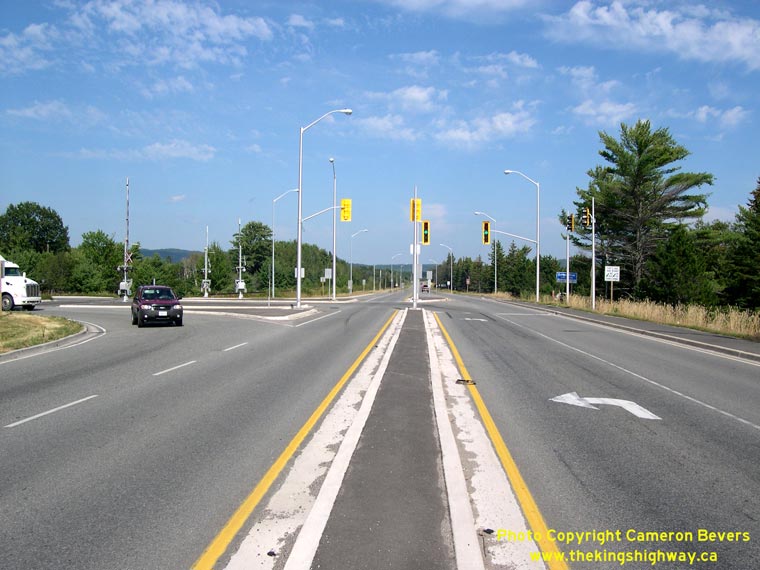
Left - Traffic signals at the new Hwy 17 Garden River Bypass and the Hwy 17B Junction. Note the special 5-lens signal heads on this approach with a
separate amber left turn arrow and green left turn arrow. This is rather unusual, as MTO generally prefers the use of 4-lens signal heads with a combined
amber and green arrow for protected-permissive left turn movements. Presumably, this was done to ease in the transfer of this traffic signal over to
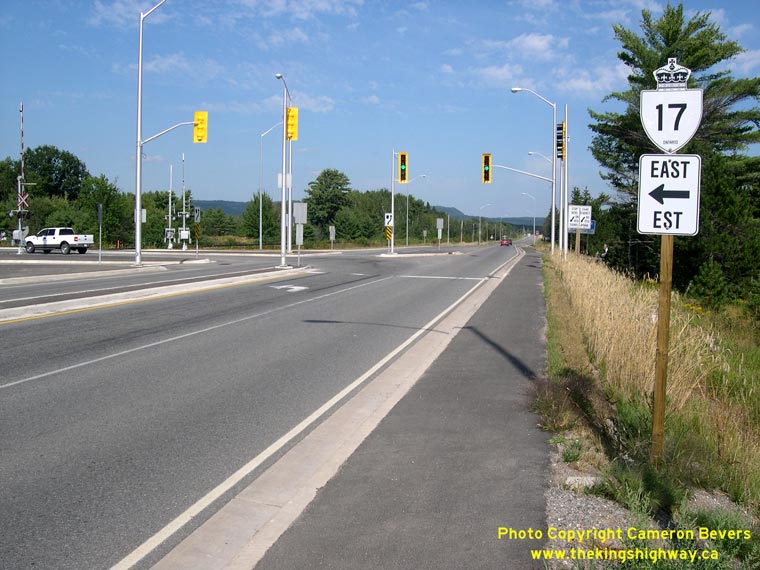
municipal control once the final stage of the Sault Ste. Marie Bypass is completed in a few years. (Photograph taken on September 1, 2008 - © Cameron Bevers) Right - Approaching the new Hwy 17 Garden River Bypass. Eastbound traffic has to turn left here to stay on Hwy 17. The old route of Hwy 17 through Garden River and Echo Bay (now Hwy 17B) proceeds straight through at the intersection. (Photograph taken on September 1, 2008 - © Cameron Bevers) 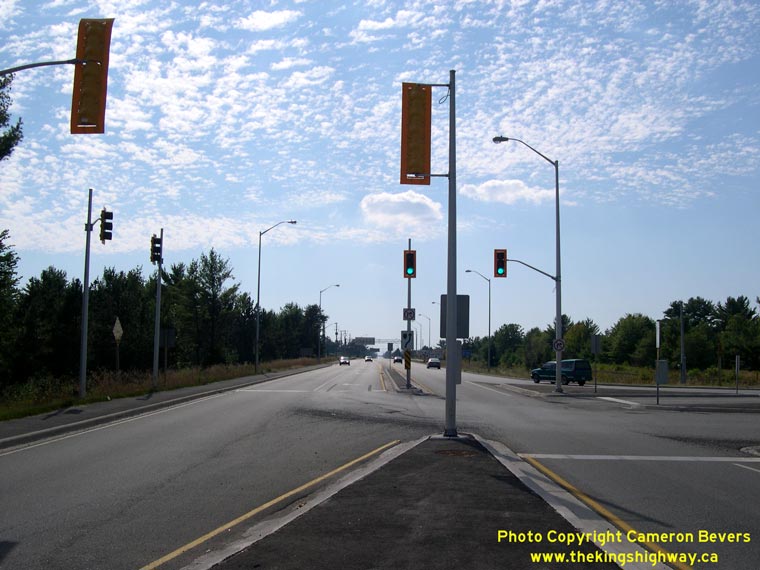
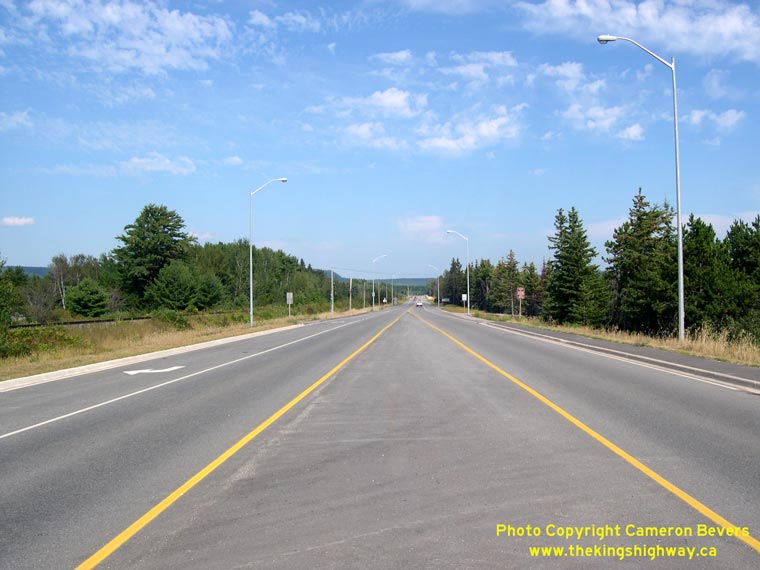
Left - Facing west along Hwy 17 (Trunk Road) from the new Hwy 17 Garden River Bypass and Hwy 17B Junction at Garden River. (Photograph taken on September 1, 2008 - © Cameron Bevers) Right - Facing east along Hwy 17B towards Garden River from the new Hwy 17 Garden River Bypass. (Photograph taken on September 1, 2008 - © Cameron Bevers) 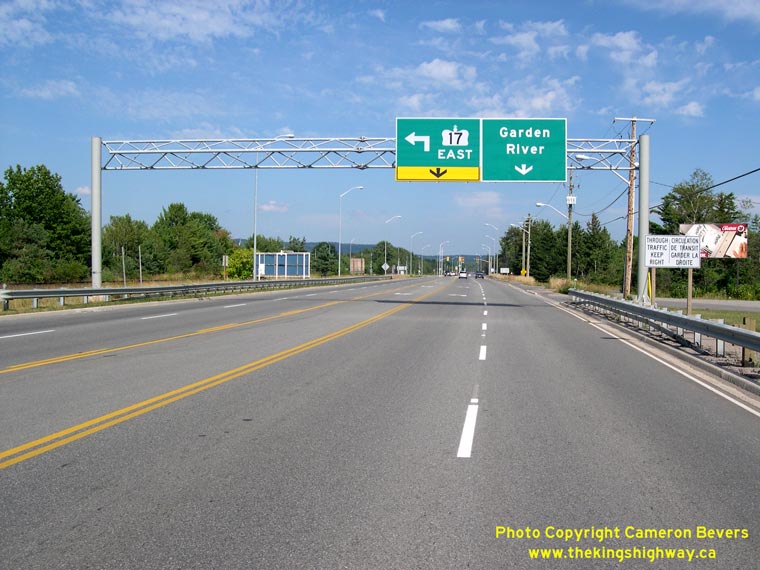
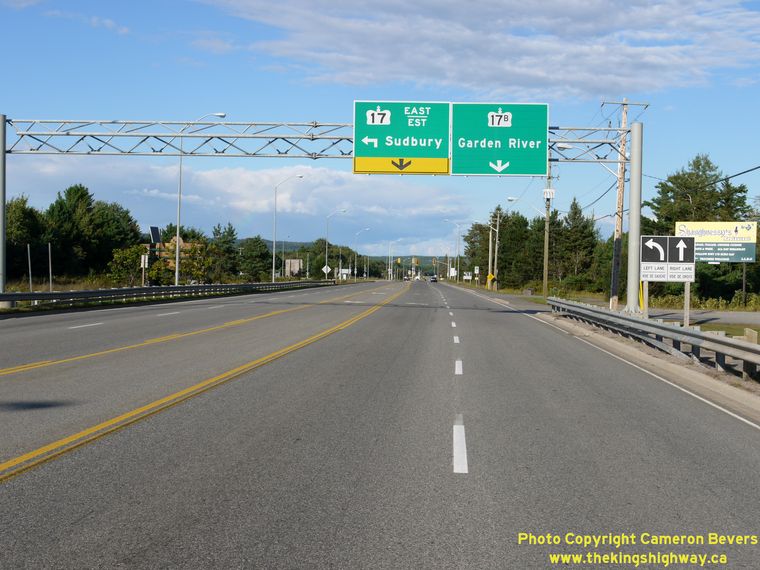
Left - Overhead guide signs on Hwy 17 (Trunk Road) approaching the new Hwy 17 Garden River Bypass. See an
Enlarged Photo here. (Photograph taken on September 1, 2008 - © Cameron Bevers) Right - Overhead guide signs on Hwy 17 (Trunk Road) approaching the new Hwy 17 Garden River Bypass. Note that the right sign has been revised to mark Hwy 17B through Garden River. See an Enlarged Photo here. (Photograph taken on August 28, 2011 - © Cameron Bevers) 
Left - Old overhead guide sign on Eastbound Hwy 17 (Trunk Road) departing Sault Ste. Marie. (Photograph taken on August 28, 2011 - © Cameron Bevers) Right - Facing east along the future Second Line Connector from Black Road. (Photograph taken on September 1, 2008 - © Cameron Bevers) 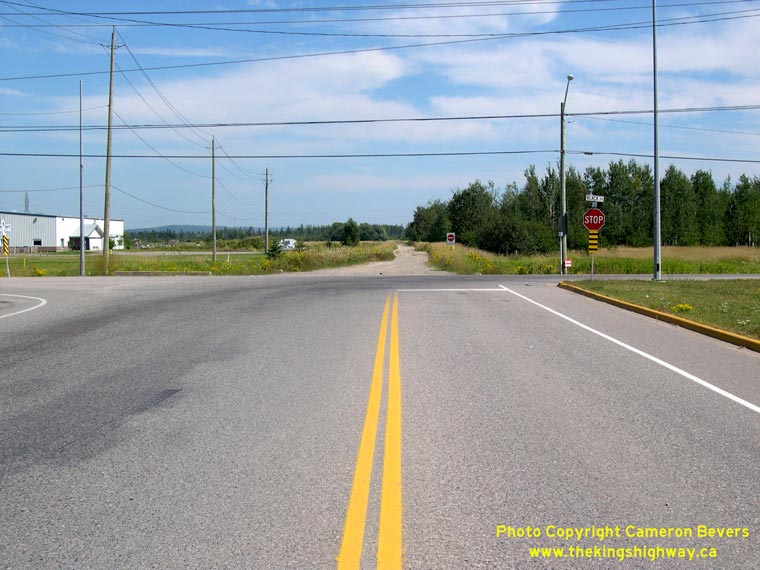
Left - Facing east along Hwy 17 (Second Line) towards Black Road. At Black Road, Hwy 17 turns south and joins Trunk Road (Hwy 17 East) to
Sudbury. This route via Black Road and Second Line effectively bypasses Downtown Sault Ste. Marie altogether. (Photograph taken on September 1, 2008 - © Cameron Bevers) Right - Facing west along Hwy 17 (Second Line) from Black Road. This route bypasses a fair portion of Sault Ste. Marie. The bypass via Second Line and Black Road was completed and opened to traffic in 1969. See an Enlarged Photo here. (Photograph taken on September 1, 2008 - © Cameron Bevers) 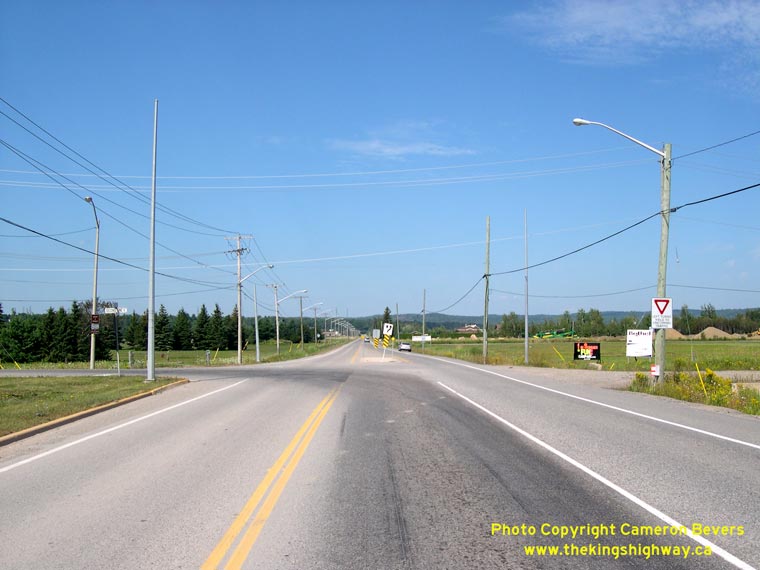
Left - Facing north along Hwy 17 (Black Road) at Second Line. At Second Line, Westbound Hwy 17 traffic turns left and eventually joins the
Great Northern Road (Hwy 17 North) to Thunder Bay. (Photograph taken on September 1, 2008 - © Cameron Bevers) Right - Facing east along Hwy 17 (Second Line) between Black Road and the Hwy 17B & Hwy 550 Junction. As is evident in this photo, the Sault Ste. Marie Bypass is fairly well-utilized, particularly by transport trucks. See an Enlarged Photo here. (Photograph taken on September 1, 2008 - © Cameron Bevers)
Continue on to King's Highway 17 Photos: Sault Ste. Marie to Harmony Beach
|
|---|
Links to Adjacent King's Highway Photograph Pages:
Back to Hwy 17 - Thessalon to Hwy 548
Hwy 17 Photo Index
On to Hwy 17 - Sault Ste. Marie to Harmony Beach
Back to King's Highway 16 Photos /
King's Highway 17 History /
On to King's Highway 18 Photos
Ontario Highway History - Main Menu / Back to List of Highways Website contents, photos & text © 2002-2026, Cameron
Bevers (Webmaster) - All Rights Reserved / Contact Me
|
|---|