
| 
| |
|
|
This page contains present day photos (Year 2000 to date) of Ontario's King's Highway 400, arranged by location from the
King Road Interchange near King City northerly to the Highway 88 Interchange near Bradford. All photographs displayed on this page were taken by the Webmaster
(Cameron Bevers), unless specifically noted otherwise. Click on any thumbnail to see a larger image!
Please note that all photographs displayed on this
website are protected by copyright. These photographs must not be reproduced, published,
electronically stored or copied, distributed, or posted onto other websites without
my written permission. If you want to use photos from this website, please
email me first for permission. Thank-you!
|
|---|
|
Page 12: Present Day King's Highway 400 Photographs (King Road to Hwy 88)
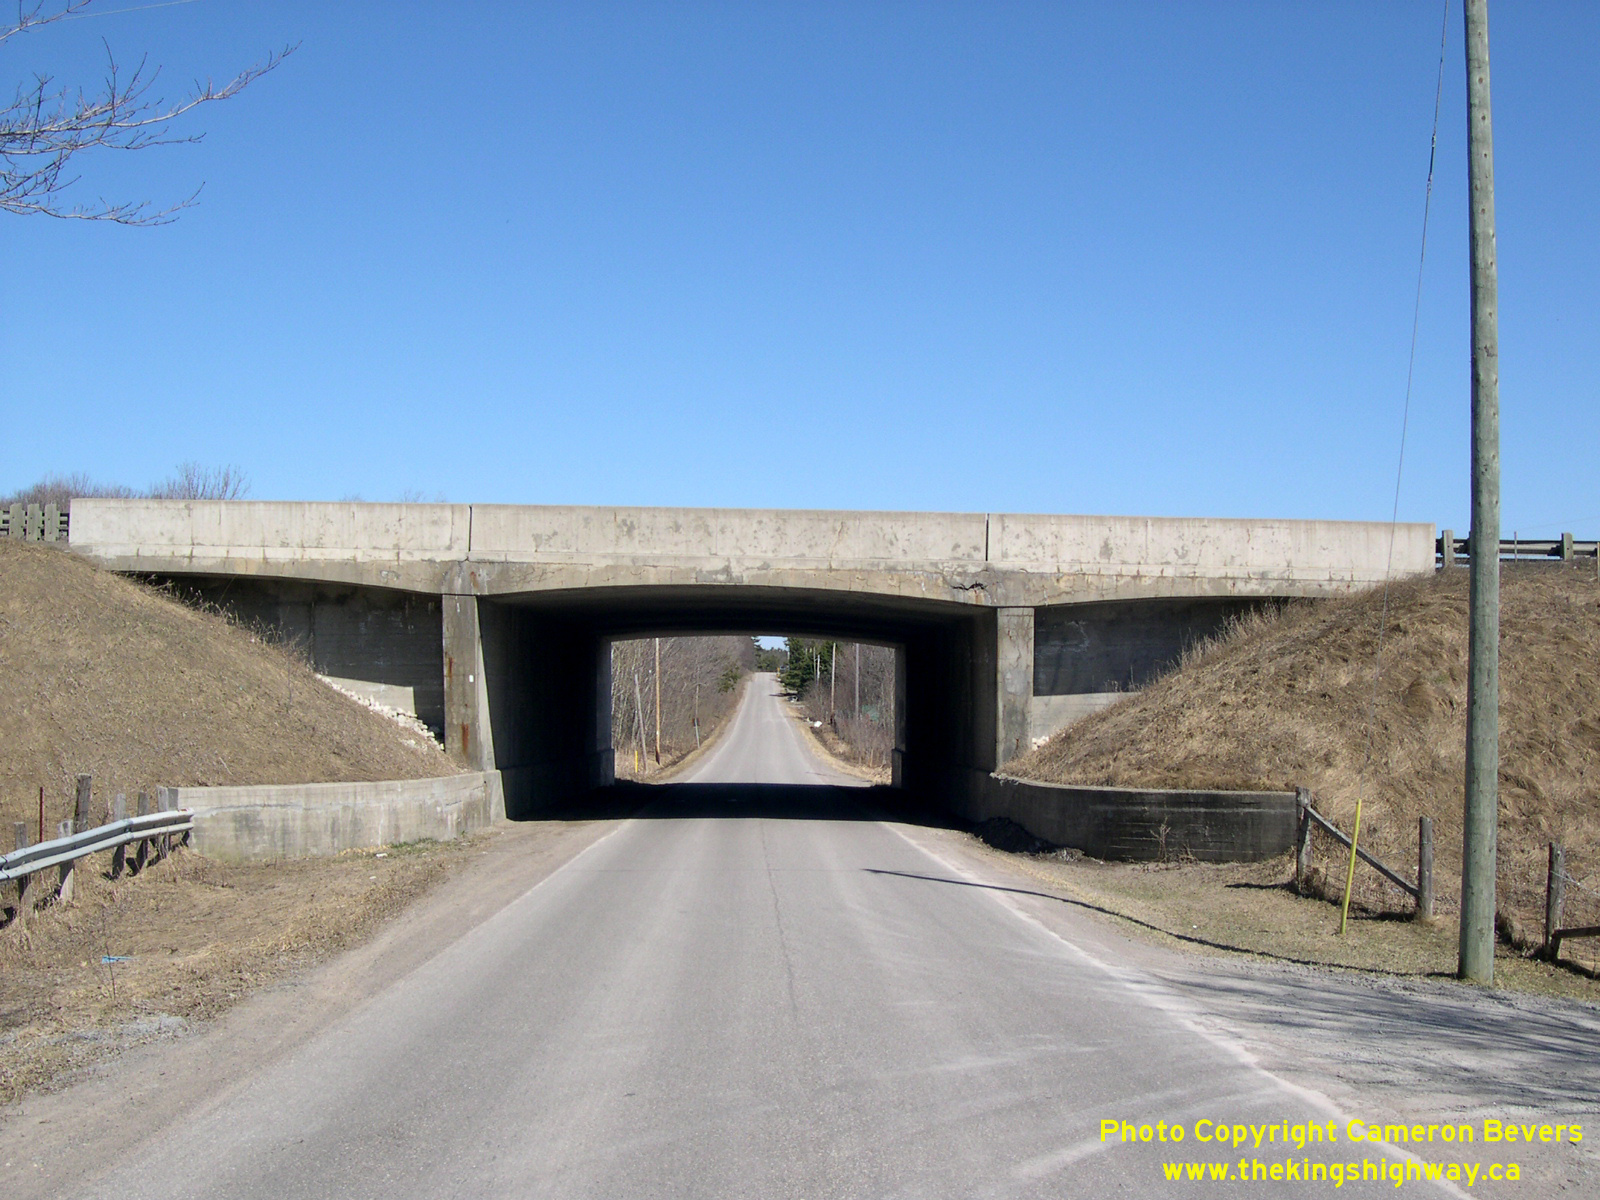
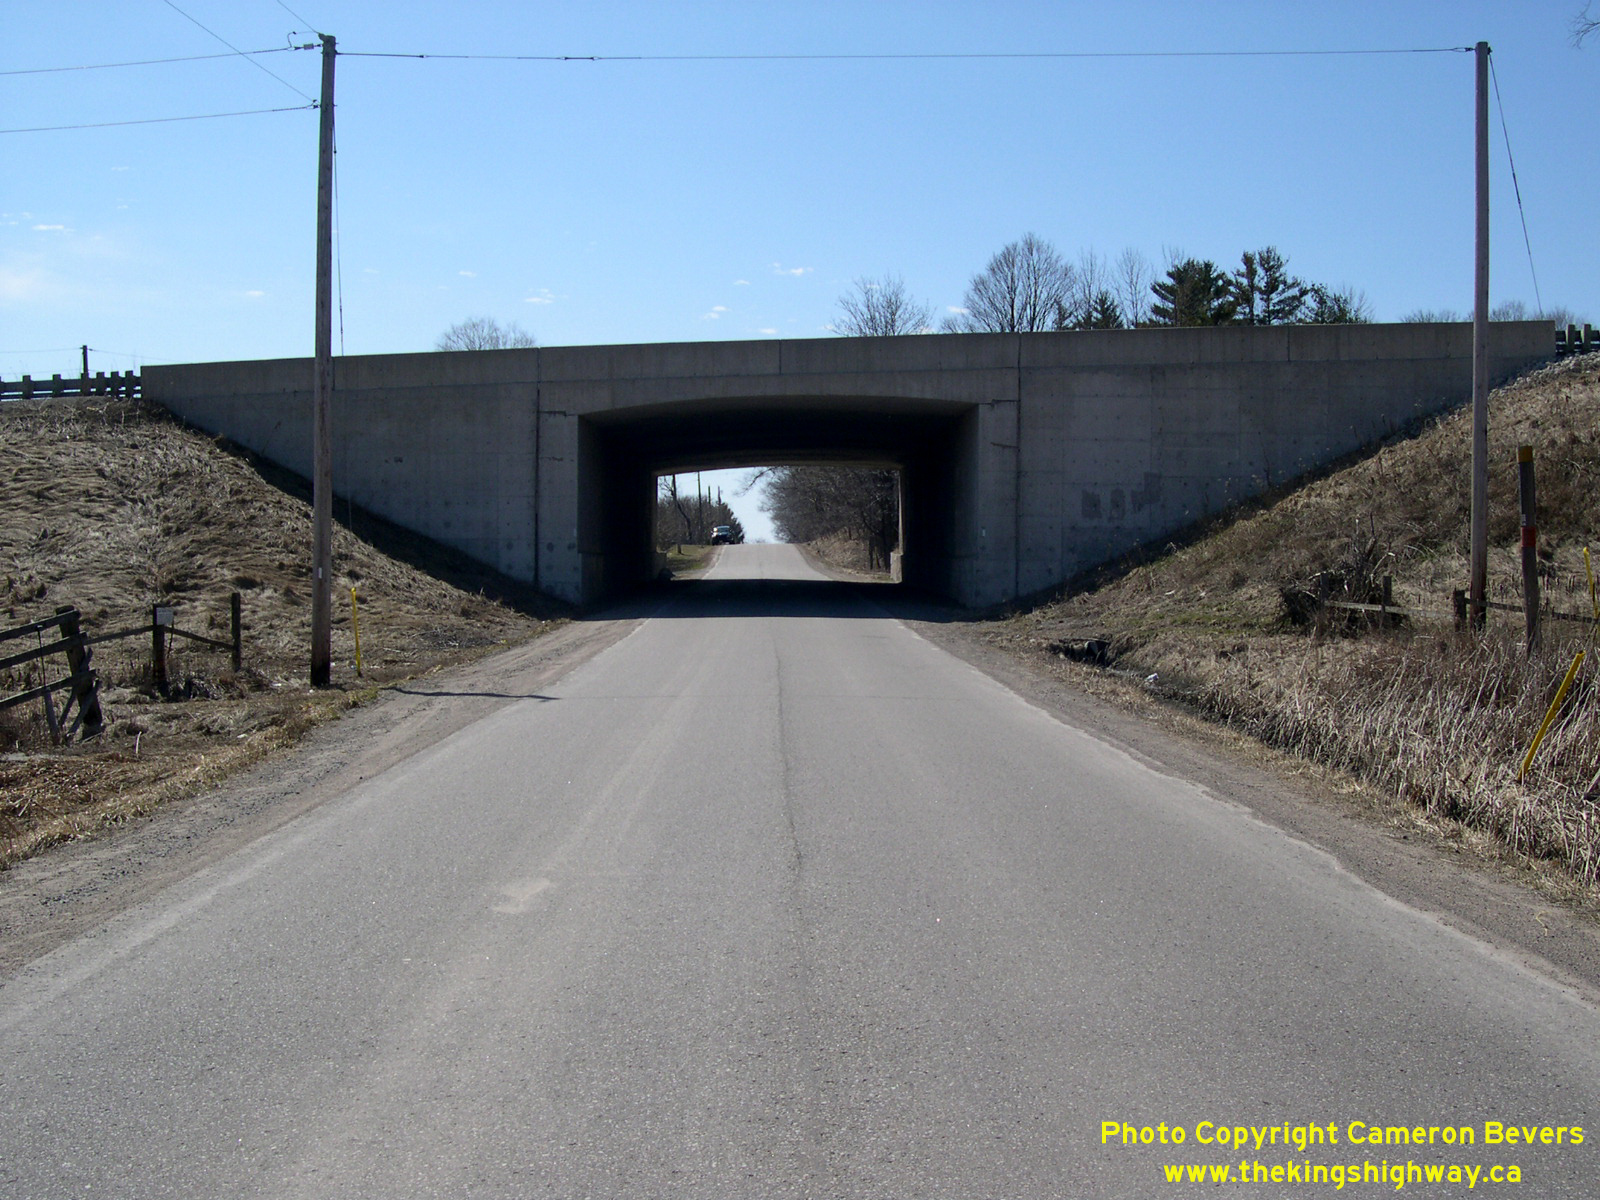
Left - Sideroad 16 Underpass on Hwy 400 in King Township. Structure completed in 1947. See an
Enlarged Photo here. (Photograph taken on April 10, 2005 - © Cameron Bevers) Right - Facing west towards the Sideroad 16 Underpass on Hwy 400 in King Township. The eastern side of this bridge was extended in the 1990s as part of a shoulder reconstruction and widening project. See an Enlarged Photo here. (Photograph taken on April 10, 2005 - © Cameron Bevers) 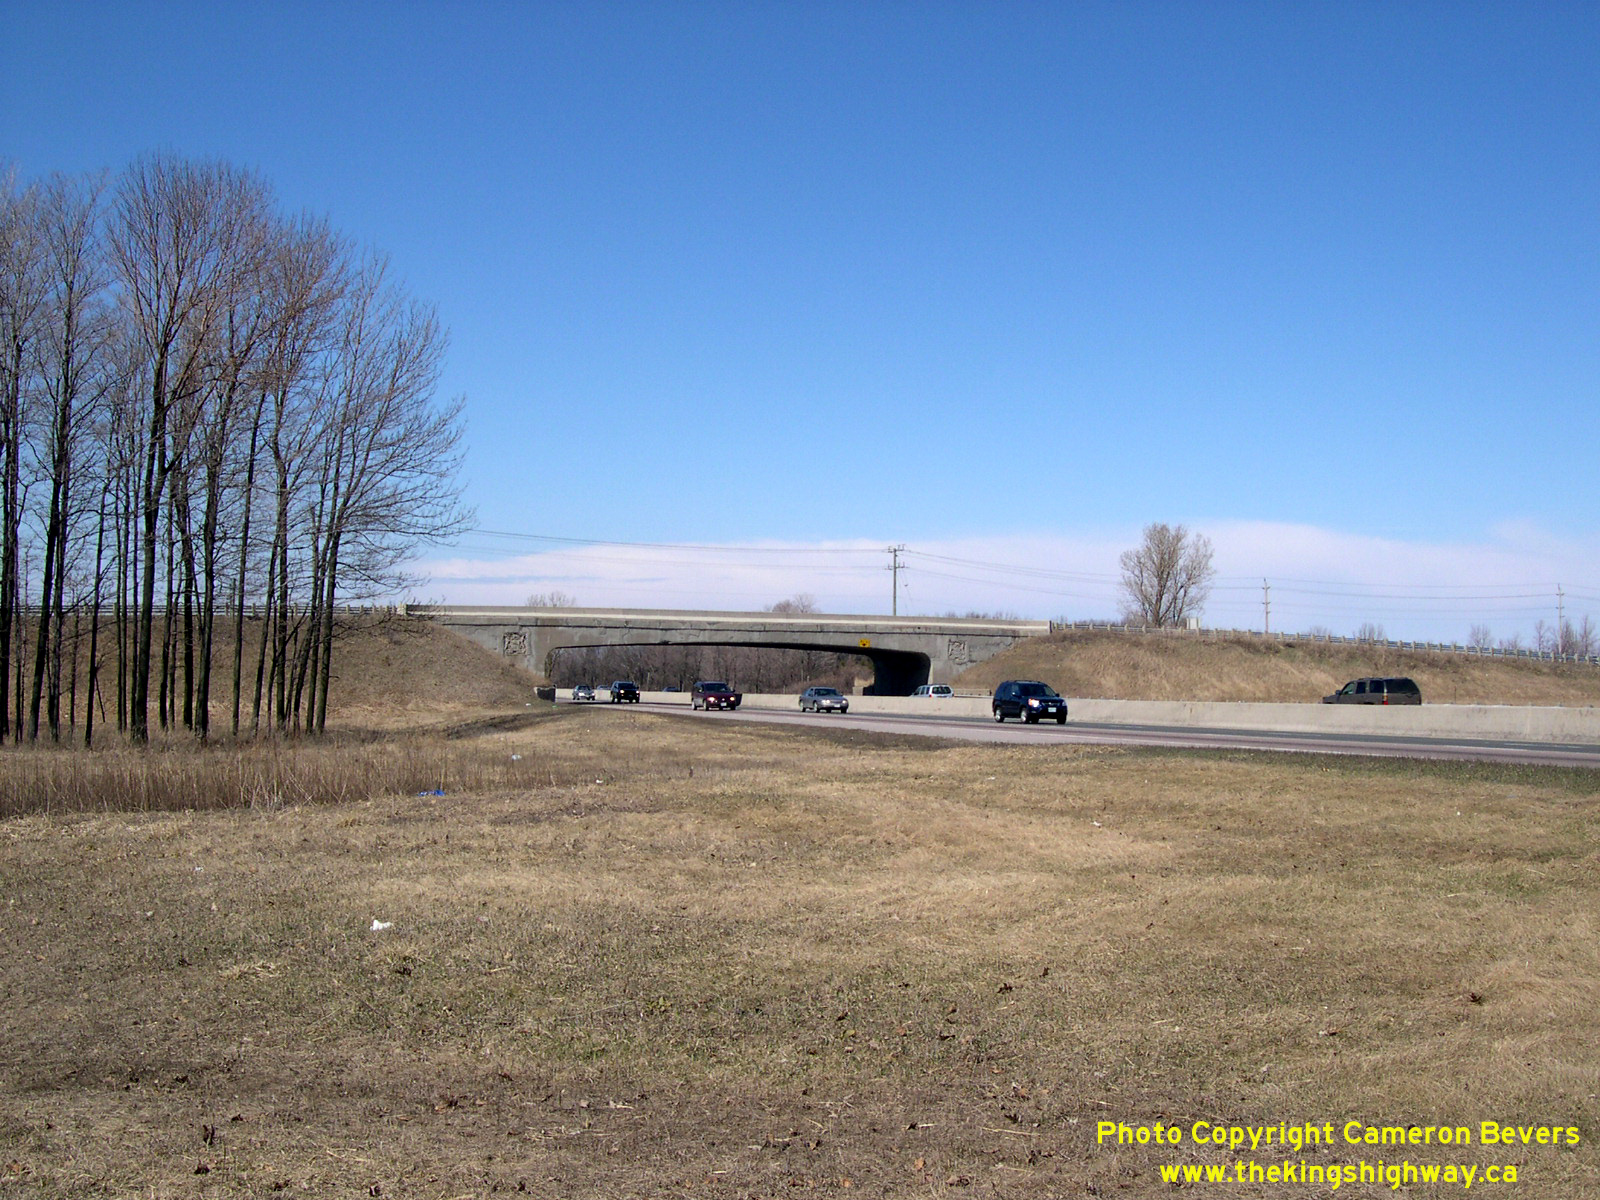
Left - View of Lloydtown-Aurora Road Interchange and Overpass. The old cloverleaf ramp in the southwest quadrant (shown here in the foreground) was
removed in the early 1990s. See an
Enlarged Photo here. (Photograph taken on April 10, 2005 - © Cameron Bevers) Right - Lloydtown-Aurora Road Overpass on Hwy 400 in King Township. Structure completed in 1950. See an Enlarged Photo here. (Photograph taken on April 10, 2005 - © Cameron Bevers) 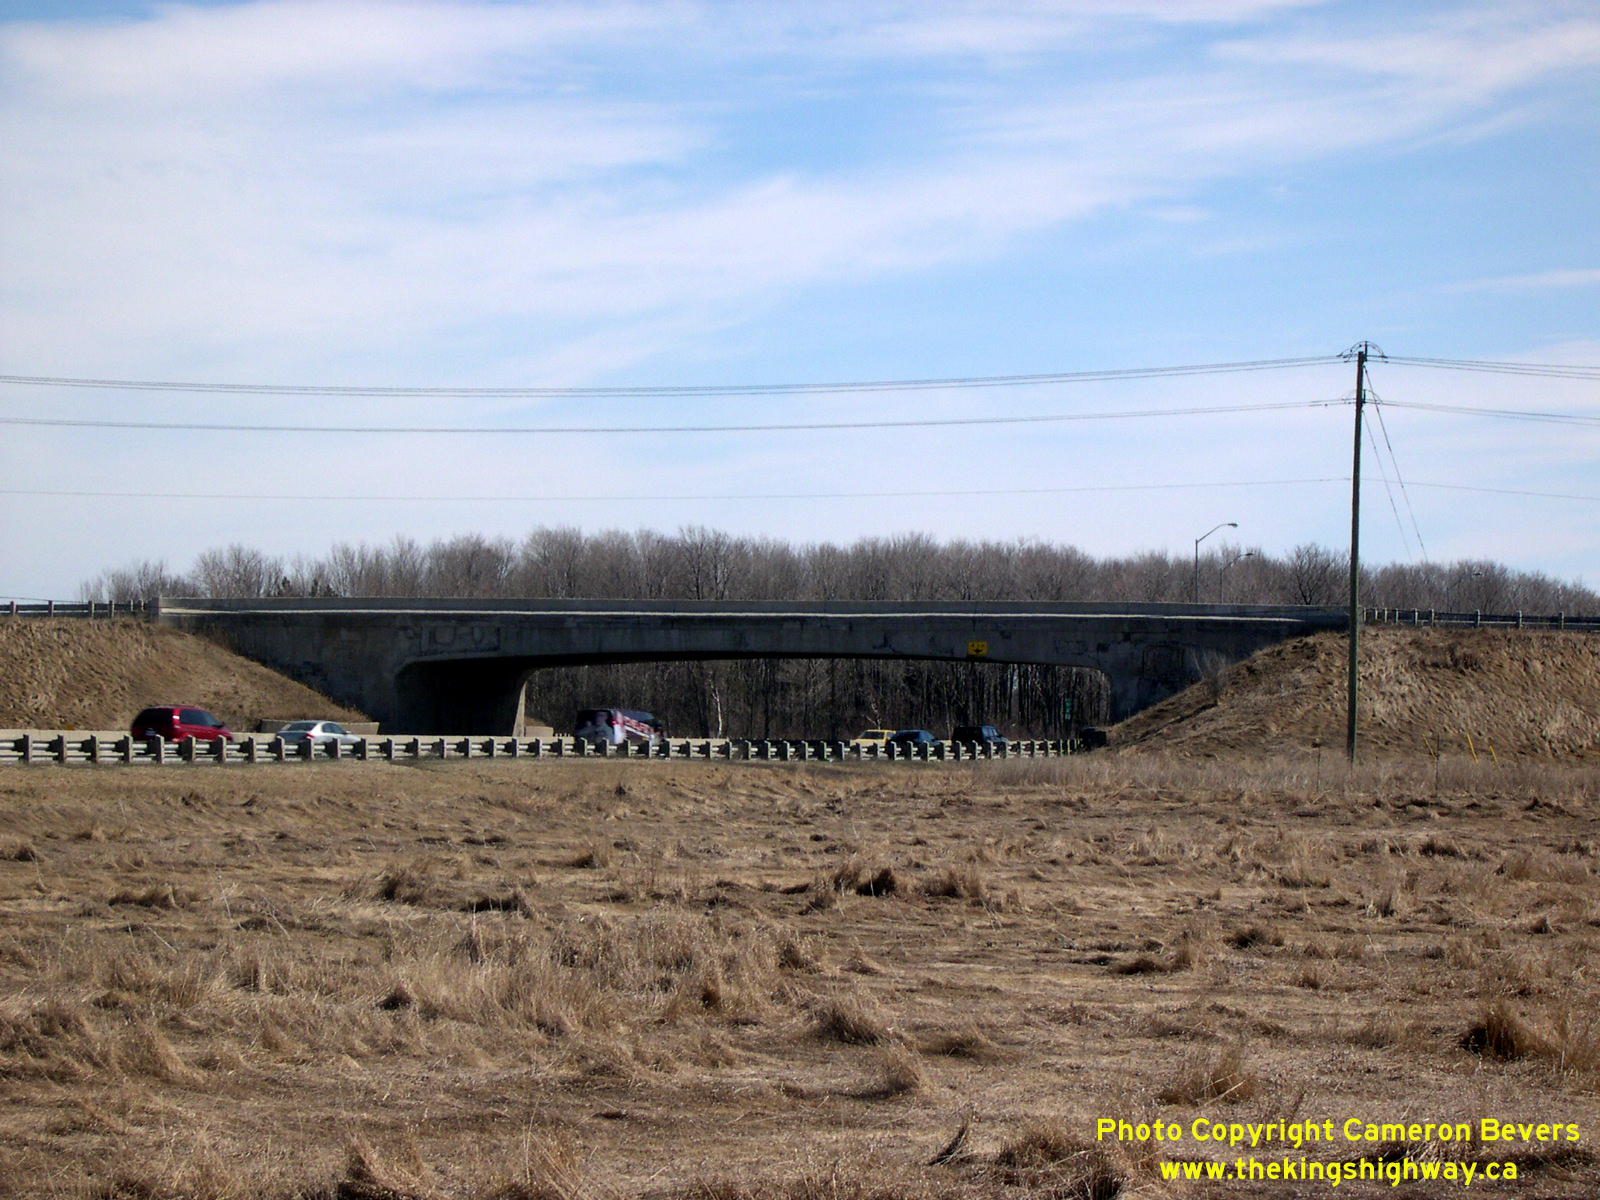
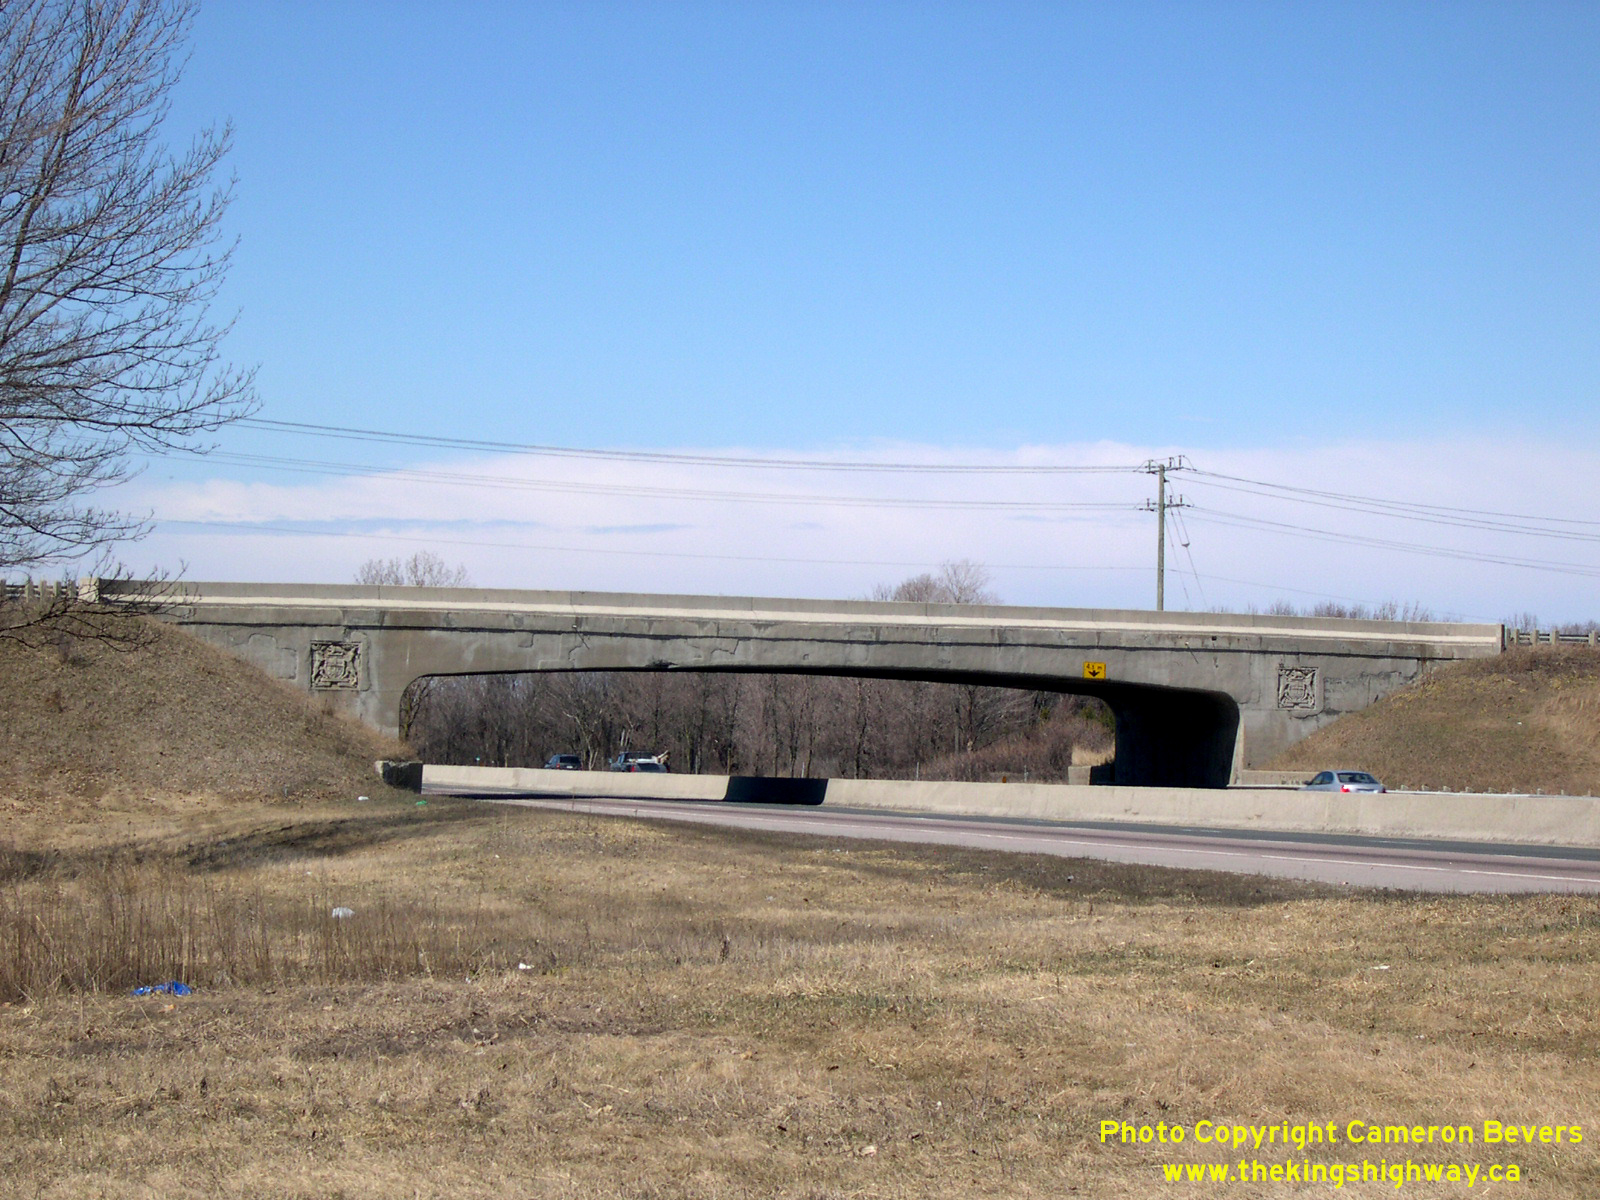
Above - Looking southeast towards the Lloydtown-Aurora Road Overpass on Hwy 400 in King Township. See an
Enlarged Photo here. (Photograph taken on April 10, 2005 - © Cameron Bevers) 

Left - Facing east across the Hwy 9 Overpass towards Newmarket at the Hwy 400 Interchange. Compare this present-day view to this
Historic 1962 Photograph taken from the same location, before Hwy 9 was extended from Schomberg
to Newmarket. See an Enlarged Photo here. (Photograph taken on October 17, 2010 - © Cameron Bevers) Right - Westbound Hwy 9 Overpass across Hwy 400. Structure completed in 1999. The original 1947 structure carrying eastbound Hwy 9 traffic is visible in the background. The new westbound structure was built as part of a larger construction program to widen Hwy 9 from two to four lanes between Holland Marsh and Newmarket. See an Enlarged Photo here. (Photograph taken on October 10, 2008 - © Cameron Bevers) 

Left - View of the Hwy 400 & Hwy 9 Interchange west of Newmarket, facing northeast. Note the grading for the former directional on-ramp from eastbound
Hwy 9 to southbound Hwy 400 in the foreground. The ramp was relocated in 1999 to permit the construction of a new Ministry of Transportation carpool parking lot in
the southwest quadrant of the Hwy 9 Interchange. The previous carpool parking lot was built in the northeast quadrant of the interchange in 1979, but it eventually
had to be relocated to make way for the new westbound Hwy 9 Overpass. See an Enlarged Photo Here. (Photograph taken on October 17, 2010 - © Cameron Bevers) Right - Close-up of the Hwy 9 Overpass on Hwy 400. The older eastbound Hwy 9 structure is shown here, which was completed in 1947. A new bridge was constructed to carry westbound Hwy 9 traffic in 1999. The original Hwy 9 structure was one of four grade separations built along the proposed Toronto-Barrie Highway (Hwy 400) during 1947. See an Enlarged Photo Here. (Photograph taken on October 10, 2008 - © Cameron Bevers) 

Left - Facing north along Hwy 400 towards Barrie at the Hwy 9 Interchange at Holland Marsh. When Hwy 400 was first designed in the 1940s, there were no
interchanges along the highway between Lloydtown-Aurora Road and Canal Road. The interchange at Hwy 9 wasn't completed until 1969. See an
Enlarged Photo Here. (Photograph taken on October 10, 2008 - © Cameron Bevers) Right - Hwy 400 facing north from the Hwy 9 Interchange towards the Holland Marsh west of Newmarket. Compare this present-day photo of the approach to Holland Marsh with this Historic 1954 Photo of the same section of the highway, taken before the interchange was built in the late 1960s. See an Enlarged Photo Here. (Photograph taken on October 10, 2008 - © Cameron Bevers) 

Left - Hwy 9 route marker and destination fingerboard signs at the Hwy 400 Interchange west of Newmarket. See an
Enlarged Photo Here. (Photograph taken on July 14, 2010 - © Cameron Bevers) Right - Eastern ramp terminal at the Hwy 9 Interchange on Hwy 400 west of Newmarket. See an Enlarged Photo Here. (Photograph taken on July 14, 2010 - © Cameron Bevers) 

Left - Twin bridges over the South Holland Canal on Hwy 400 west of Newmarket. Both structures were completed in 1950. See an
Enlarged Photo Here. (Photograph taken on October 10, 2008 - © Cameron Bevers) Right - Structure identification number and date stamp (1971) on the southbound South Holland Canal Bridge on Hwy 400. The date of 1971 refers to the extensions added onto the original 1950 South Holland Canal Bridge. See an Enlarged Photo Here. (Photograph taken on October 10, 2008 - © Cameron Bevers) 

Left - Facing north along Hwy 400 towards Barrie from the South Holland Canal Bridges. See an
Enlarged Photo Here. (Photograph taken on October 10, 2008 - © Cameron Bevers) Right - Piers underneath the southbound South Holland Canal Bridge on Hwy 400 west of Newmarket. The construction contracts for the North and South Holland Canal Bridges were prepared in 1948. Construction began on these structures in 1949 and work continued into 1950. The original 1940s bridge piers (at left) stand beside the newer outer piers, which were constructed in 1971 when Hwy 400 was expanded to six lanes. See an Enlarged Photo Here. (Photograph taken on October 10, 2008 - © Cameron Bevers) 

Left - An older freeway exit sign for Canal Road along northbound Hwy 400 between Toronto and Barrie. In an effort to make Ontario highway signs bilingual and
to reduce the amount of text used on signs, the word "EXIT" has been discontinued entirely on newer Ontario freeway exit signs and exit number tabs. See an
Enlarged Photo Here. (Photograph taken on July 14, 2010 - © Cameron Bevers) Right - Freeway exit sign on southbound Hwy 400 approaching the Hwy 9 Interchange west of Newmarket. See an Enlarged Photo Here. (Photograph taken on July 14, 2010 - © Cameron Bevers) 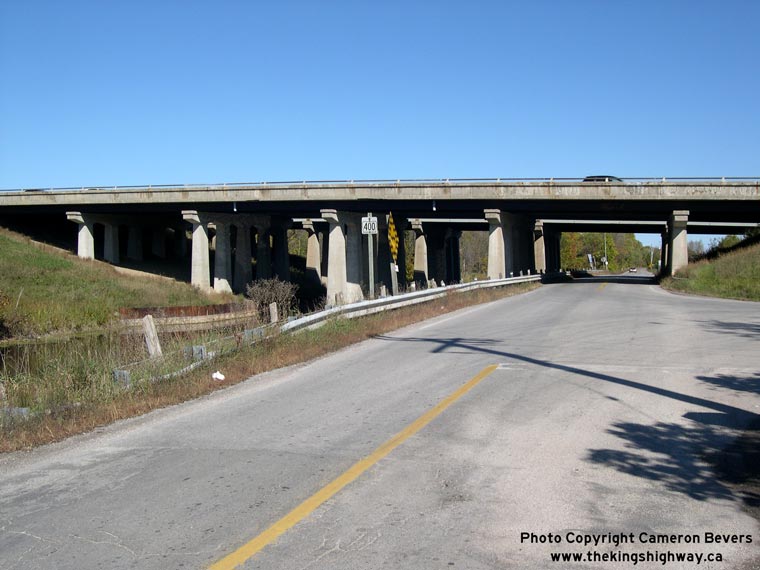

Left - Facing east along Canal Road towards the dual North Holland Canal Bridges on Hwy 400 near Bradford. These twin six-span continuous steel beam structures were
completed in 1950 after two years of construction. The bridges were widened in 1971 when Hwy 400 was expanded from four to six lanes. See an
Enlarged Photo Here. (Photograph taken on October 10, 2008 - © Cameron Bevers) Right - Western side of the dual North Holland Canal Bridges on Hwy 400 near Bradford. These structures also span across Canal Road. See an Enlarged Photo Here. (Photograph taken on October 10, 2008 - © Cameron Bevers) 

Left - Superstructure of the southbound North Holland Canal Bridge on Hwy 400. The original bridge piers, constructed in 1949, can be seen at right. The outer
piers were built as part of a highway expansion project along Hwy 400 which took place in 1971. See an
Enlarged Photo Here. (Photograph taken on October 10, 2008 - © Cameron Bevers) Right - Expansion piers on the southbound North Holland Canal Bridges on Hwy 400. This extension provided space for another southbound lane on Hwy 400 and a longer deceleration lane for the Canal Road Exit. See an Enlarged Photo Here. (Photograph taken on October 10, 2008 - © Cameron Bevers) 

Left - Facing north towards Barrie across the dual North Holland Canal Bridges on Hwy 400. See an
Enlarged Photo Here. (Photograph taken on October 10, 2008 - © Cameron Bevers) Right - View of Hwy 400 facing south towards Toronto from the North Holland Canal Bridges. See an Enlarged Photo Here. (Photograph taken on October 10, 2008 - © Cameron Bevers) 

Left - Structure identification number and date stamp (1971) on the North Holland Canal Bridge on Hwy 400. The date of 1971 refers to the extensions added onto
the original 1950 North Holland Canal Bridge. See an Enlarged Photo Here. (Photograph taken on October 10, 2008 - © Cameron Bevers) Right - Eastern side of the northbound North Holland Canal Bridge on Hwy 400 at Holland Marsh near Bradford. See an Enlarged Photo Here. (Photograph taken on October 10, 2008 - © Cameron Bevers) 

Left - Original bridge piers on the southbound North Holland Canal Bridge on Hwy 400. The construction contract for the North Holland Canal Bridge was started
in early 1949. The bridge was completed just under two years later, in late 1950. See an Enlarged Photo Here. (Photograph taken on October 10, 2008 - © Cameron Bevers) Right - Facing north along Wist Road approaching Canal Road. This service road along the eastern side of Hwy 400 provides ramp access between Canal Road and northbound Hwy 400. See an Enlarged Photo Here. (Photograph taken on October 10, 2008 - © Cameron Bevers) 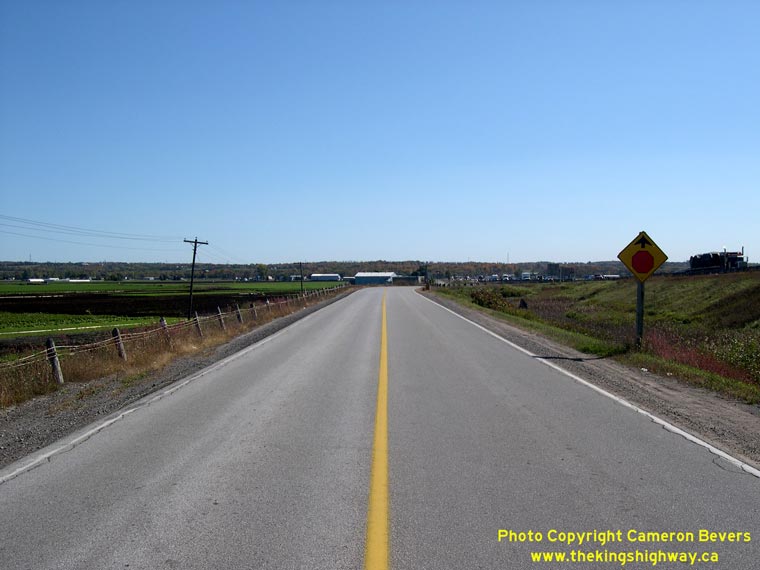

Left - East Service Road (Wist Road), facing south towards the access to Hwy 400 near Bradford. The ramps at the Canal Road Interchange are effectively in an
"A-B Parclo" interchange configuration. Interchanges of this type are characterized by having four ramps providing full access between the freeway and surface street
in two adjacent quadrants. This interchange type is commonly seen where a railway or watercourse shares the same grade separation as the surface street, or where
there is another high-volume interchange nearby where additional distance is required to accommodate a weaving area for traffic. See an
Enlarged Photo Here. (Photograph taken on October 10, 2008 - © Cameron Bevers) Right - Sign pointing the way to Hwy 400 North along the East Service Road (Wist Road) at Holland Marsh near Bradford. See an Enlarged Photo Here. (Photograph taken on October 10, 2008 - © Cameron Bevers) 

Left - The ramps at the Canal Road Interchange on Hwy 400 are essentially a T-intersection, due to the short distance between the service roads and the
freeway. There is no splitter island separating traffic exiting and entering the freeway. It is the only interchange of this type along Hwy 400 between Toronto and
Barrie, although a small number of low-volume access roads connect to Hwy 400 in a somewhat similar manner north of Port Severn. See an
Enlarged Photo Here. (Photograph taken on October 10, 2008 - © Cameron Bevers) Right - The on-ramp to northbound Hwy 400 from Canal Road is controlled by a Stop Sign. Traffic entering the freeway from Canal Road has an exclusive speed change lane which extends for a considerable distance to the north of the ramp entrance. The interchange at Canal Road has remained more of less unmodified since Hwy 400 was first opened to traffic in the early 1950s. See an Enlarged Photo Here. (Photograph taken on October 10, 2008 - © Cameron Bevers) 

Left - Exit sign for Canal Road on northbound Hwy 400 at Holland Marsh. The right turn-off arrow on the sign is indicative of the unusual ramp configuration. See an
Enlarged Photo Here. (Photograph taken on October 10, 2008 - © Cameron Bevers) Right - Facing north along Hwy 400 towards Barrie at the Canal Road Interchange. Note the long speed change lane provided for traffic entering the freeway. A prominent yellow 20 km/h advisory speed sign has been posted on the exit lane. See an Enlarged Photo Here. (Photograph taken on October 10, 2008 - © Cameron Bevers) 

Left - Facing north along Davis Road approaching Canal Road. This service road along the western side of Hwy 400 provides ramp access between Canal Road and
southbound Hwy 400. See an Enlarged Photo Here. (Photograph taken on October 10, 2008 - © Cameron Bevers) Right - A faded Hwy 400 route marker points the way to the freeway entrance from the West Service Road (Davis Road) near Bradford. The short distance between the freeway and the service road is quite apparent in this photo. This interchange hasn't changed much since Hwy 400 first opened to traffic more than 60 years ago. See an Enlarged Photo Here. (Photograph taken on October 10, 2008 - © Cameron Bevers) 

Left - Like the entrance to northbound Hwy 400, the entrance to southbound Hwy 400 at the Canal Road Interchange in also stop-controlled. Traffic entering the
freeway at Canal Road has a long speed-change lane available before vehicles have to enter the main through lanes of the highway. See an
Enlarged Photo Here. (Photograph taken on October 10, 2008 - © Cameron Bevers) Right - Freeway exit from southbound Hwy 400 to Canal Road near Bradford. See an Enlarged Photo Here. (Photograph taken on October 10, 2008 - © Cameron Bevers) 

Left - Southbound Hwy 400 approaching the Canal Road Exit at Holland Marsh. See an
Enlarged Photo Here. (Photograph taken on October 10, 2008 - © Cameron Bevers) Right - Facing north along Hwy 400 approaching the Concession Road 5 Overpass near Bradford. See an Enlarged Photo Here. (Photograph taken on August 25, 2011 - © Cameron Bevers) 

Left - Facing south along Hwy 400 towards Holland Marsh from the West Gwillimbury Concession Road 5 Overpass near Bradford. A new interchange will be built on
Hwy 400 at this location in the coming years to service the rapidly growing urban area around Bradford. See an
Enlarged Photo Here. (Photograph taken on December 28, 2003 - © Cameron Bevers) Right - Facing north along Hwy 400 towards Hwy 88 from the West Gwillimbury Concession Road 5 Overpass near Bradford. See an Enlarged Photo Here. (Photograph taken on December 28, 2003 - © Cameron Bevers) 

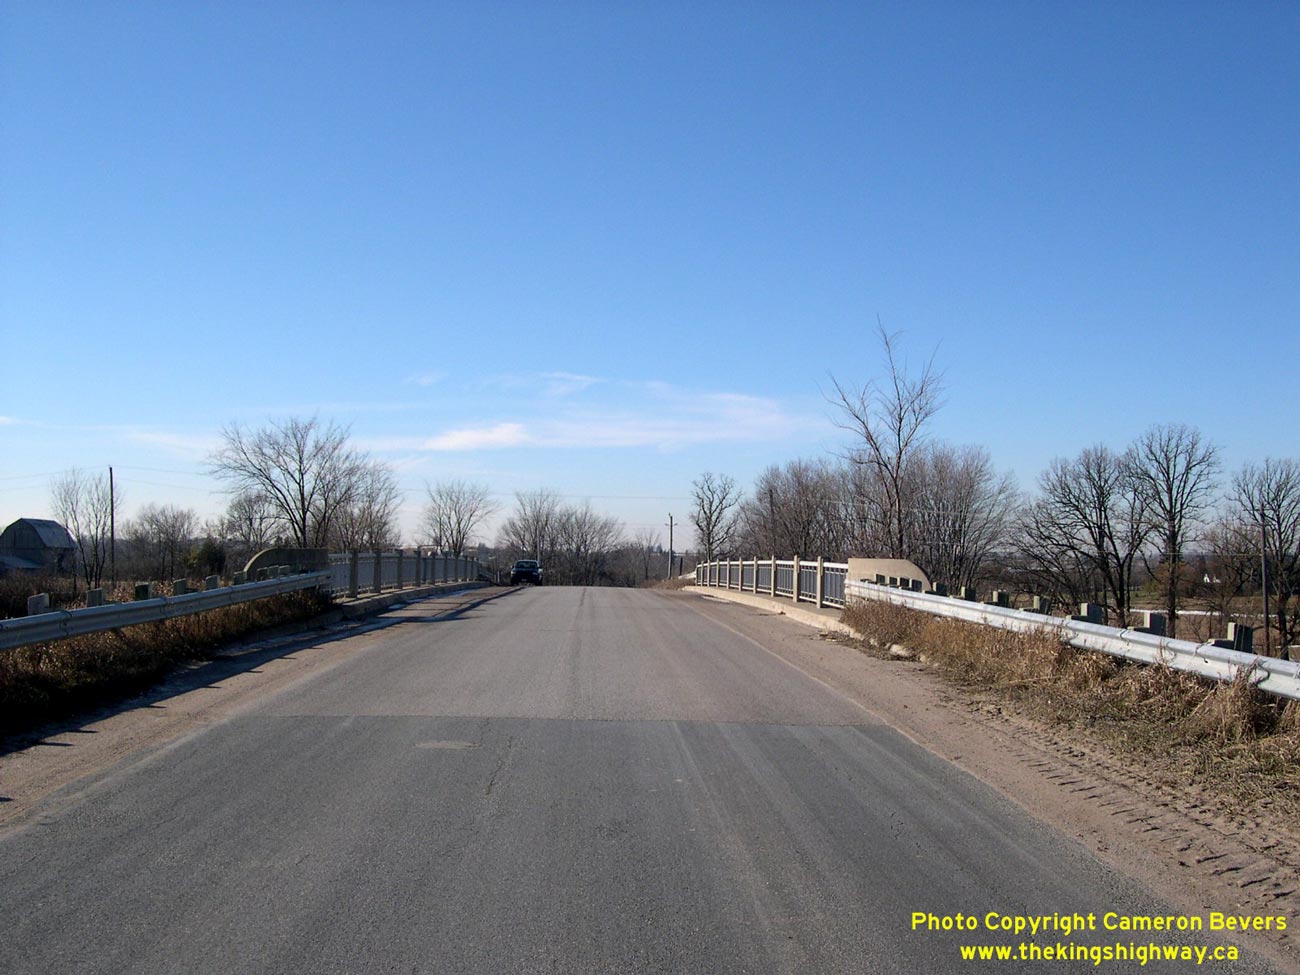
Left - Concrete rigid frame bridge over Hwy 400 at West Gwillimbury Concession Road 5. Structure completed in 1950. See an
Enlarged Photo Here. (Photograph taken on December 28, 2003 - © Cameron Bevers) Right - Looking west across the West Gwillimbury Concession Road 5 Overpass on Hwy 400. See an Enlarged Photo Here. (Photograph taken on December 28, 2003 - © Cameron Bevers) 

Left - Looking east across the West Gwillimbury Concession Road 5 Overpass on Hwy 400. See an
Enlarged Photo Here. (Photograph taken on December 28, 2003 - © Cameron Bevers) Right - Close-up of the embossed concrete provincial coat-of-arms on the Concession Road 5 Overpass on Hwy 400. See an Enlarged Photo Here. (Photograph taken on December 28, 2003 - © Cameron Bevers) 

Left - Northern side of the West Gwillimbury Concession Road 5 Overpass on Hwy 400 west of Bradford. See an
Enlarged Photo Here. (Photograph taken on October 17, 2010 - © Cameron Bevers) Right - Freeway exit sign for Simcoe Road 88 (Formerly Hwy 88) on northbound Hwy 400. Note the exit tab, which shows the exit number as "64 A-B". This interchange was originally built as a full eight-ramp cloverleaf. Apart from some minor ramp revisions over the years, the cloverleaf configuration remained in place right up until 2011, when the inner cloverleaf ramps were removed. See an Enlarged Photo Here. (Photograph taken on August 25, 2011 - © Cameron Bevers)
Continue on to King's Highway 400 Photos: Hwy 88 to Barrie
|
|---|
Links to Adjacent King's Highway Photograph Pages:
Back to King's Highway 169 Photos /
King's Highway 400 History /
On to King's Highway 401 Photos
Ontario Highway History - Main Menu / Back to List of Highways Website contents, photos & text © 2002-2026, Cameron
Bevers (Webmaster) - All Rights Reserved / Contact Me
|
|---|