
| 
| |
|
|
This page contains present day photos (Year 2000 to date) of Ontario's King's Highway 69, arranged by location from Estaire
northerly to the Highway 17 Interchange in Sudbury. All photographs displayed on this page were taken by the Webmaster (Cameron Bevers), unless specifically noted
otherwise. Click on any thumbnail to see a larger image!
Please note that all photographs displayed on this
website are protected by copyright. These photographs must not be reproduced, published,
electronically stored or copied, distributed, or posted onto other websites without
my written permission. If you want to use photos from this website, please
email me first for permission. Thank-you!
|
|---|
|
Page 11: Present Day King's Highway 69 Photographs (Estaire to Sudbury)
Above - Facing south along Old Wanup Road towards site of new overpass across Hwy 69 New (Photograph taken on April 16, 2005 - © Cameron Bevers) 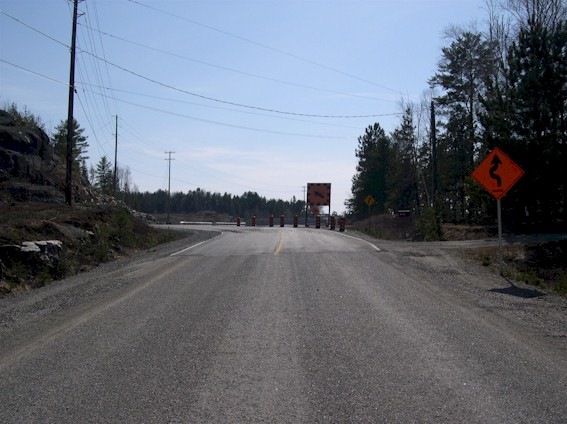

Left - Facing north along Old Wanup Road towards Hwy 69 New Overpass in April 2005. The Old Wanup Road is
the original 1937 alignment of Hwy 69 leading to the former site of the Burwash Prison. (Photograph taken on April 16, 2005 - © Cameron Bevers) Right - Advance overpass construction on Old Wanup Road (at right) at future Hwy 69 corridor (Photograph taken on April 16, 2005 - © Cameron Bevers) 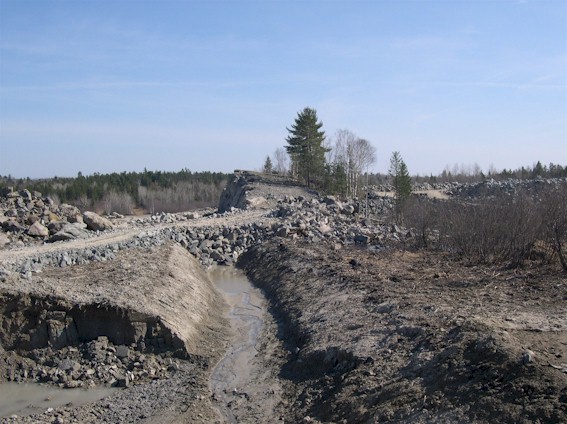
Left - Facing south along future Hwy 69 from site of Old Wanup Road Overpass (Spring 2005) (Photograph taken on April 16, 2005 - © Cameron Bevers) Right - Facing south along future Hwy 69 from Old Wanup Road Overpass (Summer 2006) (Photograph taken on July 3, 2006 - © Cameron Bevers) 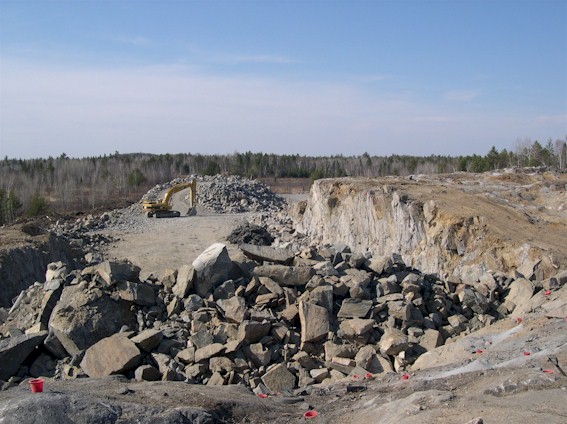
Left - Facing north along future Hwy 69 from site of Old Wanup Road Overpass (Spring 2005) (Photograph taken on April 16, 2005 - © Cameron Bevers) Right - Facing north along future Hwy 69 from Old Wanup Road Overpass (Summer 2006) (Photograph taken on July 3, 2006 - © Cameron Bevers) 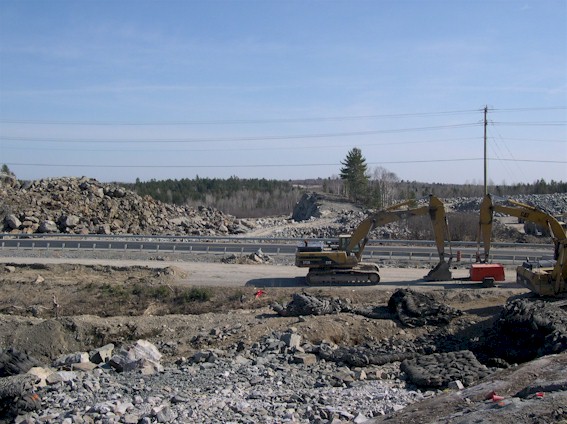
Left - Site of future Old Wanup Road Overpass in April 2005. The blasting and heavy grading in
the background is for the future four-lane Hwy 69, which is scheduled to open in 2009. (Photograph taken on April 16, 2005 - © Cameron Bevers) Right - Facing north towards Sudbury along current Hwy 69 near Dill Lake Road (Photograph taken on April 16, 2005 - © Cameron Bevers) 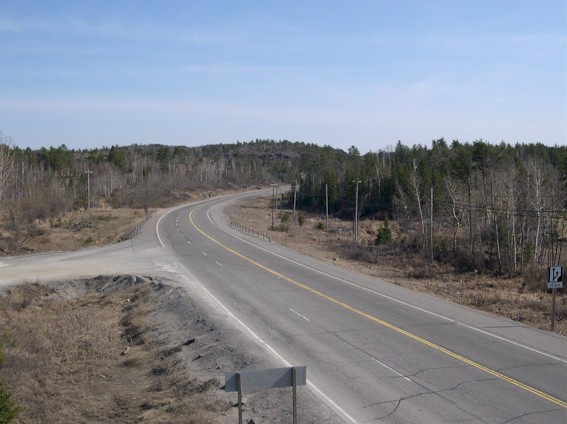
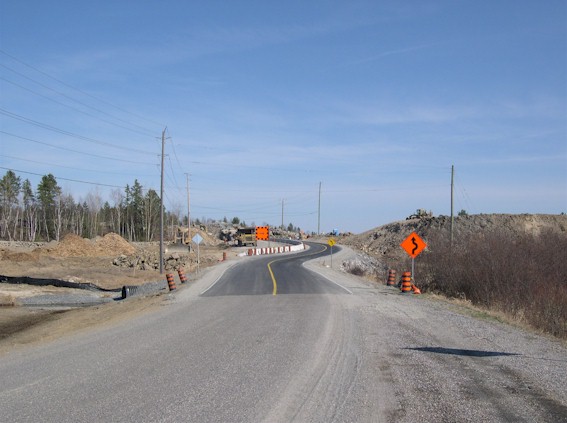
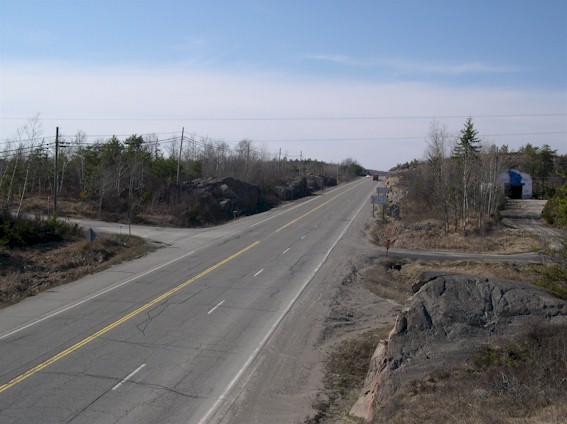
Left - Facing south towards Estaire along current Hwy 69 near Dill Lake Road (Photograph taken on April 16, 2005 - © Cameron Bevers) Right - View of current Hwy 69, 1 km south of Crown Ridge. Once the new four-lane Hwy 69 is completed in 2009, this old alignment of Hwy 69 will be diverted towards the new highway, where it will end at a trumpet interchange. (Photograph taken on April 16, 2005 - © Cameron Bevers) 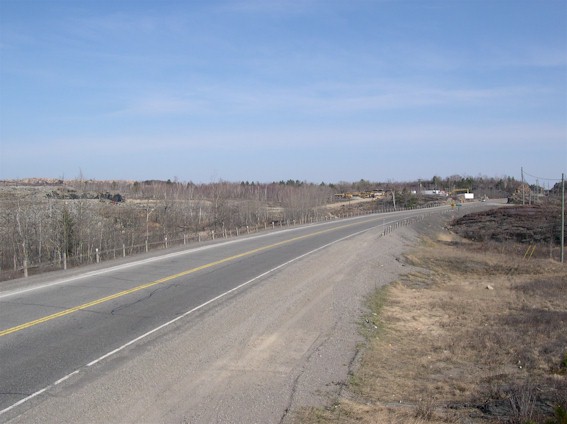
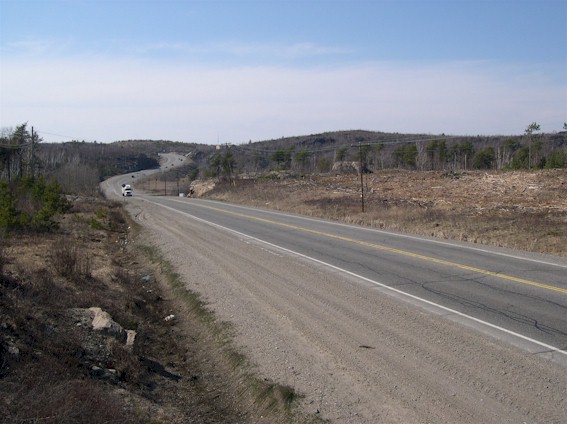
Left - Facing south along current Hwy 69 south of Crown Ridge (Photograph taken on April 16, 2005 - © Cameron Bevers) Right - Facing north along current Hwy 69 south of Crown Ridge (Photograph taken on April 16, 2005 - © Cameron Bevers) 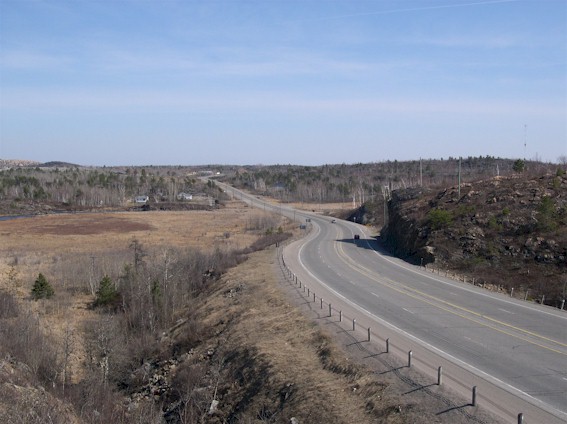
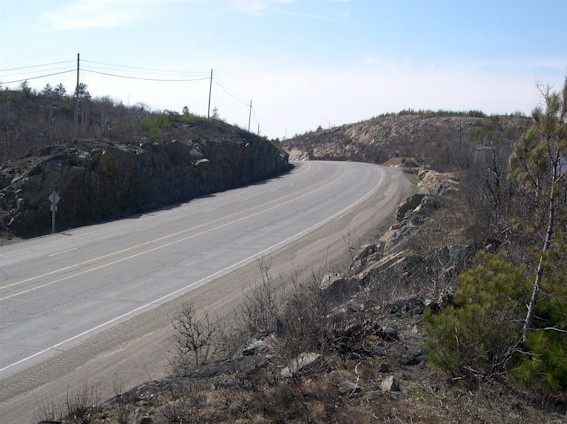
Left - Facing south along Hwy 69 from Crown Ridge showing the end of the existing four-lane
highway. This undivided four-lane cross section extends southerly from Sudbury for about 6 km. (Photograph taken on April 16, 2005 - © Cameron Bevers) Right - Facing north towards Sudbury along the undivided four-lane Hwy 69 at Crown Ridge (Photograph taken on April 16, 2005 - © Cameron Bevers) 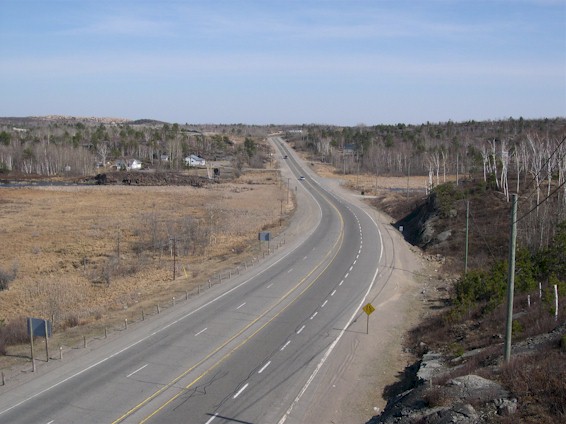
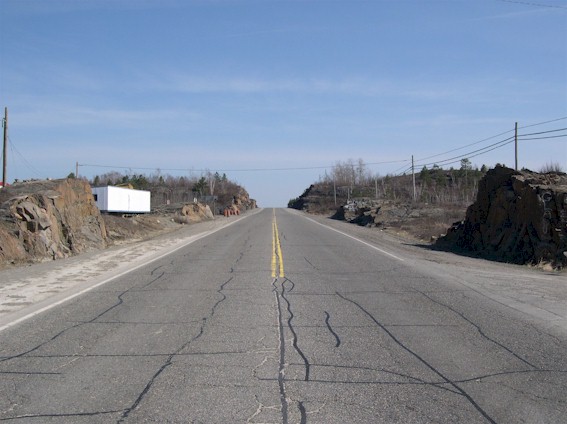
Left - Hwy 69 facing south from Crown Ridge. Note the construction site for Hwy 69 New in the
distance. The MTO will be reconstructing this portion of Hwy 69 over the next few years as
part of their long-term plan to four-lane Hwy 69 from Parry Sound to Sudbury. Hwy 69 New will
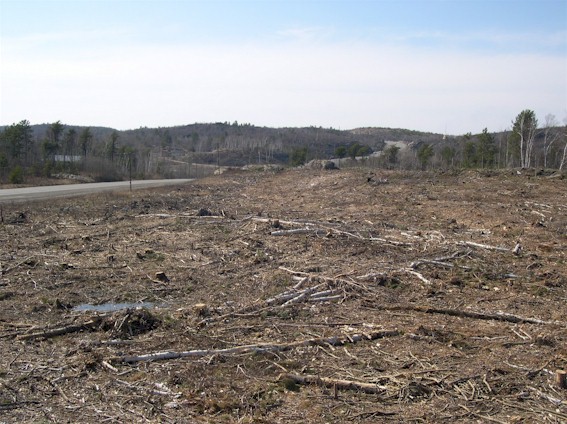
meet the existing highway at the bottom of this ridge just beyond the curve in the highway. (Photograph taken on April 16, 2005 - © Cameron Bevers) Right - Advance right-of-way clearing for Hwy 69 New facing north towards the existing Hwy 69 alignment, just south of Crown Ridge (Photograph taken on April 16, 2005 - © Cameron Bevers) 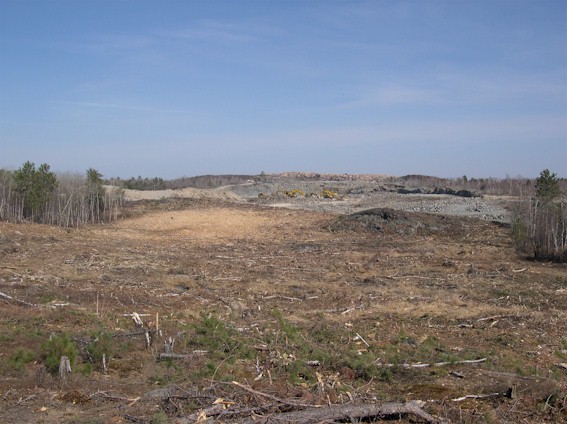
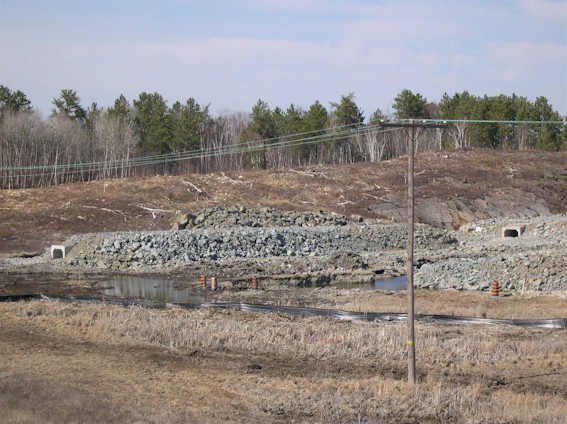
Left - Cleared right-of-way for Hwy 69 New south of Sudbury in April 2005. Note the heavy
grading and rock blasting taking place in the background. A new trumpet interchange will be built there shortly. (Photograph taken on April 16, 2005 - © Cameron Bevers) Right - A pair of new concrete culverts on Hwy 69 New south of Sudbury. This portion of Hwy 69 New is scheduled to open in mid-2009, bypassing about 20 km of the winding current highway. (Photograph taken on April 16, 2005 - © Cameron Bevers) 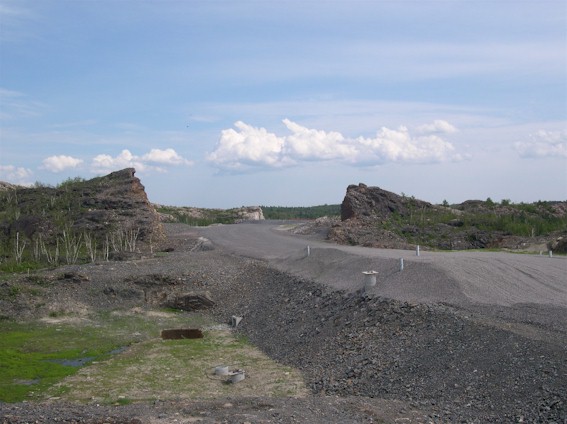
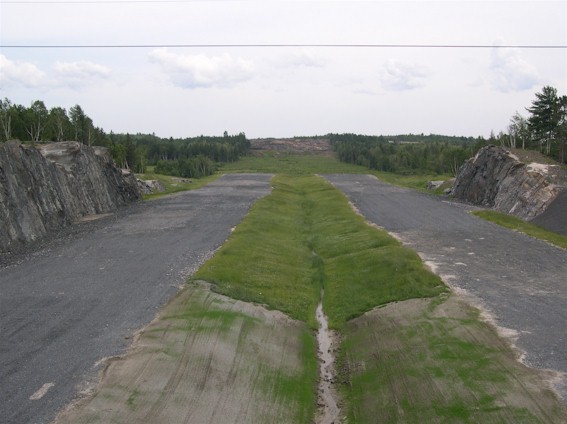
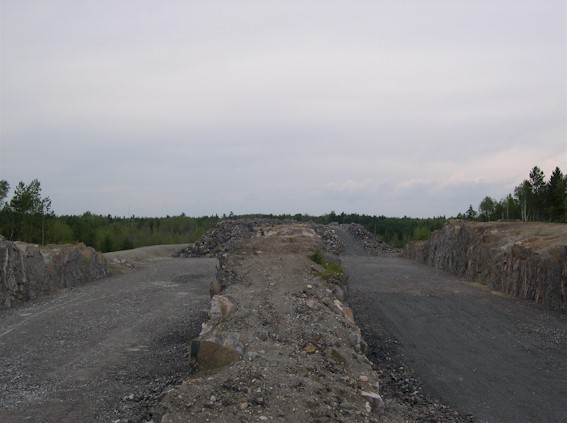
Left - Facing south along Hwy 69 New just south of the Crown Ridge trumpet interchange. Note the excess gravel
piled on top of the graded roadway above the culvert in the foreground. This is a "loading" process which is done to encourage the fill
around the culvert to settle and compact prior to the final grading and top-course application stages of the construction
project. Fills surrounding culverts are particularly susceptible to sinking over time, which can be very difficult to
rectify once the highway is open to traffic. This fill loading process reduces the probability of settlement and the
associated damage to the completed roadway. (Photograph taken on July 3, 2006 - © Cameron Bevers) Right - Facing north along Hwy 69 New just south of the Crown Ridge trumpet interchange (Photograph taken on July 3, 2006 - © Cameron Bevers) 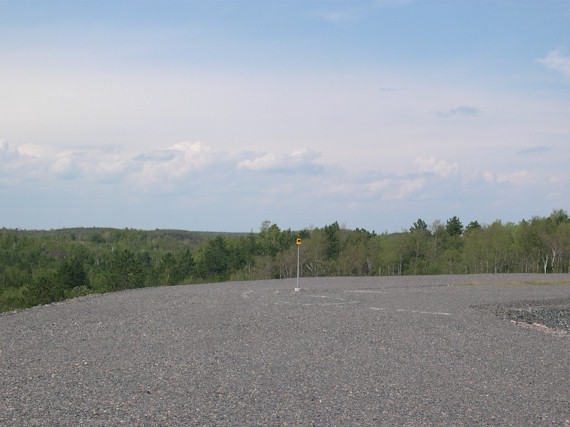
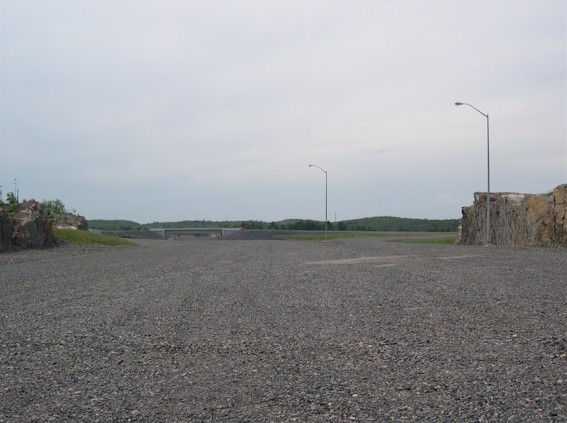
Left - Graded ramps for the trumpet interchange at the end of Old Hwy 69 at the new four-lane highway Hwy 69. Note the warning beacon
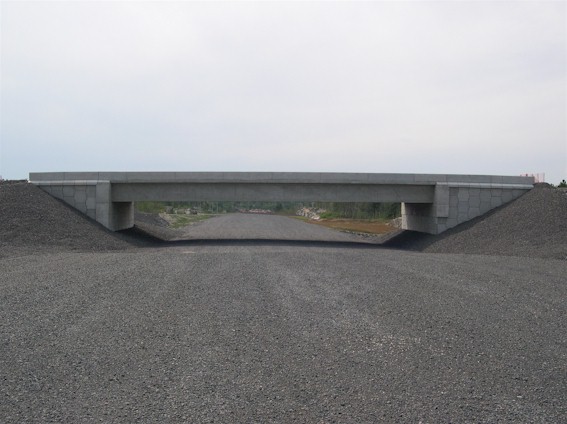
placed in the centre of the graded roadway to mark the beginning of the median between these future ramps. (Photograph taken on July 3, 2006 - © Cameron Bevers) Right - Overpass at the trumpet interchange which will eventually carry traffic from Old Hwy 69 onto the new four-lane Hwy 69 (Photograph taken on July 3, 2006 - © Cameron Bevers) 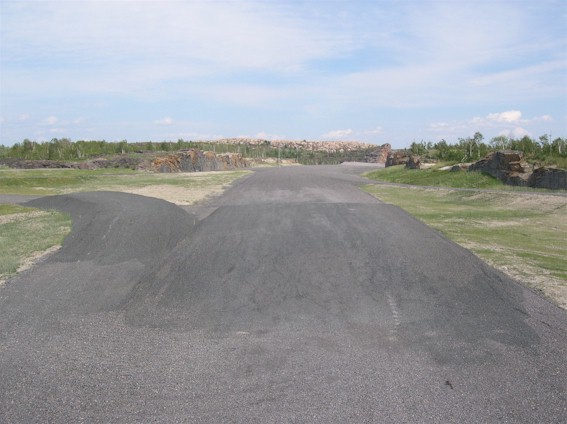

Left - Facing south along Hwy 69 New from the trumpet interchange overpass near Crown Ridge (Photograph taken on July 3, 2006 - © Cameron Bevers) Right - Facing north along Hwy 69 New from the trumpet interchange overpass near Crown Ridge (Photograph taken on July 3, 2006 - © Cameron Bevers) 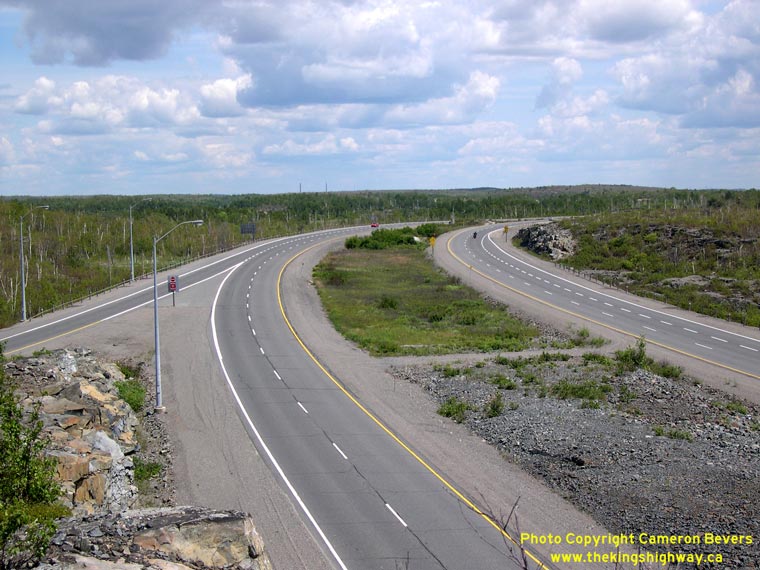

Left - Facing east along Hwy 17 towards Coniston from the Hwy 69 Interchange in Sudbury. The route of Hwy 17 briefly widens from a two-lane undivided highway
into a four-lane divided freeway as the highway passes through the Hwy 69 Interchange. See an
Enlarged Photo Here. (Photograph taken on July 2, 2007 - © Cameron Bevers) Right - Facing southwest at the Hwy 17 & Hwy 69 Interchange in Sudbury. The ramps at this interchange are in a "Parclo A-2" configuration. See an Enlarged Photo Here. (Photograph taken on July 2, 2007 - © Cameron Bevers) 

Left - Facing west along Hwy 17 at the Hwy 69 Interchange in Sudbury. Hwy 69 passes underneath Hwy 17 and becomes a city street immediately north of the
interchange. Heading south however, Hwy 69 is a high-speed limited-access highway all the way to the Parry Sound area. Some sections of Hwy 69 south of Sudbury have
recently been converted into a freeway with full access control. See an Enlarged Photo Here. (Photograph taken on July 2, 2007 - © Cameron Bevers) Right - Sign marking the current northern terminus of Hwy 69 at the Hwy 17 Interchange in Sudbury. Historically, the route of Hwy 69 continued north through Sudbury to Capreol. However, the route of Hwy 69 leading north from this point to Capreol was transferred over to the newly-formed Regional Municipality of Sudbury in the late 1970s. See an Enlarged Photo Here. (Photograph taken on July 2, 2007 - © Cameron Bevers) 

Left - Overhead guide signs on southbound Hwy 69 at the Hwy 17 Interchange in Sudbury. Traffic bound for North Bay must follow the ramp for Hwy 17 East at
right, while the through lanes carry southbound traffic to Parry Sound via Hwy 69, and ultimately, to Toronto. Hwy 69 is the only road leading south from Sudbury
towards Southern Ontario. Until the completion of Hwy 69 in the 1950s, southbound traffic had to travel along Hwy 17 to North Bay, then take Hwy 11 into Southern
Ontario. See an Enlarged Photo Here. (Photograph taken on July 2, 2007 - © Cameron Bevers) Right - The nearby route of Hwy 144 to Timmins is signed via Hwy 17 West from the Hwy 69 Interchange. See an Enlarged Photo Here. (Photograph taken on July 2, 2007 - © Cameron Bevers) 

Left - Sign marking the Hwy 69 Interchange on eastbound Hwy 17 in Sudbury. See an
Enlarged Photo Here. (Photograph taken on July 2, 2007 - © Cameron Bevers) Right - Facing south along Hwy 69 from the eastbound lanes of Hwy 17 in Sudbury. See an Enlarged Photo Here. (Photograph taken on July 2, 2007 - © Cameron Bevers) 

Left - The two traffic signals at the Hwy 17 Interchange along with another immediately to the south are actually the only signalized intersections located on
Hwy 69. The only other traffic signal along Hwy 69 outside of Sudbury was located at Bowes Street in Parry Sound, but the signalized intersection was bypassed in 2001
when the new Parry Sound Bypass was completed. See an Enlarged Photo Here. (Photograph taken on July 2, 2007 - © Cameron Bevers) Right - Facing east along Hwy 17 towards the Hwy 69 Interchange in Sudbury. See an Enlarged Photo Here. (Photograph taken on July 2, 2007 - © Cameron Bevers) 

Left - The Sudbury Southwest Bypass was completed during the 1970s, as part of a three-stage multi-year plan to divert long distance through traffic away from
Downtown Sudbury. This view shows the bypassed former eastern terminus of the Sudbury Southwest Bypass at Hwy 69, which was abandoned in 1994 when the new interchange
at Hwy 69 was completed. See an Enlarged Photo Here. (Photograph taken on July 2, 2007 - © Cameron Bevers) Right - Abandoned section of the Sudbury Southwest Bypass, facing west. Part of the former bypass lies buried under the new westbound lanes of Hwy 17. See an Enlarged Photo Here. (Photograph taken on July 2, 2007 - © Cameron Bevers) 

Left - As originally constructed, the Sudbury Southwest Bypass curved sharply to the left at this point and joined Hwy 69 at Ida Street. When the Sudbury
Southeast Bypass was constructed in the 1990s, the old intersection at Hwy 69 and Ida Street was bypassed and the grade-separated interchange we see today was opened
to traffic. See an Enlarged Photo Here. (Photograph taken on July 2, 2007 - © Cameron Bevers) Right - Facing west along the Sudbury Southwest Bypass (Hwy 17) from the Hwy 69 Interchange. The four lane divided freeway section of Hwy 17 converges into a single two-lane highway a short distance west of the Hwy 69 Interchange. See an Enlarged Photo Here. (Photograph taken on July 2, 2007 - © Cameron Bevers)
More King's Highway 69 Photographs Coming Soon!
|
|---|
Links to Adjacent King's Highway Photograph Pages:
Back to King's Highway 68 Photos /
King's Highway 69 History /
On to King's Highway 70 Photos
Ontario Highway History - Main Menu / Back to List of Highways Website contents, photos & text © 2002-2026, Cameron
Bevers (Webmaster) - All Rights Reserved / Contact Me
|
|---|