
| 
| |
|
|
This page contains photographs of British Columbia's Highway 97D, arranged by location from west to east. All photographs
displayed on this page were taken by the Webmaster (Cameron Bevers). To view photos of other British Columbia Highways, please select a highway number listed on the
British Columbia Photograph Index Page. Click on any thumbnail to see a larger image!
Please note that all photographs displayed on this website are protected by copyright. These photographs must not be
reproduced, published, electronically stored or copied, distributed, or posted onto other websites without my written permission. If you want to use photos from this
website, please email me first for permission. Thank-you!
|
|---|
|
BC Highway 97D (Meadow Creek Road) Photographs


Left - Distance guide sign on southbound Hwy 97C at the Hwy 97D Junction near Logan Lake. See an
Enlarged Photo Here. (Photograph taken on May 31, 2017 - © Cameron Bevers) Right - Green junction guide sign on northbound Hwy 97C marking the upcoming Hwy 97D Junction near Logan Lake. See an Enlarged Photo Here. (Photograph taken on June 4, 2015 - © Cameron Bevers) 

Left - Facing south along Hwy 97C towards Merritt from the Hwy 97D Junction. See an
Enlarged Photo Here. (Photograph taken on June 4, 2015 - © Cameron Bevers) Right - Green guide signs on northbound Hwy 97C approaching the Hwy 97D Junction. Motorists wishing to continue north along Hwy 97C towards Ashcroft and Cache Creek must turn left at the crossroads. Hwy 97D begins at this highway junction at right, and heads east through Logan Lake. Ultimately, Hwy 97D connects to the Coquihalla Highway (Hwy 5) southwest of Kamloops. Although it is not a highway, Tunkwa Lake Road continues straight ahead and connects to the Trans-Canada Highway (Hwy 1 & Hwy 97) just east of Savona. See an Enlarged Photo Here. (Photograph taken on June 4, 2015 - © Cameron Bevers) 
Left - Green guide signs on westbound Hwy 97D approaching the Hwy 97C Junction. Hwy 97D comes to an end at the crossroads. Motorists wishing to continue north
along Hwy 97C towards Ashcroft and Cache Creek can continue straight through, but motorists wishing to head south on Hwy 97C towards Merritt must turn left. See an
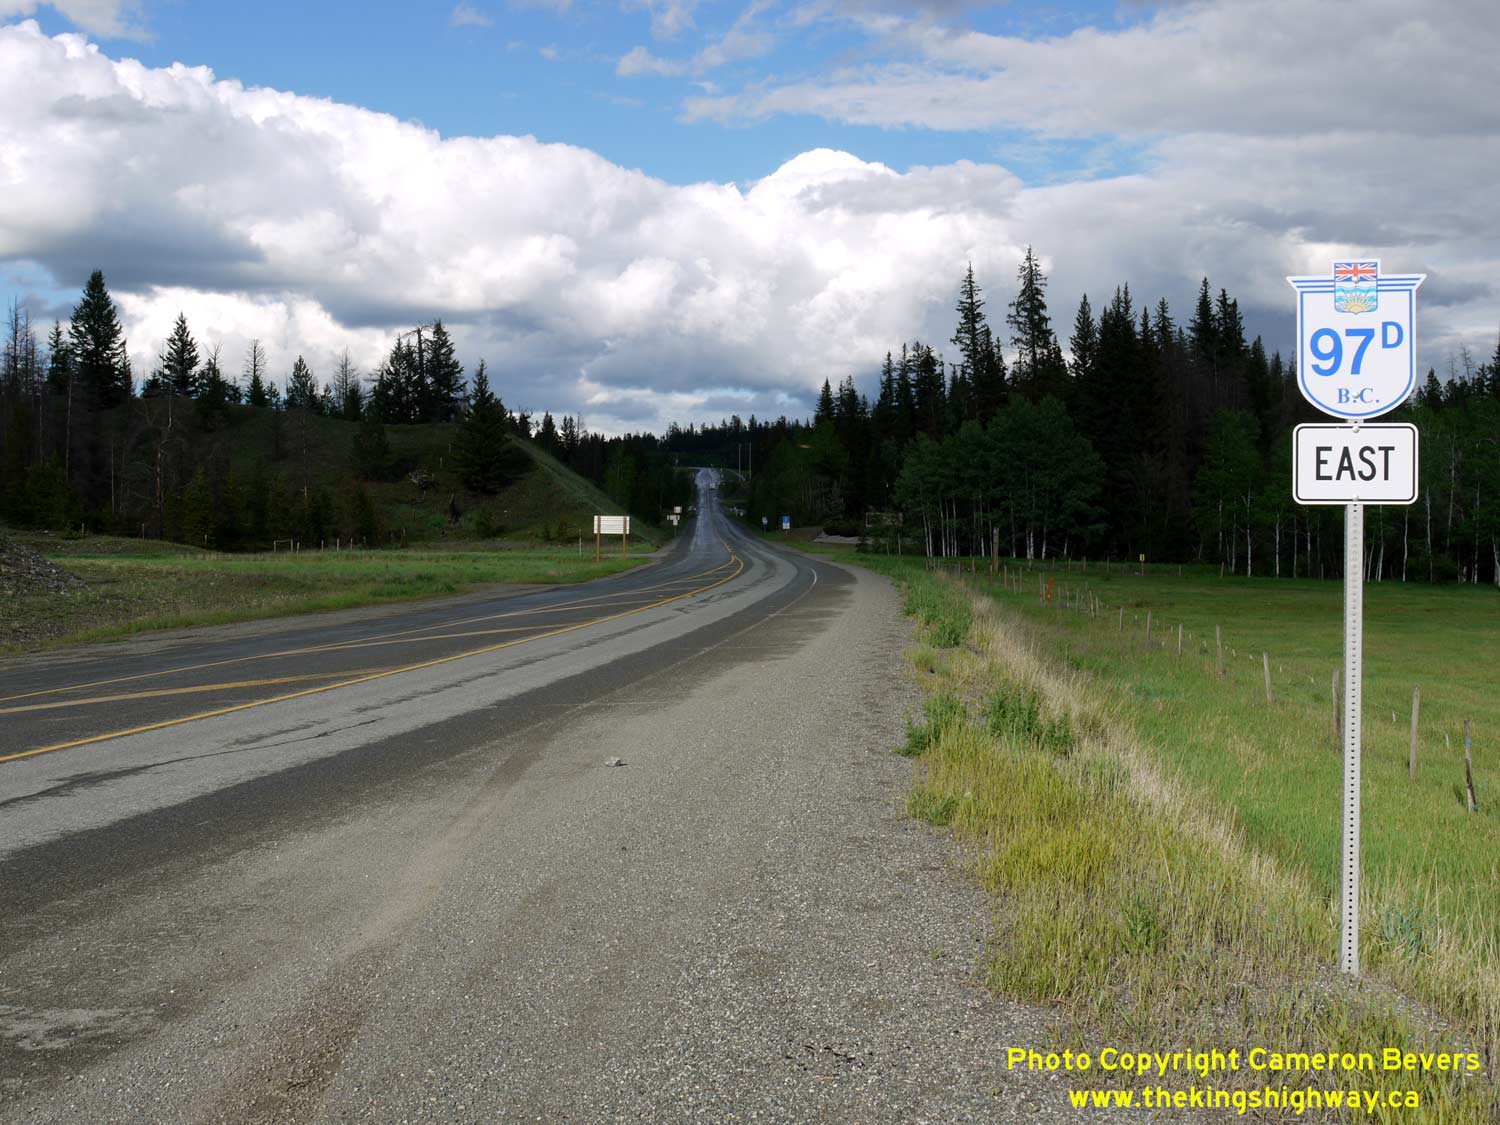
Enlarged Photo Here. (Photograph taken on May 31, 2017 - © Cameron Bevers) Right - Facing east along Hwy 97D towards Logan Lake from the Hwy 97C Junction. The Logan Lake Town Centre lies about 1 km ahead. Hwy 97D is somewhat of an anomaly, as it does not connect to its parent route (Hwy 97) at all. It is one of five highway routes in British Columbia bearing the Hwy 97 route number (Hwy 97, Hwy 97A, Hwy 97B, Hwy 97C & Hwy 97D). See an Enlarged Photo Here. (Photograph taken on June 4, 2015 - © Cameron Bevers) 

Left - Facing north along Hwy 97C towards Ashcroft from the Hwy 97D Junction near Logan Lake. See an
Enlarged Photo Here. (Photograph taken on May 31, 2017 - © Cameron Bevers) Right - Approaching the Hwy 97D Junction on Hwy 97C, facing south. Hwy 97C turns off and heads south to Merritt at the crossroads just ahead, while Hwy 97D continues straight ahead towards Logan Lake and the Coquihalla Highway (Hwy 5). See an Enlarged Photo Here. (Photograph taken on May 31, 2017 - © Cameron Bevers) 

Left - Green guide signs on southbound Hwy 97C approaching the Hwy 97D Junction near Logan Lake. From here, Hwy 97C turns right and continues south towards
Merritt, while Hwy 97D continues straight ahead towards Logan Lake. See an
Enlarged Photo Here. (Photograph taken on May 31, 2017 - © Cameron Bevers) Right - Green junction guide sign on southbound Hwy 97C marking the upcoming Hwy 97D Junction near Logan Lake. See an Enlarged Photo Here. (Photograph taken on May 31, 2017 - © Cameron Bevers) 

Left - Distance guide sign on northbound Hwy 97C at the Hwy 97D Junction near Logan Lake. See an
Enlarged Photo Here. (Photograph taken on June 4, 2015 - © Cameron Bevers) Right - Approaching Logan Lake on Hwy 97D, facing east. See an Enlarged Photo Here. (Photograph taken on June 4, 2015 - © Cameron Bevers) 

Left - View of Hwy 97D in Logan Lake, facing west. Logan Lake is a "new" town, which was built to service a large copper mine and other resource-based
industries in the area. It is the only town located on the relatively short route of Hwy 97D. See an
Enlarged Photo Here. (Photograph taken on May 31, 2017 - © Cameron Bevers) Right - Facing west along Hwy 97D approaching Logan Lake. See an Enlarged Photo Here. (Photograph taken on May 31, 2017 - © Cameron Bevers) 

Left - Facing east along Hwy 97D, about 12 km east of Logan Lake. See an
Enlarged Photo Here. (Photograph taken on May 31, 2017 - © Cameron Bevers) Right - Hwy 97D and the Coquihalla Highway (Hwy 5) run parallel to one another for about 3 km southwest of the Hwy 5 & Hwy 97D Interchange. See an Enlarged Photo Here. (Photograph taken on May 31, 2017 - © Cameron Bevers) 
Above - Distance guide sign on westbound Hwy 97D near the Coquihalla Highway (Hwy 5) Interchange southwest of Kamloops. See an
Enlarged Photo Here. (Photograph taken on May 31, 2017 - © Cameron Bevers) |
|---|
Links to Adjacent BC Highway Photograph Pages:
Back to BC Highway 97C Photos /
British Columbia Highways Photo Index /
On to BC Highway 99 Photos
Ontario Highway History - Main Menu / Vacation Highway Photos - Main Menu Website contents, photos & text © 2002-2026, Cameron
Bevers (Webmaster) - All Rights Reserved / Contact Me
|
|---|