
| 
| |
|
|
This page contains present day photos (Year 2000 to date) of Ontario's King's Highway 118, arranged by location from
Bracebridge easterly to Carnarvon. All photographs displayed on this page were taken by the Webmaster (Cameron Bevers), unless specifically noted otherwise. Click on
any thumbnail to see a larger image!
Please note that all photographs displayed on this
website are protected by copyright. These photographs must not be reproduced, published,
electronically stored or copied, distributed, or posted onto other websites without
my written permission. If you want to use photos from this website, please
email me first for permission. Thank-you!
|
|---|
|
Page 2: Present Day King's Highway 118 Photographs (Bracebridge to Carnarvon)
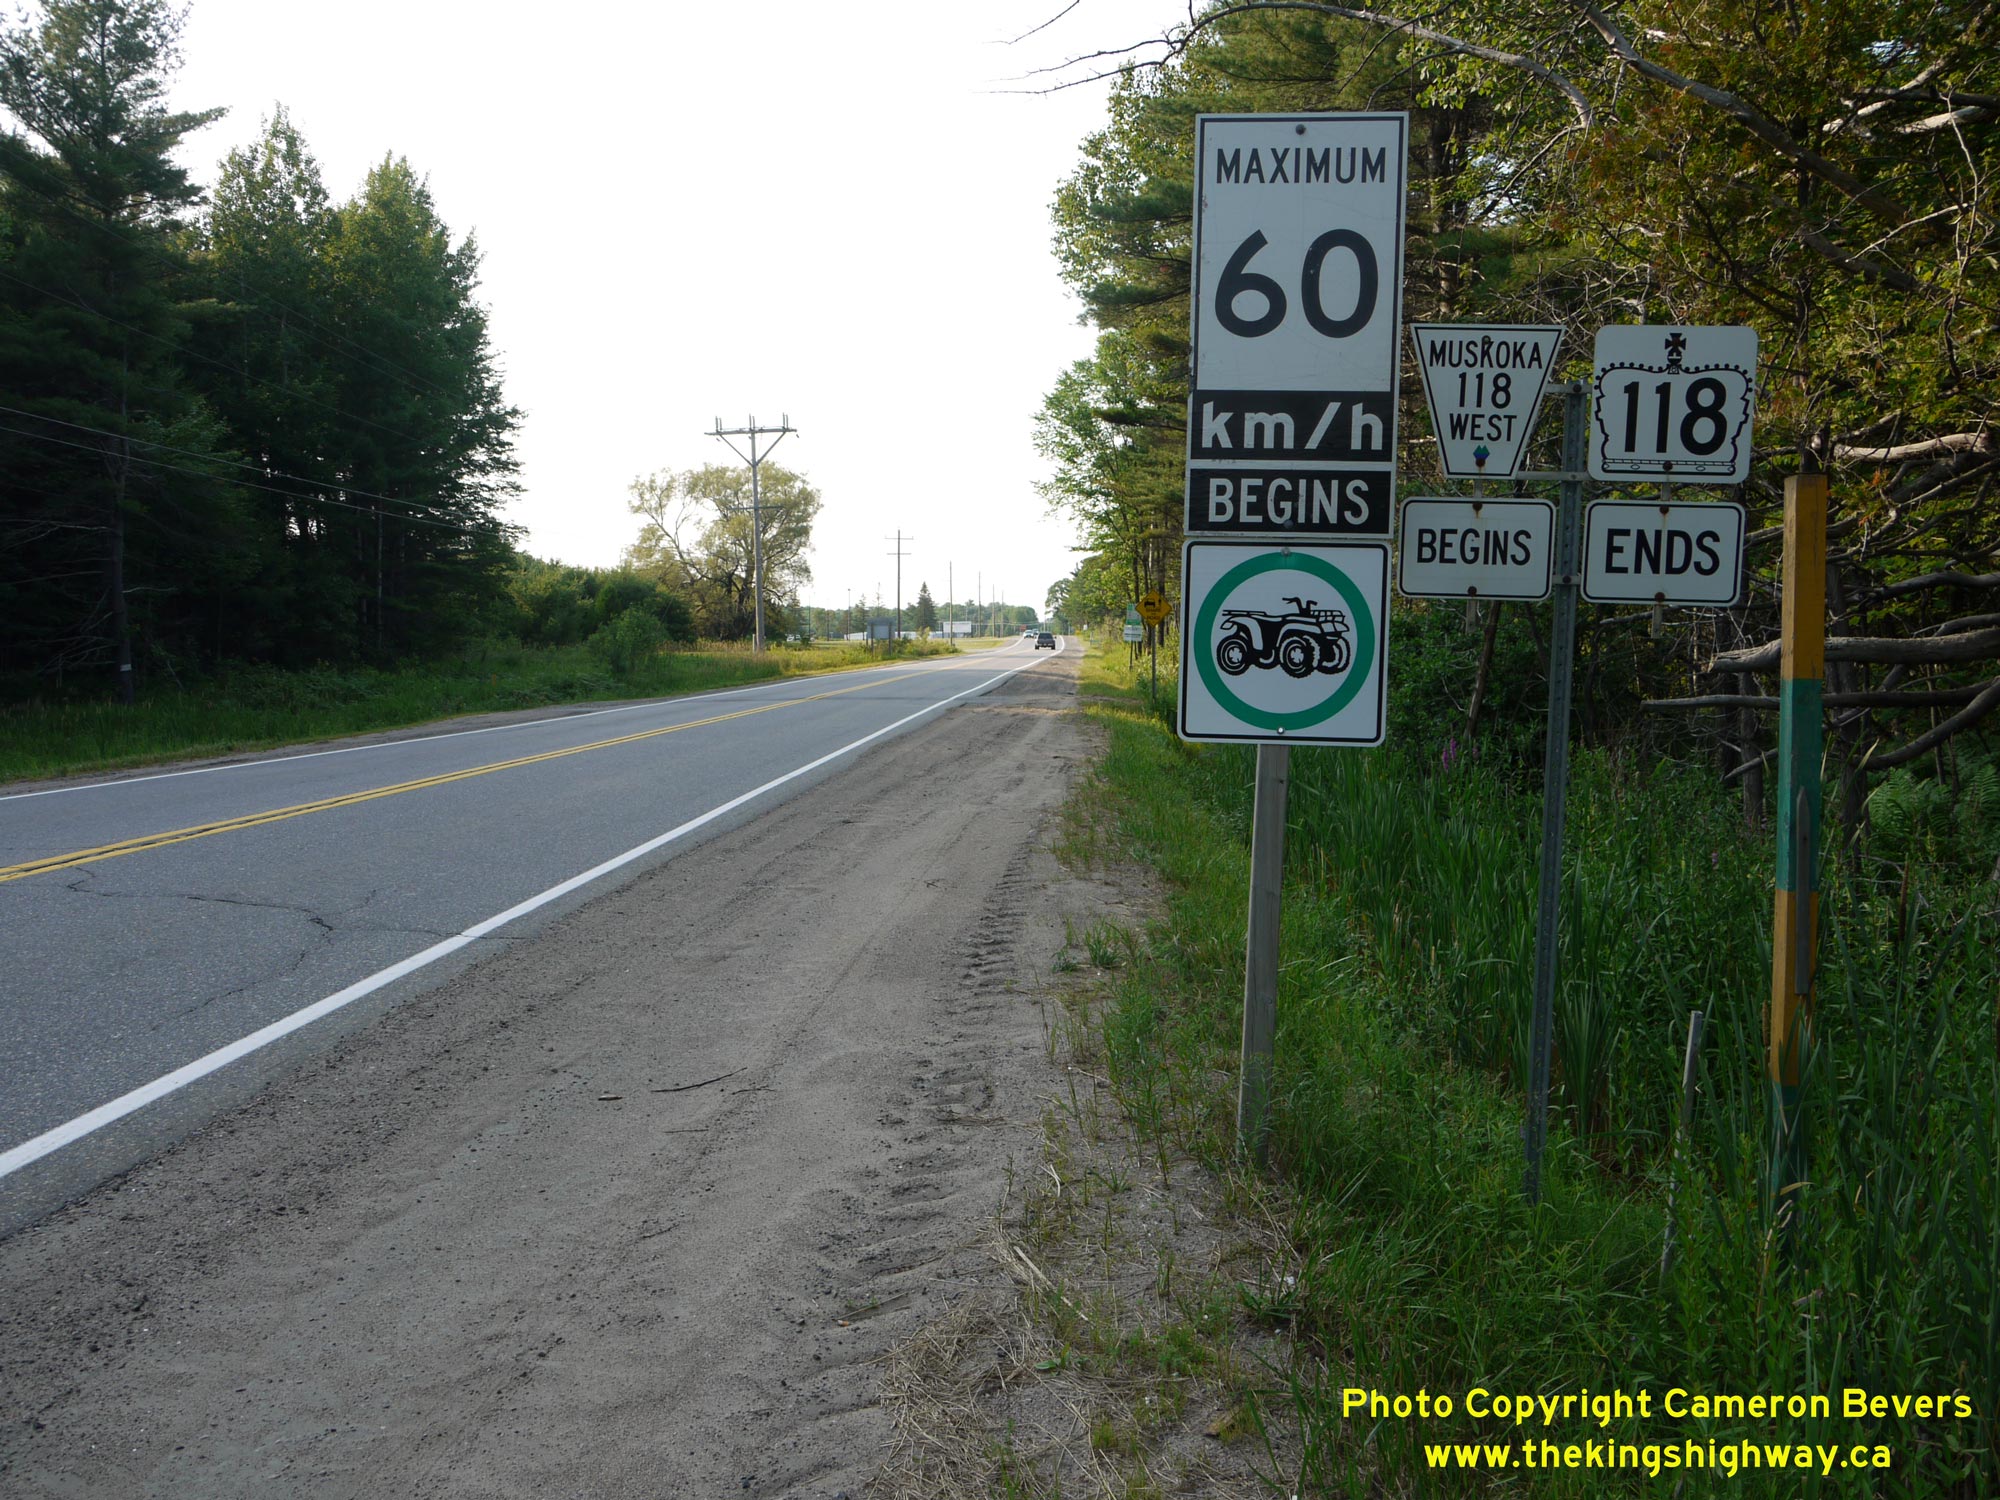
Left - Junction sign assembly marking the current western terminus of King's Highway 118 in Bracebridge. Provincial jurisdiction over the highway ends at this
point, located just west of the Hwy 11 Interchange. Hwy 118 continues northerly into Bracebridge's urban centre as a municipal highway (Muskoka Road 118 West). See an
Enlarged Photo Here. (Photograph taken on July 11, 2015 - © Cameron Bevers) Right - Approaching the western terminus of King's Highway 118. West of this point, Hwy 118 is a municipal highway operated by the District Municipality of Muskoka. Historically, Hwy 118 west of Bracebridge was also a provincial highway. However, provincial jurisdiction over Hwy 118 was transferred to Muskoka District in the late 1990s. See an Enlarged Photo Here. (Photograph taken on July 11, 2015 - © Cameron Bevers) 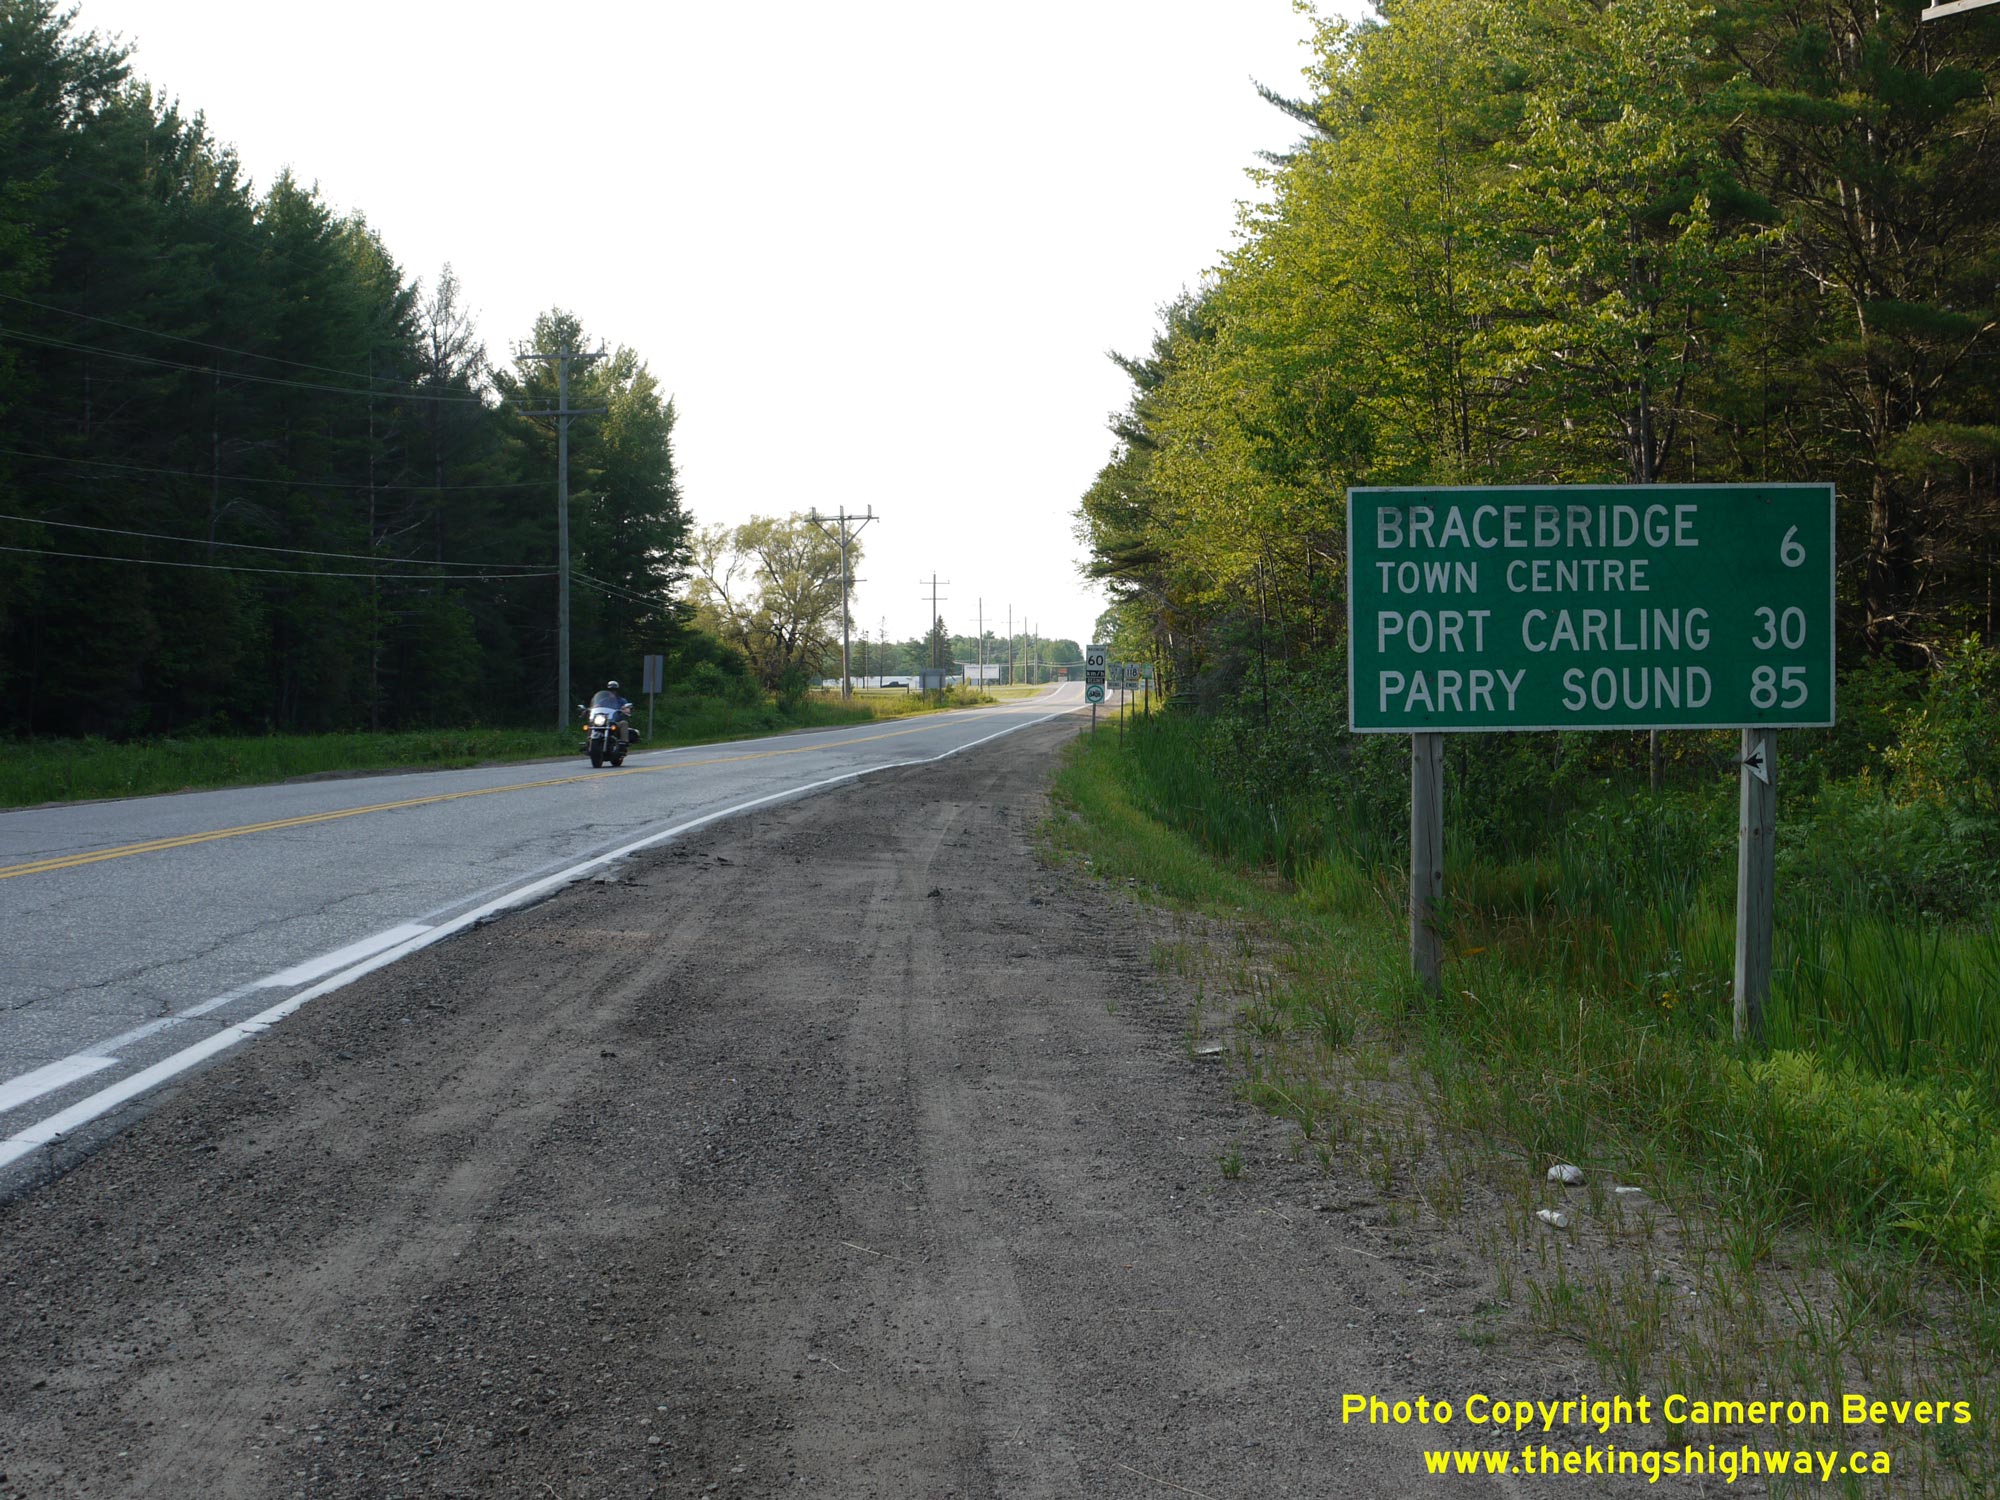
Left - Distance guide sign on westbound Hwy 118 near the Hwy 11 Interchange in Bracebridge, showing the distances to Downtown Bracebridge, Port Carling and
Parry Sound. Motorists heading to Parry Sound should note that the distance marked on this sign is via a route around the southern and western sides of Lake Joseph,
via Port Carling, MacTier and Gordon Bay. Motorists can also reach Parry Sound around the eastern side of the Muskoka Lakes via Rosseau by following Muskoka Road 4,
Muskoka Road 35 and Hwy 141. While this eastern route is marginally shorter in terms of distance, it is a somewhat slower route for travel time. See an
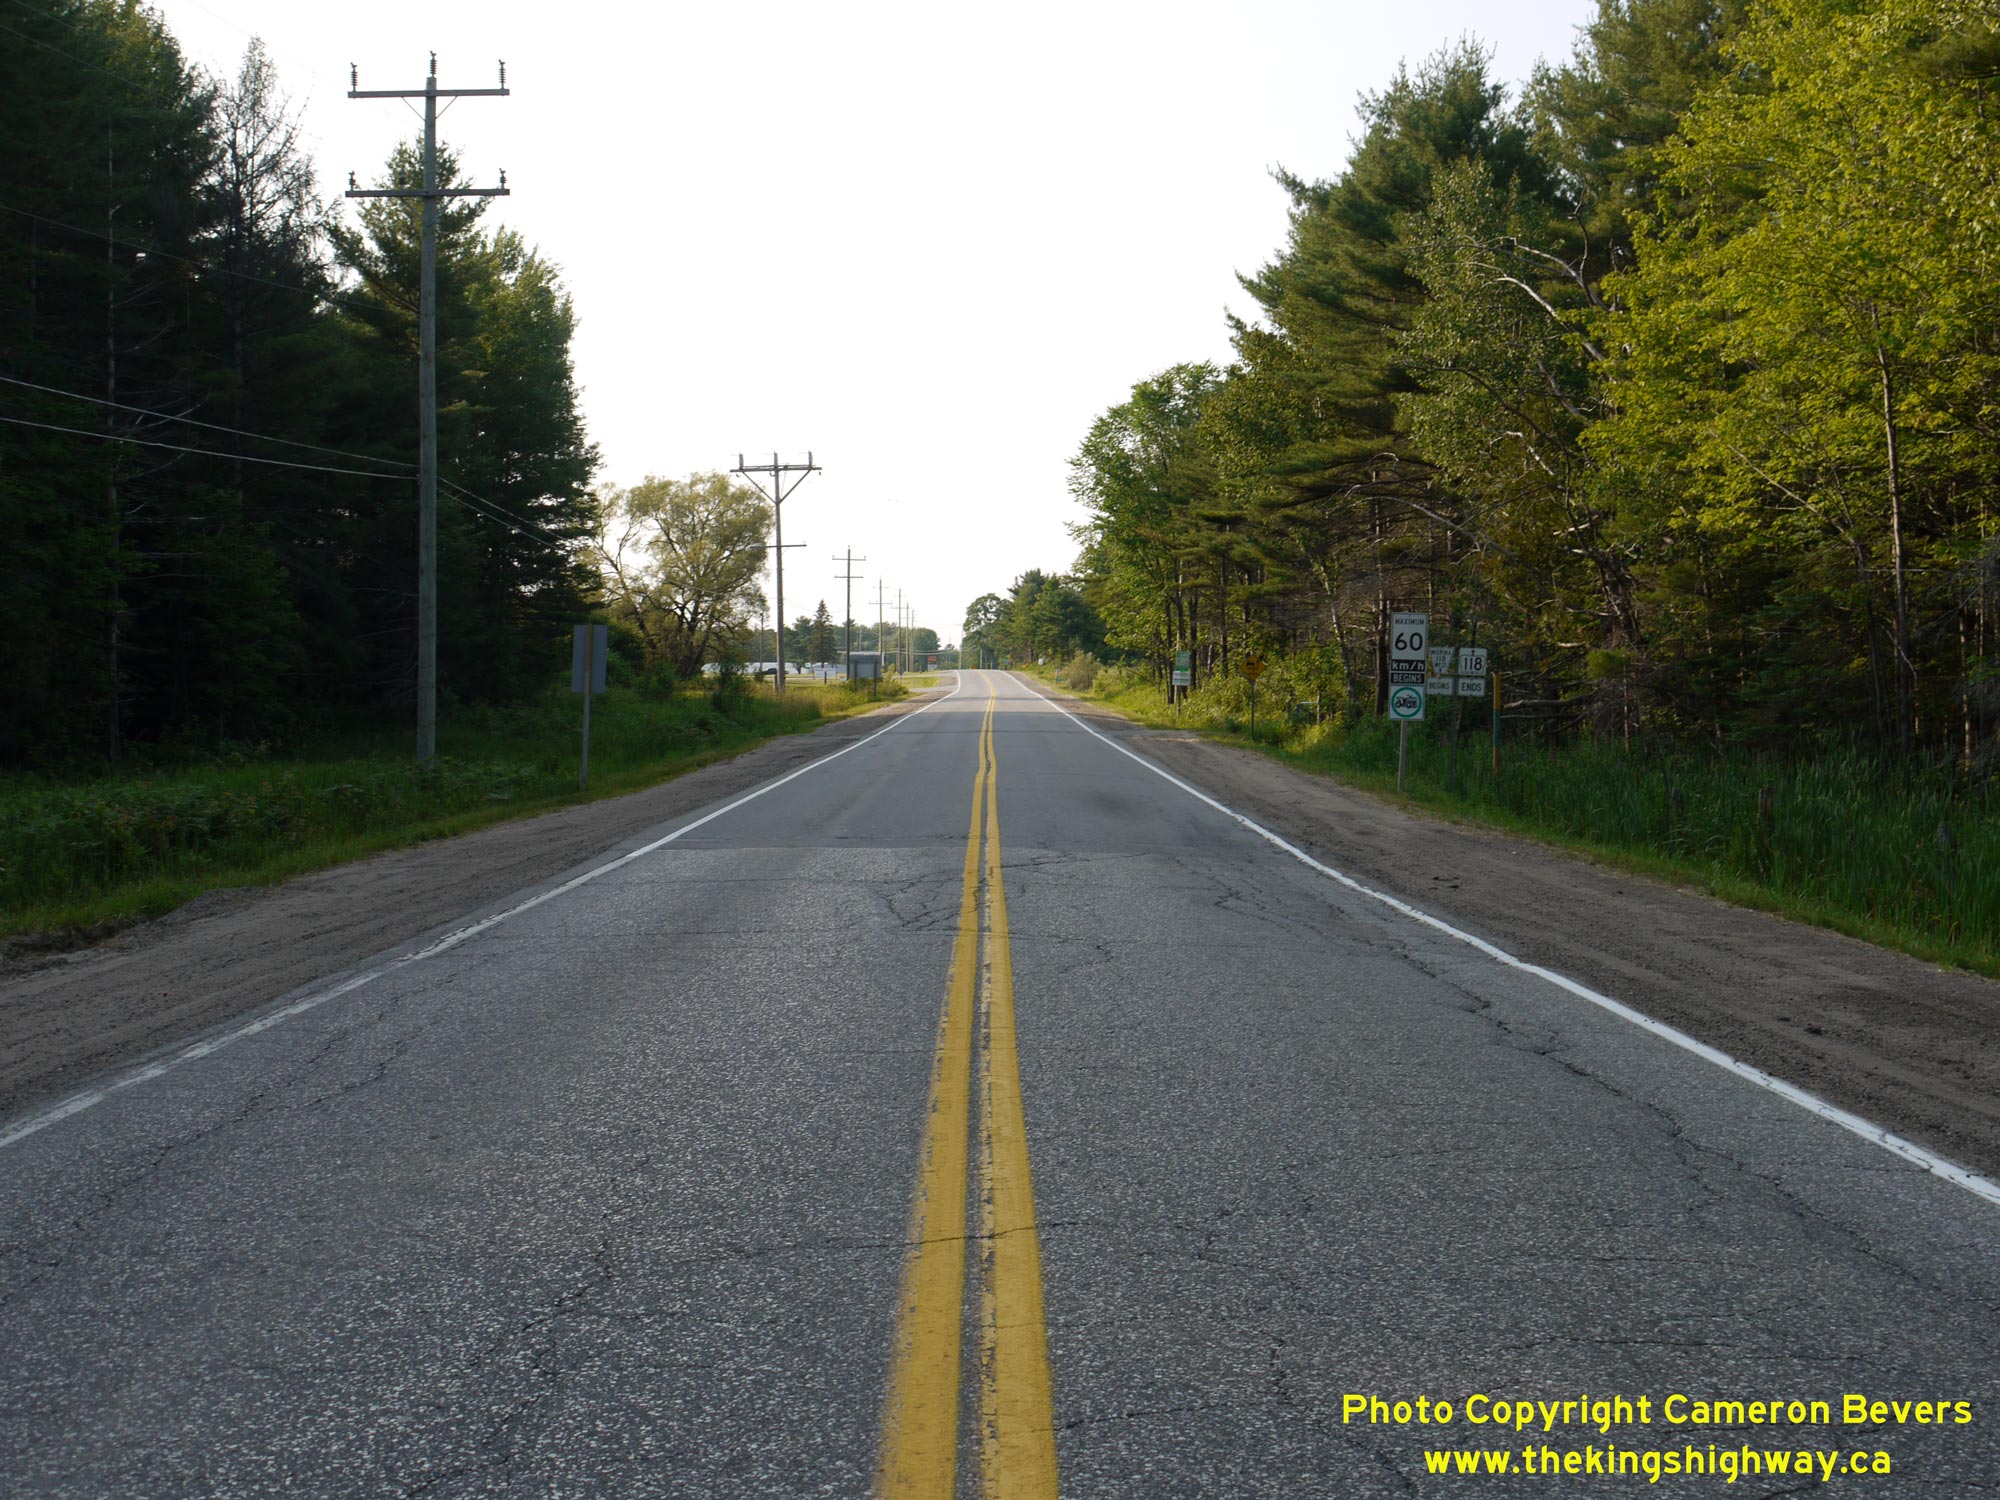
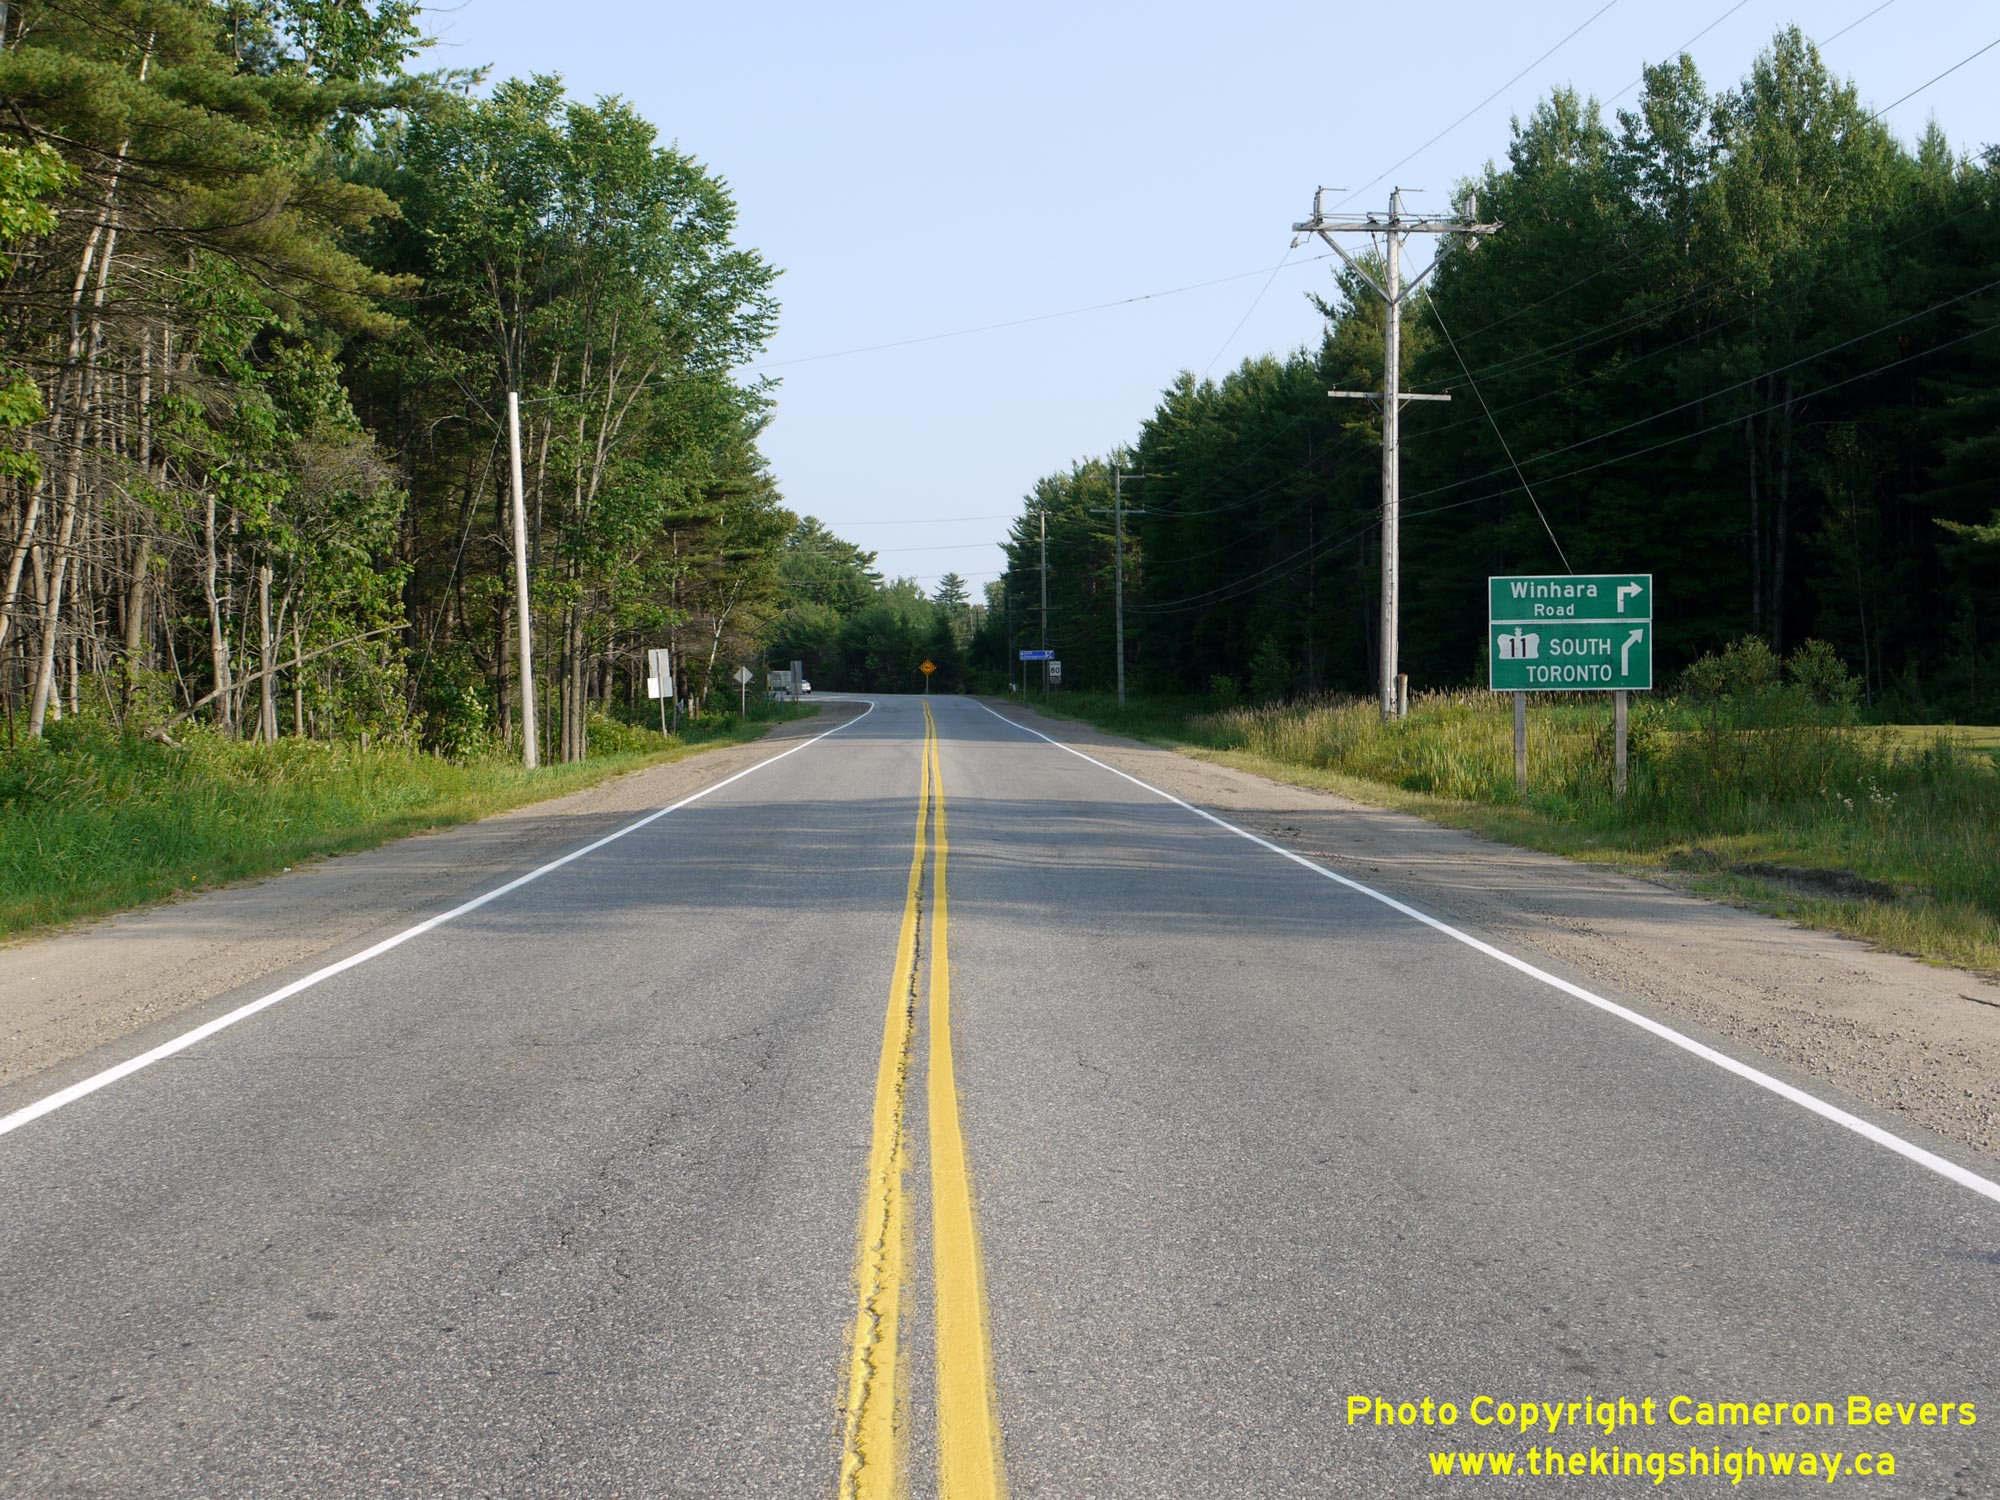
Enlarged Photo Here. (Photograph taken on July 11, 2015 - © Cameron Bevers) Right - Start of Hwy 118 near the Hwy 11 Interchange south of Bracebridge's urban centre. Interestingly, both the current and old routes of Hwy 11 are marked on the green guide signs at right. Winhara Road was the original route of Hwy 11 between 1937 and 1950, when a new relocated Hwy 11 corridor was constructed between Gravenhurst and Muskoka Falls. See an Enlarged Photo Here. (Photograph taken on July 11, 2015 - © Cameron Bevers) 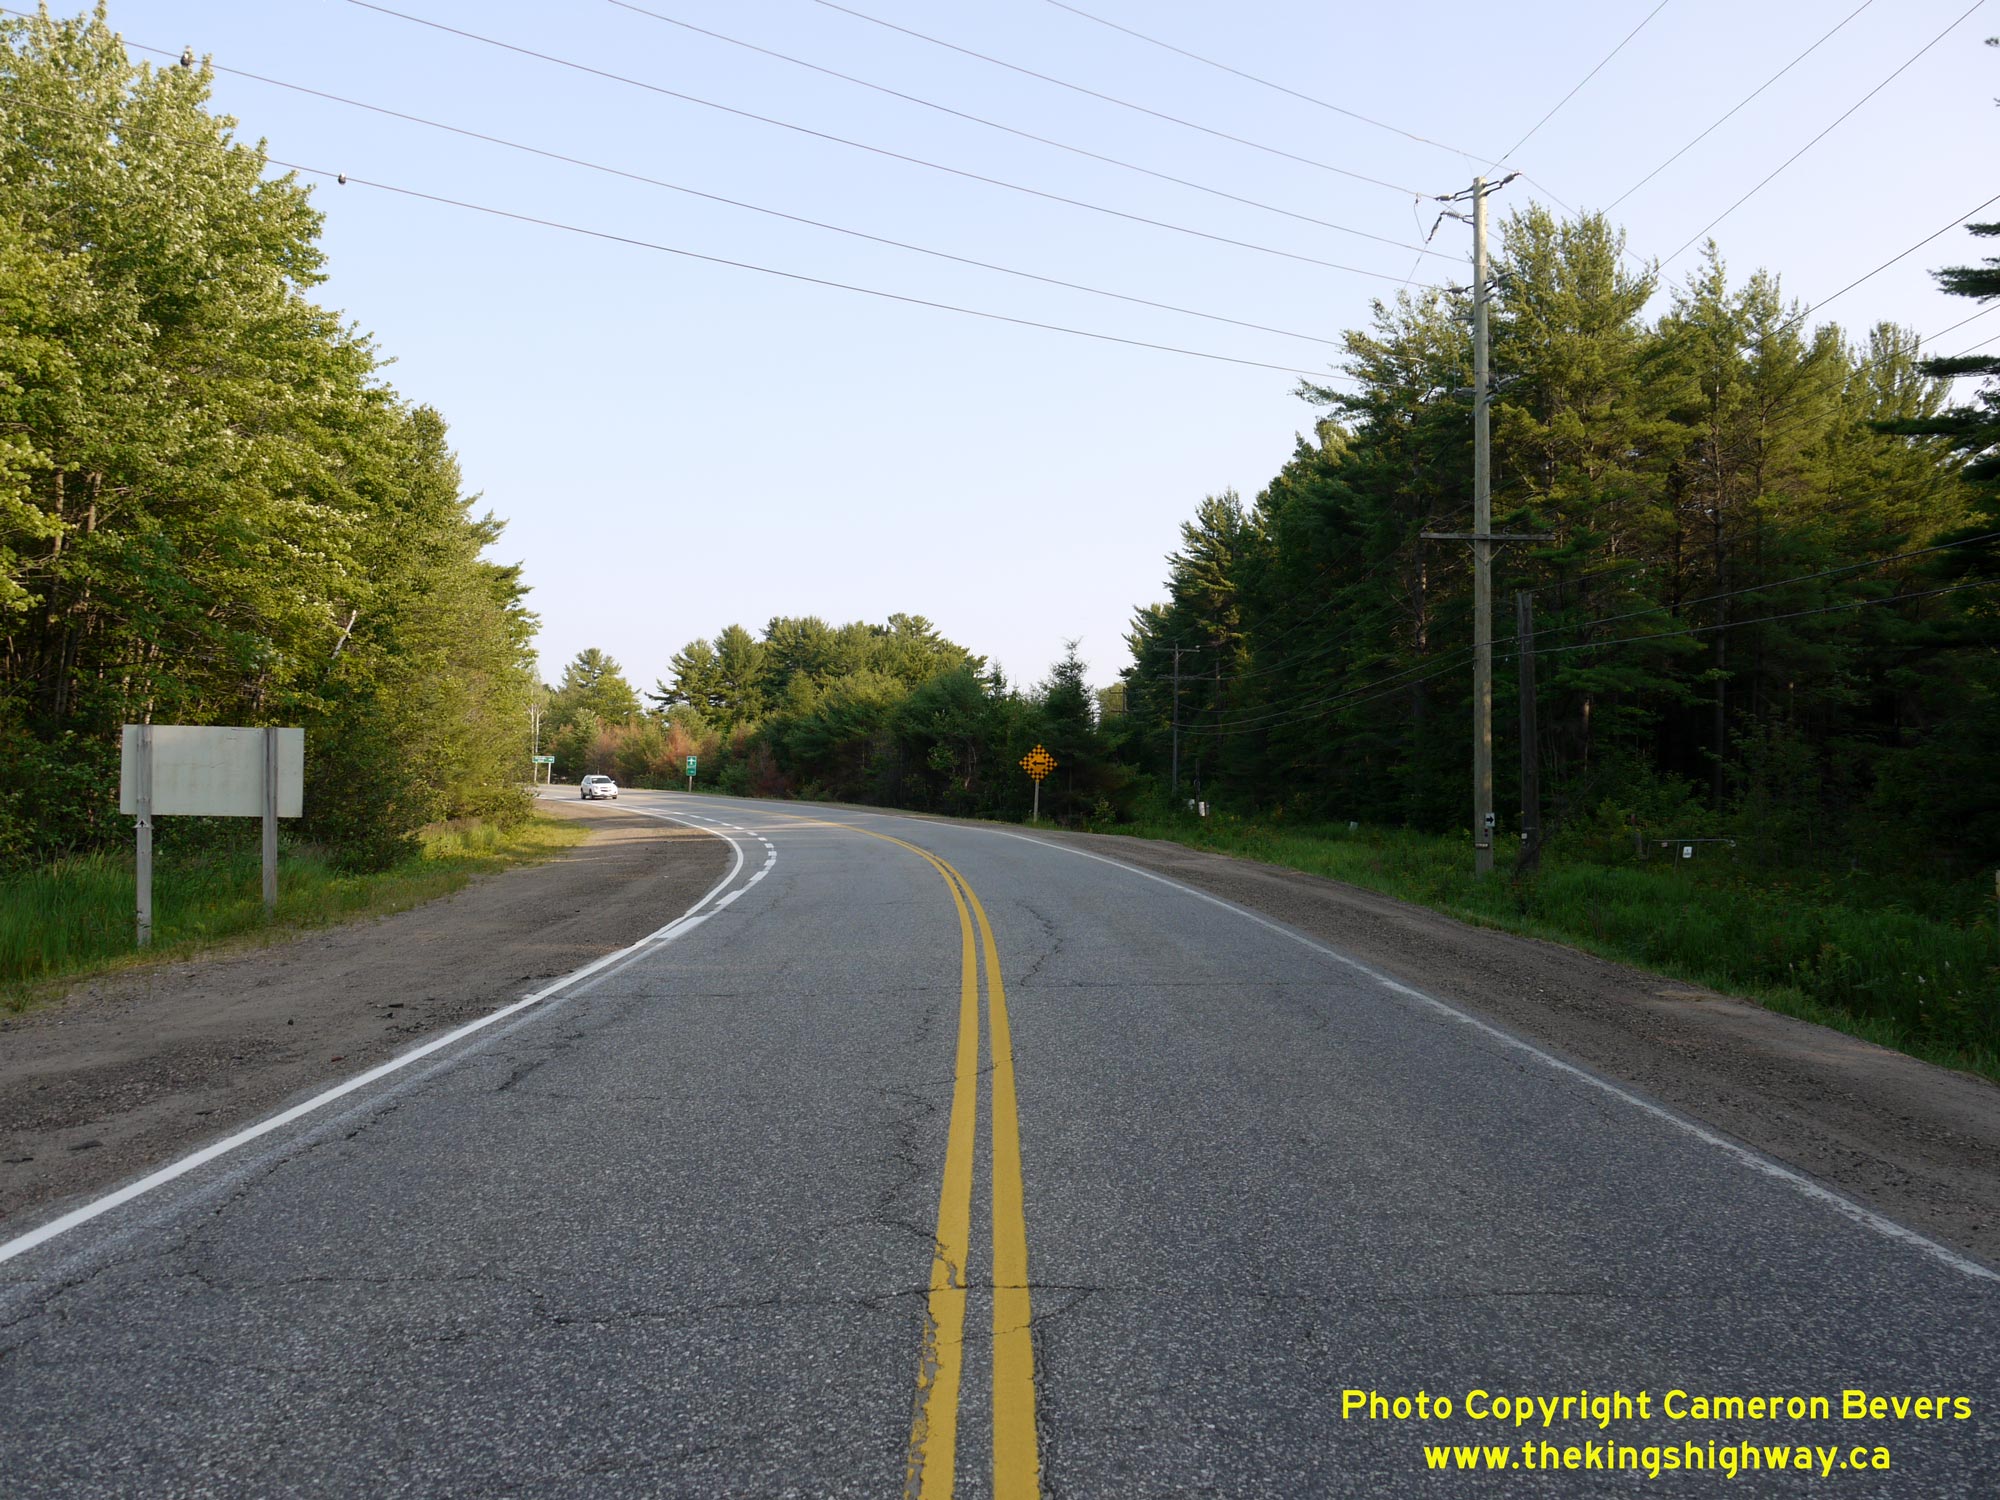
Left - Facing east along Hwy 118 approaching Winhara Road (Old Hwy 11). Up until the early 1950s, motorists on Hwy 11 would have continued straight ahead
towards Gravenhurst. The section of Old Hwy 11 situated immediately beyond this highway curve was closed decades ago, as a result of various highway realignment
projects carried out over the years. Today, Hwy 118 curves to the left where it intersects with both the old and relocated routes of Hwy 11 and then continues east
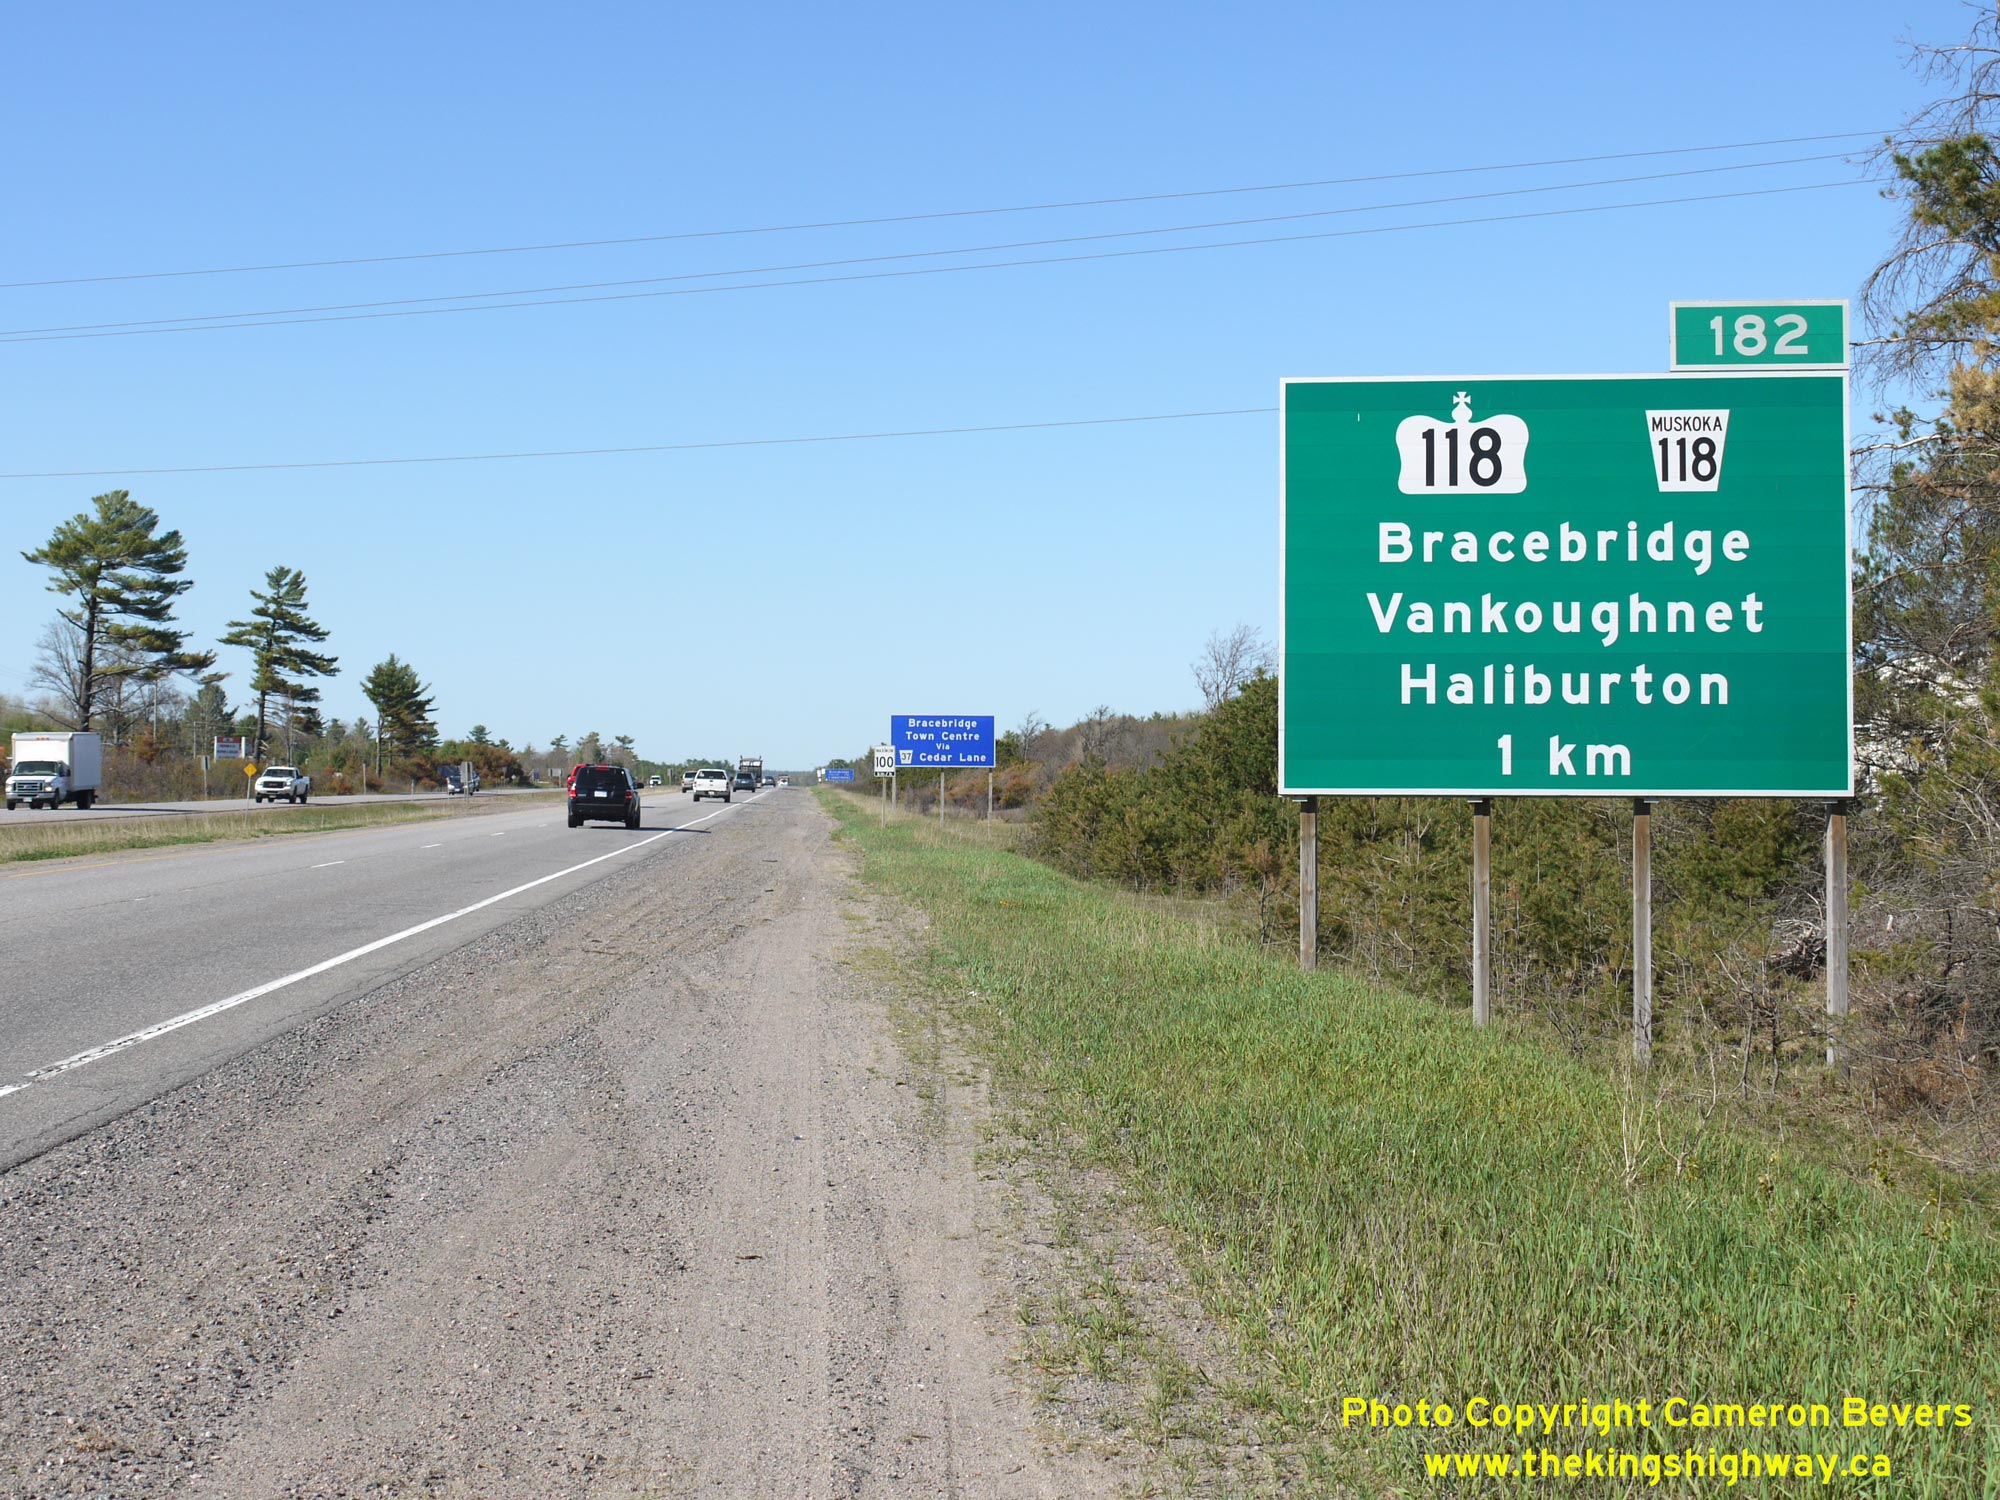
towards Haliburton County. See an Enlarged Photo Here. (Photograph taken on July 11, 2015 - © Cameron Bevers) Right - Advance freeway exit guide sign for the Hwy 118 Interchange on northbound Hwy 11 in Bracebridge. The lengthy route of Hwy 118 begins at Hwy 11 and extends easterly for about 130 km to the Bancroft area, via Haliburton. Up until the late 1990s, Hwy 118 also had a western leg which extended west from Bracebridge to Hwy 169 near Port Carling. However, jurisdiction over the western leg of Hwy 118 was transferred from the province to the District Municipality of Muskoka in 1997-1998. Today, this former western leg of Hwy 118 is known as Muskoka Road 118 and is signed accordingly from the Hwy 11 Interchange. See an Enlarged Photo Here. (Photograph taken on May 22, 2020 - © Cameron Bevers) 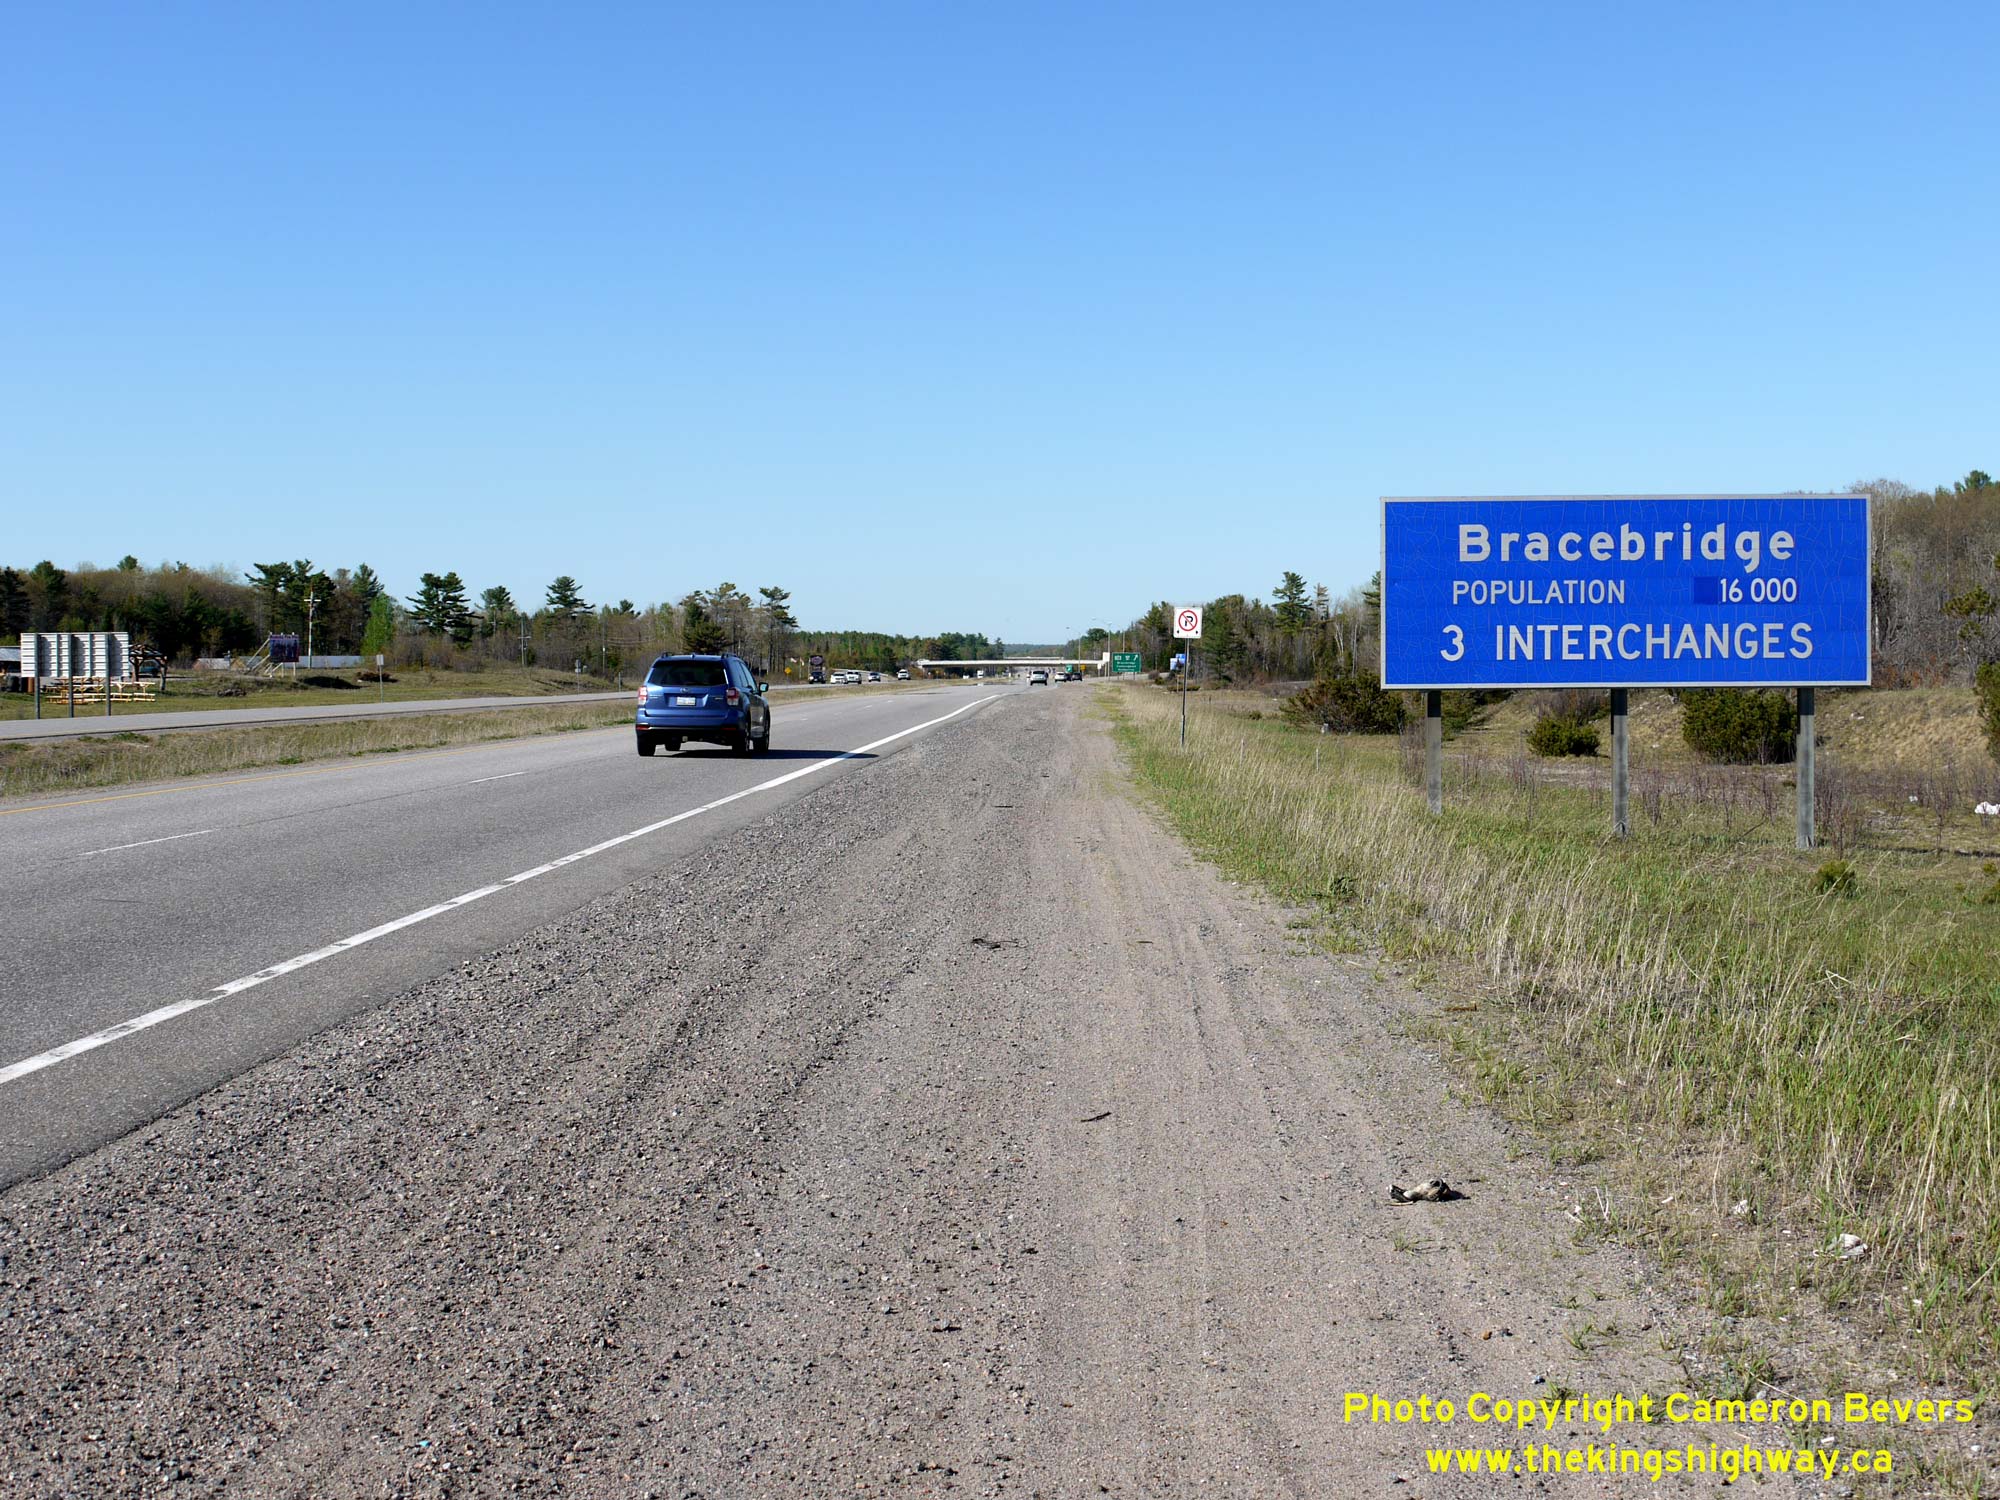
Left - Blue-and-white municipal boundary sign for the Town of Bracebridge facing northbound traffic on Hwy 11. Prior to the construction of the expanded
four-lane Hwy 11 in the early 1970s, Secondary Highway 532 intersected with Hwy 11 at this location. This badly-skewed highway junction was relocated further north so
that it intersected with Hwy 11 closer to a right angle. In addition, the intersection was situated in a place where it formed a crossroads intersection with the
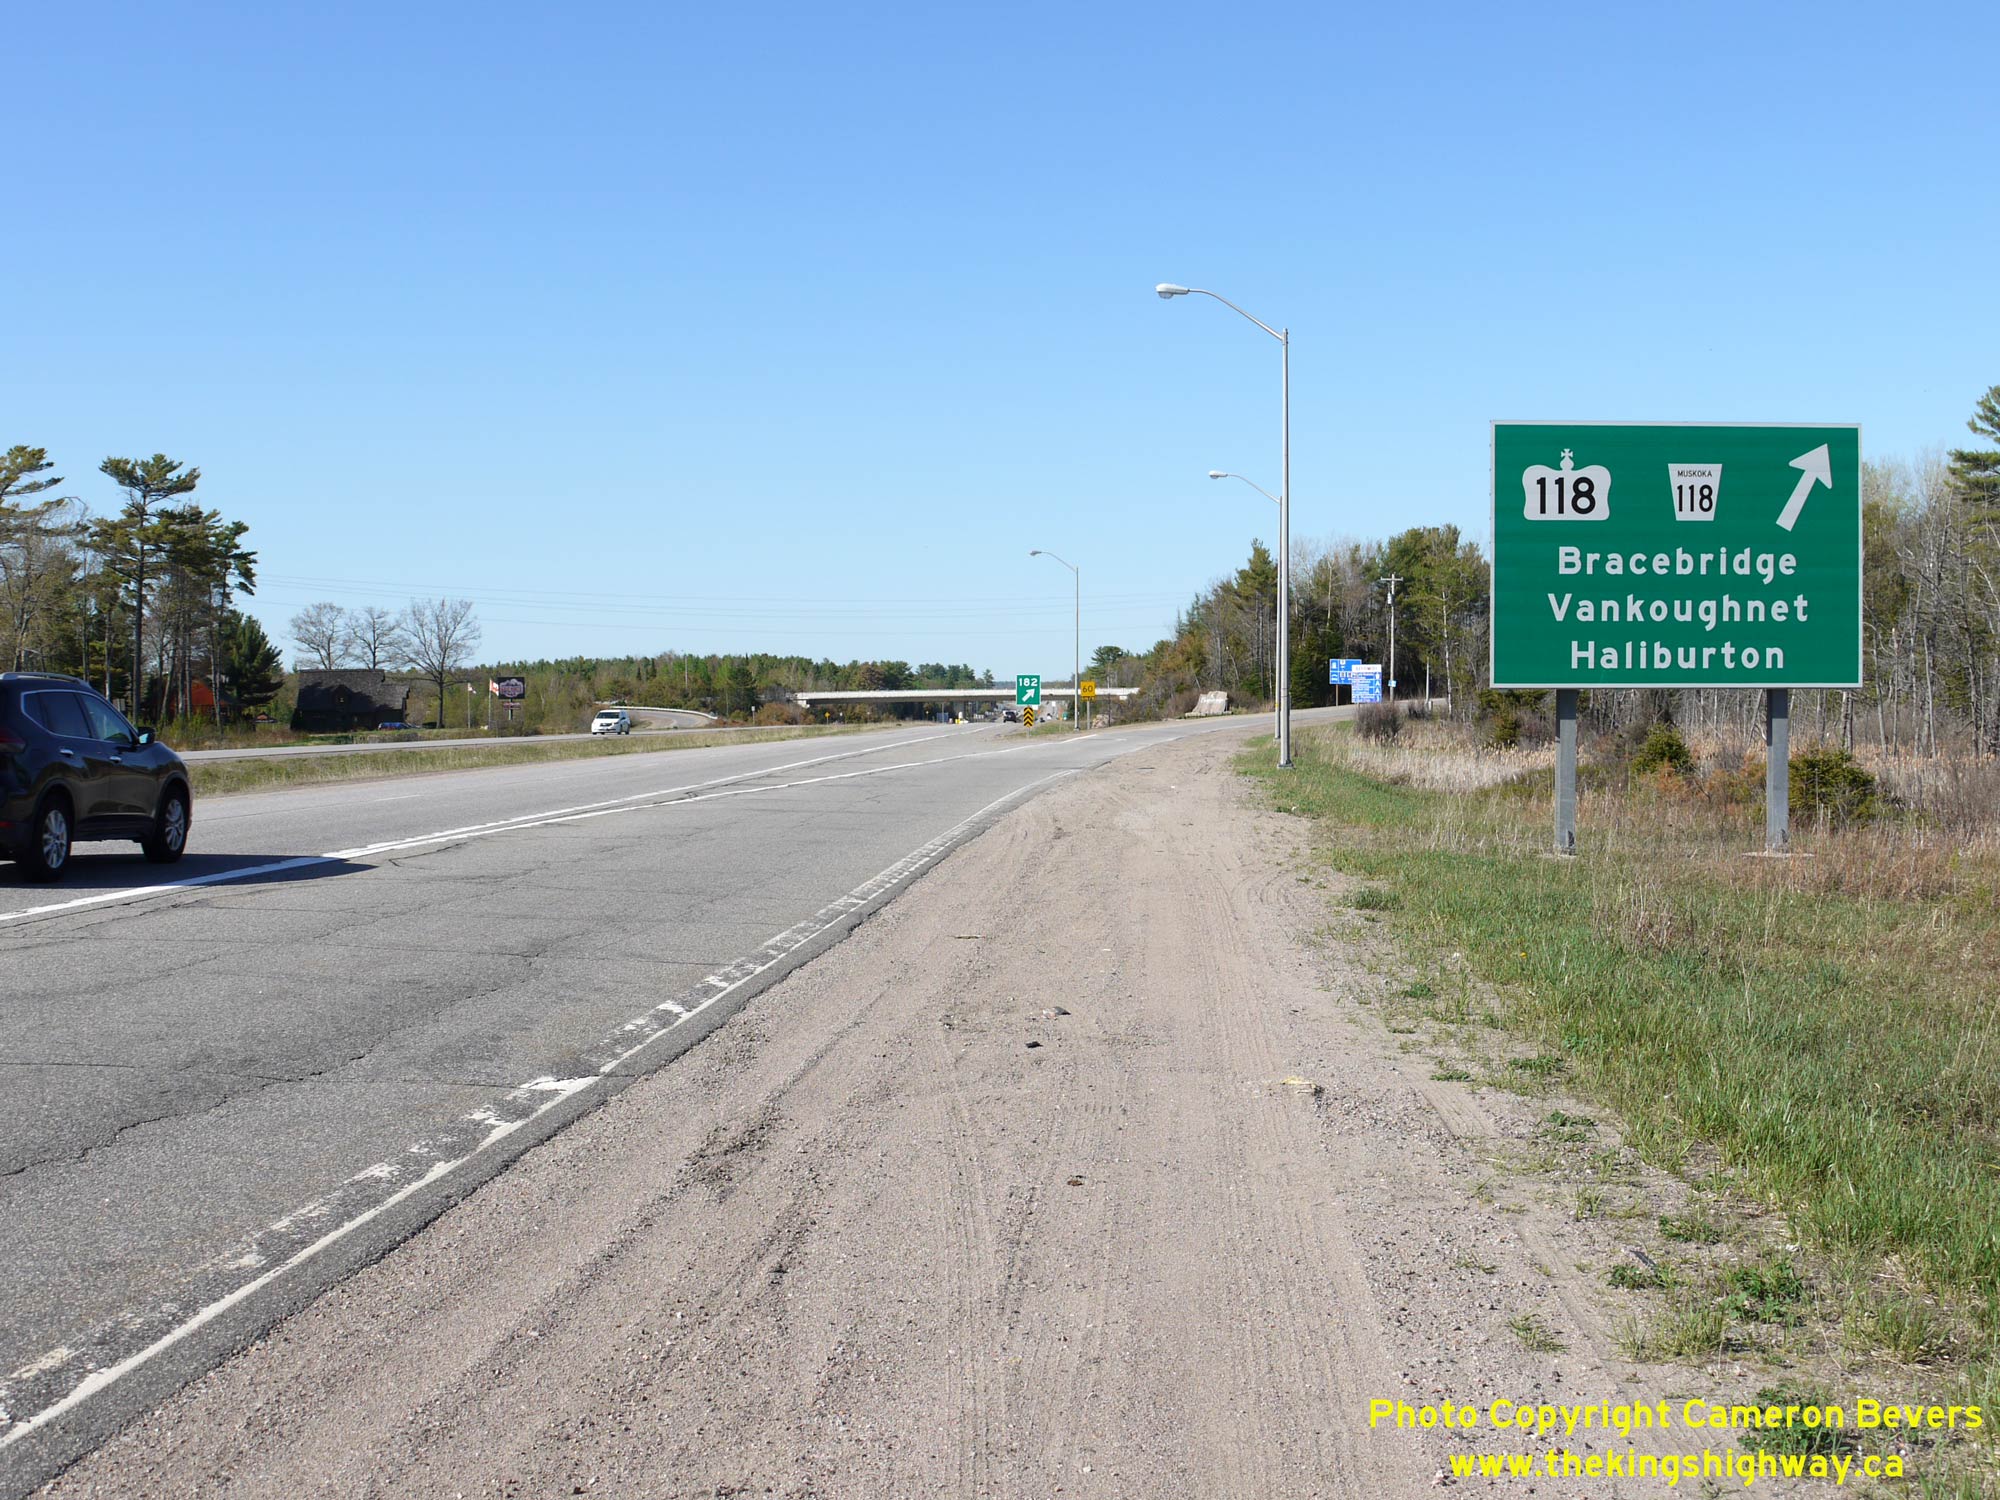
adjacent Vankoughnet Road (today's Hwy 118). See an Enlarged Photo Here. (Photograph taken on May 22, 2020 - © Cameron Bevers) Right - Turn-off freeway exit guide sign for the Hwy 118 Interchange on Hwy 11 in Bracebridge. See an Enlarged Photo Here. (Photograph taken on May 22, 2020 - © Cameron Bevers) 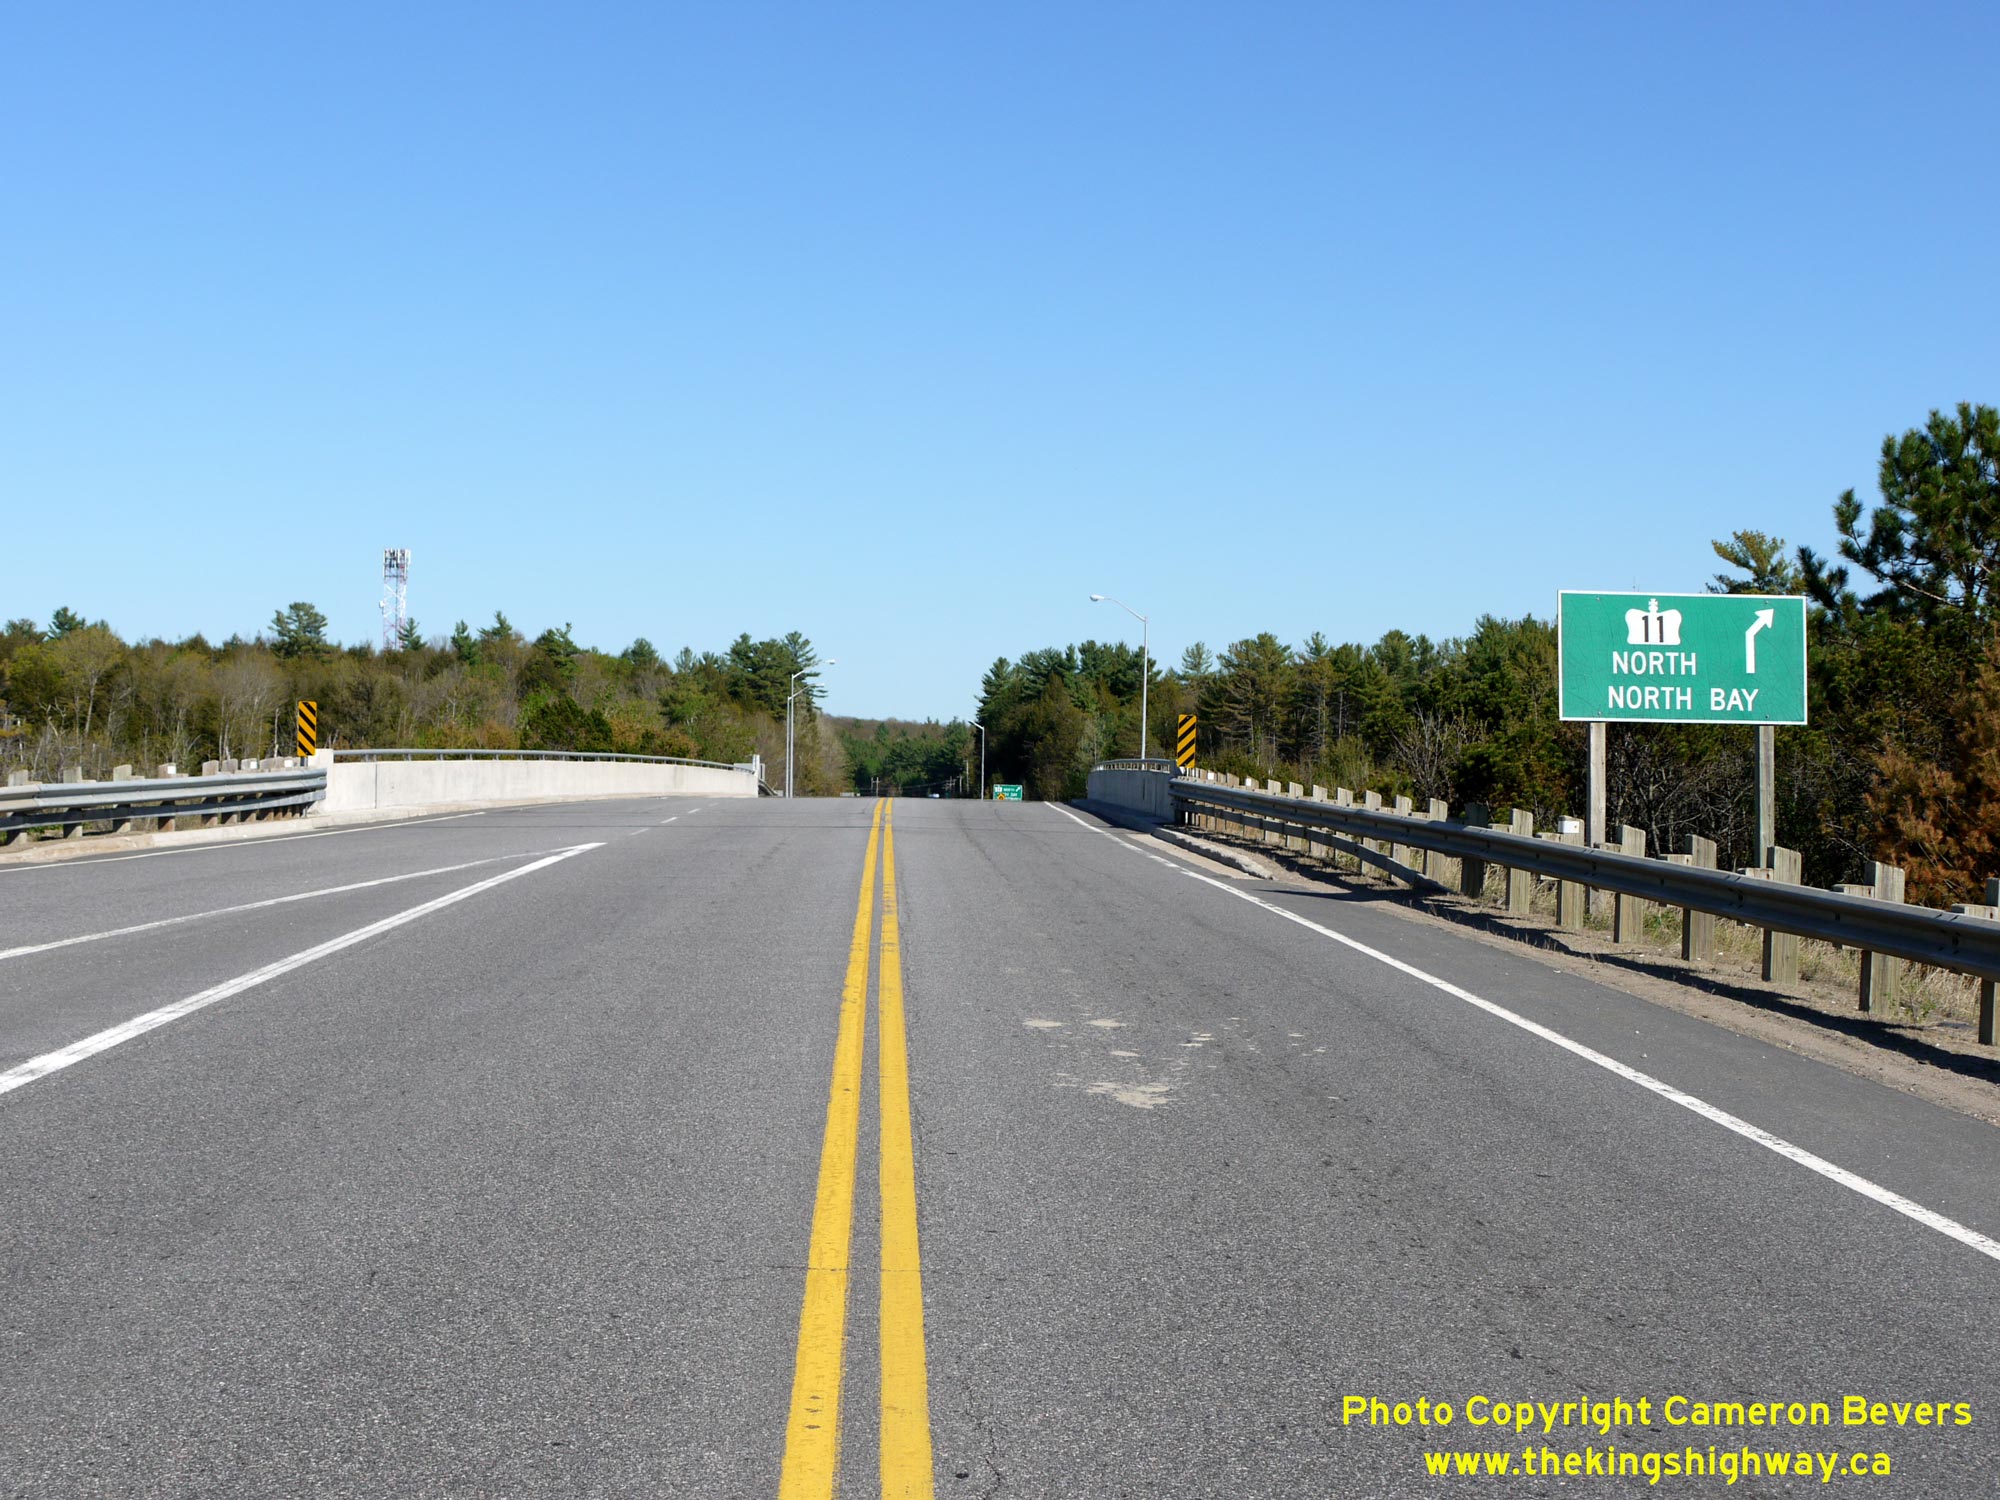
Left - Facing east towards Vankoughnet across the Hwy 118 Overpass on Hwy 11 in Bracebridge. See an
Enlarged Photo Here. (Photograph taken on May 22, 2020 - © Cameron Bevers) Right - Facing east along Hwy 118 towards Vankoughnet at the Hwy 11 Interchange in Bracebridge. The route of Hwy 118 heads easterly from the Hwy 11 Interchange in Bracebridge via Carnarvon, Haliburton and Tory Hill. The highway eventually connects with Hwy 28 southwest of Bancroft. The section of Hwy 118 between Bracebridge and Carnarvon is a relative newcomer to the King's Highway system. The province did not assume jurisdiction over the Vankoughnet Road east of Bracebridge until 1981. See an Enlarged Photo Here. (Photograph taken on May 22, 2020 - © Cameron Bevers) 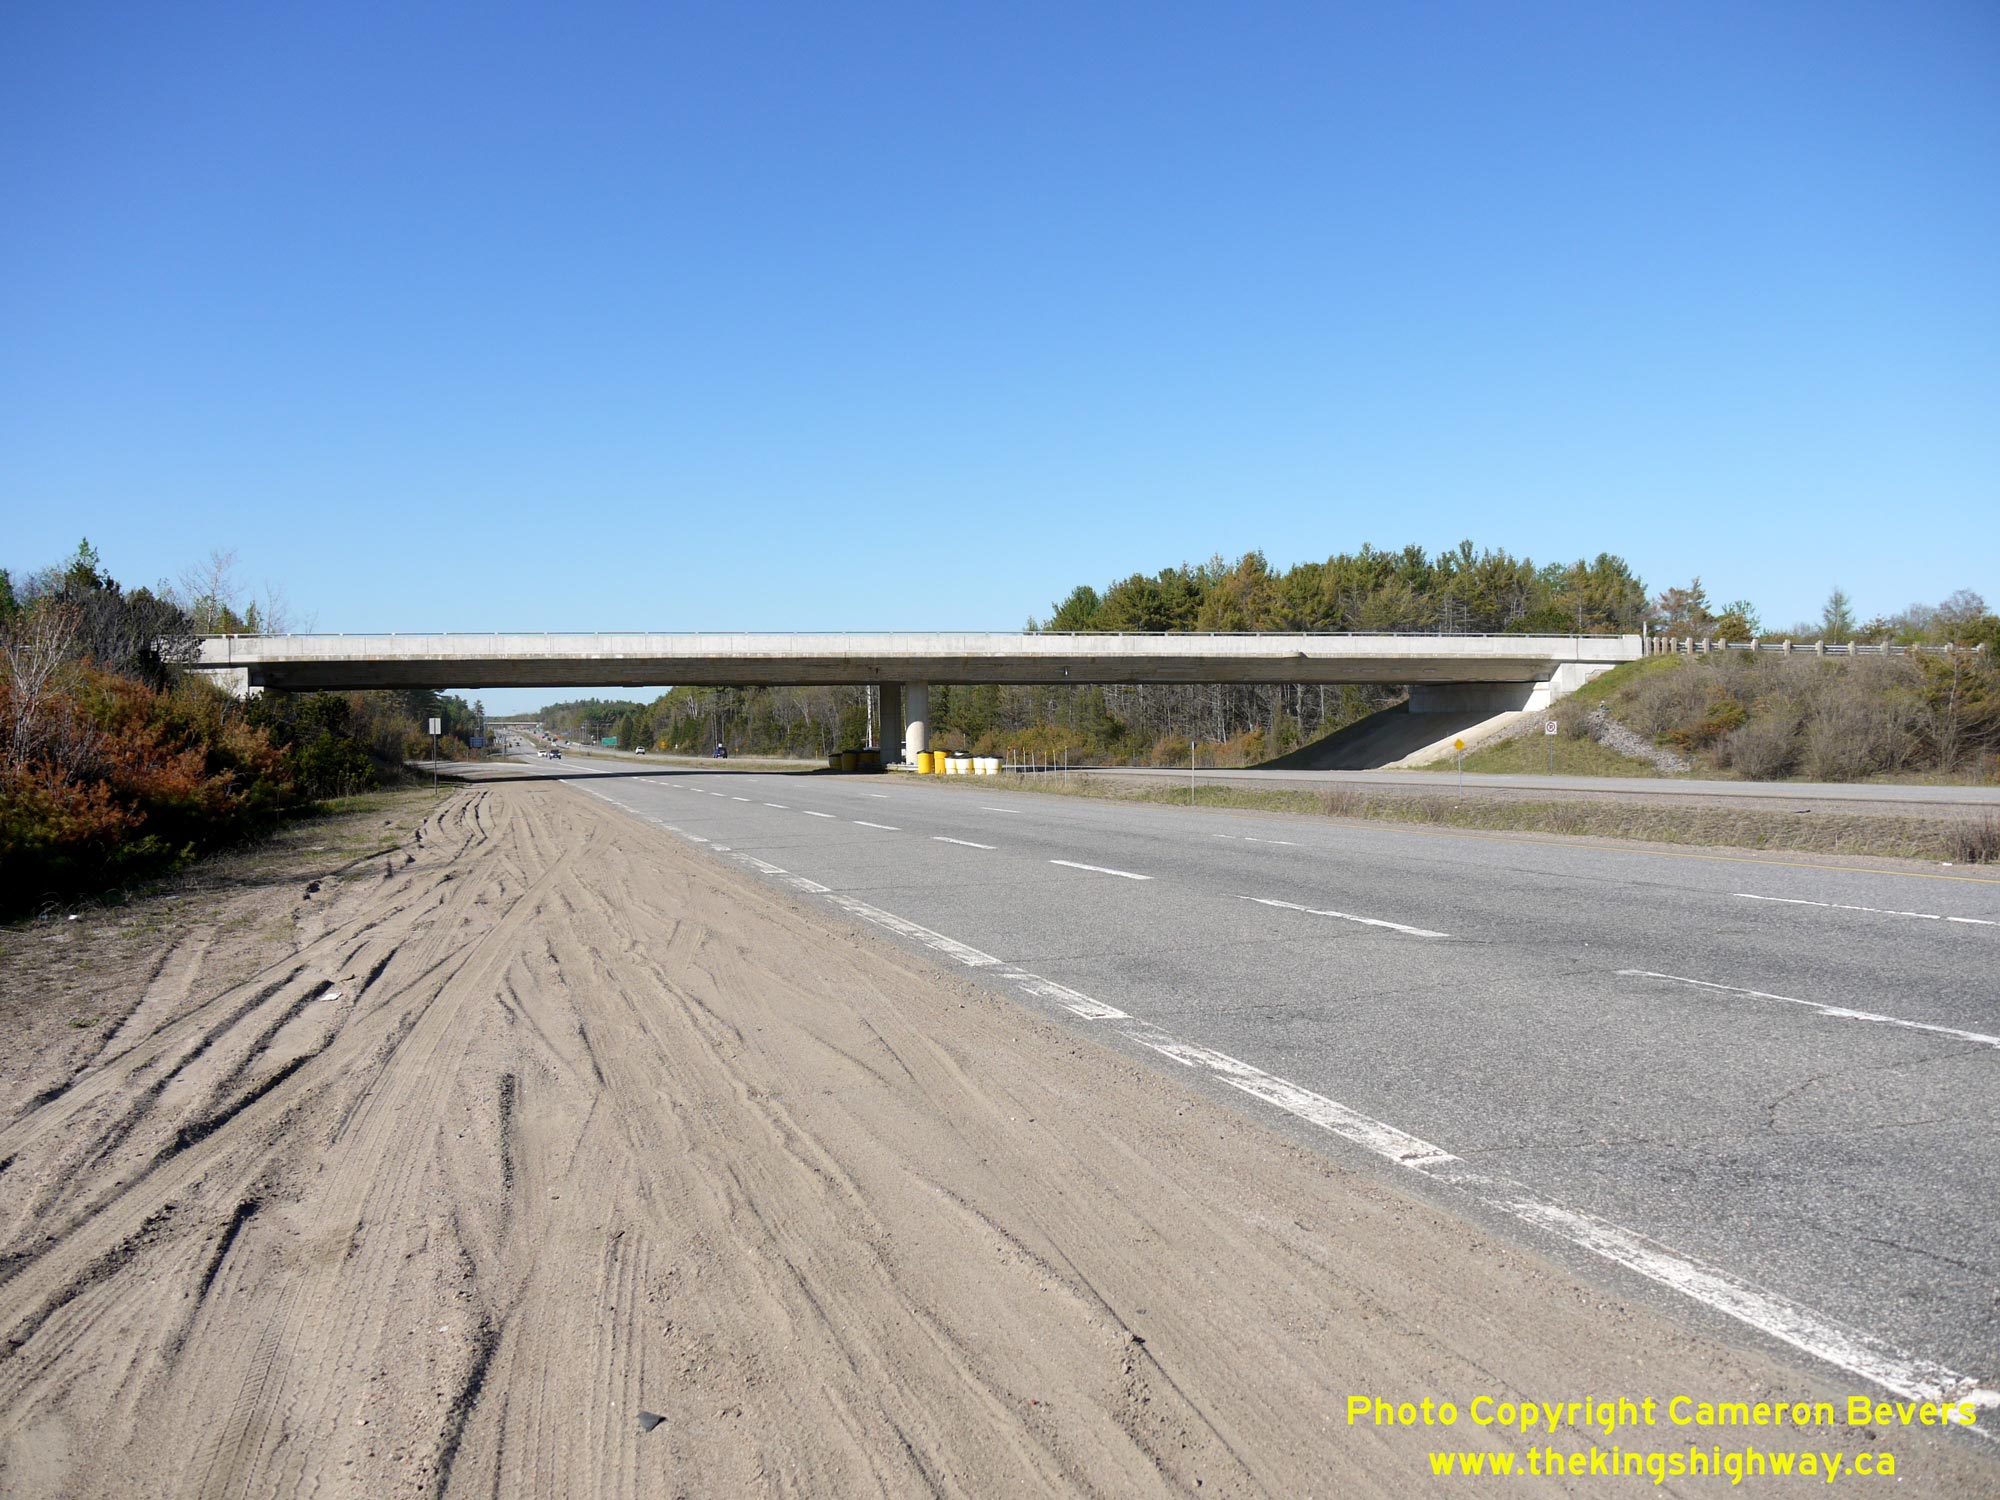

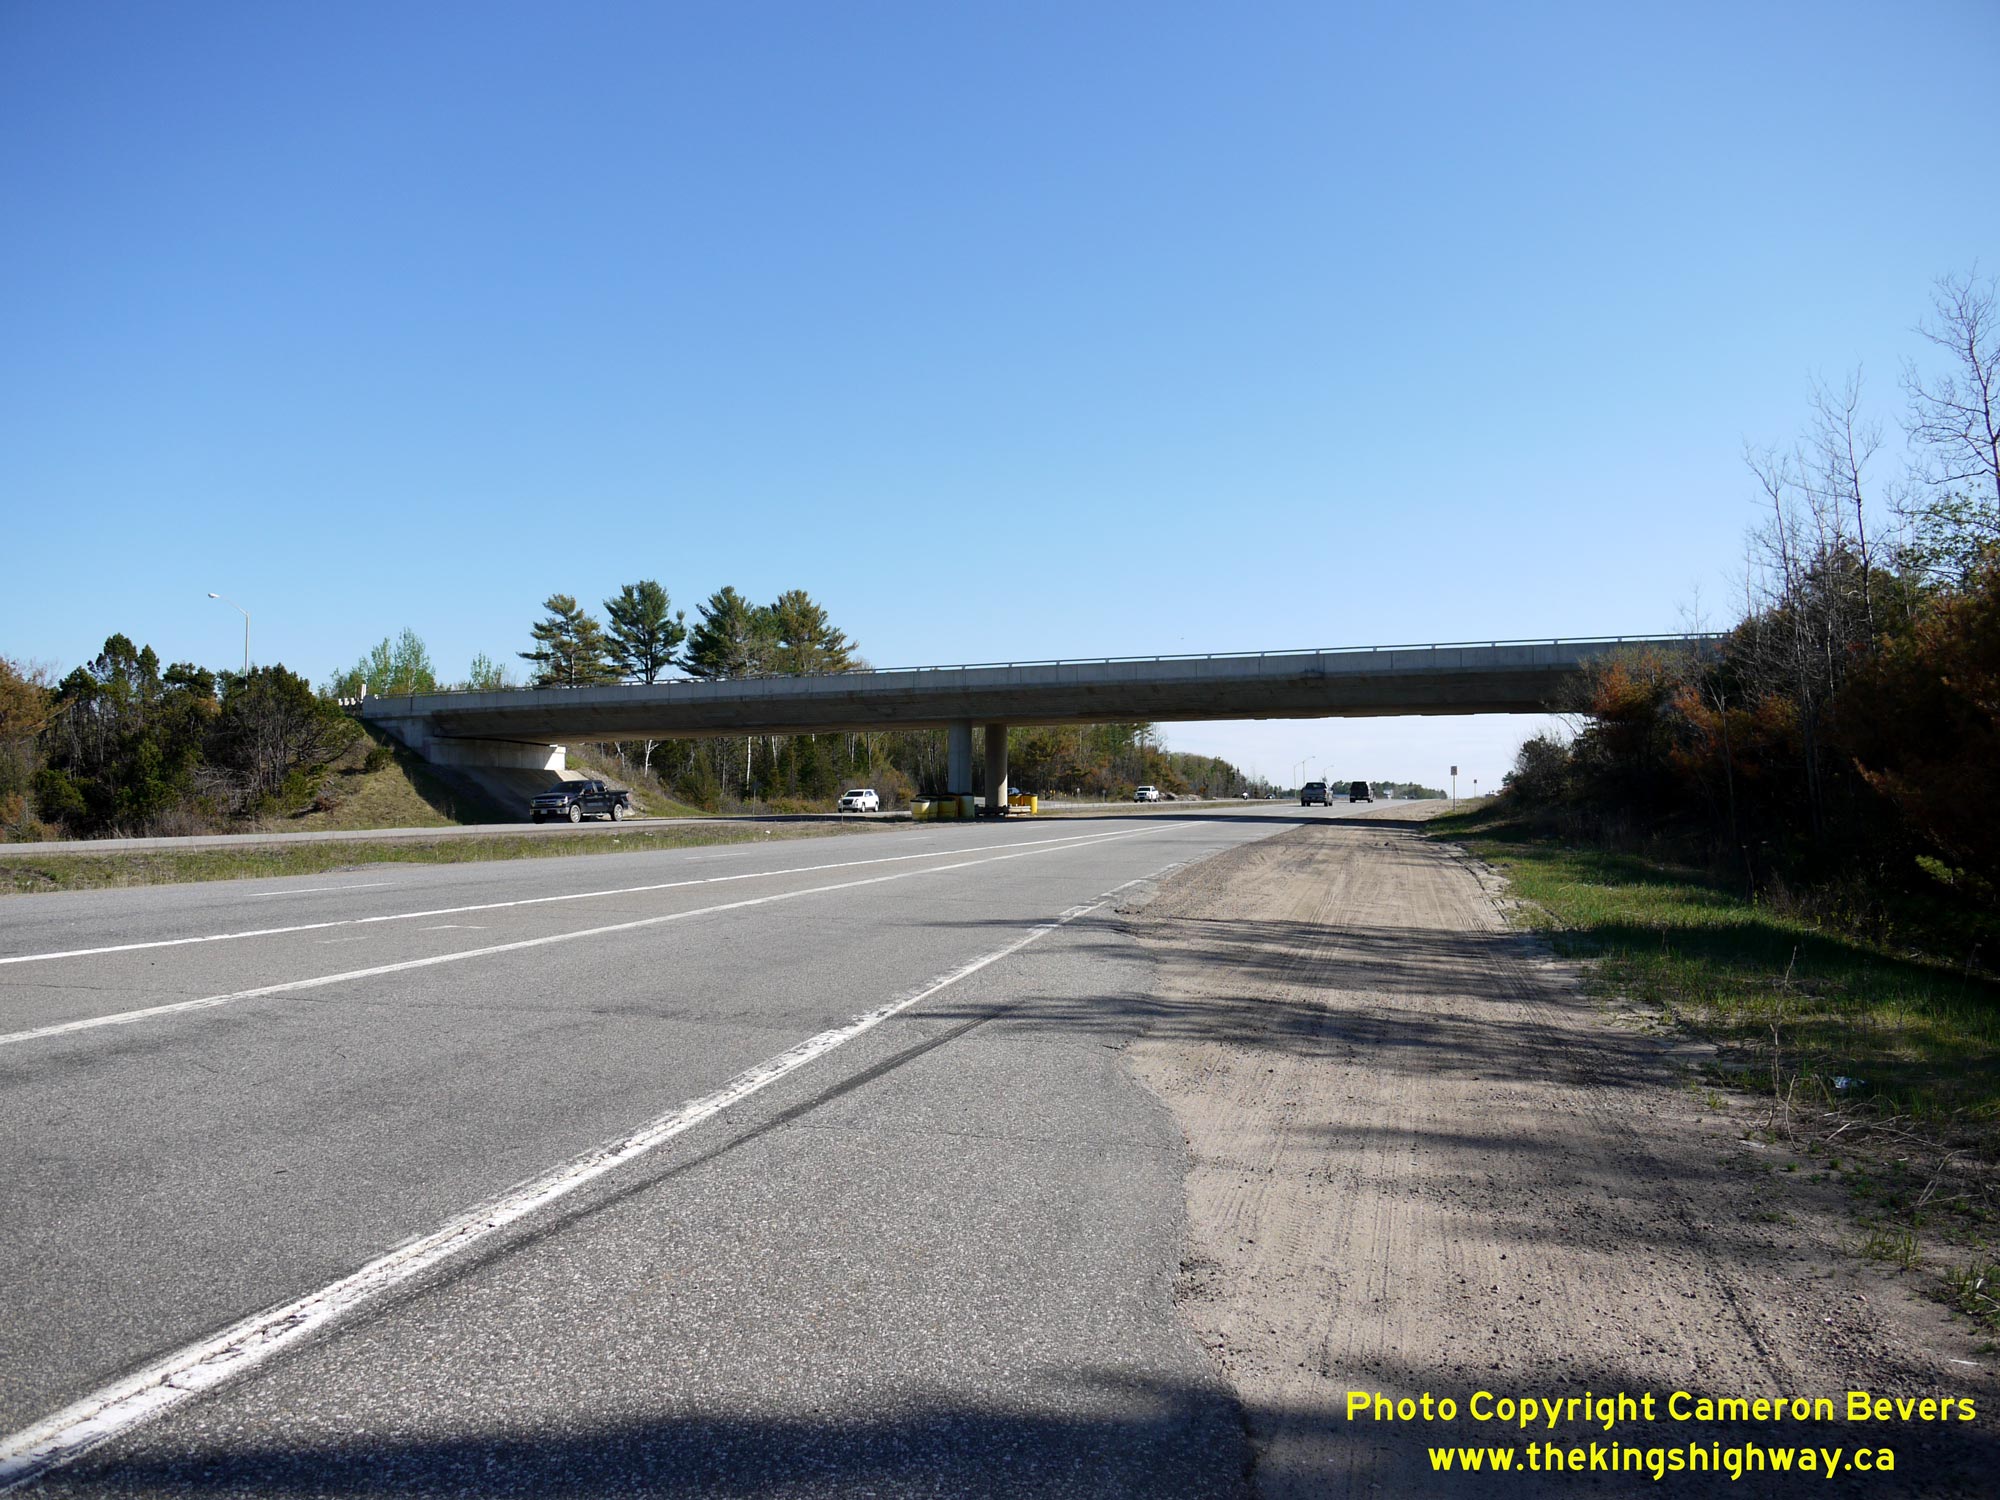
Left - Southern side of the Hwy 118 Overpass on Hwy 11. This two-span post-tensioned concrete structure was built under Contract #1974-160 and was completed
in 1975. Prior to the completion of this structure and interchange, Vankoughnet Road (today's Hwy 118) crossed Hwy 11 via an at-grade, fully channelized crossroads
intersection. This channelized intersection was constructed as part of the widening of Hwy 11 to four lanes under Contract #1971-84. See an
Enlarged Photo Here. (Photograph taken on May 22, 2020 - © Cameron Bevers) Right - Facing south along Hwy 11 towards Gravenhurst from the Hwy 118 Overpass. While the intersecting highway is known as Hwy 118 today, it was historically known as Hwy 532. This Secondary Highway once began at this point and extended northwesterly from Hwy 11 via Bracebridge and Rosseau to join with Hwy 69 at Hayes Corners south of Parry Sound. Jurisdiction over the southern leg of Hwy 532 from Patterson's Corners to Bracebridge was transferred from the province to the District Municipality of Muskoka in 1972, while the rest of the highway from Patterson's Corners northwesterly to Hayes Corners became part of the present day route of Hwy 141. See an Enlarged Photo Here. (Photograph taken on June 17, 2006 - © Cameron Bevers) 
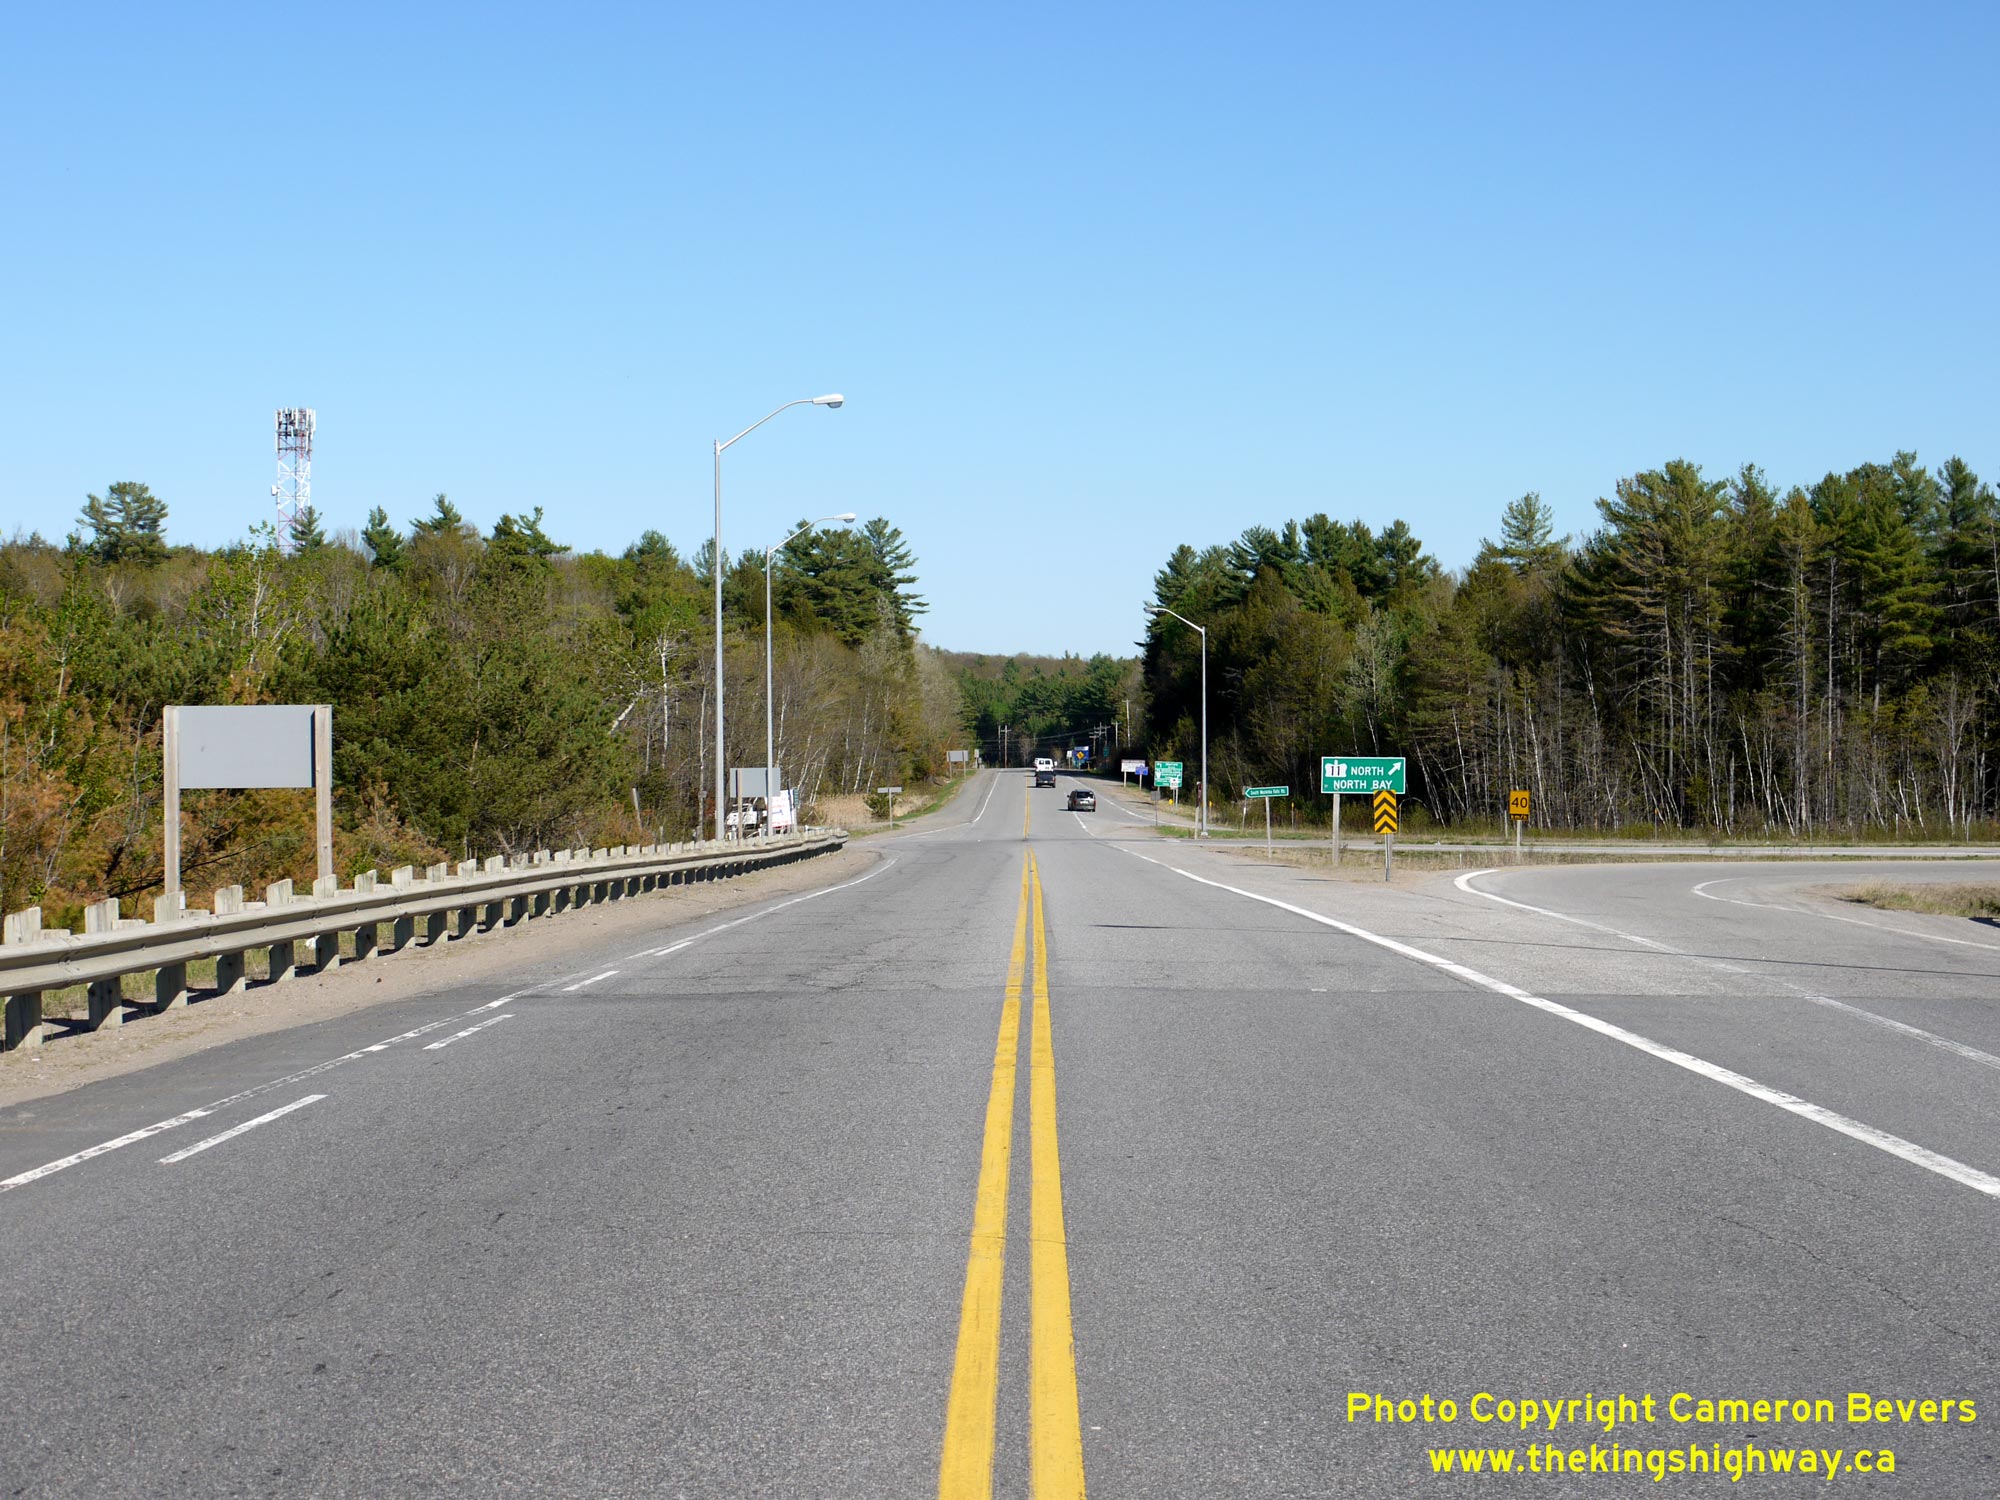
Left - Facing north along Hwy 11 towards Bracebridge from the Hwy 118 Overpass. At the time that Hwy 532 existed here prior to 1972, it would have intersected
with Hwy 11 via an at-grade intersection. A grade-separated interchange wasn't constructed along Hwy 11 at this location until 1975. See an
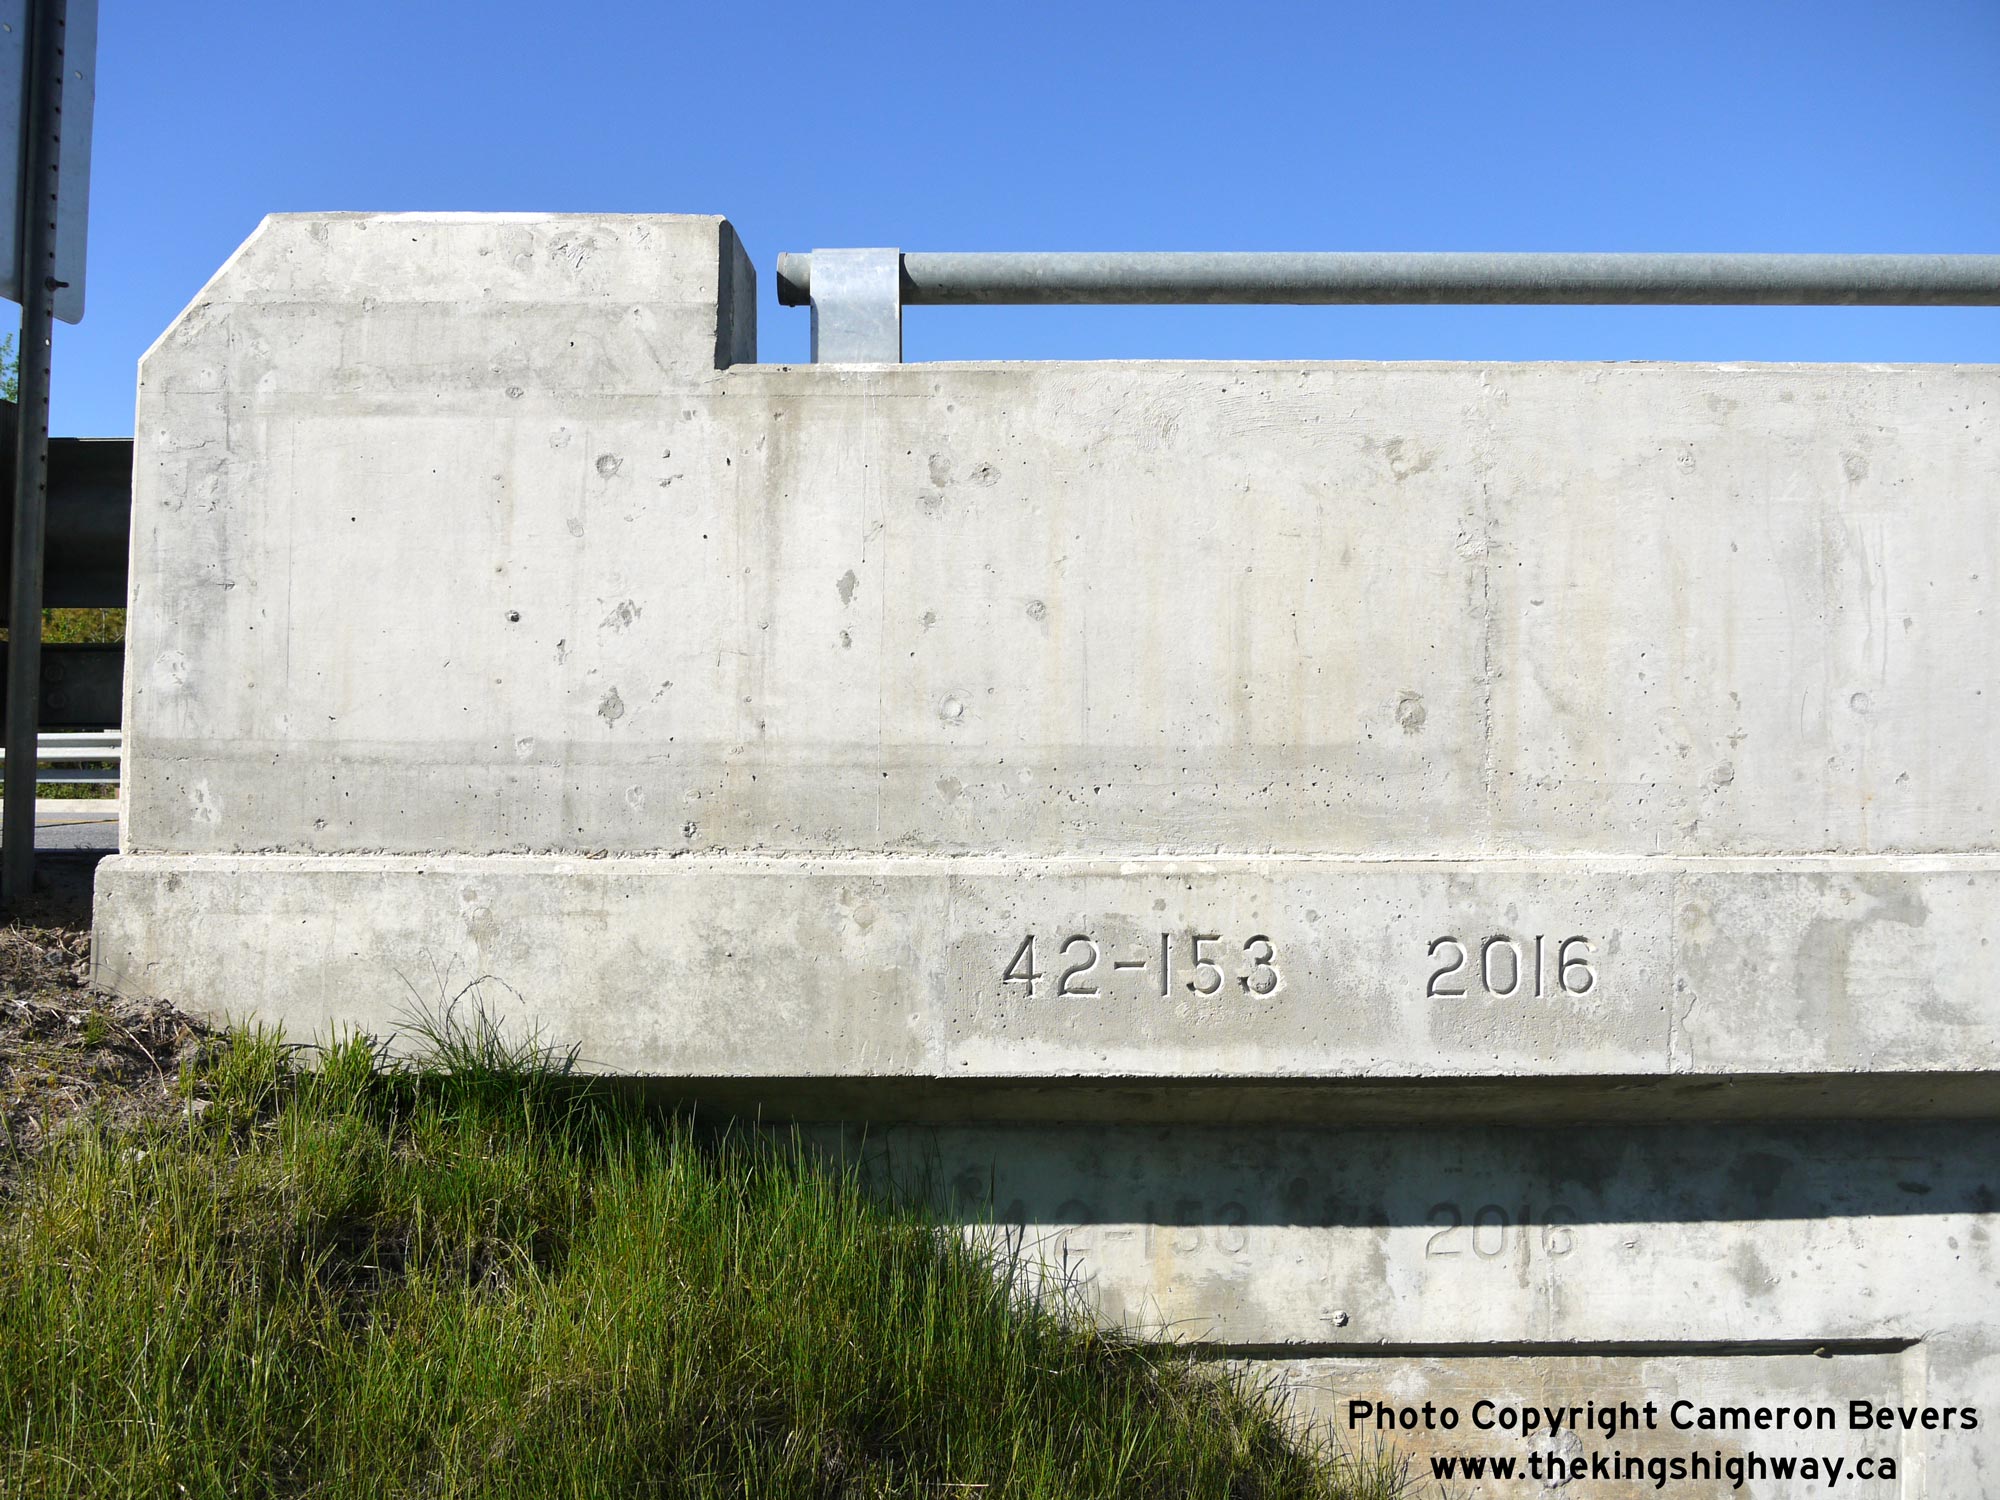
Enlarged Photo Here. (Photograph taken on June 17, 2006 - © Cameron Bevers) Right - Date stamp (2016) and structure identification number (Site #42-153) on the Hwy 118 Overpass in Bracebridge. In this instance, the date stamp refers to the last rehabilitation of the bridge, rather than the original construction year of 1975. See an Enlarged Photo Here. (Photograph taken on May 22, 2020 - © Cameron Bevers) 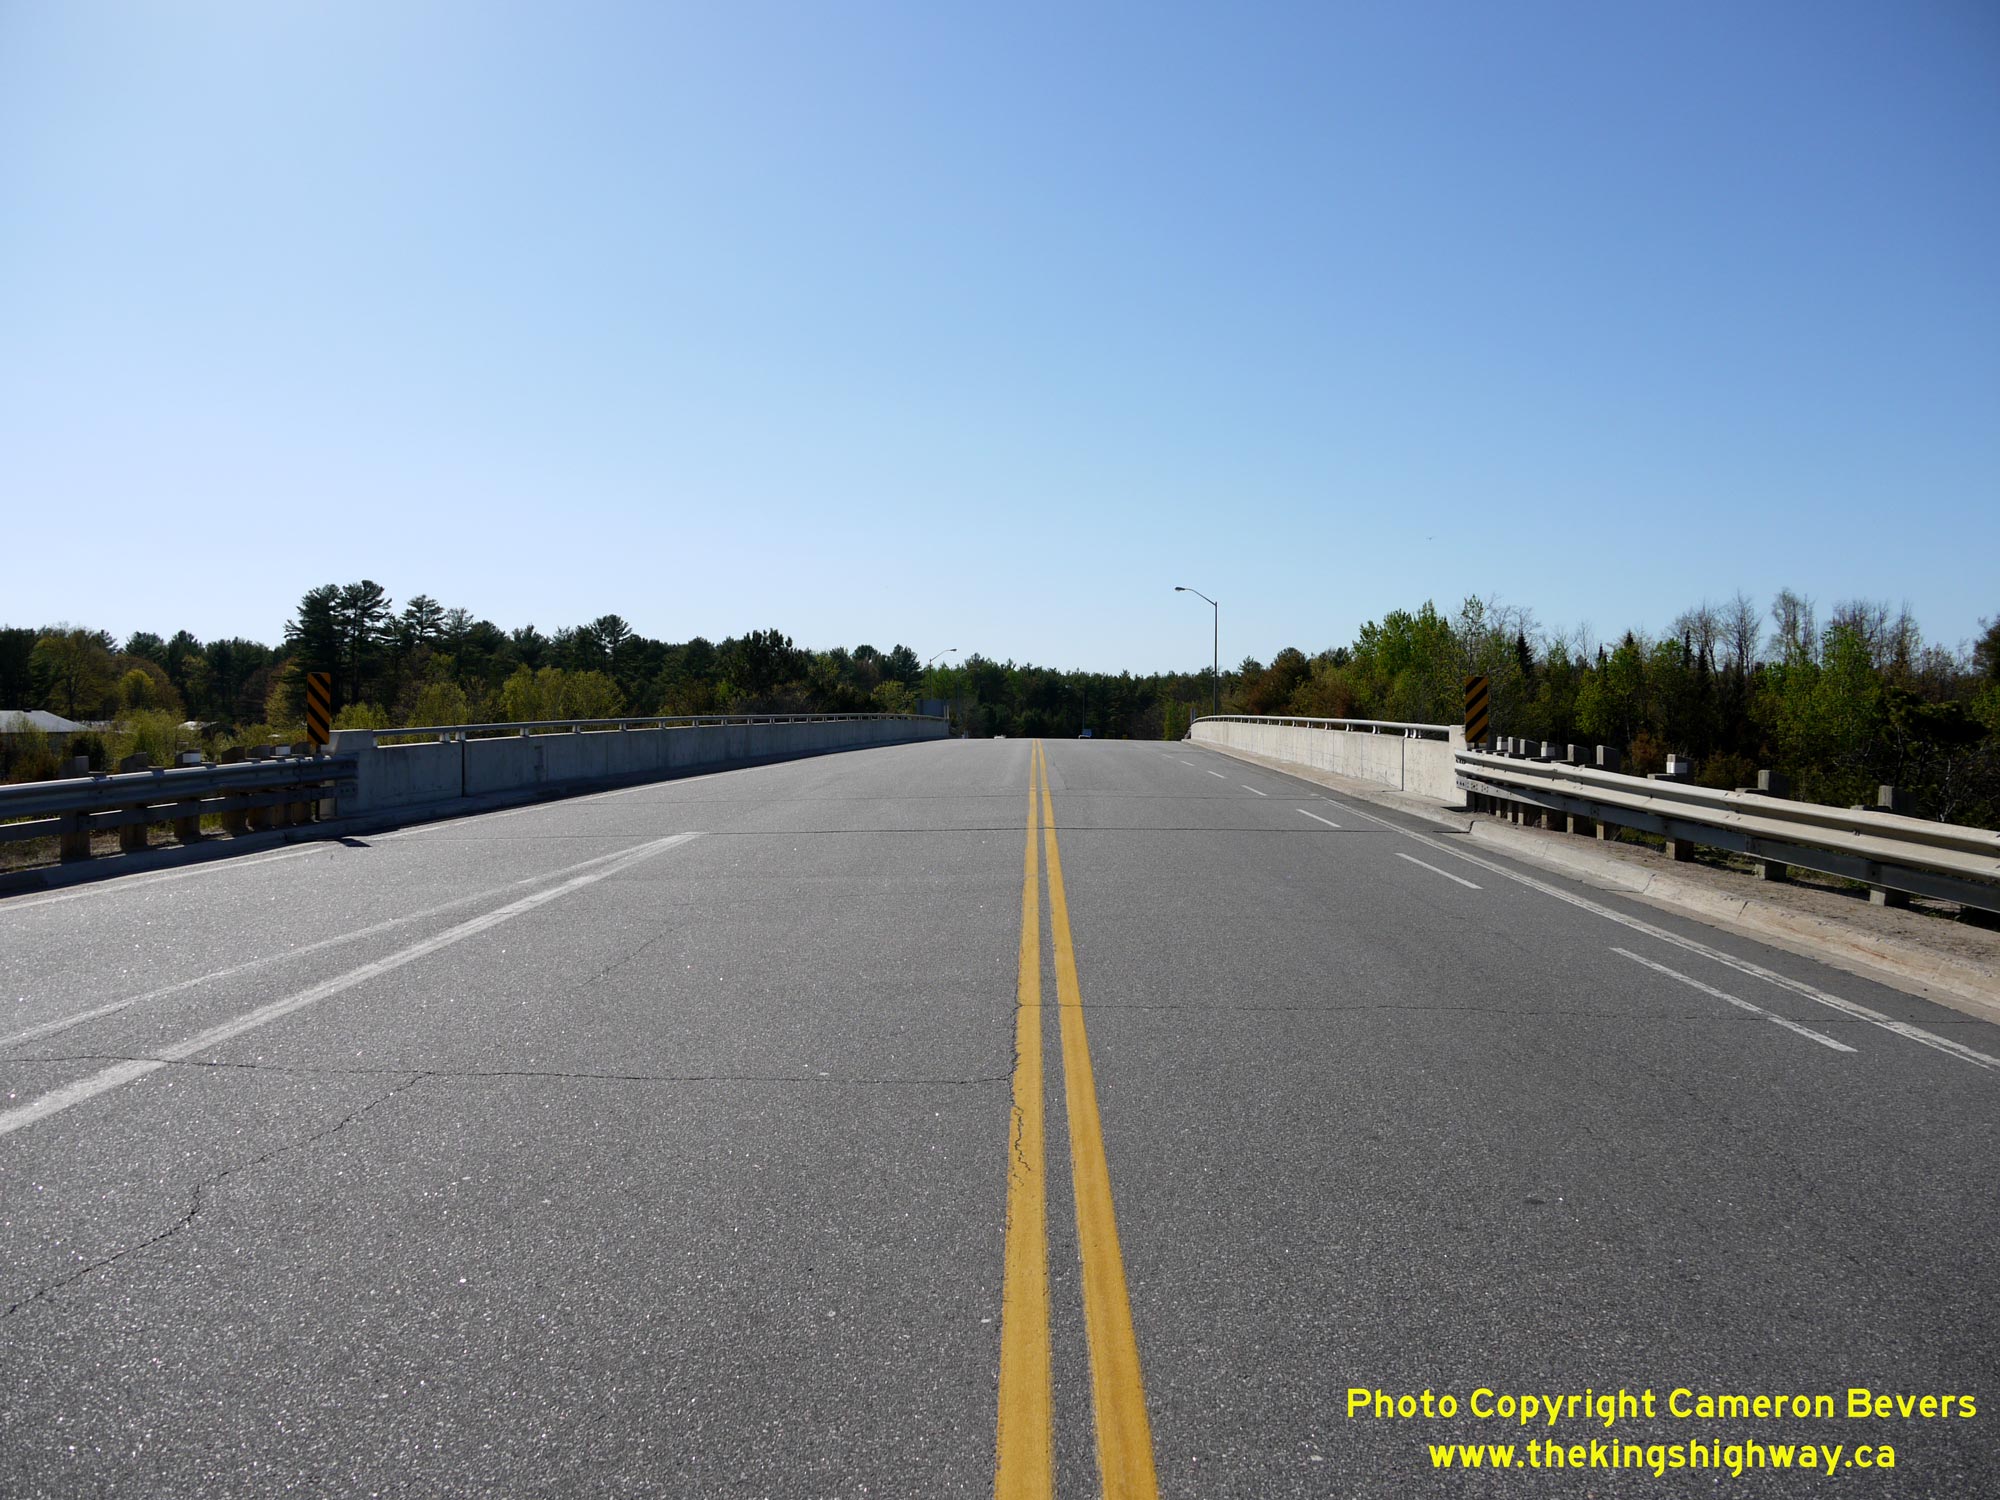
Left - Facing west towards Downtown Bracebridge across the Hwy 118 Overpass on Hwy 11. See an
Enlarged Photo Here. (Photograph taken on May 22, 2020 - © Cameron Bevers) Right - Northern side of the Hwy 118 Overpass on Hwy 11 in Bracebridge. As a result of the mass "downloading" of provincial highways during the late 1990s, Hwy 118 is the only remaining King's Highway which intersects with Hwy 11 between Orillia and the Huntsville area. All others (Hwy 169 South, Hwy 169 North & Hwy 117) are now municipal highways. See an Enlarged Photo Here. (Photograph taken on May 22, 2020 - © Cameron Bevers) 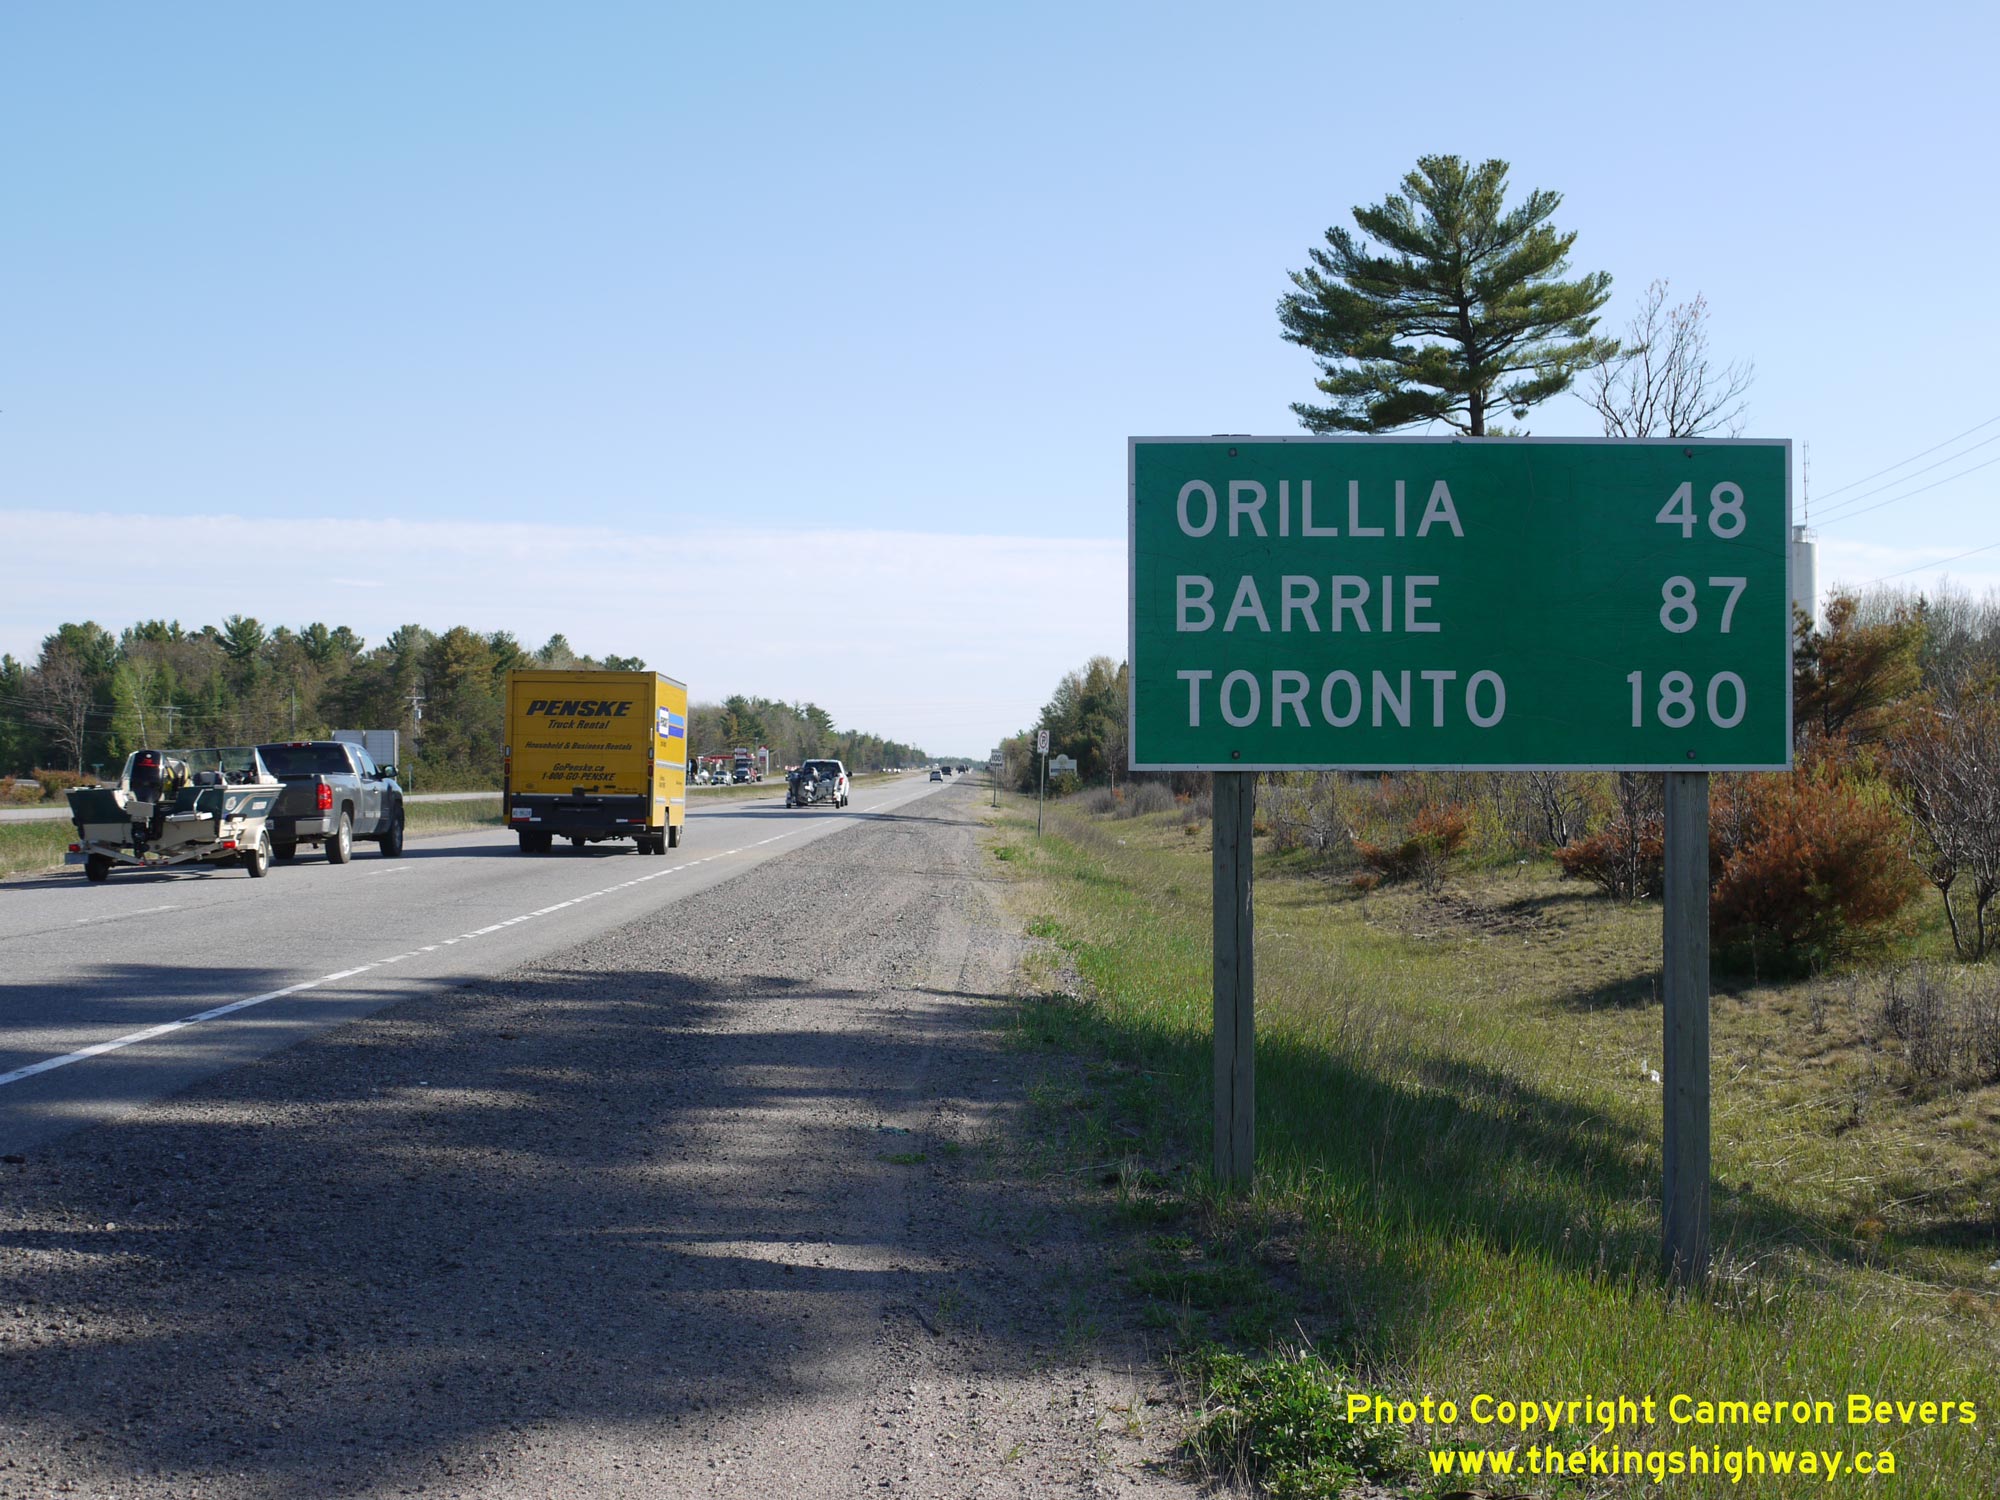
Left - Distance guide sign on southbound Hwy 11 departing from Bracebridge near the Hwy 118 Interchange. See an
Enlarged Photo Here. (Photograph taken on May 22, 2020 - © Cameron Bevers) Right - Distance guide sign on Hwy 118 heading east from the Hwy 11 Interchange in Bracebridge. The highway passes through a sparsely-populated area east of Bracebridge. Vankoughnet is the only sizeable community located along Hwy 118 between the Hwy 11 Interchange and the Hwy 35 Junction at Carnarvon. This section of Hwy 118 is a relatively new King's Highway. The road between Bracebridge and Carnarvon was not designated as Hwy 118 until the early 1980s. See an Enlarged Photo Here. (Photograph taken on June 6, 2009 - © Cameron Bevers) 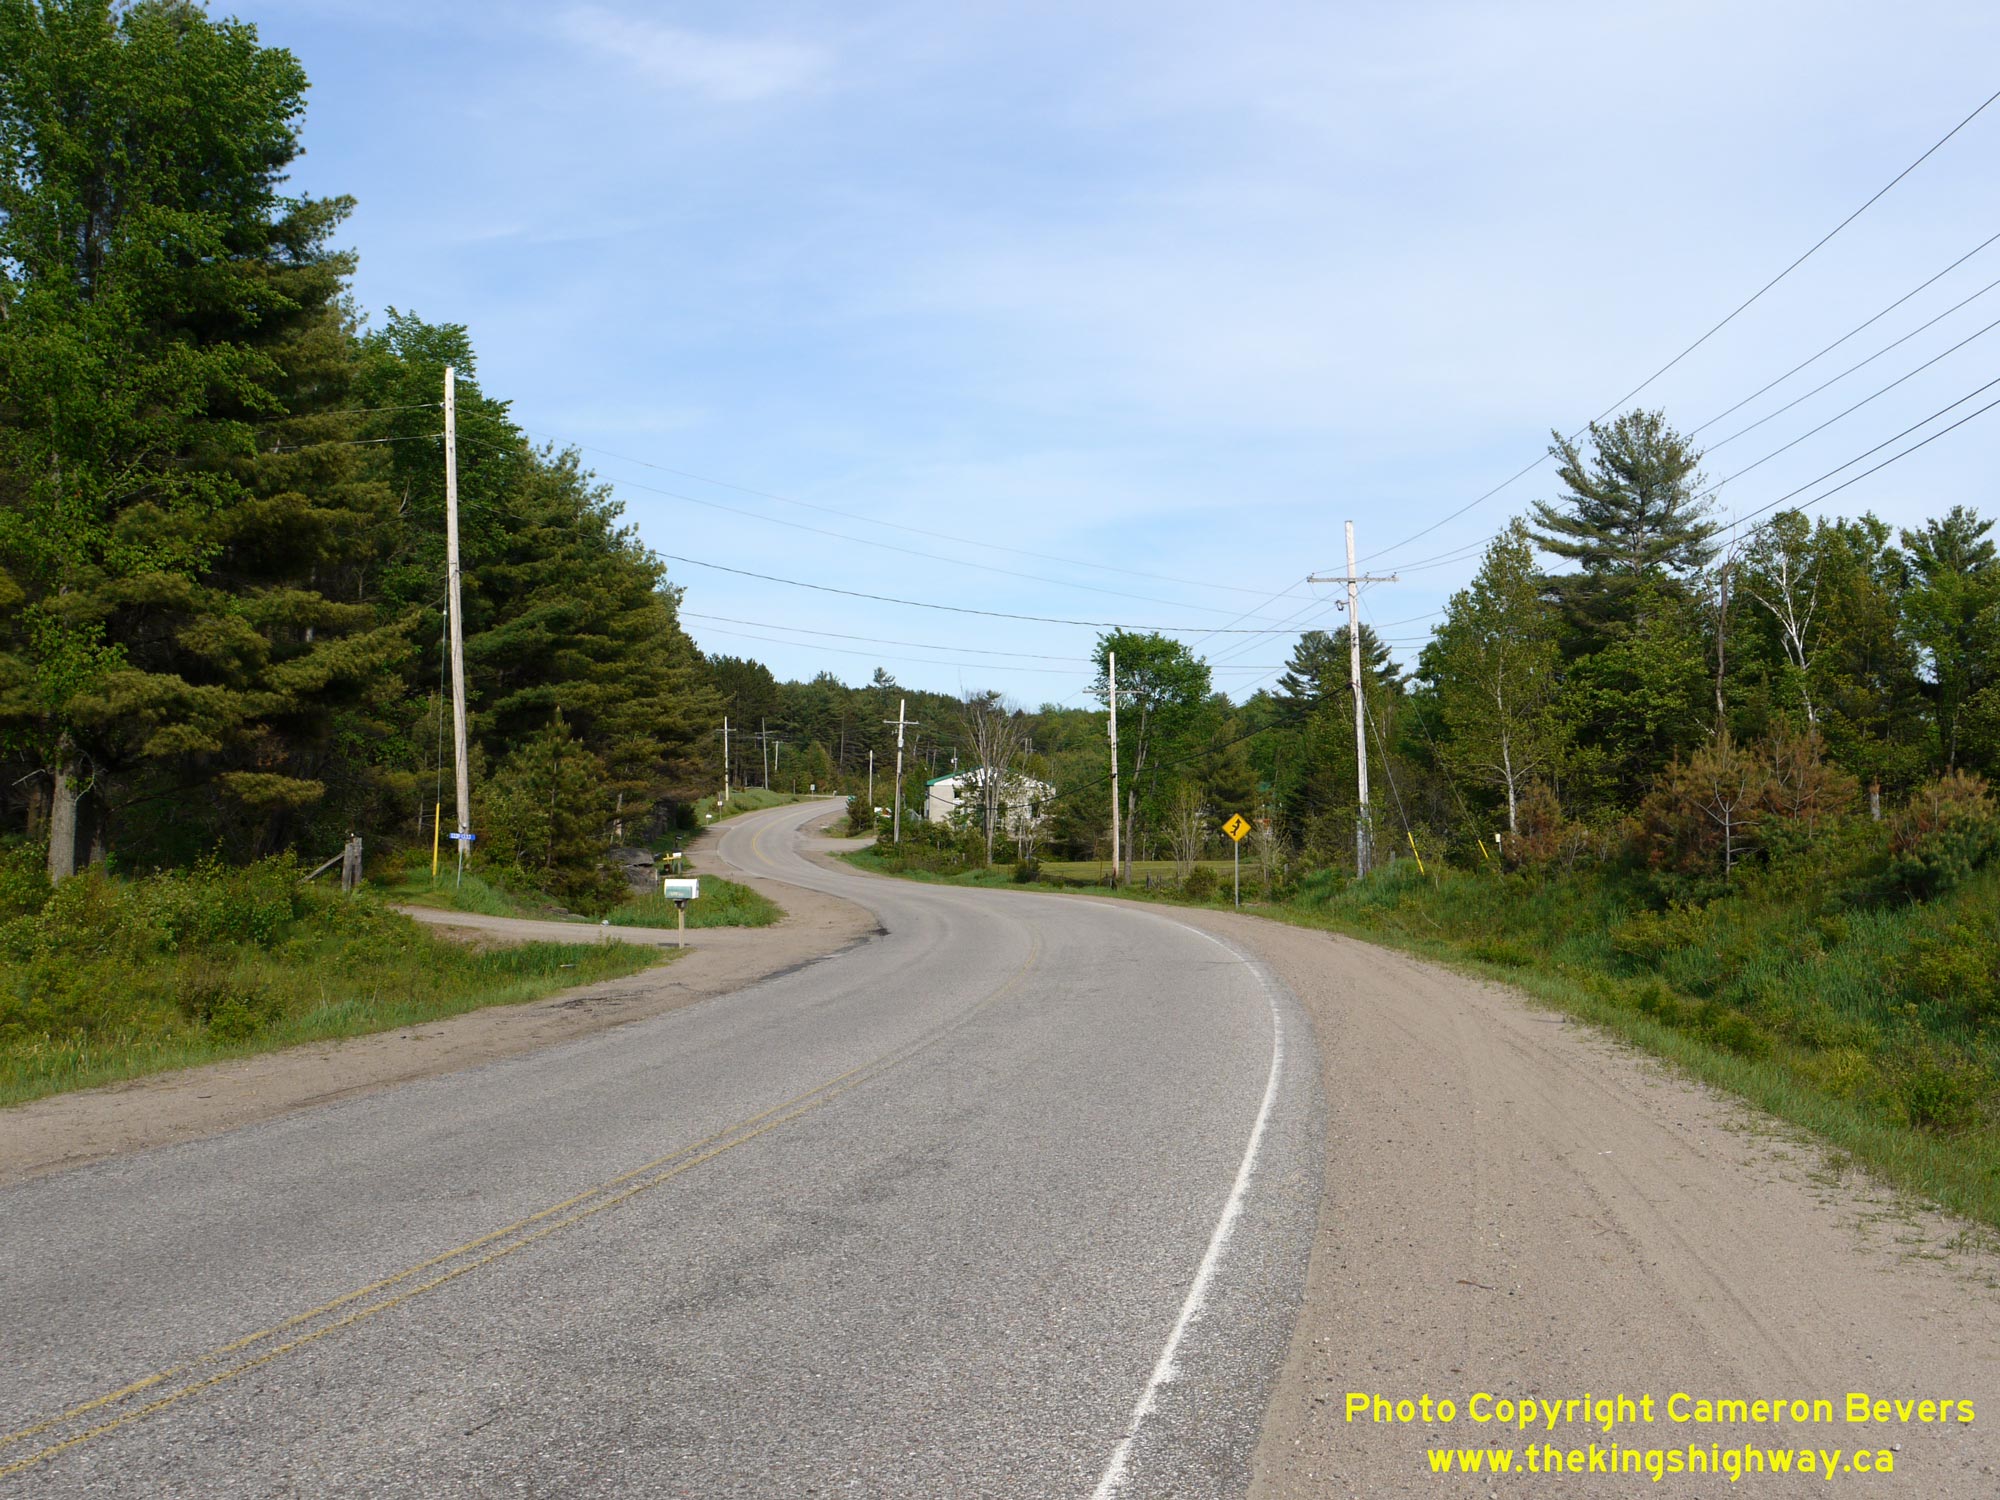
Left - Reverse curve on Hwy 118 between Bracebridge and Vankoughnet. Originally, this section of Hwy 118 immediately east of the Hwy 11 Interchange was built
as a local road which just led to Vankoughnet and did not continue through into Haliburton County. As a result, Hwy 118 has a rather winding alignment in the area, as
the highway more or less follows the original local road's route out to Vankoughnet. See an
Enlarged Photo Here. (Photograph taken on June 6, 2009 - © Cameron Bevers) Right - Facing west along Hwy 118 towards the Muskoka Road 20 Junction at Uffington. This intersection is located about 10 km east of the Hwy 11 Interchange. See an Enlarged Photo Here. (Photograph taken on October 3, 2023 - © Cameron Bevers) 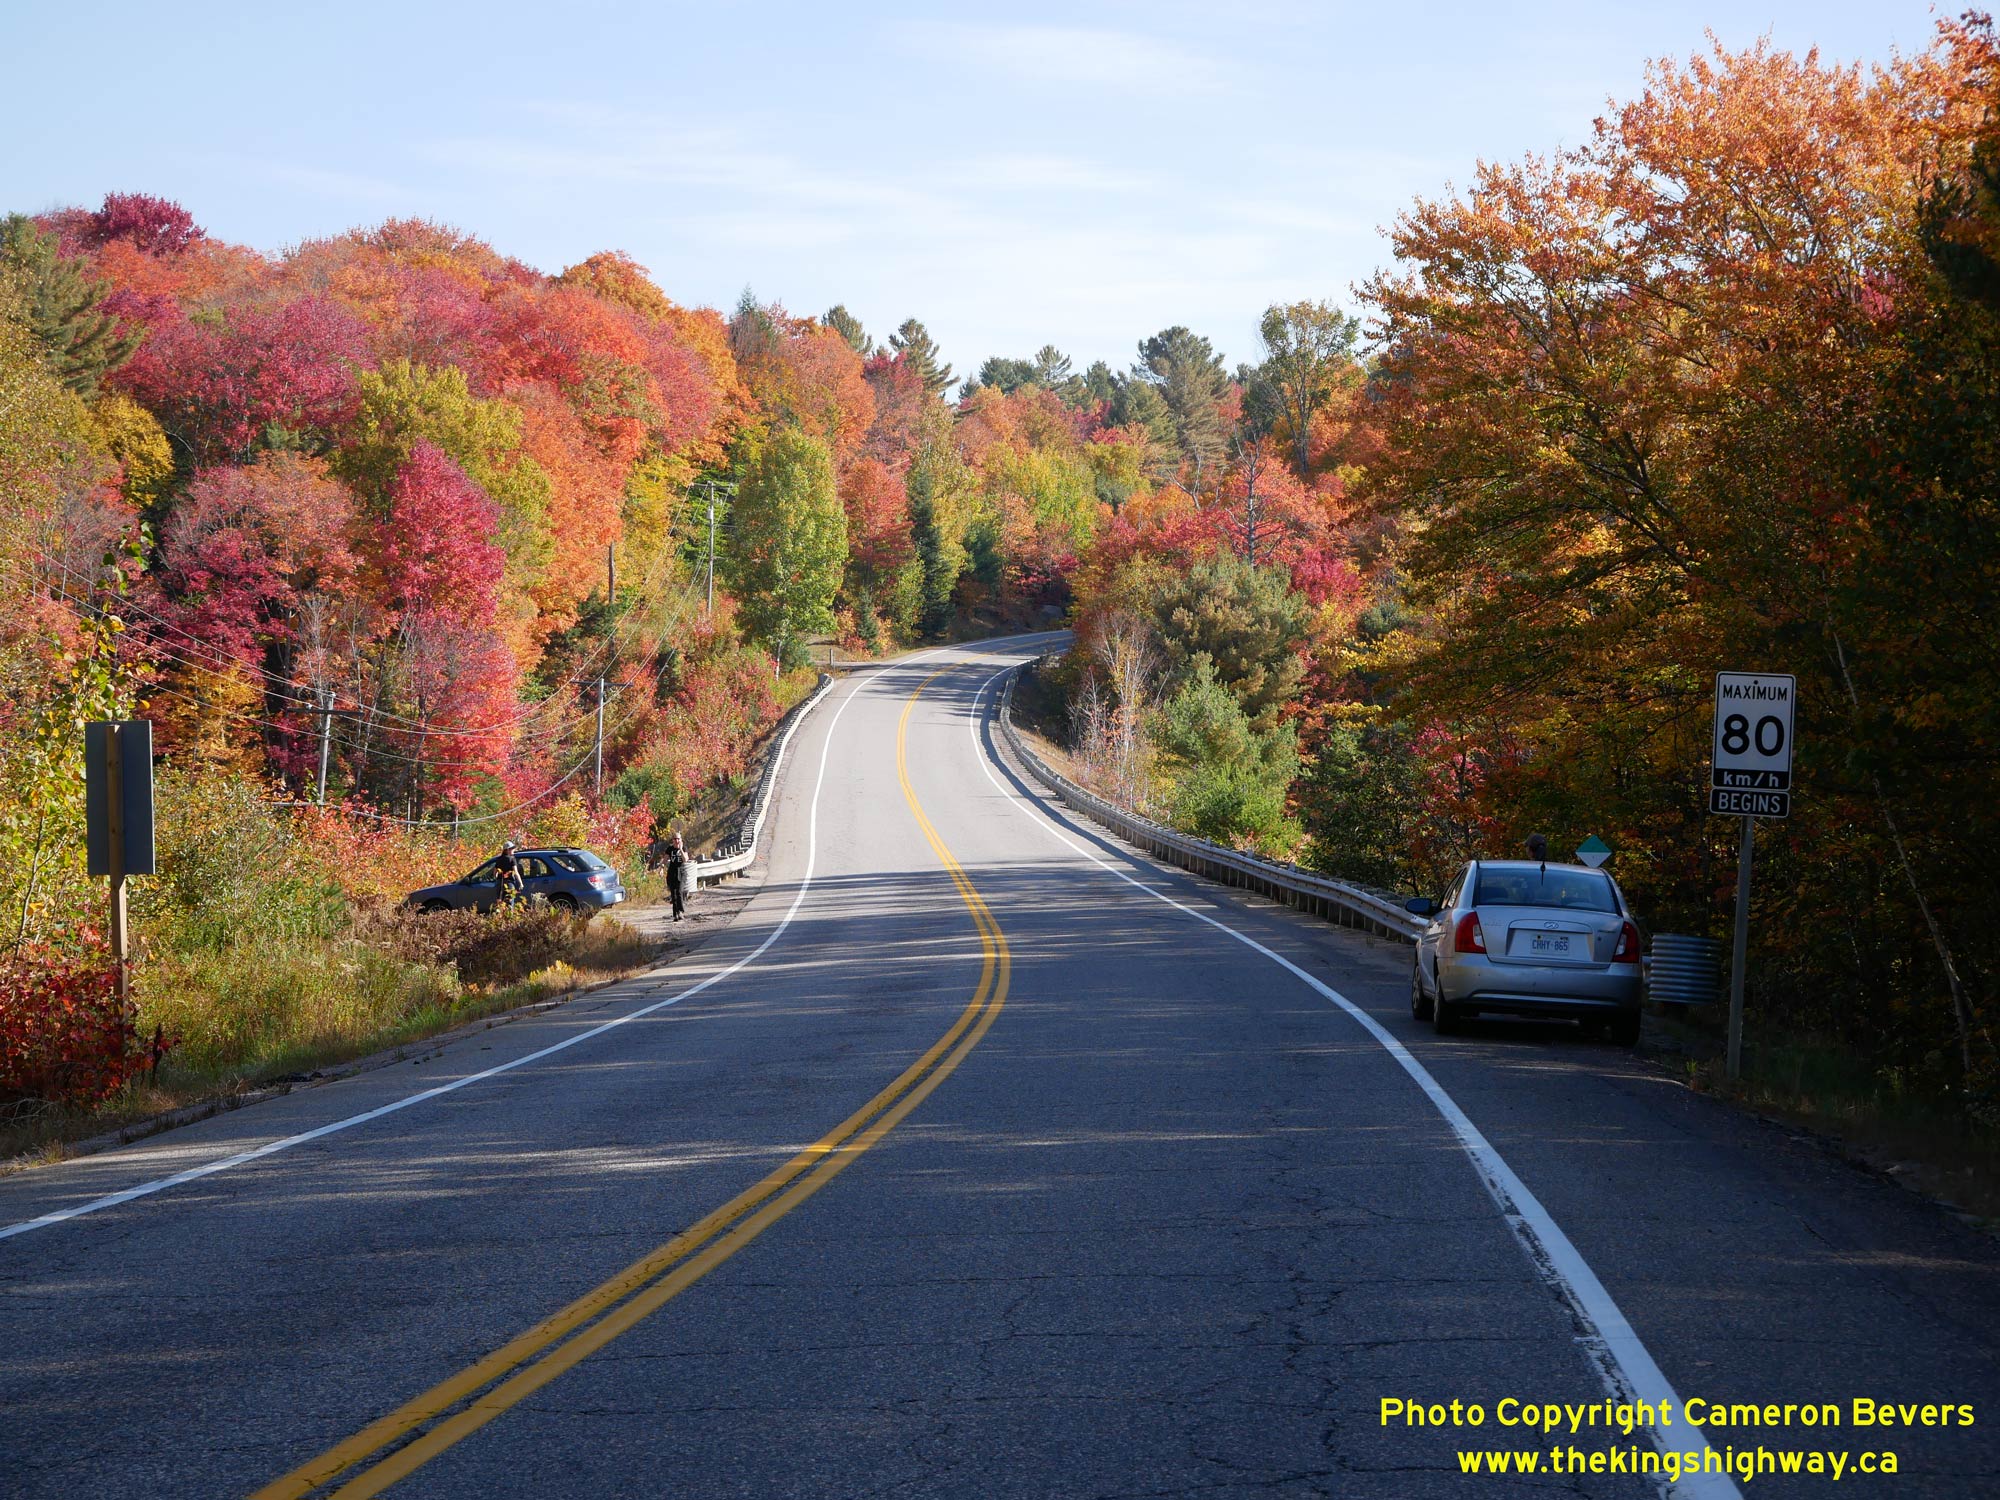
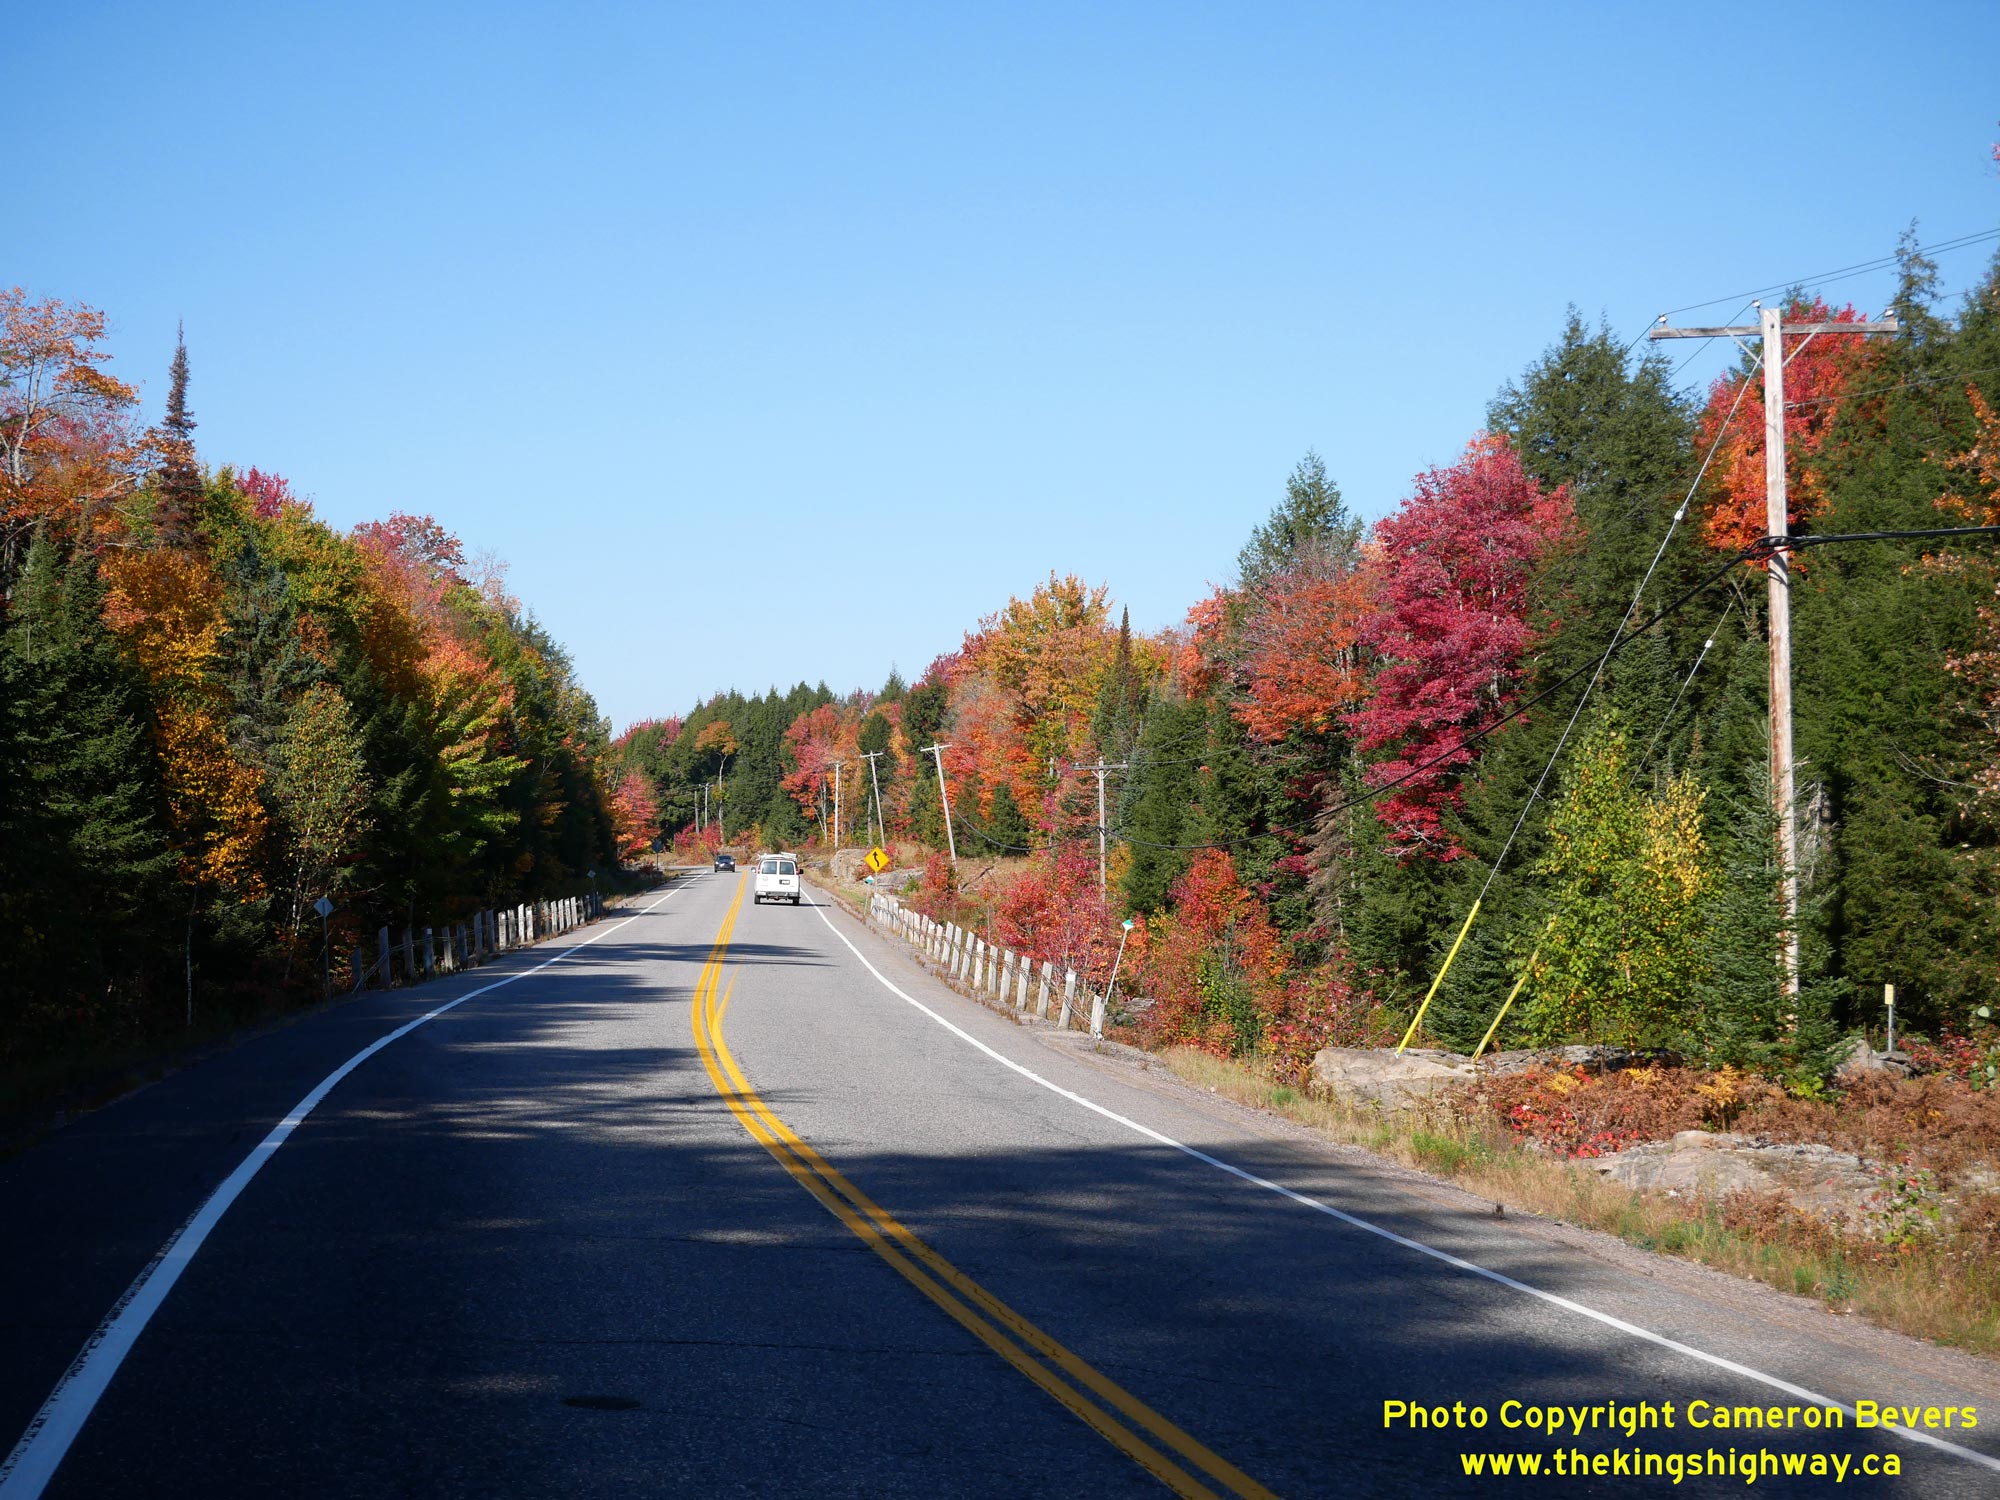
Left - Spectacular fall colours along Hwy 118, facing east from Uffington. The Fall of 2023 offered up the most vibrant fall colour display seen in Ontario in
about a decade. As this photo demonstrates, I was certainly not alone out there on the road admiring nature's display! See an
Enlarged Photo Here. (Photograph taken on October 3, 2023 - © Cameron Bevers) Right - View of Hwy 118 at the South Muskoka River about 2 km east of Uffington, facing east towards Carnarvon. See an Enlarged Photo Here. (Photograph taken on October 3, 2023 - © Cameron Bevers) 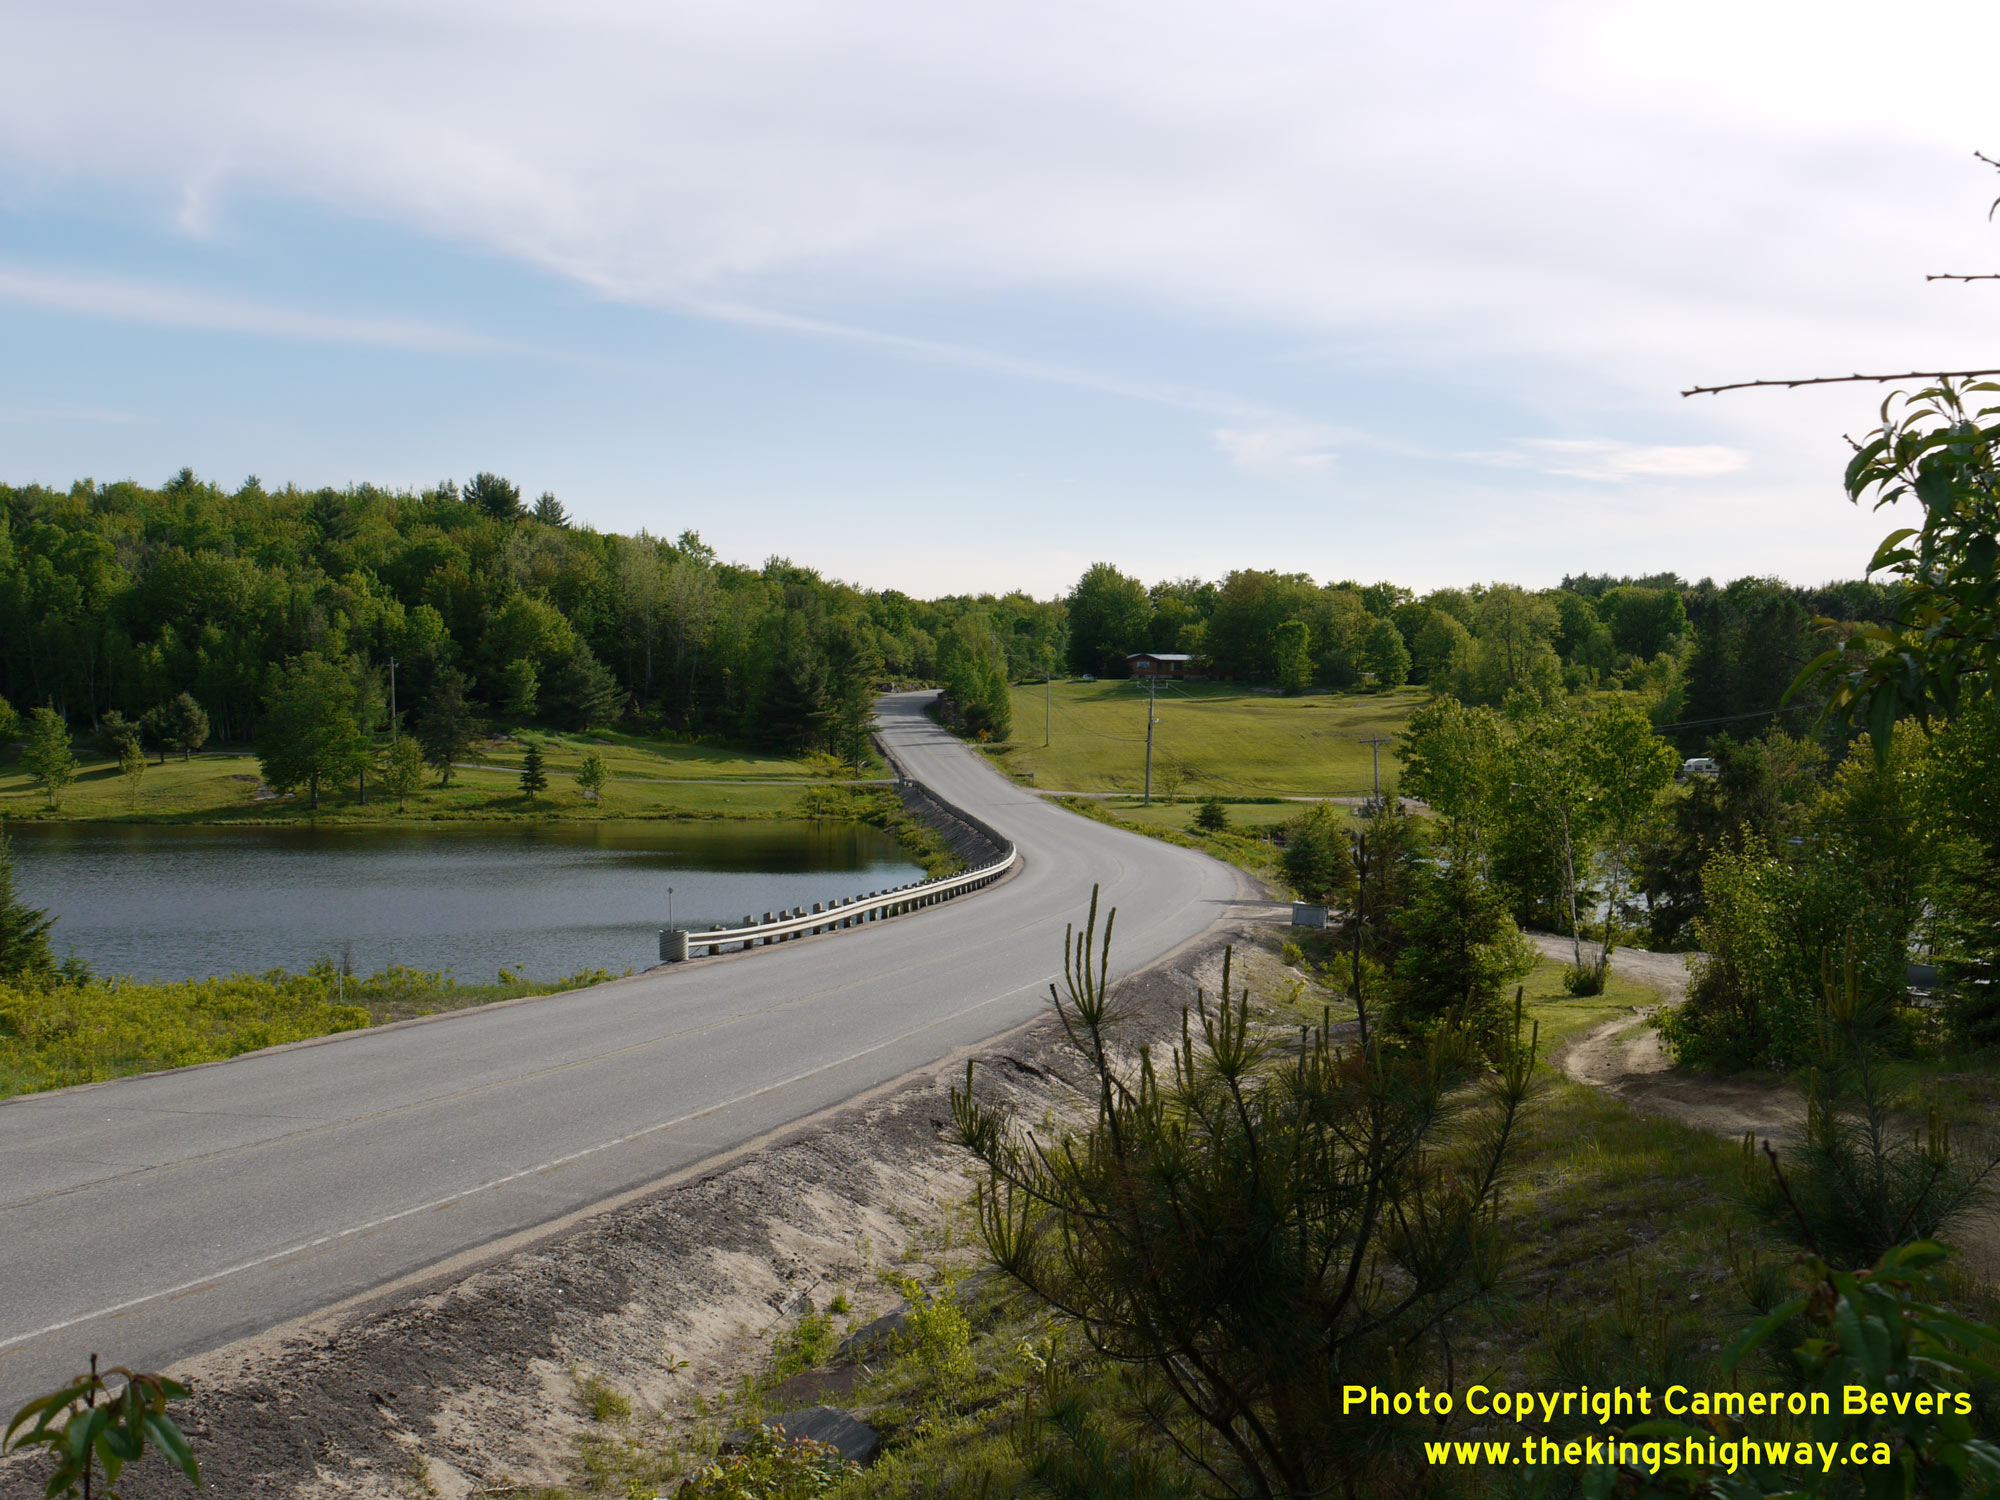
Left - Facing west along Hwy 118 towards Bracebridge beside the South Muskoka River near Uffington. See an
Enlarged Photo Here. (Photograph taken on June 6, 2009 - © Cameron Bevers) Right - A three-cable cedar post guide rail system installation on Hwy 118. This roadside barrier system was developed in the late 1960s and saw widespread use in Ontario until the past decade. Supported by cedar guide rail posts, the steel cables are tensioned and are connected to concrete anchorage blocks buried under the shoulder. These types of barrier systems are designed to "catch" a vehicle that has left the roadway before it descends too far down the roadside slope where there may be a risk of the vehicle overturning. Since the mid-2010s, newer high-tension cable barrier systems have been introduced along the province's highways and are becoming more common each year. See an Enlarged Photo Here. (Photograph taken on October 3, 2023 - © Cameron Bevers) 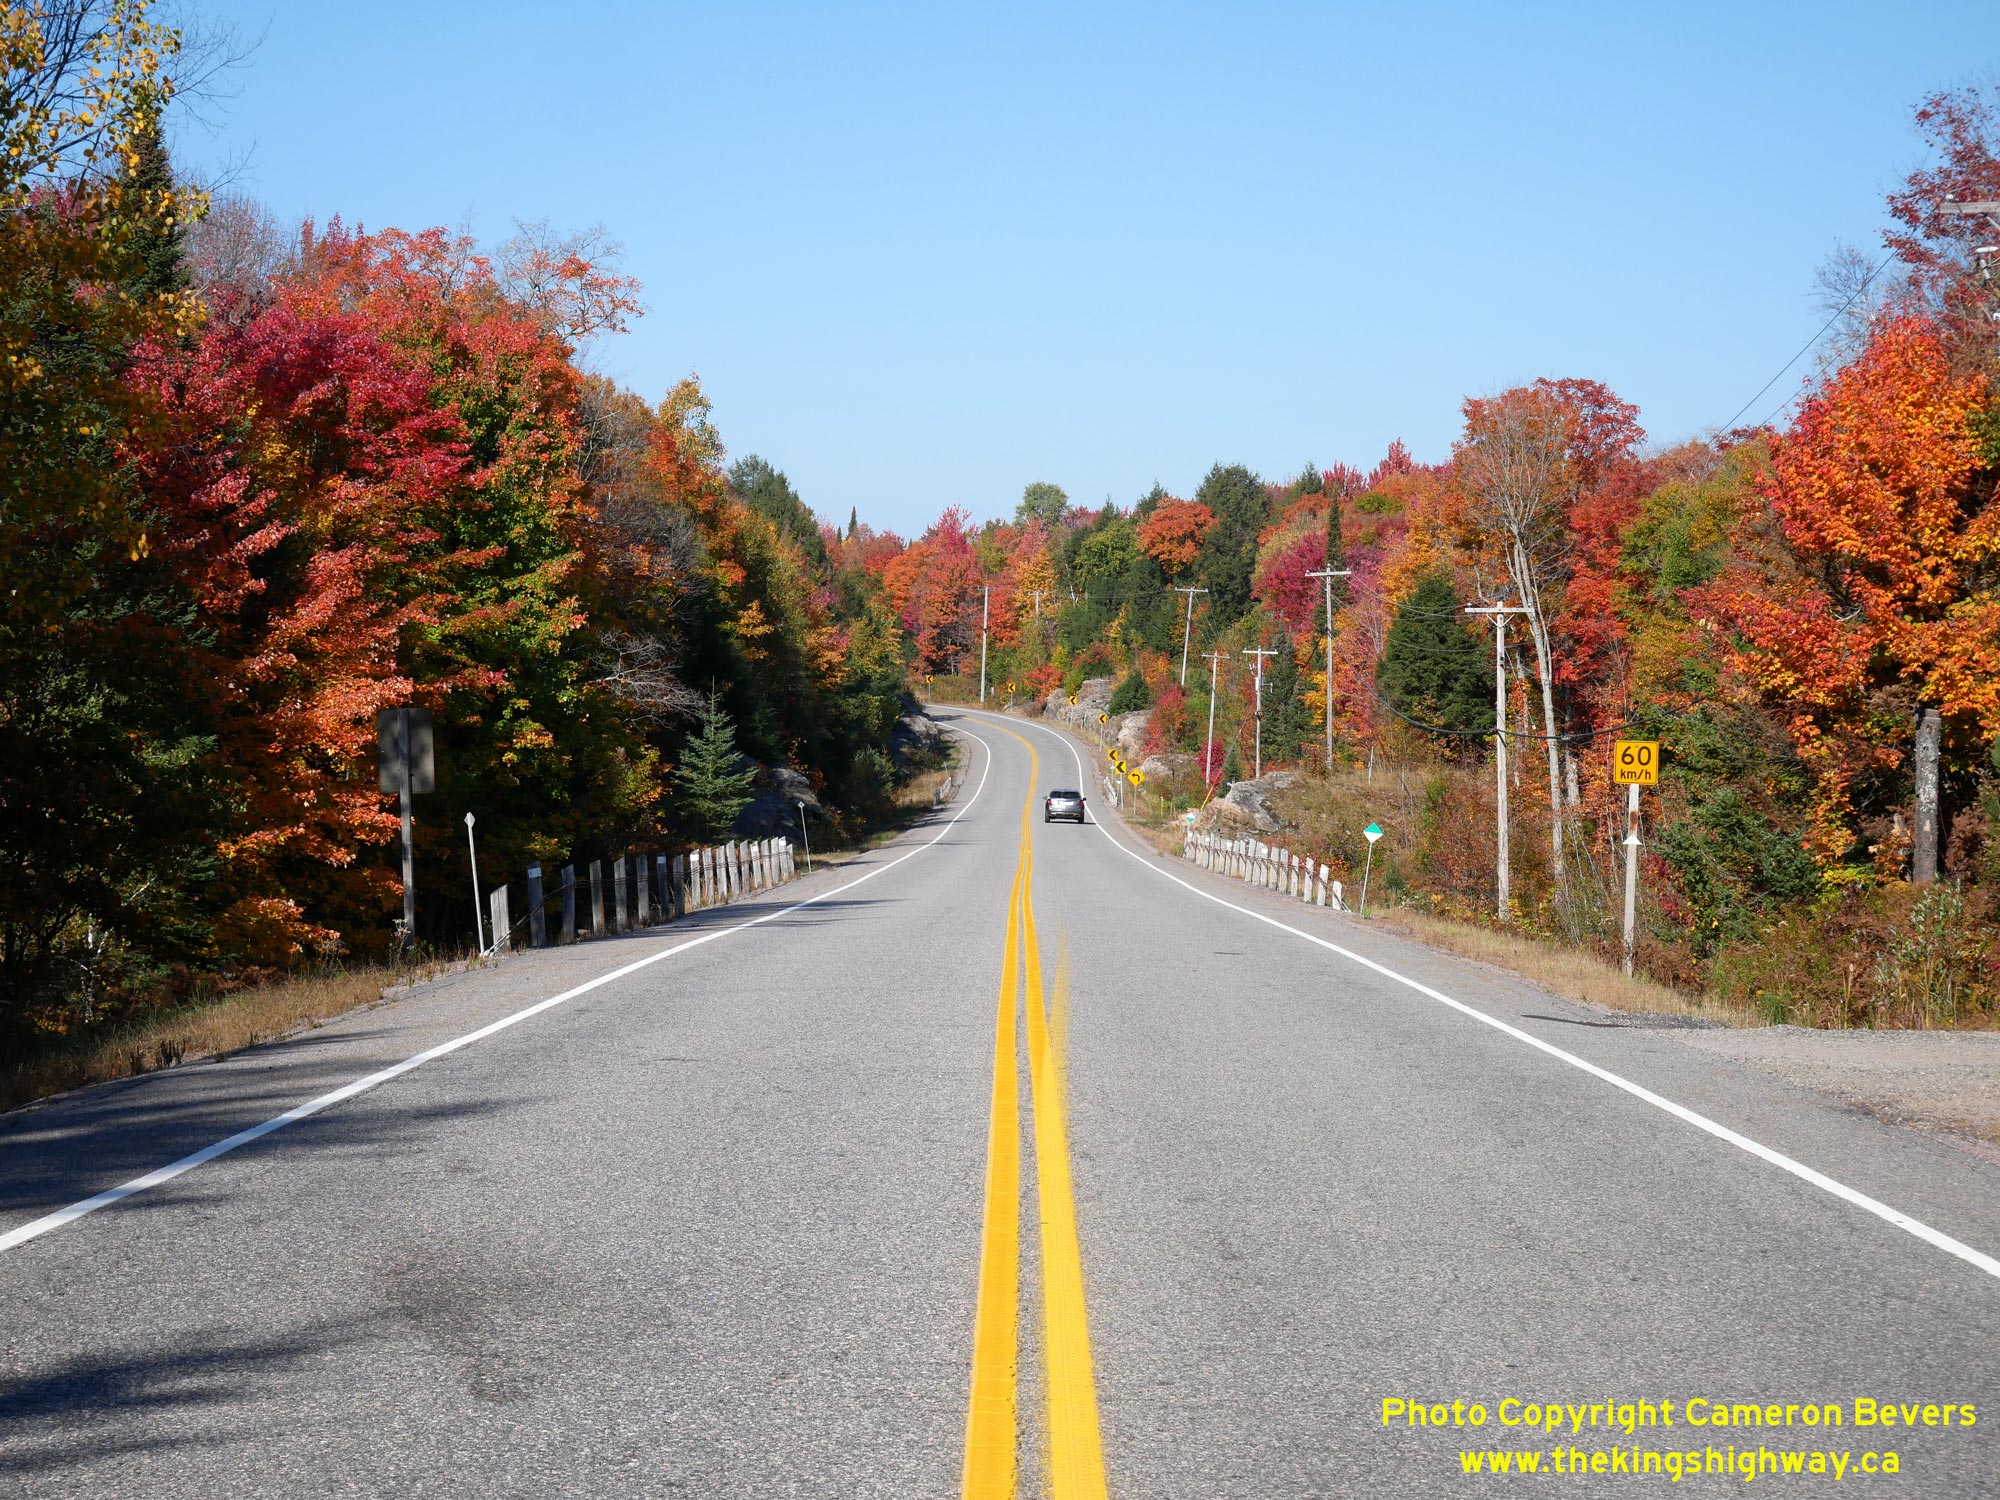
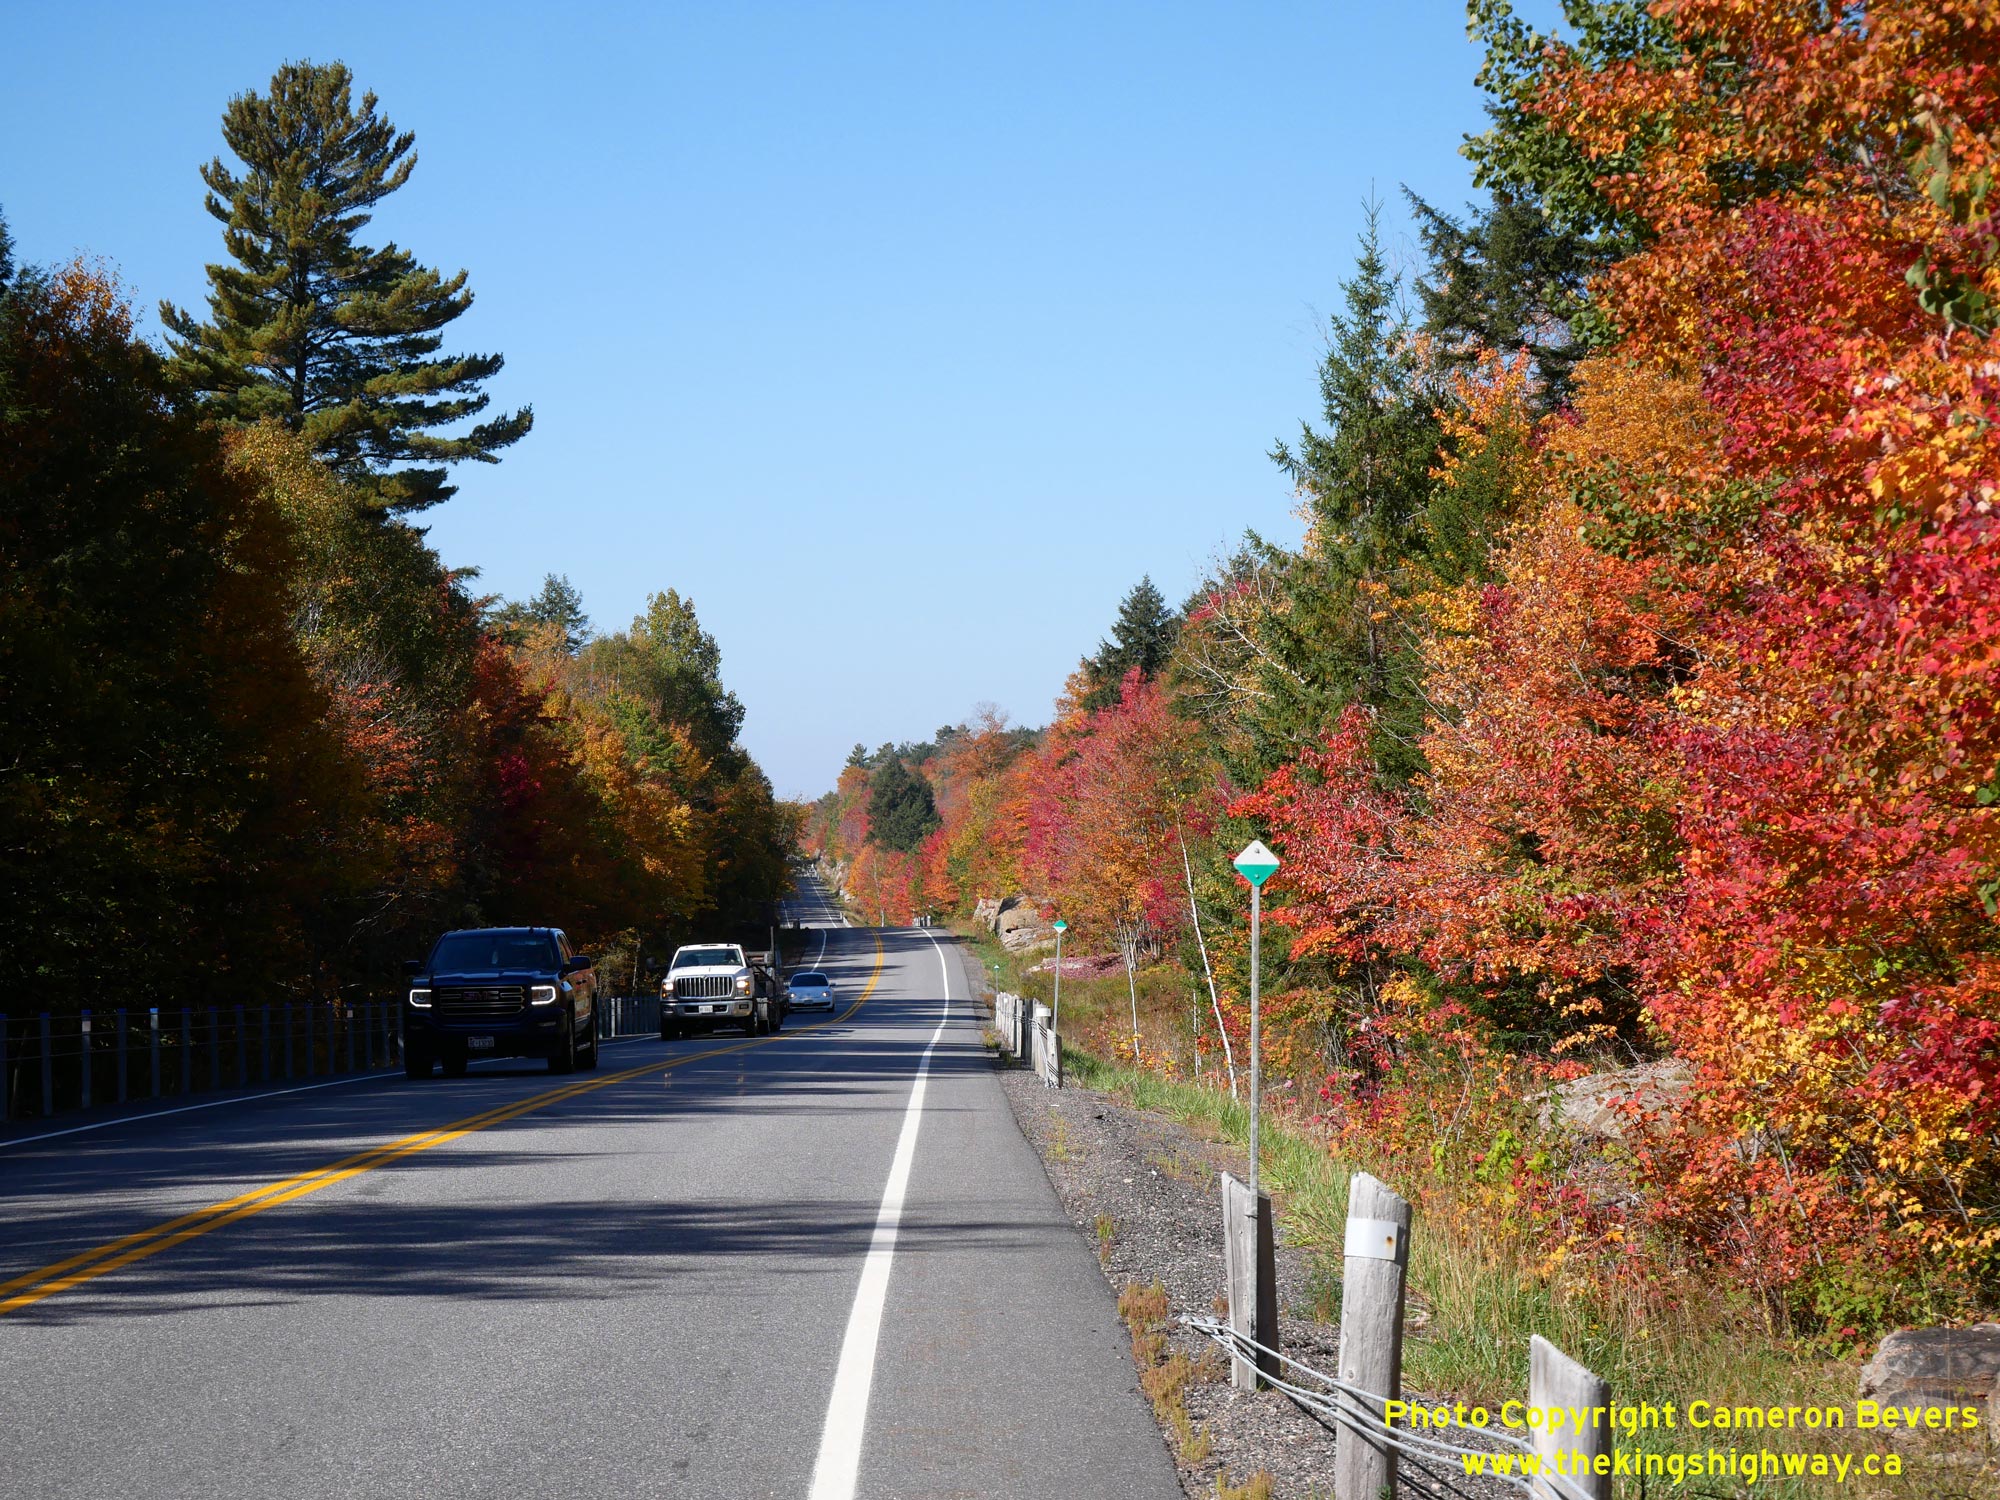
Left - Fall colours abound as Hwy 118 approaches this curve located about 4 km west of Vankoughnet. See an
Enlarged Photo Here. (Photograph taken on October 3, 2023 - © Cameron Bevers) Right - Facing east along Hwy 118 towards Carnarvon from Vankoughnet Road. The community of Vankoughnet is actually situated on a loop road along the southern side of Hwy 118. The highway's route passes by the community to the north. See an Enlarged Photo Here. (Photograph taken on October 3, 2023 - © Cameron Bevers) 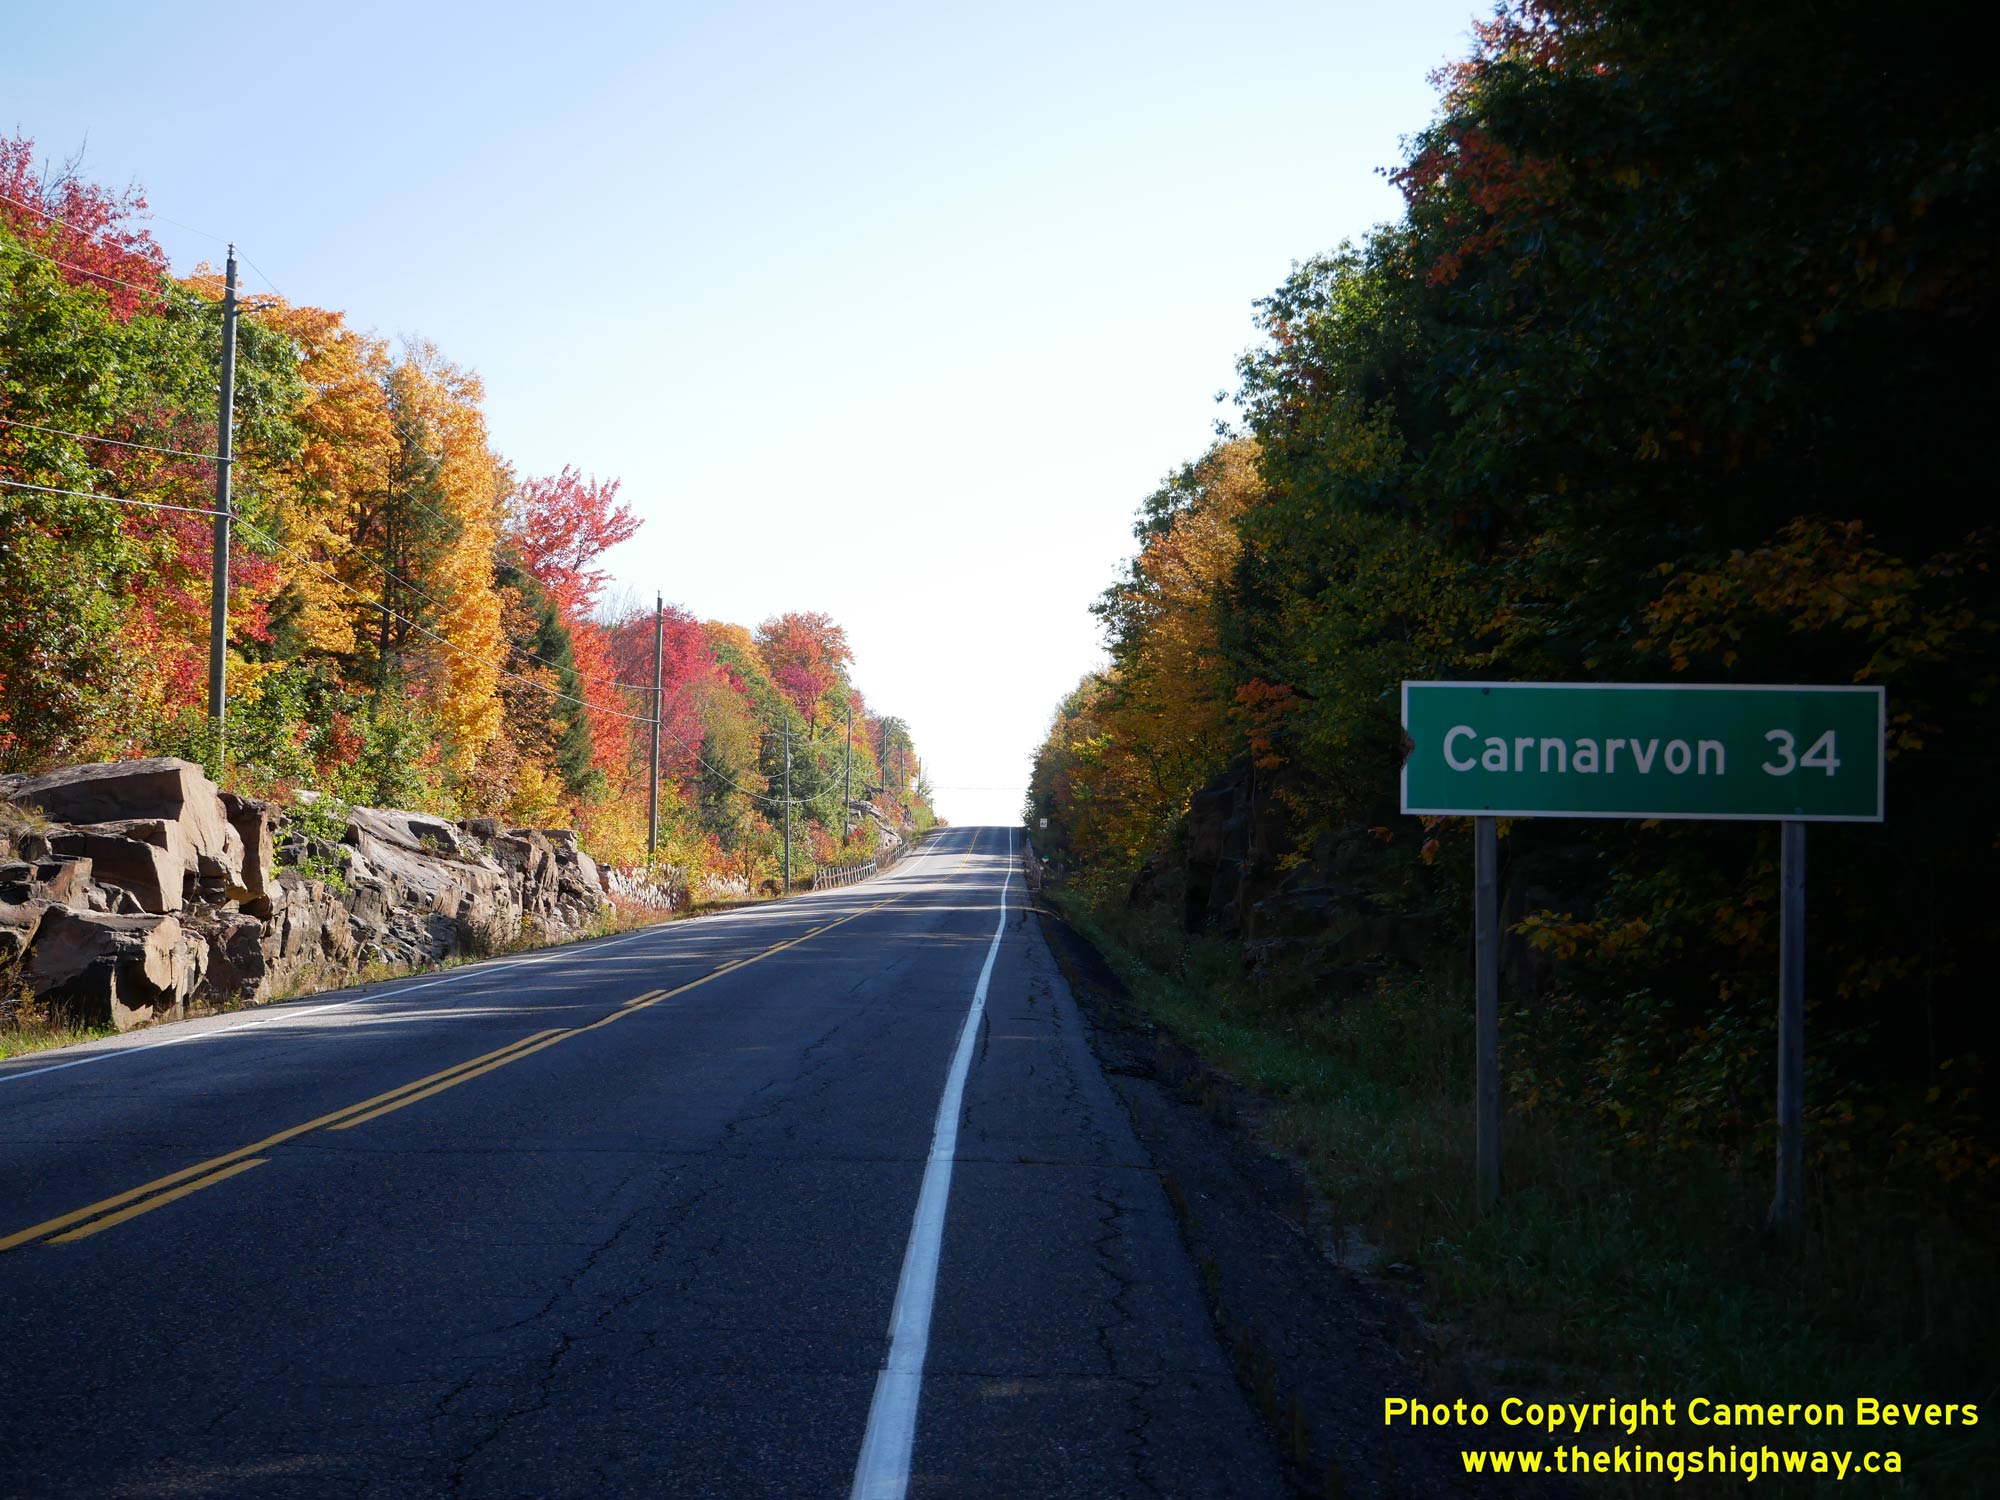
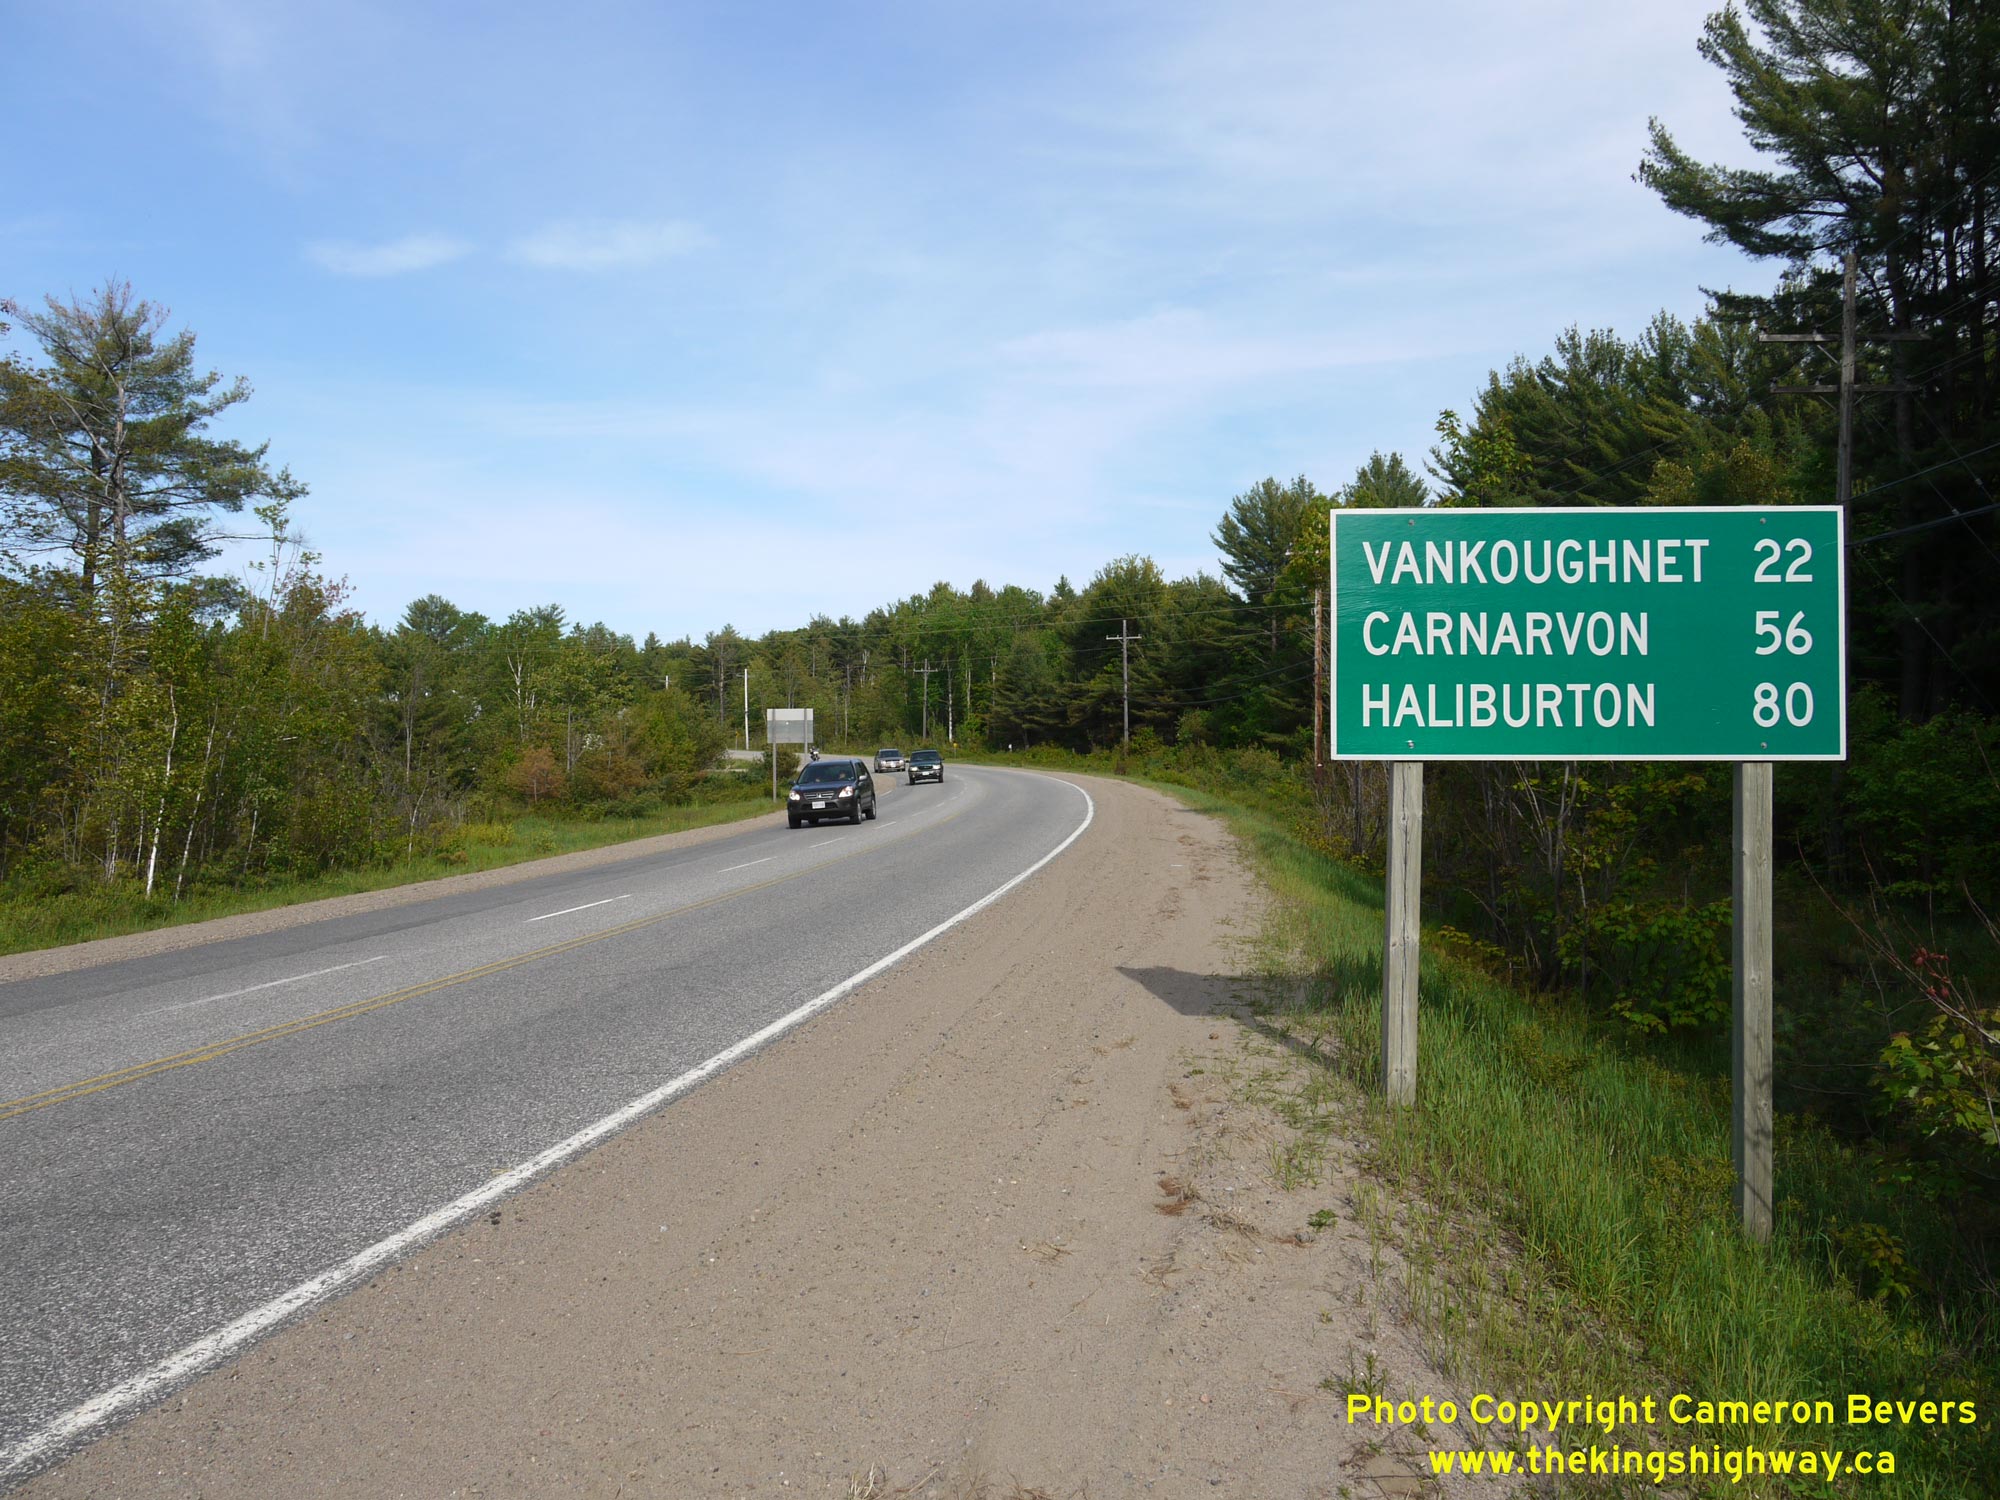
Left - Distance guide sign on eastbound Hwy 118 at Vankoughnet. See an
Enlarged Photo Here. (Photograph taken on October 3, 2023 - © Cameron Bevers) Right - Approaching the western junction of Vankoughnet Road on Hwy 118, facing west towards Bracebridge. Since Vankoughnet Road is a loop road which both originates and returns to Hwy 118 over a fairly short distance, the western entrance to the Vankoughnet loop is not signed heading westbound on Hwy 118. See an Enlarged Photo Here. (Photograph taken on October 3, 2023 - © Cameron Bevers) 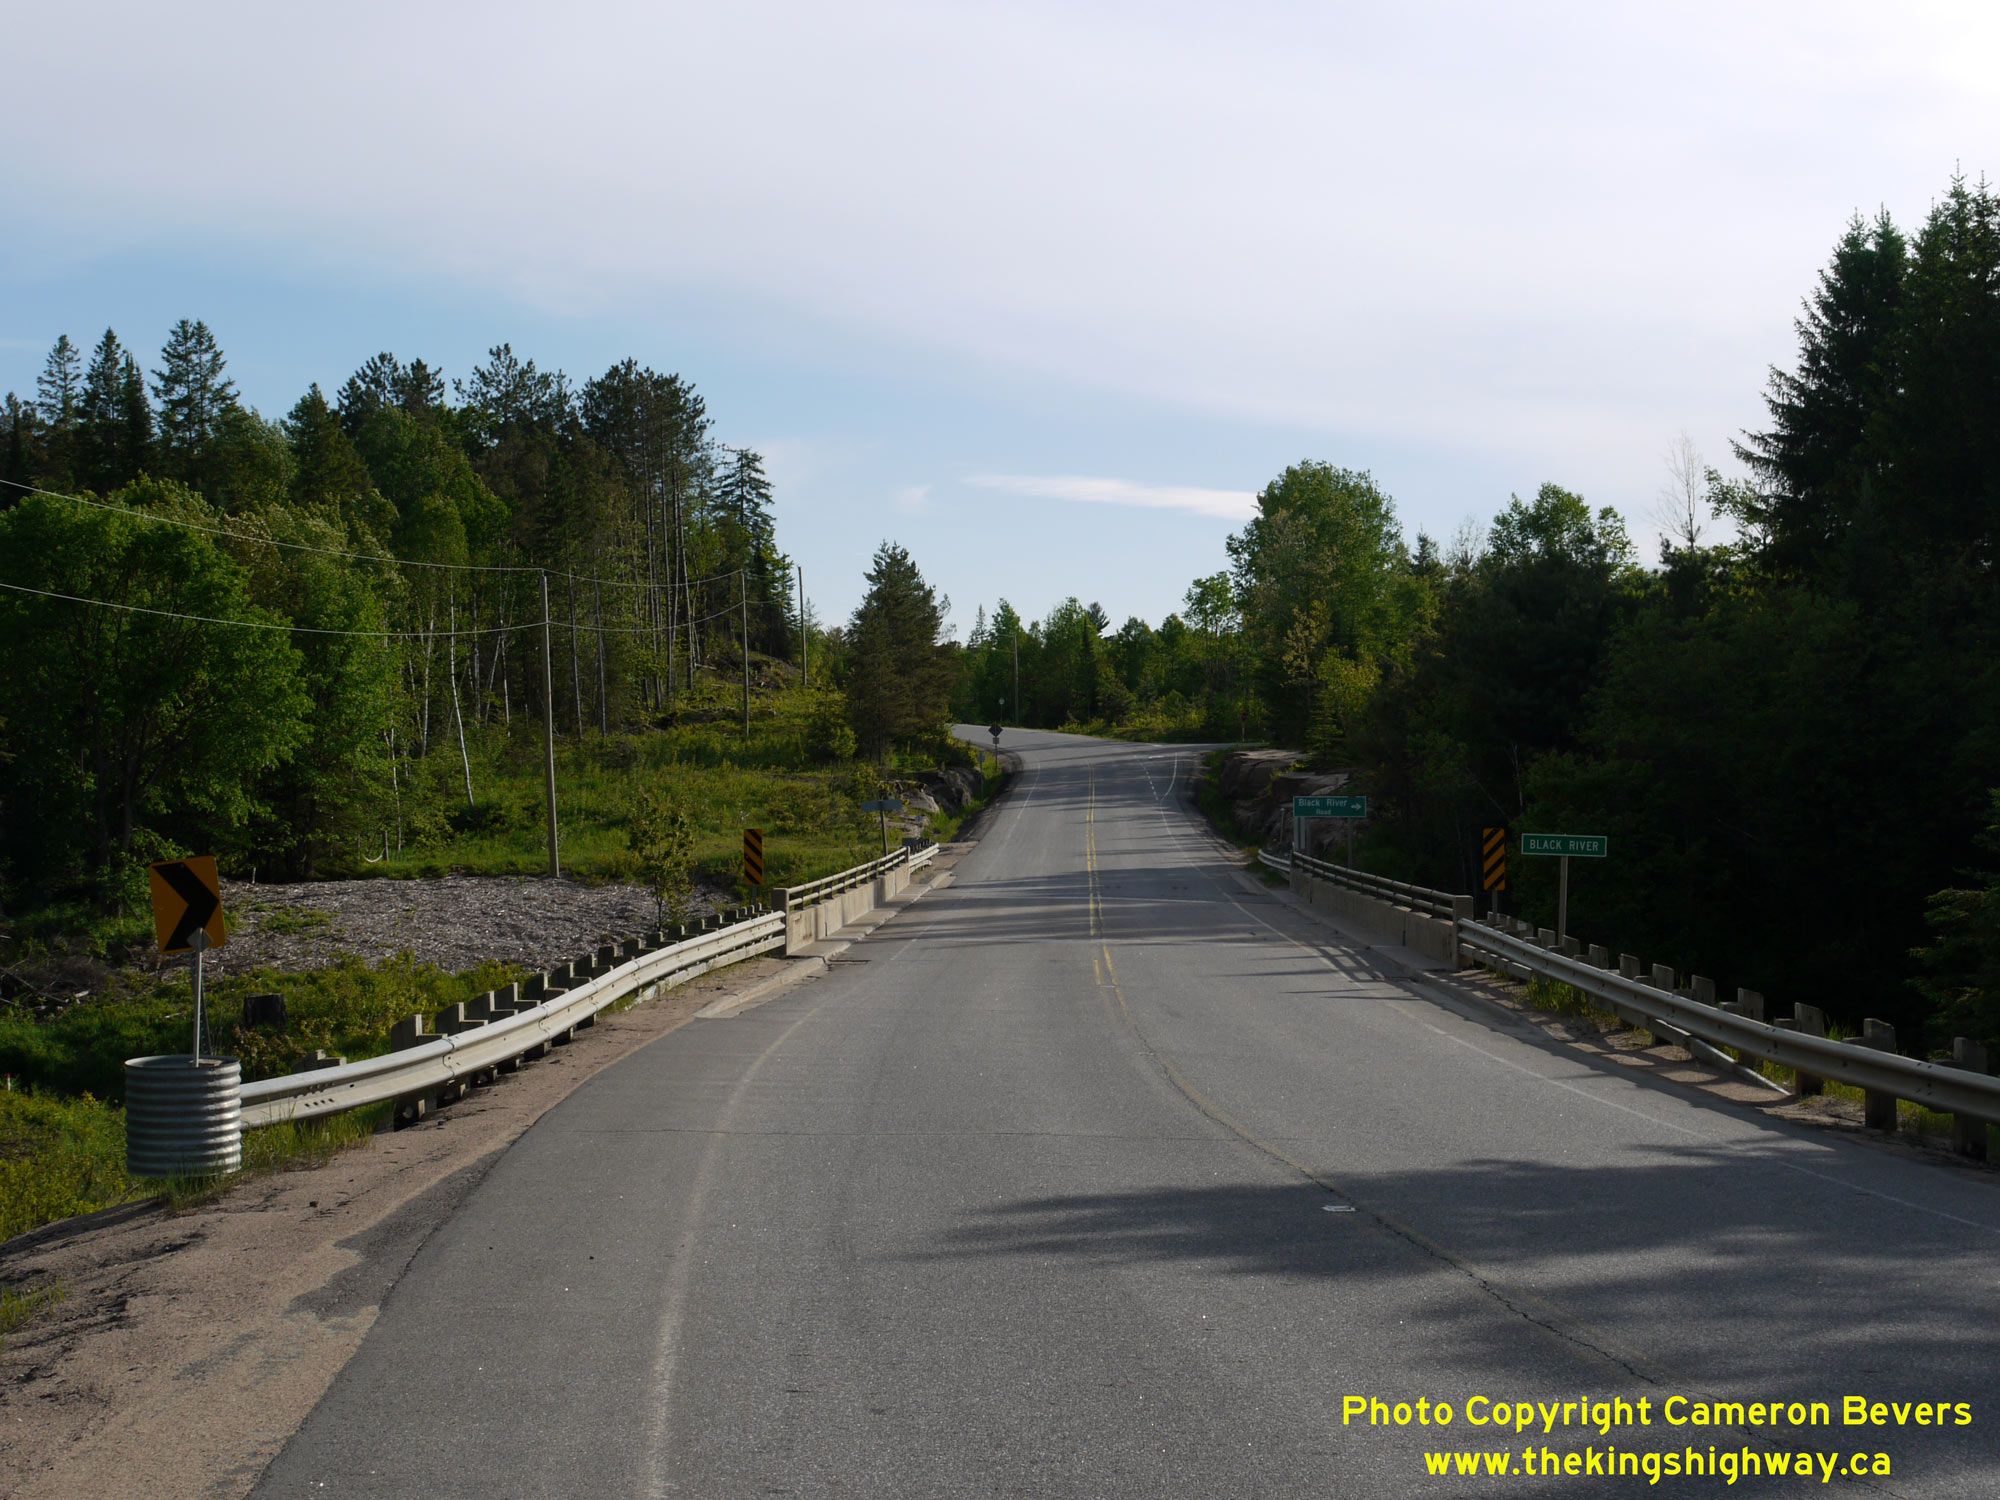
Left - Approaching the Black River Bridge on Hwy 118, facing west towards Bracebridge. See an
Enlarged Photo Here. (Photograph taken on June 6, 2009 - © Cameron Bevers) Right - Facing east along Hwy 118 towards Carnarvon at the Black River Bridge (Site #42-149). The Black River crosses Hwy 118 about 6 km east of Vankoughnet. See an Enlarged Photo Here. (Photograph taken on June 6, 2009 - © Cameron Bevers) 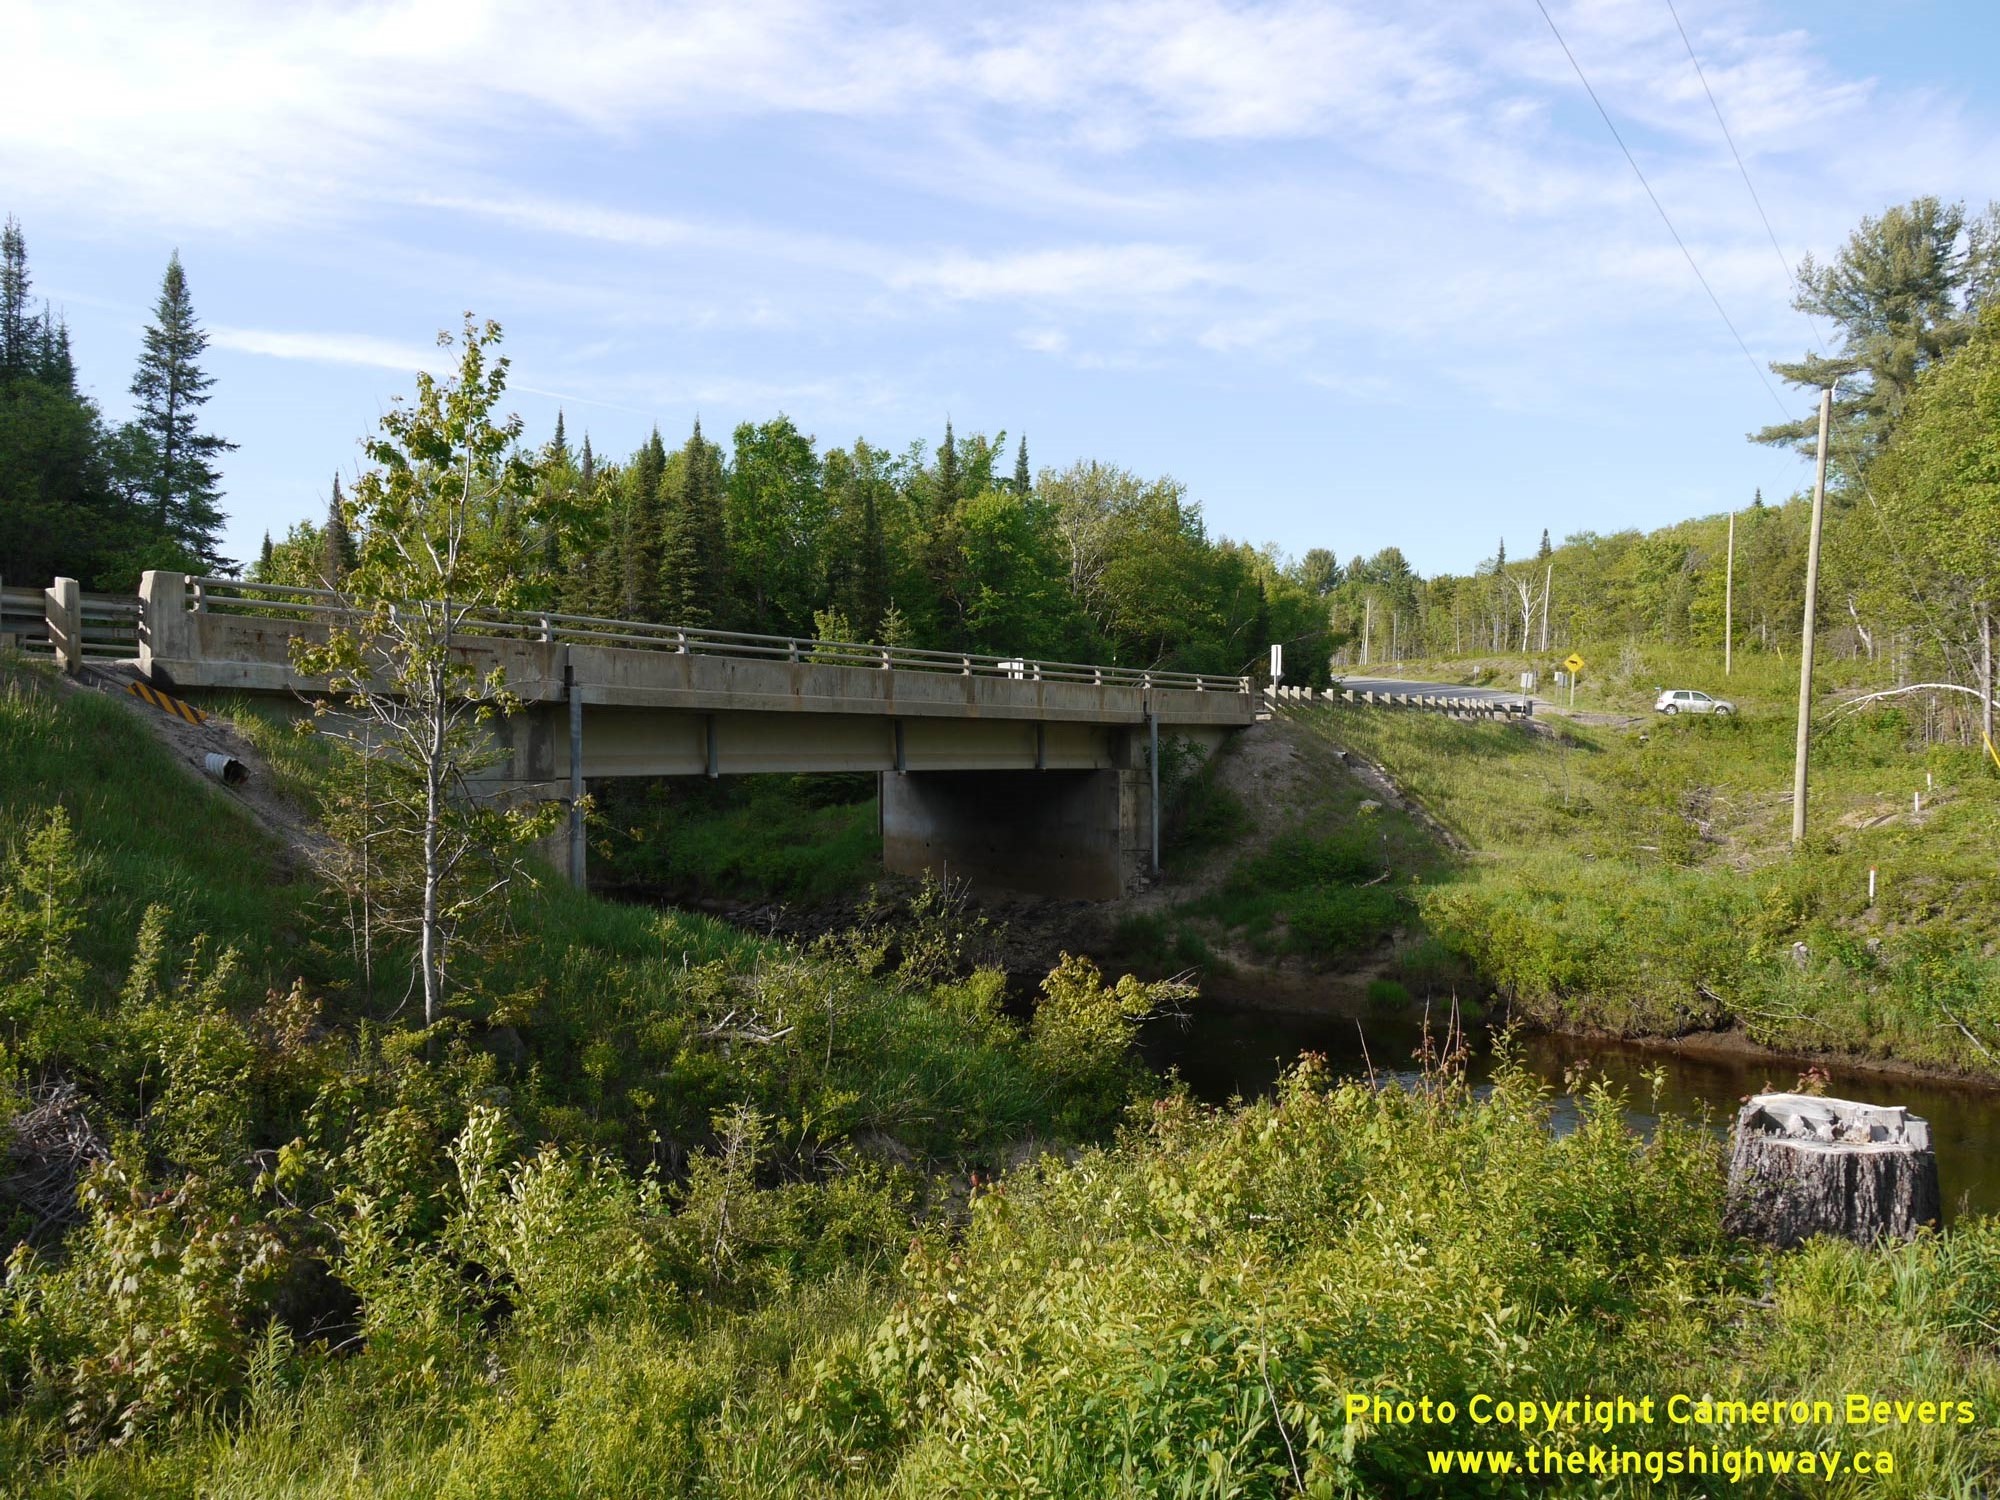
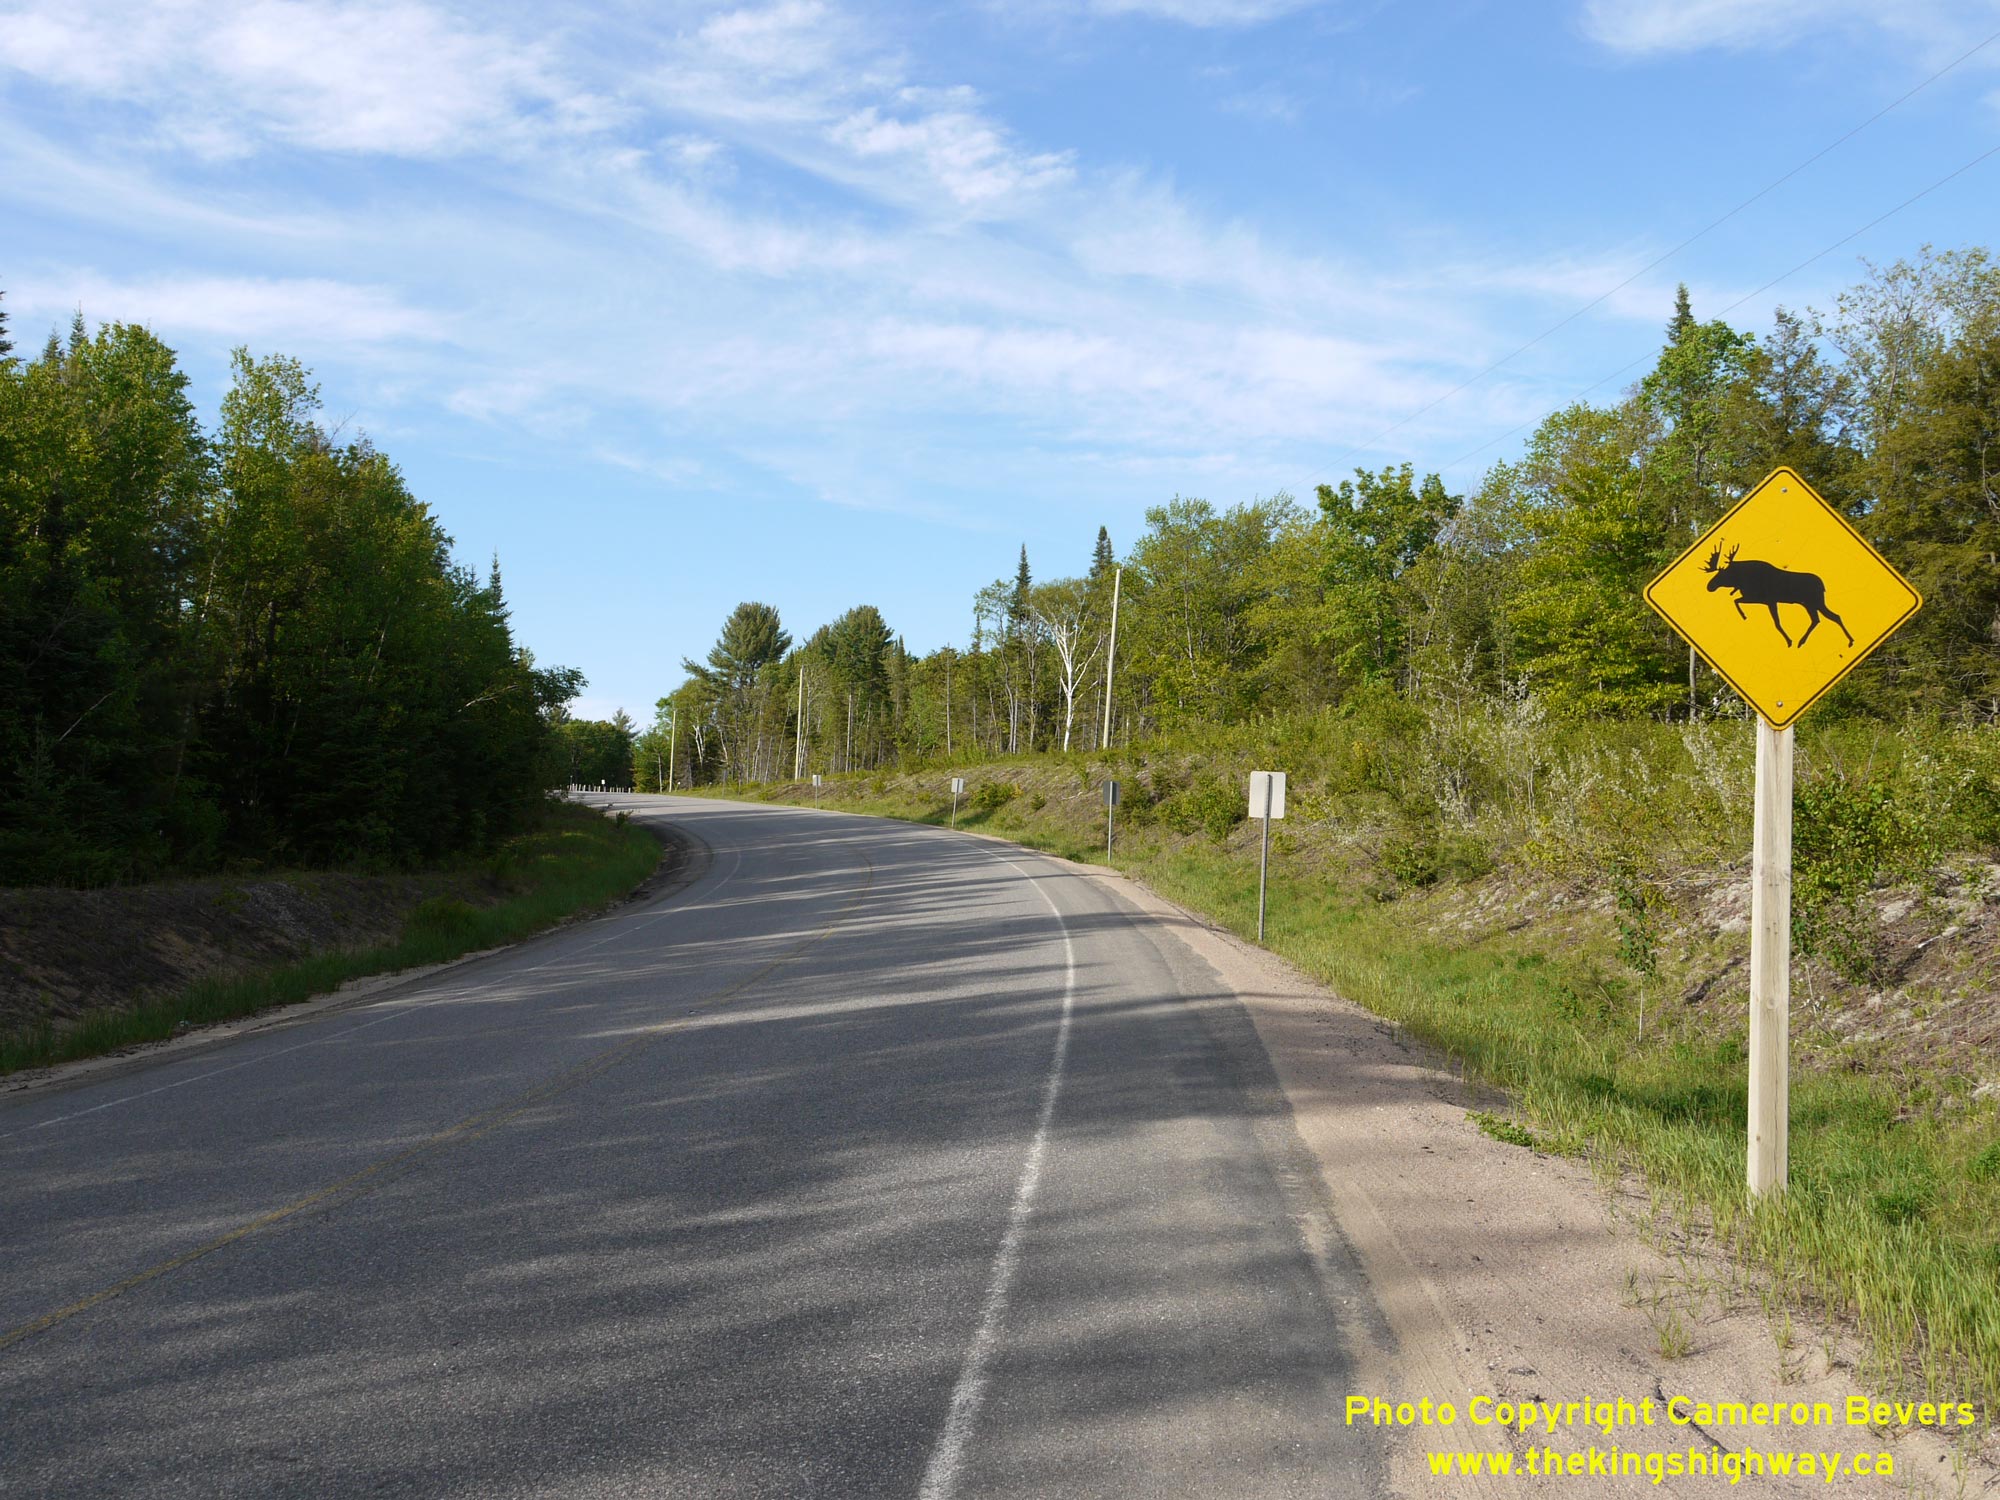
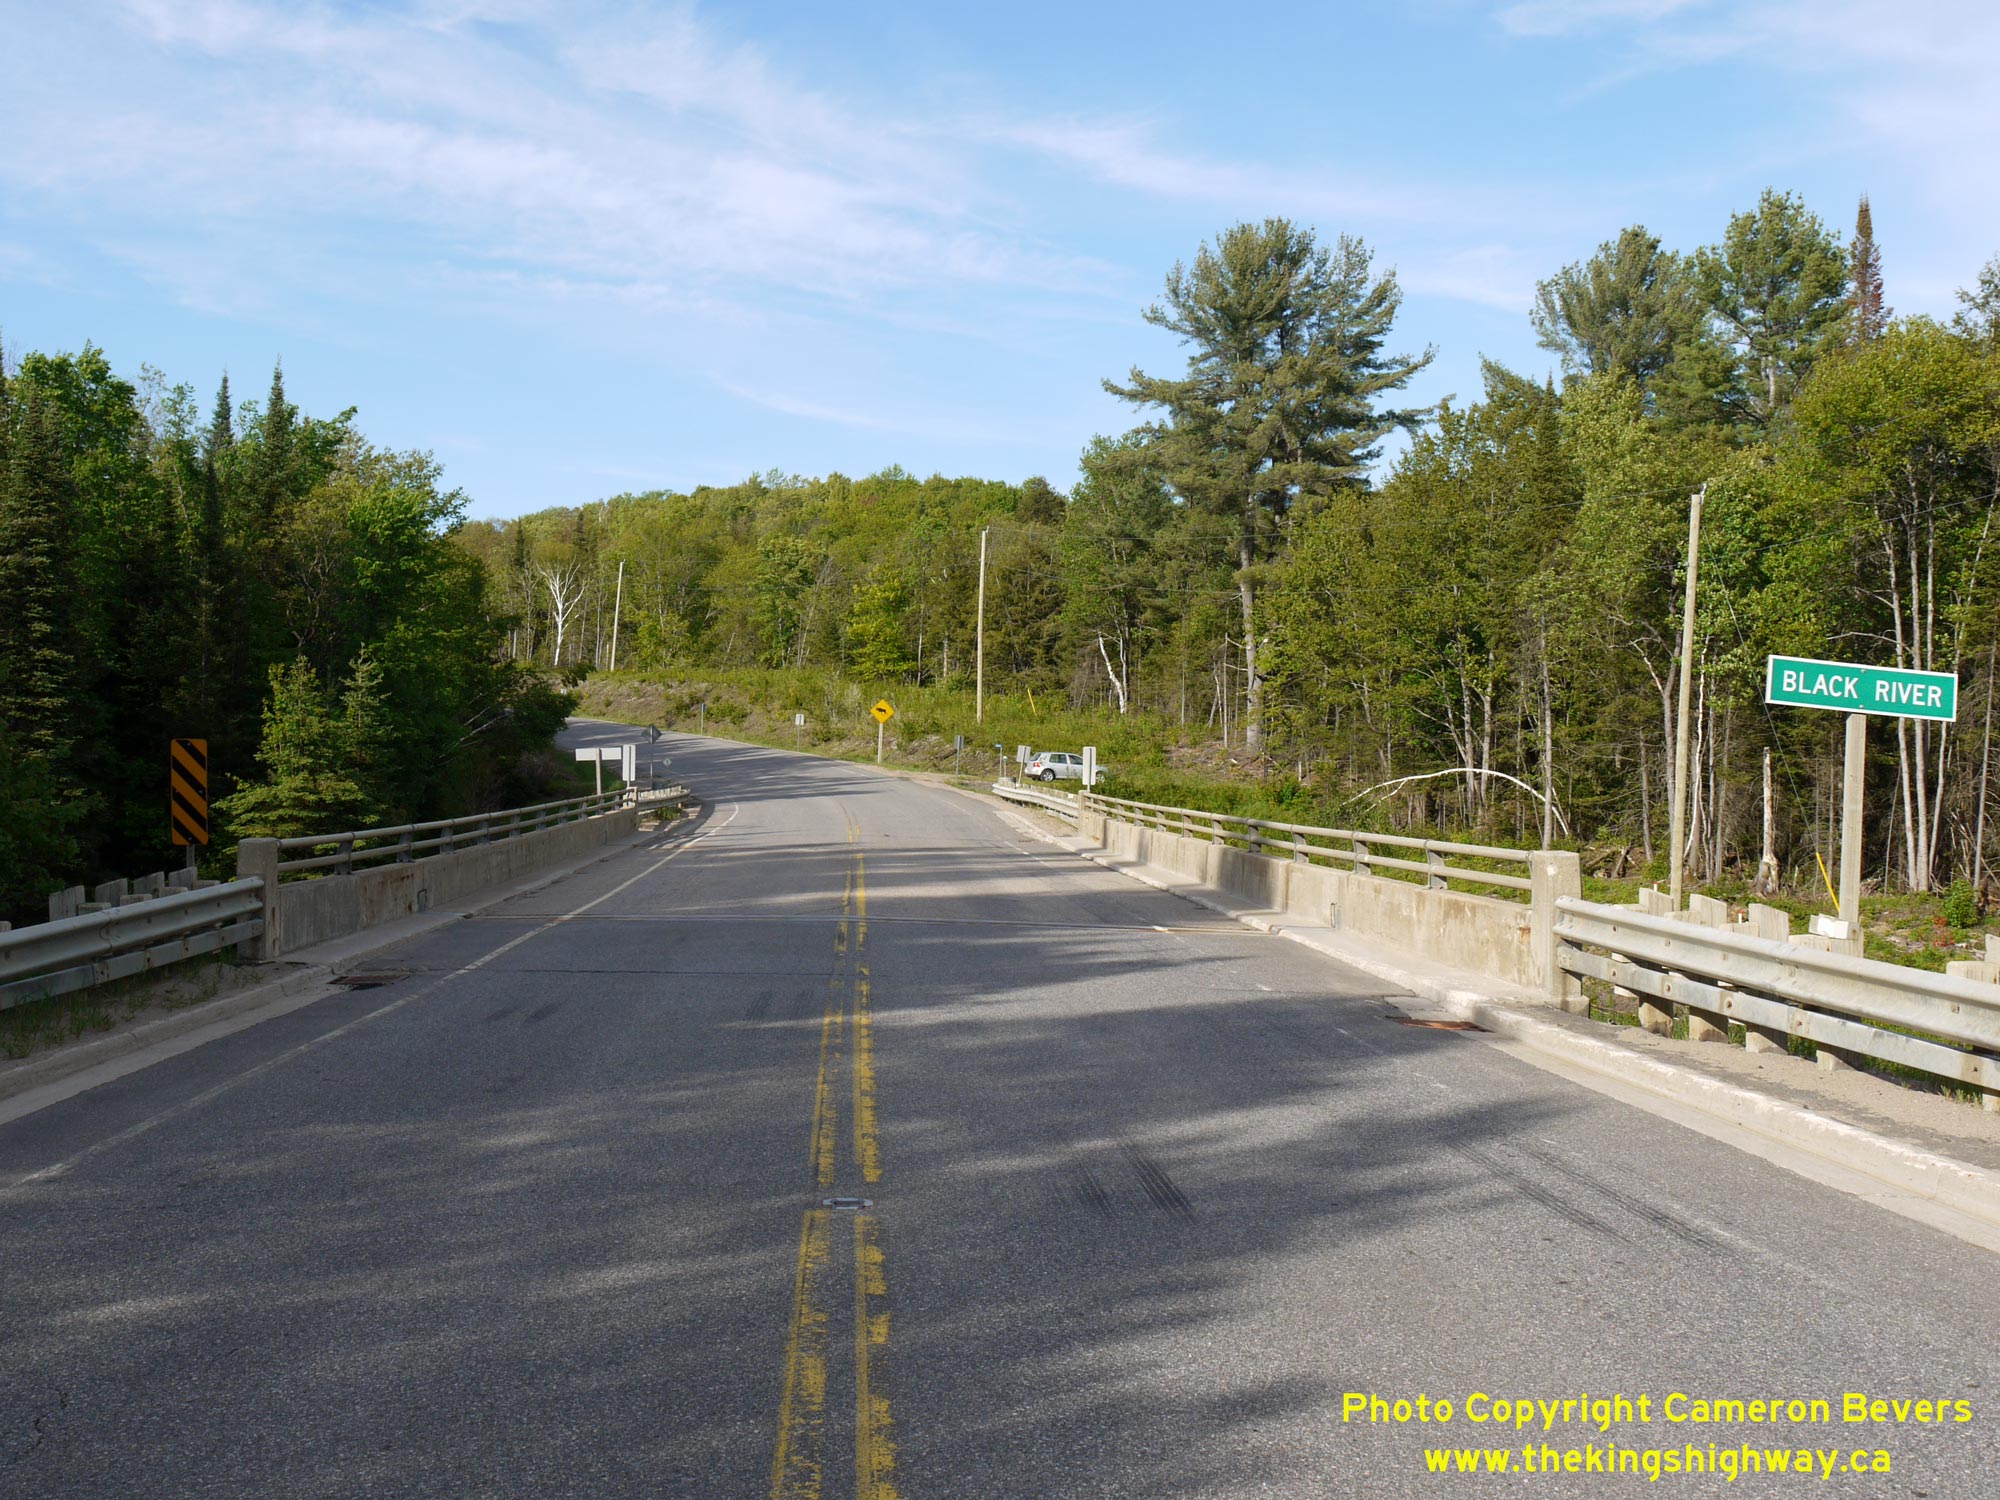
Left - Black River Bridge on Hwy 118 east of Vankoughnet. This single-span concrete girder structure is not dated, but it was completed in 1971. See an
Enlarged Photo Here. (Photograph taken on June 6, 2009 - © Cameron Bevers) Right - Moose warning sign on eastbound Hwy 118 east of Vankoughnet. See an Enlarged Photo Here. (Photograph taken on June 6, 2009 - © Cameron Bevers) 
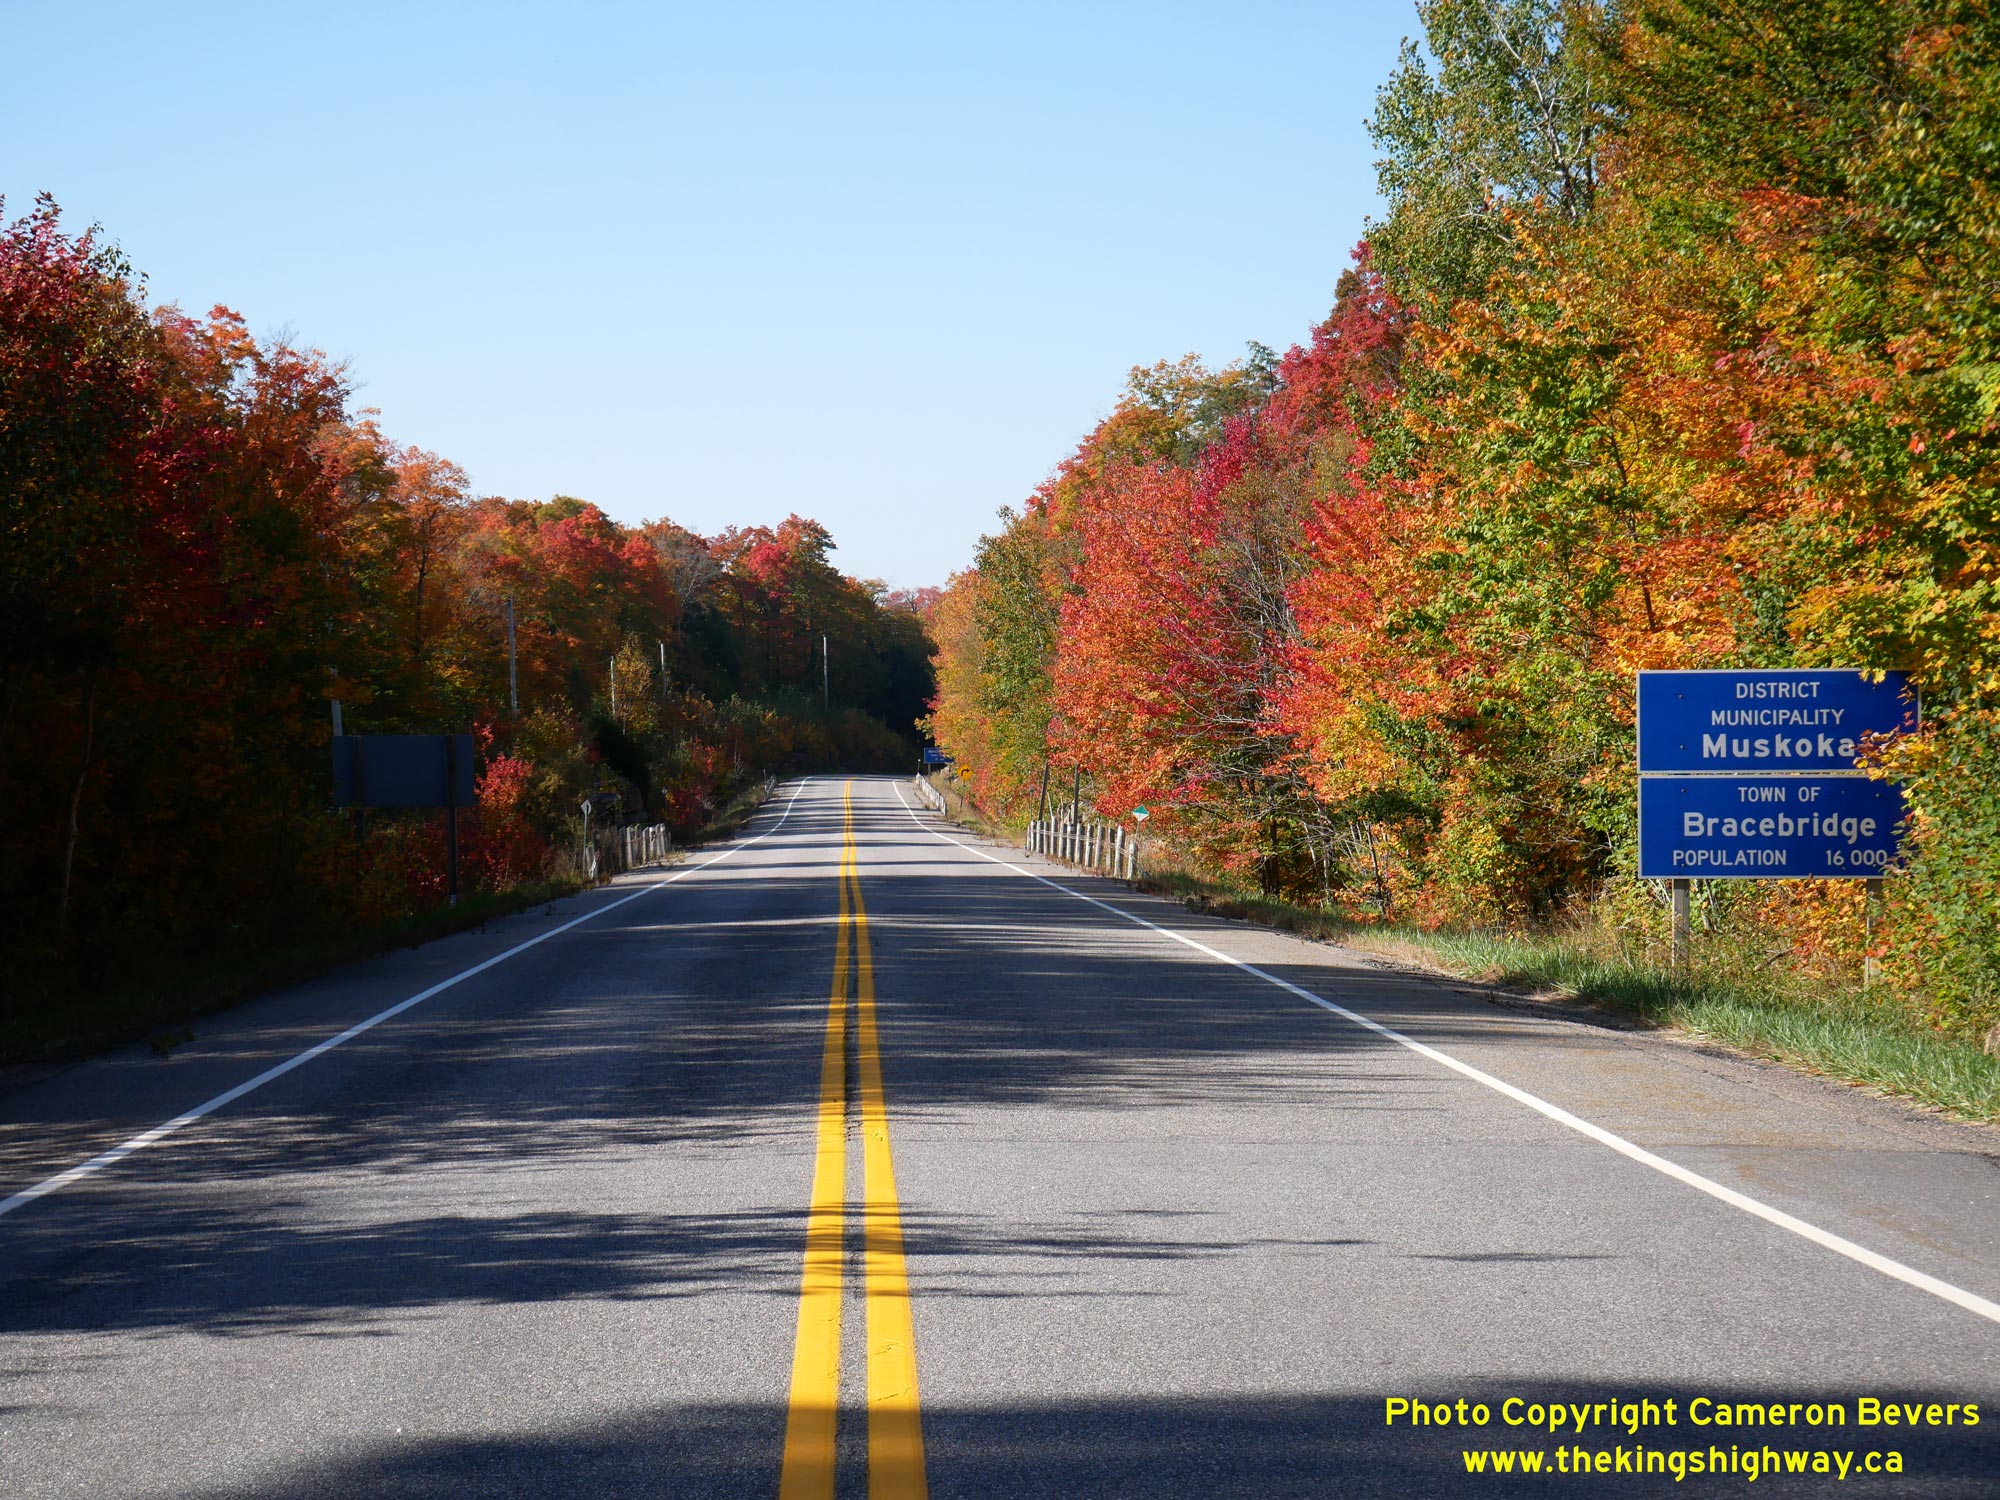
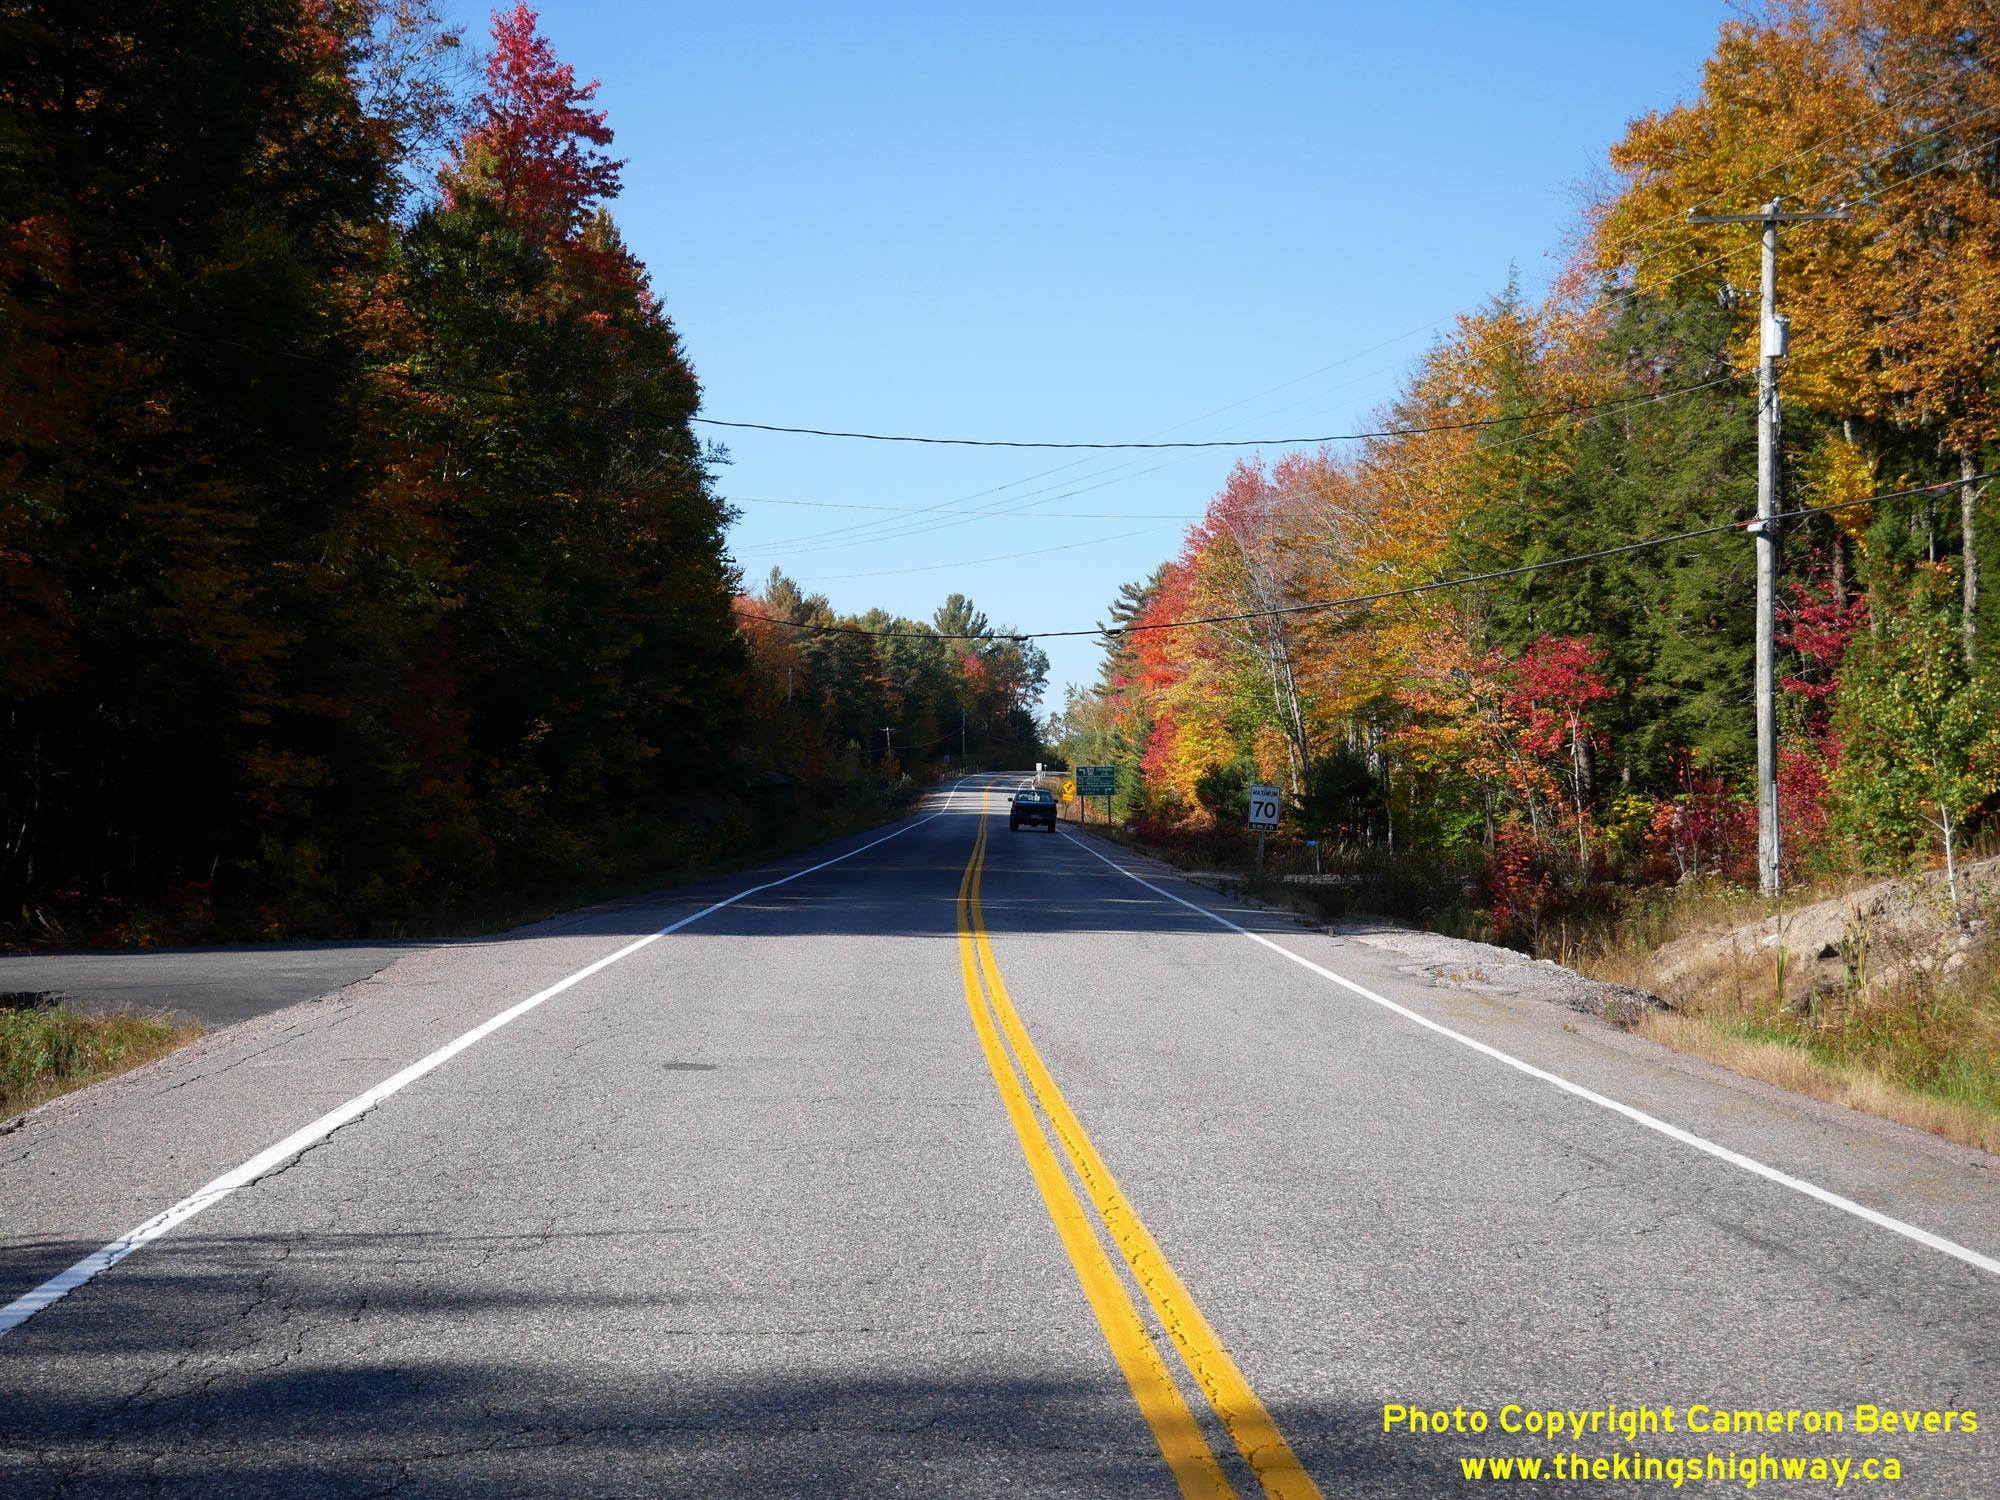
Left - Facing east along Hwy 118 about 30 km east of the Hwy 11 Interchange, approaching the Muskoka-Haliburton County Boundary. See an
Enlarged Photo Here. (Photograph taken on October 3, 2023 - © Cameron Bevers) Right - Muskoka District Municipality boundary sign on westbound Hwy 118, located about 23 km west of Carnarvon. The eastern boundary of the District Municipality of Muskoka coincides with the eastern boundary of the Town of Bracebridge. When the District Municipality of Muskoka was created in the early 1970s, the municipal limits of Bracebridge were increased substantially. Several geographic and organized townships were amalgamated with the existing Town of Bracebridge to create a single municipality covering a broad geographic area. See an Enlarged Photo Here. (Photograph taken on October 3, 2023 - © Cameron Bevers) 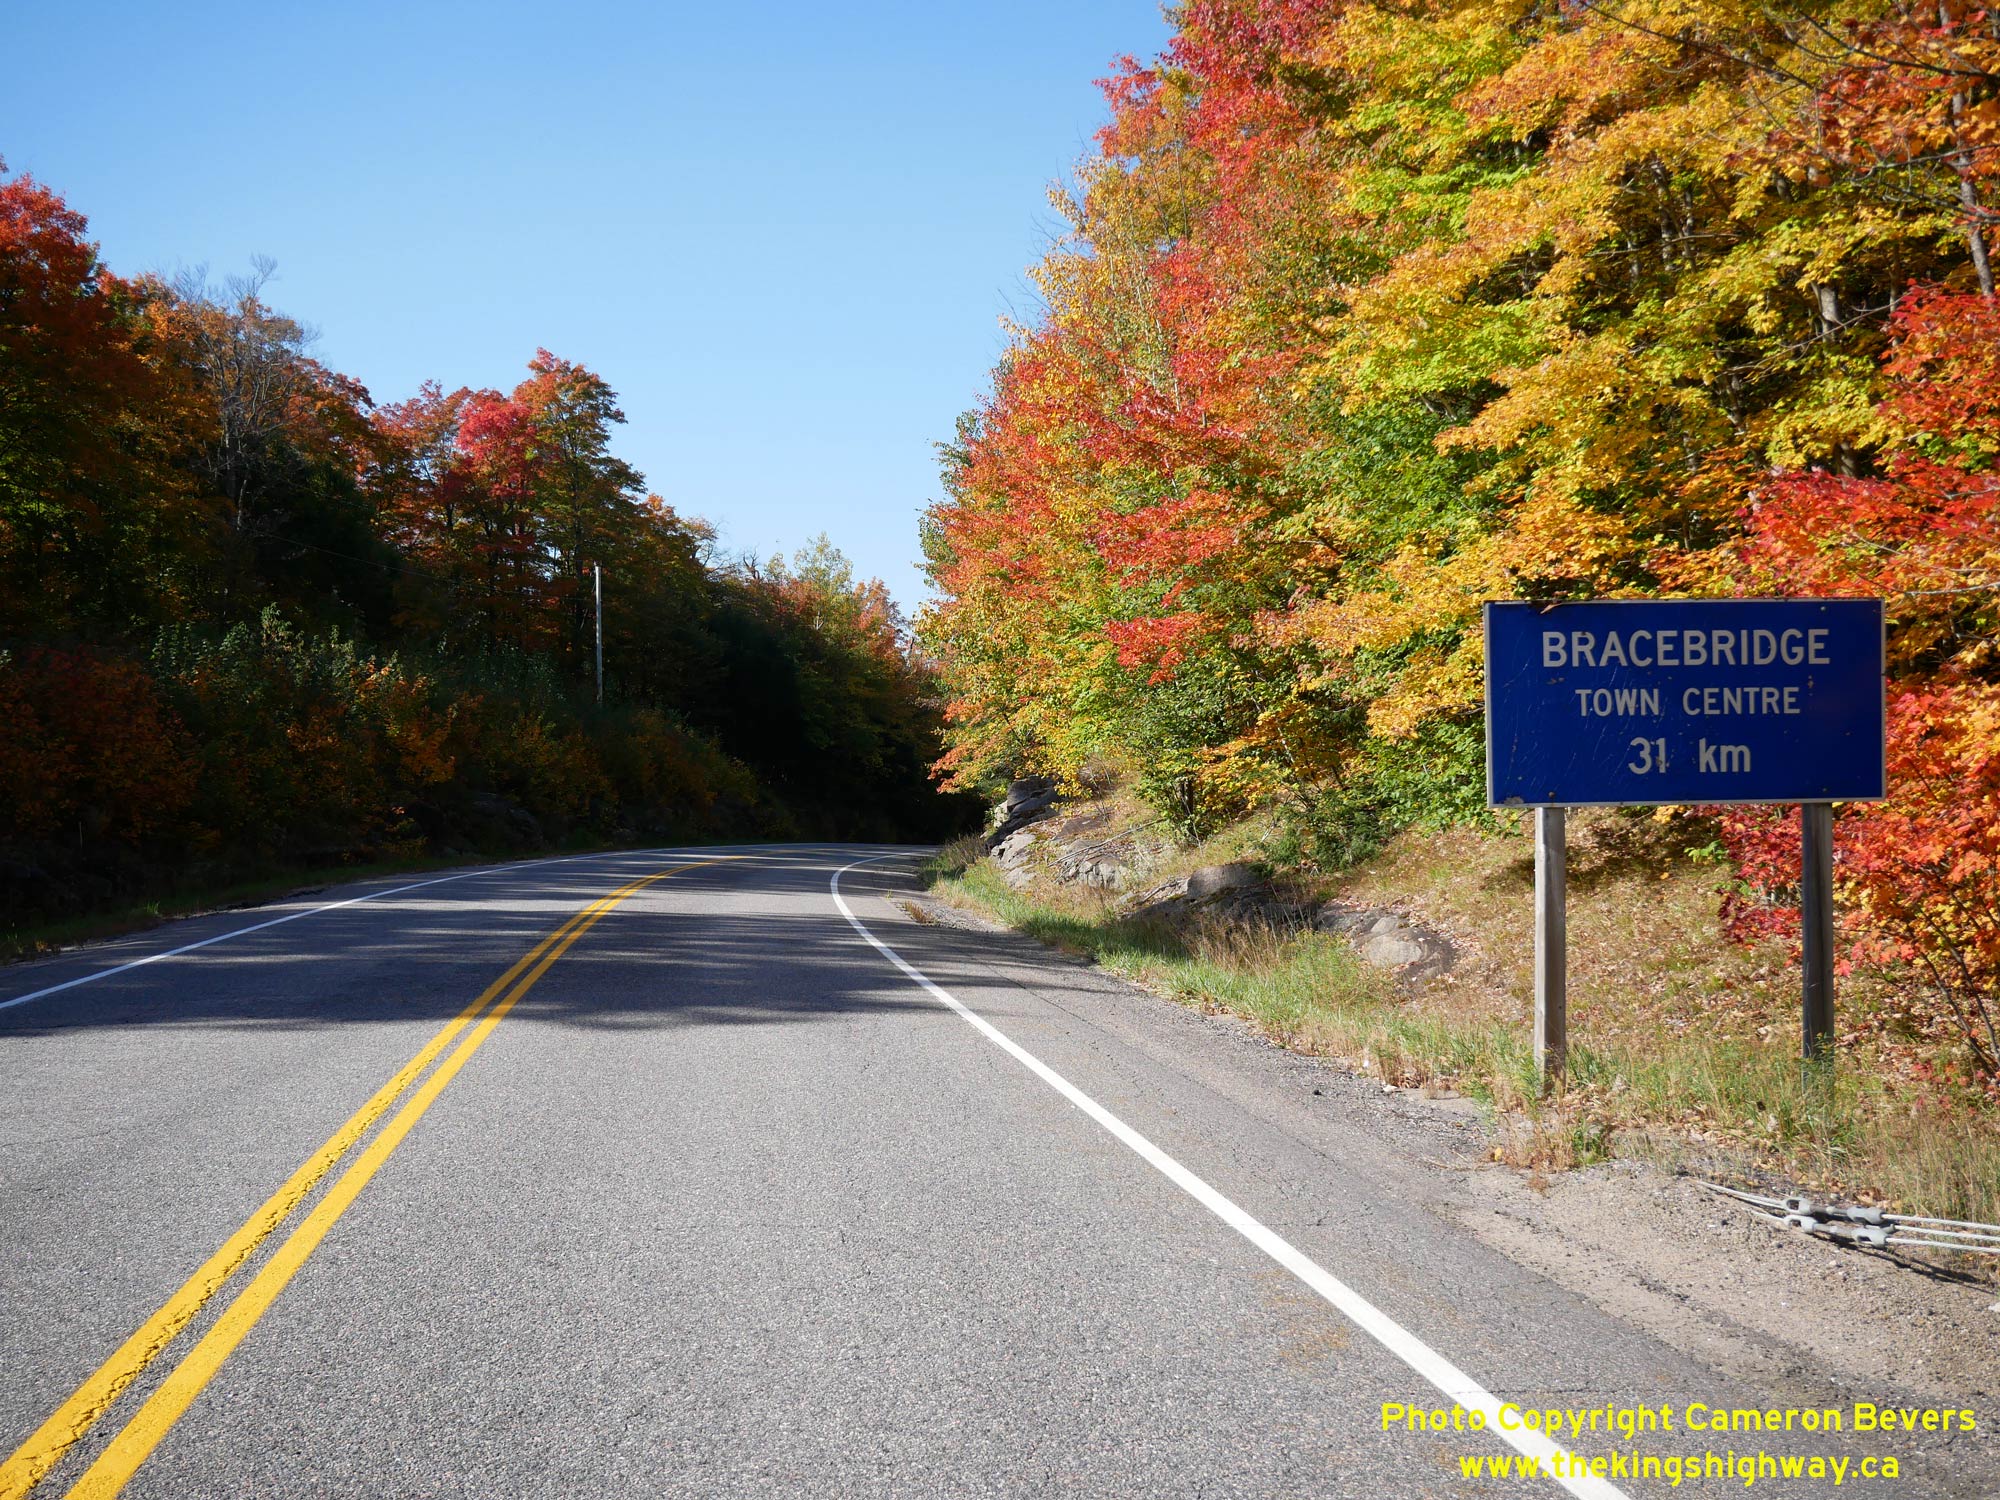
Left - Blue-and-white guide sign on westbound Hwy 118 marking the distance to Bracebridge's Town Centre. In reality, it is slightly further to Downtown
Bracebridge than the sign indicates, but motorists will reach the Hwy 11 Interchange and the outer fringes of the town's urbanized area within 31 km. See an
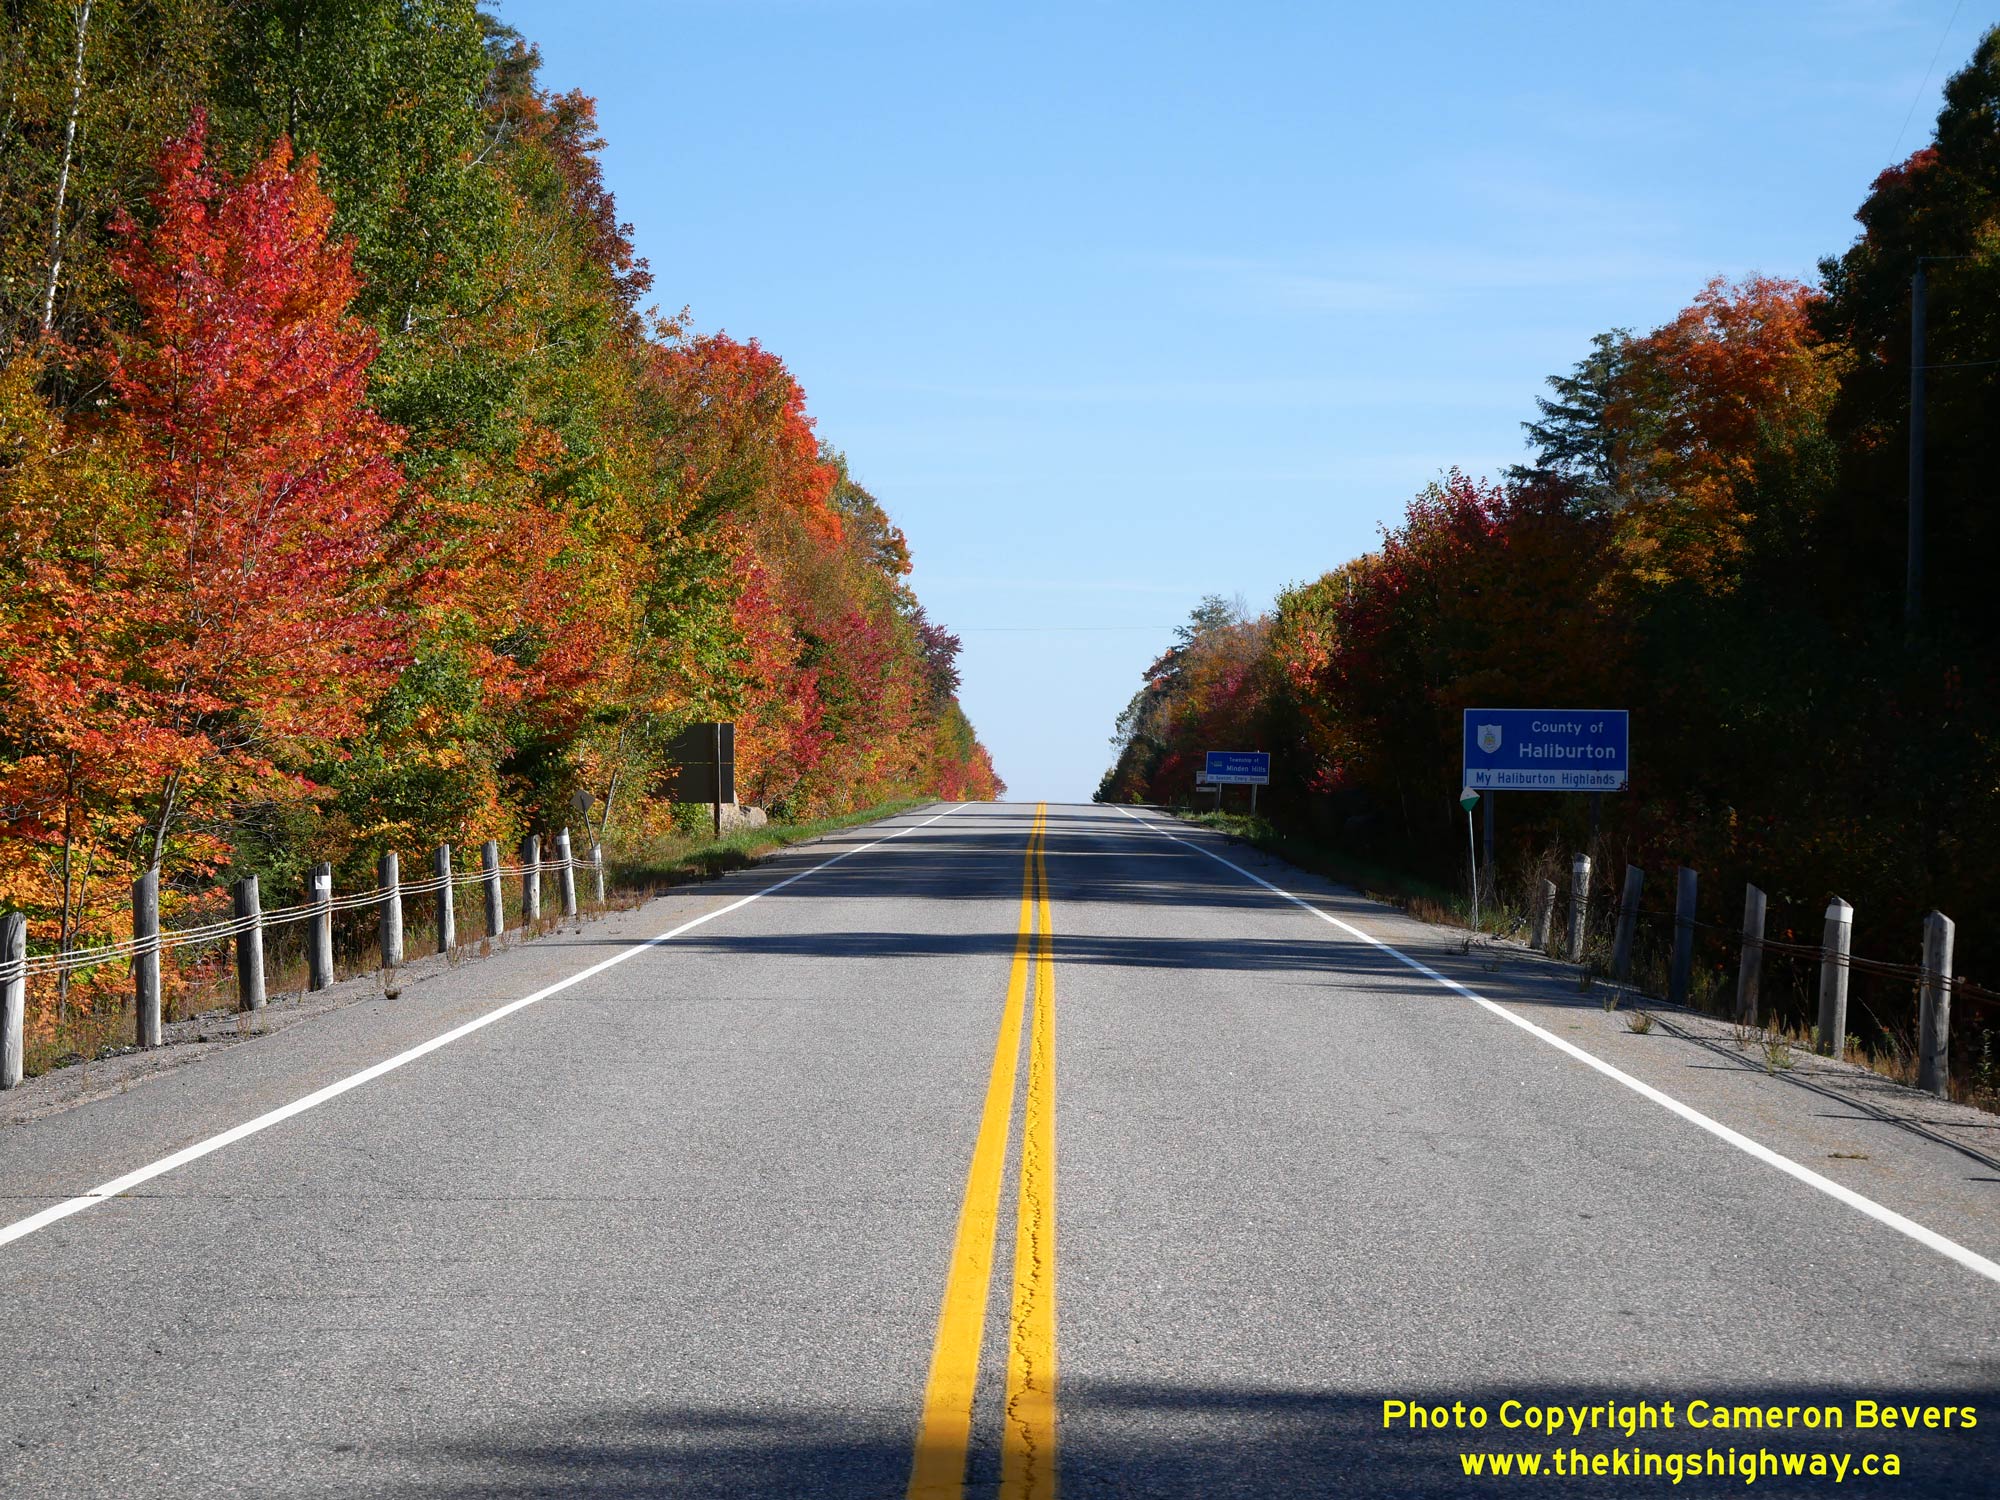
Enlarged Photo Here. (Photograph taken on October 3, 2023 - © Cameron Bevers) Right - Haliburton County boundary sign on eastbound Hwy 118, located about 23 km west of Carnarvon. See an Enlarged Photo Here. (Photograph taken on October 3, 2023 - © Cameron Bevers) 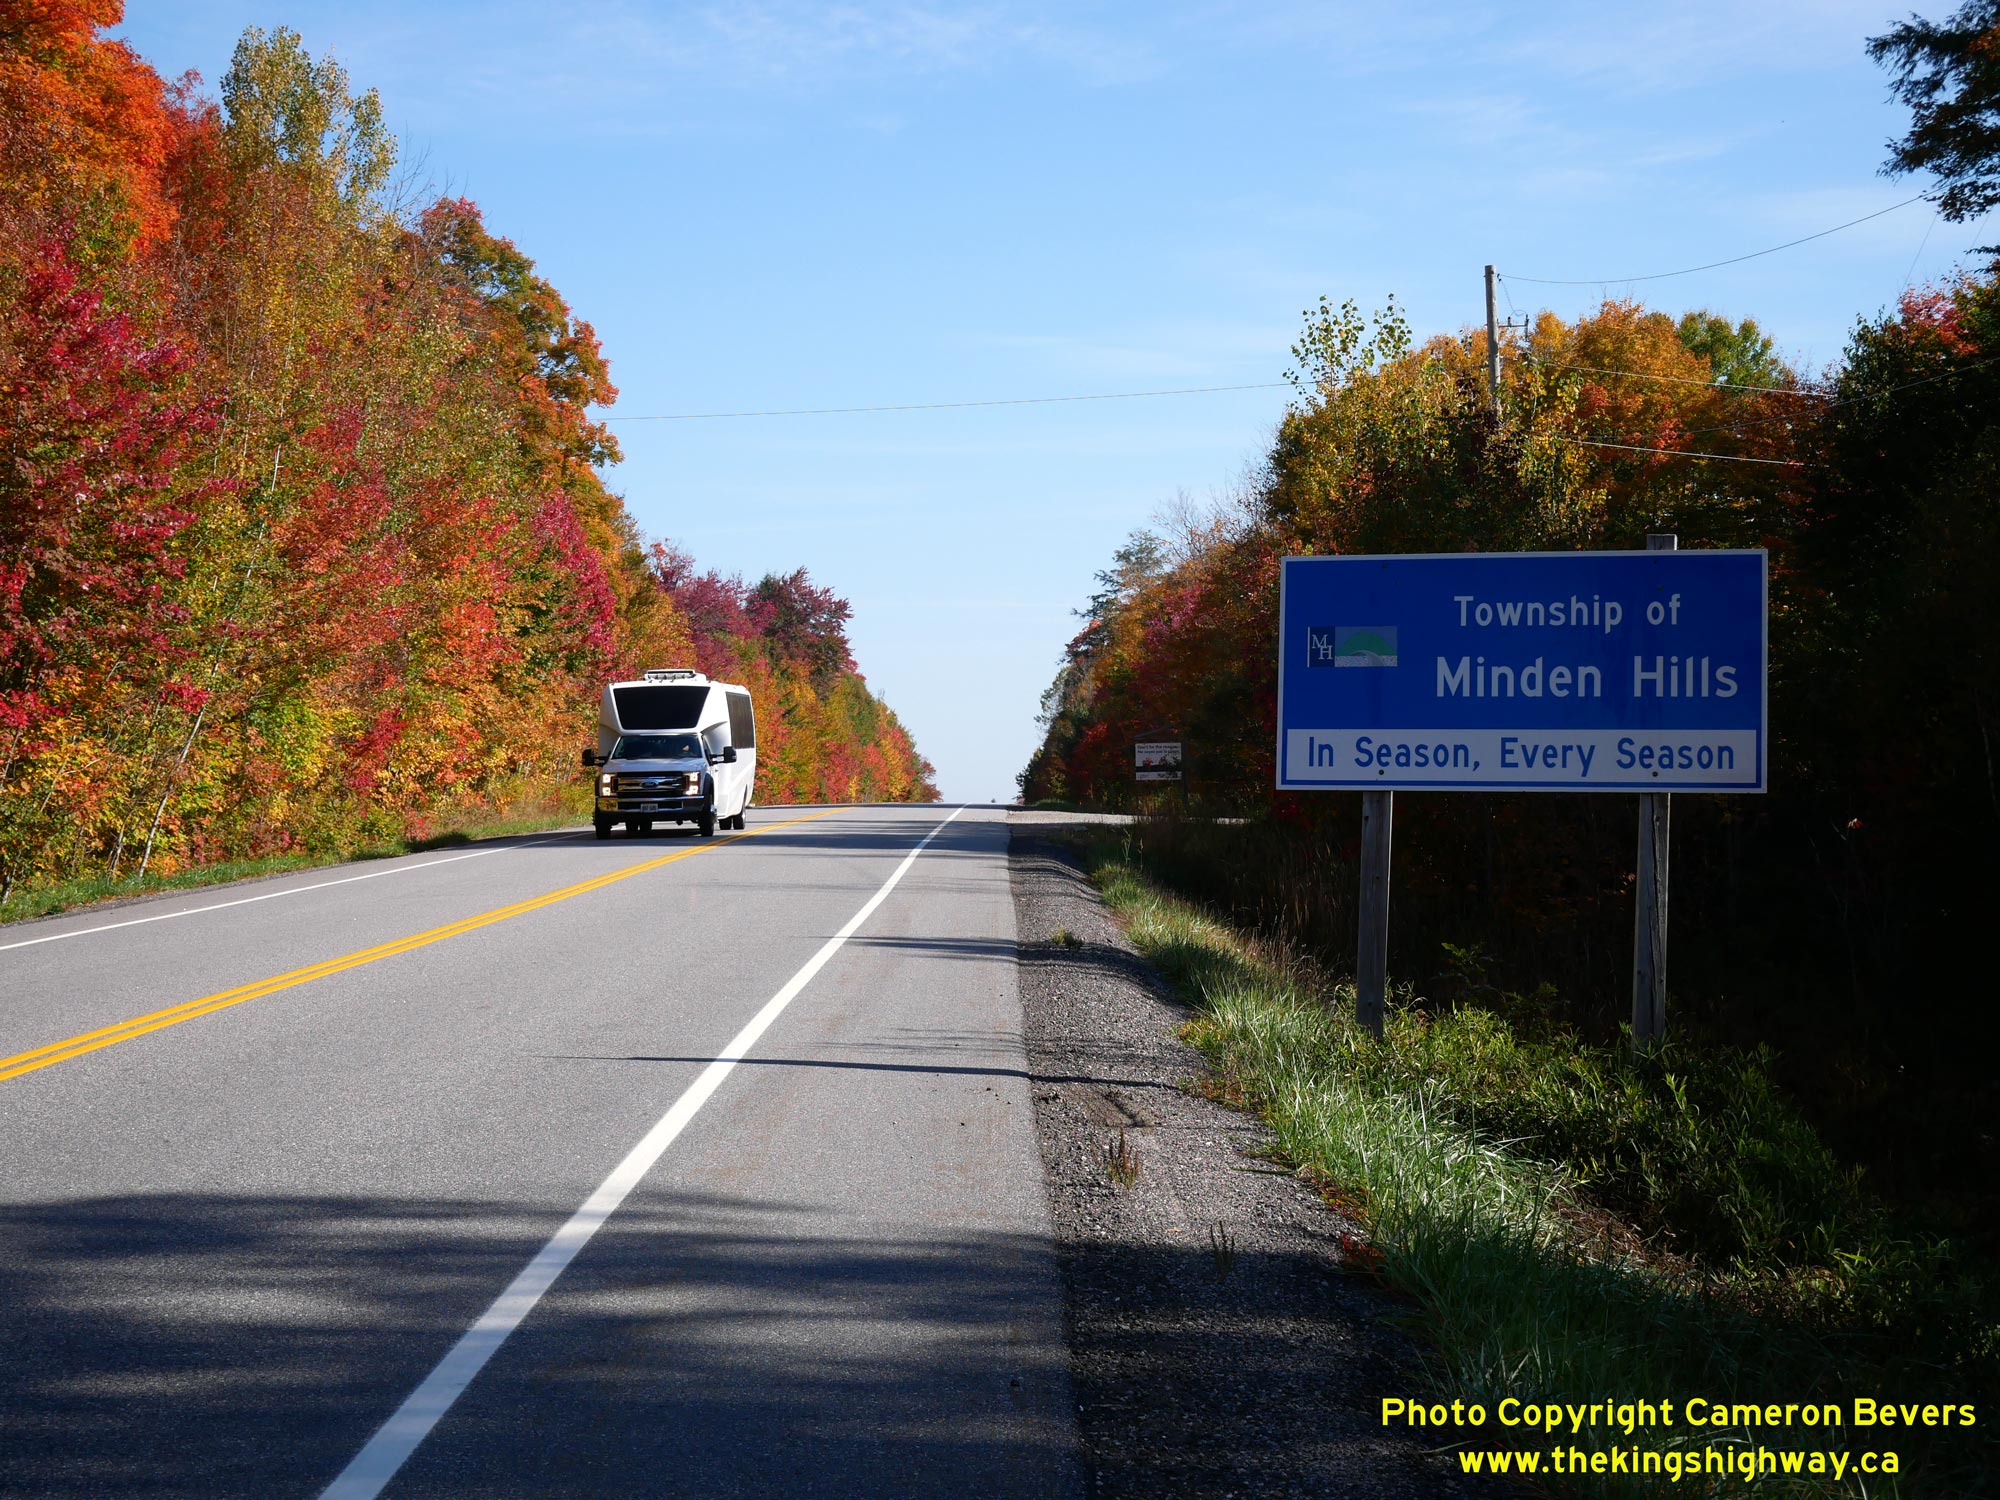
Left - Township of Minden Hills municipal boundary sign on eastbound Hwy 118. See an
Enlarged Photo Here. (Photograph taken on October 3, 2023 - © Cameron Bevers) Right - View of Hwy 118 about 20 km west of Carnarvon near Big East Lake. East of the Black River, Hwy 118 was built on a brand new road alignment. Consequently, the road's geometry east of Vankoughnet improves markedly. The municipal road leading to Vankoughnet was extended easterly to Carnarvon in the early 1970s and was eventually designated as a part of Hwy 118 in November 1981. See an Enlarged Photo Here. (Photograph taken on June 6, 2009 - © Cameron Bevers) 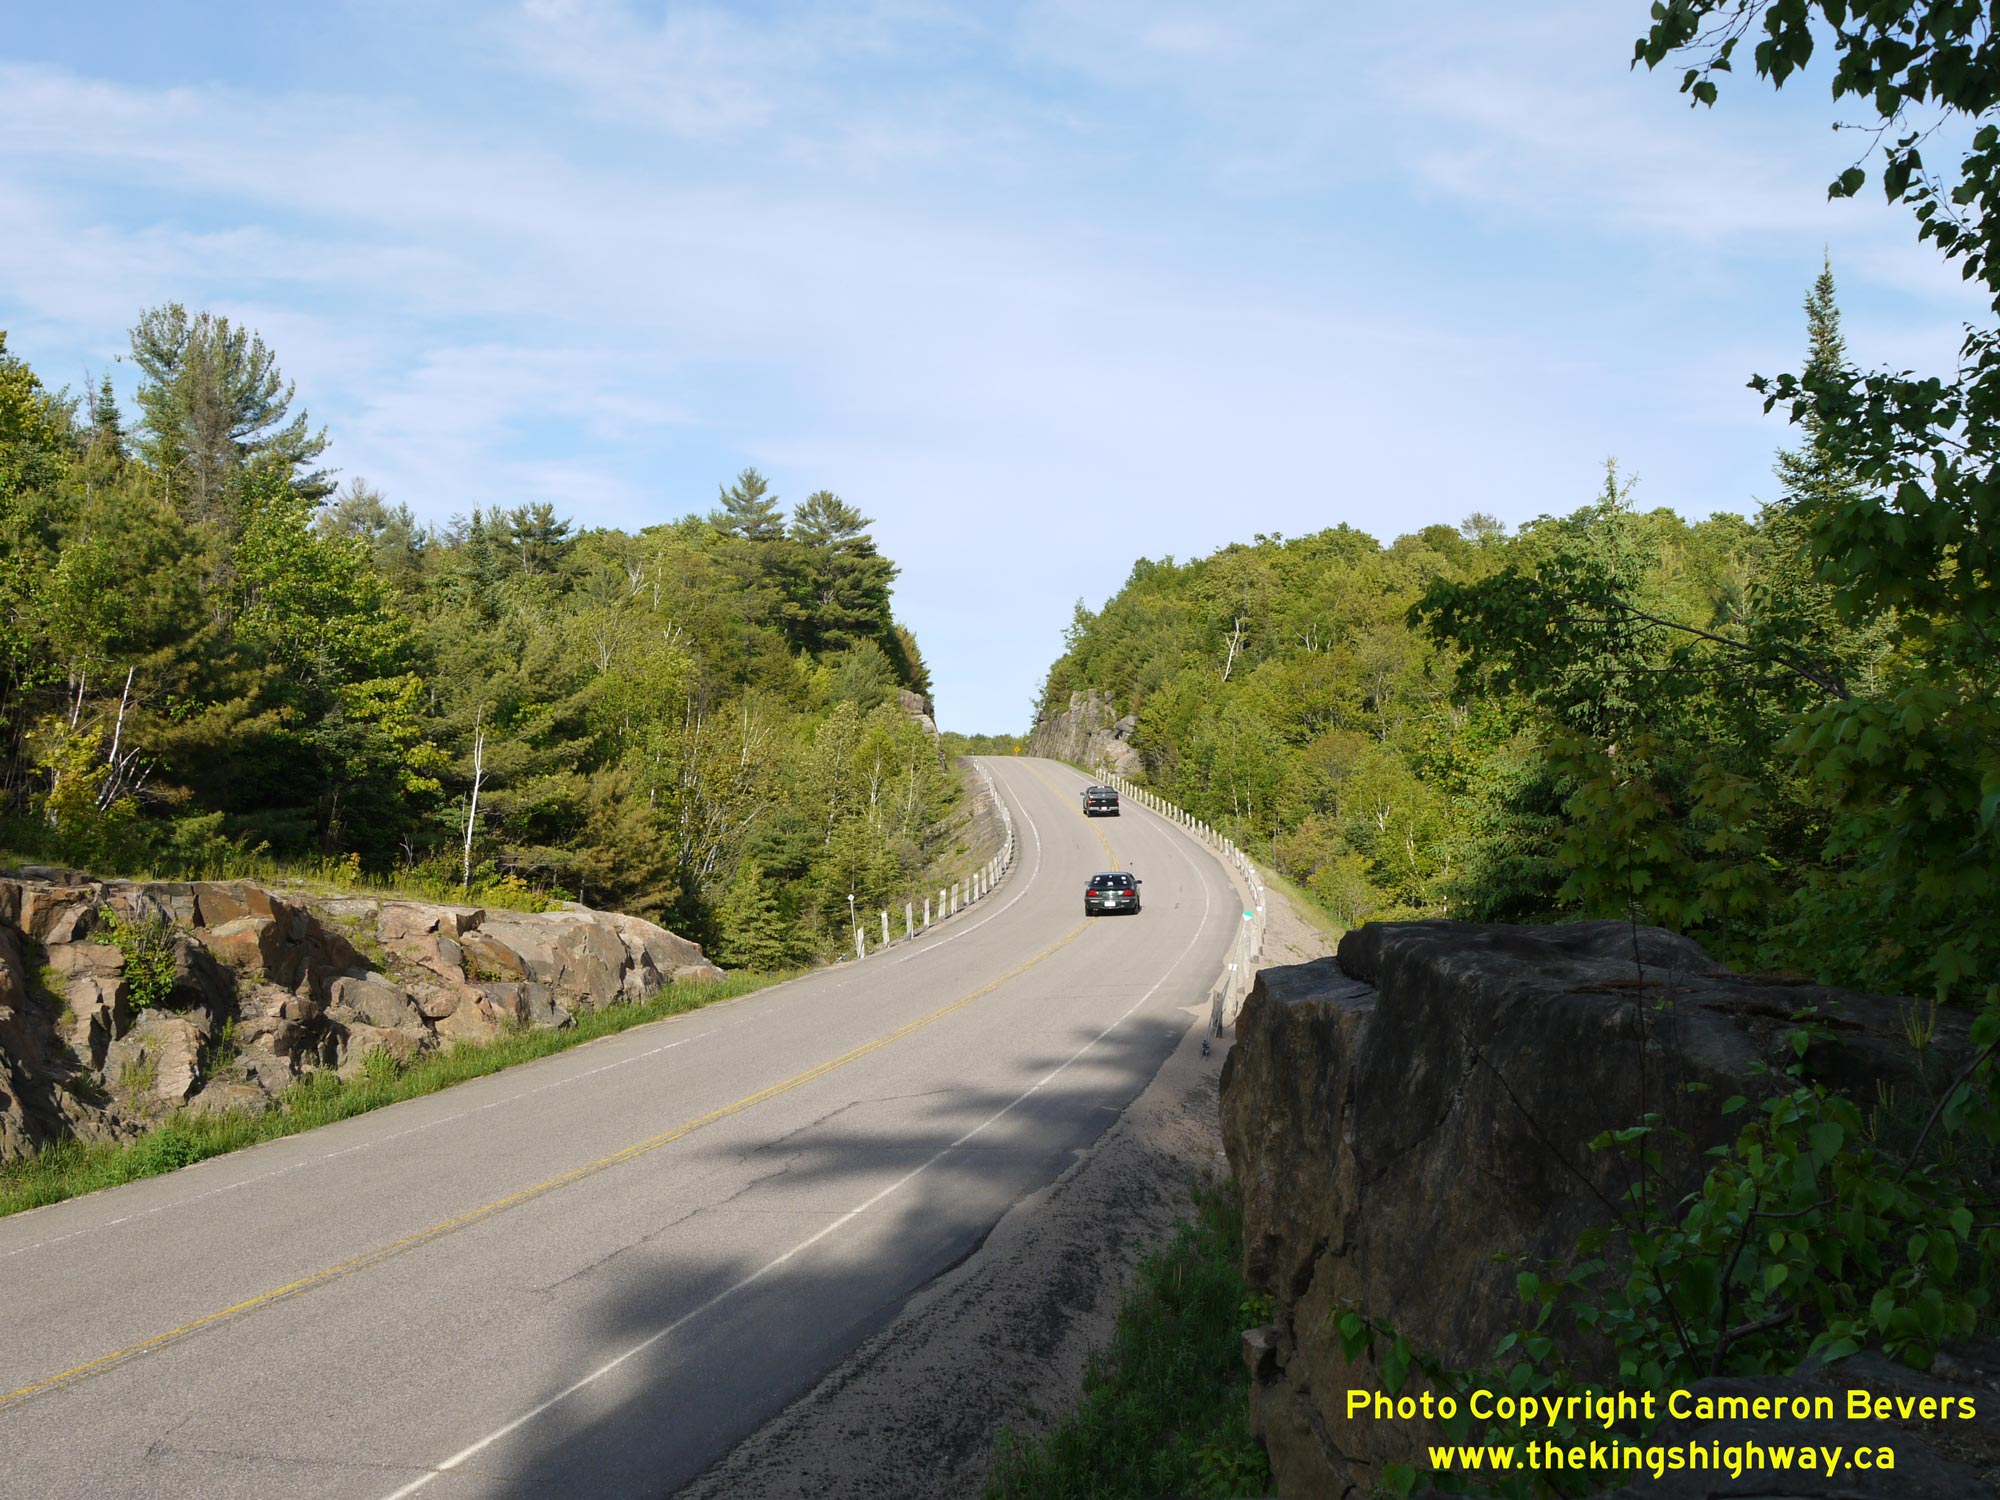

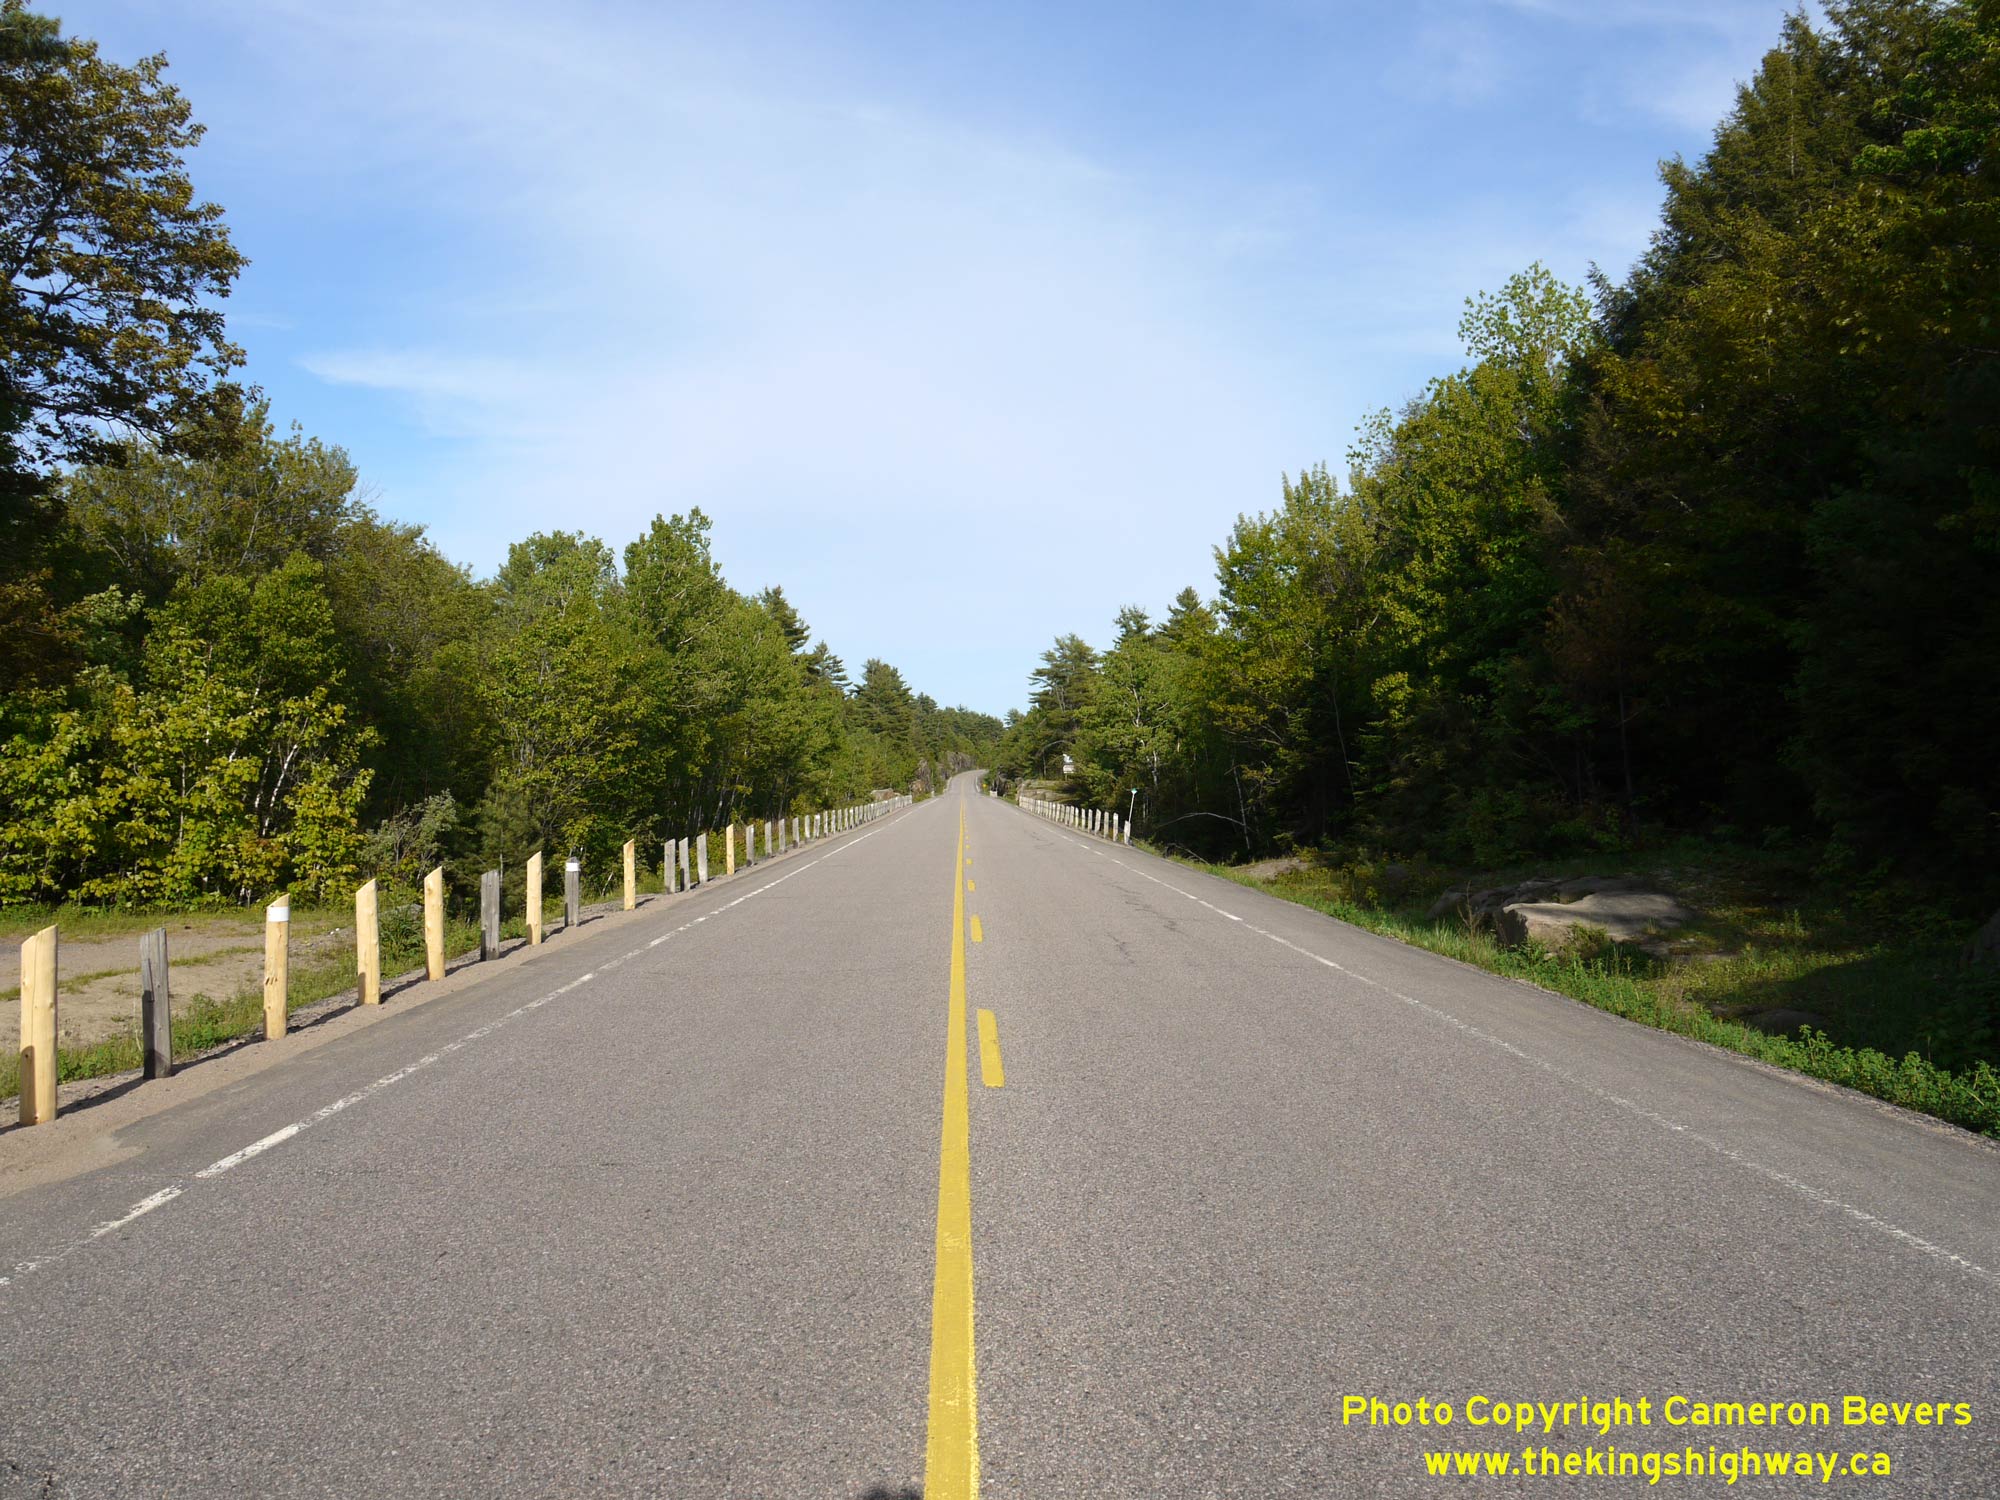
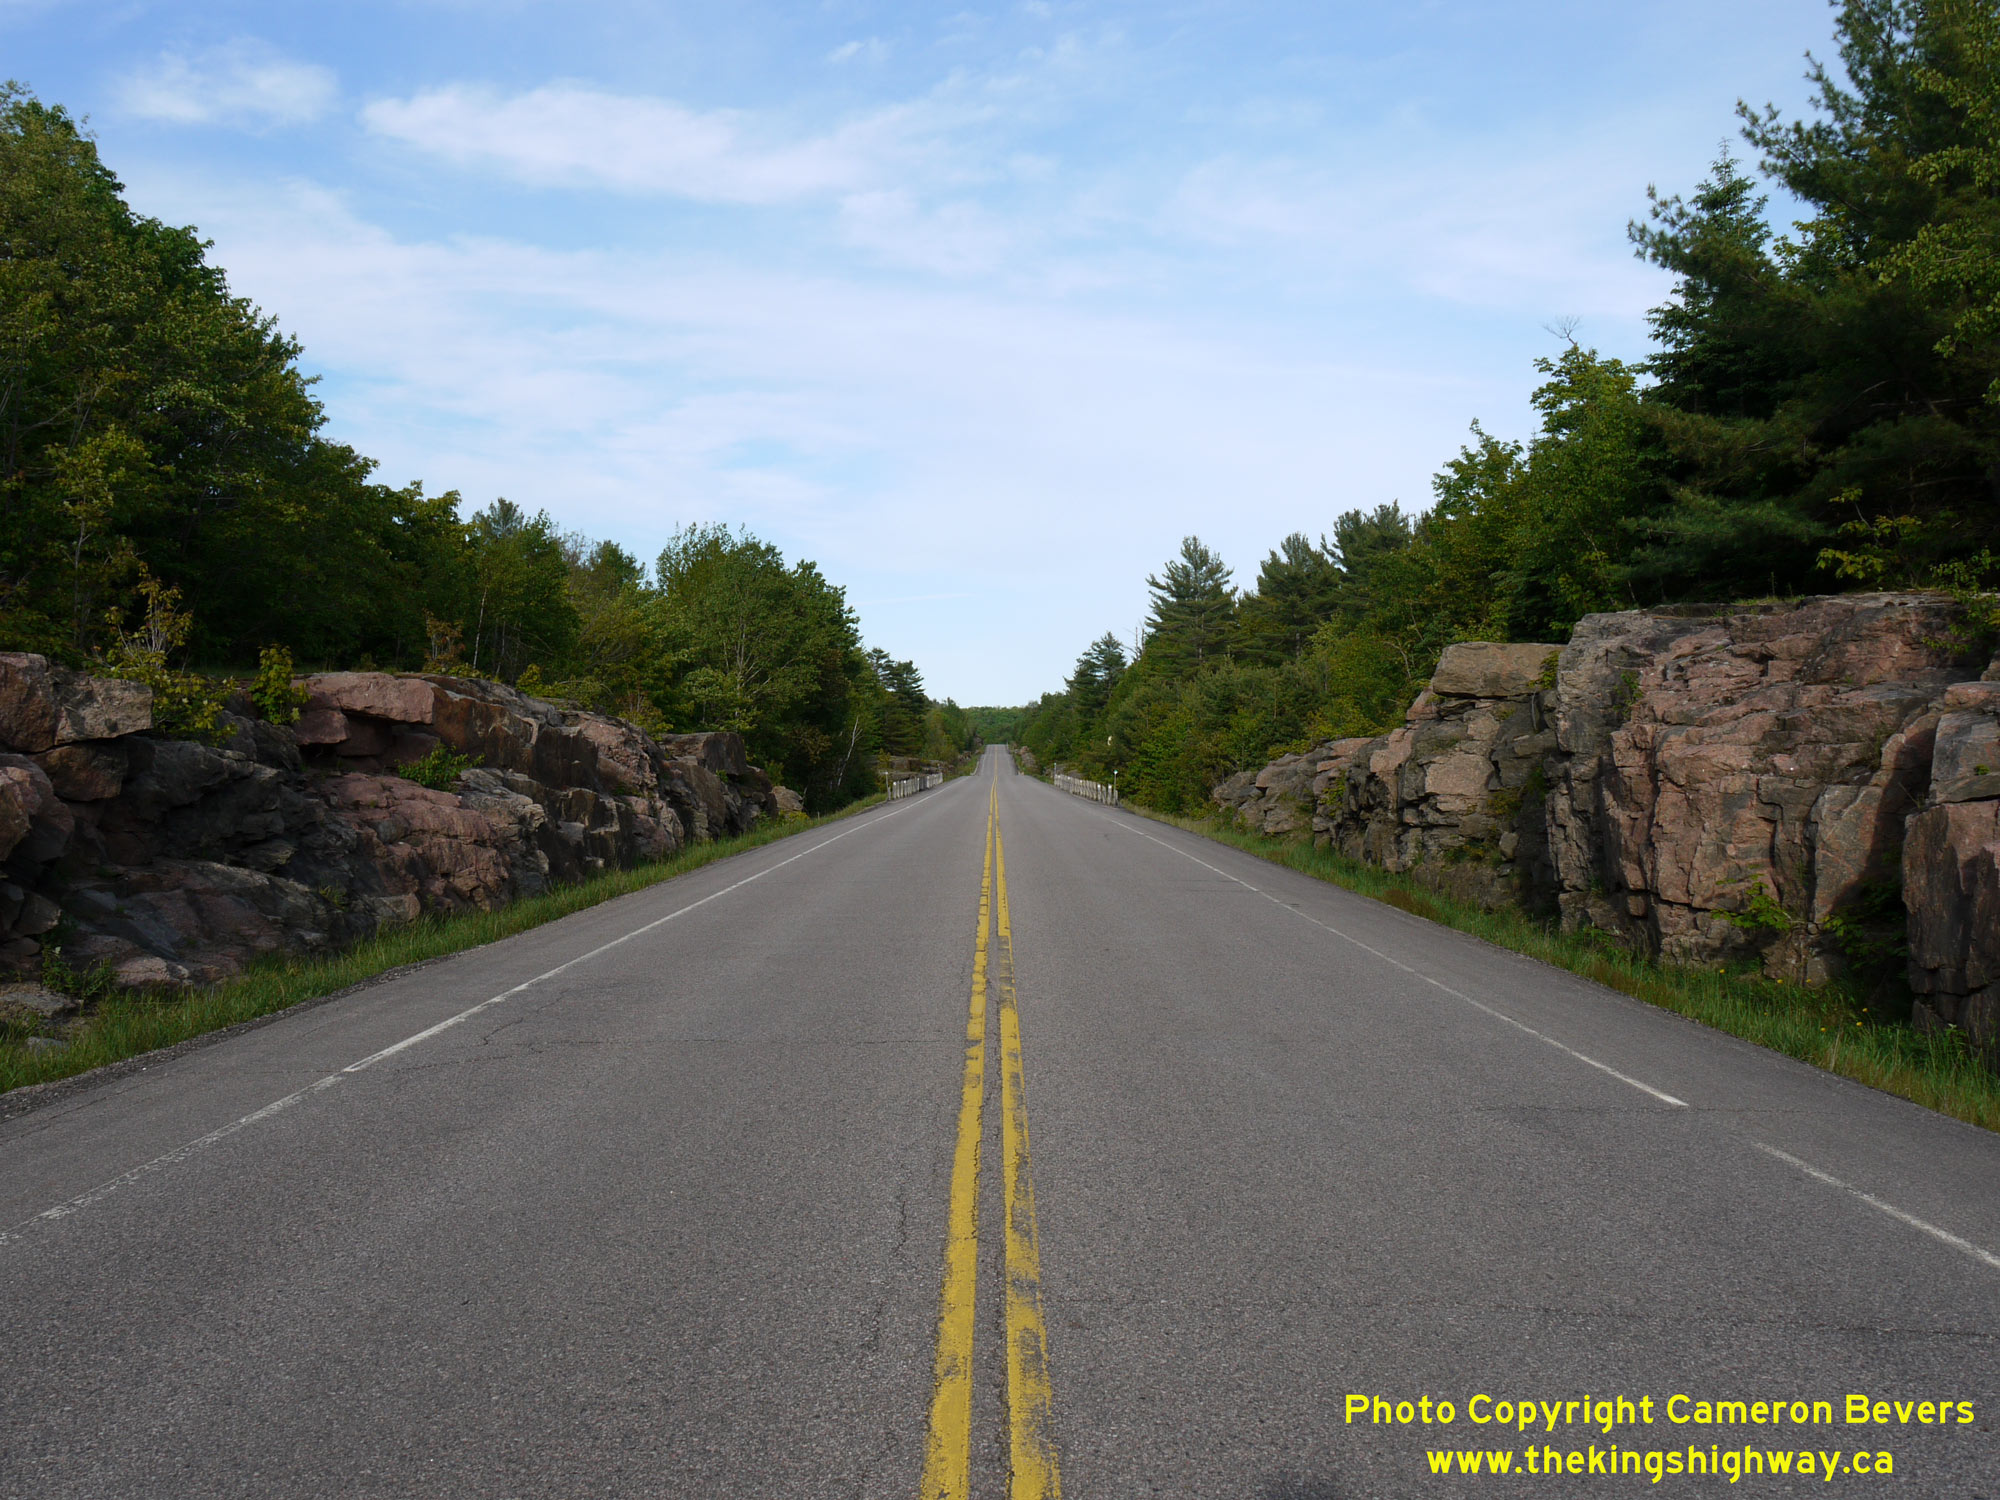
Left - Facing east along Hwy 118 about 19 km west of Carnarvon, near the Muskoka-Haliburton County Boundary. See an
Enlarged Photo Here. (Photograph taken on June 6, 2009 - © Cameron Bevers) Right - Large rock cut on Hwy 118 located about 19 km west of Carnarvon. The route of Hwy 118 crosses an area of remote and rocky highlands east of Carnarvon, which might explain why early road builders generally avoided this area. A colonization road known as the Peterson Road was blazed through the Vankoughnet area in the 19th Century, but it was seldom-travelled and soon fell into disrepair. It really wasn't until the 1930s that Haliburton was serviced by reliable all-season roads. While many of the main King's Highways within Haliburton County and the District of Muskoka were established prior to 1956, Hwy 118 in this area was a relative newcomer to the King's Highway System having only been established in the 1980s. See an Enlarged Photo Here. (Photograph taken on June 6, 2009 - © Cameron Bevers) 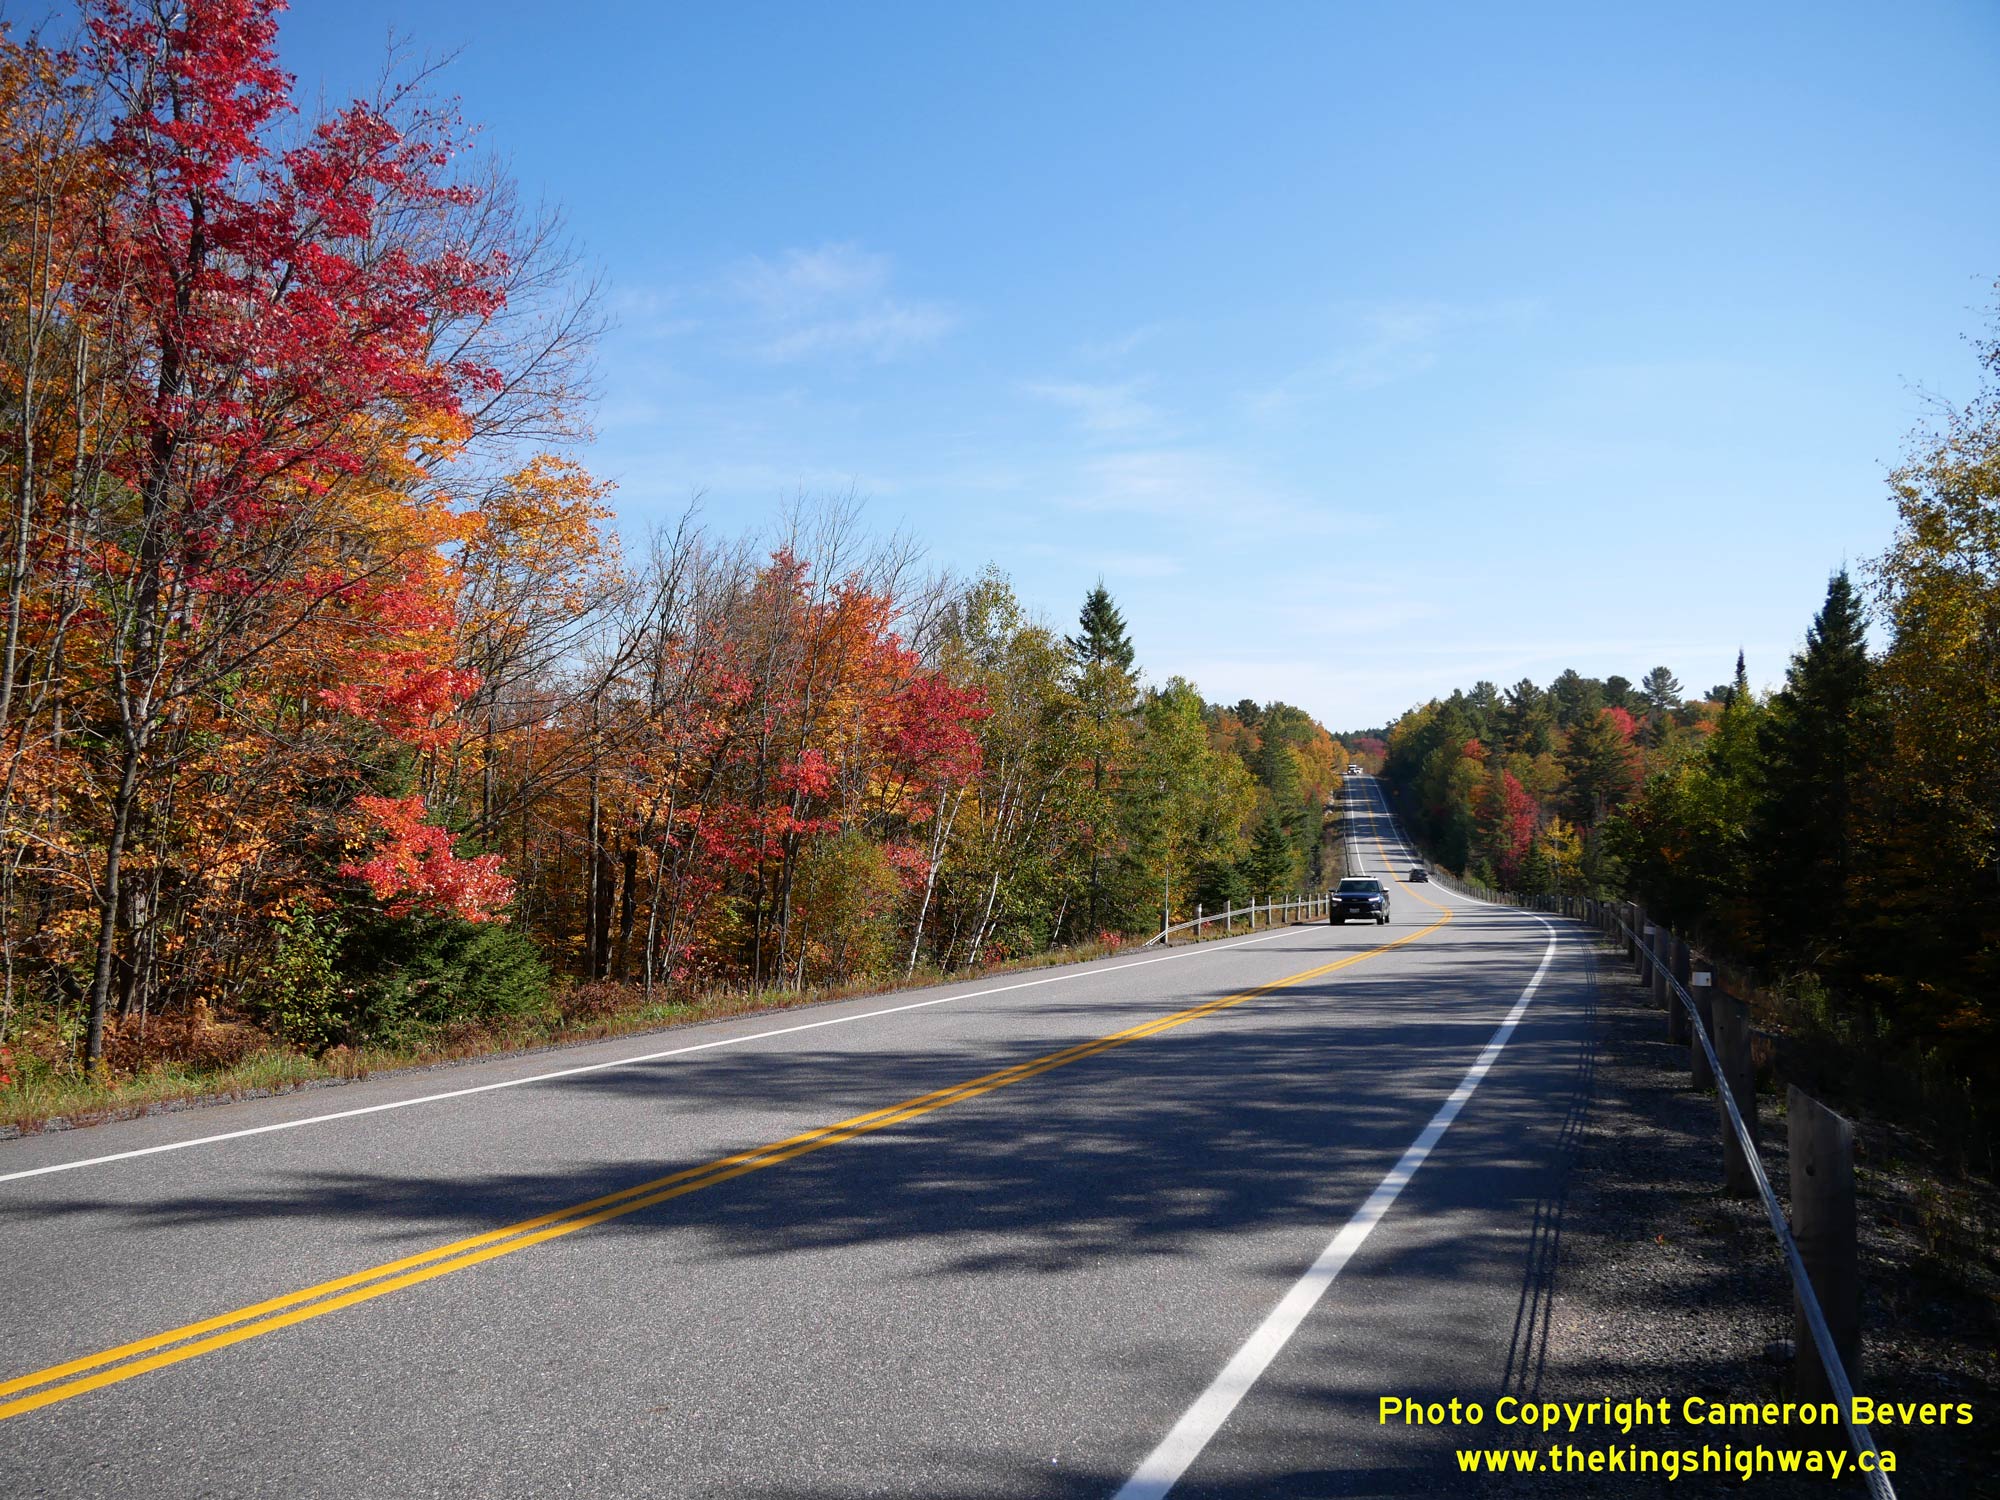
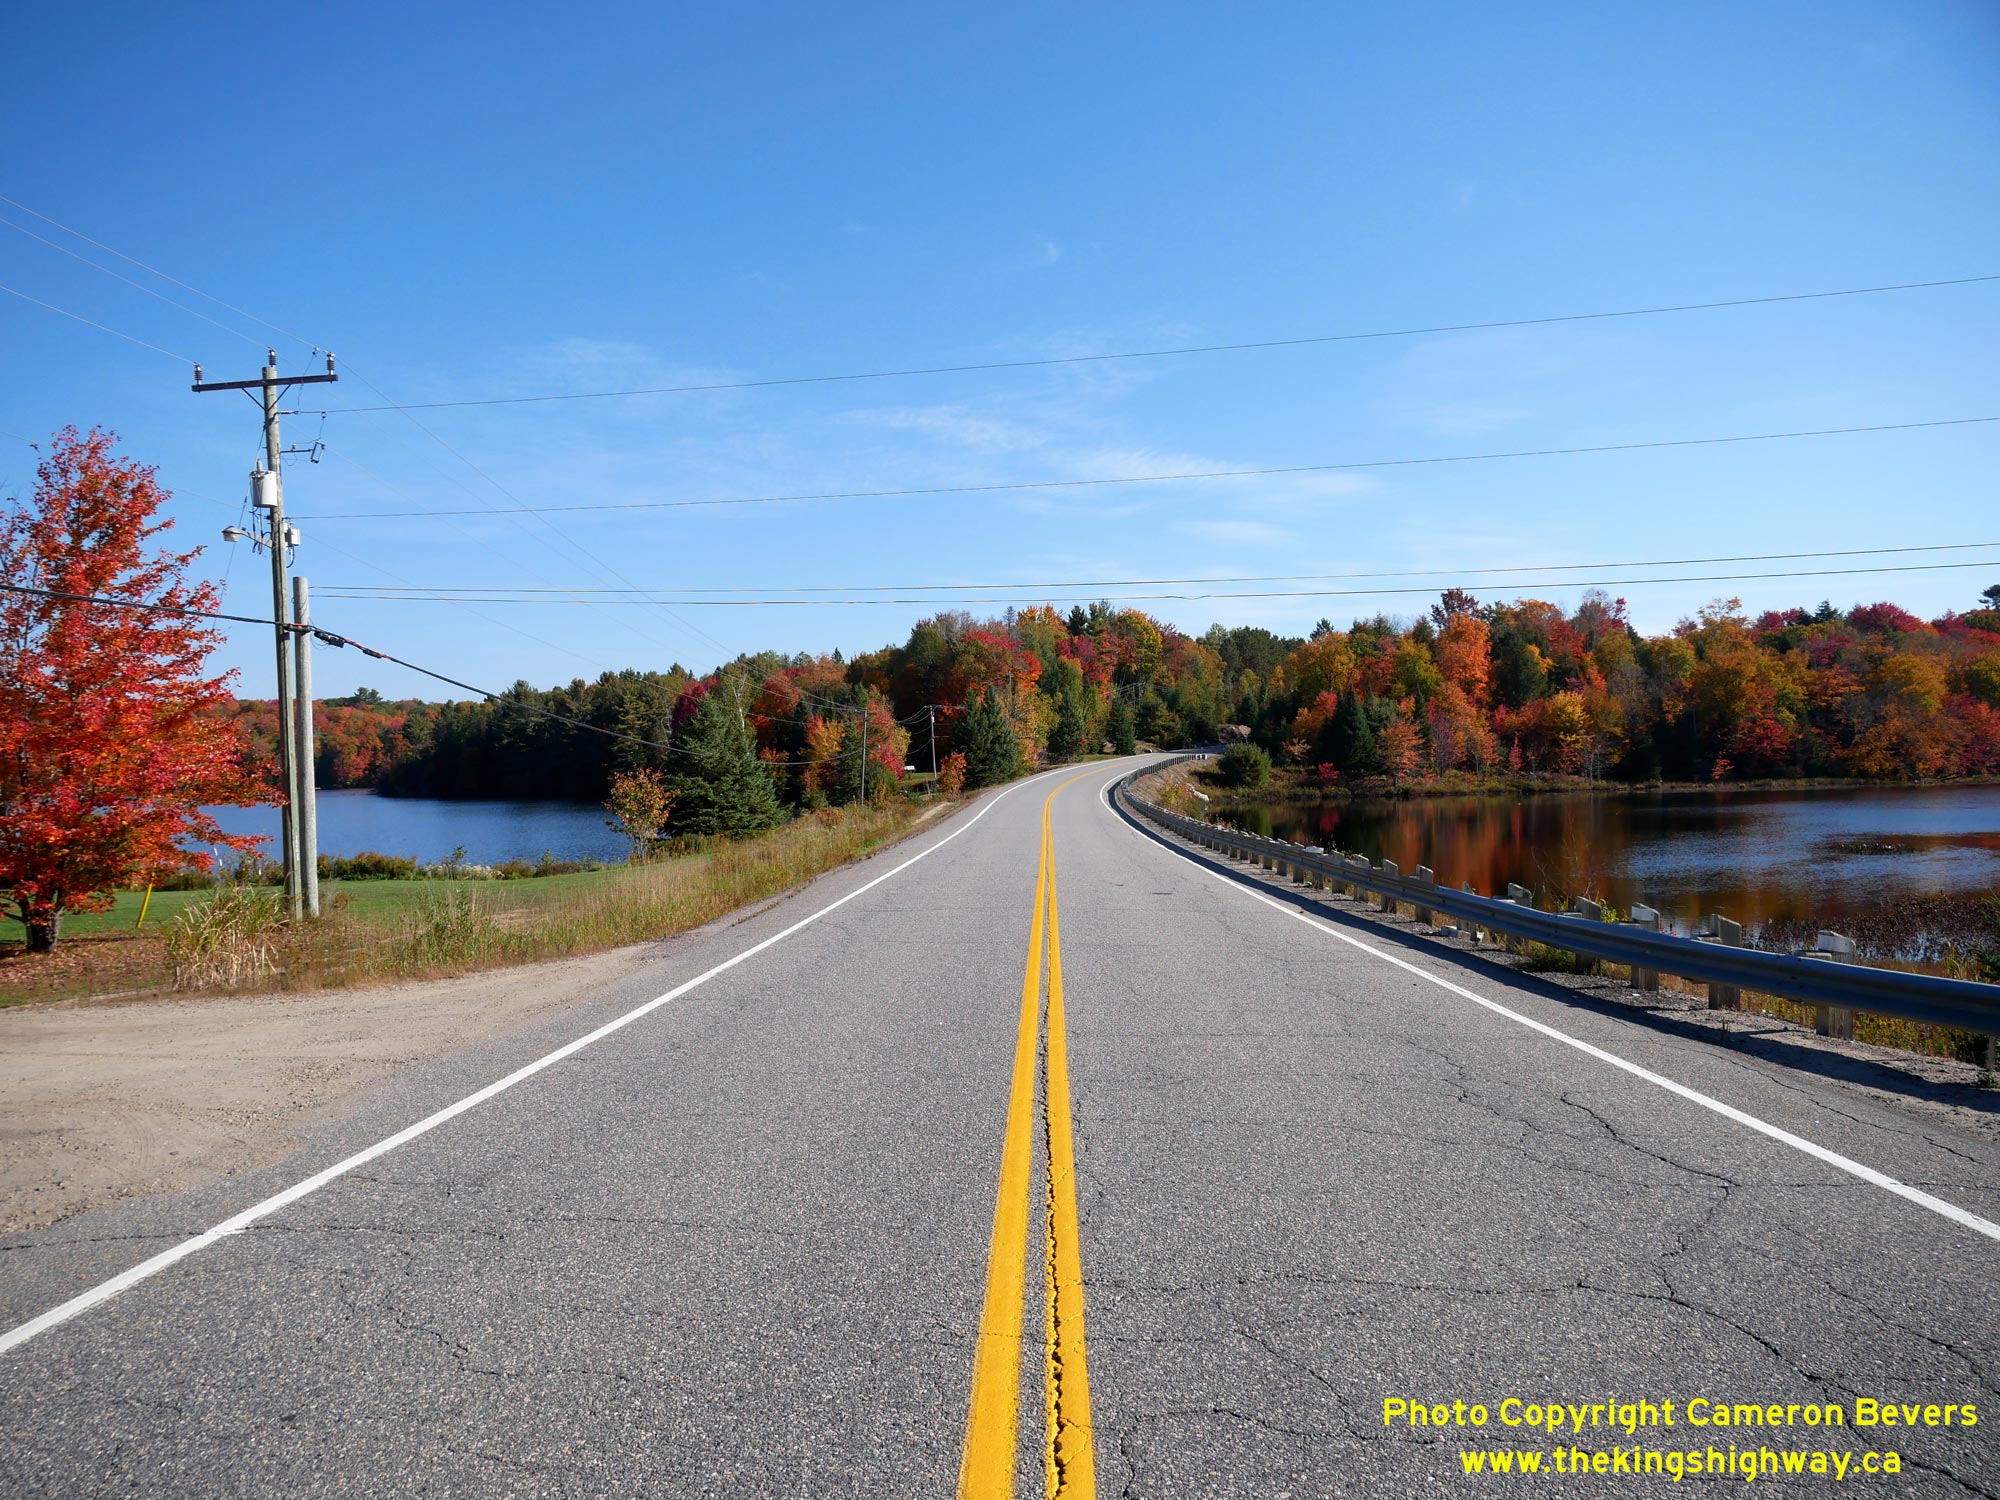
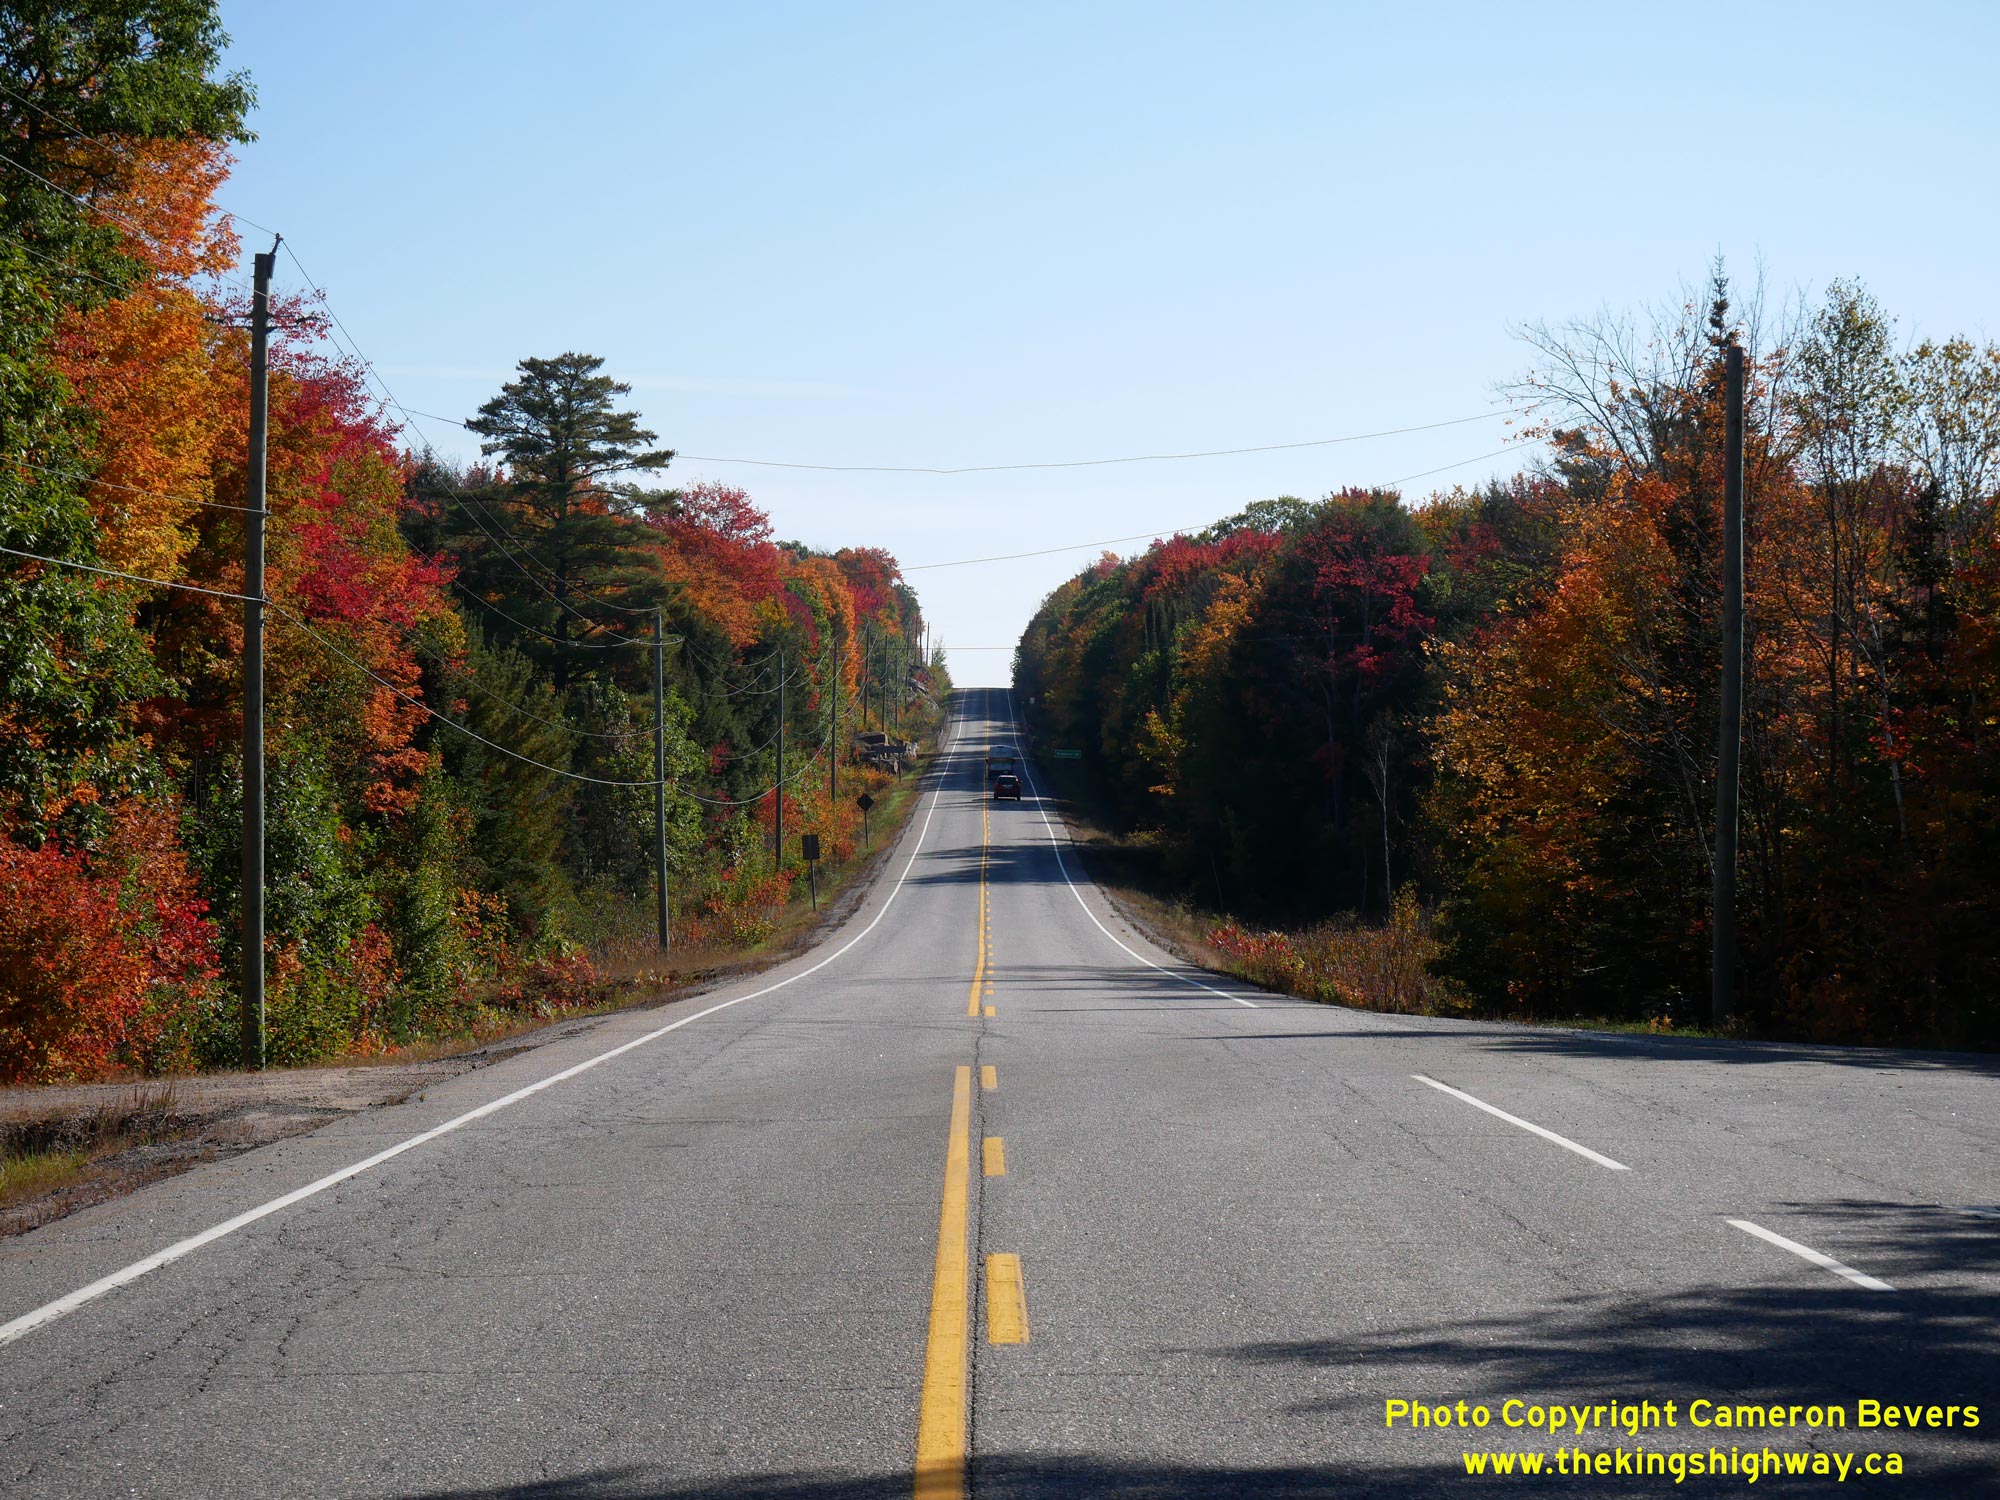
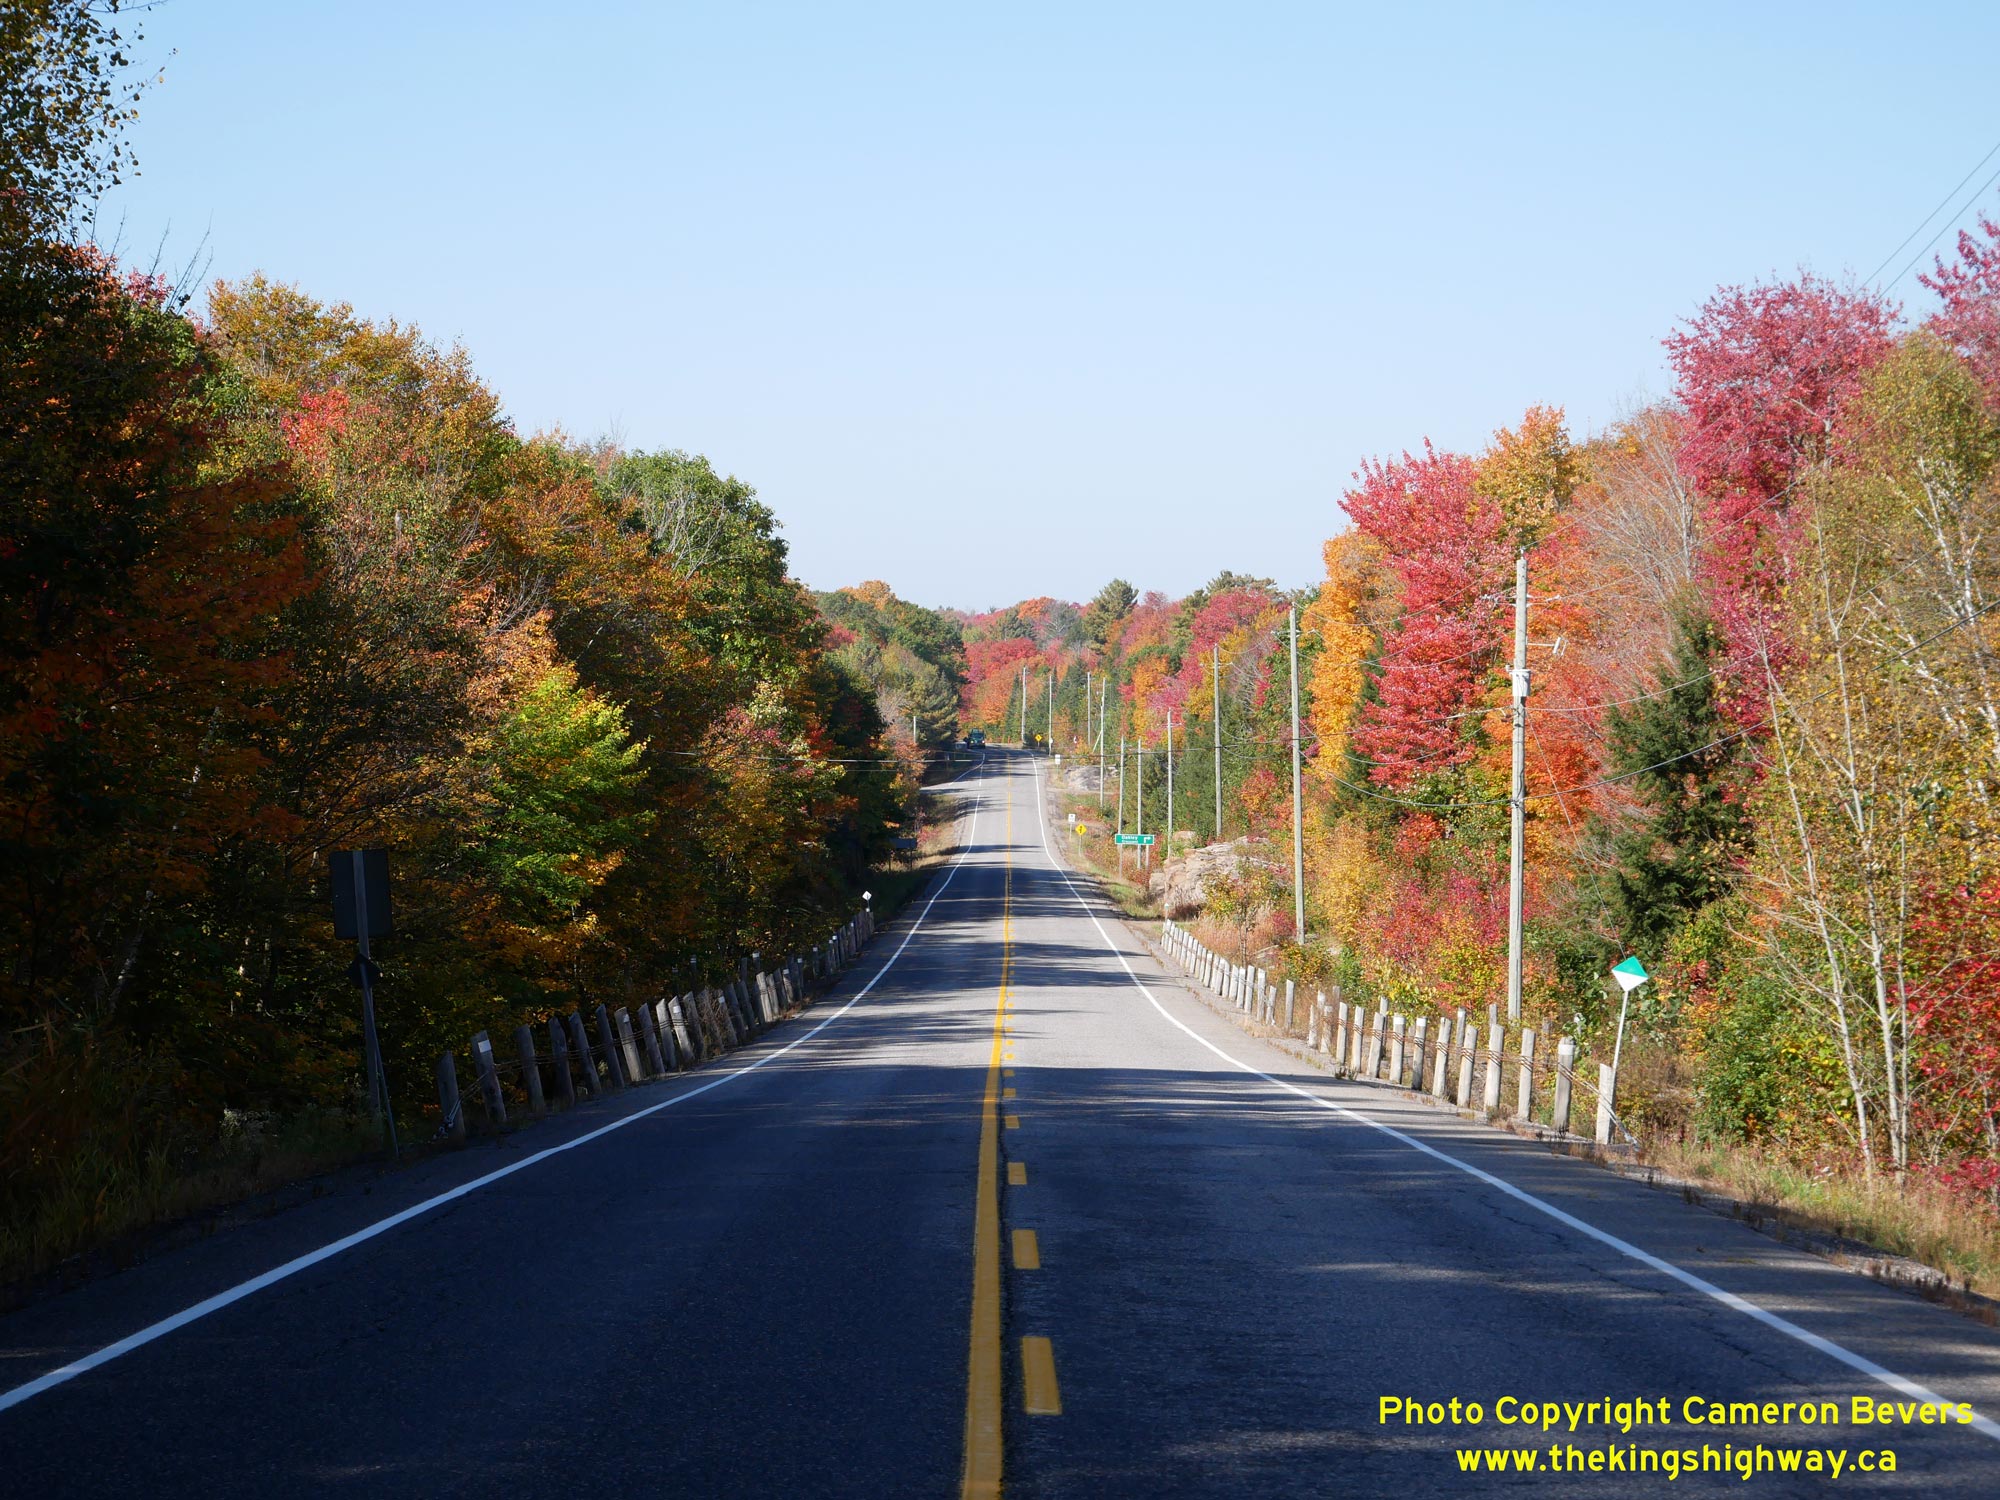
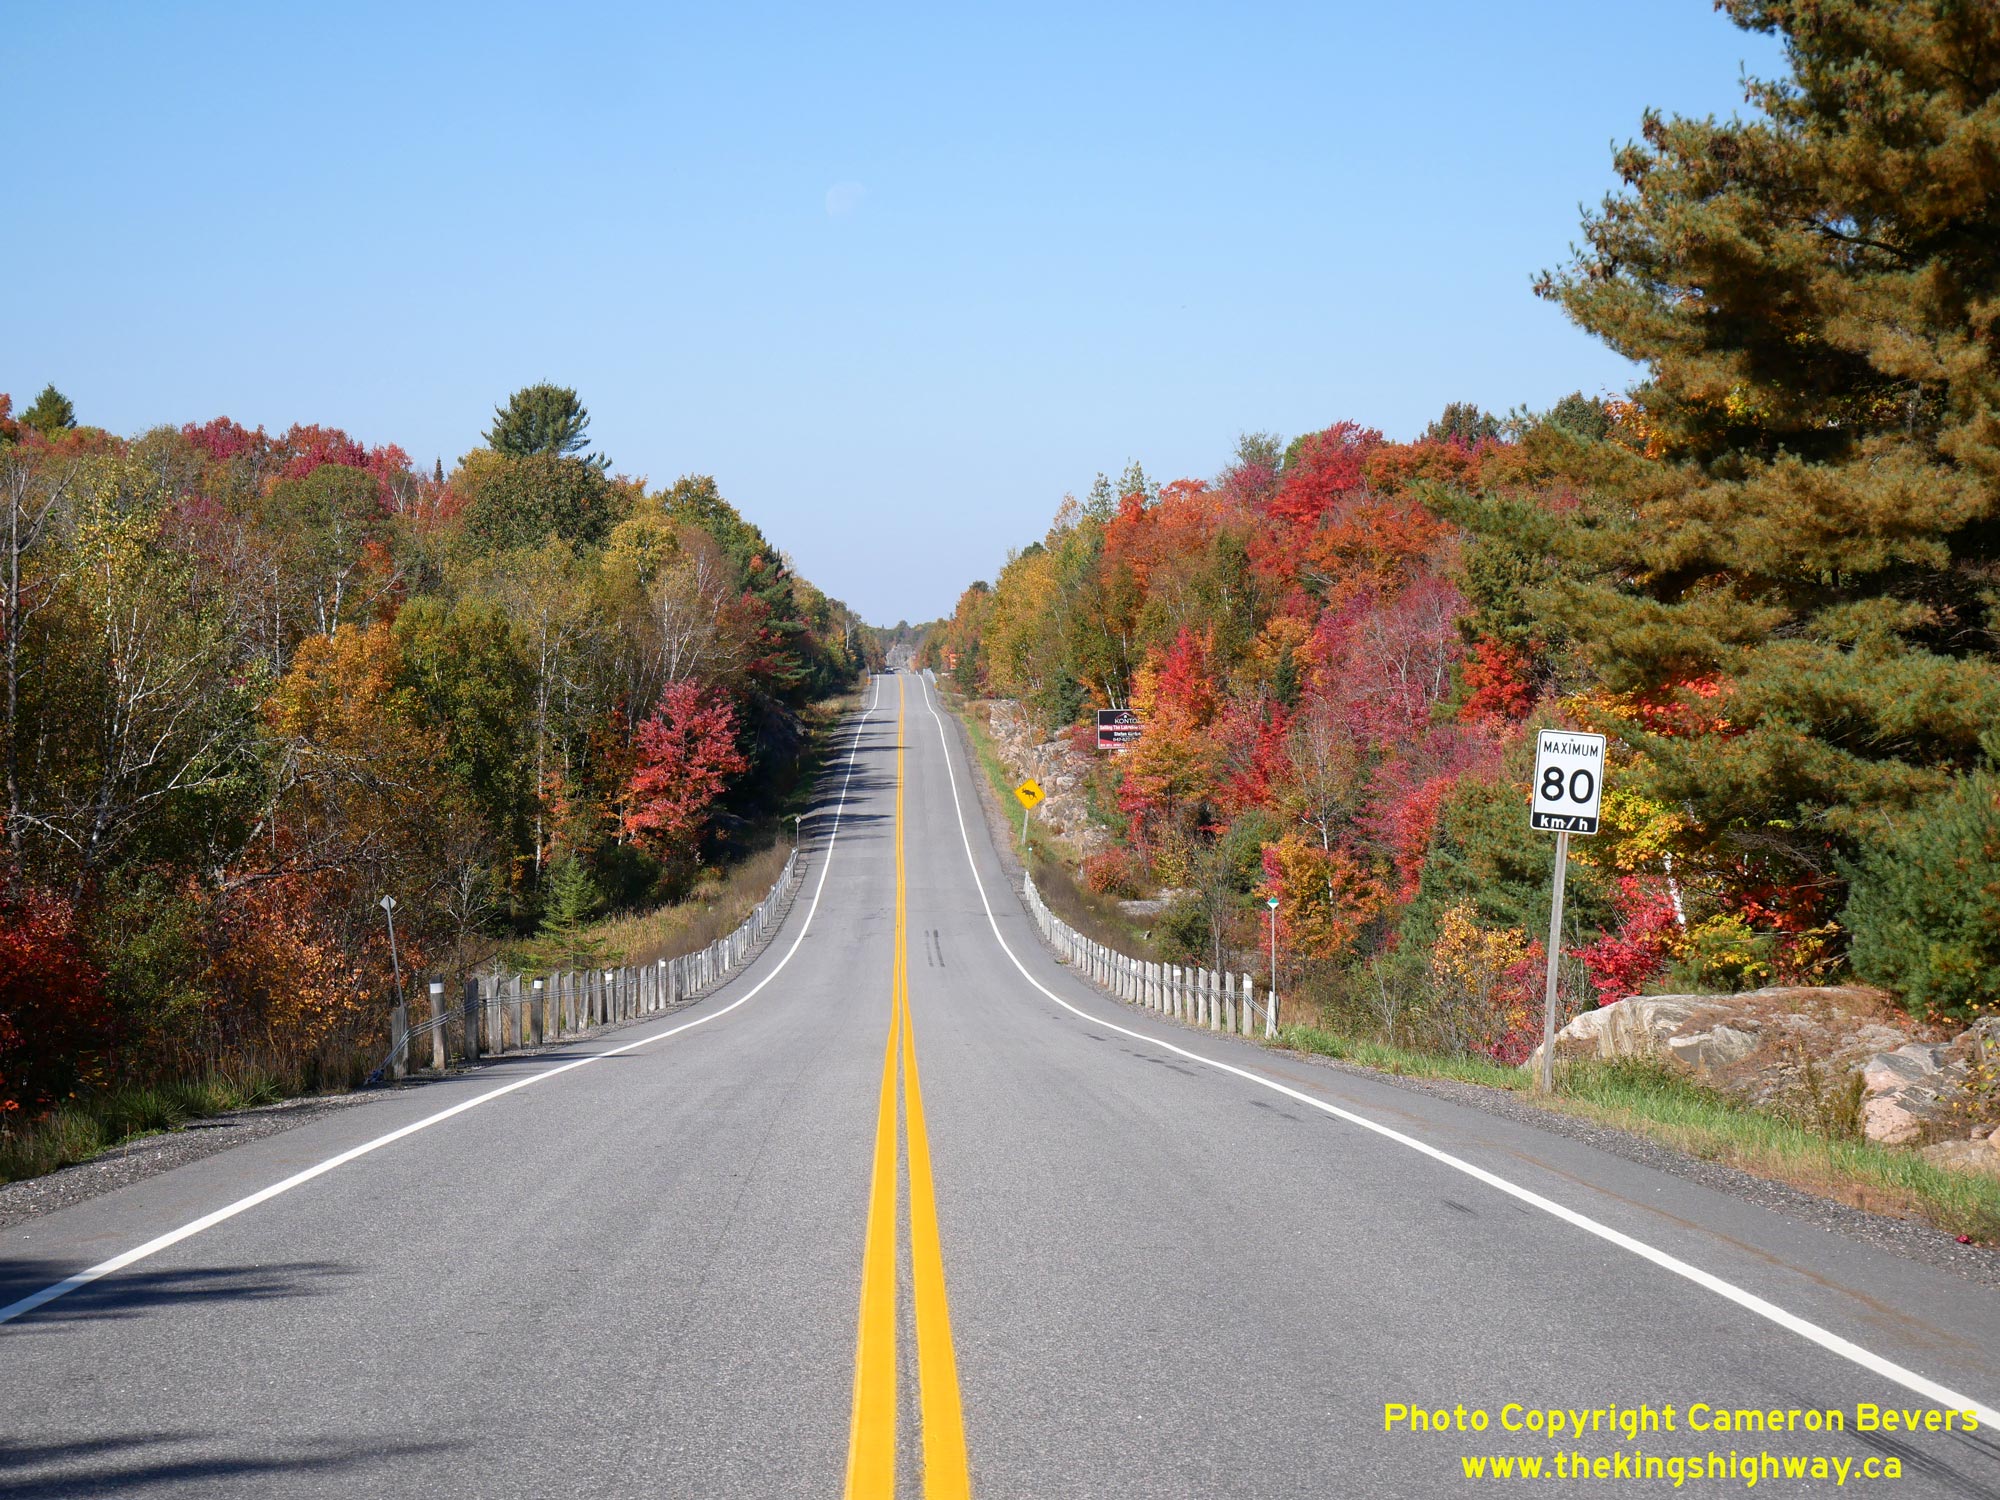
Left - A beautiful but remote section of Hwy 118 between Bracebridge and Carnarvon, located about 18 km west of the Hwy 35 Junction. Since this is a
relatively new highway, there is almost no roadside development in this area. No hydro lines were ever installed along this corridor, so this has further deterred
any development from occurring along the highway. See an Enlarged Photo Here. (Photograph taken on October 3, 2023 - © Cameron Bevers) Right - Facing west along Hwy 118 near Anson Lake, located about 16 km west of Carnarvon. Although Hwy 118 passes through a rather empty region of Ontario, the highway is actually quite well-travelled as it forms a strategic link in the highway system. Prior to the completion of the Bracebridge-Carnarvon Road, motorists had to travel north via Dorset and Baysville via Hwy 35 and Hwy 117 in order to travel between Carnarvon and Bracebridge. Hwy 118's establishment through this area in 1981 shortened the highway distance between these two centres by about 23 km. See an Enlarged Photo Here. (Photograph taken on October 3, 2023 - © Cameron Bevers) 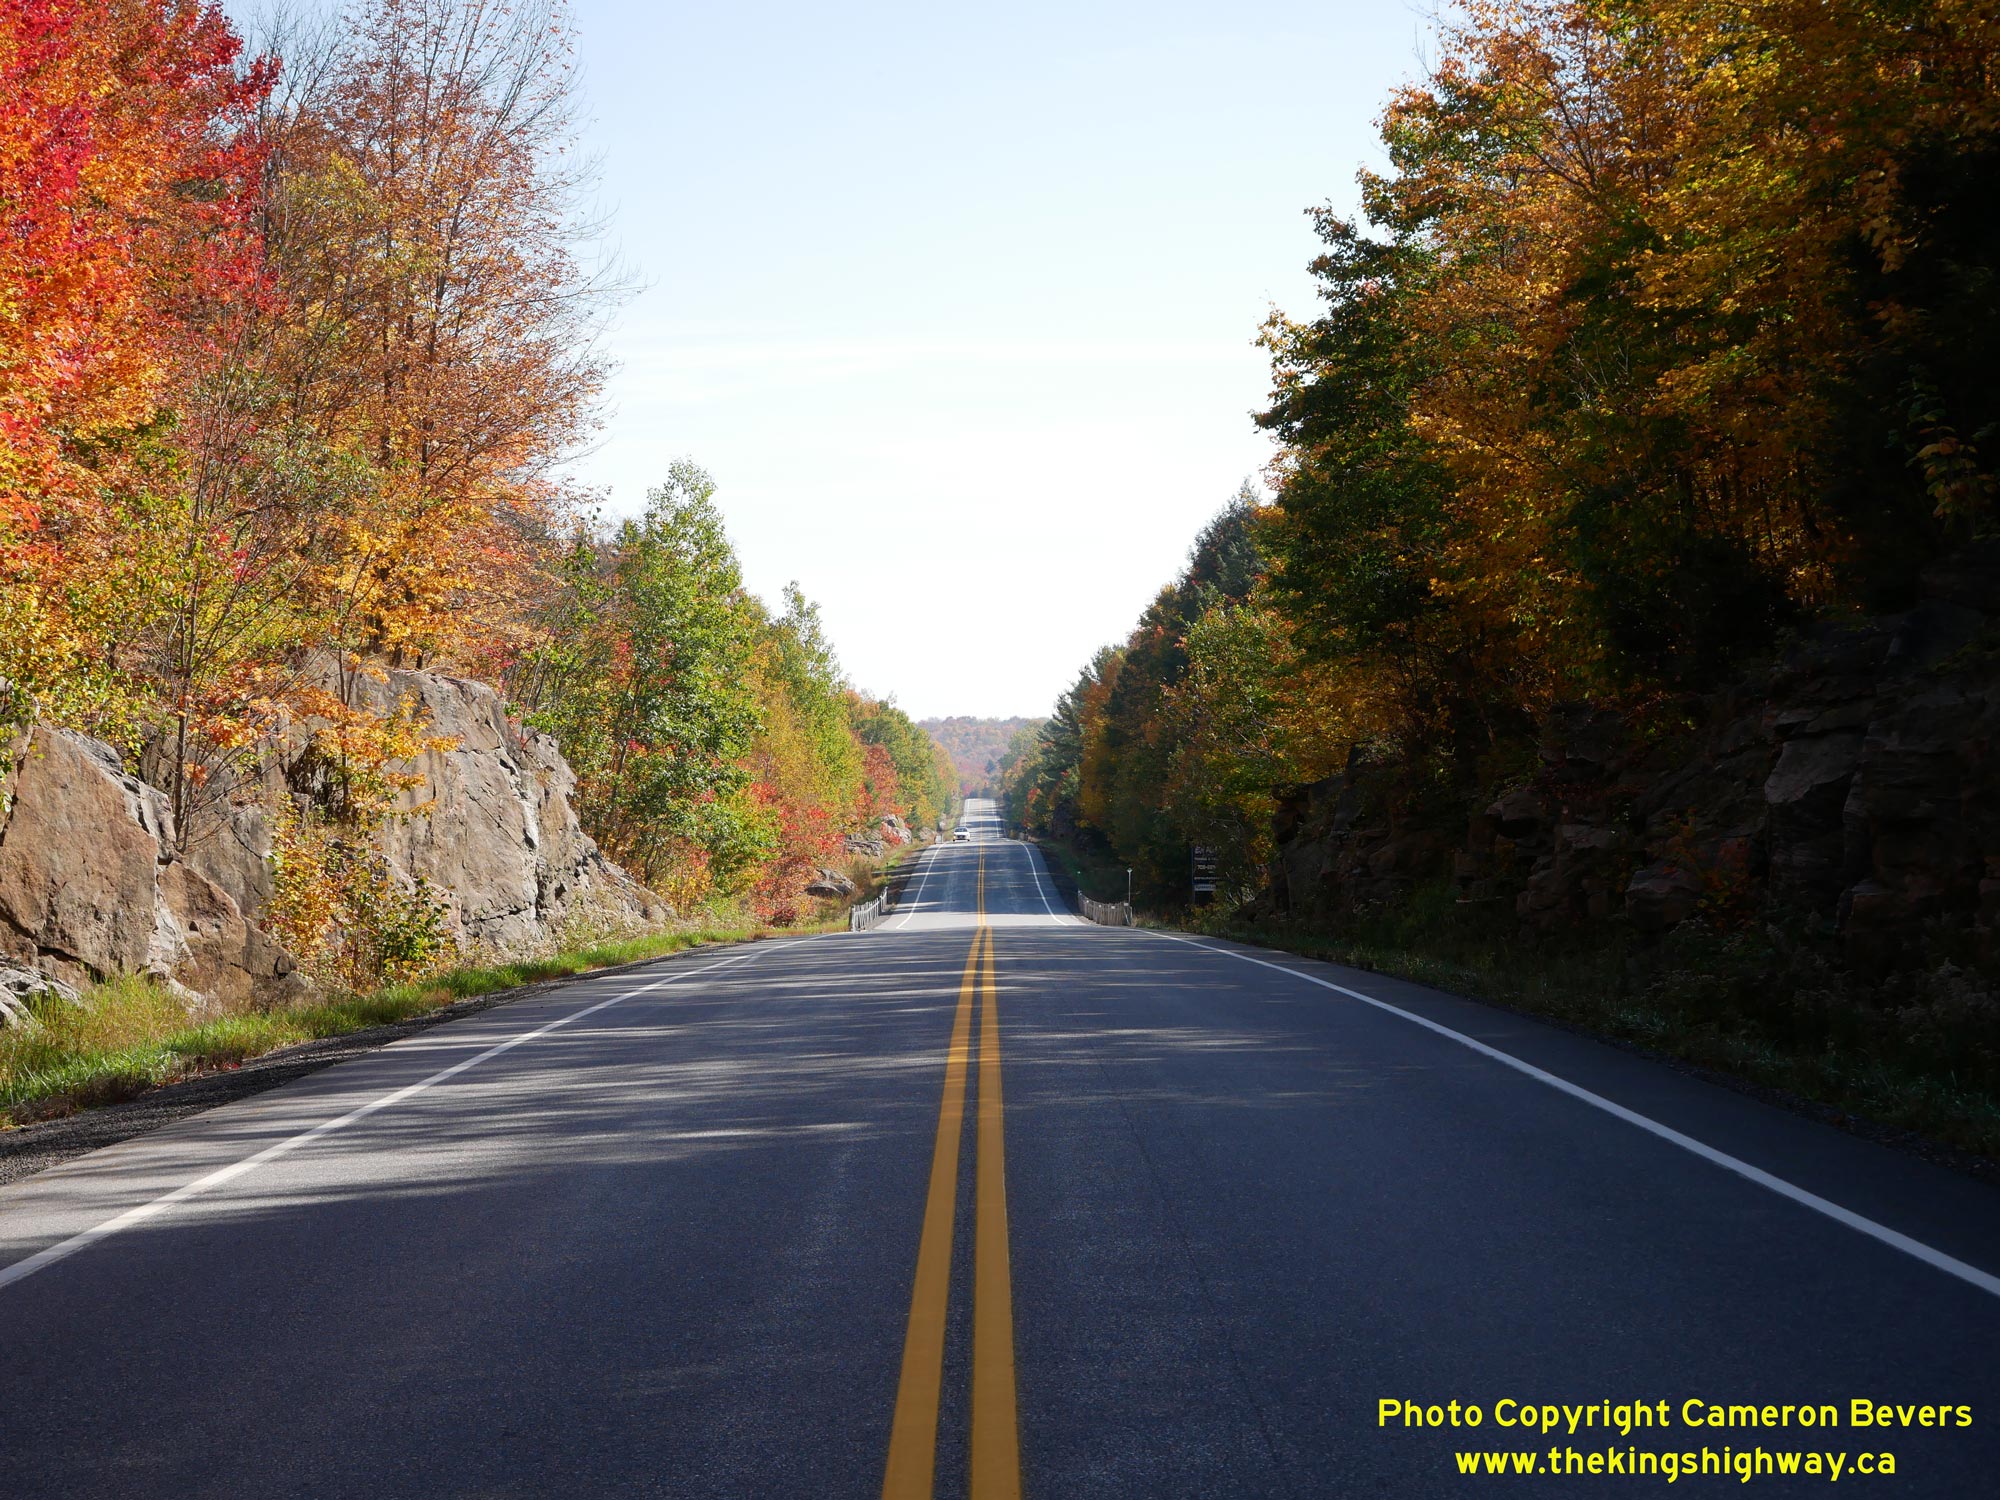
Left - Facing east along Hwy 118 about 16 km west of Carnarvon. This road link between Vankoughnet and Carnarvon was originally built in the early 1970s as a
"Development Road". While the legal definition of a Development Road varied somewhat over the decades, it generally referred to a municipal road built with the
technical assistance of the Municipal Roads Branch of the Department of Highways of Ontario (DHO). Typically, the DHO would supervise road construction and offer
design advice to counties and townships who might not have the in-house experience in modern highway building themselves. Many Development Roads built over the
decades by municipalities ultimately became provincial highway links, including this section of Hwy 118. See an
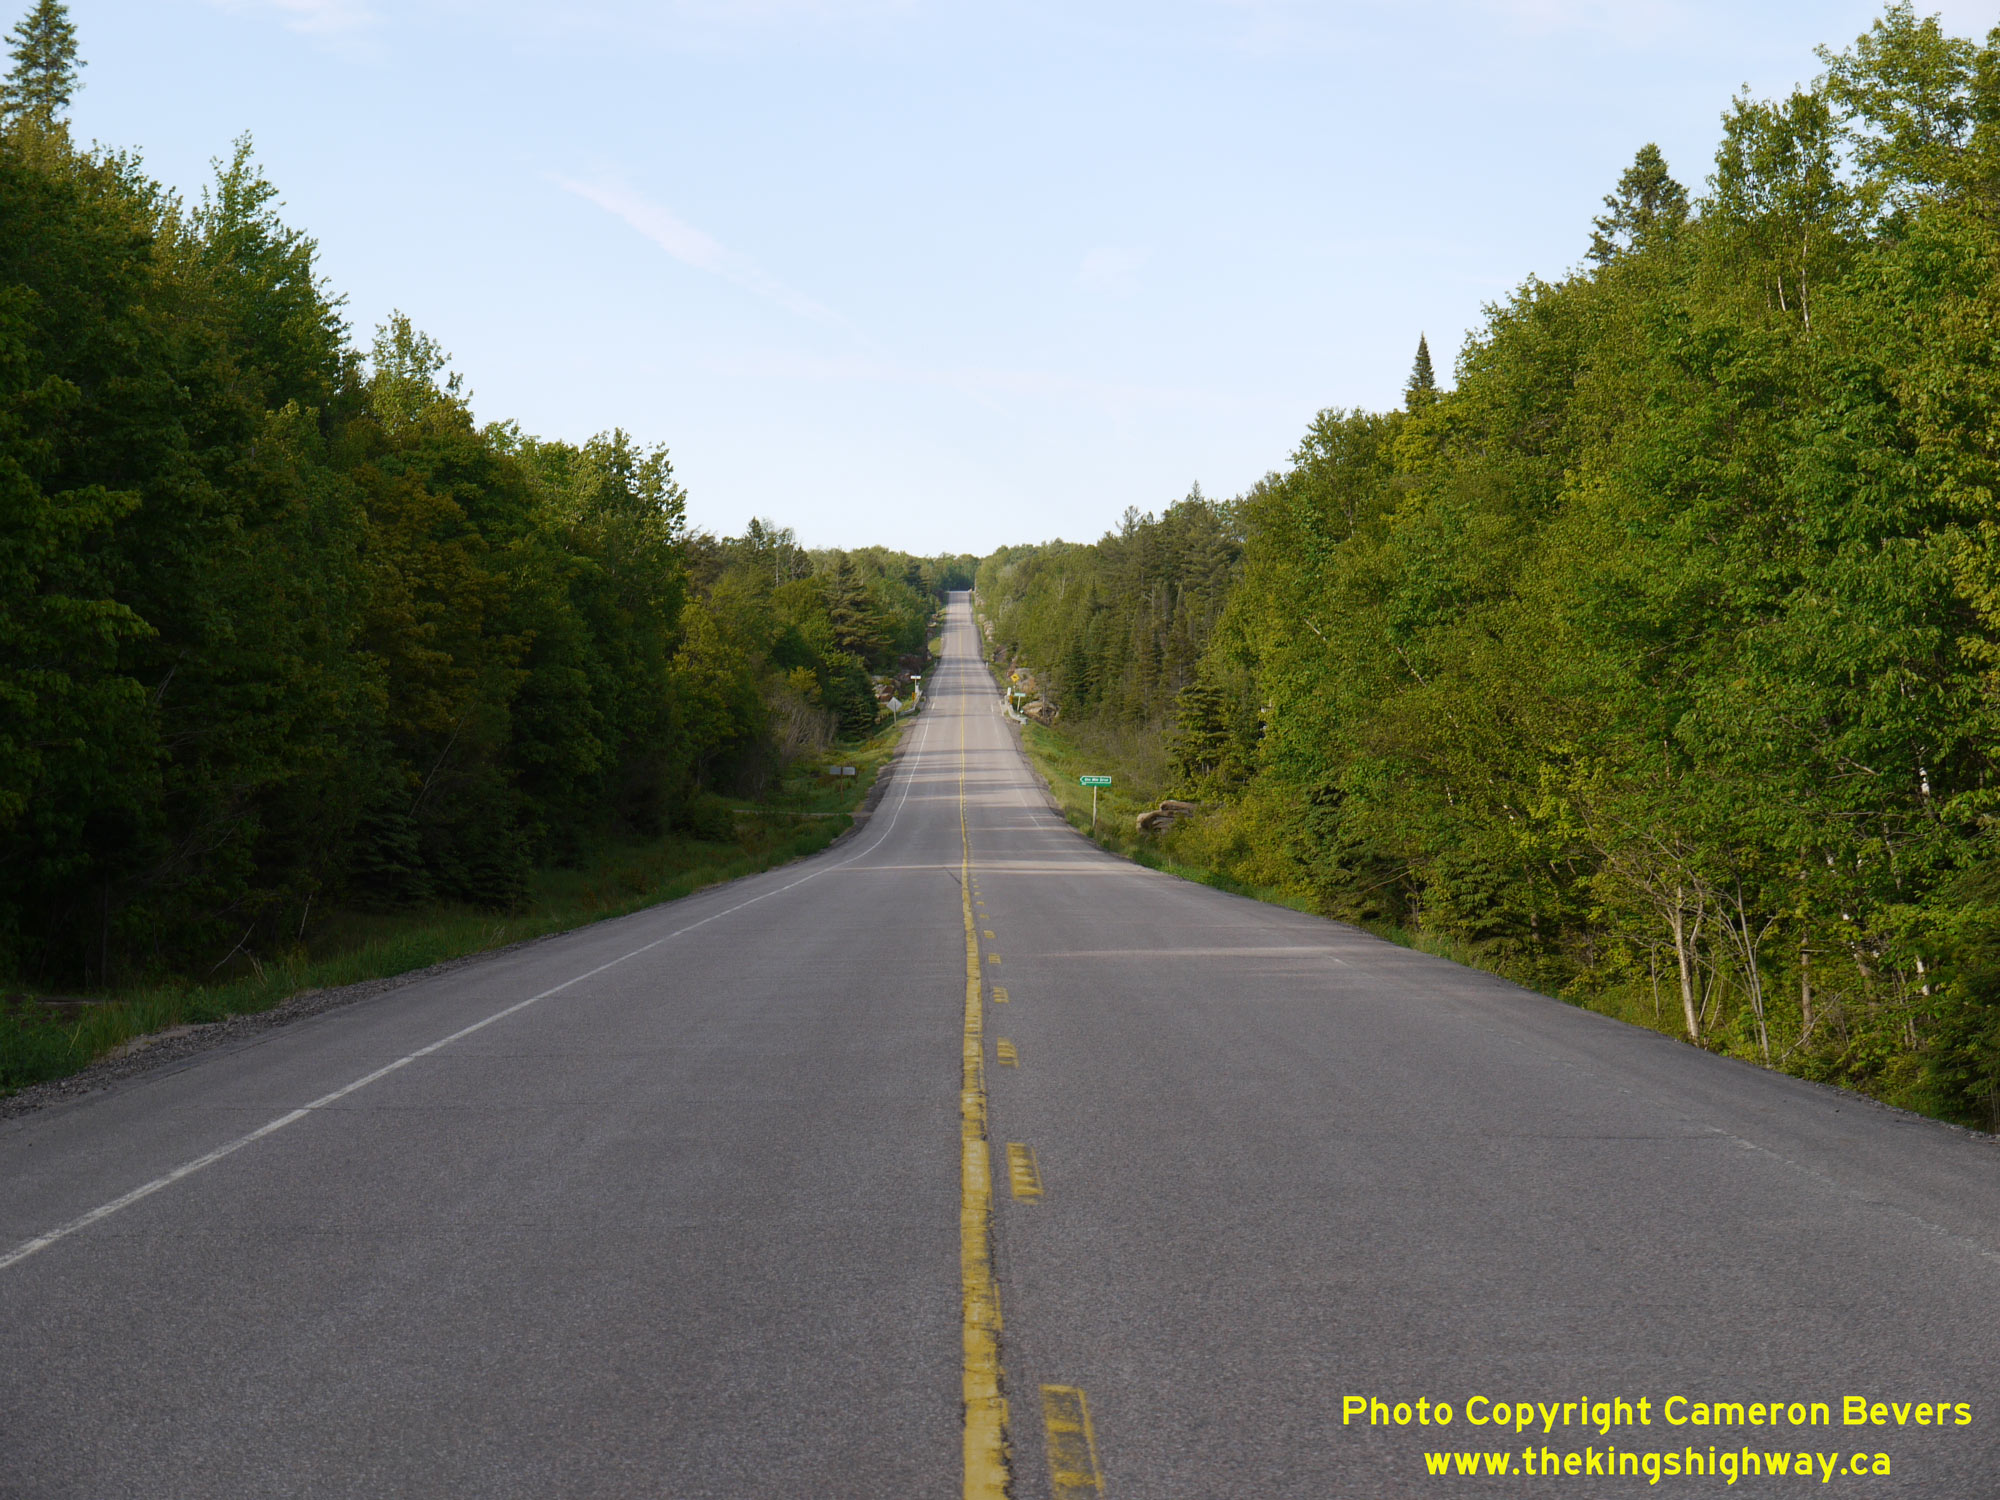
Enlarged Photo Here. (Photograph taken on October 3, 2023 - © Cameron Bevers) Right - Encountering relatively few natural obstacles in places, Hwy 118 travels along straight lines (tangents) for kilometres at a time approaching Carnarvon. See an Enlarged Photo Here. (Photograph taken on June 6, 2009 - © Cameron Bevers) 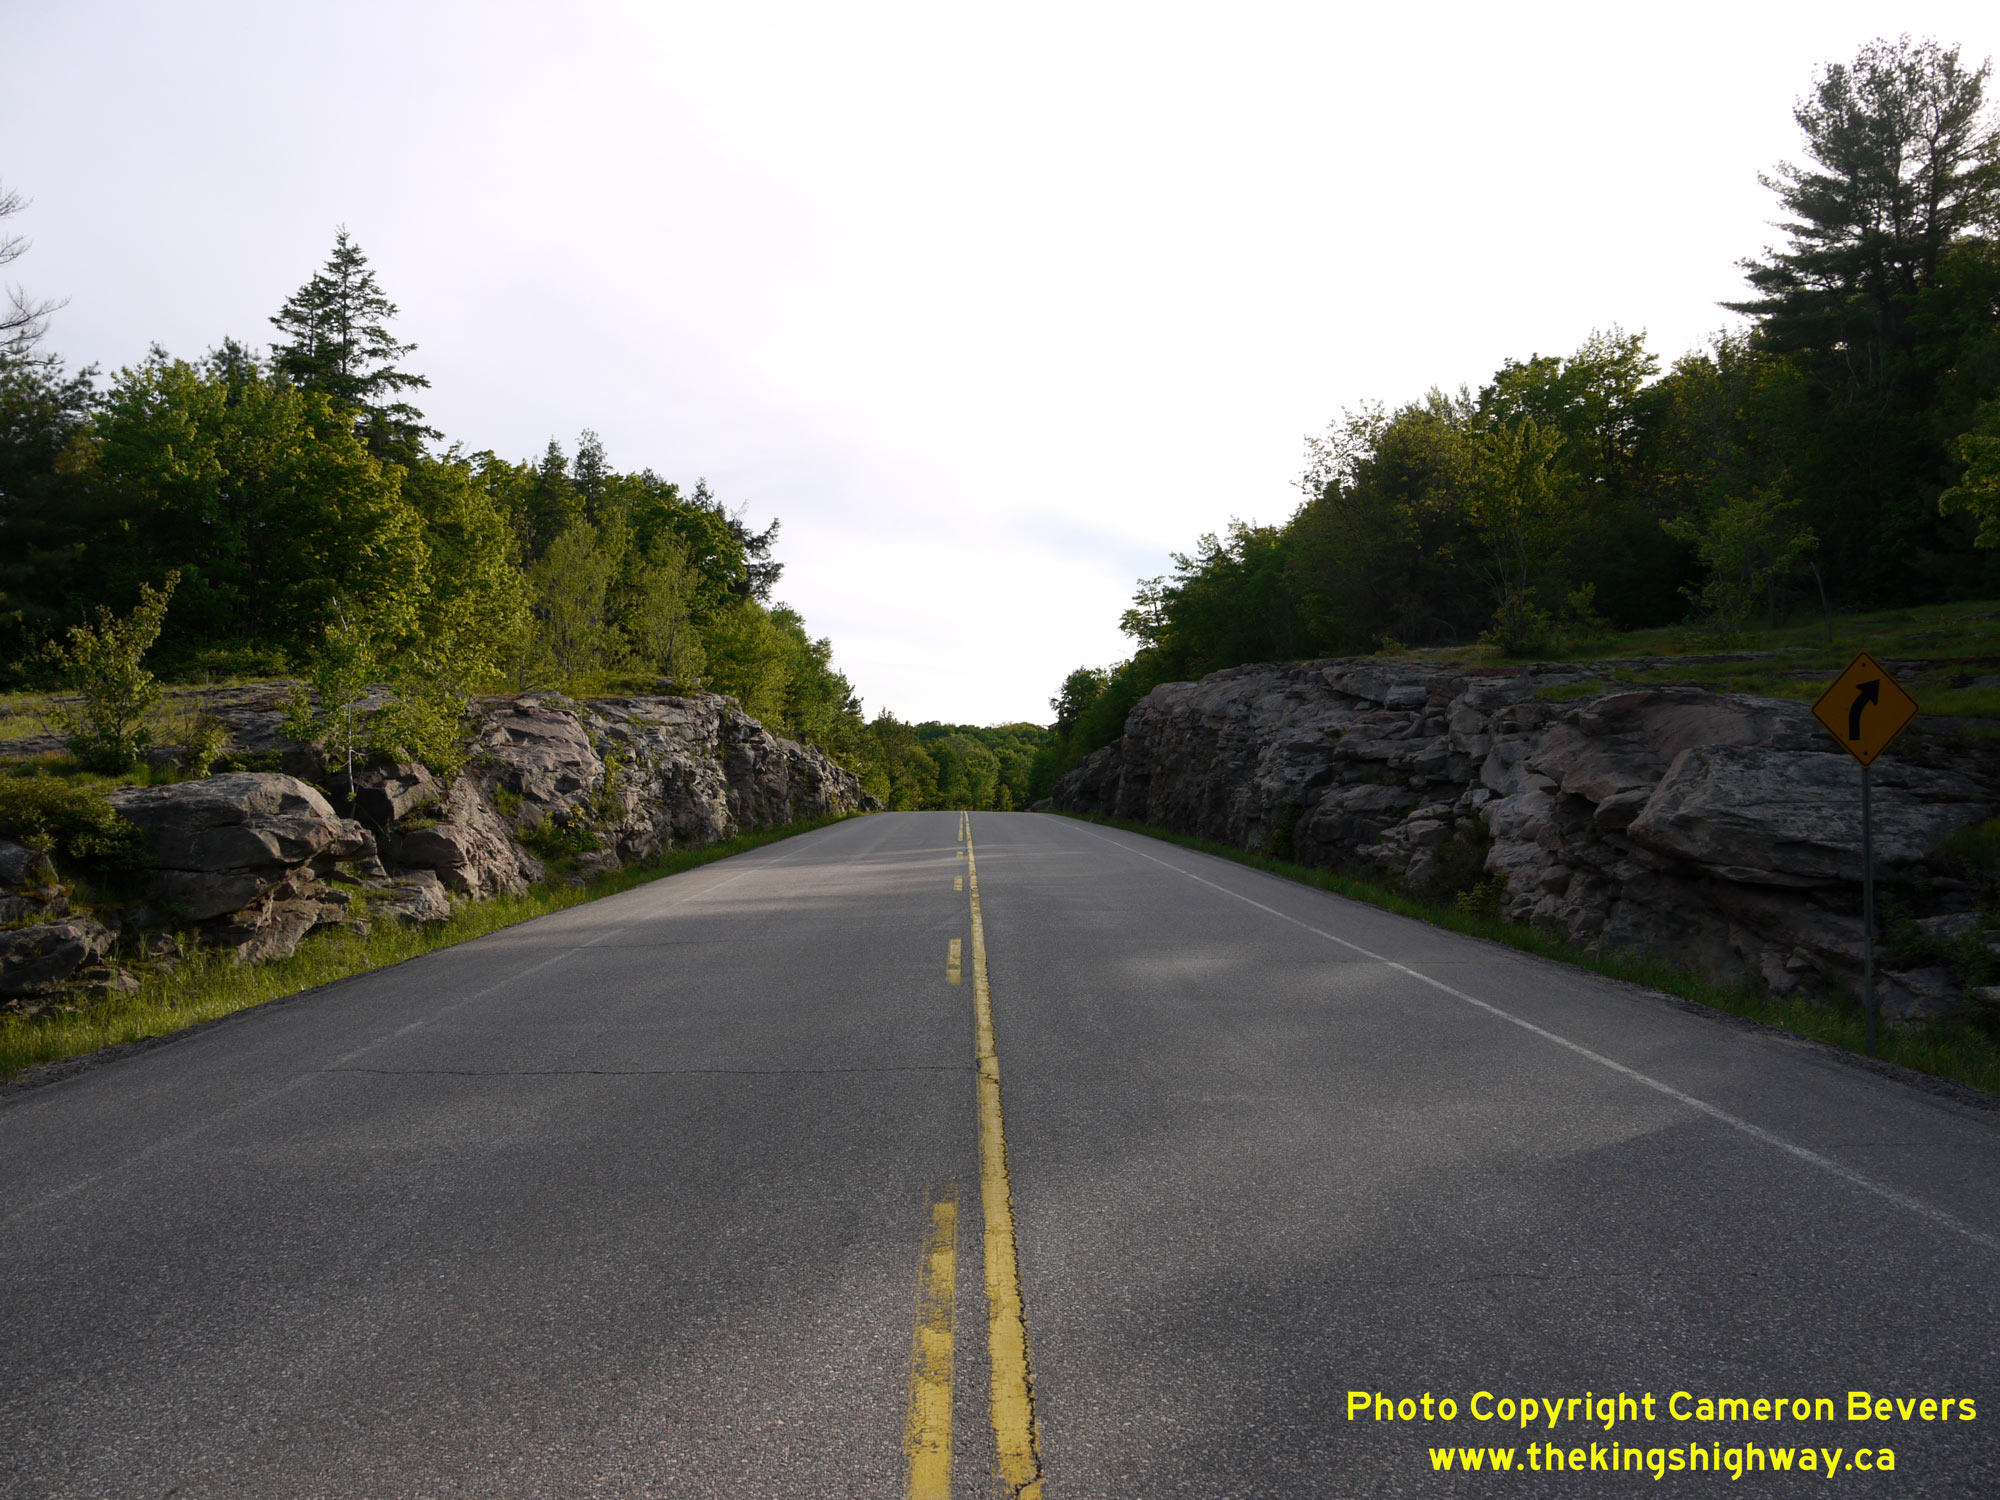
Left - Rock cut on Hwy 118 about 14 km west of Carnarvon, facing west towards Bracebridge. See an
Enlarged Photo Here. (Photograph taken on June 6, 2009 - © Cameron Bevers) Right - Approaching the Anson Creek Bridge on Hwy 118, facing east towards Carnarvon. Anson Creek crosses Hwy 118 about 13 km west of the Hwy 35 Junction. See an Enlarged Photo Here. (Photograph taken on June 6, 2009 - © Cameron Bevers) 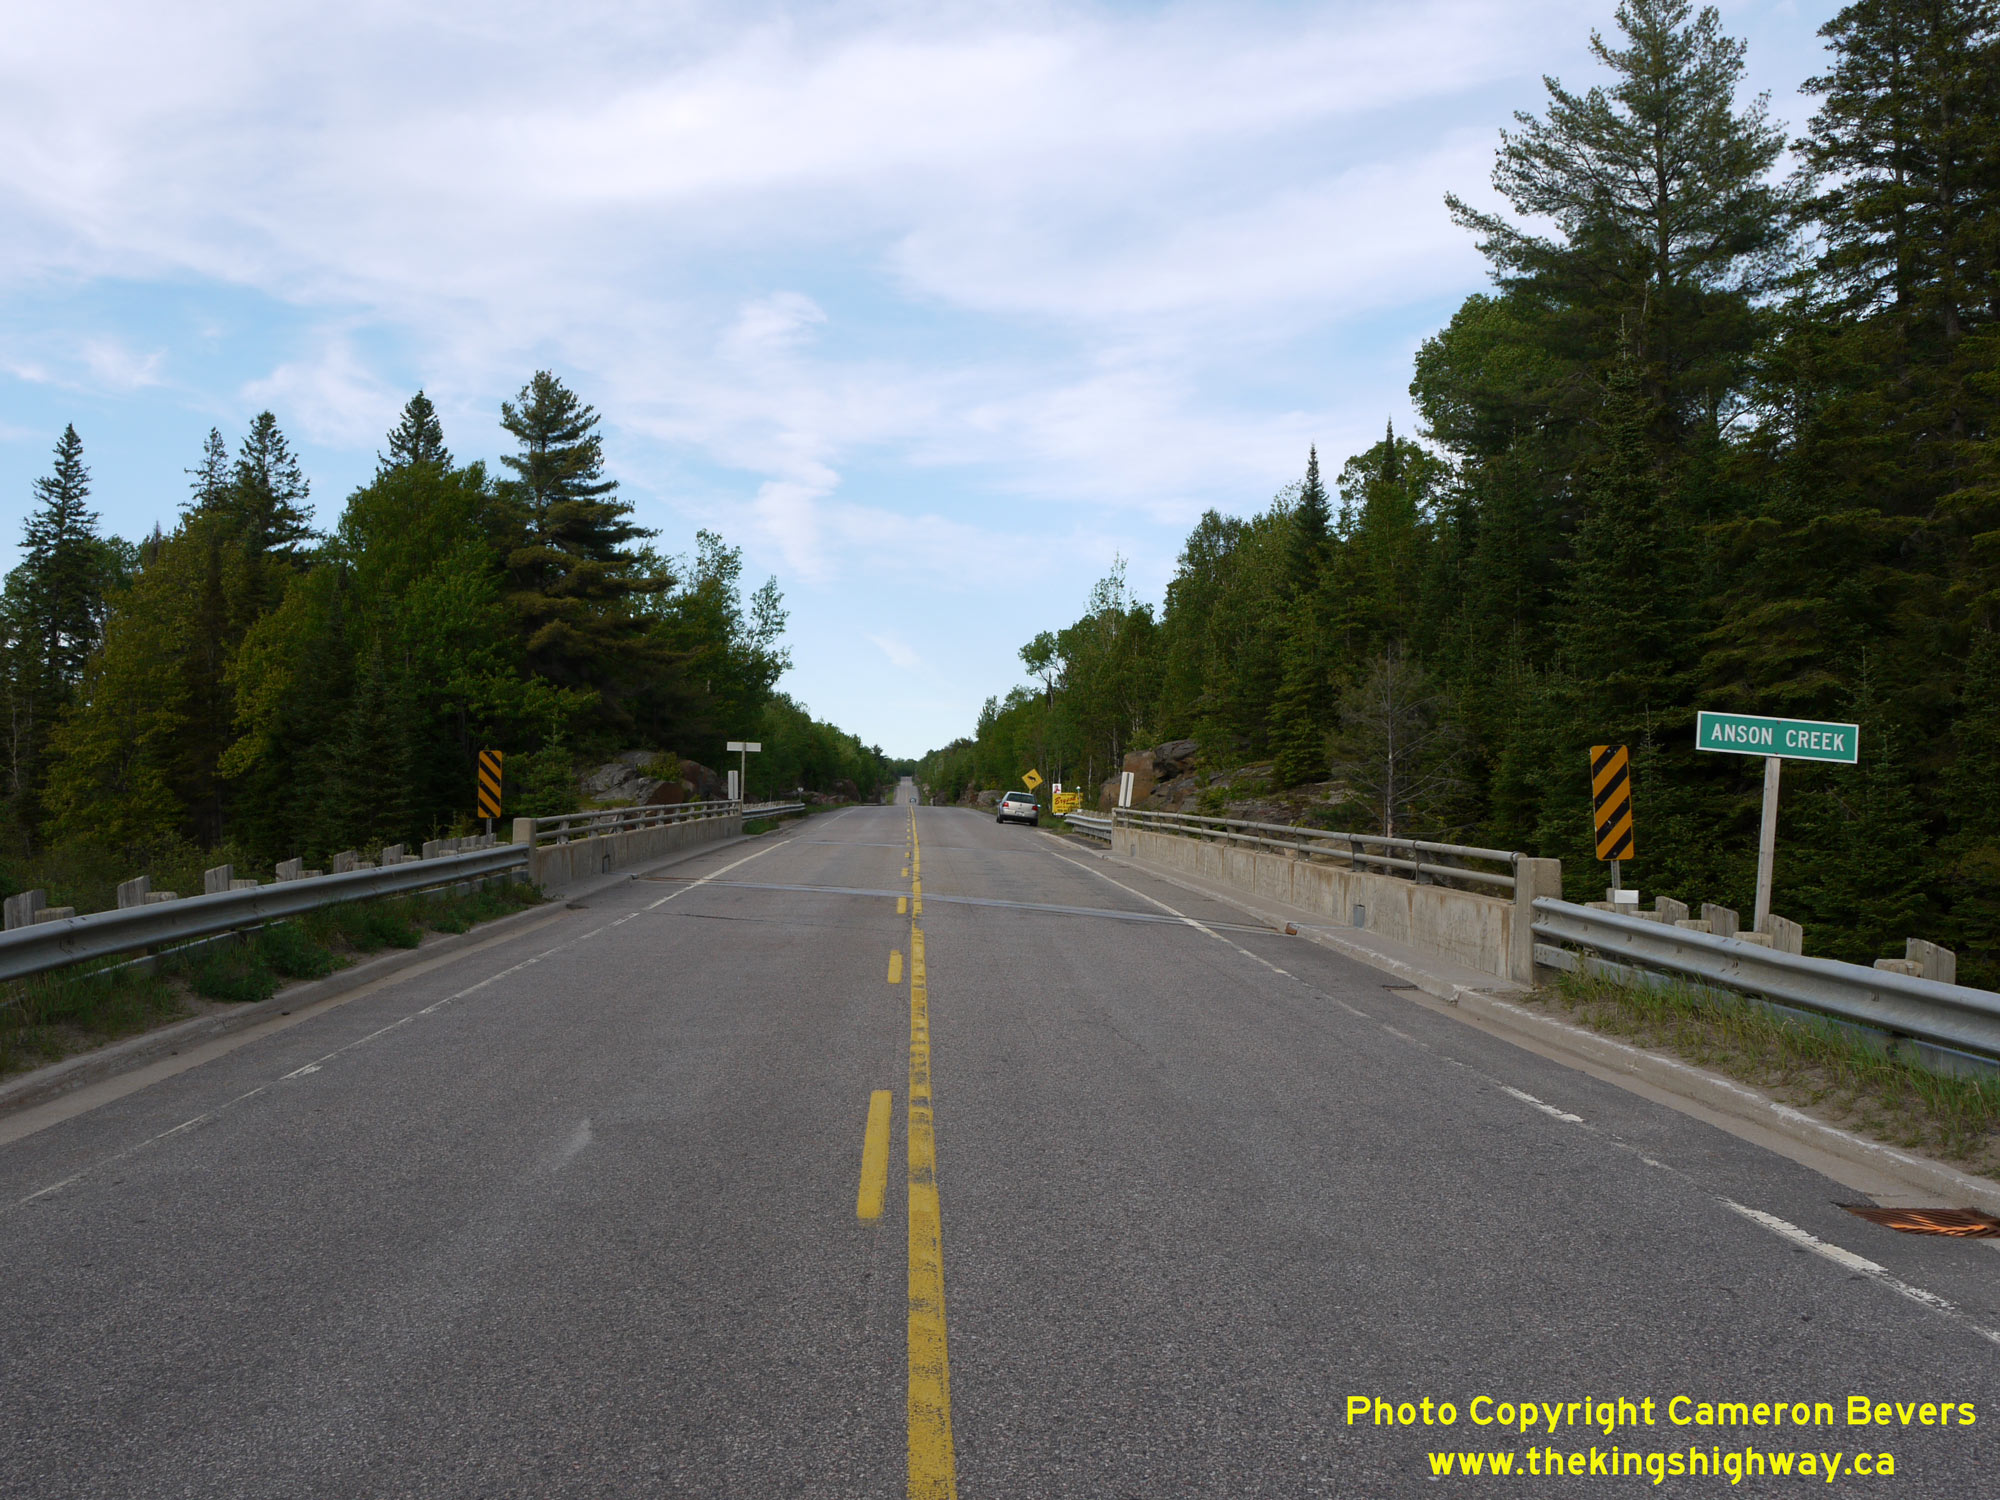

Left - Facing east along Hwy 118 towards Carnarvon at the Anson Creek Bridge. See an
Enlarged Photo Here. (Photograph taken on June 6, 2009 - © Cameron Bevers) Right - Anson Creek Bridge on Hwy 118 near Carnarvon. This single-span concrete girder structure was completed in 1971. See an Enlarged Photo Here. (Photograph taken on June 6, 2009 - © Cameron Bevers) 
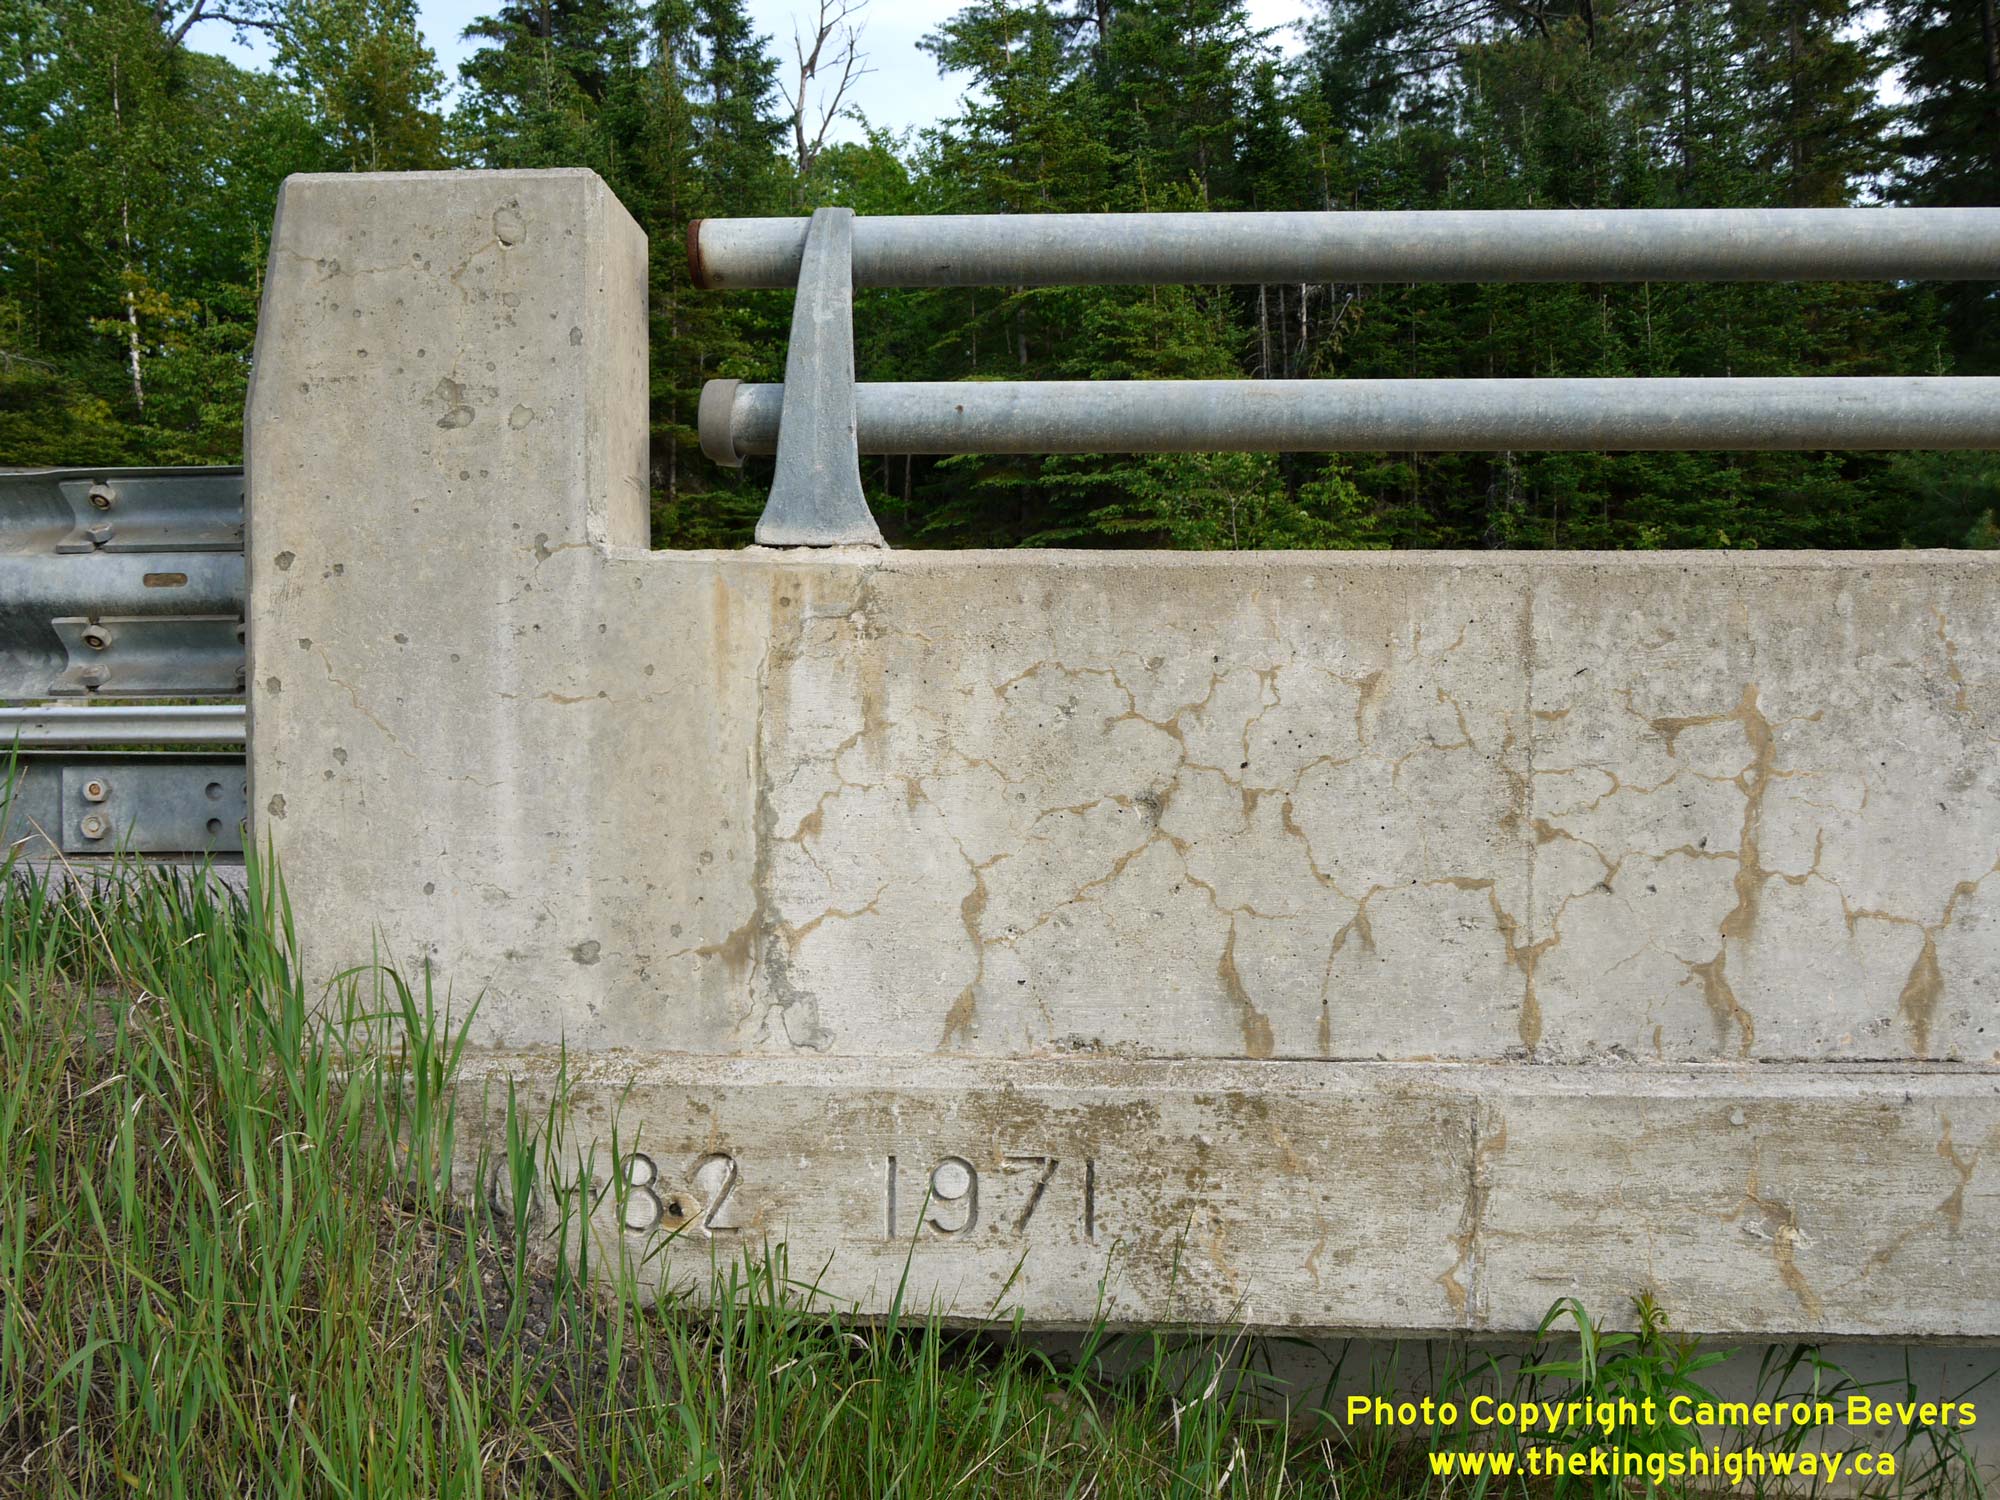
Left - Southern side of the Anson Creek Bridge on Hwy 118 west of Carnarvon. See an
Enlarged Photo Here. (Photograph taken on June 6, 2009 - © Cameron Bevers) Right - Structure identification number (Site #40-82) and date stamp (1971) on the Anson Creek Bridge on Hwy 118 west of Carnarvon. See an Enlarged Photo Here. (Photograph taken on June 6, 2009 - © Cameron Bevers) 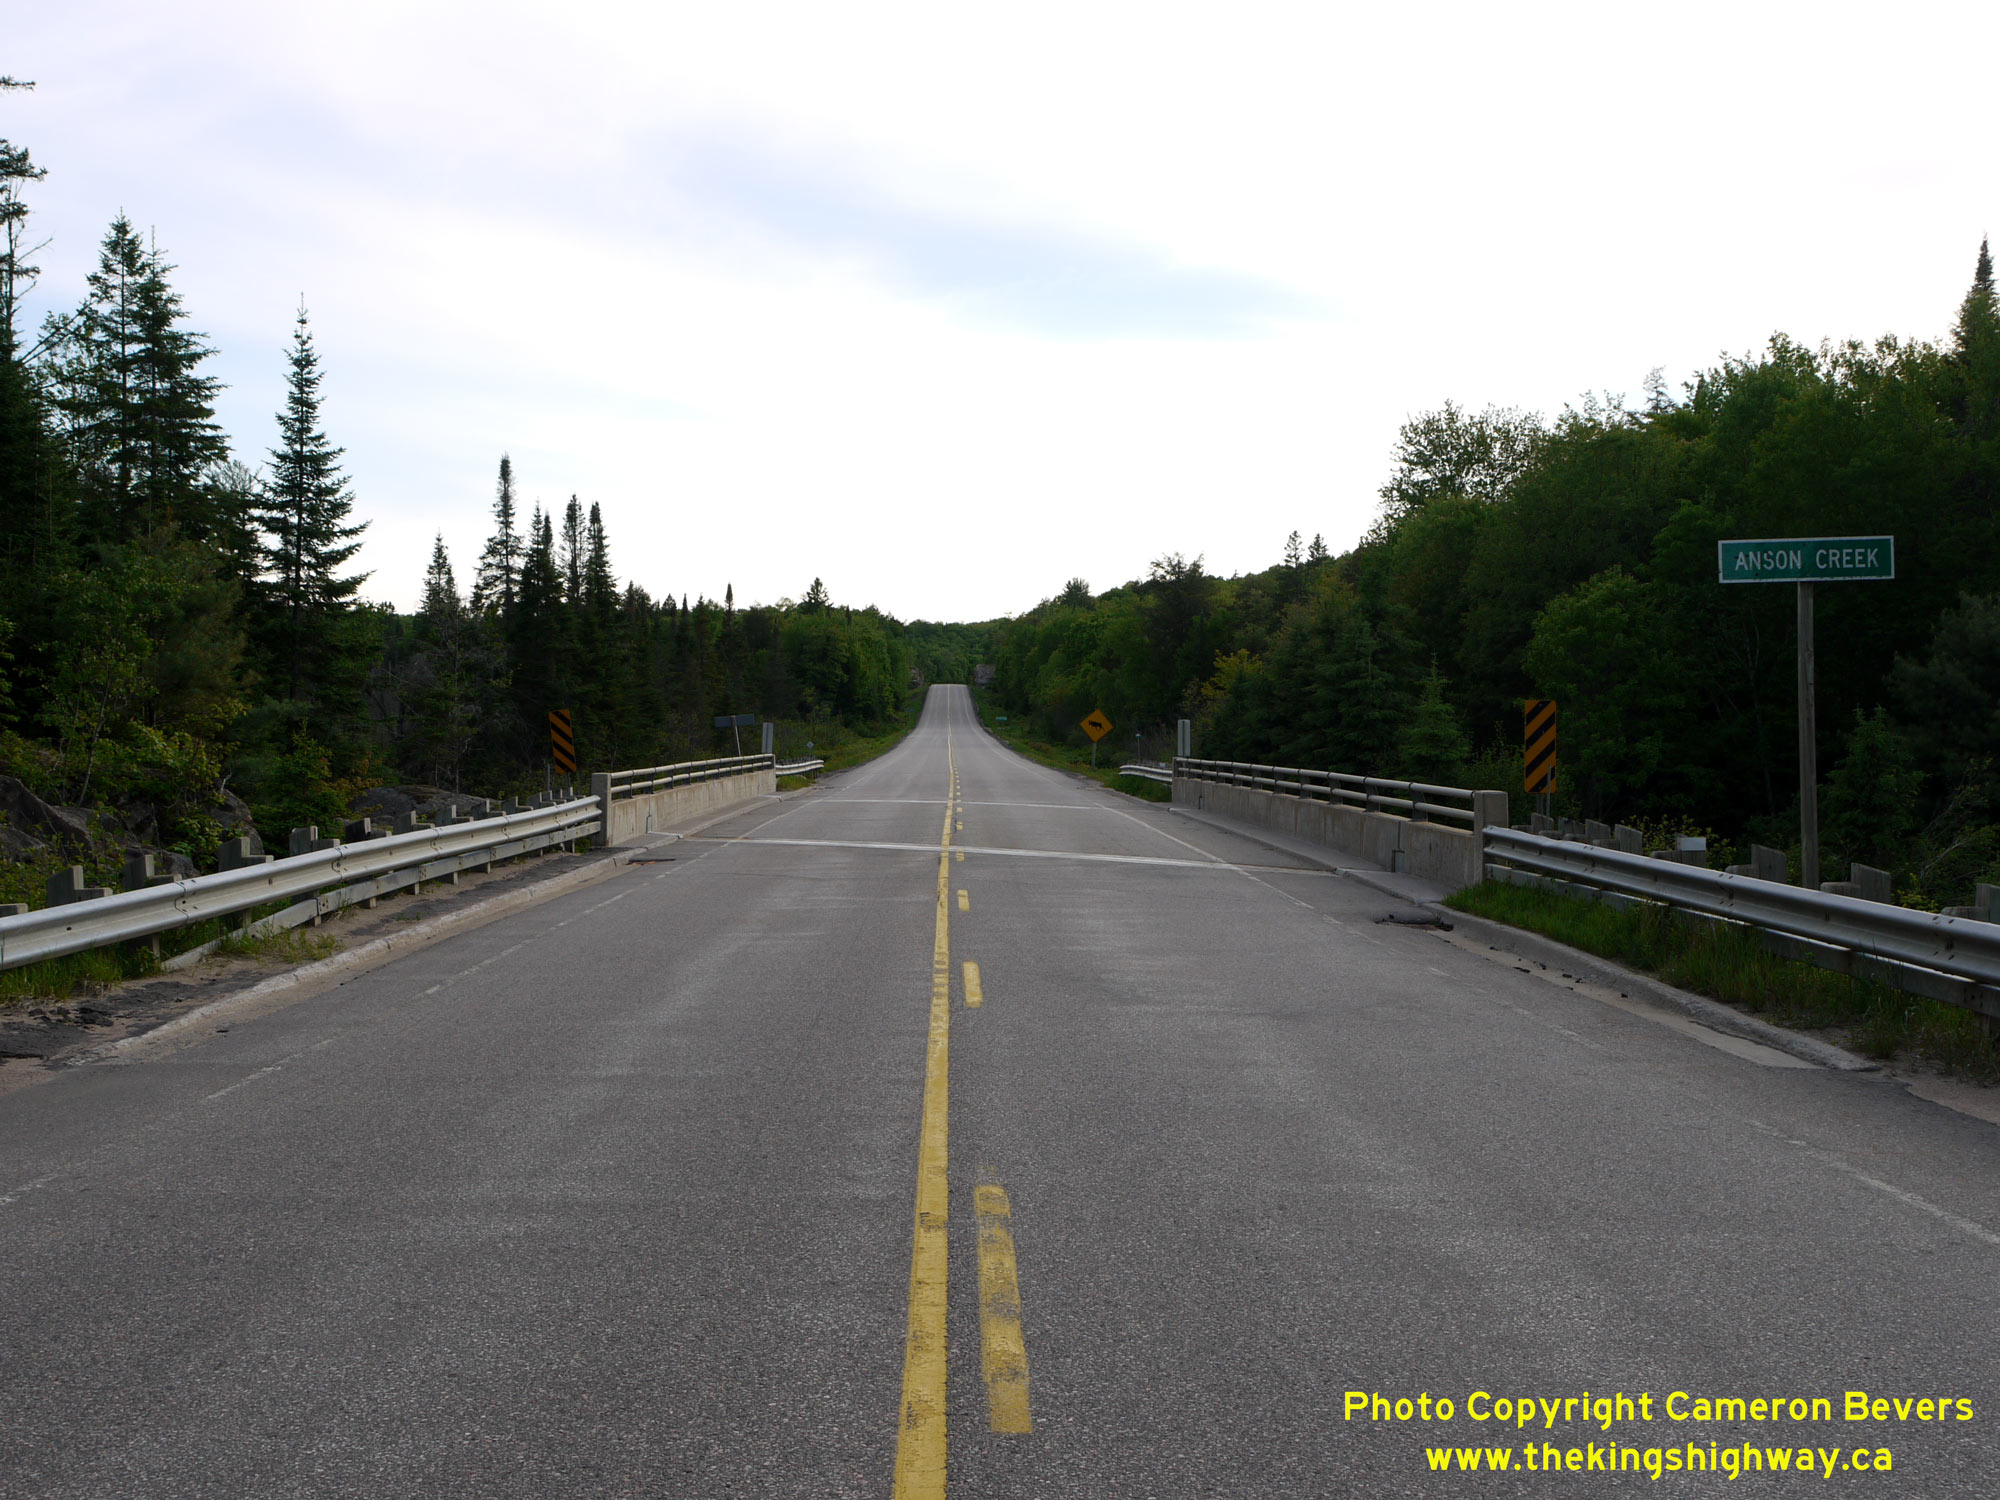
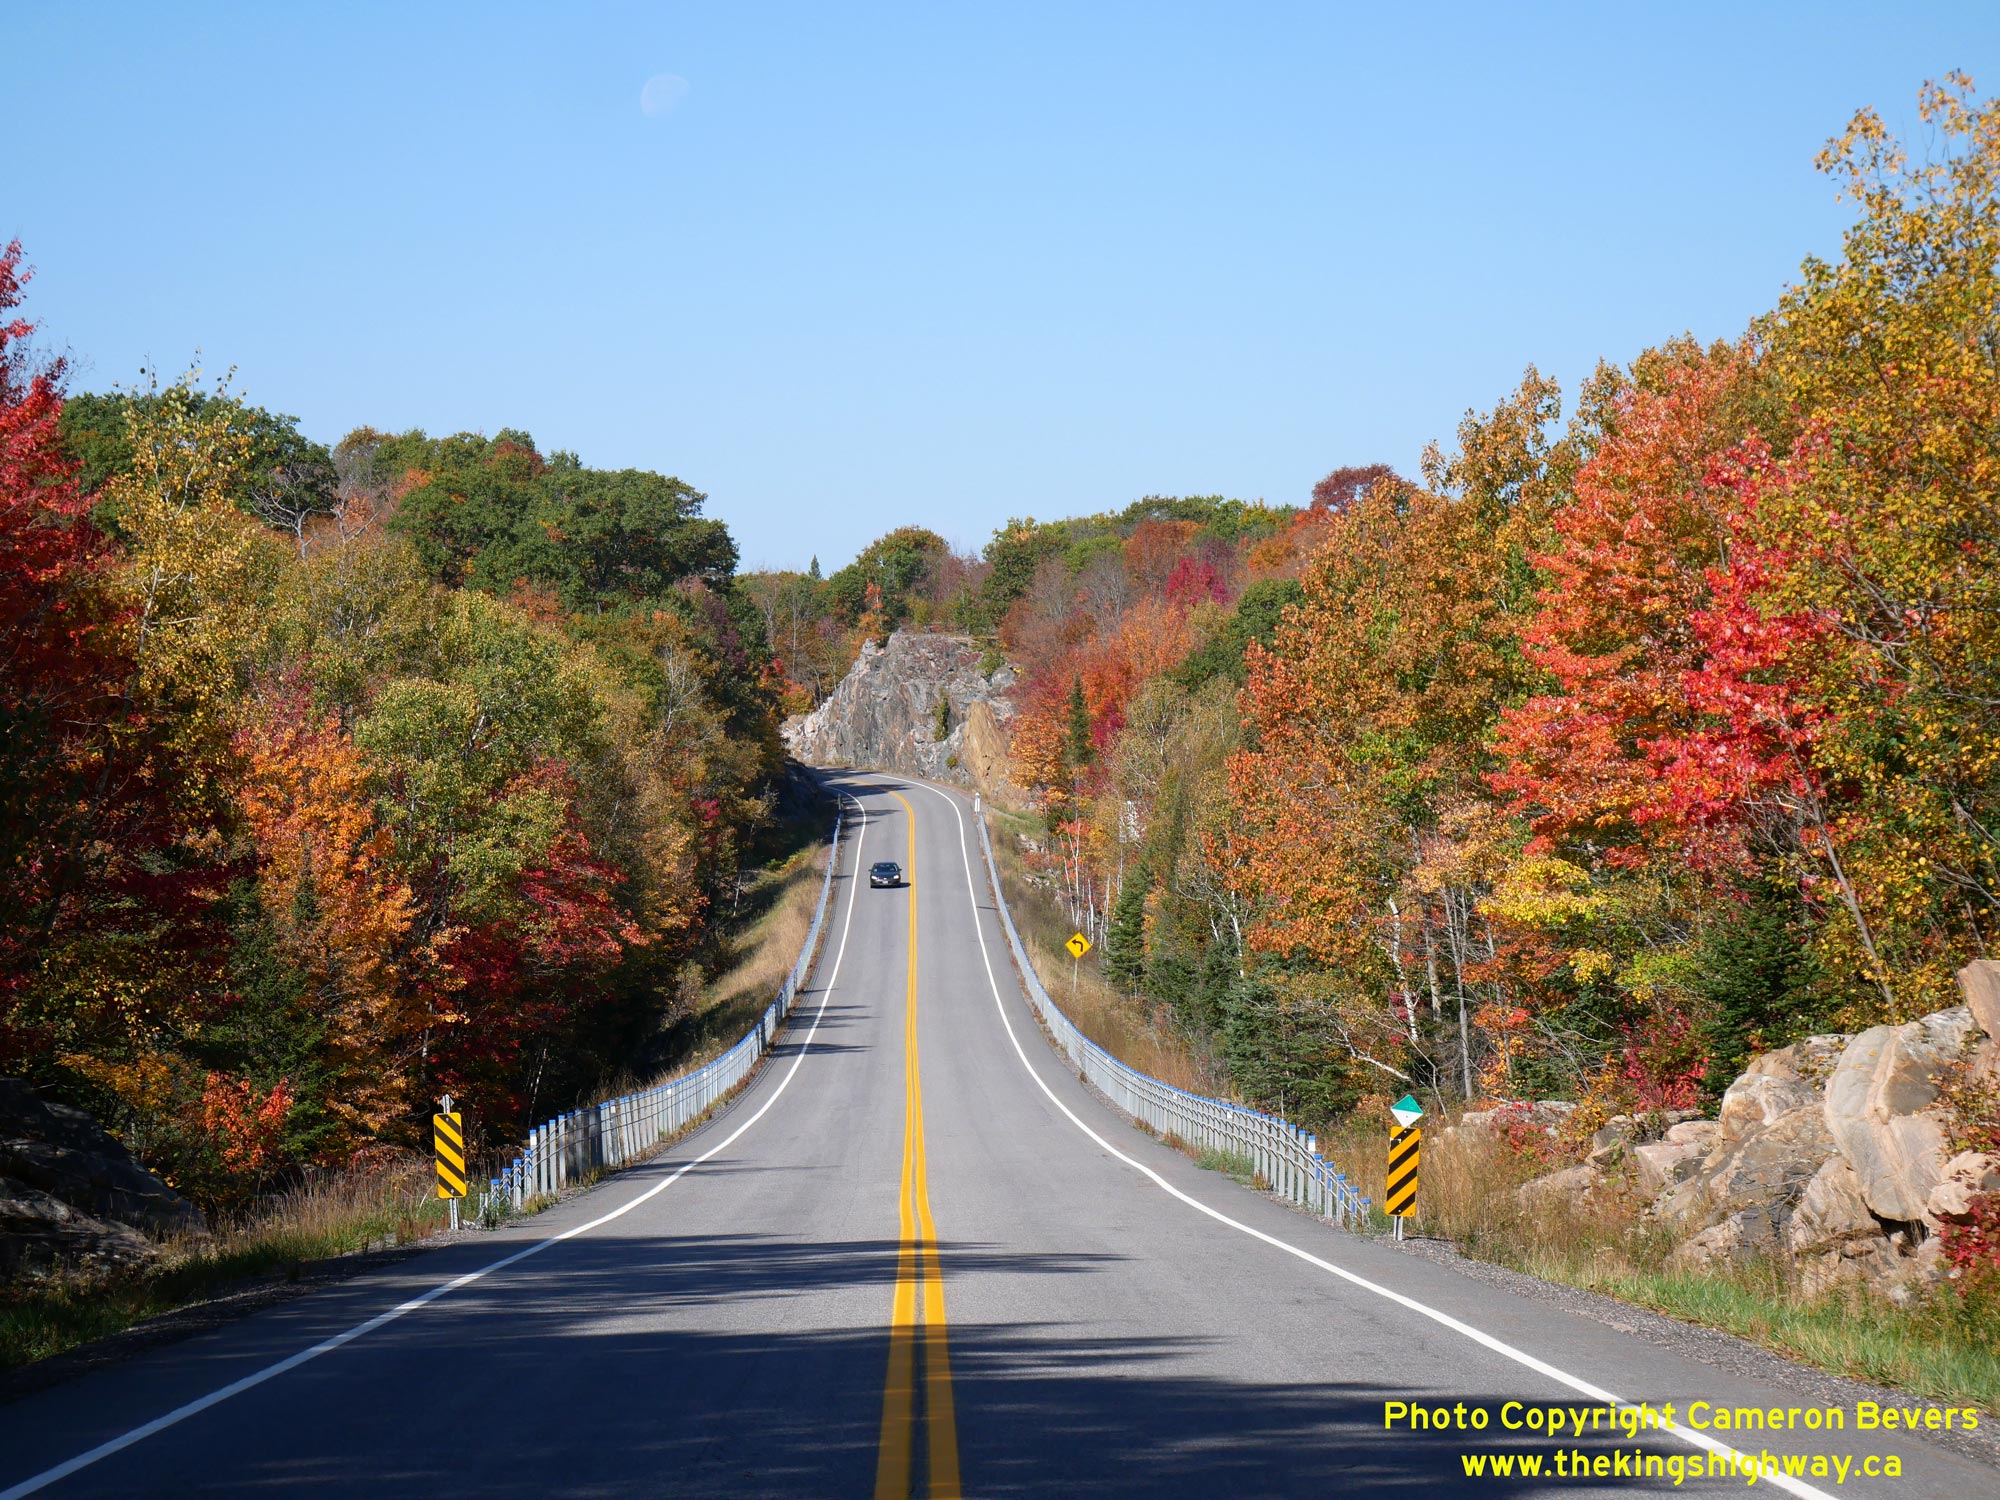
Left - Facing west along Hwy 118 towards Bracebridge at the Anson Creek Bridge. See an
Enlarged Photo Here. (Photograph taken on June 6, 2009 - © Cameron Bevers) Right - If you are an Ontario road map collector, this curve and rock cut scene may look familiar to you. A photo of this curve was featured on the front cover of the 2006-2007 Official Ontario Road Map. This curve on Hwy 118 can be found about 11 km west of the Hwy 35 Junction at Carnarvon. See an Enlarged Photo Here. (Photograph taken on October 3, 2023 - © Cameron Bevers) 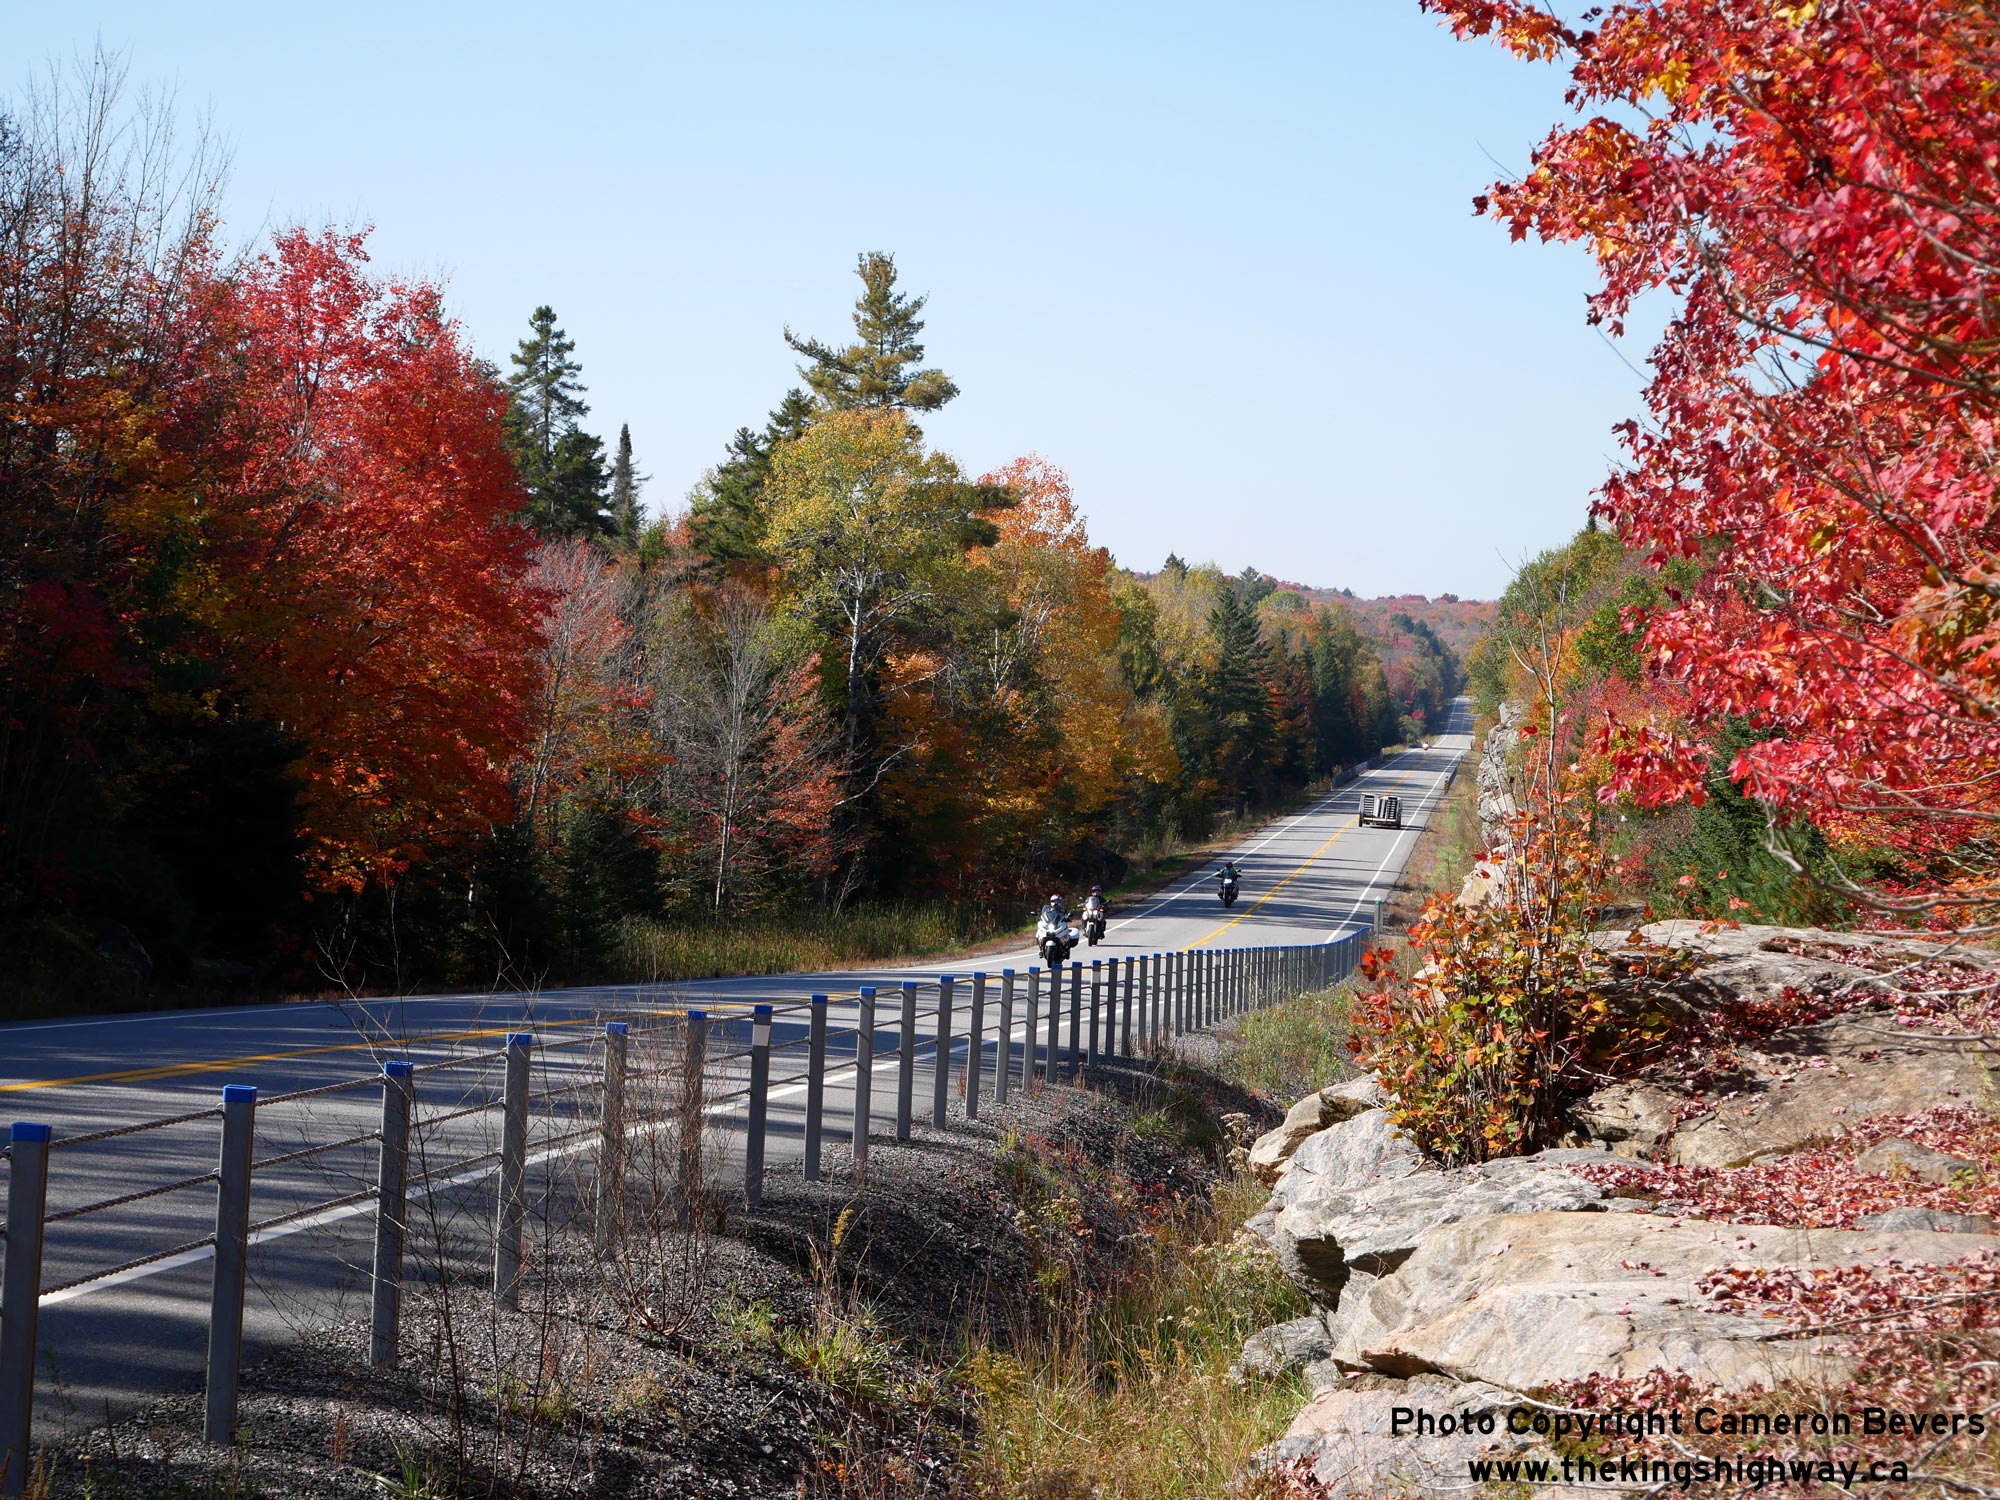
Left - A newer high-tension three-cable guide rail installation on steel posts along Hwy 118 east of Anson Creek. See an
Enlarged Photo Here. (Photograph taken on October 3, 2023 - © Cameron Bevers) Right - Facing west along Hwy 118 towards Bracebridge from Brady Lake Road, located about 8 km west of the Hwy 35 Junction at Carnarvon. See an Enlarged Photo Here. (Photograph taken on October 3, 2023 - © Cameron Bevers) 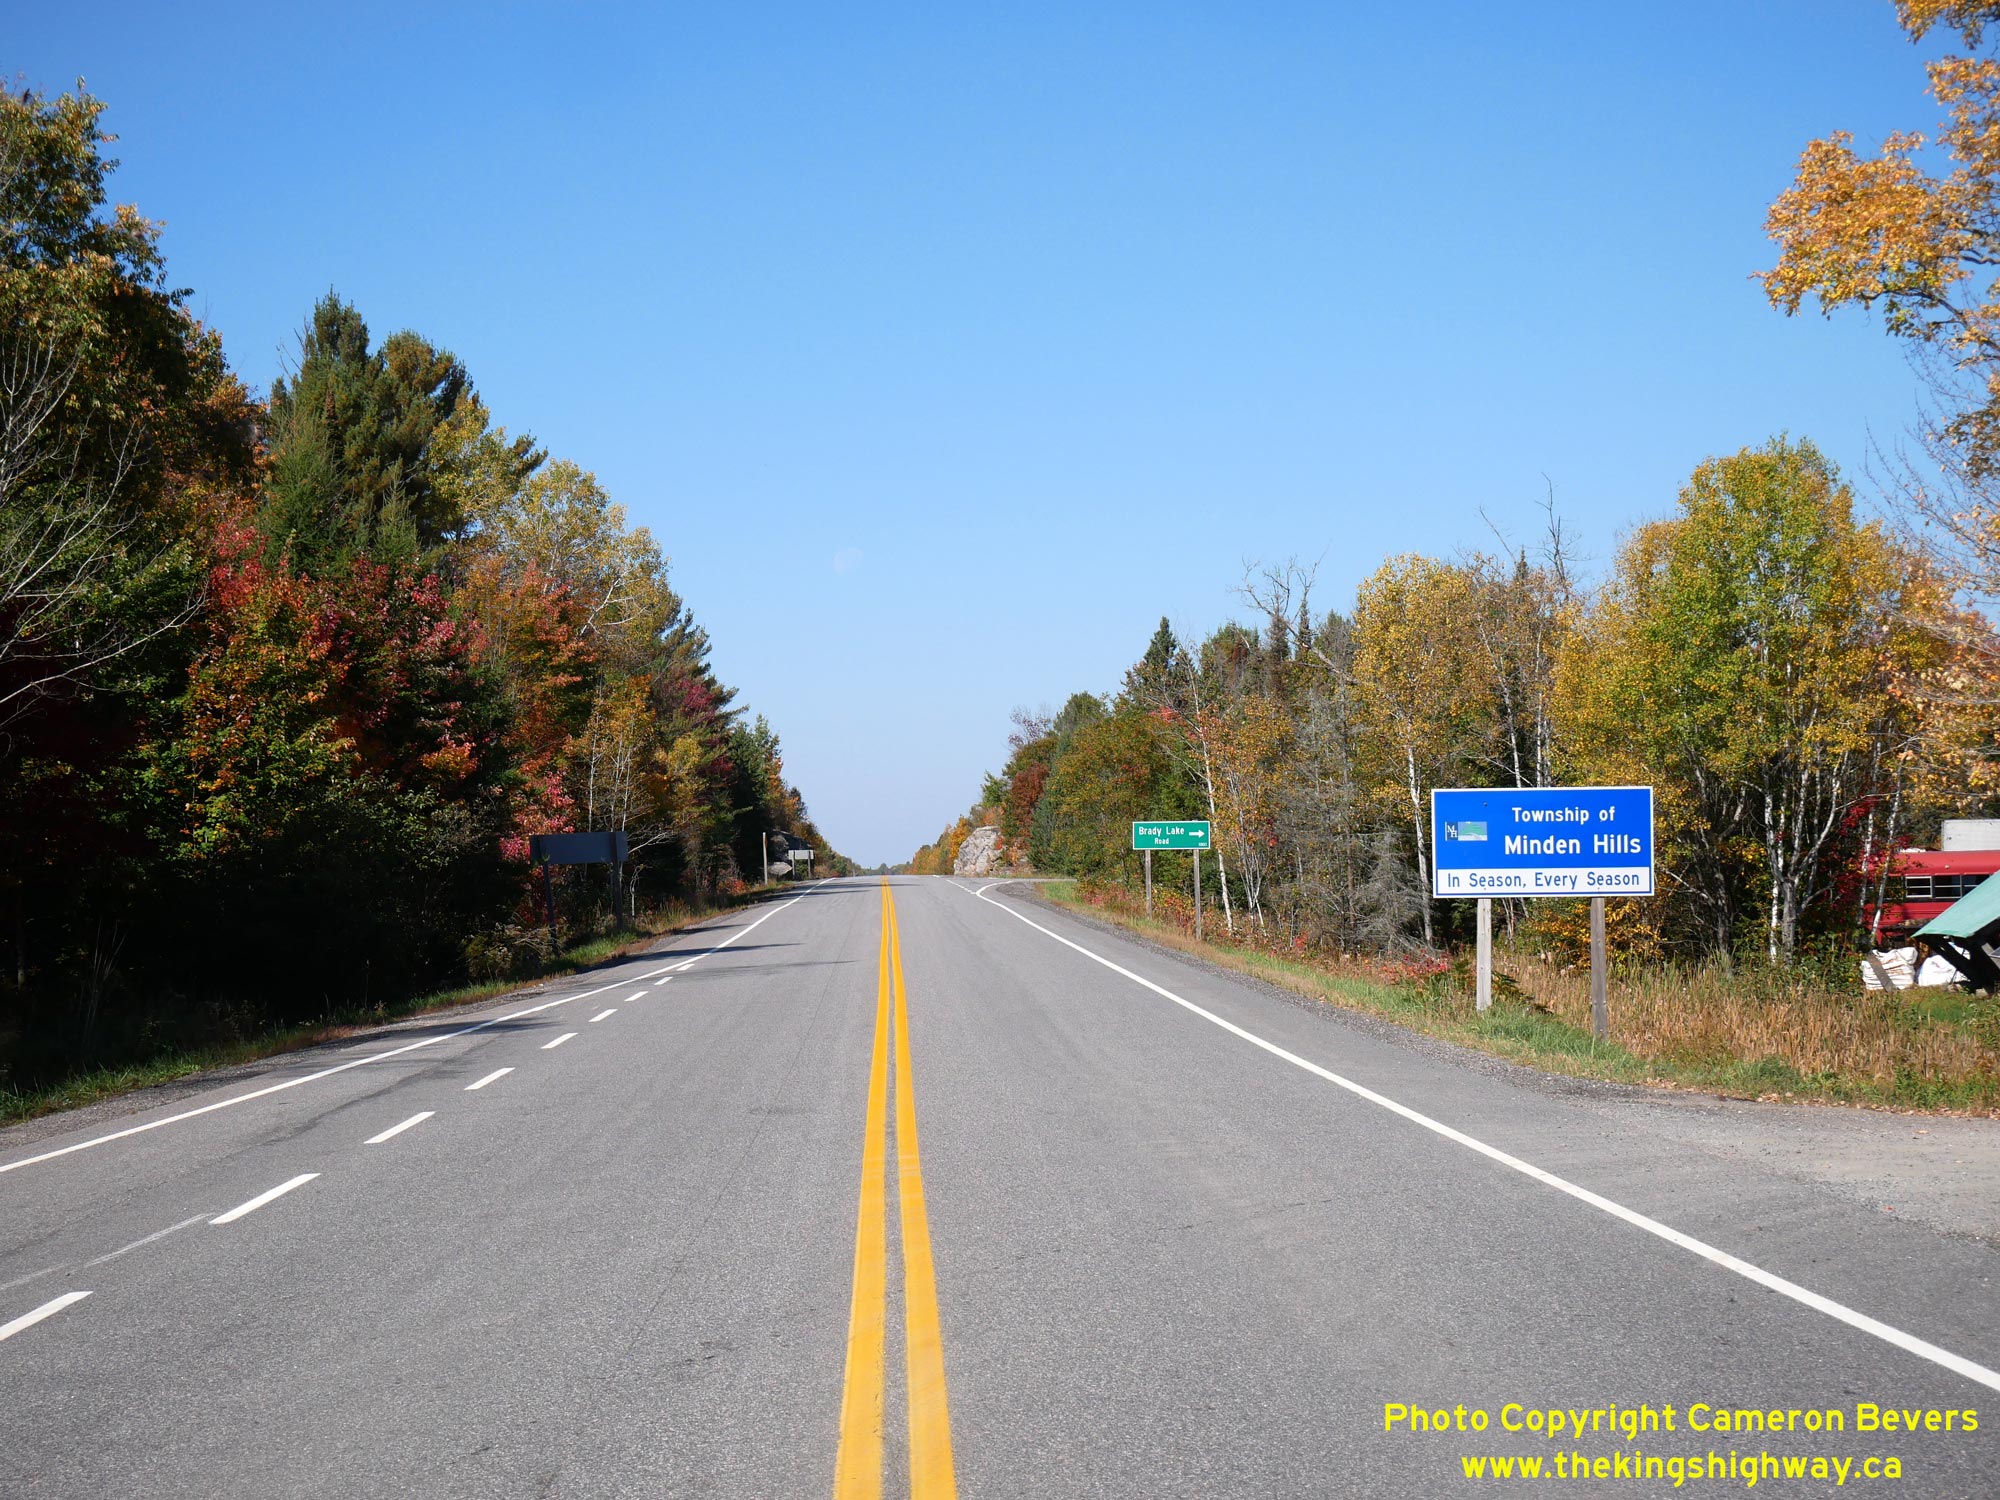
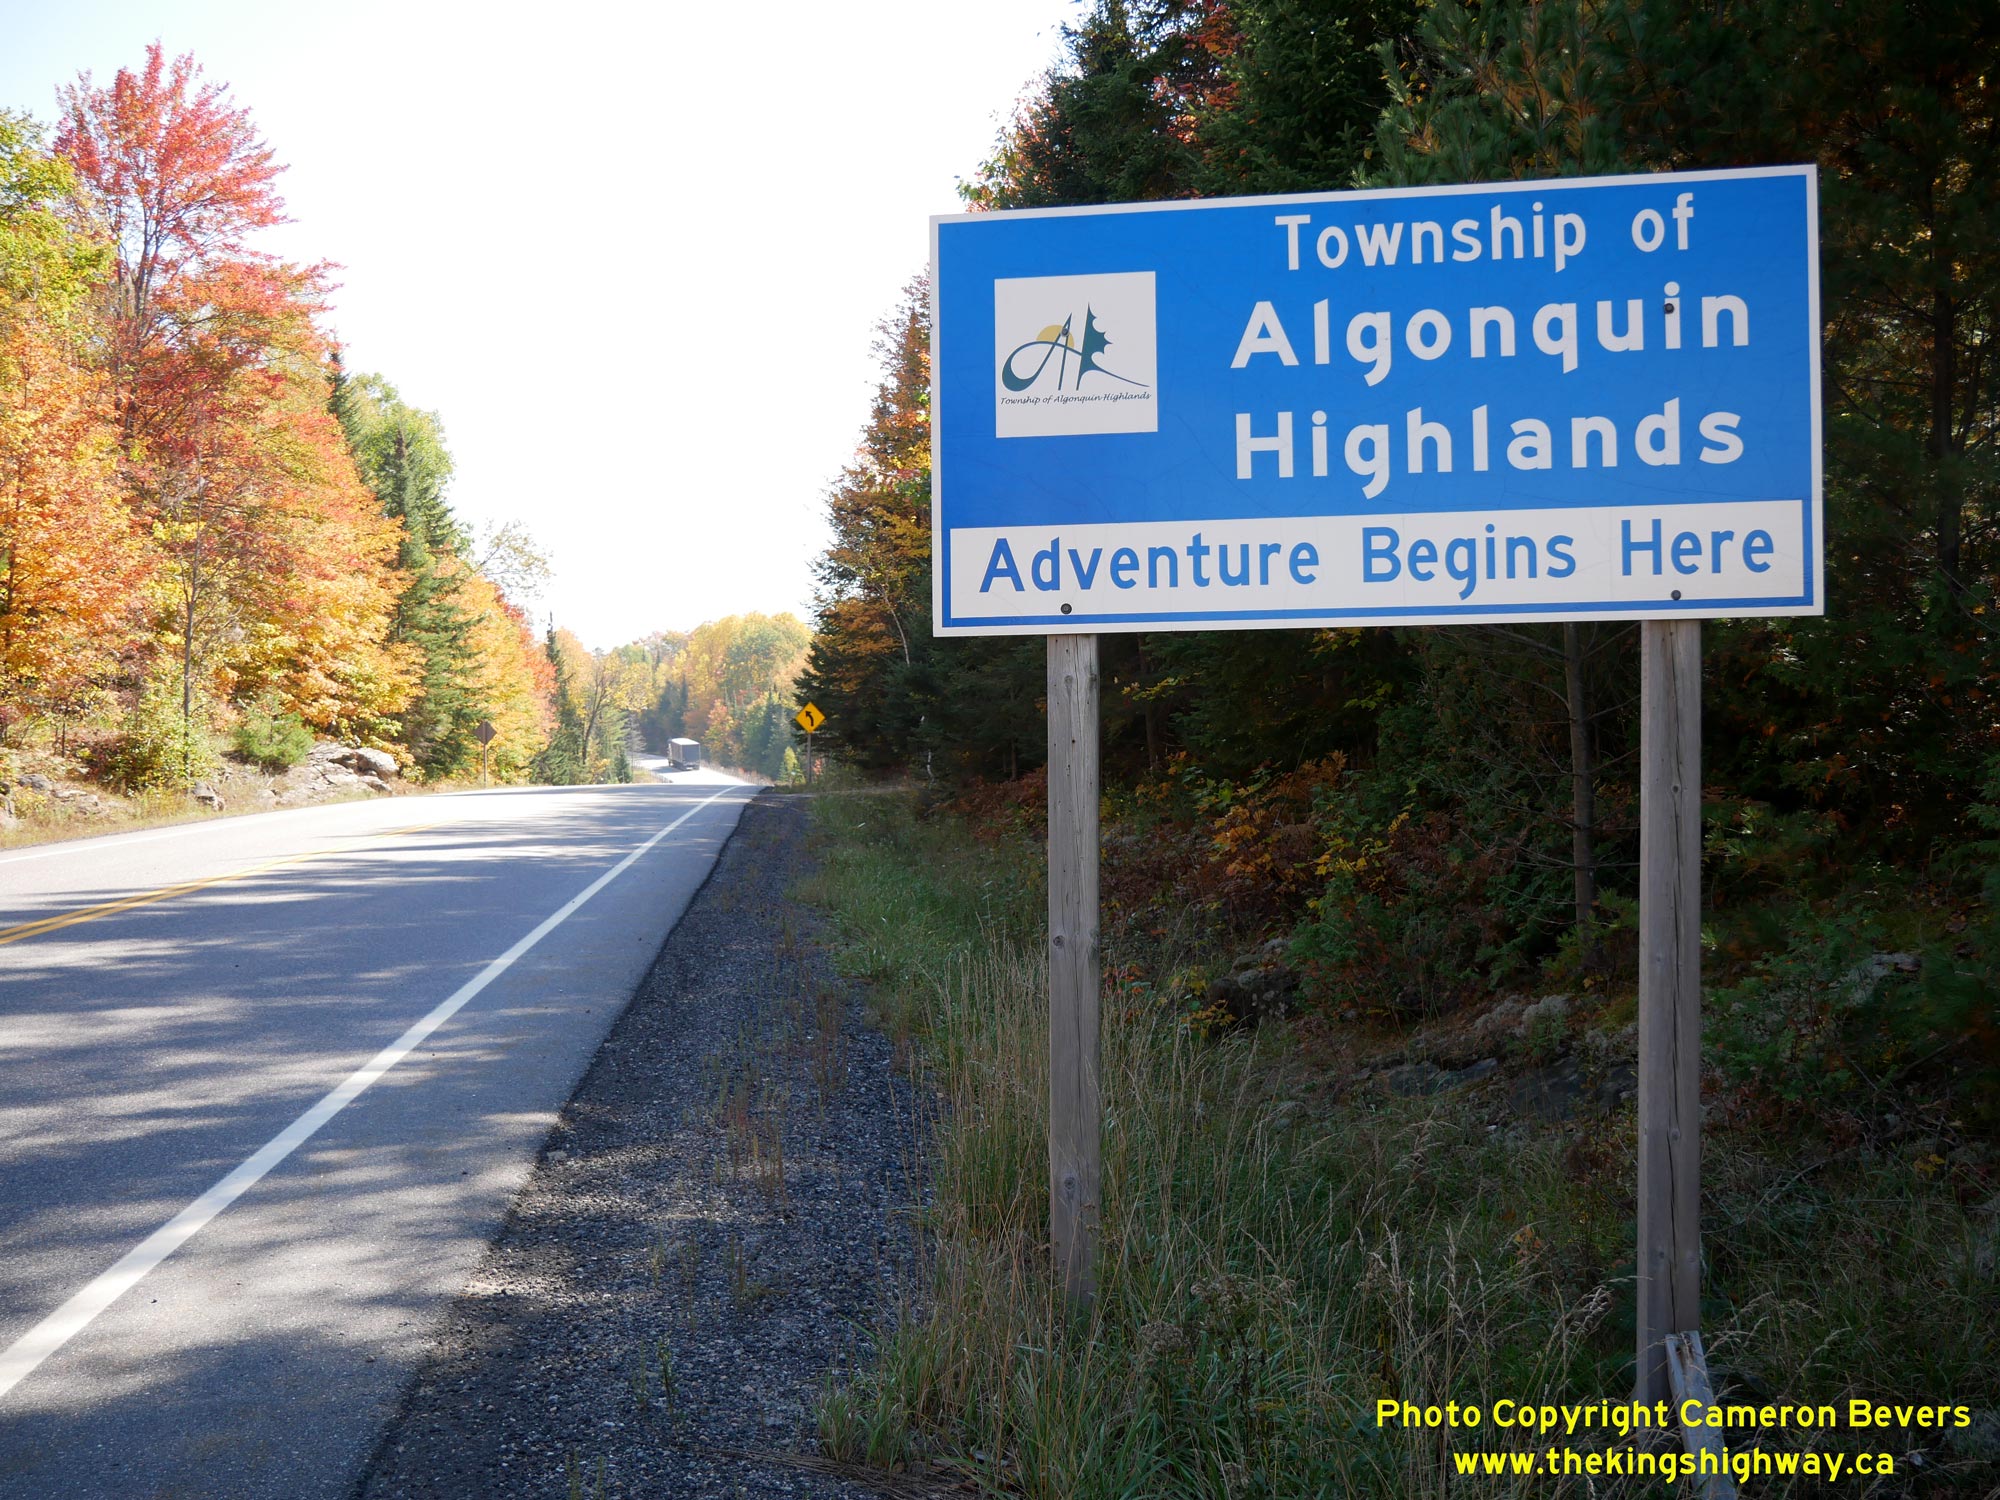
Left - Facing west along Hwy 118 towards Bracebridge from Bobcaygeon Road. West of this point, Hwy 118 enters into the Township of Minden Hills. See an
Enlarged Photo Here. (Photograph taken on October 3, 2023 - © Cameron Bevers) Right - Township of Algonquin Highlands municipal boundary sign on eastbound Hwy 118 at Bobcaygeon Road. See an Enlarged Photo Here. (Photograph taken on October 3, 2023 - © Cameron Bevers) 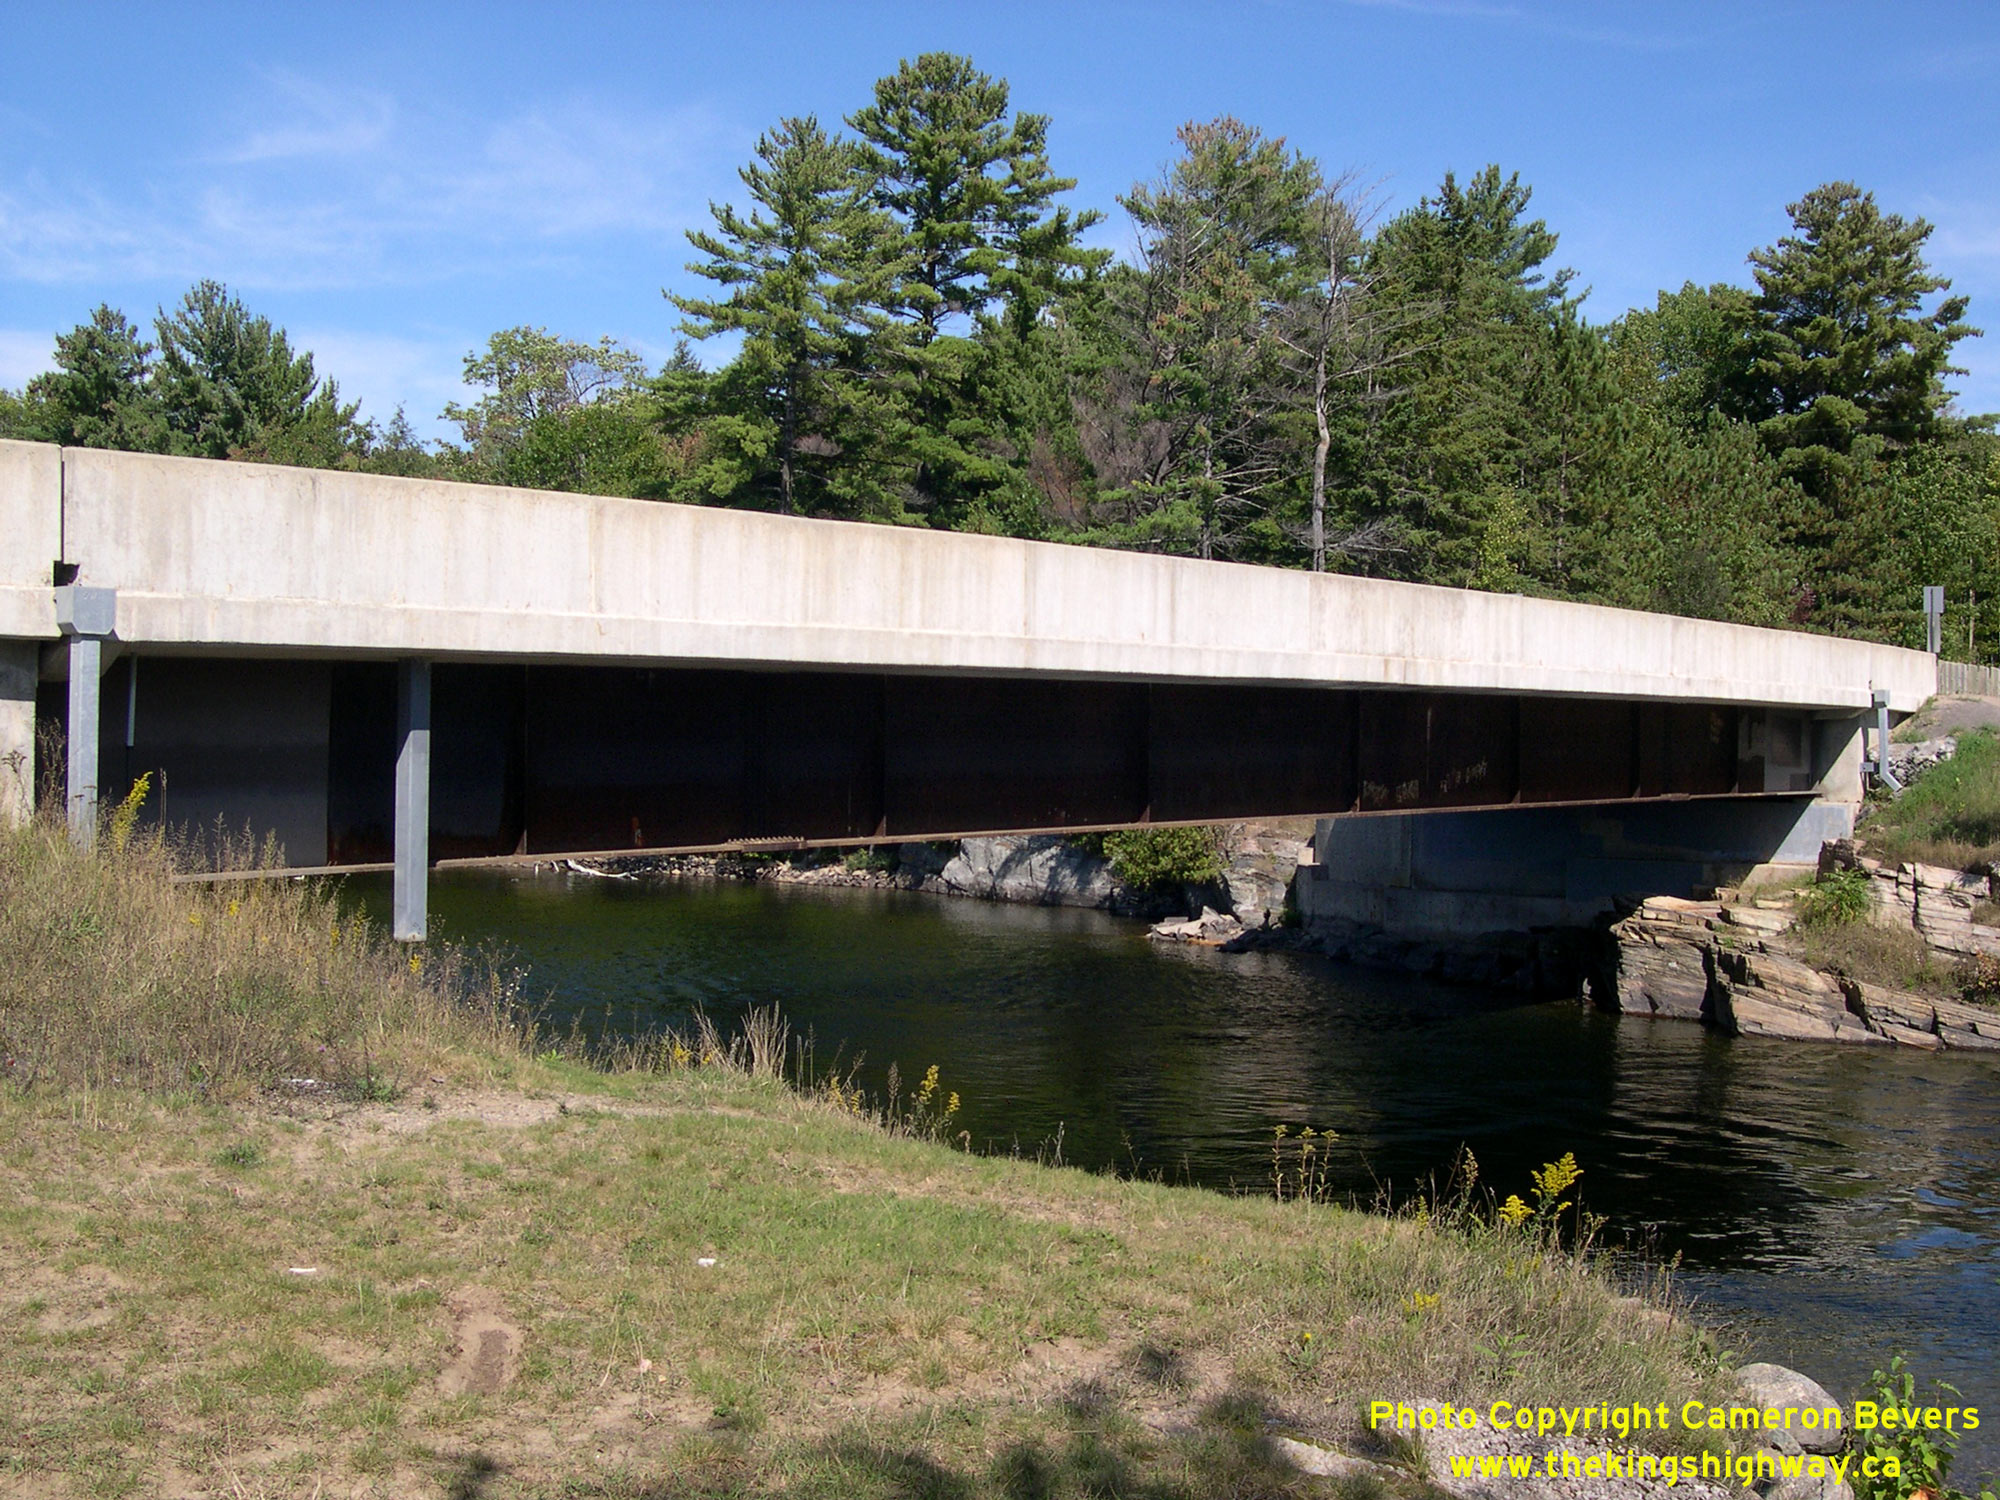
Left - Damion's Bridge (Site #40-11) on Hwy 118 west of Carnarvon. This single-span steel girder bridge was completed in 1969 and spans Boshkung Lake Narrows.
See an Enlarged Photo Here. (Photograph taken on September 19, 2008 - © Cameron Bevers) Right - Facing east across Damion's Bridge on Hwy 118 at Boshkung Lake Narrows. The Hwy 35 Junction at Carnarvon lies just beyond the hill in the background. See an Enlarged Photo Here. (Photograph taken on September 19, 2008 - © Cameron Bevers) 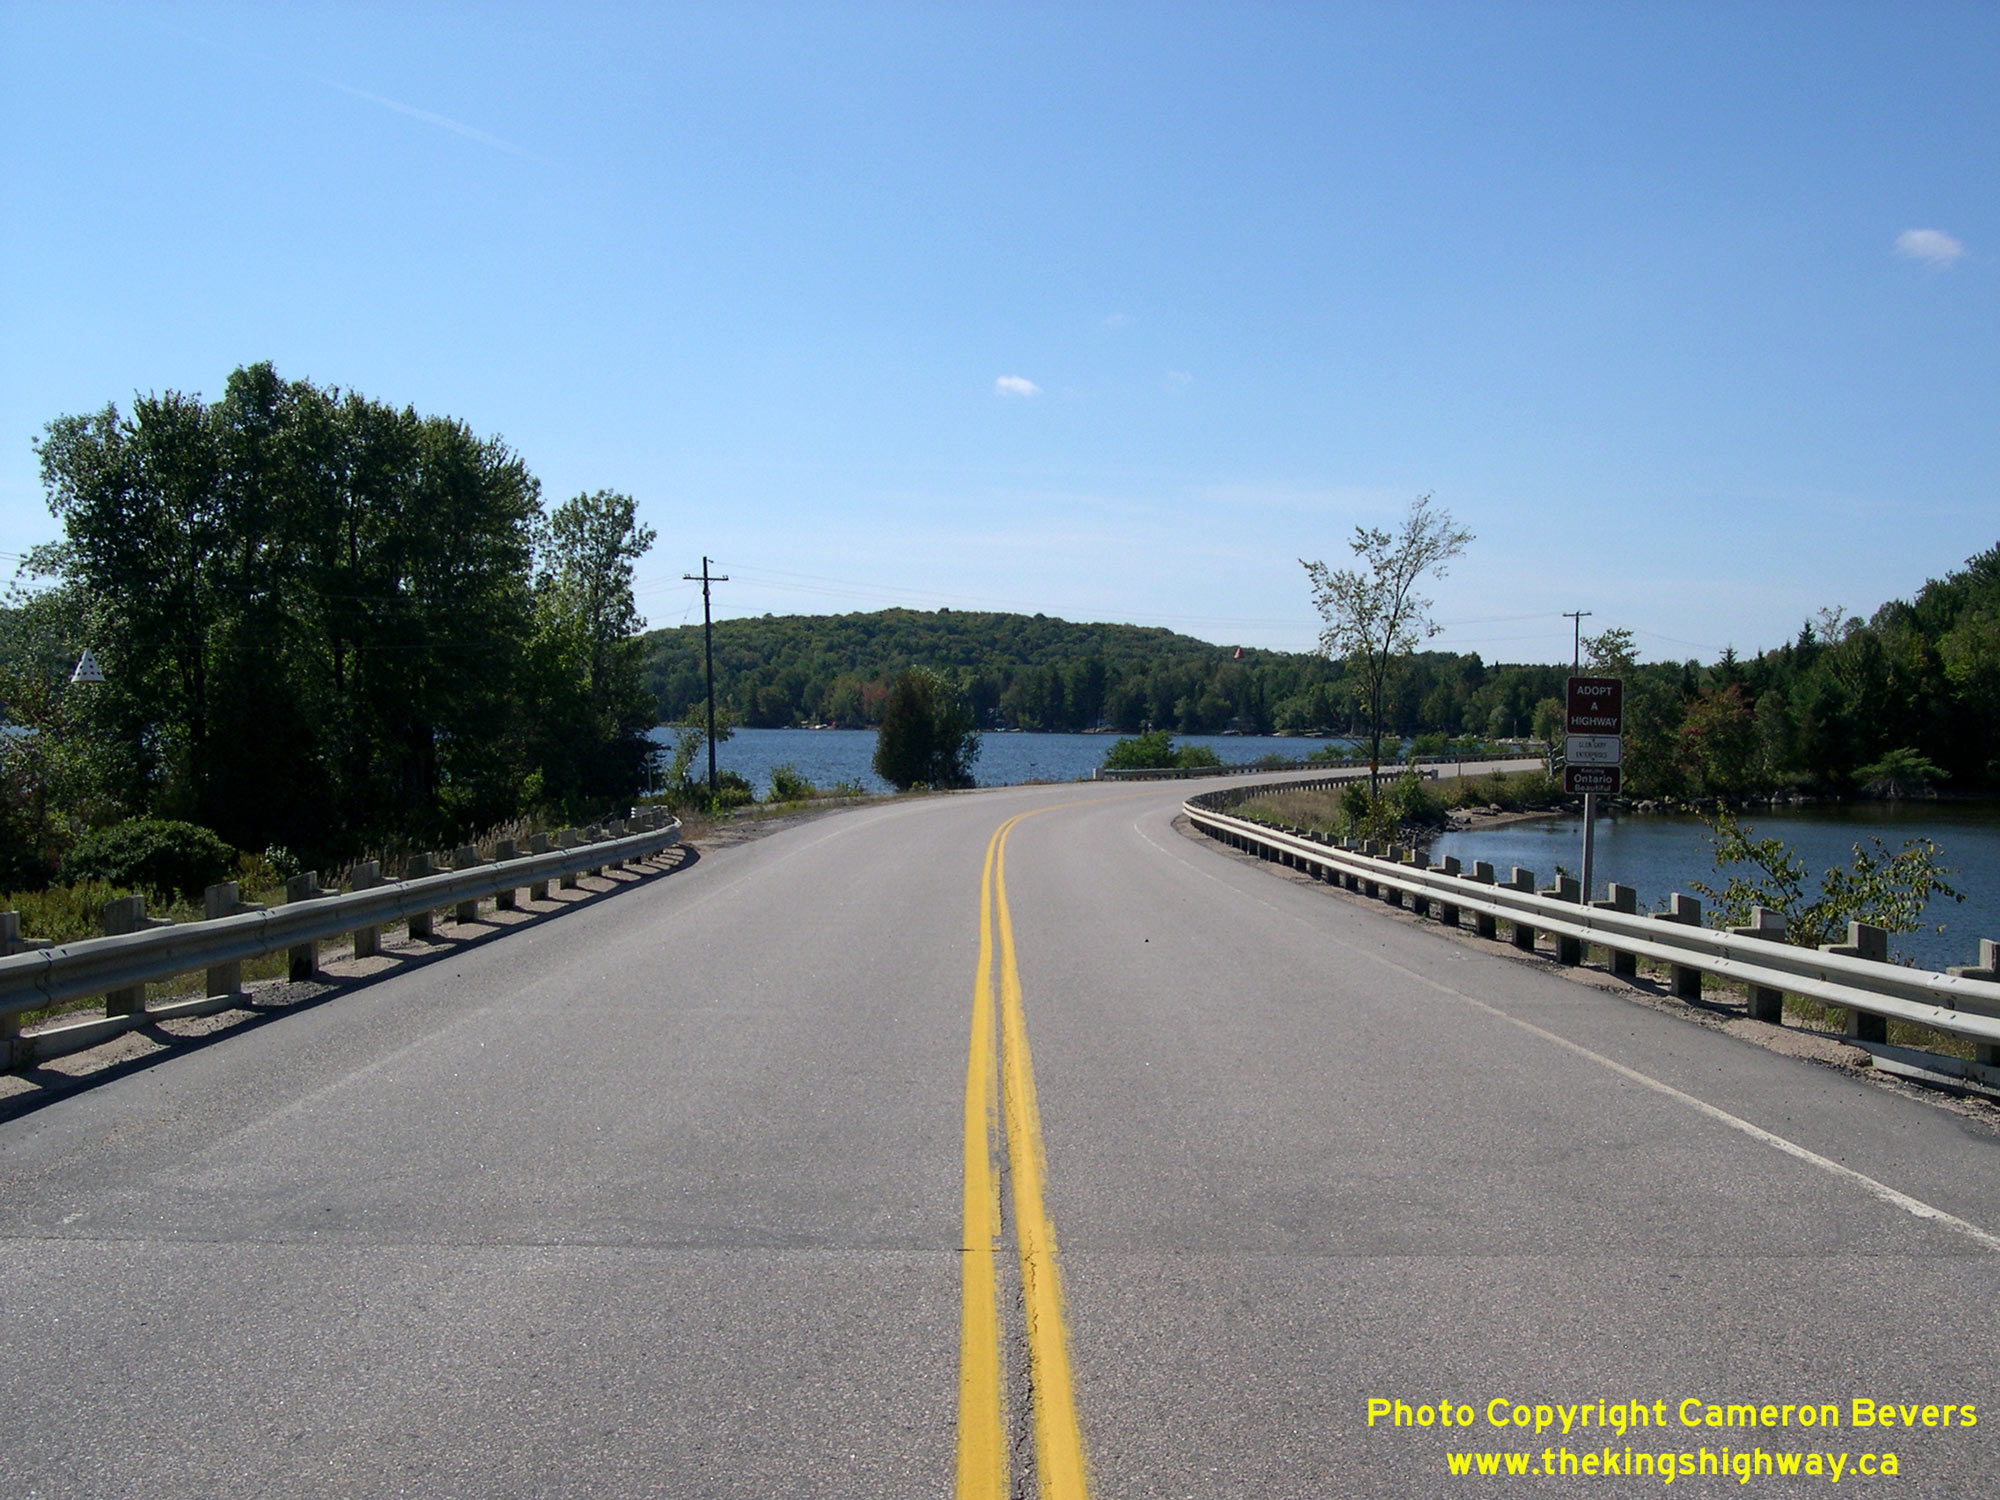
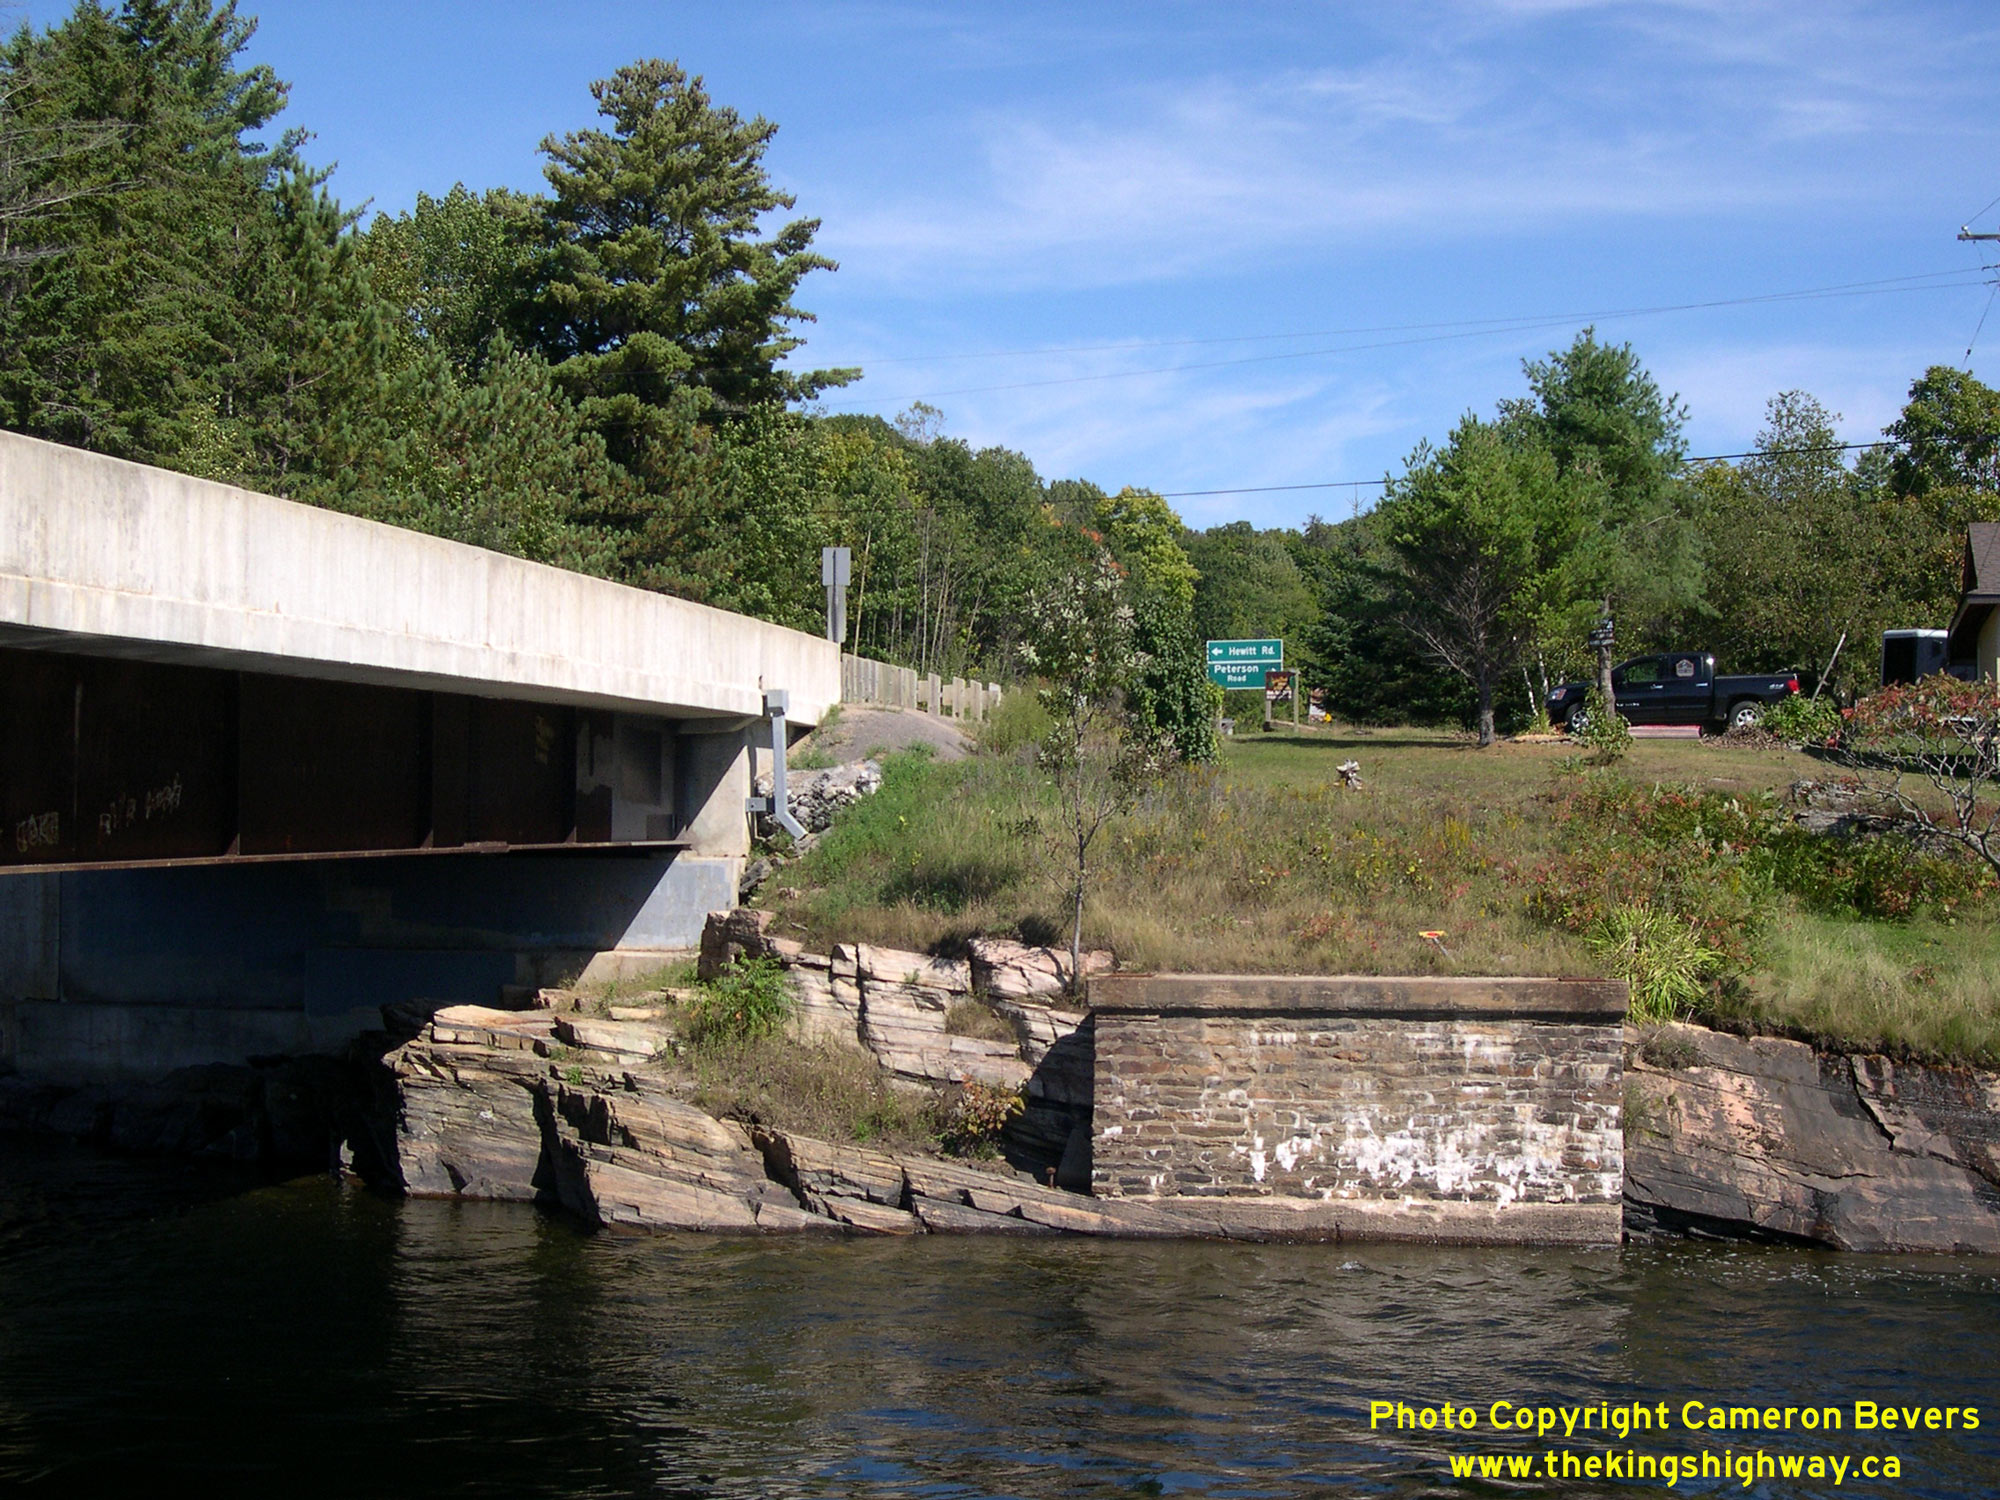
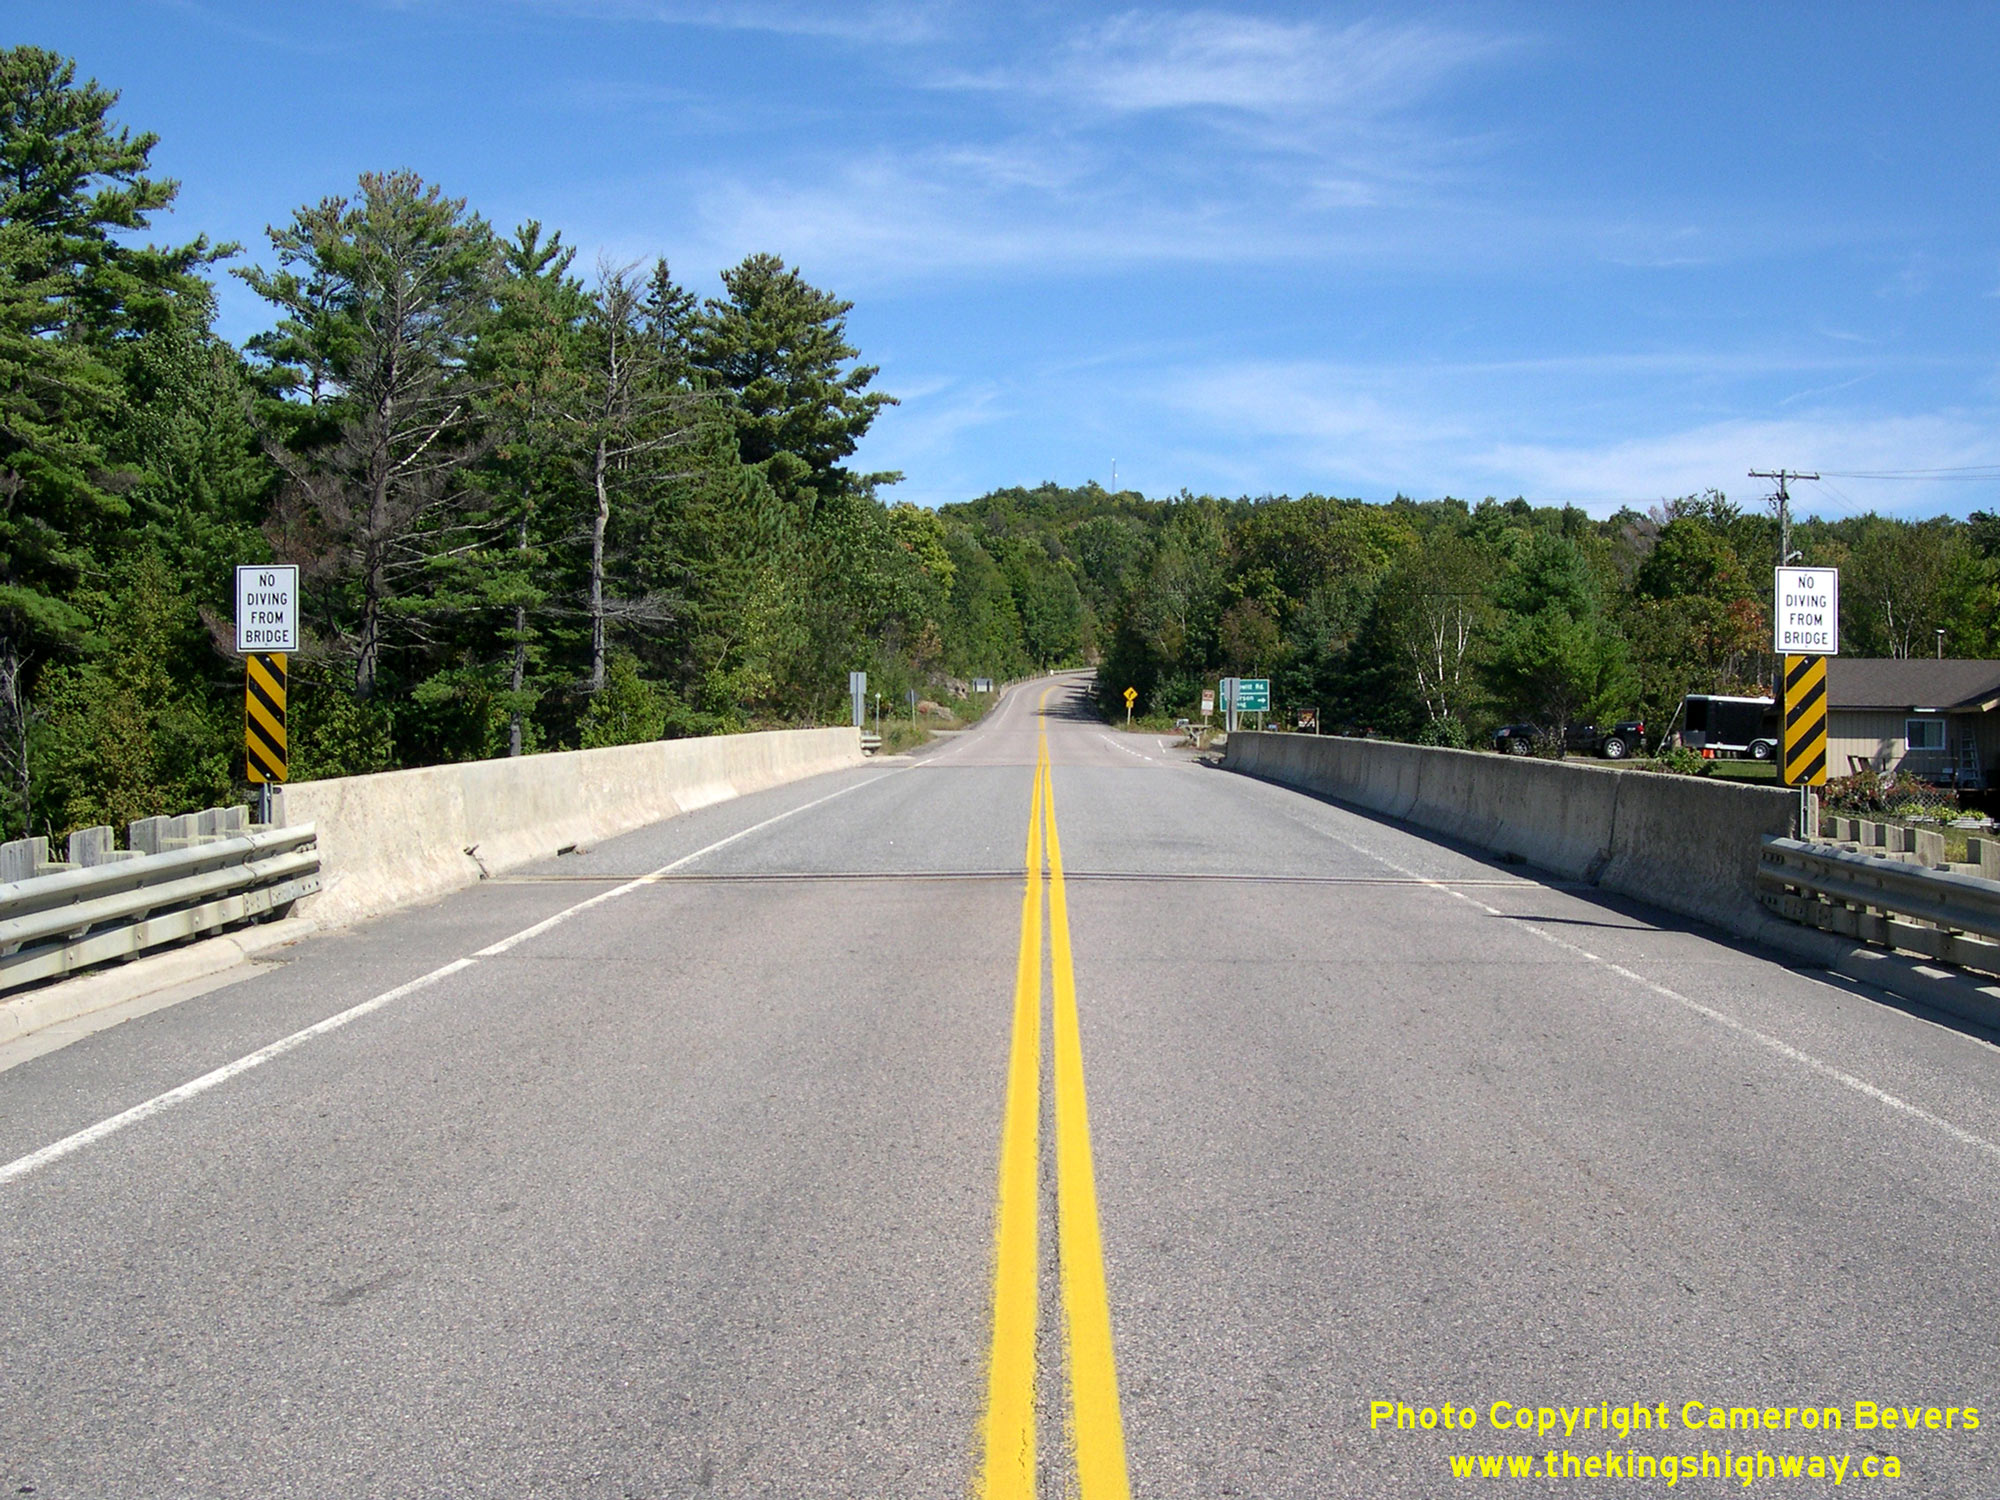
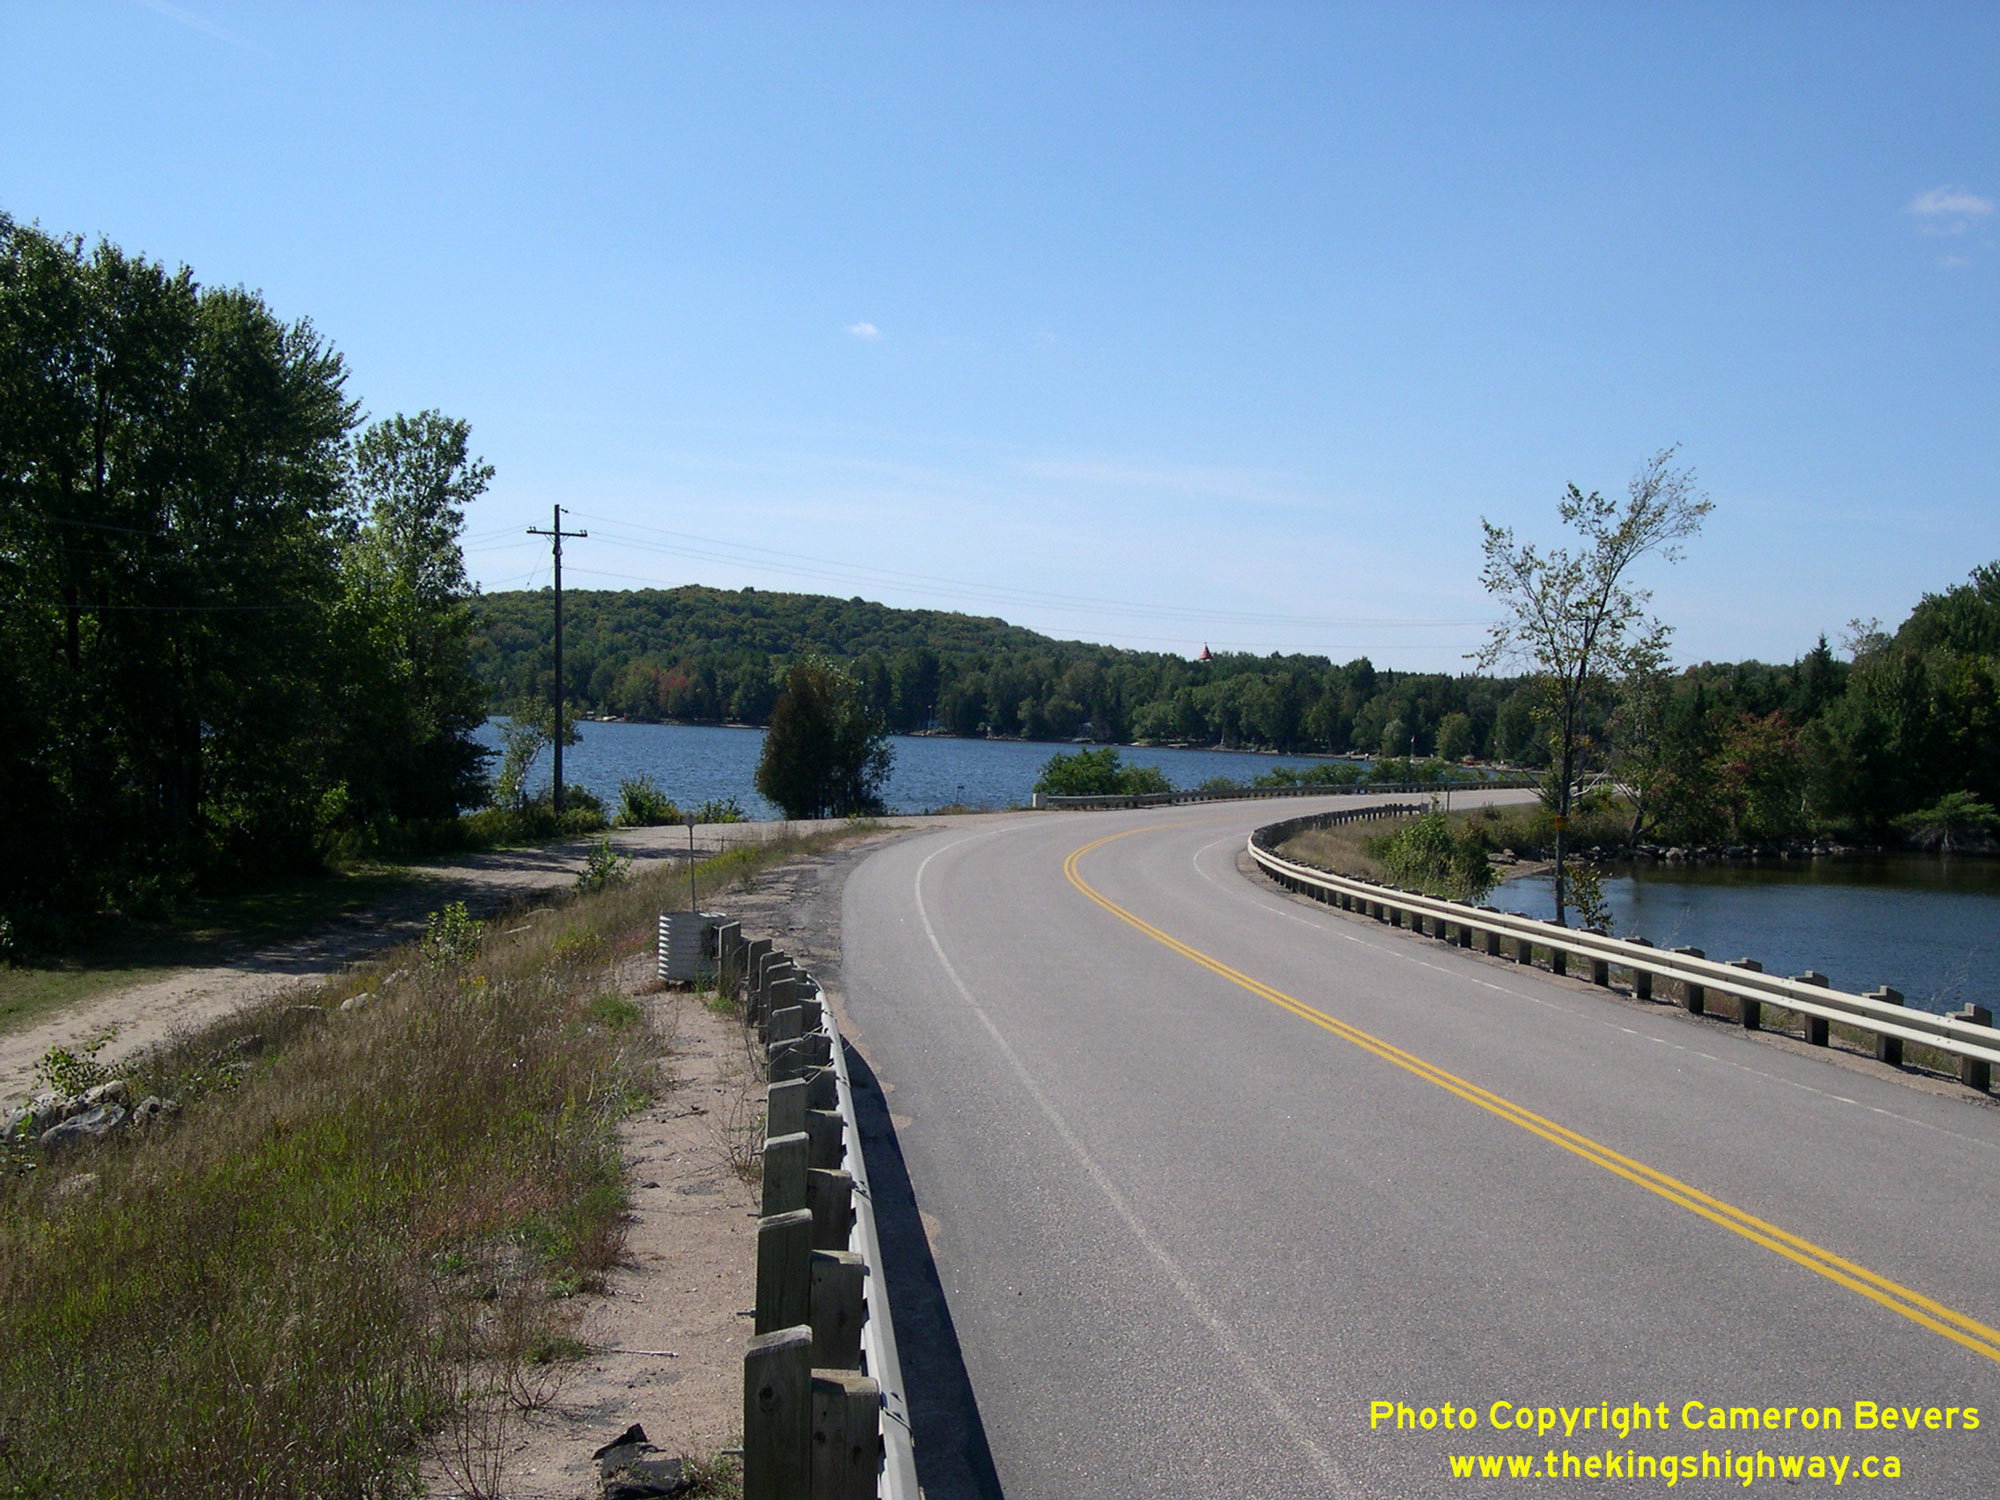
Left - Facing west along Hwy 118 towards Bracebridge from Damion's Bridge at Boshkung Lake Narrows near Carnarvon. See an
Enlarged Photo Here. (Photograph taken on September 19, 2008 - © Cameron Bevers) Right - An old stone abutment beside the current Hwy 118 structure marks the location of an earlier bridge across Boshkung Lake Narrows. The former road alignment leading to the old bridge is still clearly visible today on the western side of the channel. However, the former road alignment on the eastern side of the channel was largely obliterated when the current Hwy 118 bridge was built in the late 1960s. See an Enlarged Photo Here. (Photograph taken on September 19, 2008 - © Cameron Bevers) 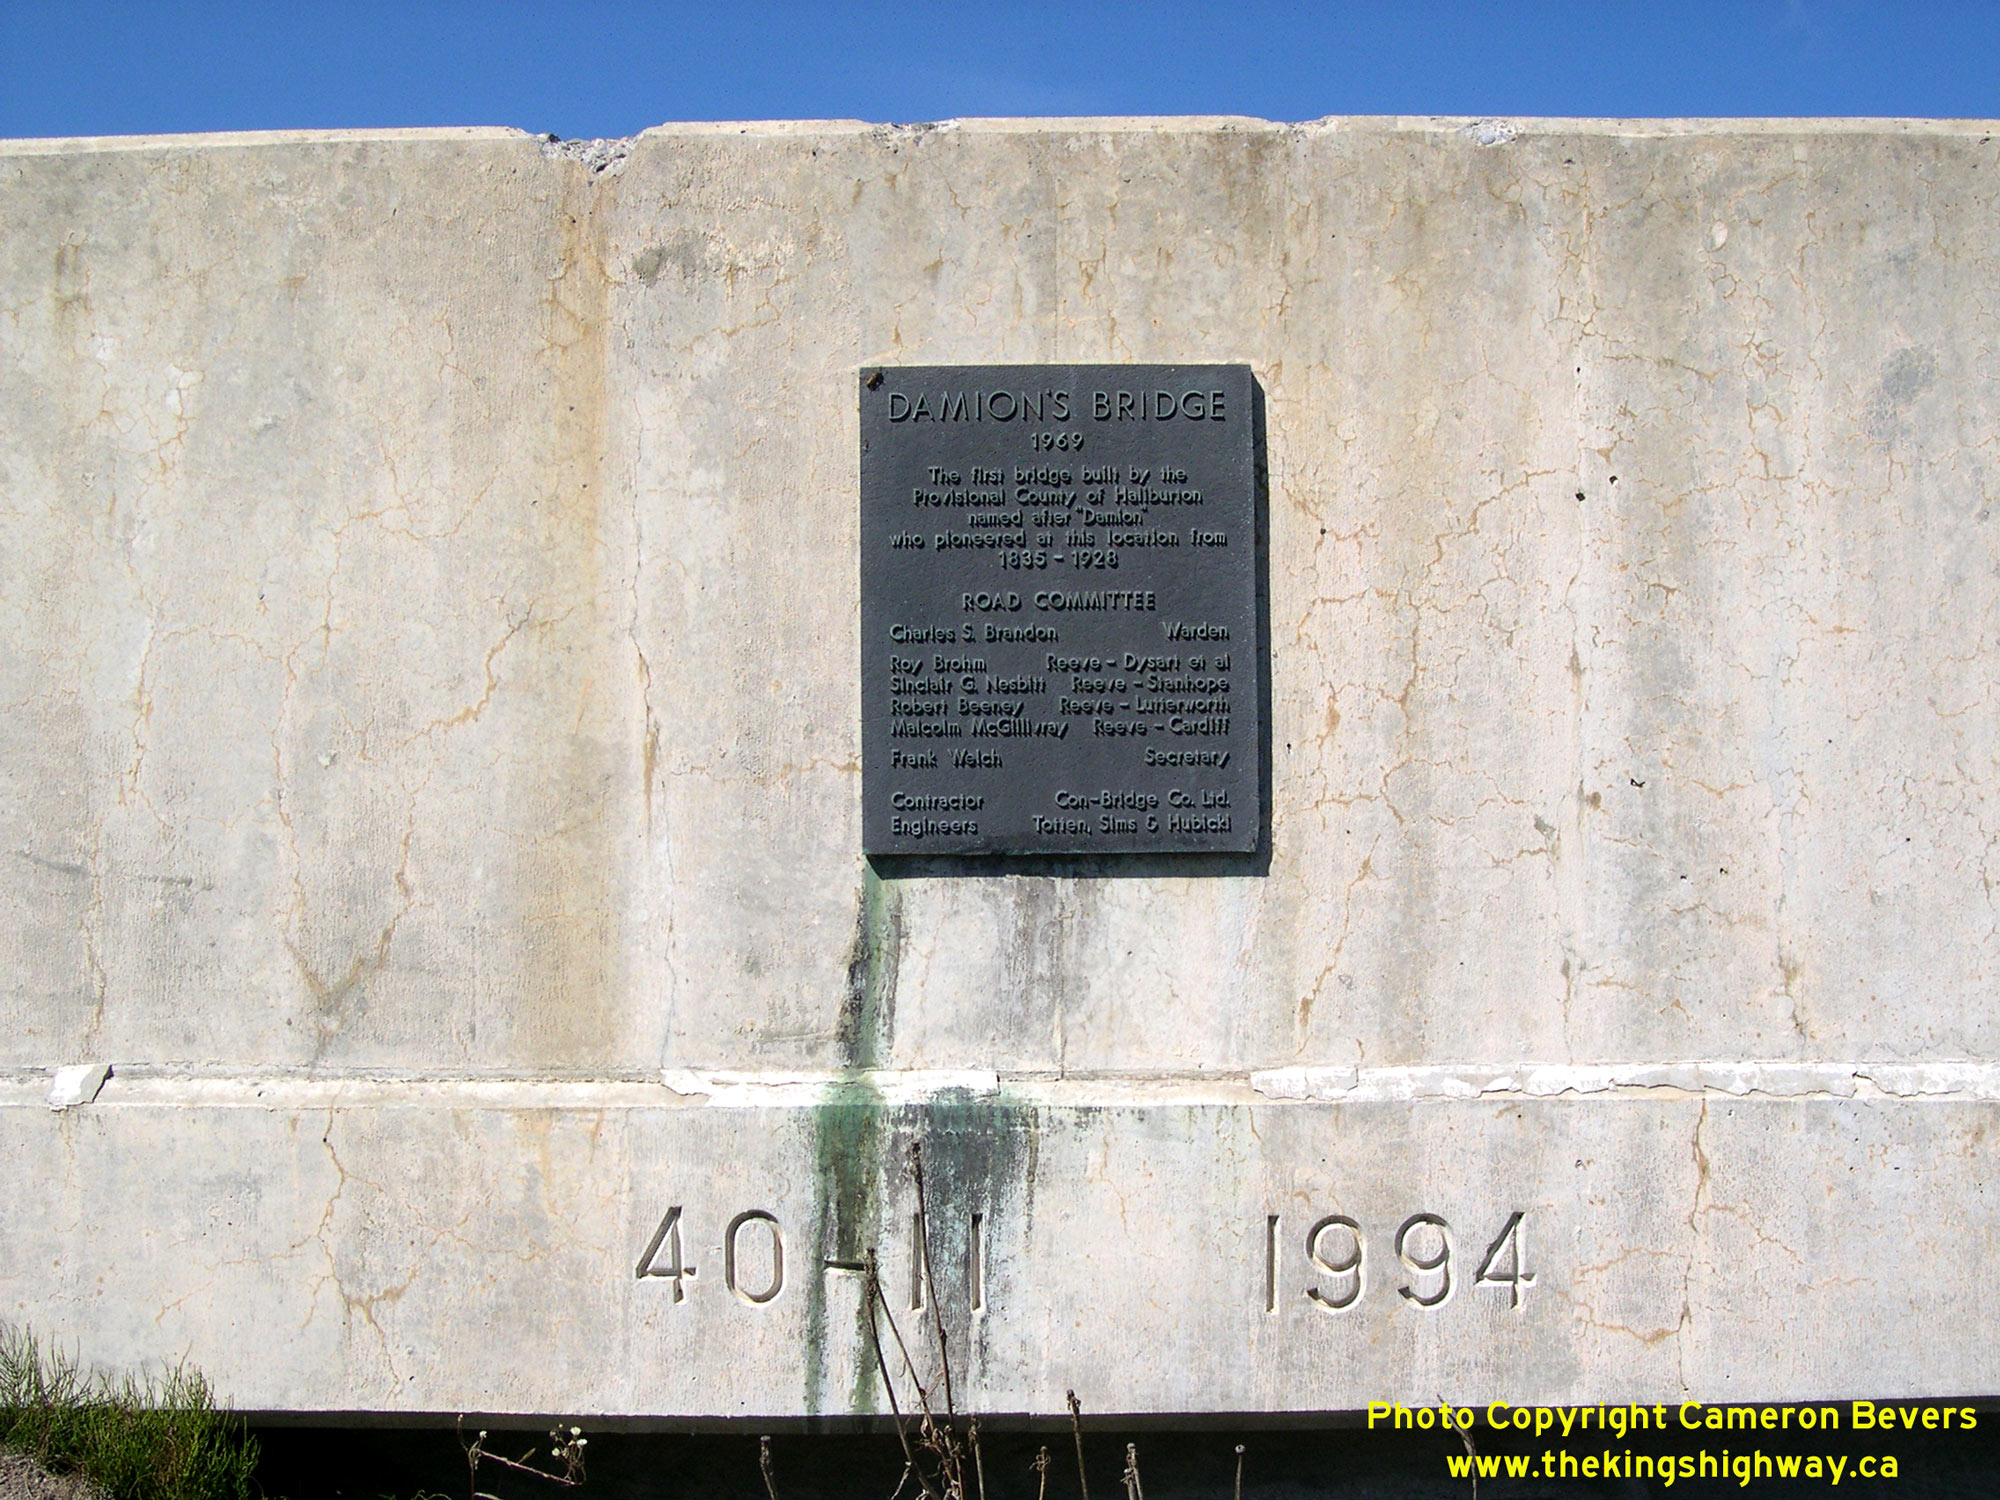
Left - Plaque commemorating the completion of Damion's Bridge on Hwy 118 at Boshkung Lake Narrows. The bridge is named after a local pioneer settler. This
structure was originally built by the Provisional County of Haliburton in 1969, but it was later incorporated into the provincial highway system when Haliburton
County Road 1 was designated as Hwy 118 in November 1981. Damion's Bridge was rehabilitated by the Ministry of Transportation of Ontario (MTO) in 1994, under
Contract #1994-19. See an Enlarged Photo Here. (Photograph taken on September 19, 2008 - © Cameron Bevers) Right - Looking west across Boshkung Lake Narrows. The former road alignment leading from the old bridge site merges with the current Hwy 118 alignment at the curve. See an Enlarged Photo Here. (Photograph taken on September 19, 2008 - © Cameron Bevers) 
Above - Approaching the Hwy 35 Junction at Carnarvon on Hwy 118, facing east. The Hwy 35 Junction is the only major road intersection along Hwy 118 between
the Highway 11 Interchange in Bracebridge and Haliburton Village, which are separated by a distance of about 80 km. New traffic signals were installed at the Hwy 35
& Hwy 118 Junction in 2000. See an Enlarged Photo Here. (Photograph taken on October 30, 2005 - © Cameron Bevers)
Continue on to King's Highway 118 Photos: Carnarvon to Paudash
|
|---|
Links to Adjacent King's Highway Photograph Pages:
Back to Hwy 118 - Historical Photos & Glen Orchard to Bracebridge
Hwy 118 Photo Index
On to Hwy 118 - Carnarvon to Paudash
Back to King's Highway 117 (#2) Photos /
King's Highway 118 History /
On to King's Highway 119 Photos
Ontario Highway History - Main Menu / Back to List of Highways Website contents, photos & text © 2002-2026, Cameron
Bevers (Webmaster) - All Rights Reserved / Contact Me
|
|---|