
| 
| |
|
|
This page contains present day photos (Year 2000 to date) of Ontario's King's Highway 11, arranged by location from
Huntsville northerly to Emsdale. All photographs displayed on this page were taken by the Webmaster (Cameron Bevers), unless specifically noted otherwise. Click
on any thumbnail to see a larger image!
Please note that all photographs displayed on this
website are protected by copyright. These photographs must not be reproduced, published,
electronically stored or copied, distributed, or posted onto other websites without
my written permission. If you want to use photos from this website, please
email me first for permission. Thank-you!
|
|---|
|
Page 11: Present Day King's Highway 11 Photographs (Huntsville to Emsdale)


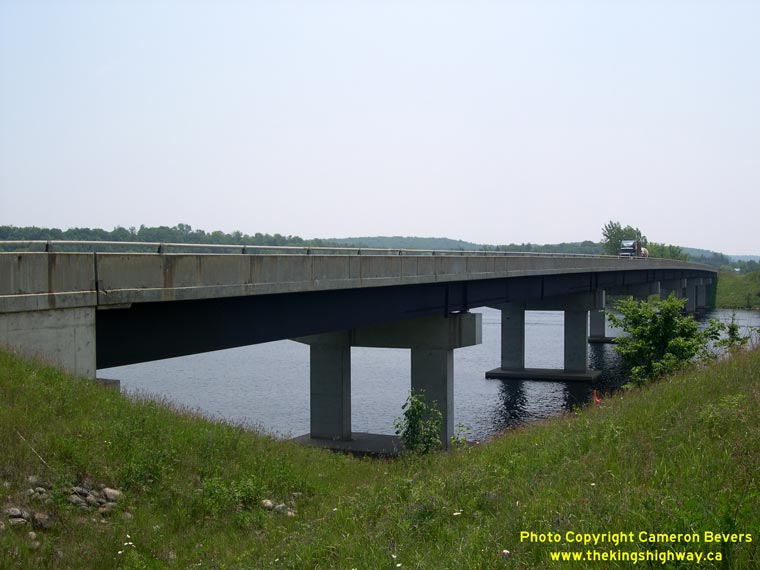
Left - Southbound Vernon Lake Narrows Bridge on Hwy 11 in Huntsville. See an
Enlarged Photo here. (Photograph taken on June 17, 2006 - © Cameron Bevers) Right - Eastern side of the southbound Hwy 11 structure at Vernon Lake Narrows. When the Huntsville Bypass first opened in 1959, this single structure carried both northbound and southbound traffic. However, as traffic volumes grew, a second structure was built to accommodate a four-lane divided highway. See an Enlarged Photo here. (Photograph taken on June 17, 2006 - © Cameron Bevers) 

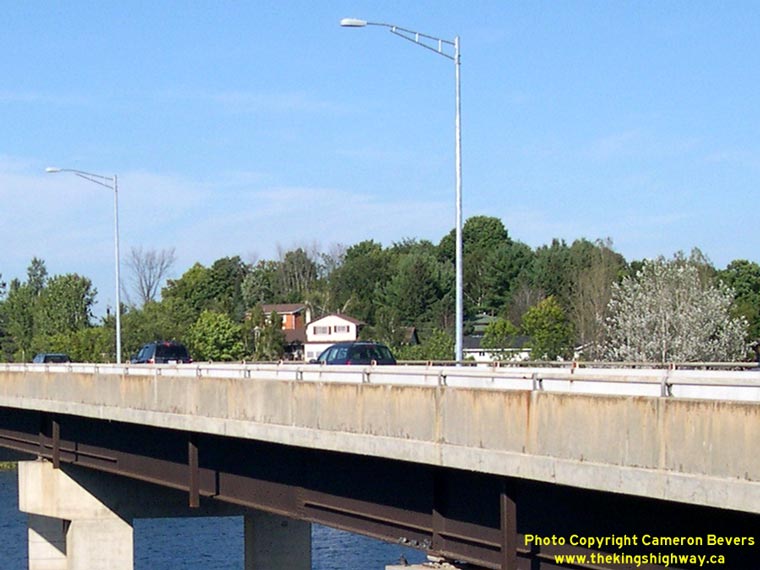
Left - Western side of the Vernon Lake Narrows Bridge on southbound Hwy 11 in Huntsville. See an
Enlarged Photo here. (Photograph taken on June 17, 2006 - © Cameron Bevers) Right - Close-up of the pier design of the southbound Vernon Lake Narrows Bridge in Huntsville. See an Enlarged Photo here. (Photograph taken on June 17, 2006 - © Cameron Bevers) 
Left - Another view of the eastern side of the southbound Vernon Lake Narrows Bridge. Structure completed in 1959. See an
Enlarged Photo here. (Photograph taken on June 17, 2006 - © Cameron Bevers) Right - Western side of the northbound Hwy 11 bridge across Vernon Lake Narrows. See an Enlarged Photo here. (Photograph taken on June 17, 2006 - © Cameron Bevers) 

Left - Date stamp (1978) on the northbound Hwy 11 bridge across Vernon Lake Narrows. See an
Enlarged Photo here. (Photograph taken on June 17, 2006 - © Cameron Bevers) Right - Close-up of the pier design of the northbound Vernon Lake Narrows Bridge in Huntsville. See an Enlarged Photo here. (Photograph taken on June 17, 2006 - © Cameron Bevers) 

Left - Centreline view of the two Vernon Lake Narrows Bridges on Hwy 11 at Huntsville. See an
Enlarged Photo here. (Photograph taken on June 17, 2006 - © Cameron Bevers) Right - Facing north along Hwy 11 towards the southbound (1959) Hwy 11 structure at Vernon Lake Narrows. This bridge was permanently closed to traffic during 2008 and is now slated for demolition. However, before the bridge was closed, it briefly carried two-way traffic while the northbound (1978) Hwy 11 structure was being repaired. See an Enlarged Photo here. (Photograph taken on September 19, 2008 - © Cameron Bevers) 

Left - The southbound Hwy 11 structure at Vernon Lake Narrows will be replaced with a new bridge during 2009. See an
Enlarged Photo here. (Photograph taken on September 19, 2008 - © Cameron Bevers) Right - Close-up of the steel and concrete handrail design of the southbound Hwy 11 Vernon Narrows Bridge. See an Enlarged Photo here. (Photograph taken on September 19, 2008 - © Cameron Bevers) 
Left - The northbound Hwy 11 structure will be carrying two-way traffic for the duration of the bridge replacement project. In an effort to increase highway
safety during construction, new highway illumination was temporarily installed along the northbound structure. See an
Enlarged Photo here. (Photograph taken on September 19, 2008 - © Cameron Bevers) Right - The new luminaires on the Vernon Narrows Bridge are an updated, modern version of the so-called "truss" light standards that were commonly used to illuminate Ontario's freeways from the mid-1960s until the mid-1980s. The reappearance of this classic lighting design is a welcome change to the now ubiquitous "high mast" luminaires, which have been utilized extensively on Ontario freeways since the 1990s. (Photograph taken on September 19, 2008 - © Cameron Bevers) 

Left - Facing north along the Huntsville Bypass (Hwy 11) approaching the Hwy 60 Interchange. See an
Enlarged Photo Here. (Photograph taken on July 11, 2010 - © Cameron Bevers) Right - Green guide sign on northbound Hwy 11 marking the exit for Hwy 60 in Huntsville. Strangely, the control city on the sign is indicated as "Ottawa", even though most of the traffic using Hwy 60 easterly from Huntsville is bound for Algonquin Provincial Park or the Barry's Bay area. See an Enlarged Photo Here. (Photograph taken on September 19, 2008 - © Cameron Bevers) 

Left - Facing south along the Huntsville Bypass (Hwy 11) from the Hwy 60 Overpass. The ramps of the Hwy 60 Interchange are in a "Trumpet B" configuration.
Interchanges of this configuration have a loop exit ramp on the downstream side of the structure. At right, traffic from southbound Hwy 11 exits via this loop ramp to
eastbound Hwy 60. See an Enlarged Photo Here. (Photograph taken on October 8, 2021 - © Cameron Bevers) Right - View of the Hwy 60 Overpass on Hwy 11 in Huntsville, facing west. See an Enlarged Photo Here. (Photograph taken on October 8, 2021 - © Cameron Bevers) 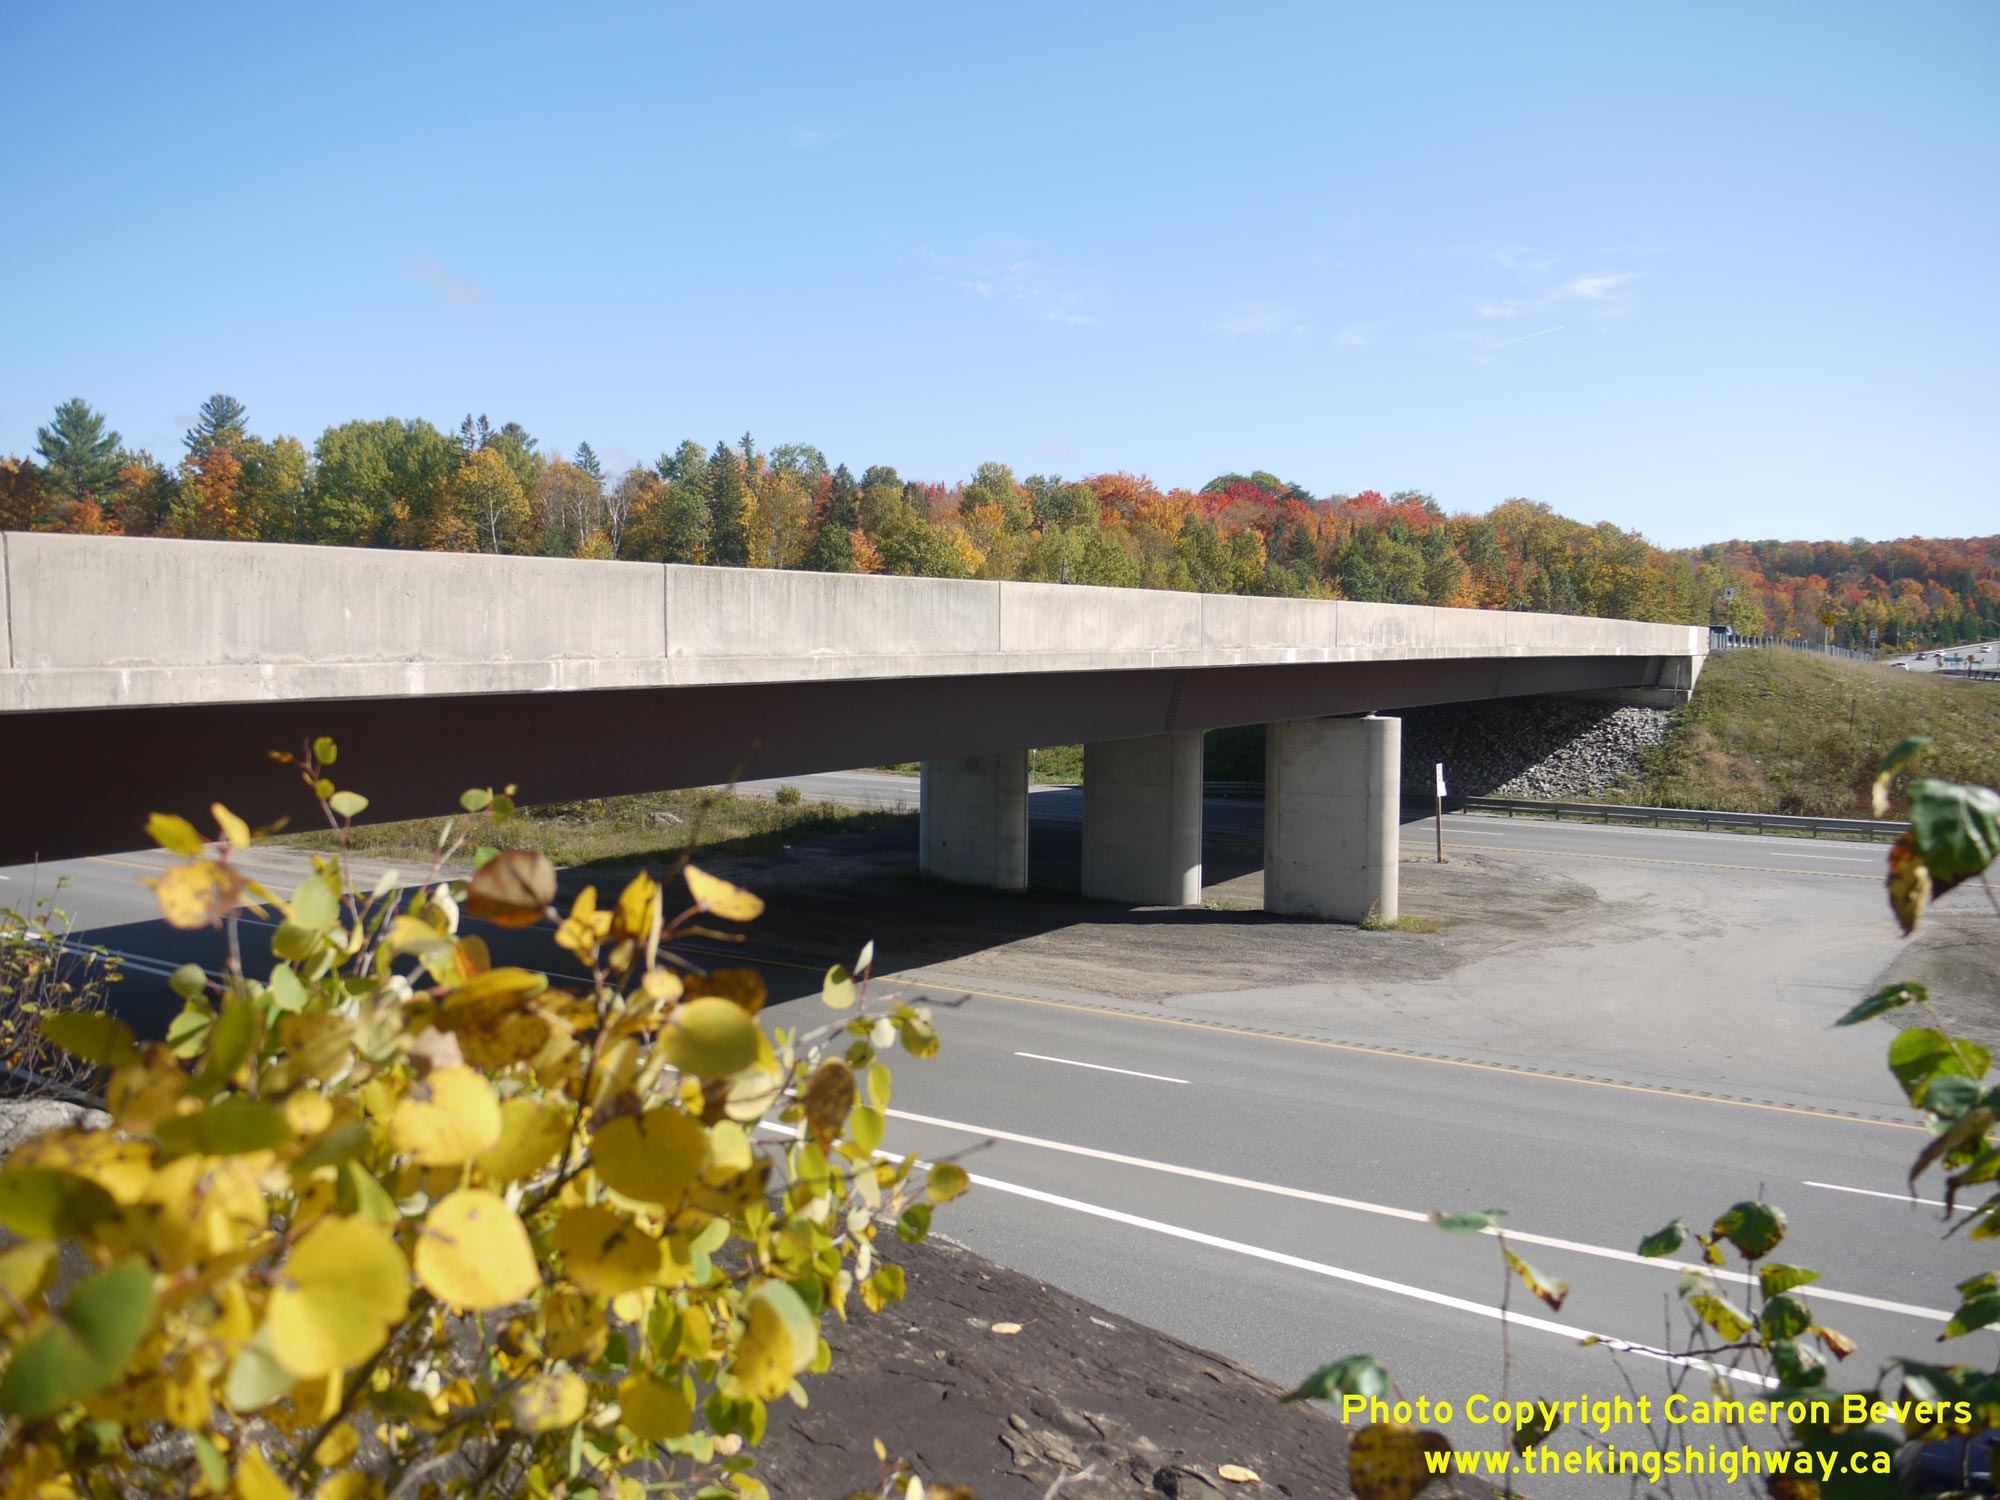
Left - Southern side of the Hwy 60 Overpass on Hwy 11. This two-span trapezoidal steel box girder structure was completed in 1990. Prior to the construction of
the grade separation and interchange at Hwy 11 & Hwy 60, these two highways met at an at-grade intersection. See an
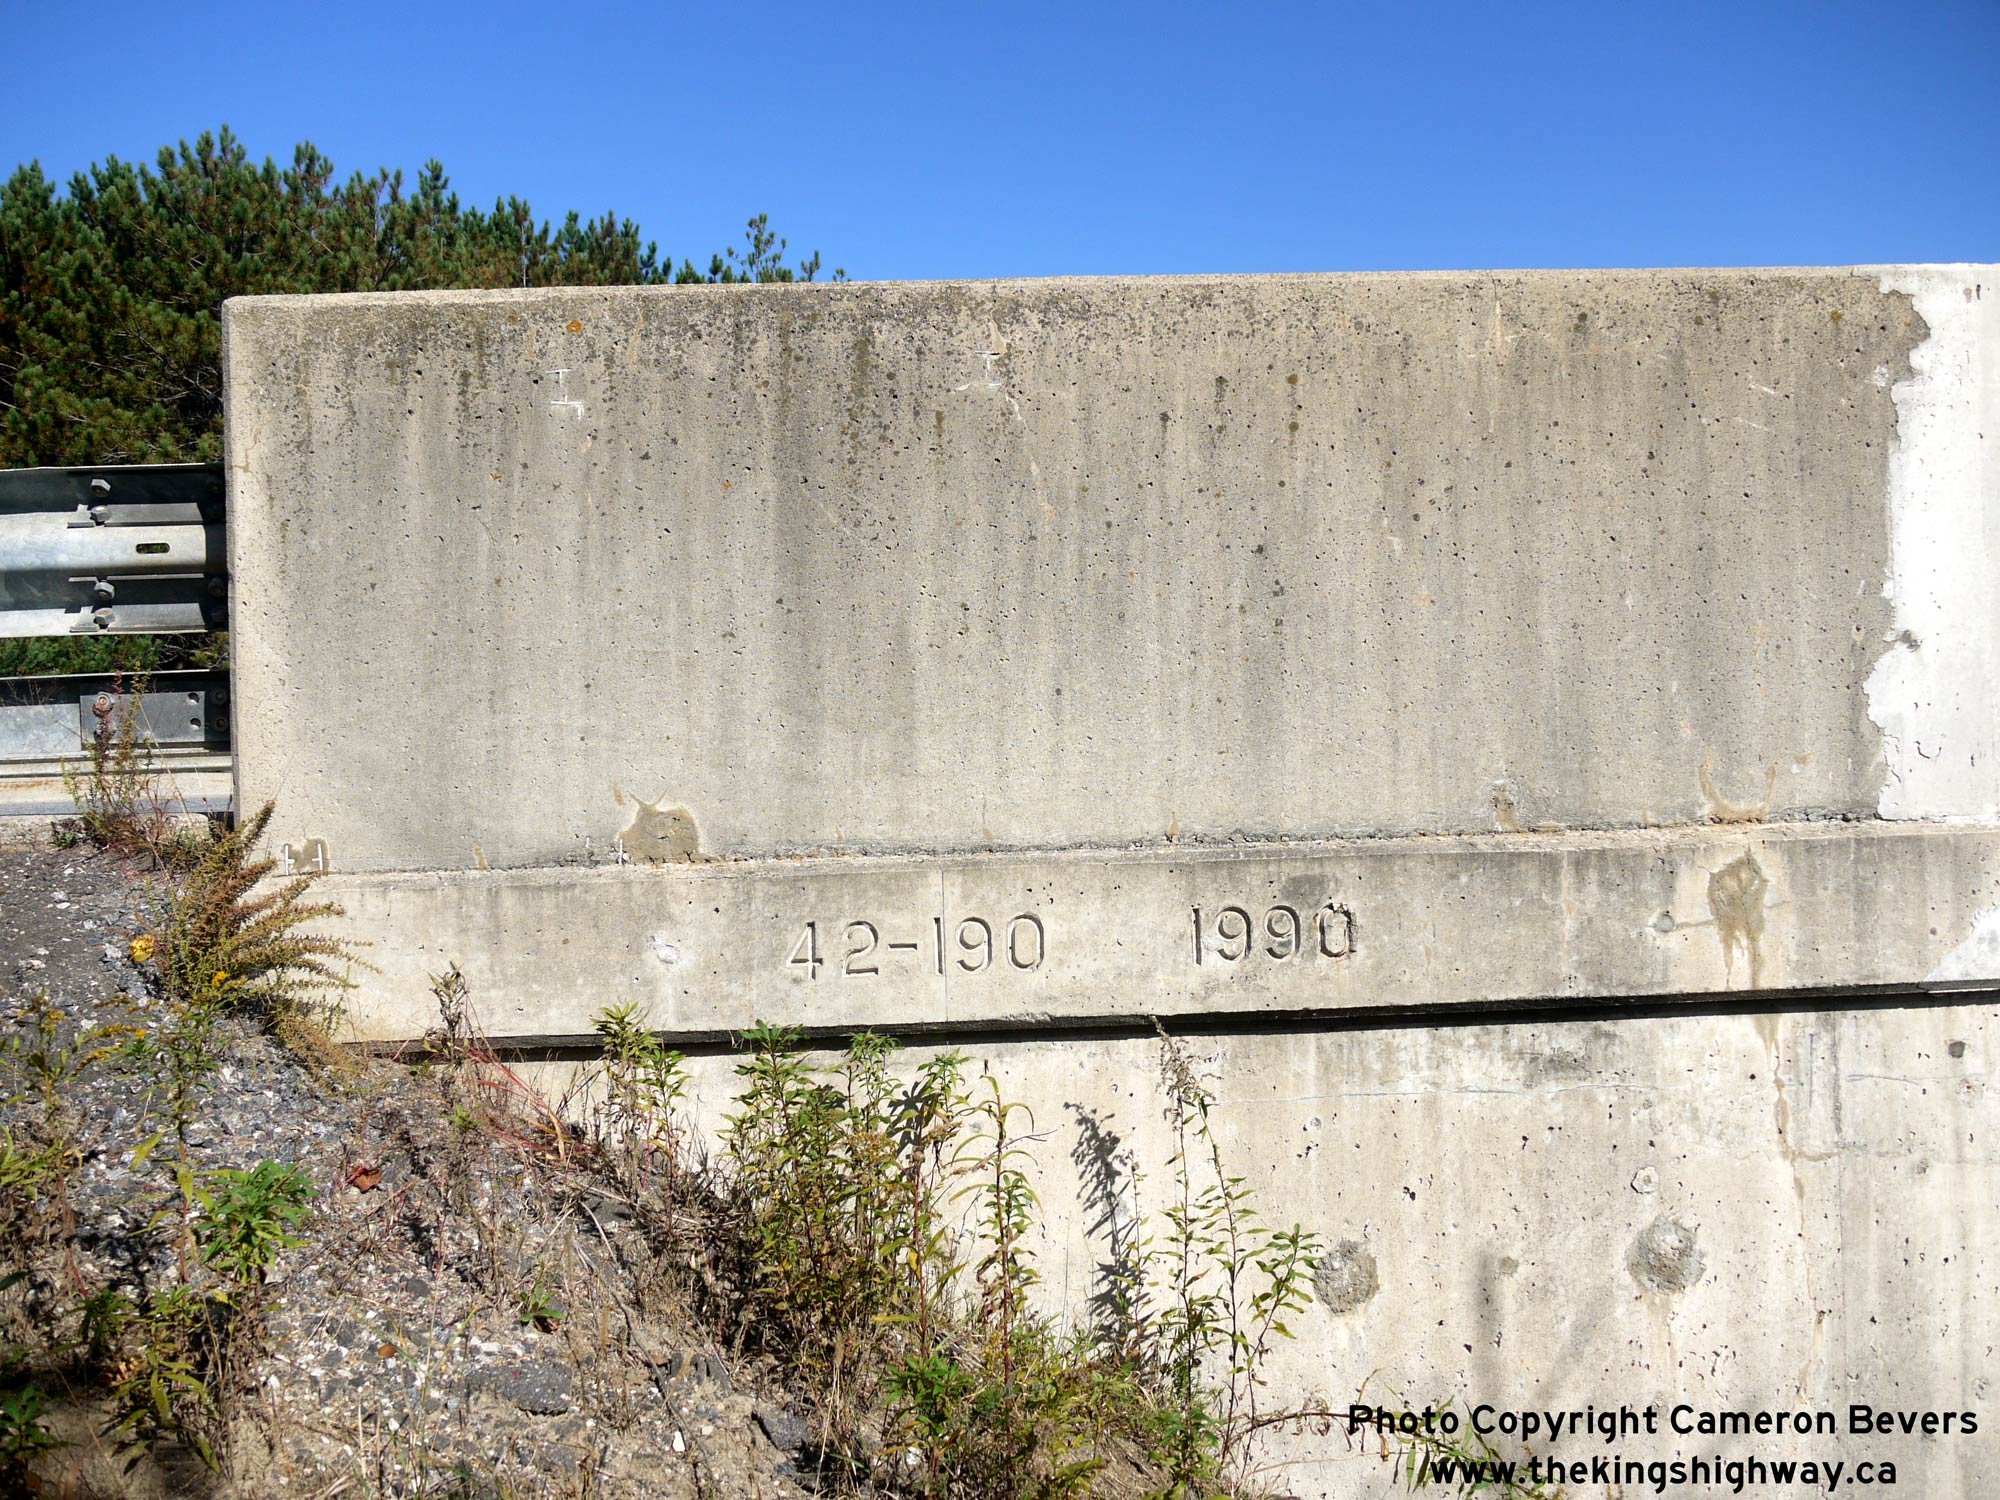
Enlarged Photo Here. (Photograph taken on October 8, 2021 - © Cameron Bevers) Right - Date stamp (1990) and structure identification number (Site #42-190) on the Hwy 60 Overpass on Hwy 11 in Huntsville. See an Enlarged Photo Here. (Photograph taken on October 8, 2021 - © Cameron Bevers) 

Left - Northern side of the Hwy 60 Overpass on the Huntsville Bypass (Hwy 11). See an
Enlarged Photo Here. (Photograph taken on October 8, 2021 - © Cameron Bevers) Right - Facing east across the Hwy 60 Overpass on Hwy 11 in Huntsville. See an Enlarged Photo Here. (Photograph taken on October 8, 2021 - © Cameron Bevers) 

Left - Facing north along the Huntsville Bypass (Hwy 11) towards North Bay from the Hwy 60 Overpass. See an
Enlarged Photo Here. (Photograph taken on October 8, 2021 - © Cameron Bevers) Right - Autumn colours at the Hwy 11 & Hwy 60 Interchange in Huntsville. See an Enlarged Photo Here. (Photograph taken on October 8, 2021 - © Cameron Bevers) 

Left - Advance green guide sign for the upcoming Hwy 60 Interchange on southbound Hwy 11 in Huntsville. This large extruded aluminum freeway sign, along with
others at this interchange, are likely the original signs dating from the Hwy 60 Interchange's completion in 1990. Although commonly seen on Ontario's early freeway
guide signs, the word "EXIT" hasn't been used on green ground-mounted freeway guide signs since the 1990s. Only the kilometric distance to the exit ramp is now shown
on newer ground-mounted signs. See an Enlarged Photo Here. (Photograph taken on July 11, 2010 - © Cameron Bevers) Right - Junction sign assembly approaching the western terminus of Hwy 60 in Huntsville. See an Enlarged Photo Here. (Photograph taken on October 8, 2021 - © Cameron Bevers) 

Left - Green guide sign for Hwy 11 North on westbound Hwy 60. Traffic bound for North Bay has to keep right to reach northbound Hwy 11. See an
Enlarged Photo Here. (Photograph taken on October 8, 2021 - © Cameron Bevers) Right - Green guide sign for Hwy 11 South on westbound Hwy 60. Toronto-bound traffic merely has to continue straight ahead to reach southbound Hwy 11, since this is the predominant traffic movement at the interchange. See an Enlarged Photo Here. (Photograph taken on October 8, 2021 - © Cameron Bevers) 
Above - Facing east along Hwy 60 from the Hwy 11 Interchange. For the first 3 km, Hwy 60 passes through an urbanized section of Huntsville. See an
Enlarged Photo Here. (Photograph taken on October 8, 2021 - © Cameron Bevers) 
Above - Old "TO 11" green trailblazer sign on Main Street in Huntsville. This sign likely dates back to the early 1970s, when Hwy 11B through Downtown
Huntsville was decommissioned. The old route of Hwy 11 (later known as Hwy 11B) through Huntsville is now known as Muskoka Road 3. See an
Enlarged Photo here. (Photograph taken on August 5, 2006 - © Cameron Bevers) 

Left - Facing south towards Huntsville on Hwy 11. The interchange in the background services the community of Melissa,
whose main street was largely demolished during construction of the four-lane highway and interchange in 2001. See an
Enlarged Photo here. (Photograph taken on June 17, 2006 - © Cameron Bevers) Right - Facing north towards Novar on Hwy 11. Note the diversion of the northbound roadway, which was specially designed to avoid disturbing an environmentally sensitive area along the Big East River. Environmental engineering and conservation now plays a key role in new highway design and construction in Ontario. See an Enlarged Photo here. (Photograph taken on June 17, 2006 - © Cameron Bevers) 

Left - End of four-lane Hwy 11 north of Novar, prior to construction of Emsdale Bypass. See an
Enlarged Photo here. (Photograph taken on July 6, 2003 - © Cameron Bevers) Right - Scotia Road facing west towards site of proposed Hwy 11 Interchange. See an Enlarged Photo here. (Photograph taken on July 6, 2003 - © Cameron Bevers) 

Left - Facing south along two-lane Hwy 11 at Scotia Road before reconstruction. See an
Enlarged Photo here. (Photograph taken on July 6, 2003 - © Cameron Bevers) Right - Facing south along four-lane Hwy 11 at Scotia Road after reconstruction. See an Enlarged Photo here. (Photograph taken on June 17, 2006 - © Cameron Bevers) 

Left - Facing north along four-lane Hwy 11 at Scotia Road after reconstruction. See an
Enlarged Photo here. (Photograph taken on June 17, 2006 - © Cameron Bevers) Right - Facing south along Old Hwy 11 from Hwy 518 East junction at Emsdale. See an Enlarged Photo here. (Photograph taken on July 6, 2003 - © Cameron Bevers) 

Left - Facing north along Old Hwy 11 & Hwy 518 at Emsdale before construction of Emsdale Bypass. See an
Enlarged Photo here. (Photograph taken on July 6, 2003 - © Cameron Bevers) Right - Facing west towards Hwy 11 and Hwy 518 West junction before interchange construction. See an Enlarged Photo here. (Photograph taken on July 6, 2003 - © Cameron Bevers) 

Left - Facing south along Hwy 11 from Hwy 518 West junction north of Emsdale before reconstruction. See an
Enlarged Photo here. (Photograph taken on July 6, 2003 - © Cameron Bevers) Right - Facing south along Hwy 11 from Hwy 518 West junction north of Emsdale after reconstruction. See an Enlarged Photo here. (Photograph taken on June 17, 2006 - © Cameron Bevers) 

Left - View of Hwy 11 facing north from Hwy 518 West junction before reconstruction. See an
Enlarged Photo here. (Photograph taken on July 6, 2003 - © Cameron Bevers) Right - View of Hwy 11 facing north from Hwy 518 West junction after reconstruction. Note the temporary lane drop just north of Hwy 518, which will be in effect until the Katrina Bypass section of Hwy 11 is completed in late 2008. See an Enlarged Photo here. (Photograph taken on July 6, 2003 - © Cameron Bevers)
Continue on to King's Highway 11 Photos: Emsdale to Burk's Falls
|
|---|
Links to Adjacent King's Highway Photograph Pages:
Back to Hwy 11 - Bracebridge to Huntsville
Hwy 11 Photo Index
On to Hwy 11 - Emsdale to Burk's Falls
Back to King's Highway 10 Photos /
King's Highway 11 History /
On to King's Highway 12 Photos
Ontario Highway History - Main Menu / Back to List of Highways Website contents, photos & text © 2002-2026, Cameron
Bevers (Webmaster) - All Rights Reserved / Contact Me
|
|---|