
| 
| |
|
|
This page contains historical and present day photos of Ontario's King's Highway 17A (Kenora Bypass). All photographs displayed
on this page were taken by the Webmaster (Cameron Bevers), unless specifically noted otherwise. Historical photographs are arranged in approximate chronological order,
while present day photographs (Year 2010 to date) are arranged by location from west to east. Click on any thumbnail to see a larger image!
Please note that all photographs displayed on this
website are protected by copyright. These photographs must not be reproduced, published,
electronically stored or copied, distributed, or posted onto other websites without
my written permission. If you want to use photos from this website, please
email me first for permission. Thank-you!
|
|---|
|
Page 1: Historical King's Highway 17A (Kenora Bypass) Photographs
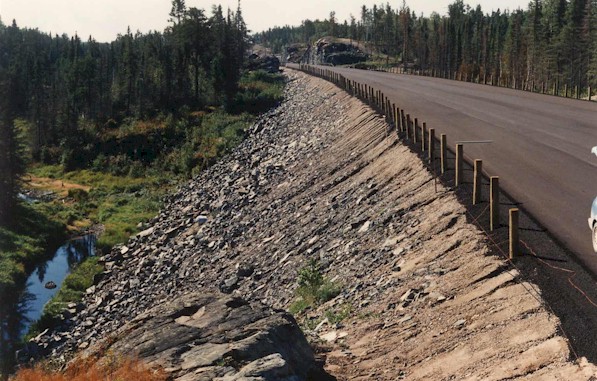
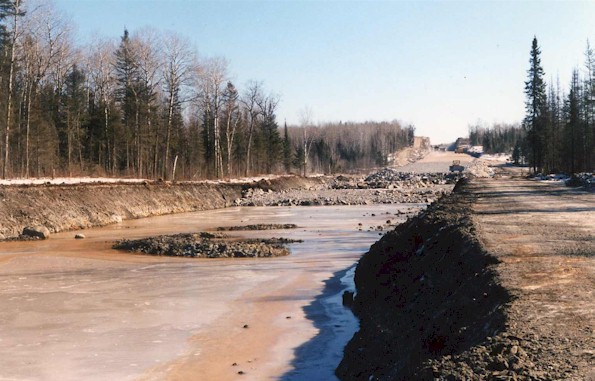
Left - A portion of the Kenora Bypass nearing completion (ca. 1985) (Photo courtesy of Ontario Ministry of Transportation - © King's Printer for Ontario, 2003) Right - Heavy grading and muskeg removal on Hwy 17A Kenora Bypass (ca. 1985) (Photo courtesy of Ontario Ministry of Transportation - © King's Printer for Ontario, 2003) 
Above - Grading operations on Hwy 17A (Kenora Bypass) east of Hwy 659 junction (ca. 1989) (Photo courtesy of Ontario Ministry of Transportation - © King's Printer for Ontario, 2003) 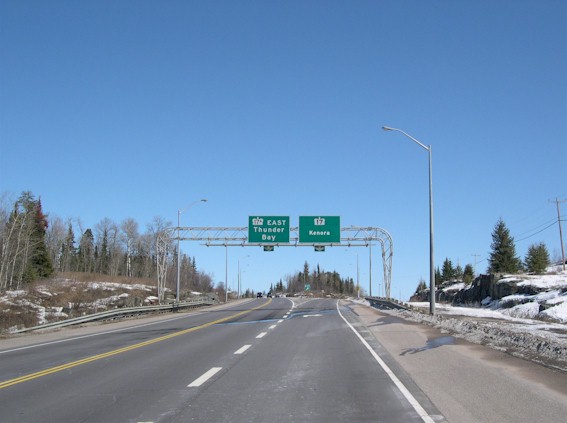
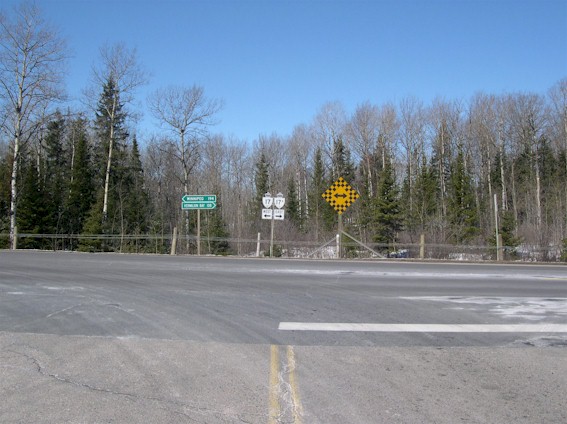
Left - Overhead sign gantry at junction of Hwy 17 & Hwy 17A west of Kenora (Photograph taken on March 31, 2004 - © Cameron Bevers) Right - Junction of Hwy 17 & Hwy 17A (Kenora Bypass) west of Kenora (Photograph taken on March 31, 2004 - © Cameron Bevers) 
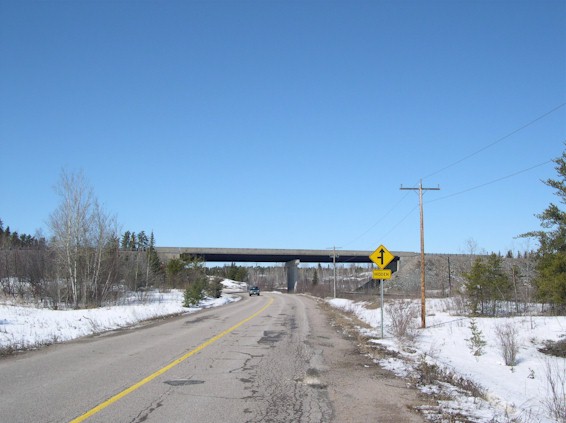
Left - Looking east along Hwy 17A (Kenora Bypass) from western Hwy 17 junction (Photograph taken on March 31, 2004 - © Cameron Bevers) Right - Hwy 17A overpass at Hwy 641 and CPR. Structure completed in 1982. (Photograph taken on March 31, 2004 - © Cameron Bevers) 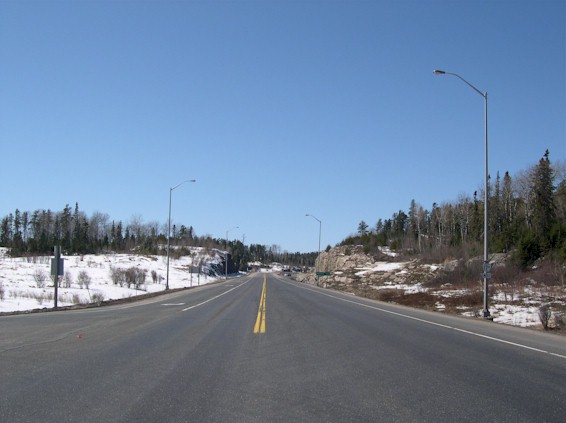
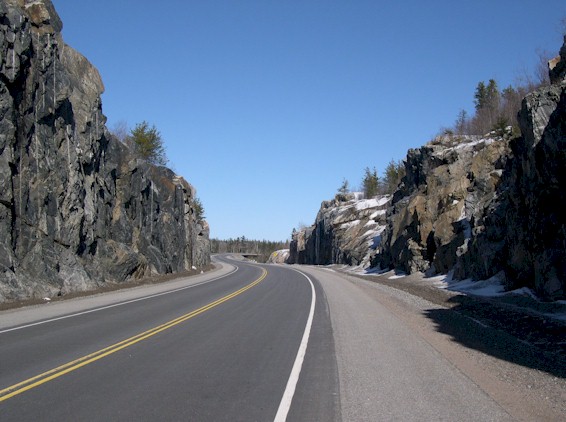
Left - Looking west along Hwy 17A from junction of Hwy 17 east of Kenora (Photograph taken on March 31, 2004 - © Cameron Bevers) Right - Rock cut on Hwy 17A (Kenora Bypass), facing east towards Winnipeg River Bridge (Photograph taken on March 31, 2004 - © Cameron Bevers) 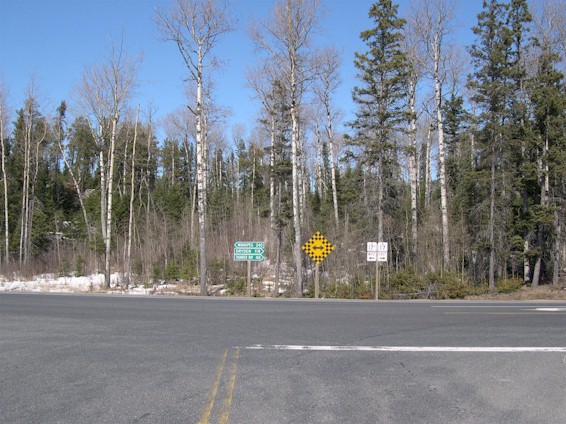

Left - Junction of Hwy 17 & Hwy 17A (Kenora Bypass) east of Kenora (Photograph taken on March 31, 2004 - © Cameron Bevers) Right - Overhead sign gantry at junction of Hwy 17 & Hwy 17A east of Kenora (Photograph taken on March 31, 2004 - © Cameron Bevers)
Continue on to King's Highway 17A Photos: Hwy 658 to Hwy 17 West
|
|---|
Links to Adjacent King's Highway Photograph Pages:
Back to King's Highway 17 Photos /
King's Highway 17A (Kenora) History /
On to King's Highway 18 Photos
Ontario Highway History - Main Menu / Back to List of Highways Website contents, photos & text © 2002-2026, Cameron
Bevers (Webmaster) - All Rights Reserved / Contact Me
|
|---|