
| 
| |
|
|
This page contains present day photos (Year 2010 to date) of Ontario's King's Highway 17A (Kenora Bypass), arranged by location from the Highway 658 Junction westerly
to the western end of the bypass at the Highway 17 Junction. All photographs displayed on this page were taken by the Webmaster (Cameron Bevers), unless specifically
noted otherwise. Click on any thumbnail to see a larger image!
Please note that all photographs displayed on this
website are protected by copyright. These photographs must not be reproduced, published,
electronically stored or copied, distributed, or posted onto other websites without
my written permission. If you want to use photos from this website, please
email me first for permission. Thank-you!
|
|---|
|
Page 2: Present Day King's Highway 17A Photographs (Hwy 658 to Hwy 17 West)

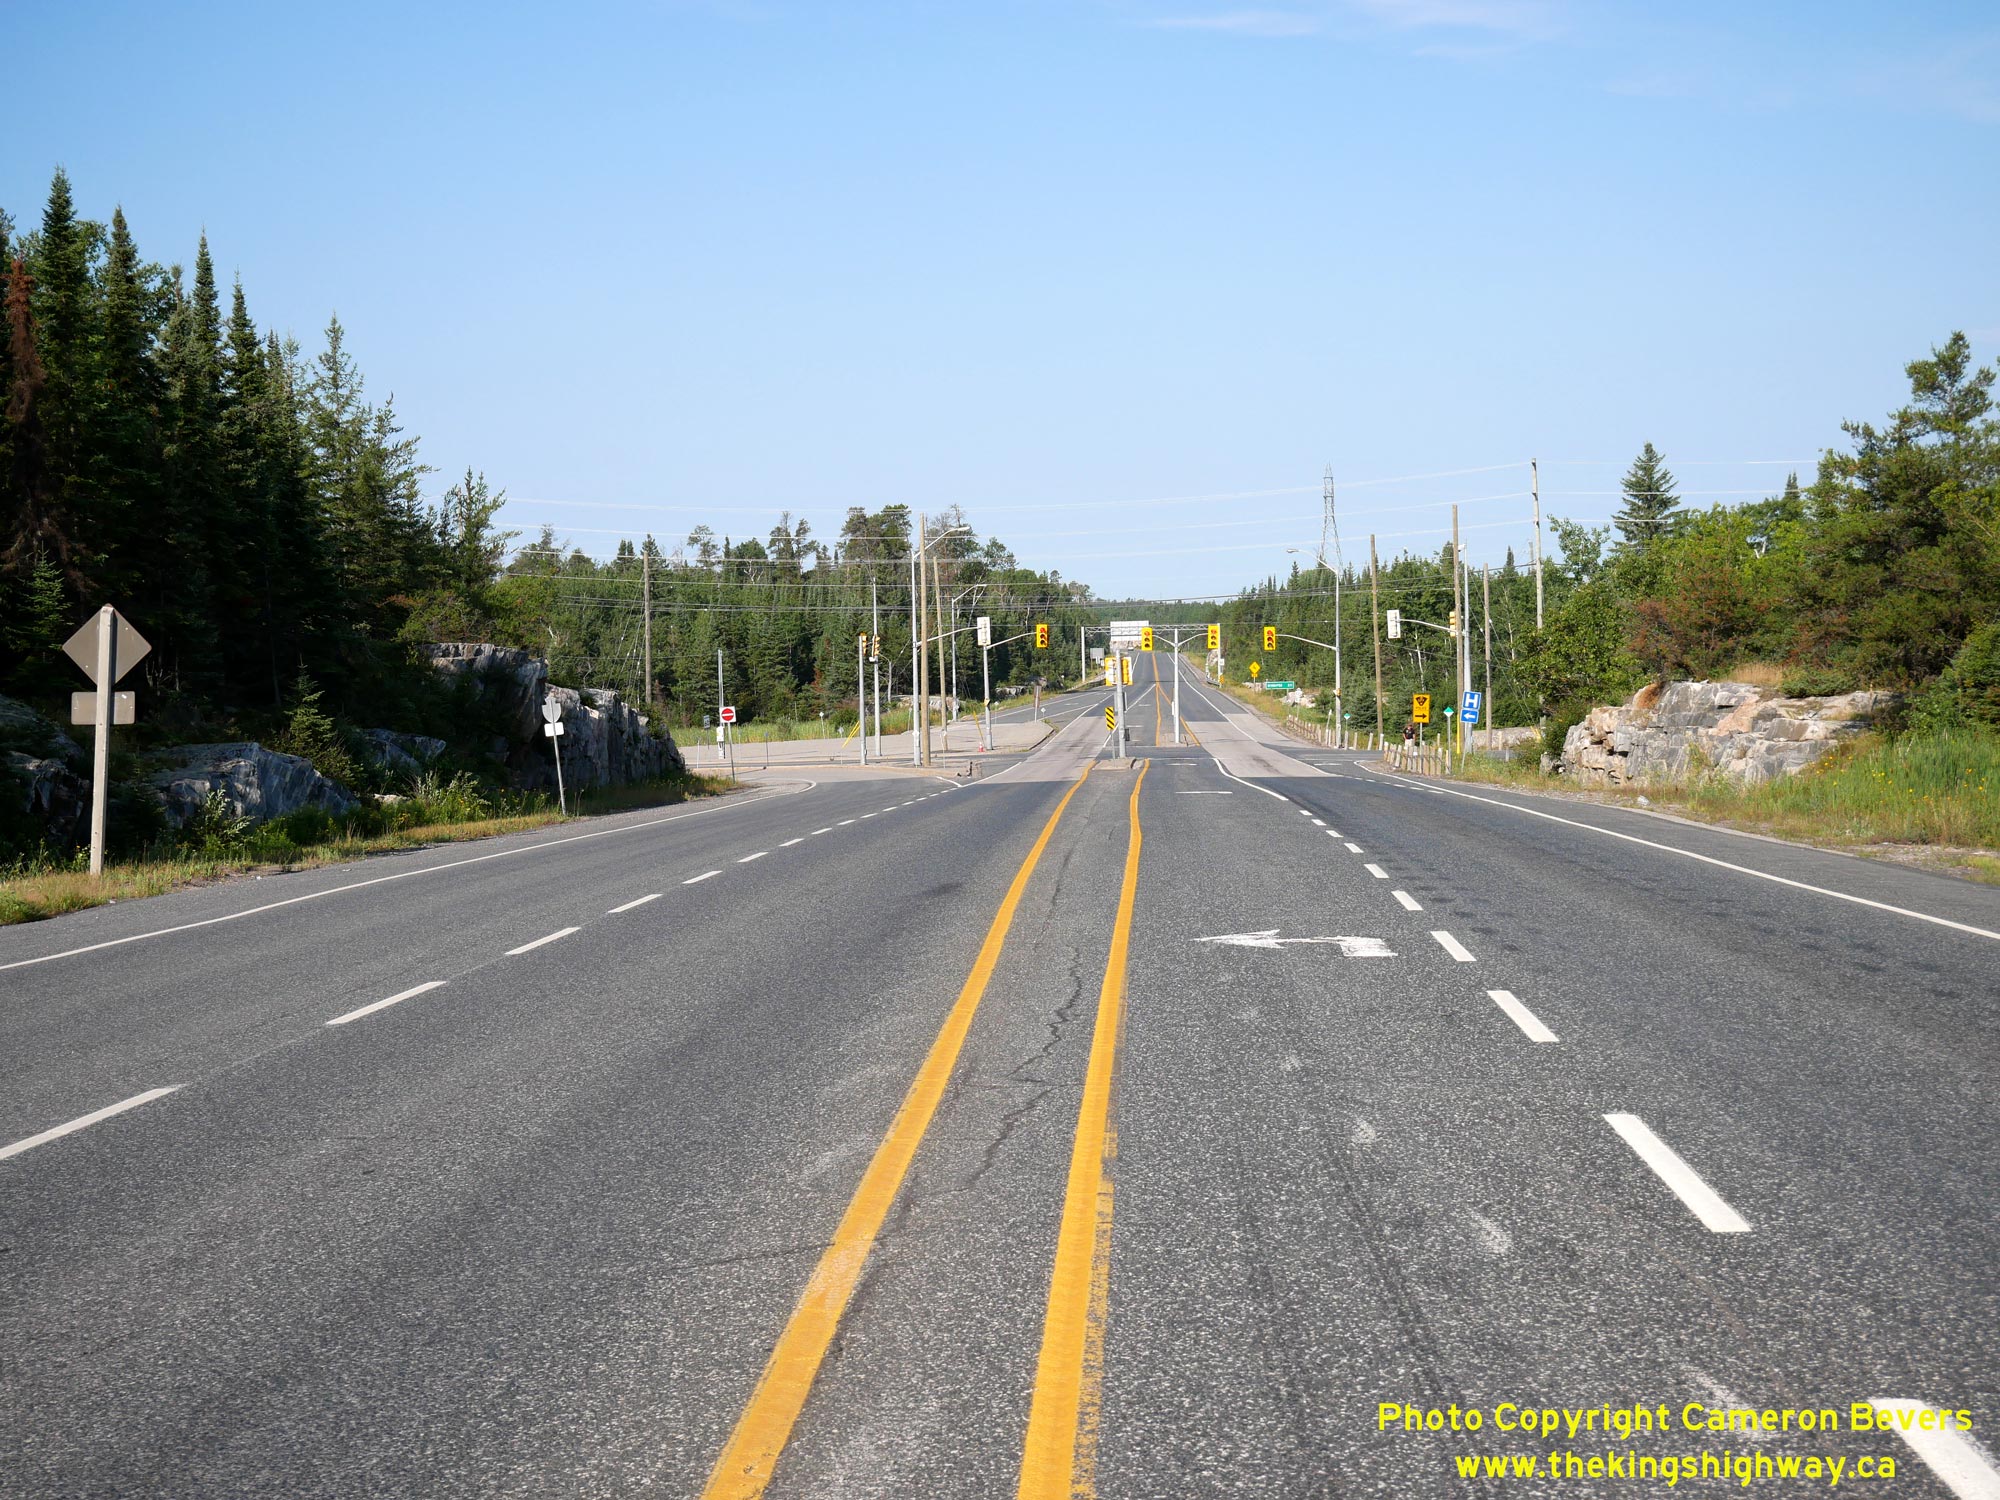
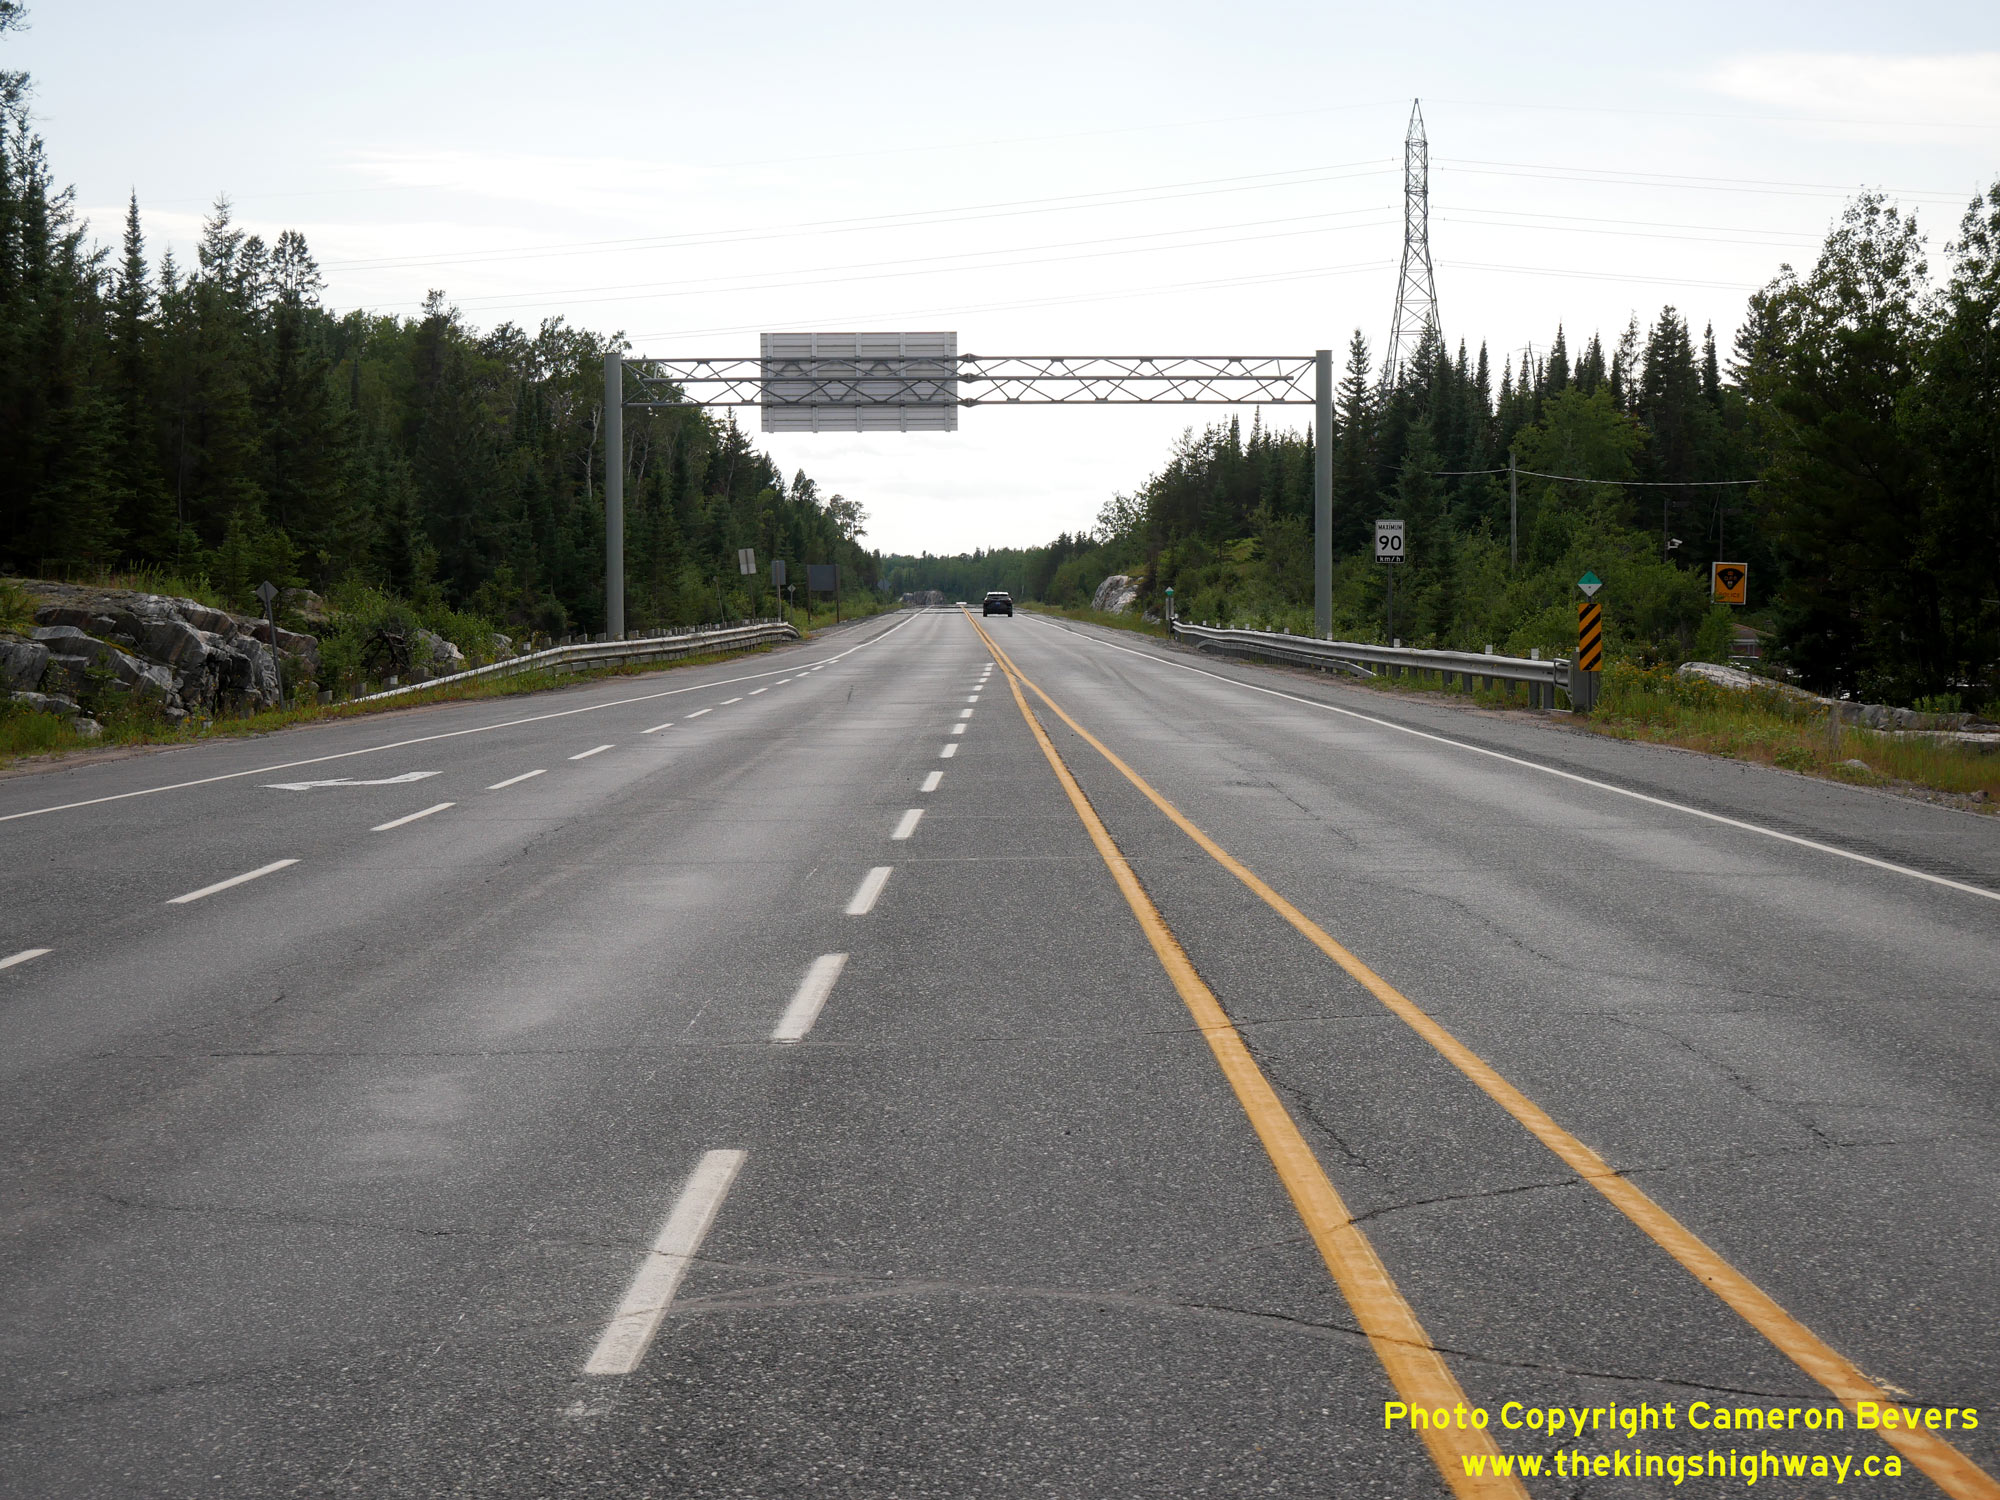
Left - Overhead sign structure facing westbound traffic on the Kenora Bypass (Hwy 17A) approaching the Hwy 658 Junction. See an
Enlarged Photo Here. (Photograph taken on August 2, 2023 - © Cameron Bevers) Right - Facing west along Hwy 17A at the Hwy 658 Junction in Kenora. This highway junction is controlled by traffic signals. This is the most westerly permanent traffic signal installation operated by Ontario's Ministry of Transportation on the provincial highway system. It is also the only signalized intersection situated along the Kenora Bypass. This intersection is set up with separate "fully-protected" left-turn arrows facing traffic on Hwy 17A. This type of traffic signal operation provides enhanced intersection safety by giving left-turning traffic the exclusive right-of-way whenever the left-turn green arrow indication is displayed. However, once the left-turn green arrow indication ends, left-turning traffic is no longer permitted to enter the intersection and must wait until the traffic signal completes its cycle and displays the left-turn green arrow again. Accordingly, intersections with fully-protected left-turn operation typically have longer delays and are less efficient, when compared to the more commonly-seen "protected-permissive" left-turn operation. When set up as a protected-permissive operation, motorists turning left have the exclusive right-of-way only while the left-turn green arrow is displayed. Once the left-turn green arrow indication is no longer displayed, motorists may continue to turn left while the circular green indication is displayed, provided that they have properly yielded to all other traffic before turning left. See an Enlarged Photo Here. (Photograph taken on August 2, 2023 - © Cameron Bevers) 

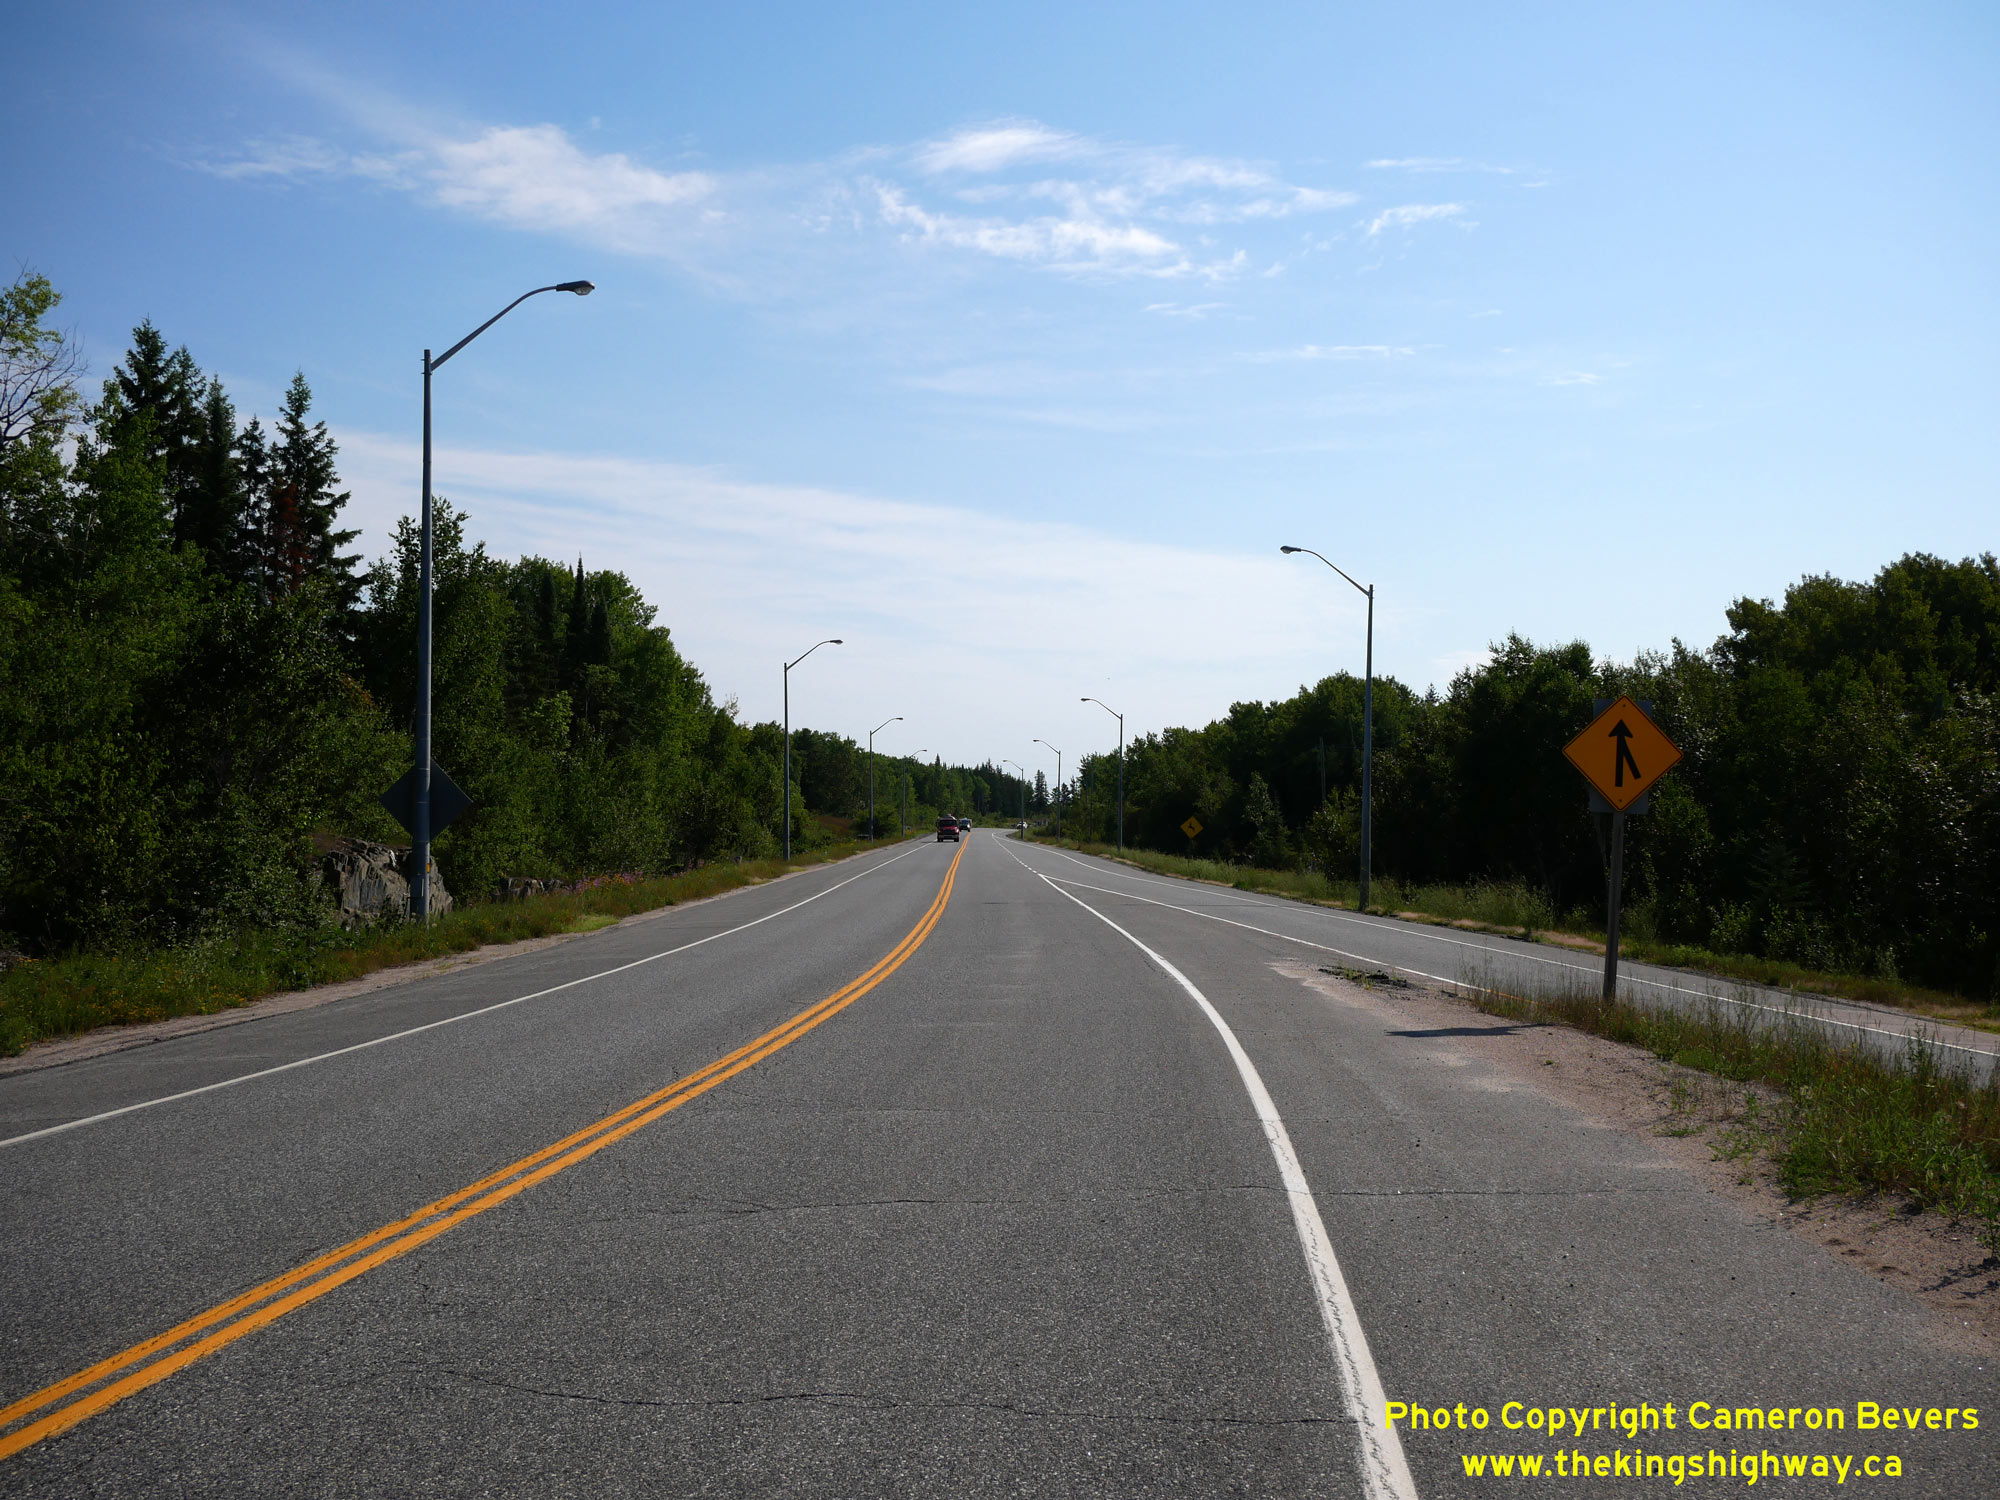
Left - Facing east along Hwy 17A towards Vermilion Bay from the Hwy 658 Junction in Kenora. See an
Enlarged Photo Here. (Photograph taken on August 1, 2023 - © Cameron Bevers) Right - Distance guide sign on eastbound Hwy 17A near the Hwy 658 Junction. See an Enlarged Photo Here. (Photograph taken on August 1, 2023 - © Cameron Bevers) 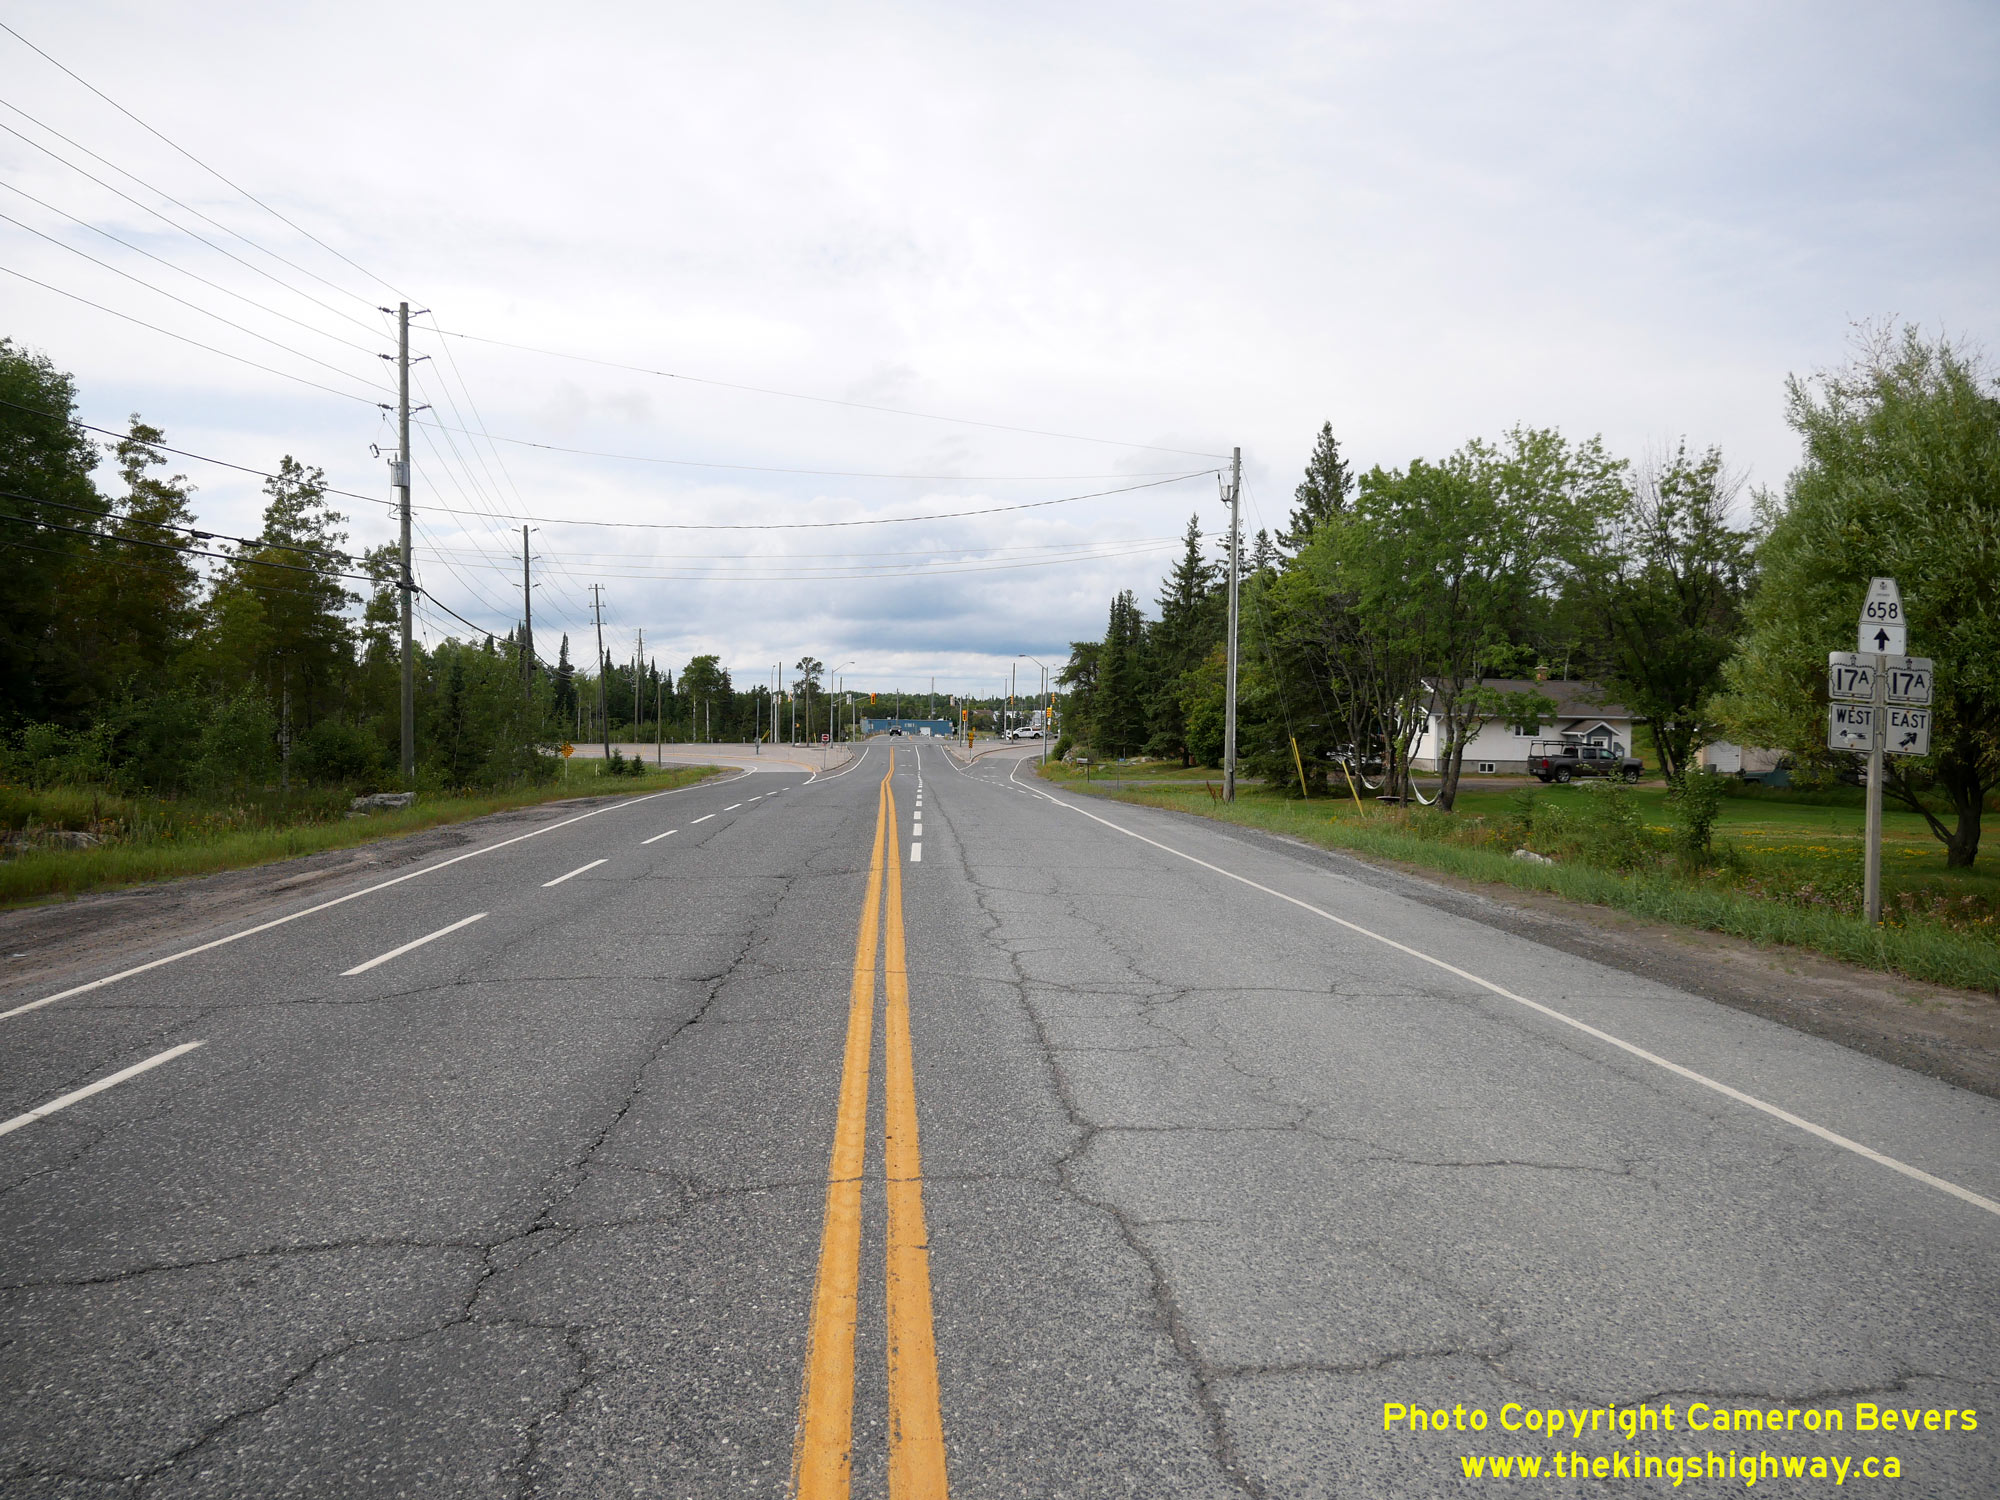
Left - Approaching the Hwy 17A (Kenora Bypass) Junction on Hwy 658 (Veterans Drive), facing north. See an
Enlarged Photo Here. (Photograph taken on August 1, 2023 - © Cameron Bevers) Right - Facing south along Hwy 658 (Veterans Drive) towards Kenora's urbanized area from the Kenora Bypass (Hwy 17A). Kenora's City Centre lies about 4 km to the south. Provincial jurisdiction over Hwy 658 south of Hwy 17A was transferred over to municipal control in the 1990s and is now officially known as Veterans Drive. See an Enlarged Photo Here. (Photograph taken on August 1, 2023 - © Cameron Bevers) 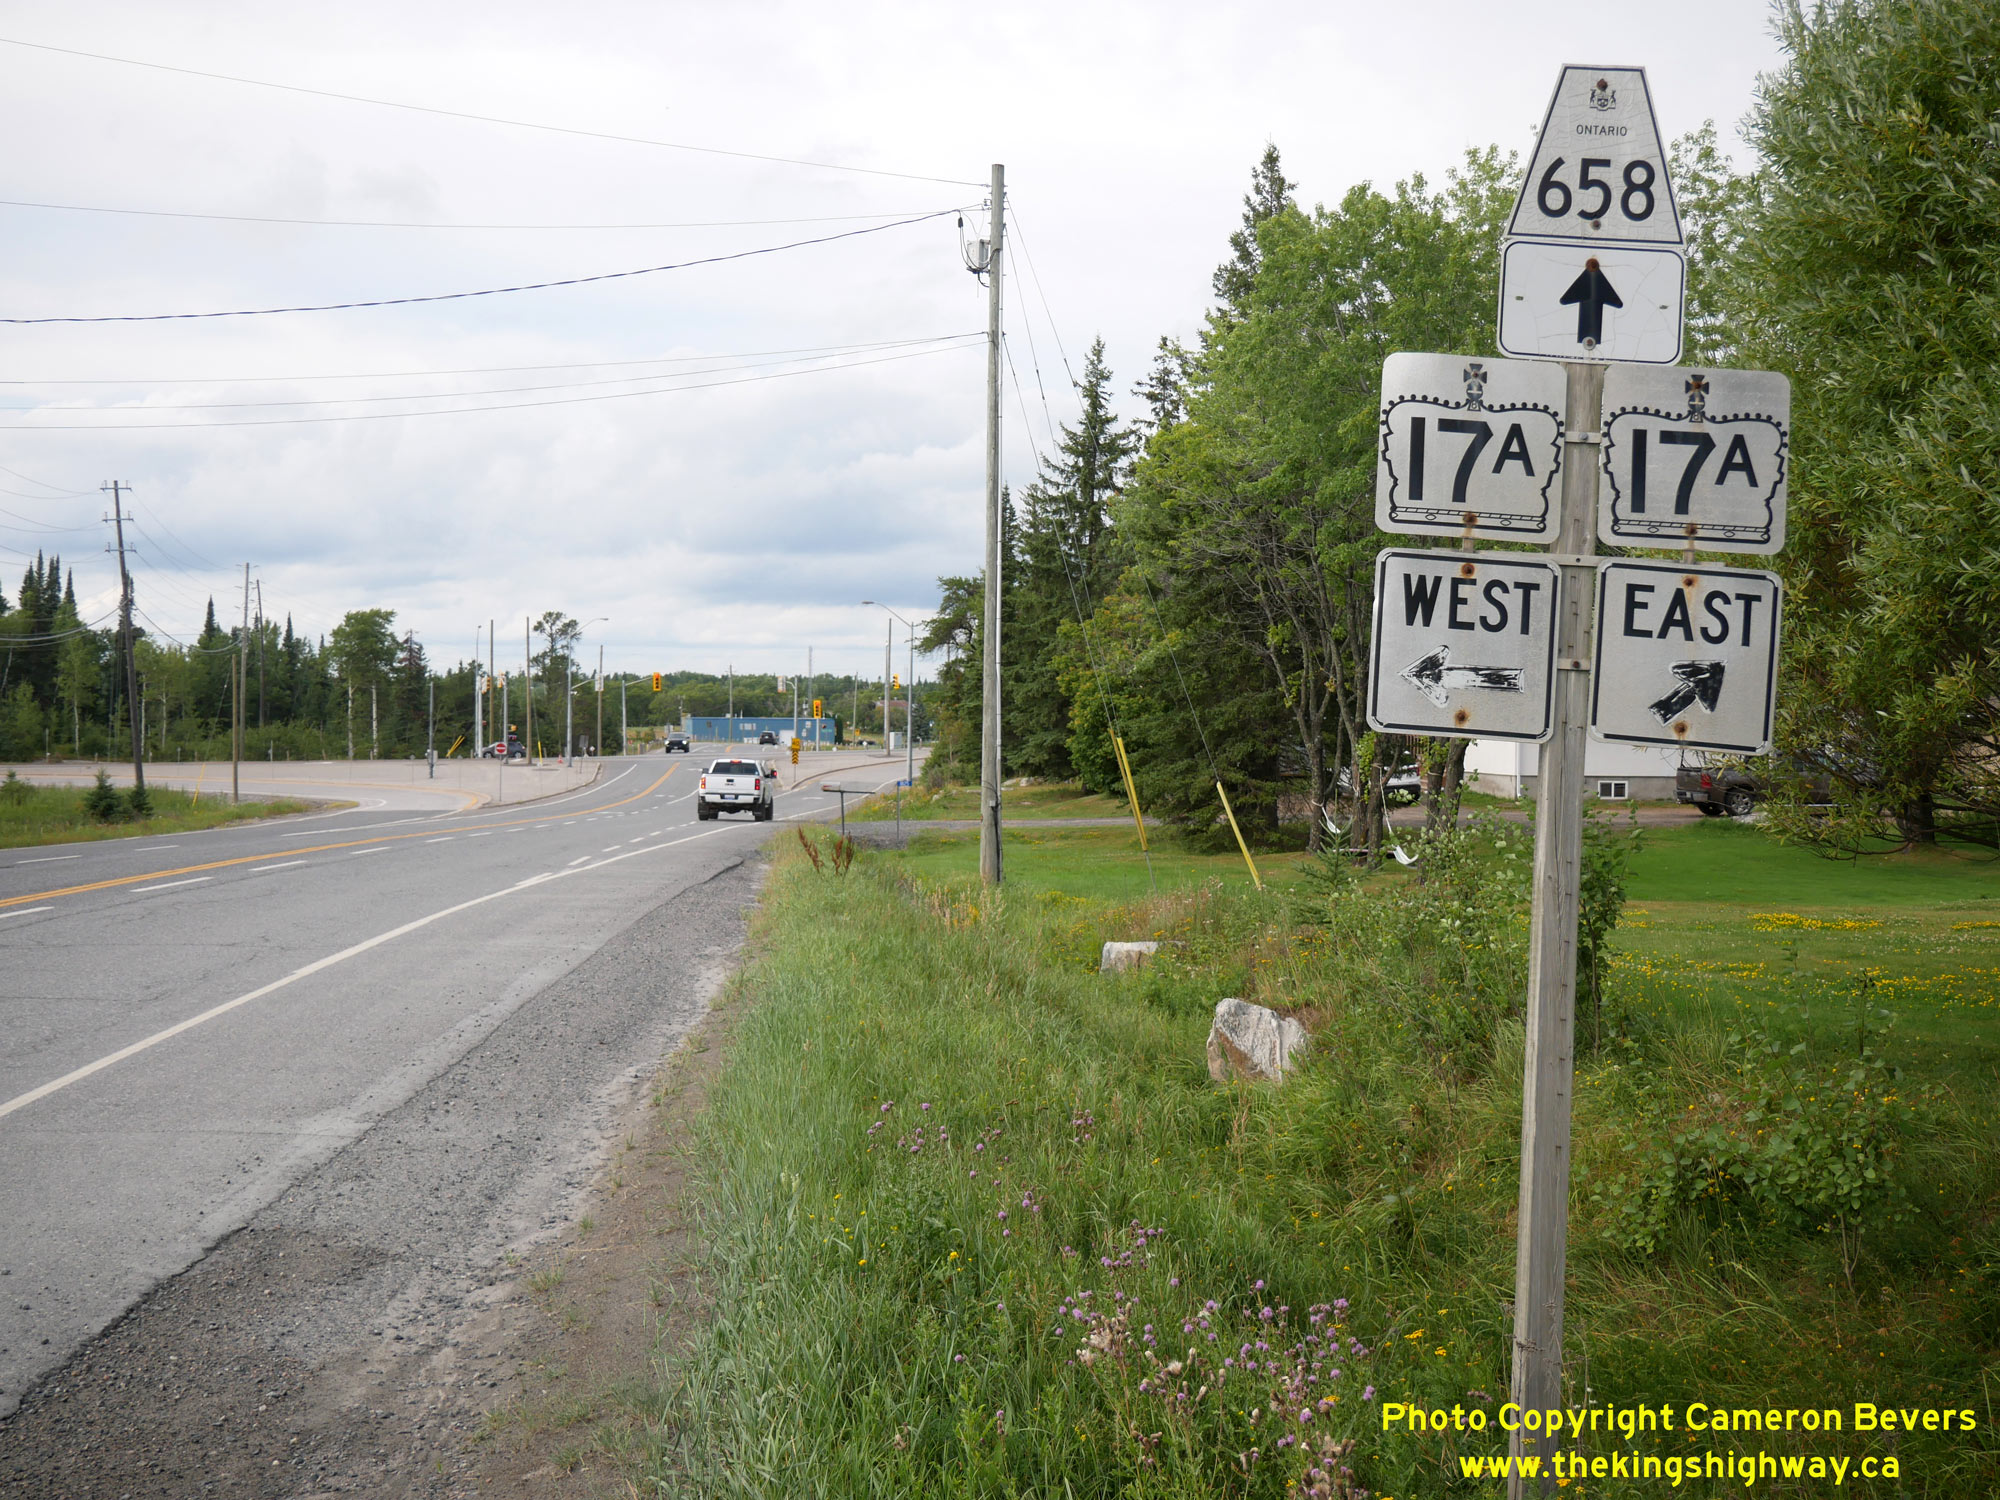
Left - Junction sign assembly facing northbound traffic on Veterans Drive (Hwy 658) approaching the Kenora Bypass (Hwy 17A). See an
Enlarged Photo Here. (Photograph taken on August 1, 2023 - © Cameron Bevers) Right - Facing west towards Winnipeg along Hwy 17A (Kenora Bypass) from the Hwy 658 Junction in Kenora. See an Enlarged Photo Here. (Photograph taken on August 1, 2023 - © Cameron Bevers) 

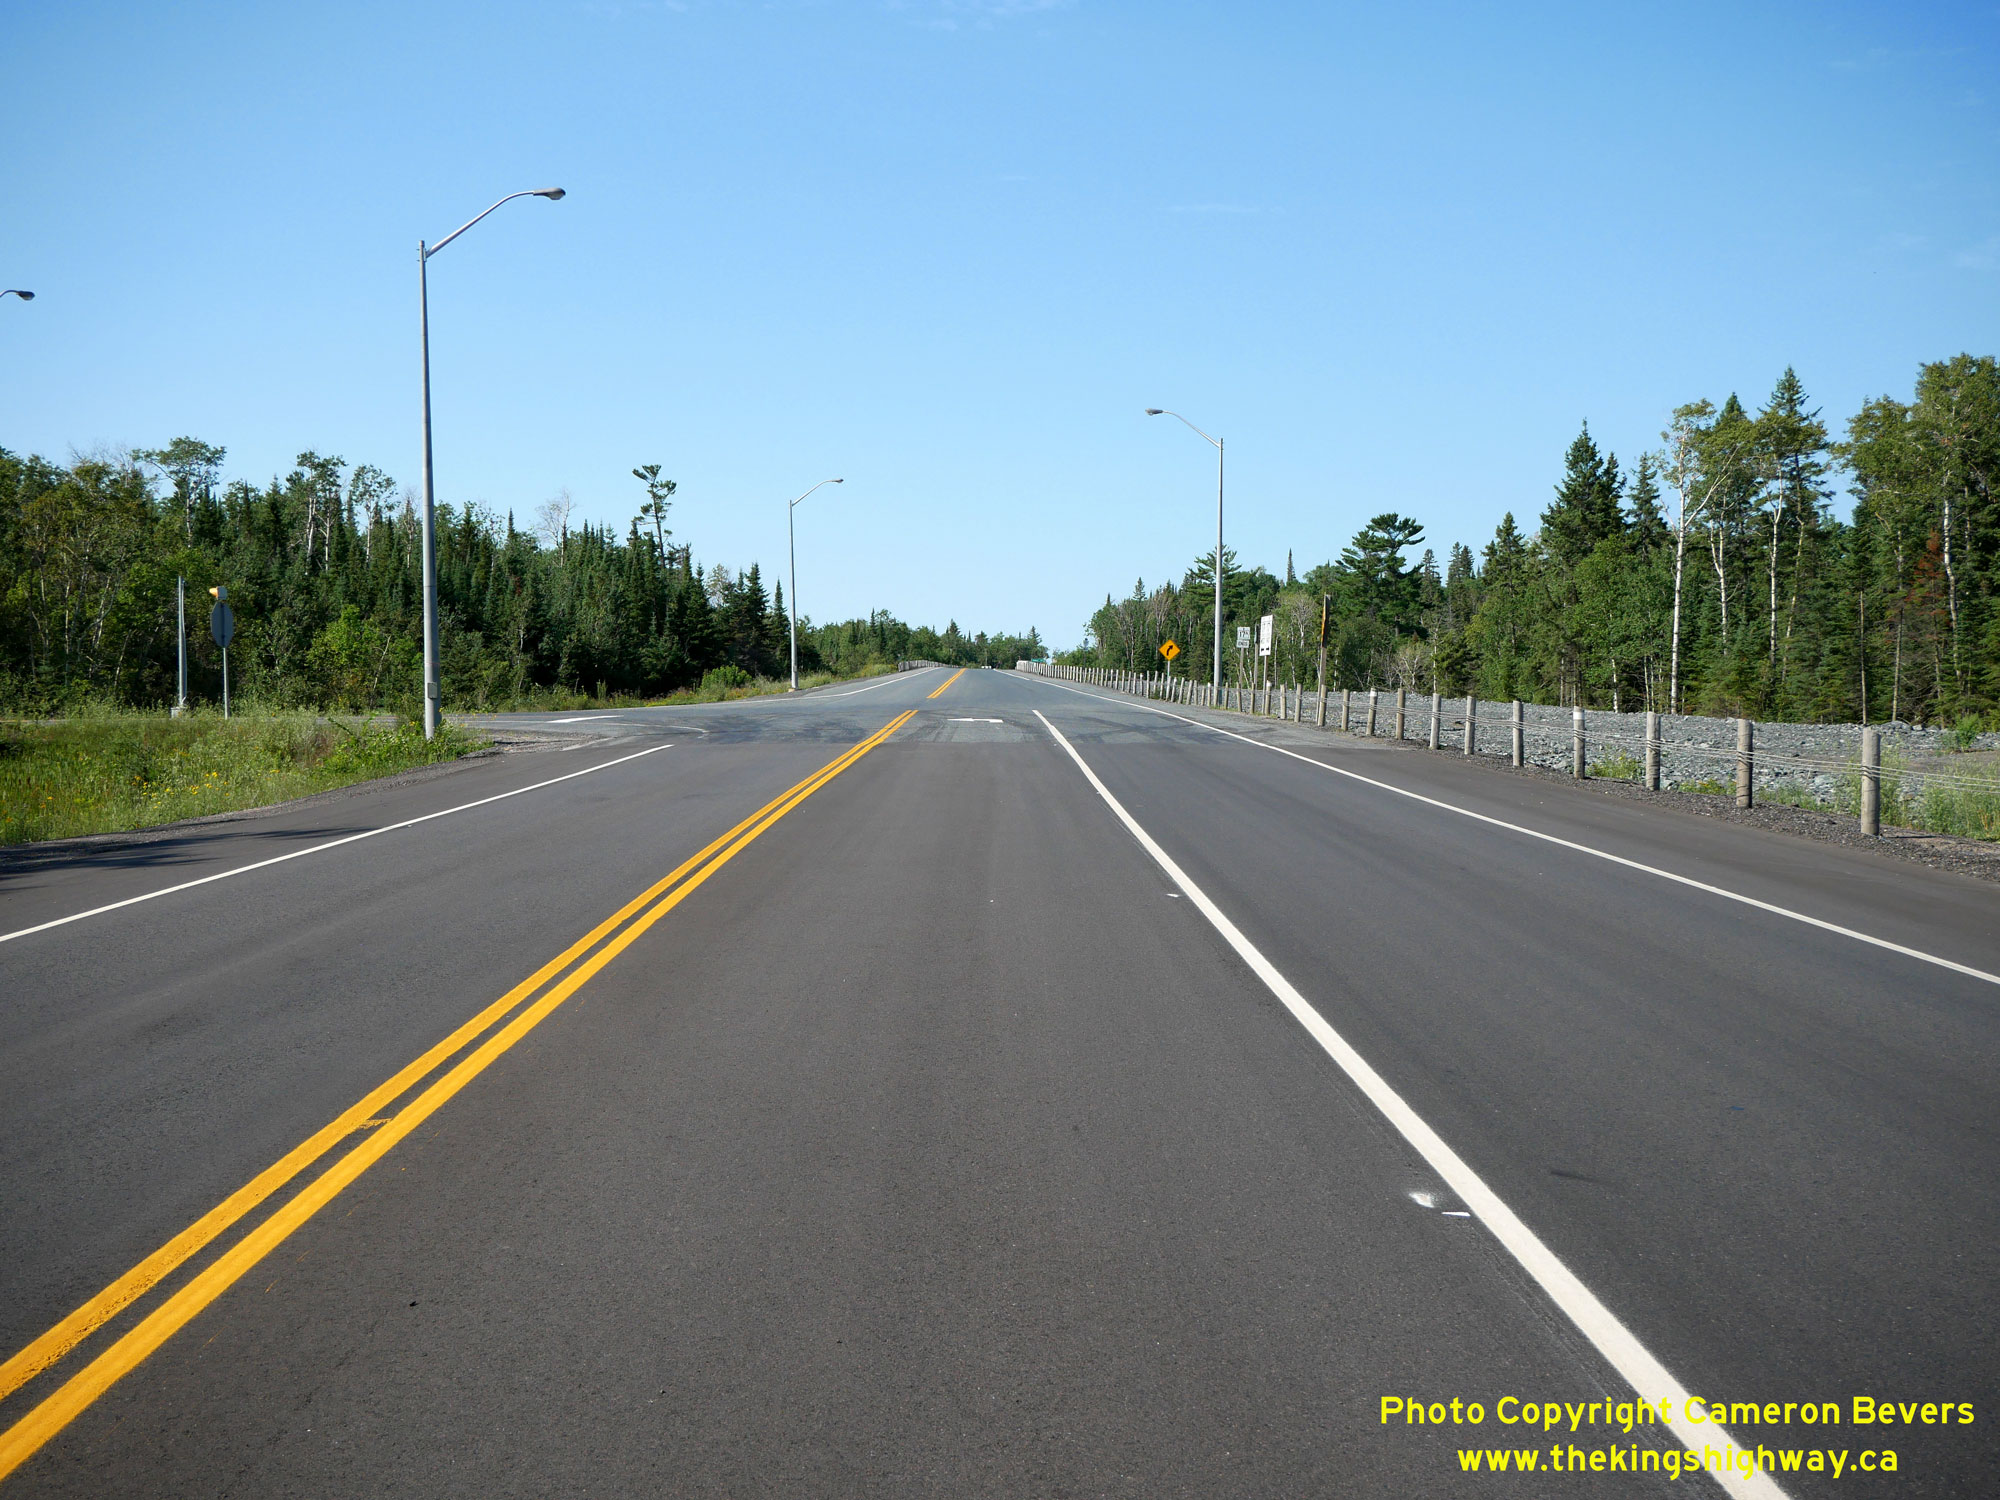
Left - Approaching the Hwy 658 Junction on Hwy 17A, facing east. The Kenora Bypass was constructed throughout the 1980s as a phased highway construction
project. Construction of the bypass began at the western end of the proposed highway west of Keewatin in 1981. Work progressed easterly through the Kenora area to the
eastern tie-in point at Hwy 17 near the Hwy 71 Junction. The bypass was completed in 1990 after almost a decade of construction. For through traffic heading east into
Ontario from Manitoba, the Hwy 658 Junction is the first signalized intersection that motorists have encountered since Winnipeg. See an
Enlarged Photo Here. (Photograph taken on August 1, 2023 - © Cameron Bevers) Right - Overhead guide signs on eastbound Hwy 17A marking the upcoming junction of Veterans Drive and Hwy 658. The Kenora-Redditt Highway was a King's Highway between 1956 and 1974. Known originally as Hwy 128, this route was re-designated as a Secondary Highway (Hwy 666) in 1974. The highway's route number was changed yet again to Hwy 658 in 1985. See an Enlarged Photo Here. (Photograph taken on August 1, 2023 - © Cameron Bevers) 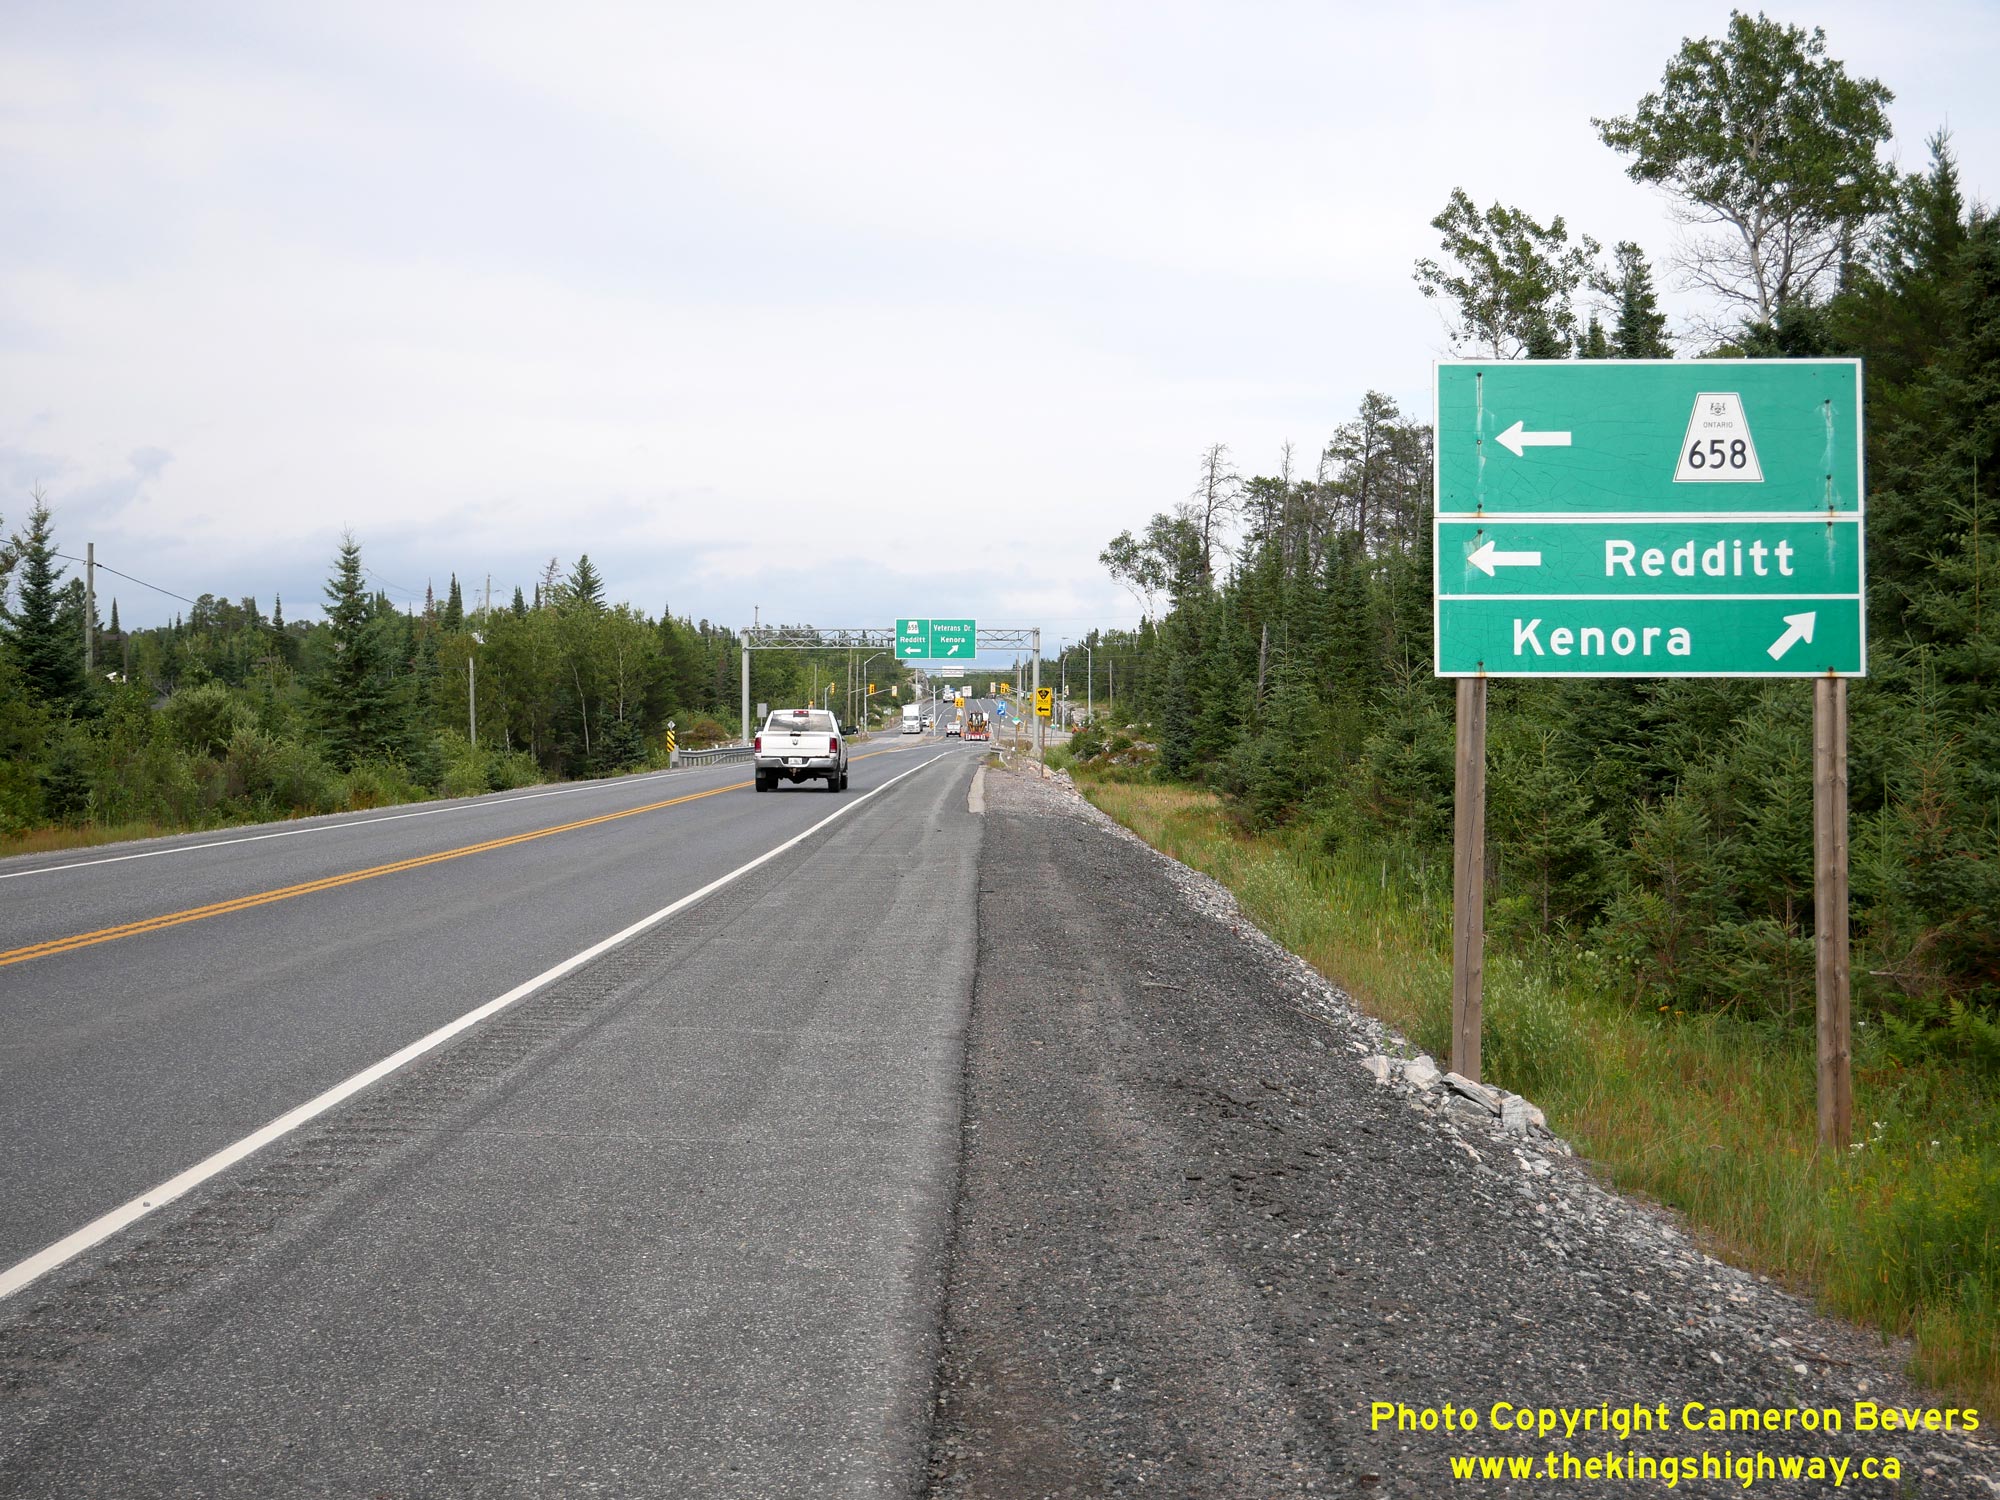

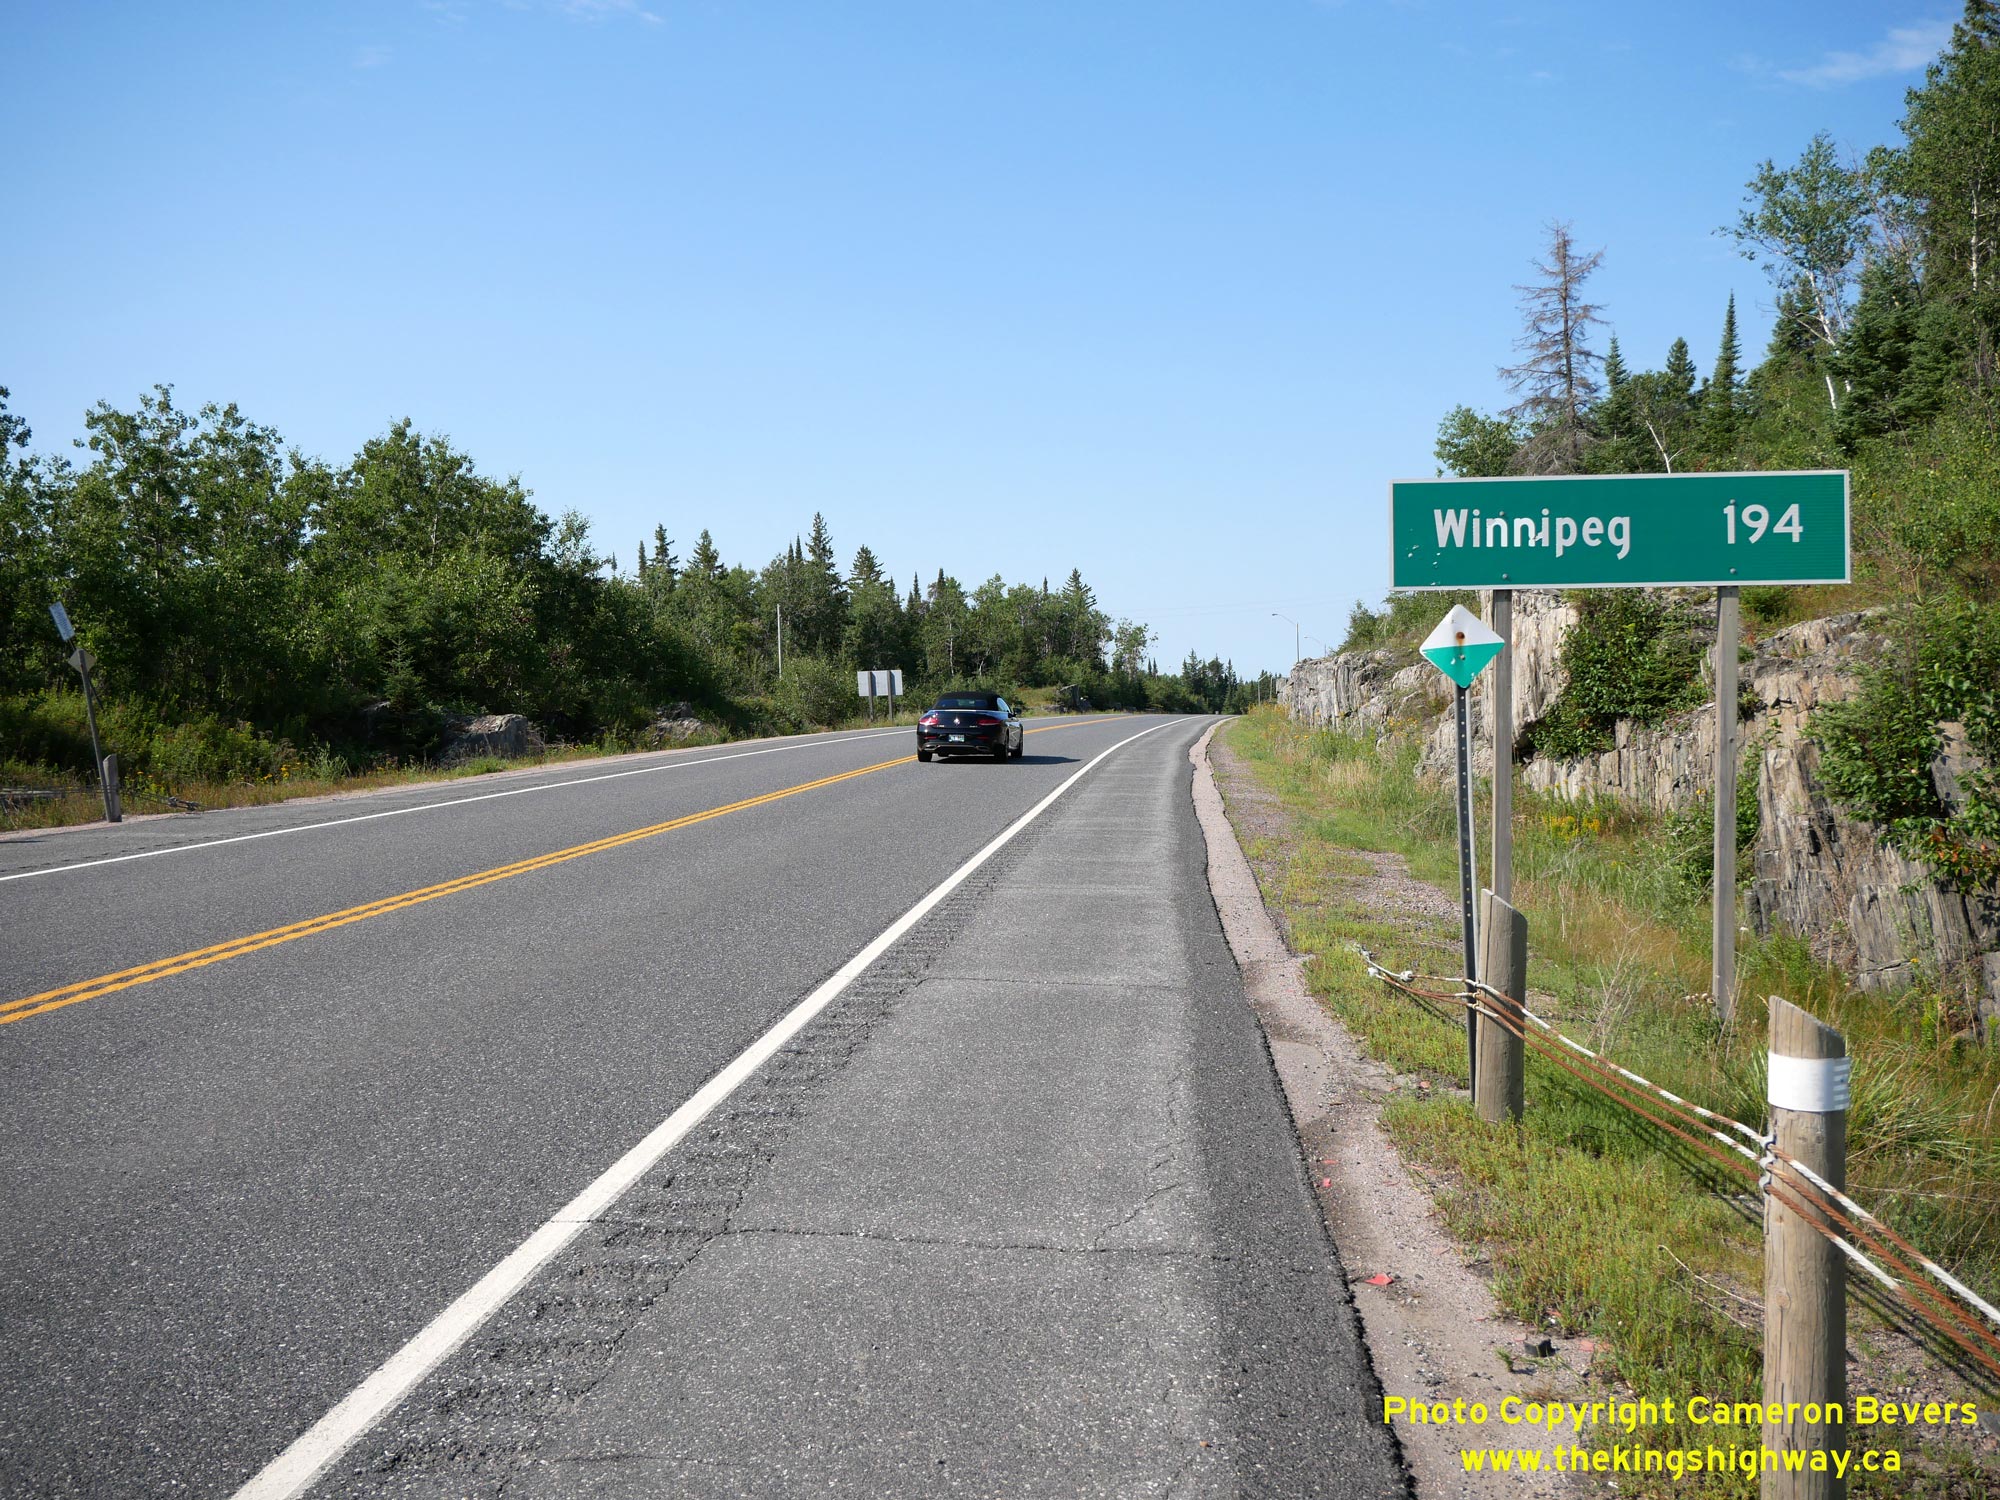
Left - Ground-mounted guide sign on eastbound Hwy 17A for the upcoming Hwy 658 Junction in Kenora. See an
Enlarged Photo Here. (Photograph taken on August 1, 2023 - © Cameron Bevers) Right - Distance guide sign on westbound Hwy 17A at the Hwy 658 Junction. Winnipeg, Manitoba is the control city signed along Hwy 17 and Hwy 17A from Kenora westerly, as there are no towns of any significant size along the Trans-Canada Highway between Kenora and Winnipeg. See an Enlarged Photo Here. (Photograph taken on August 1, 2023 - © Cameron Bevers) 
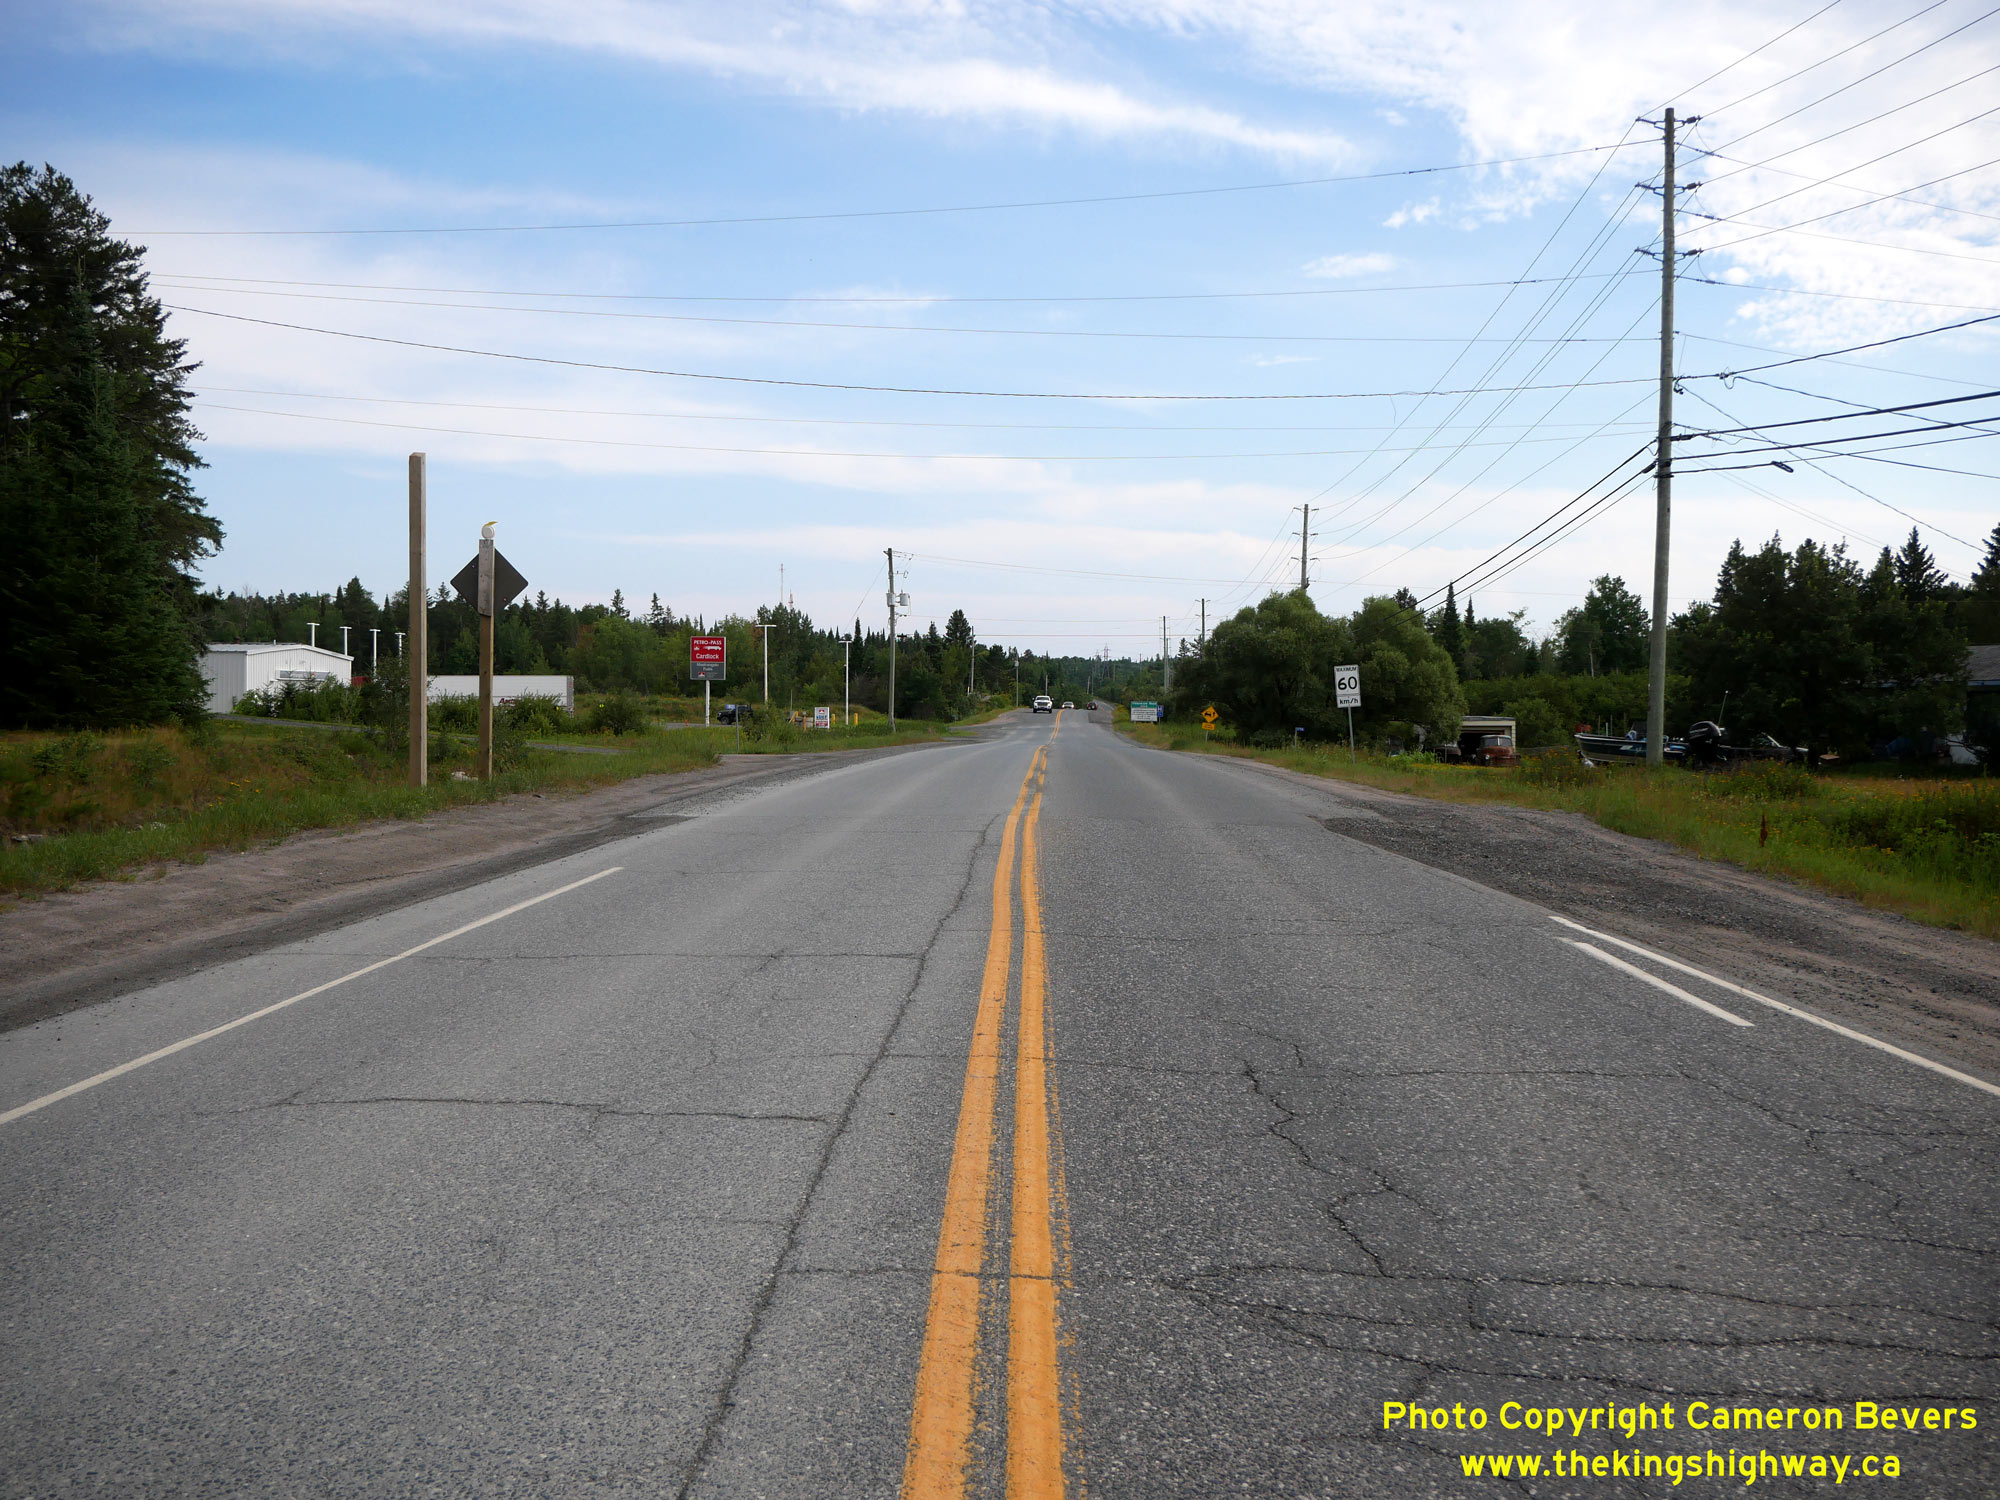
Left - Approaching the current southern terminus of Hwy 658 at the Hwy 17A (Kenora Bypass) Junction. Prior to 1997, Hwy 658 continued south from Hwy 17A via
Veterans Drive into Kenora's City Centre. Despite being downloaded, there are still a lot of route markers along Hwy 658 through the city to help guide motorists
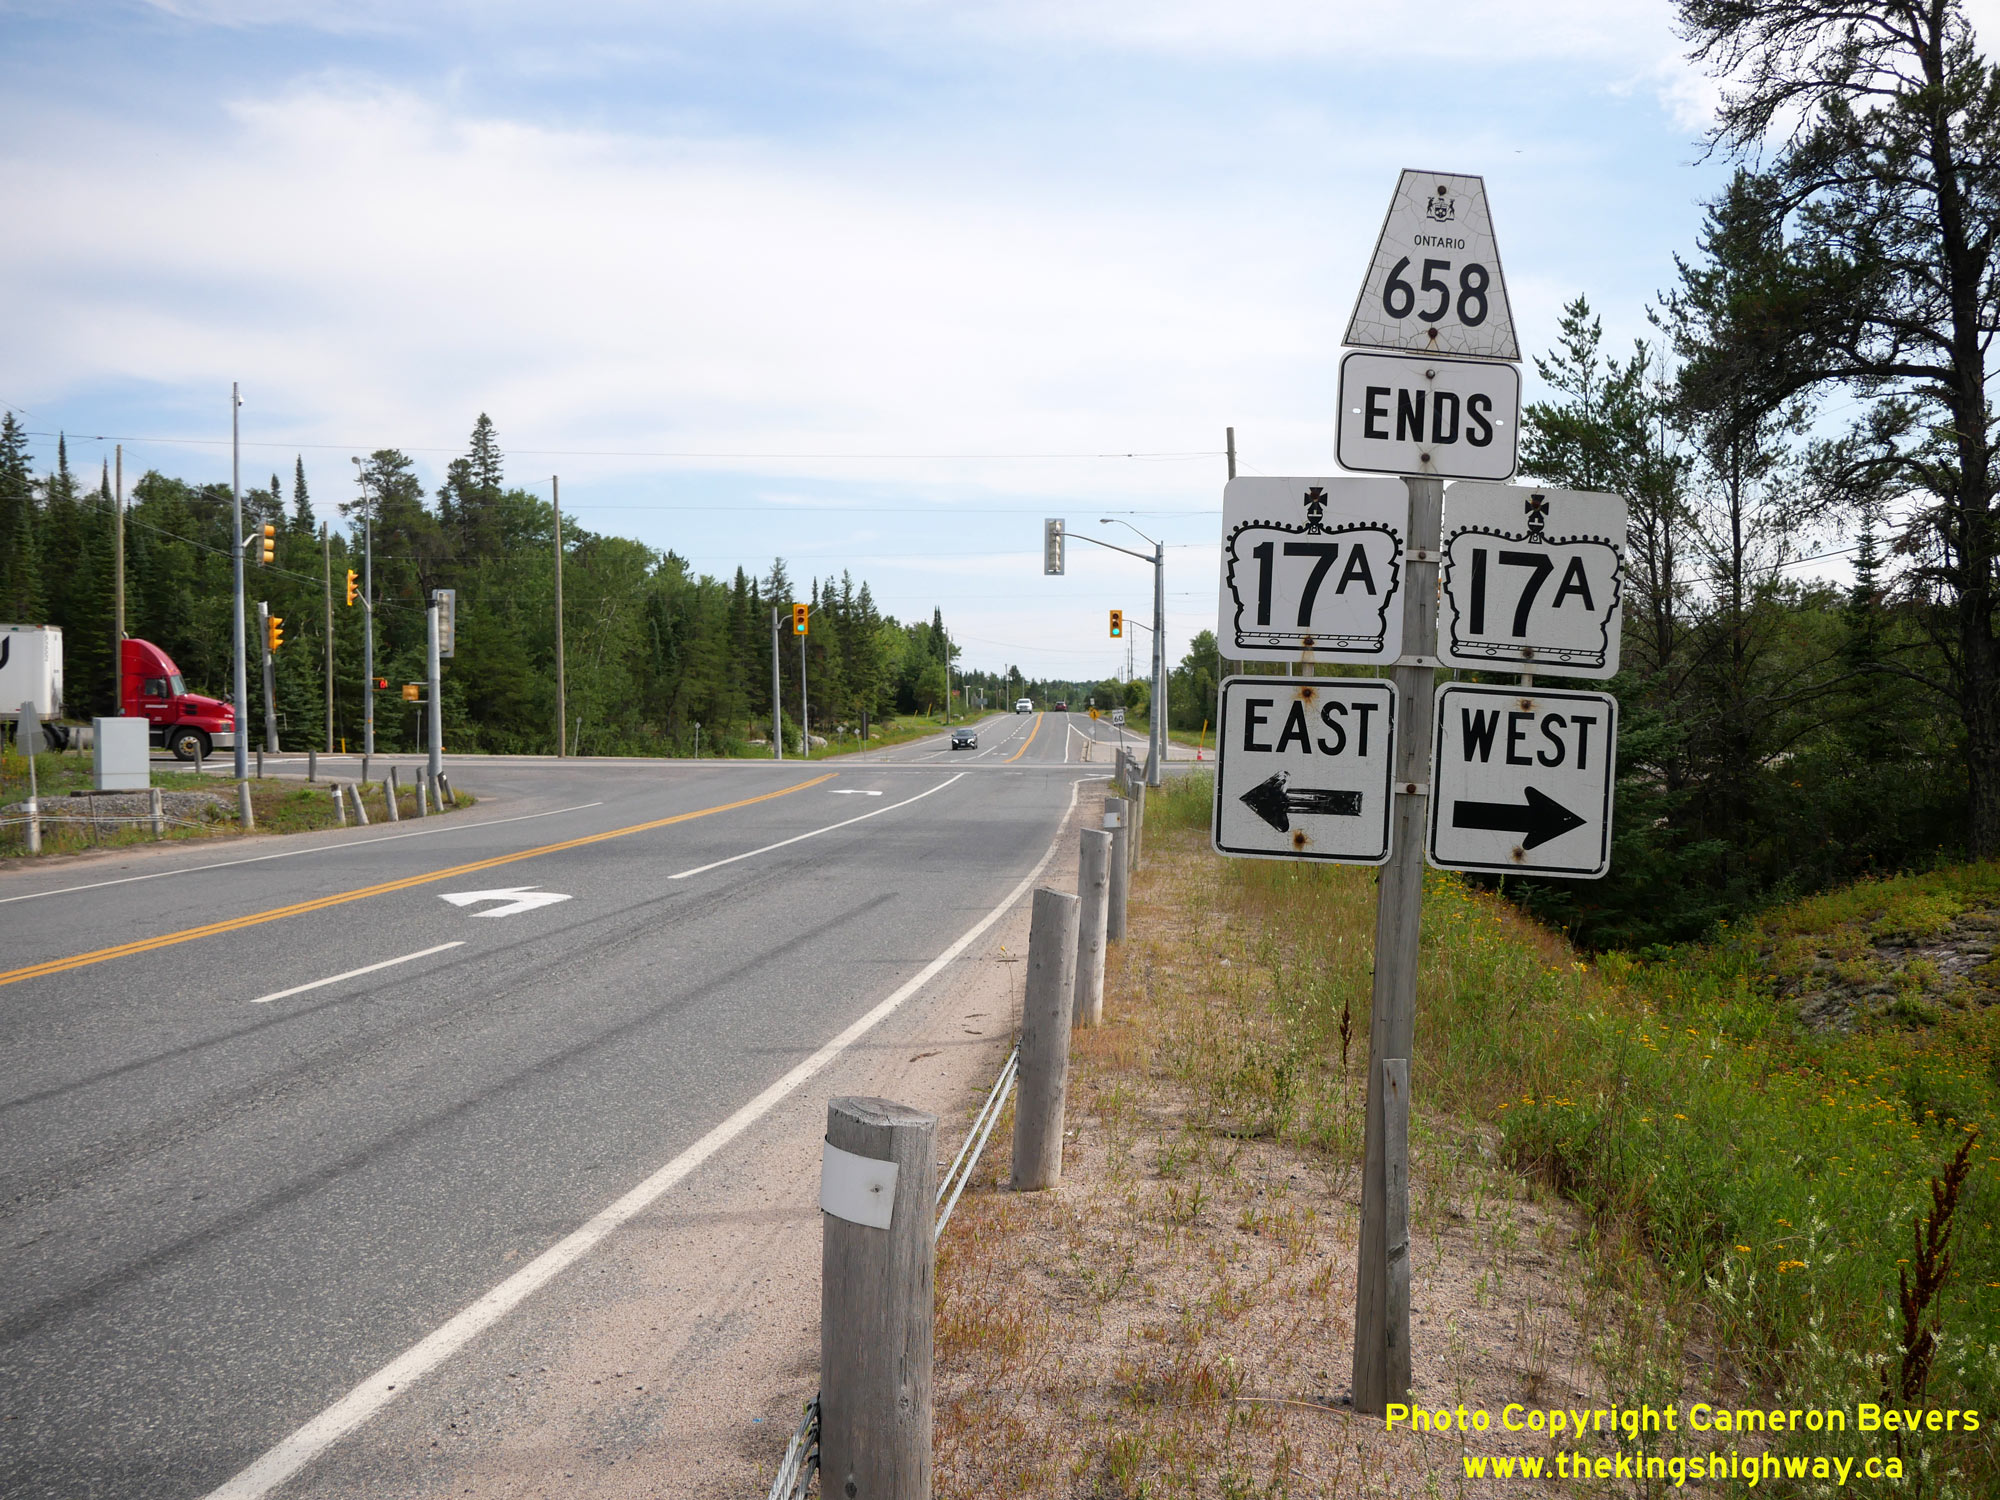
between Hwy 17A and Hwy 17, since the route is somewhat indirect. See an Enlarged Photo Here. (Photograph taken on August 1, 2023 - © Cameron Bevers) Right - Junction sign assembly on southbound Hwy 658 at the Hwy 17A Junction in Kenora. See an Enlarged Photo Here. (Photograph taken on August 1, 2023 - © Cameron Bevers) 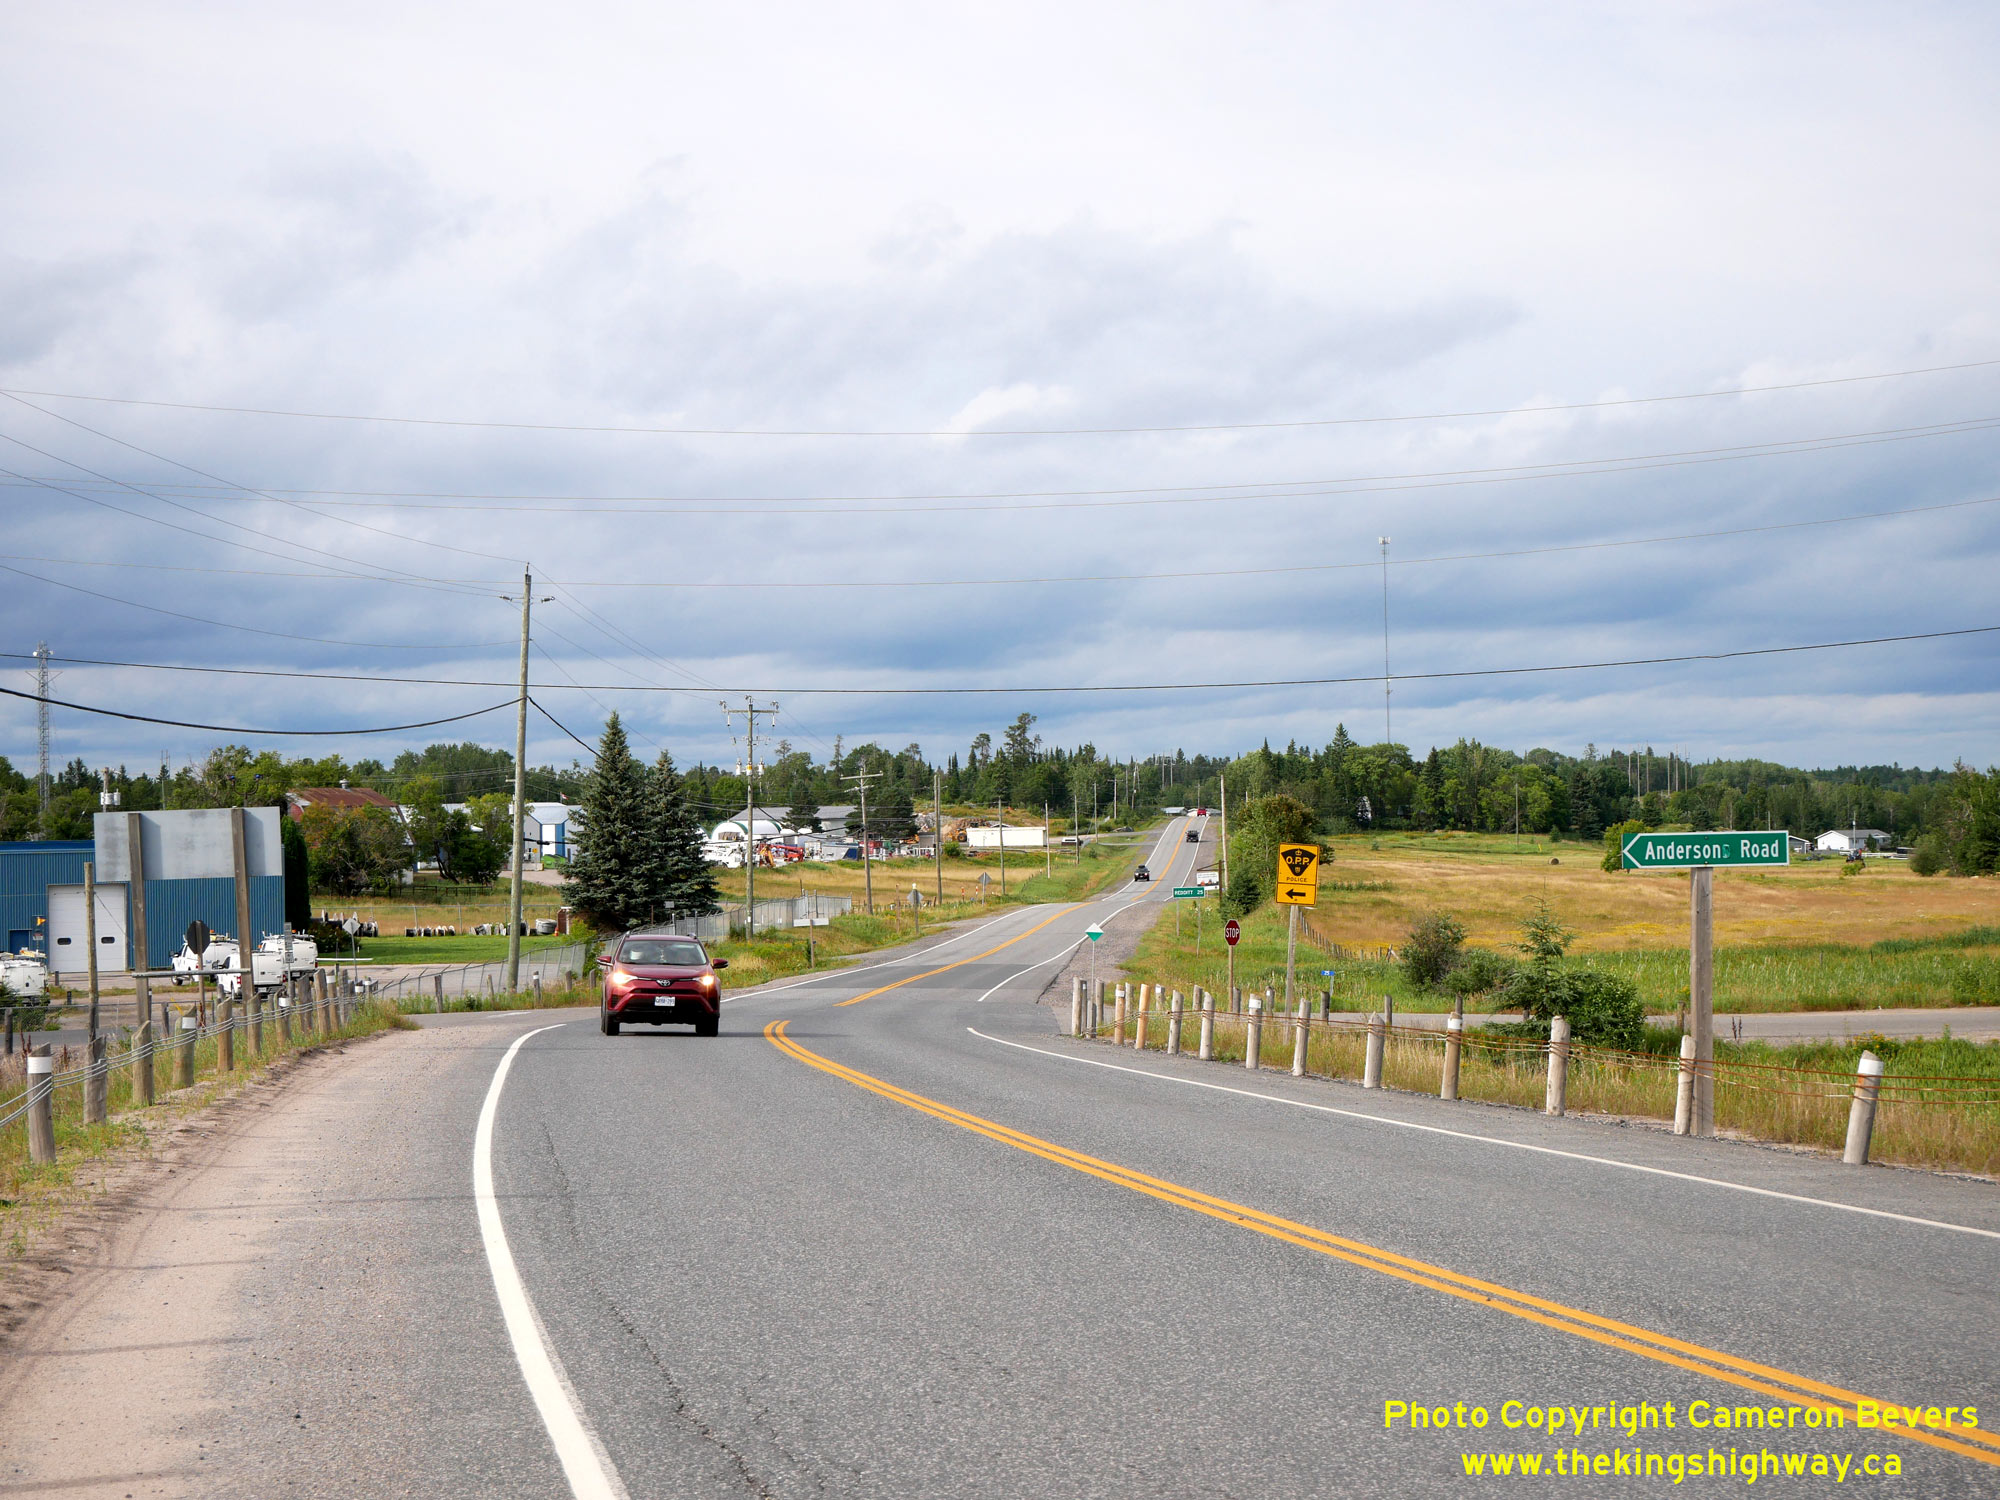
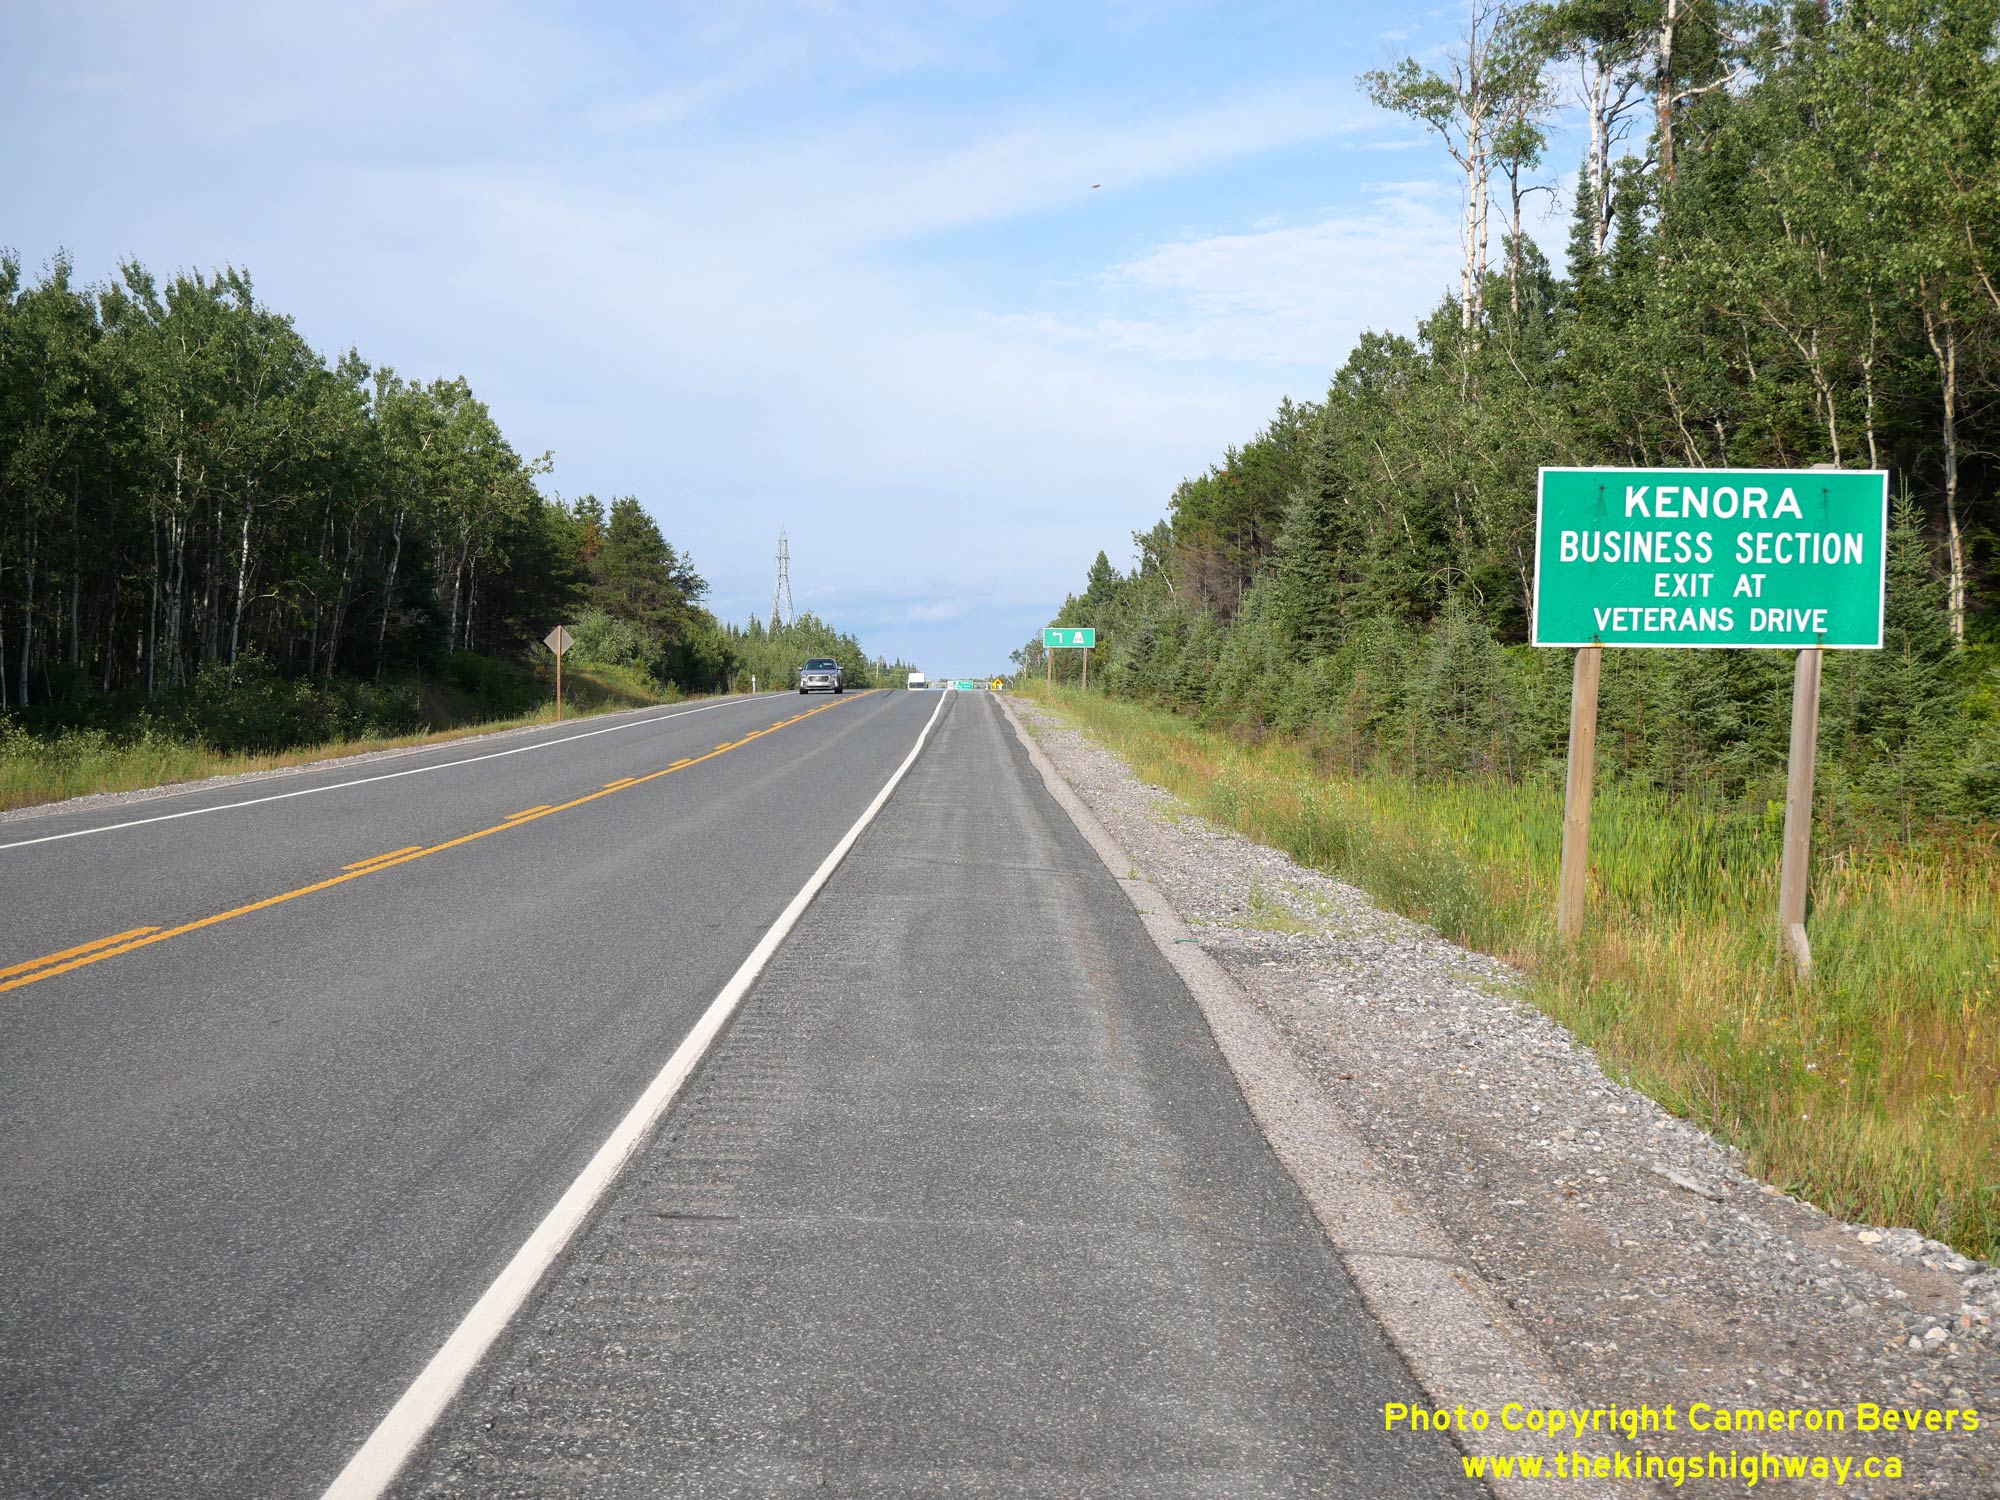
Left - View of Hwy 658, facing north from the Kenora Bypass (Hwy 17A). The route of Hwy 658 comes to a dead-end in Redditt, located about 25 km to the north.
See an Enlarged Photo Here. (Photograph taken on August 1, 2023 - © Cameron Bevers) Right - Green guide sign on eastbound Hwy 17A advising motorists to use Veterans Drive to reach Kenora's City Centre. See an Enlarged Photo Here. (Photograph taken on August 1, 2023 - © Cameron Bevers) 
Left - Facing east along the Kenora Bypass (Hwy 17A) about 1 km west of the Hwy 658 Junction. This section of the Kenora Bypass was constructed under Contract
#1984-217 (grading & structures) and Contract #1987-227 (granular base & hot-mix asphalt paving). Upon completion of paving in 1988, the Kenora Bypass was
opened to traffic from the Hwy 596 Junction to the Hwy 658 Junction, via Dufresne Island. See an
Enlarged Photo Here. (Photograph taken on August 1, 2023 - © Cameron Bevers) Right - View of the Kenora Bypass (Hwy 17A), facing east from Villeneuve Road in Kenora. See an Enlarged Photo Here. (Photograph taken on August 1, 2023 - © Cameron Bevers) 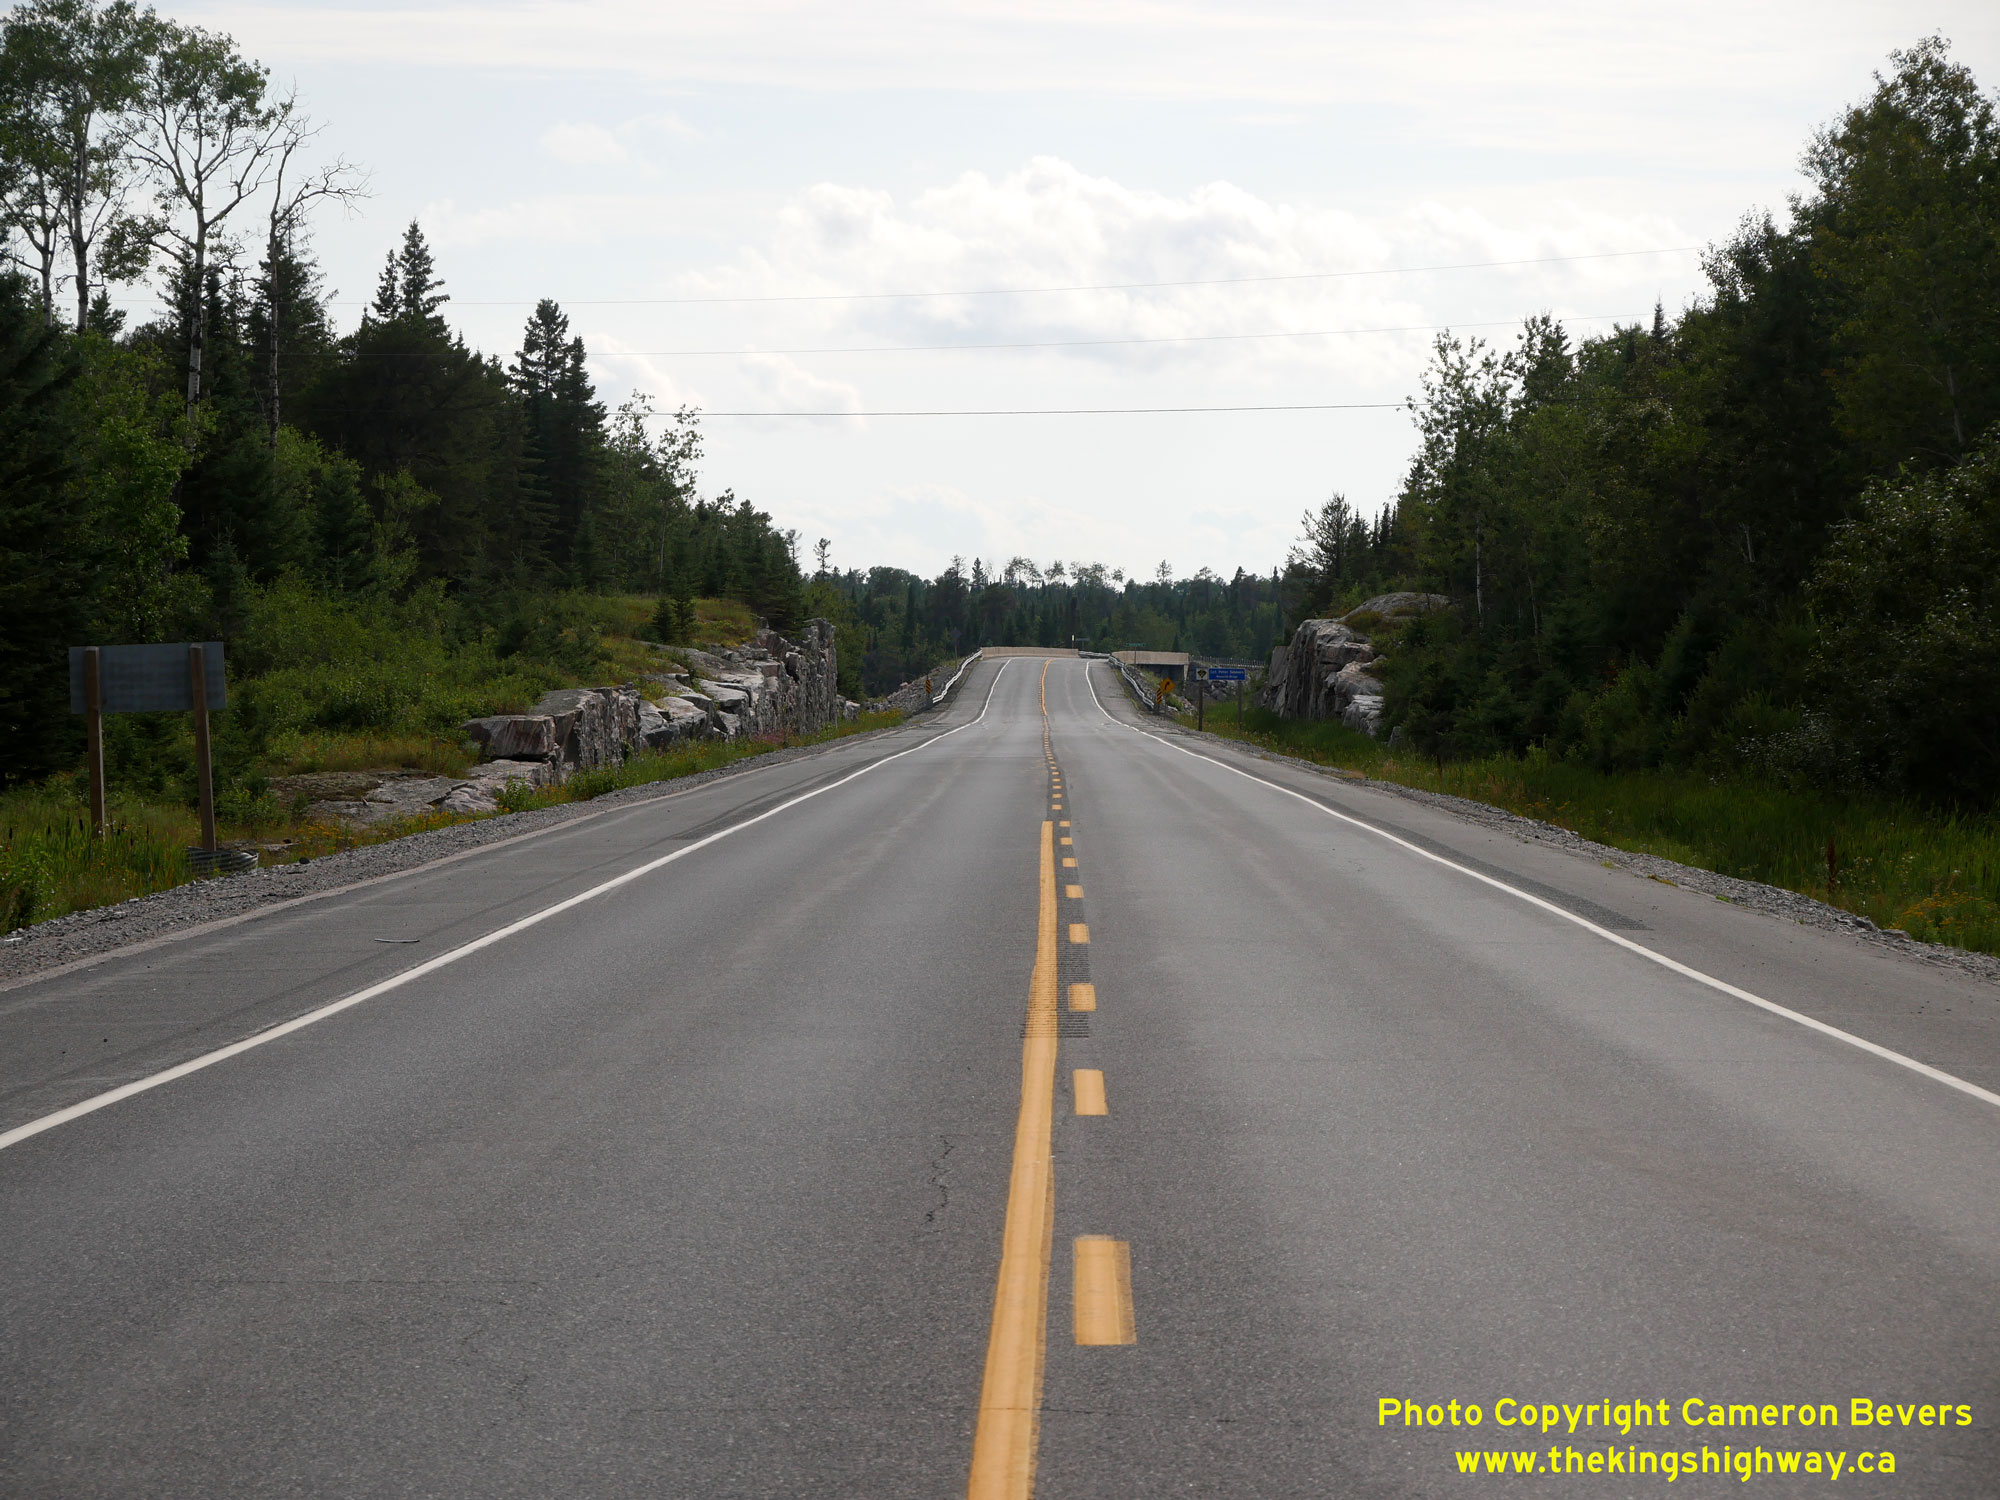
Left - Facing west along Hwy 17A near Villeneuve Road, approaching the Winnipeg River East Branch Bridge. The Kenora area has a lot of waterways and highway
bridges, as it is situated between the Winnipeg River, Lake of the Woods and other inland lakes. The route of Hwy 17A island-hops across Dufresne Island as it crosses
the Winnipeg River. Being a navigable waterway, the Hwy 17A structures across the Winnipeg River had to be built on a high fill in order to provide adequate vertical
clearance for the marine navigation channel below the structure. See an Enlarged Photo Here. (Photograph taken on August 1, 2023 - © Cameron Bevers) Right - View of the Winnipeg River East Branch Bridge on Hwy 17A, facing west. The highway crosses from the mainland onto Dufresne Island via this bridge. See an Enlarged Photo Here. (Photograph taken on August 1, 2023 - © Cameron Bevers) 
Left - Southern side of the Winnipeg River East Branch Bridge on Hwy 17A. This three-span steel plate girder structure was completed in 1986. See an
Enlarged Photo Here. (Photograph taken on August 1, 2023 - © Cameron Bevers) Right - Facing east across the Winnipeg River East Branch Bridge on Hwy 17A in Kenora. This structure was built under Contract #1984-217, along with the grading for the rest of Hwy 17A from this bridge easterly to the Hwy 658 Junction. See an Enlarged Photo Here. (Photograph taken on August 1, 2023 - © Cameron Bevers) 

Left - Date stamp (1986) and structure identification number (Site #41S-125) on the Winnipeg River East Branch Bridge on Hwy 17A. See an
Enlarged Photo Here. (Photograph taken on August 1, 2023 - © Cameron Bevers) Right - Northern side of the Winnipeg River East Branch Bridge on Hwy 17A. The highway crosses at a narrow point on the Winnipeg River known as Kimberley Rapids. As its name implies, the Winnipeg River drains northwesterly into Lake Winnipeg in neighbouring Manitoba. See an Enlarged Photo Here. (Photograph taken on August 1, 2023 - © Cameron Bevers) 
Left - Scenic view of the Winnipeg River's East Branch from the Kenora Bypass (Hwy 17A). The highway crosses both branches of the Winnipeg River on its route
west. See an Enlarged Photo Here. (Photograph taken on August 1, 2023 - © Cameron Bevers) Right - Facing east along the Kenora Bypass (Hwy 17A) as it crosses Dufresne Island. This long rock cut was blasted through the centre of the island during the construction of the Kenora Bypass in the 1980s. Under Contract #1983-221, grading, structures and granular base were completed along the Kenora Bypass between the Hwy 596 Junction and the approach to the site of the Winnipeg River East Branch Bridge. Final paving of the Kenora Bypass across Dufresne Island was completed under Contract #1987-227. See an Enlarged Photo Here. (Photograph taken on August 1, 2023 - © Cameron Bevers) 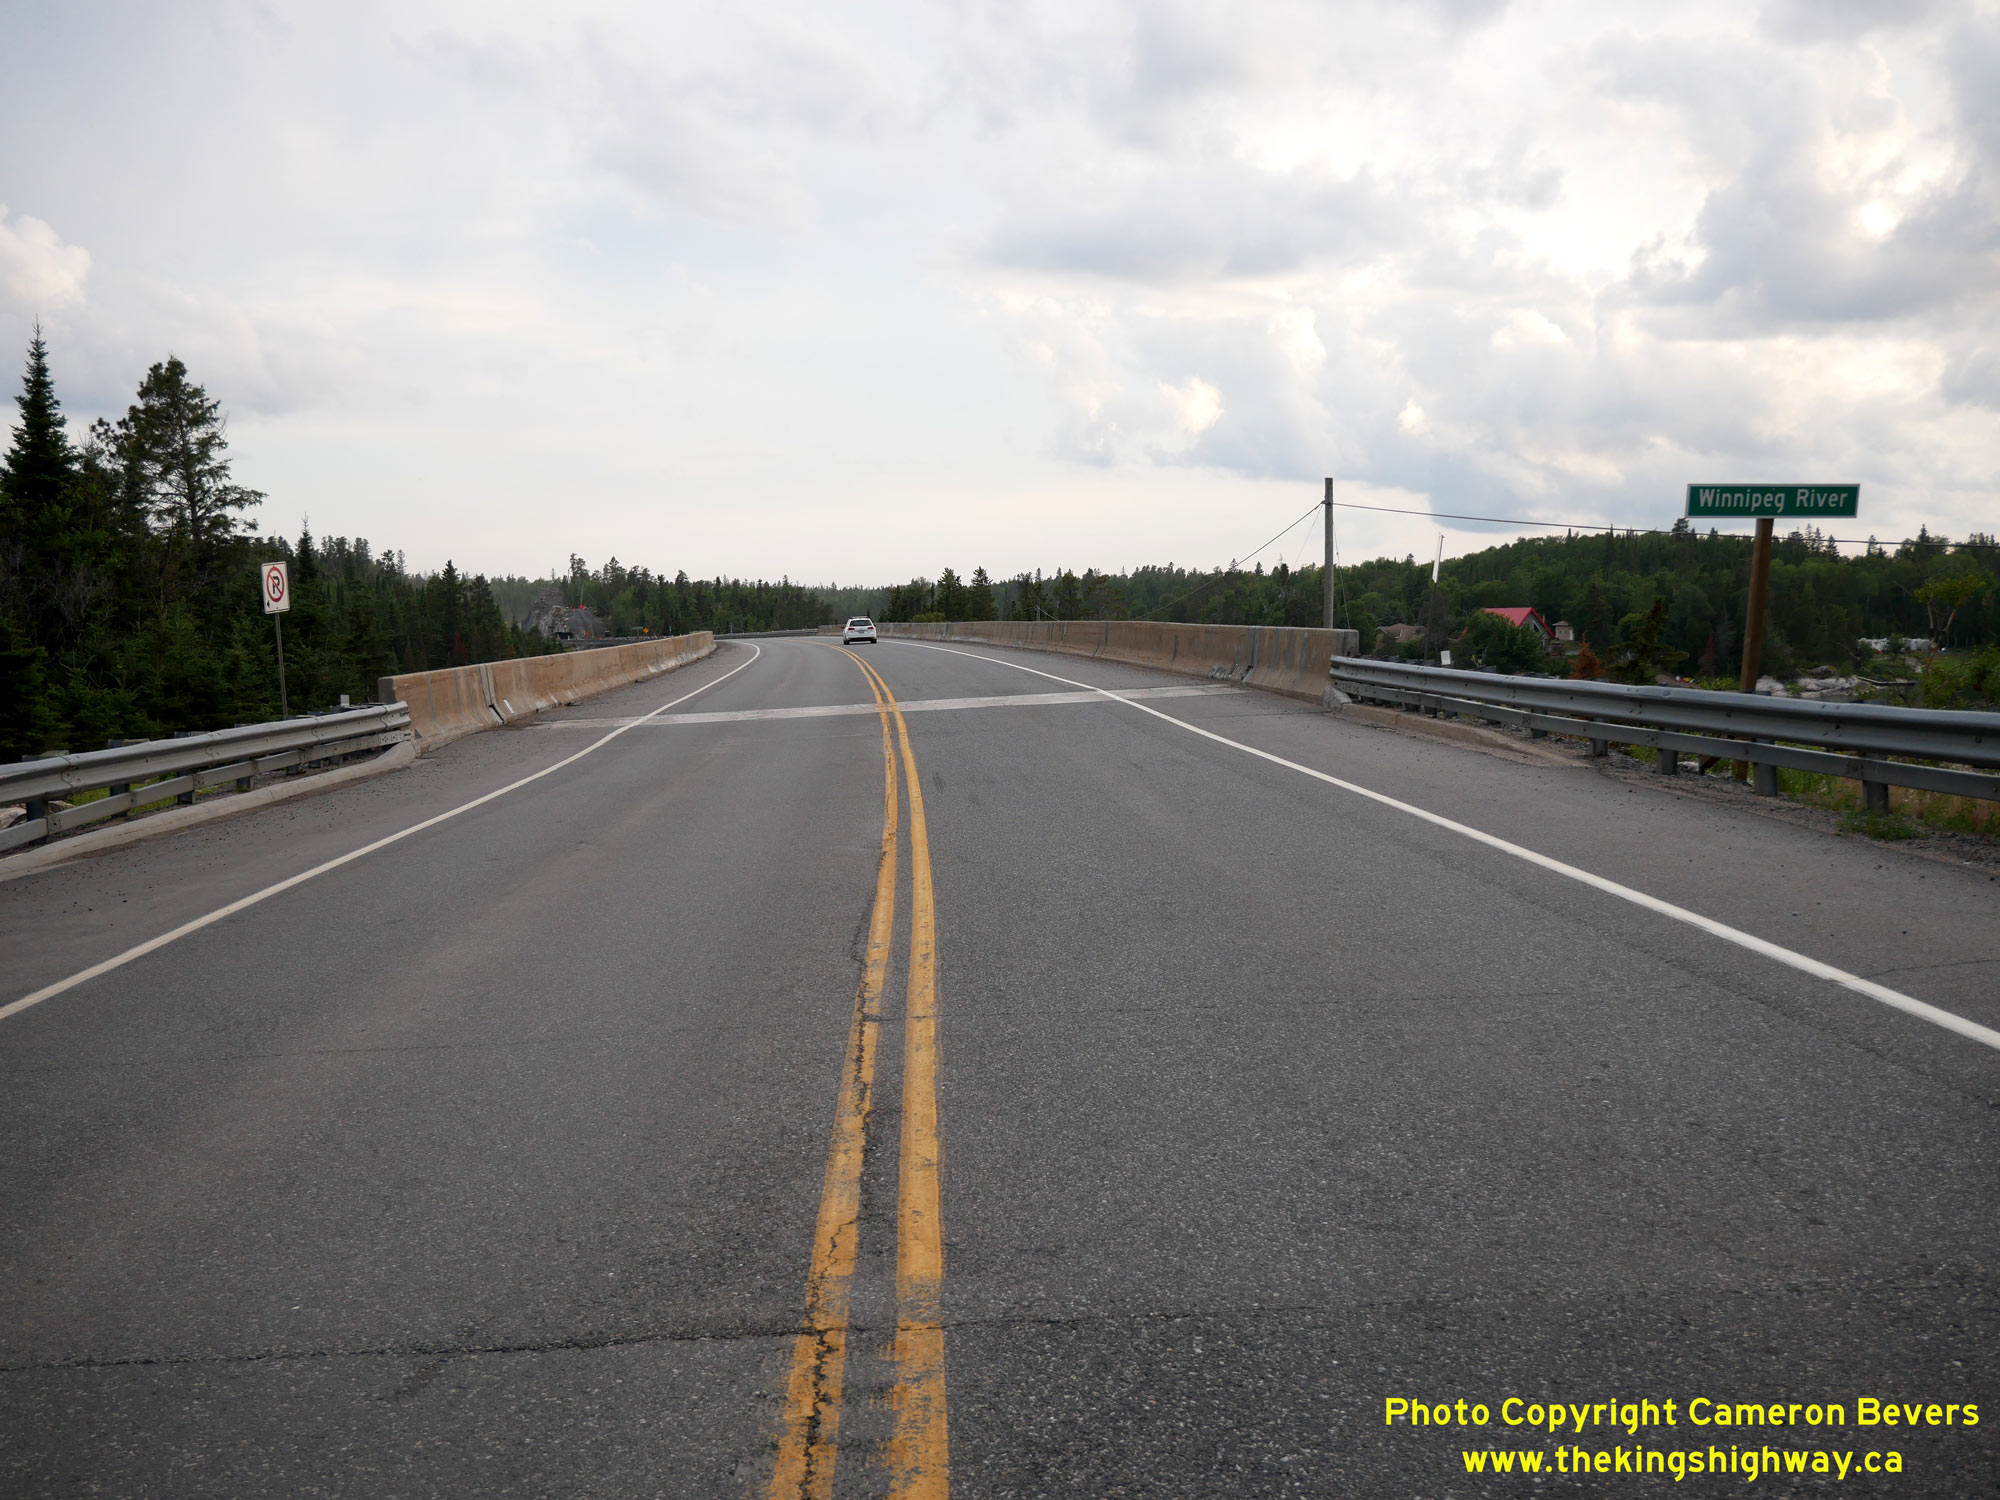
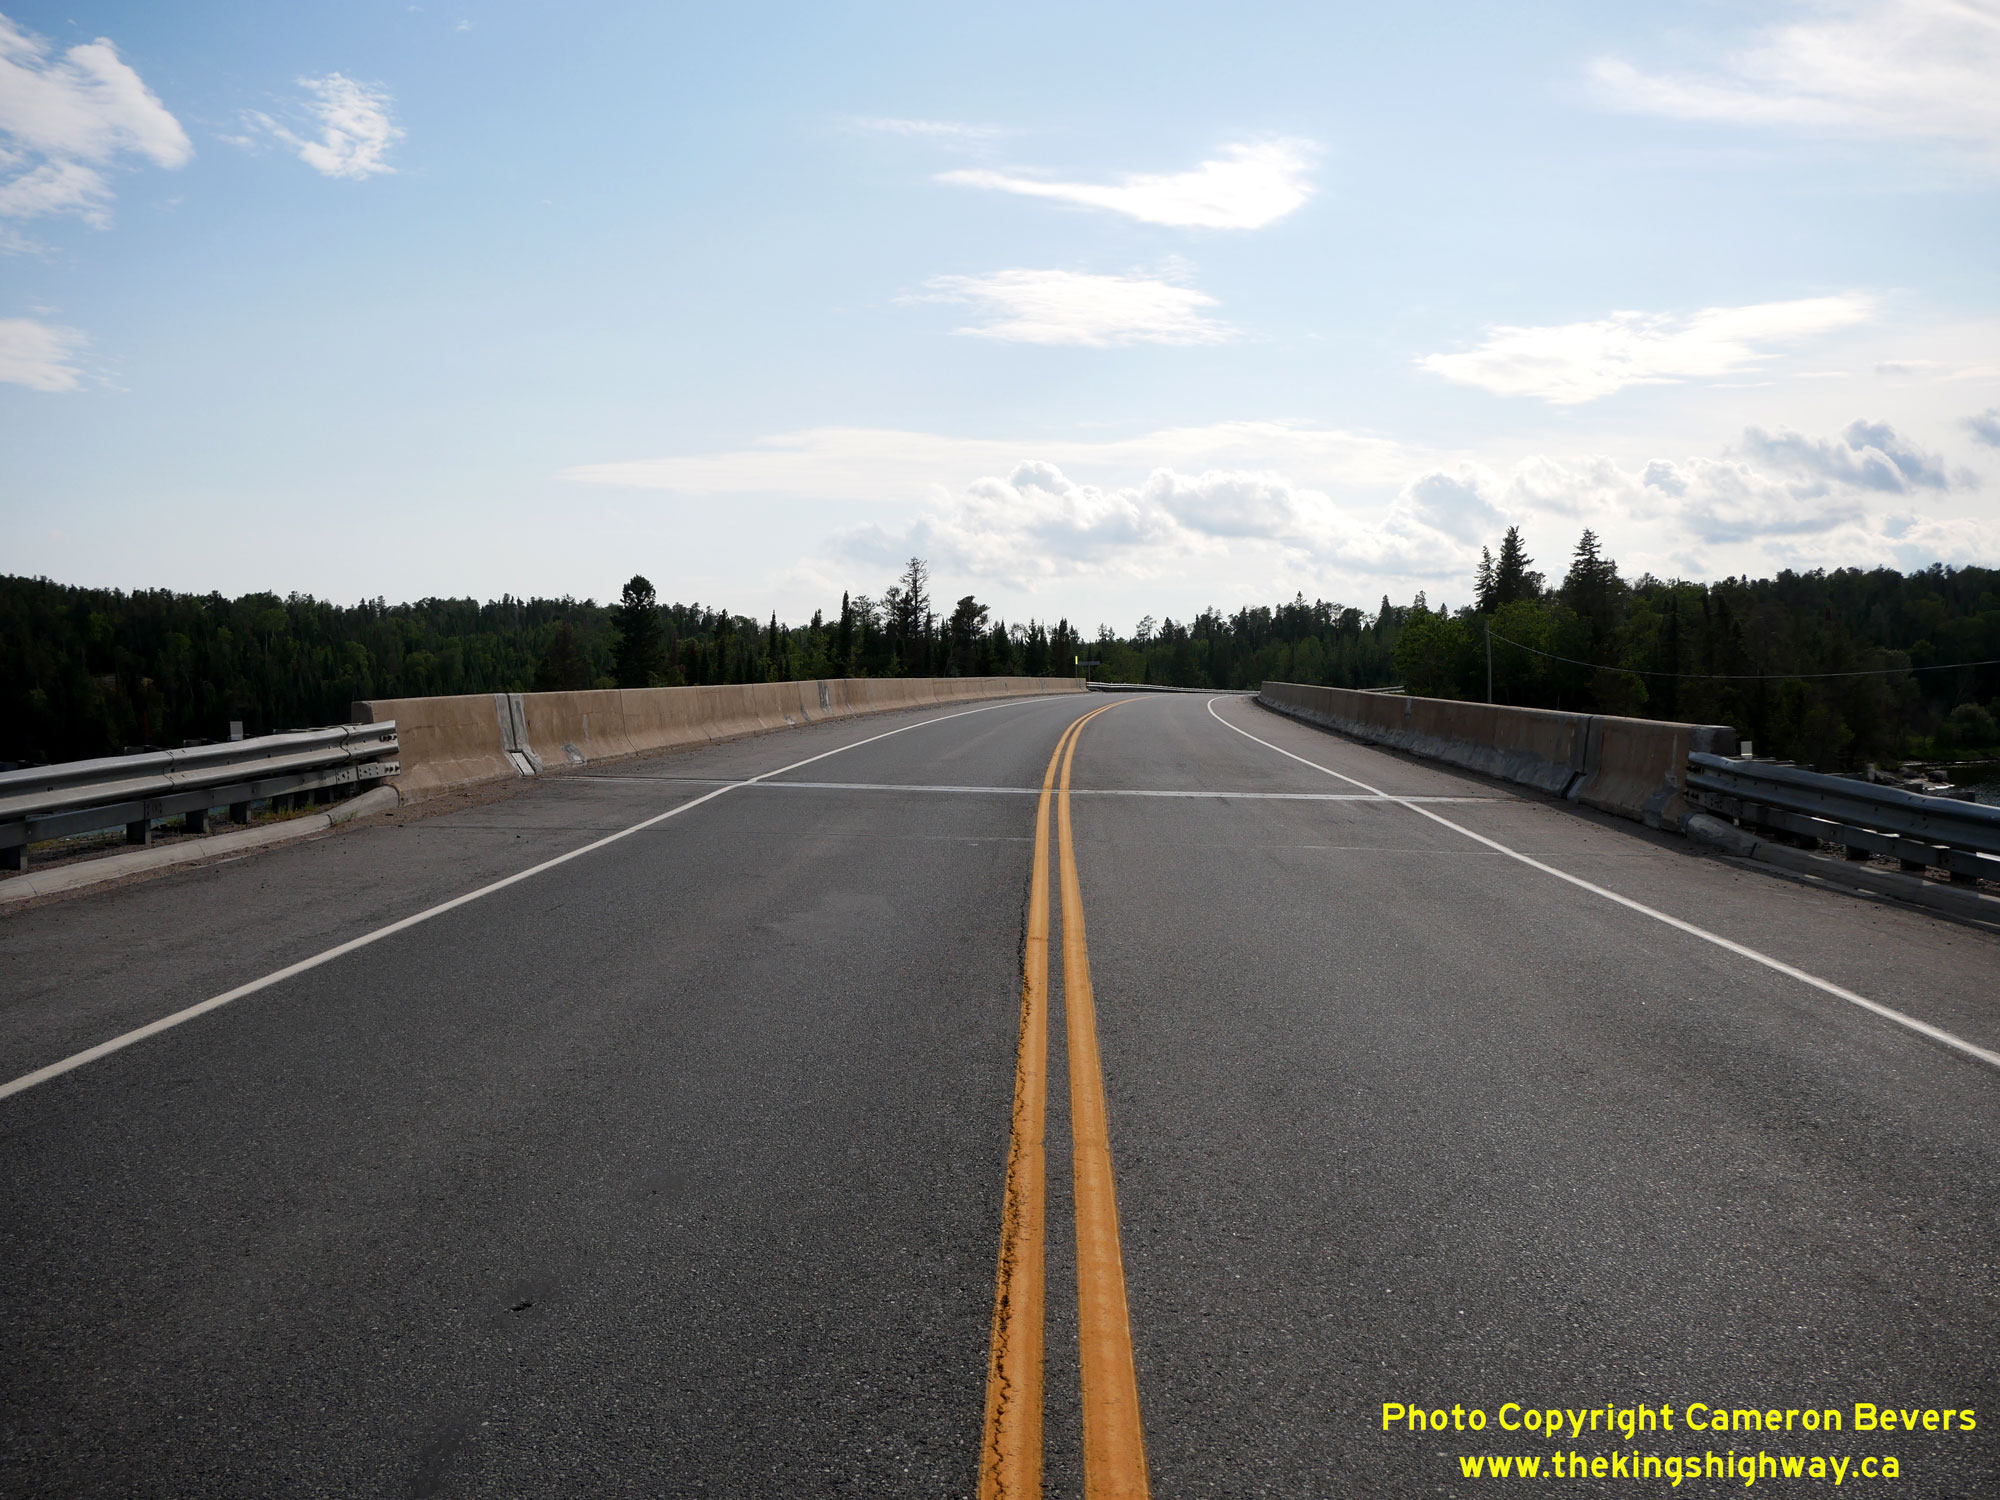
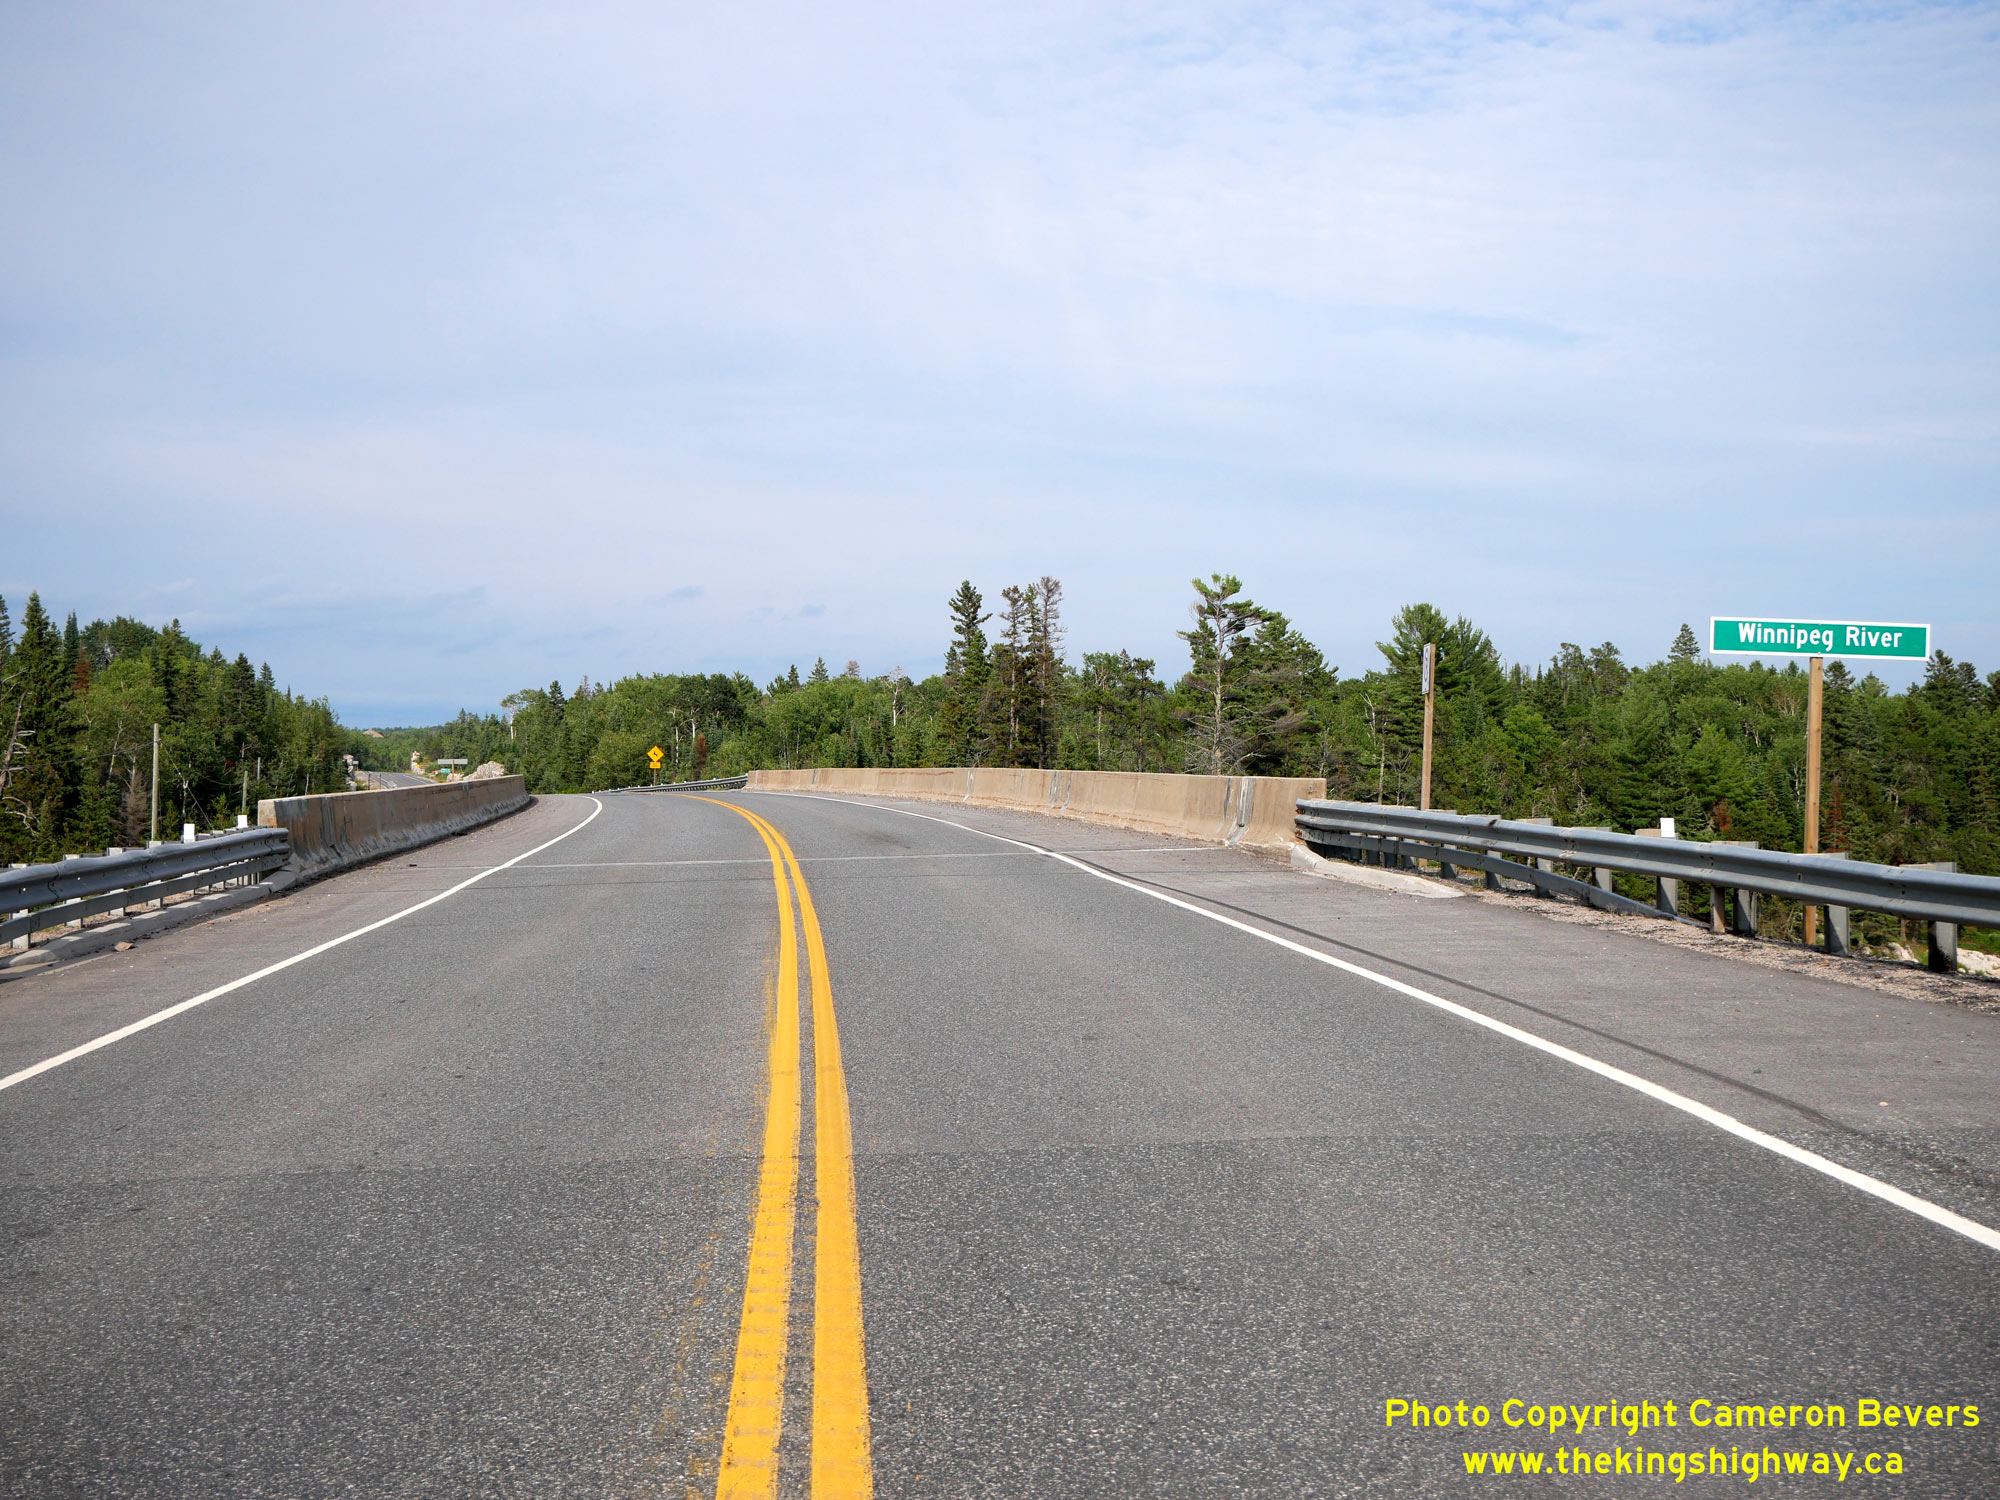
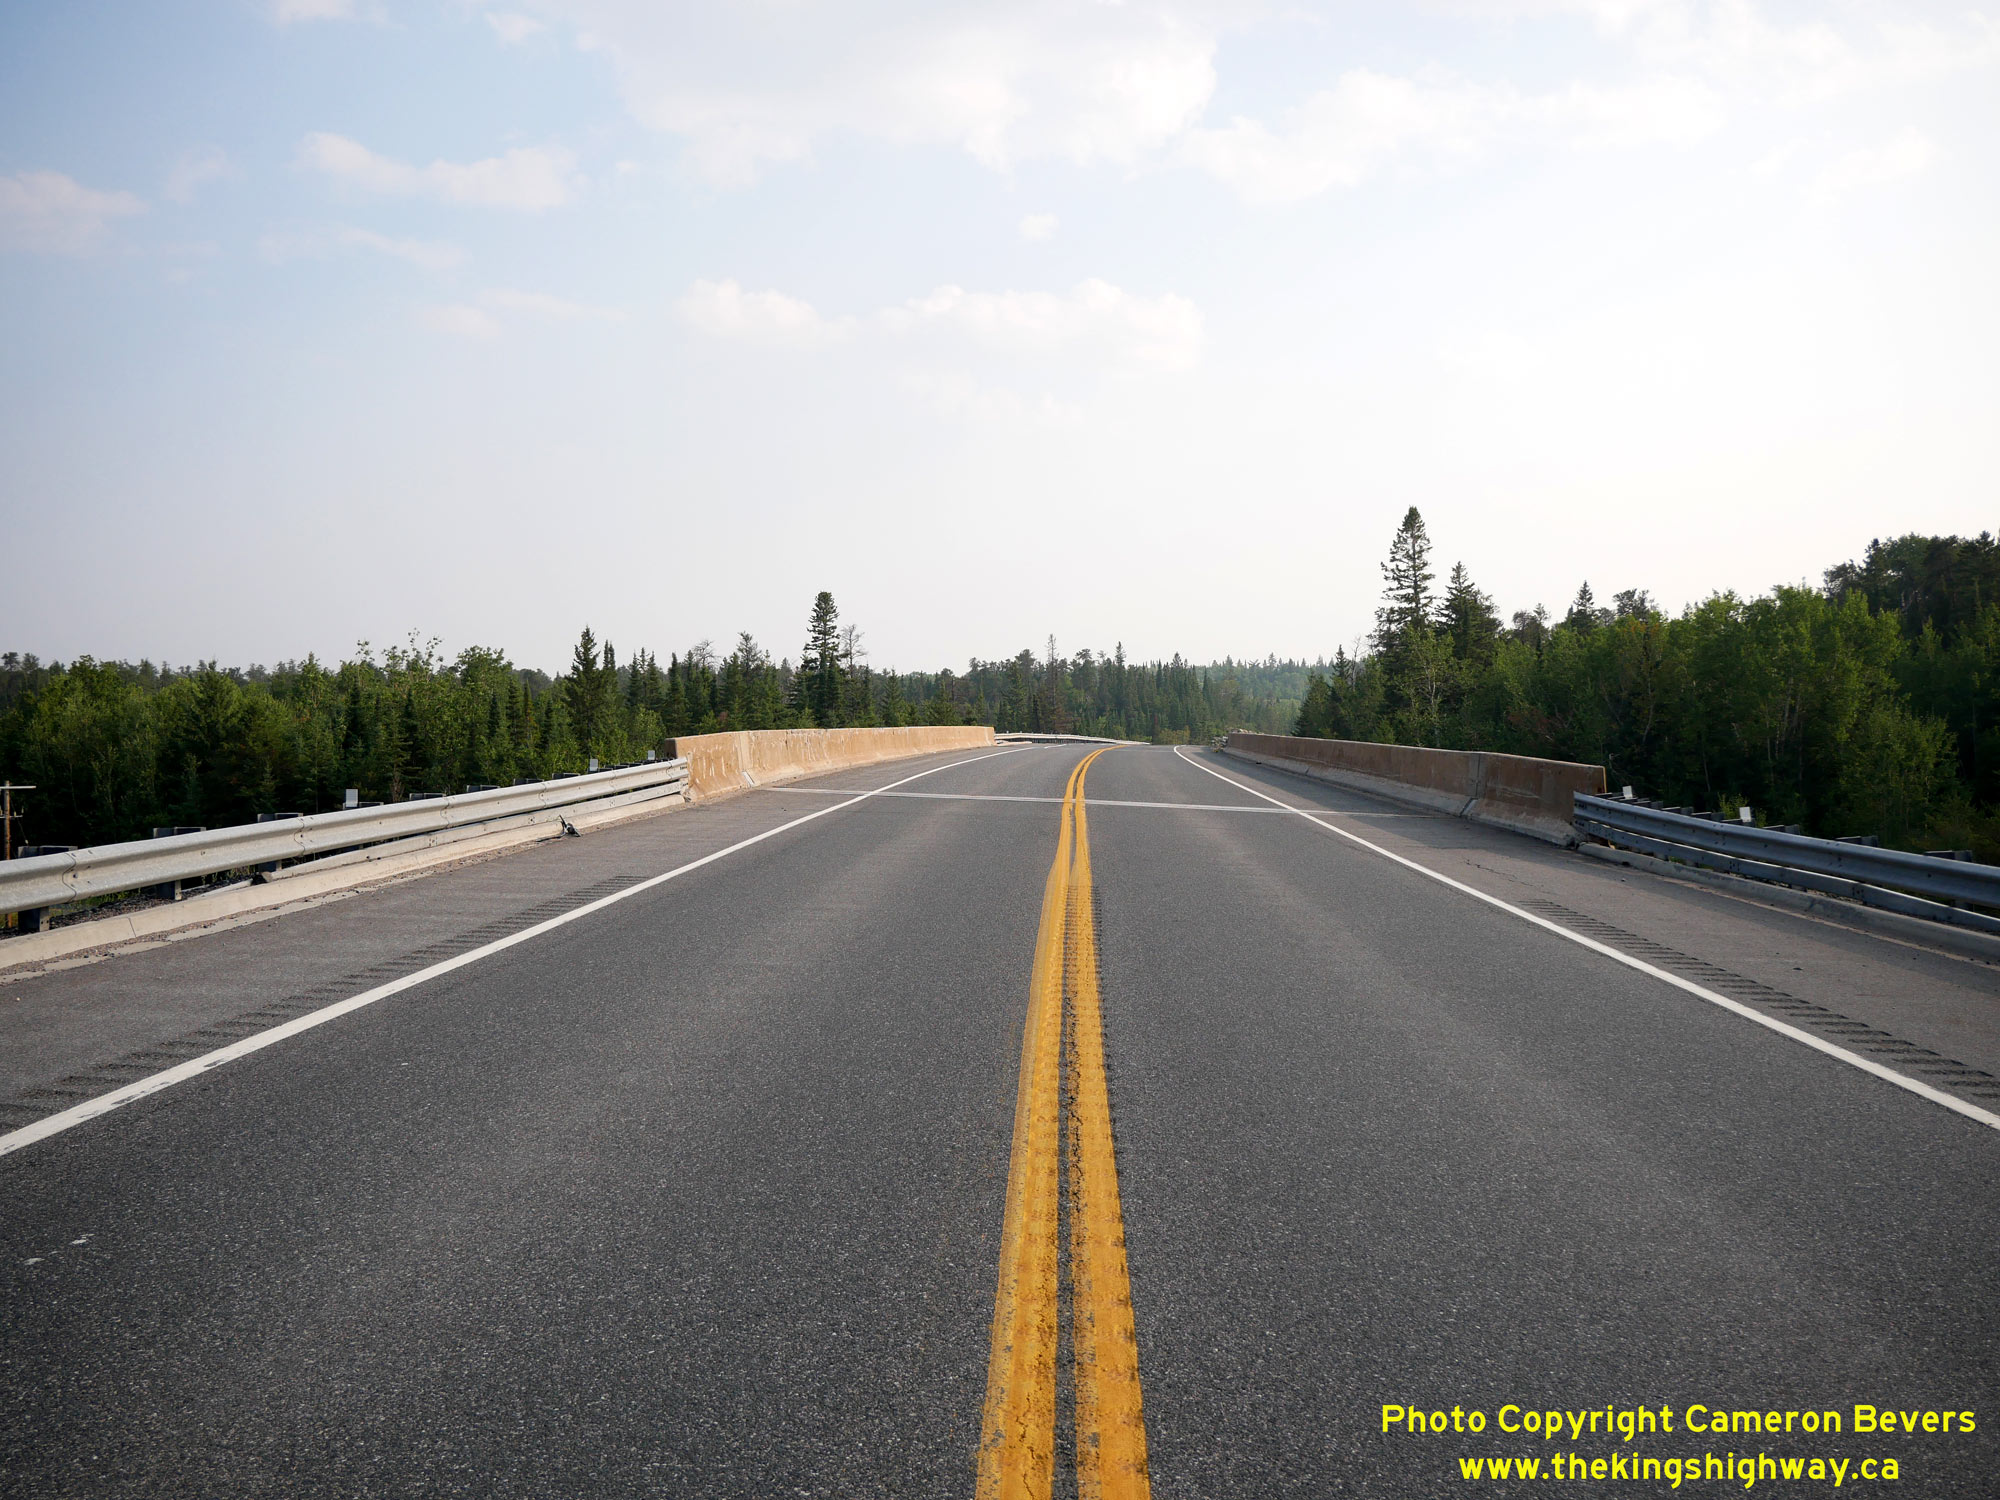
Left - Facing west along Hwy 17A at the Winnipeg River West Branch Bridge. At this point, the highway leaves Dufresne Island and returns back to the mainland.
See an Enlarged Photo Here. (Photograph taken on August 1, 2023 - © Cameron Bevers) Right - Northern side of the Winnipeg River West Branch Bridge on Hwy 17A in Kenora. This three-span haunched steel plate girder structure was constructed under Contract #1983-221 and was completed in 1984. Once this bridge was completed, it was possible to continue grading operations along the proposed highway easterly across Dufresne Island. Previously, the island did not have any road access. See an Enlarged Photo Here. (Photograph taken on August 1, 2023 - © Cameron Bevers) 

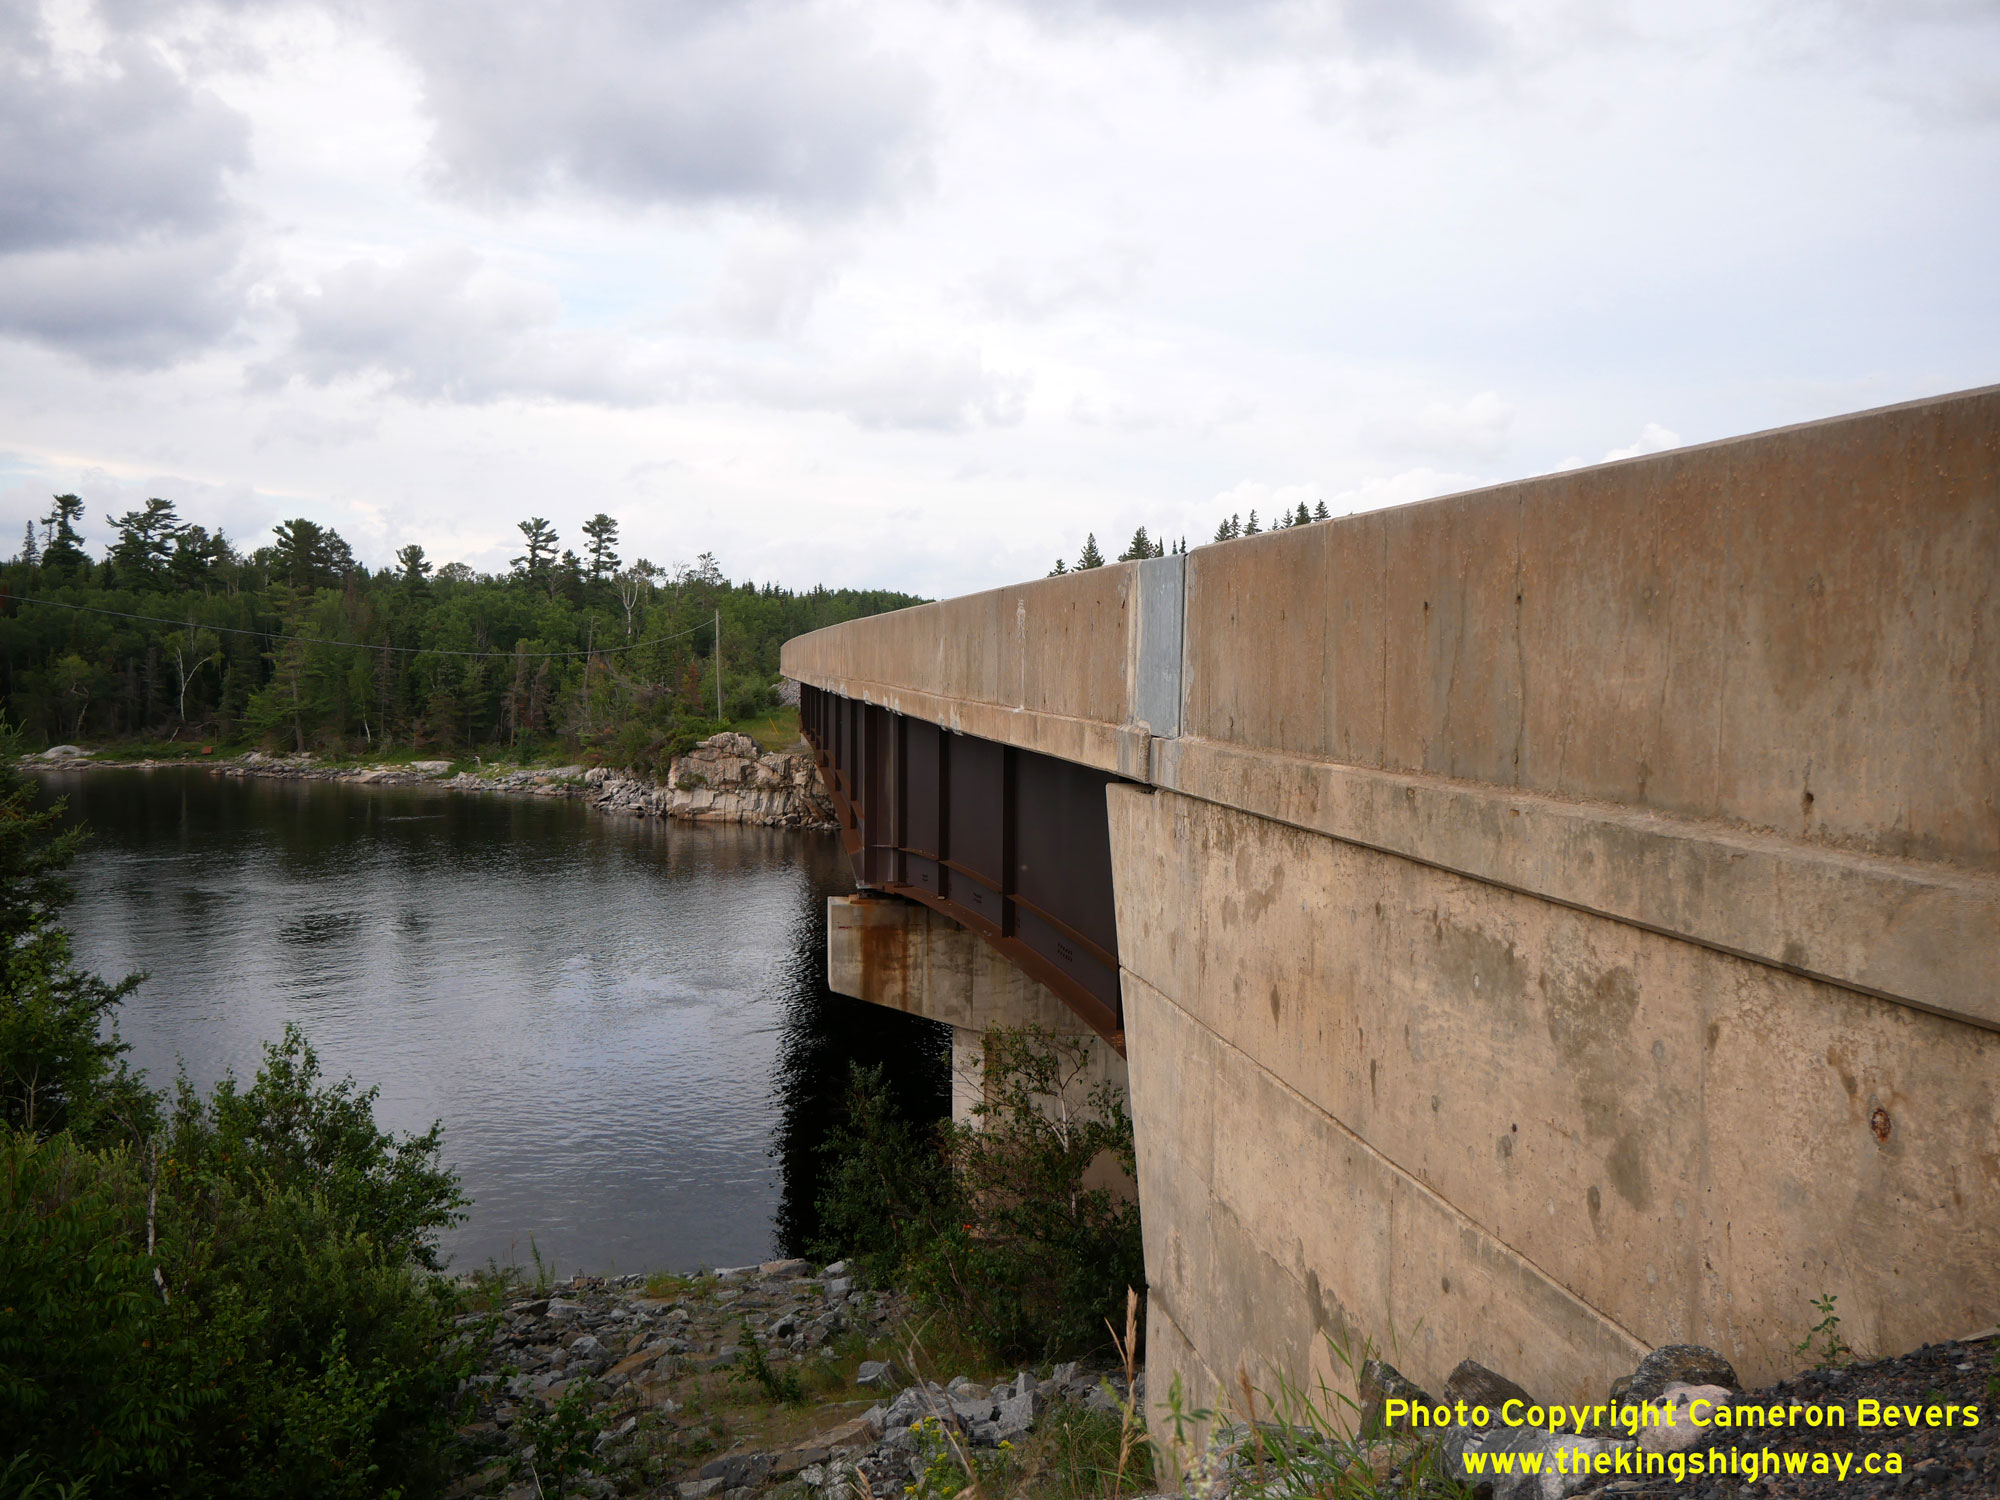
Left - Date stamp (1984) and structure identification number (Site #41S-124) on the Winnipeg River West Branch Bridge on Hwy 17A. See an
Enlarged Photo Here. (Photograph taken on August 1, 2023 - © Cameron Bevers) Right - Southern side of the Winnipeg River West Branch Bridge on Hwy 17A. Like the bridge over the East Branch of the Winnipeg River located about 3 km to the east, the West Branch structure also traverses a navigable waterway. See an Enlarged Photo Here. (Photograph taken on August 1, 2023 - © Cameron Bevers) 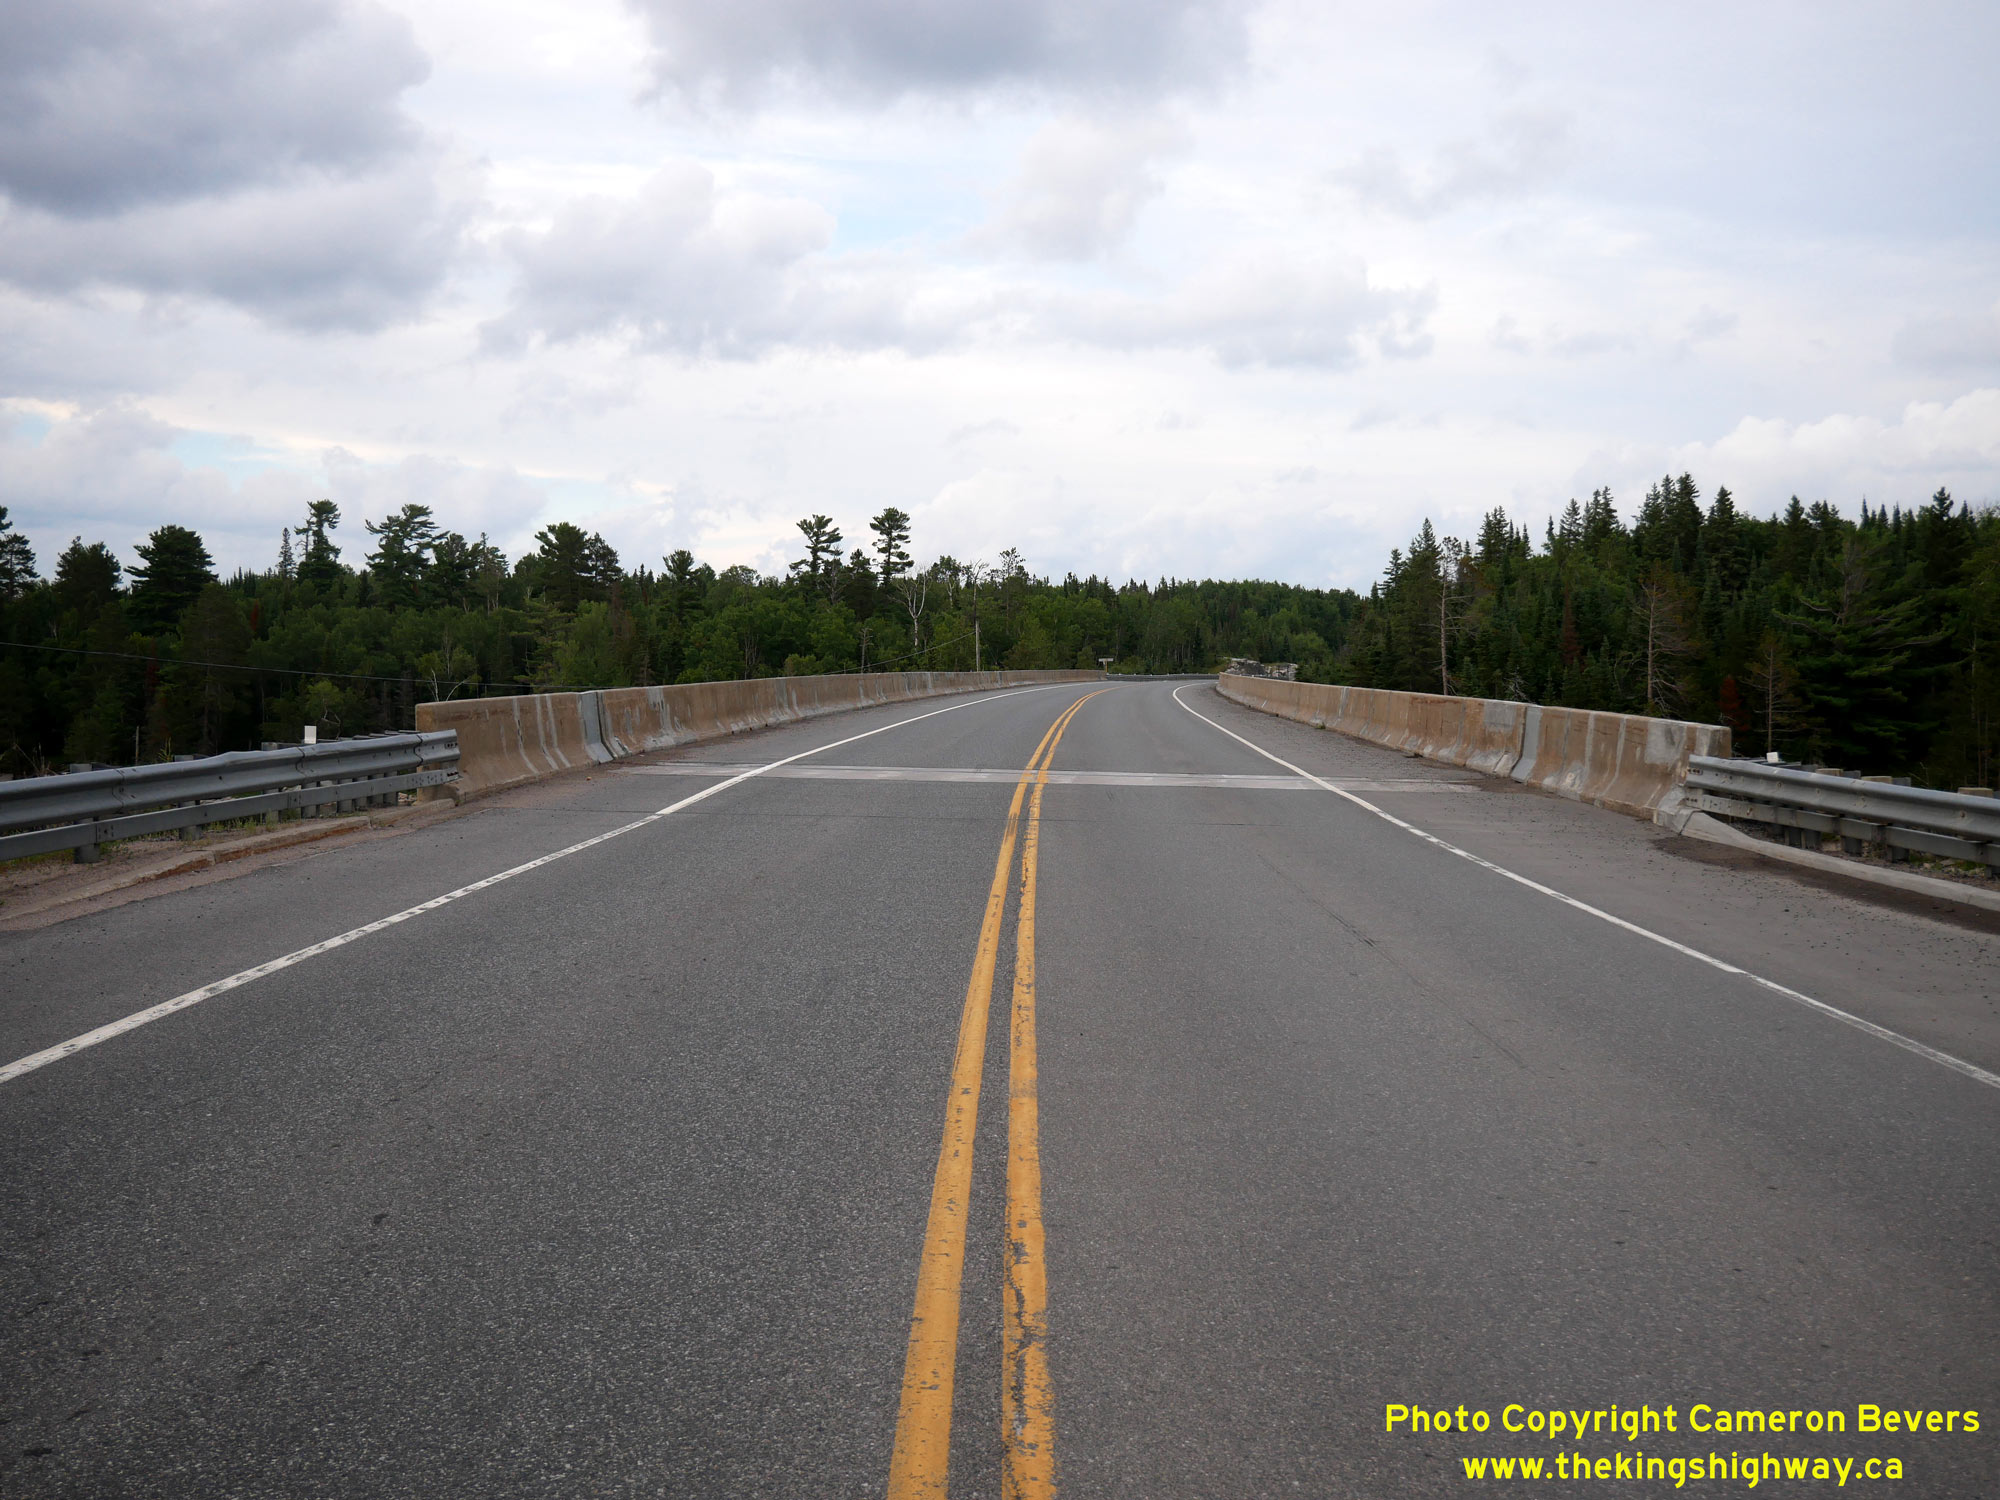
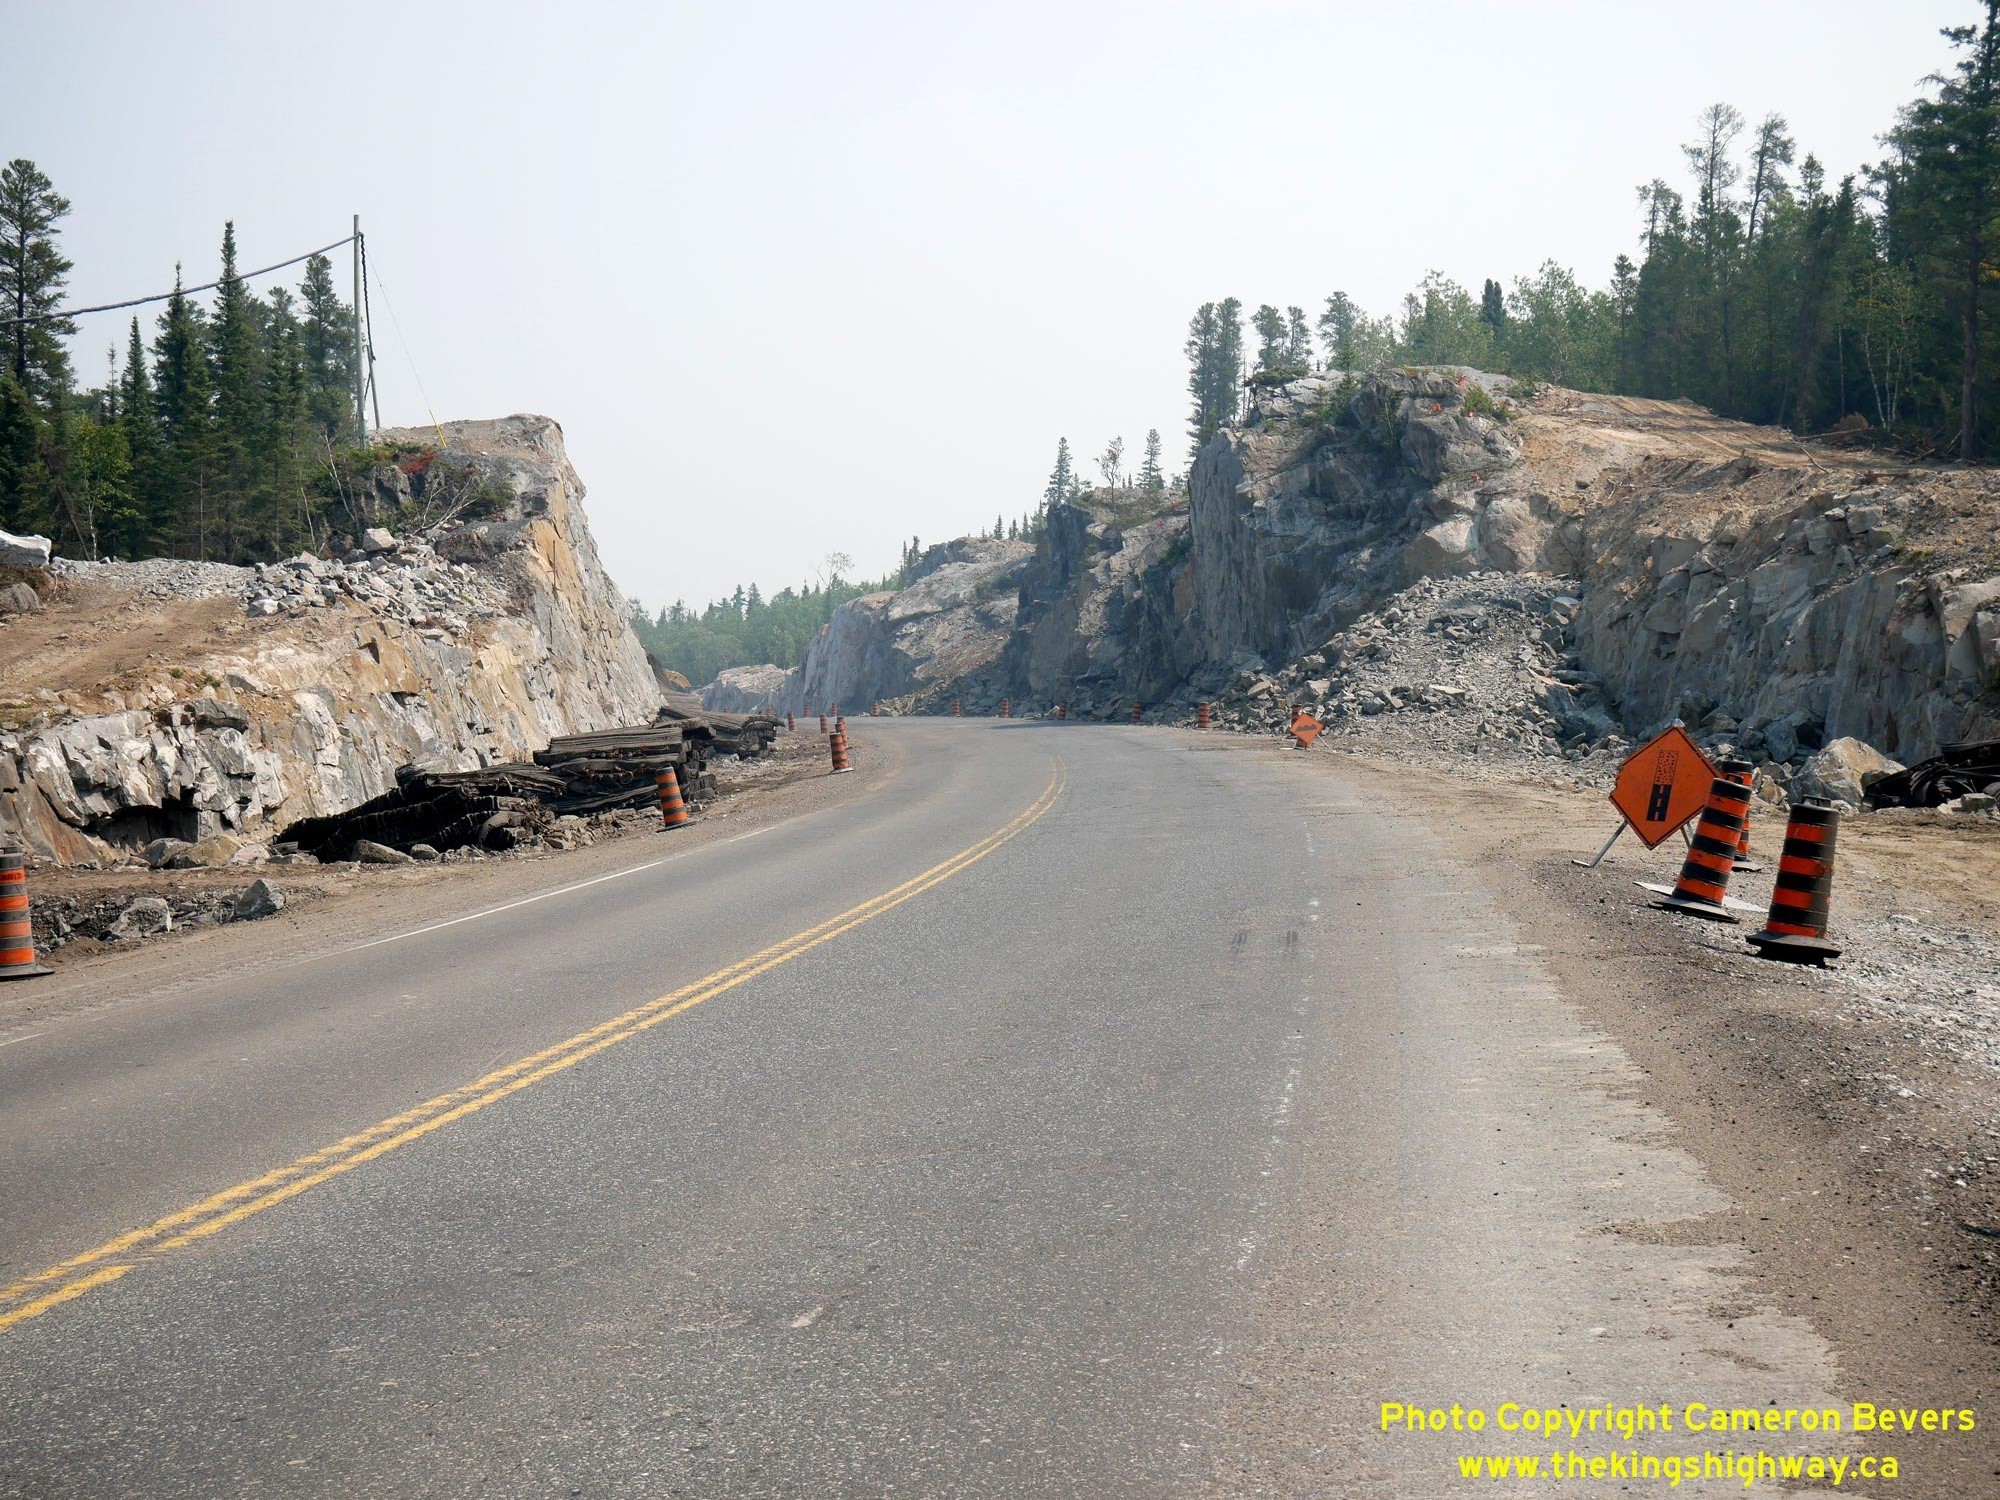
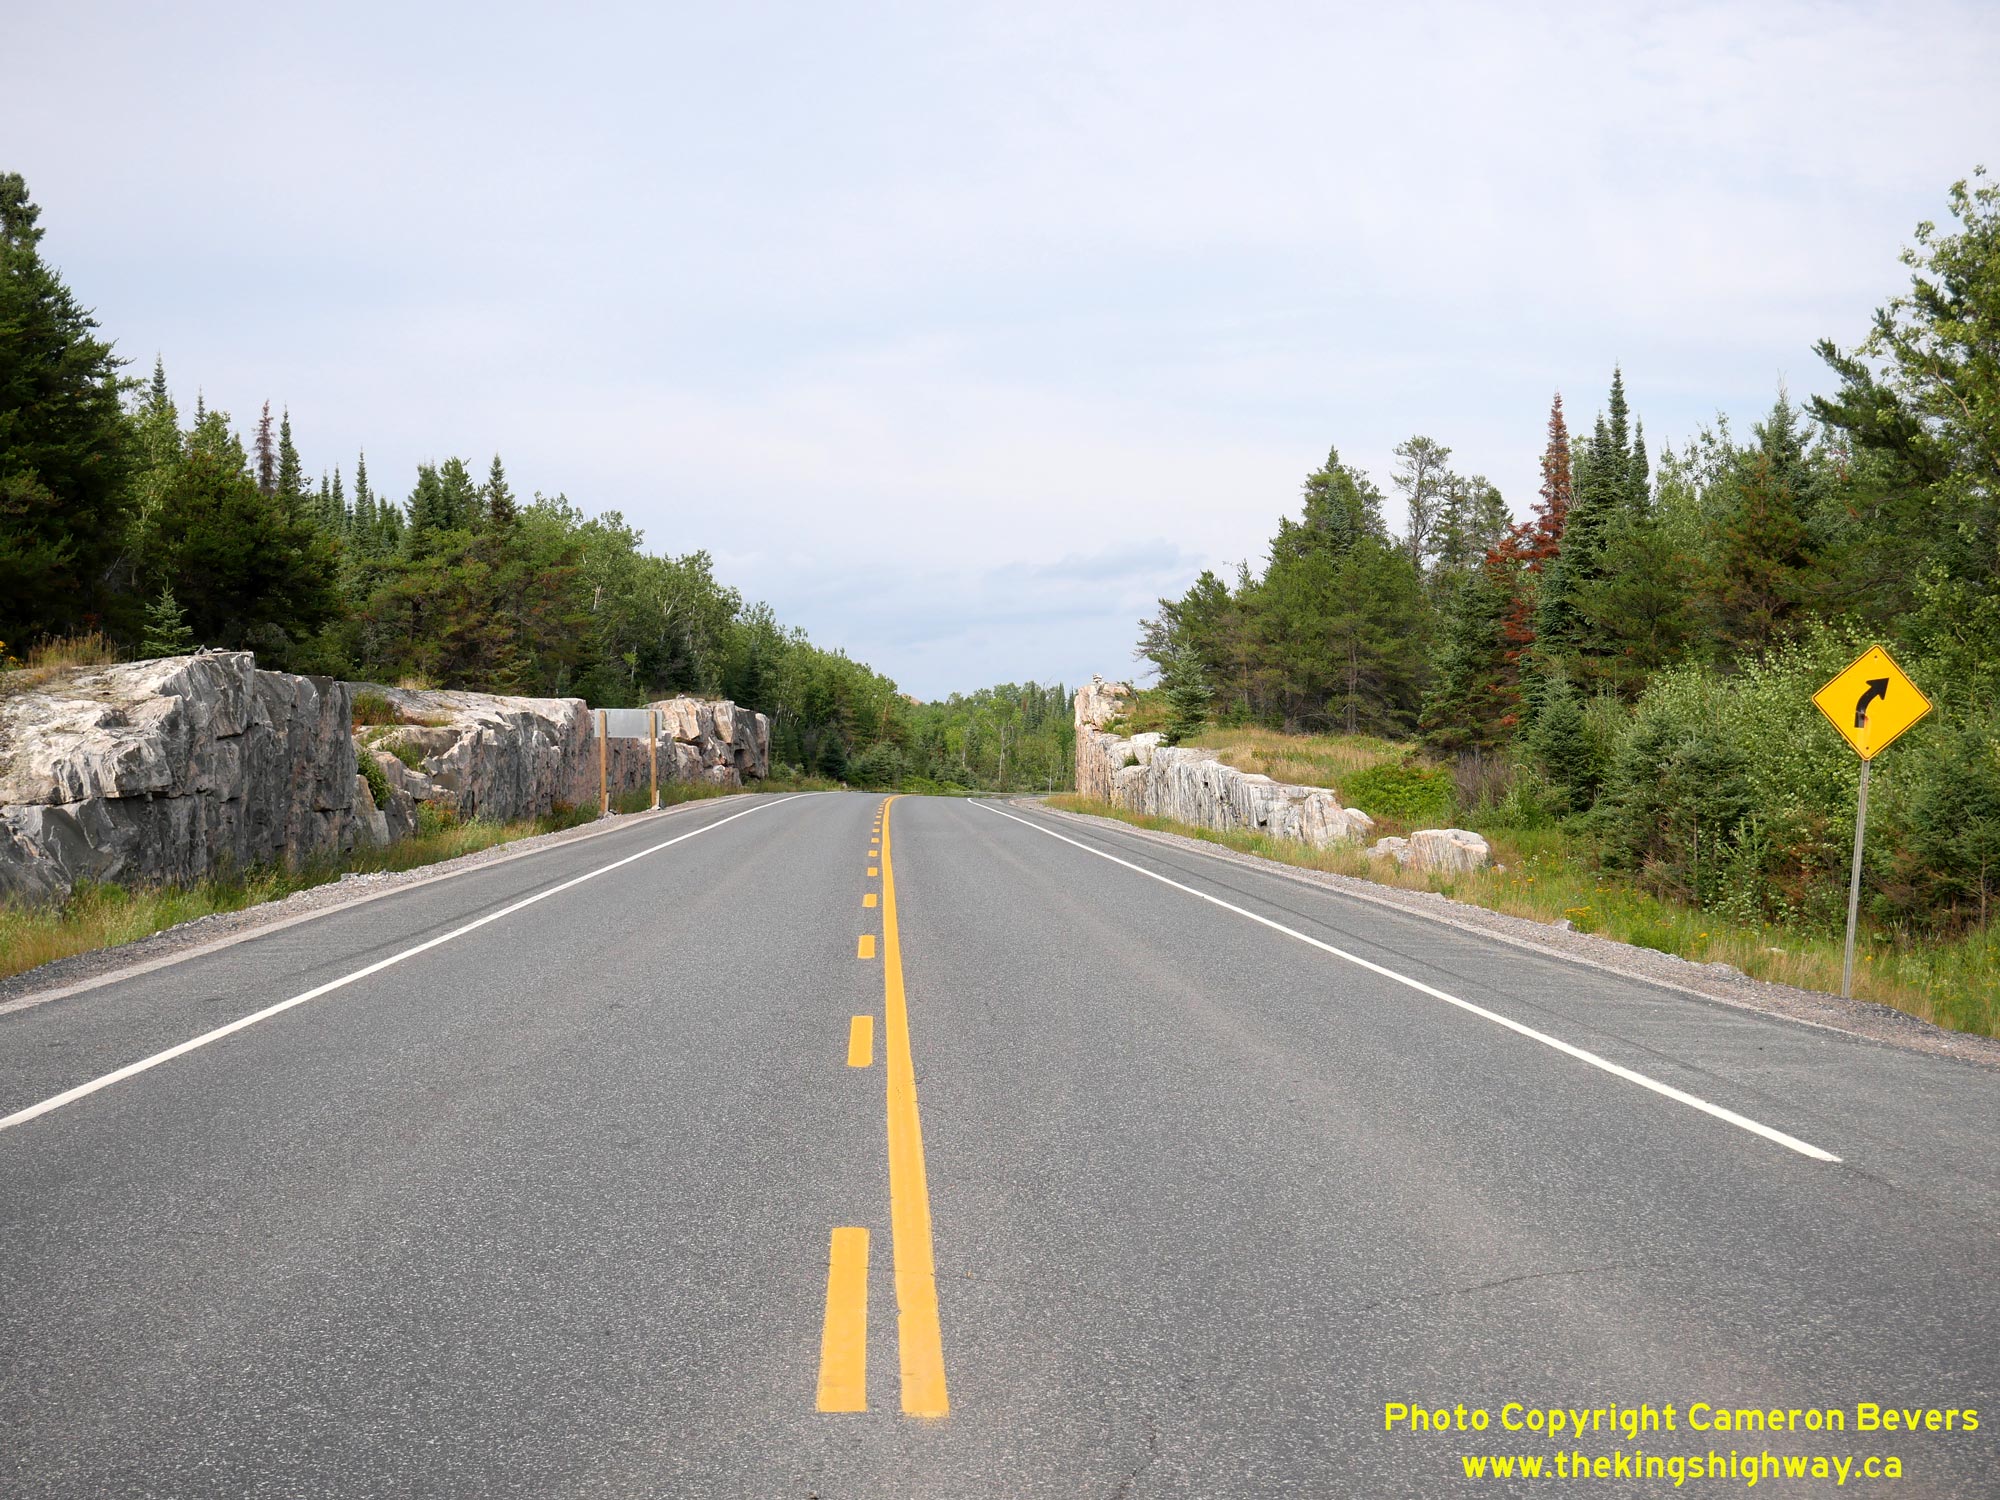
Left - Facing east across the Winnipeg River West Branch Bridge on the Kenora Bypass (Hwy 17A). See an
Enlarged Photo Here. (Photograph taken on August 1, 2023 - © Cameron Bevers) Right - Rock cut widening on the Kenora Bypass, located about 2 km east of the Hwy 596 Junction. See an Enlarged Photo Here. (Photograph taken on August 1, 2023 - © Cameron Bevers) 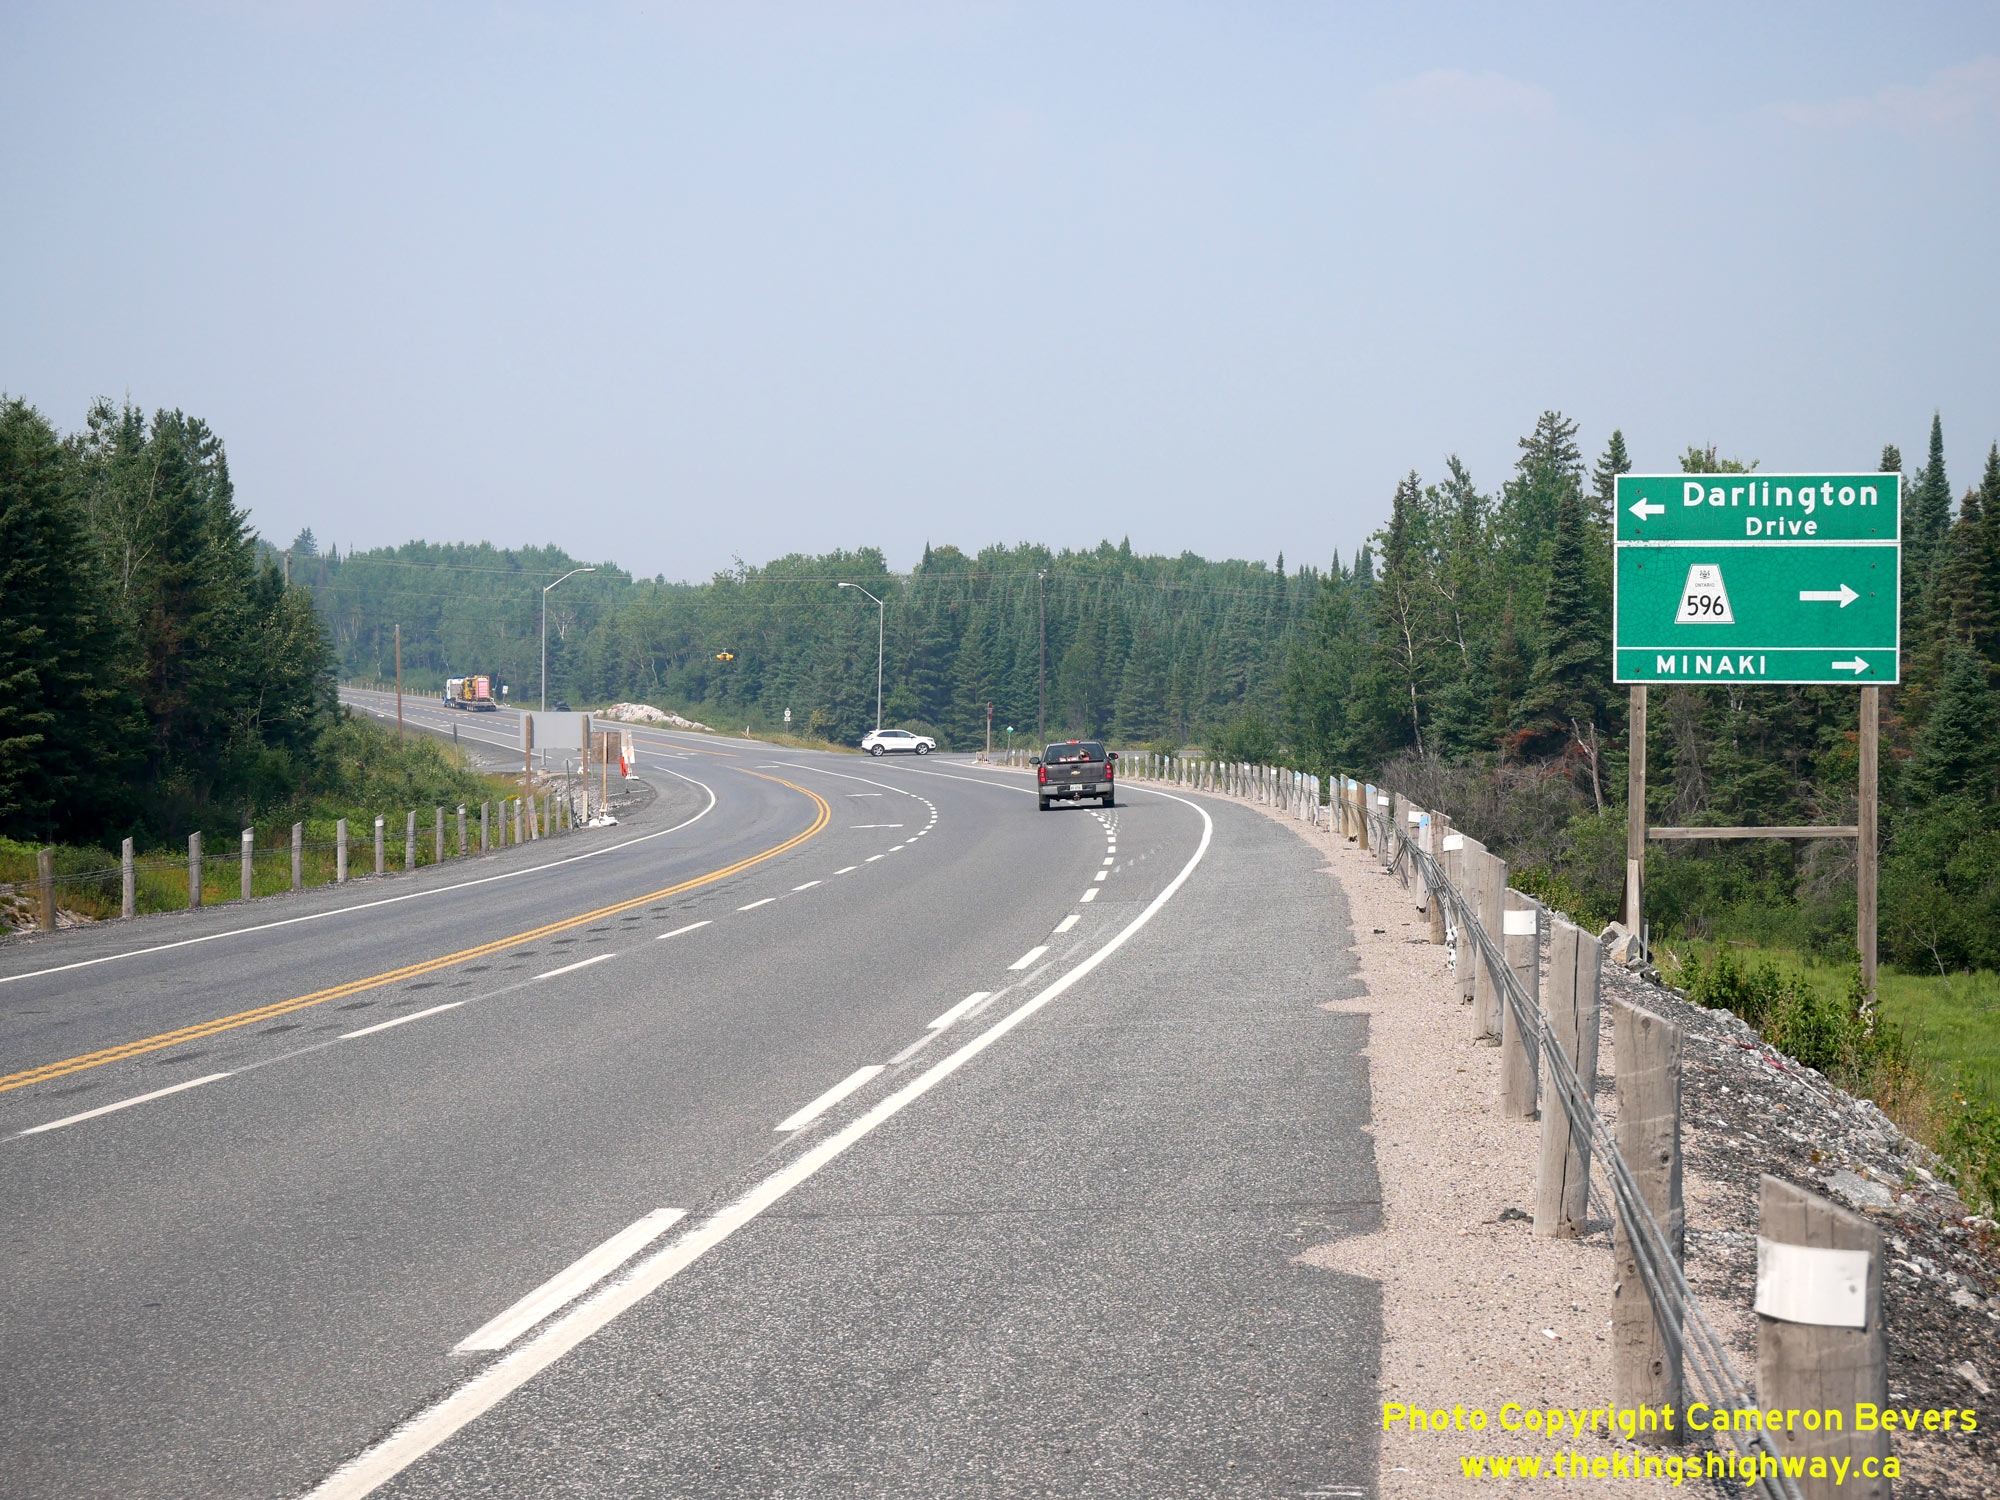

Left - Facing west along the Kenora Bypass (Hwy 17A) approaching the Hwy 596 Junction. See an
Enlarged Photo Here. (Photograph taken on August 3, 2023 - © Cameron Bevers) Right - Distance guide sign on eastbound Hwy 17A at the Hwy 596 Junction. See an Enlarged Photo Here. (Photograph taken on August 3, 2023 - © Cameron Bevers) 

Left - View of the Kenora Bypass (Hwy 17A), facing east from the Hwy 596 Junction. See an
Enlarged Photo Here. (Photograph taken on August 3, 2023 - © Cameron Bevers) Right - Facing south along Hwy 596 approaching the Hwy 17A Junction. Up until the 1990s, Hwy 596 continued south into Kenora from the Hwy 17A Junction. See an Enlarged Photo Here. (Photograph taken on August 3, 2023 - © Cameron Bevers) 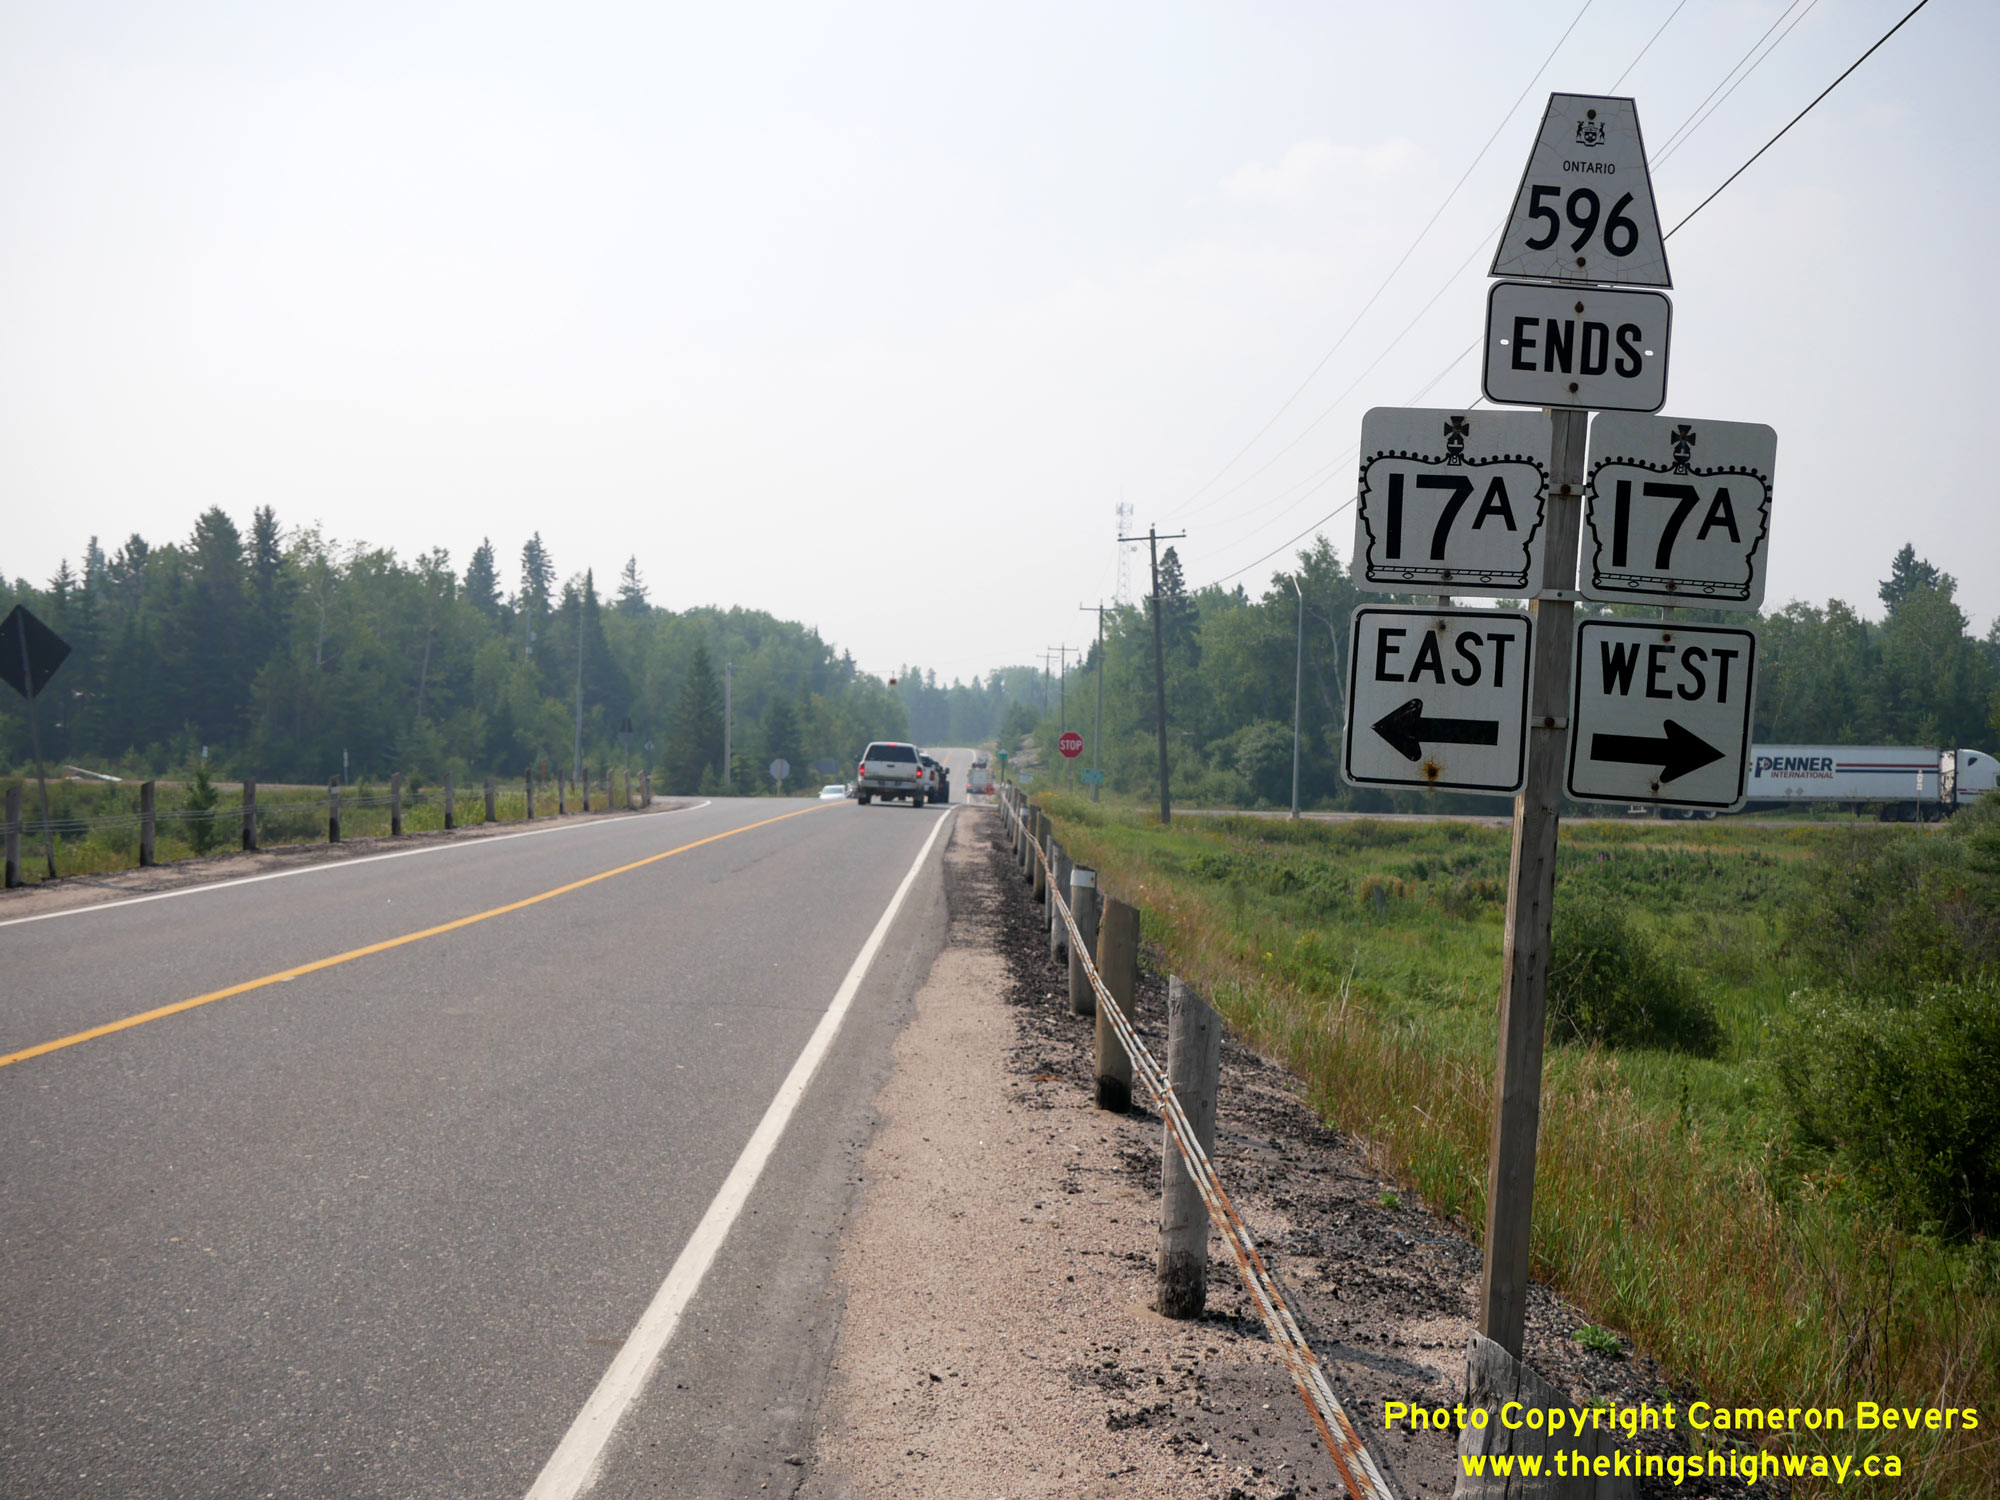

Left - Junction sign assembly on southbound Hwy 596 approaching the Kenora Bypass (Hwy 17A). See an
Enlarged Photo Here. (Photograph taken on August 3, 2023 - © Cameron Bevers) Right - View of Hwy 596, facing north from the Kenora Bypass (Hwy 17A). This highway heads north for about 44 km to Minaki, where Hwy 596 comes to a dead end. See an Enlarged Photo Here. (Photograph taken on August 3, 2023 - © Cameron Bevers) 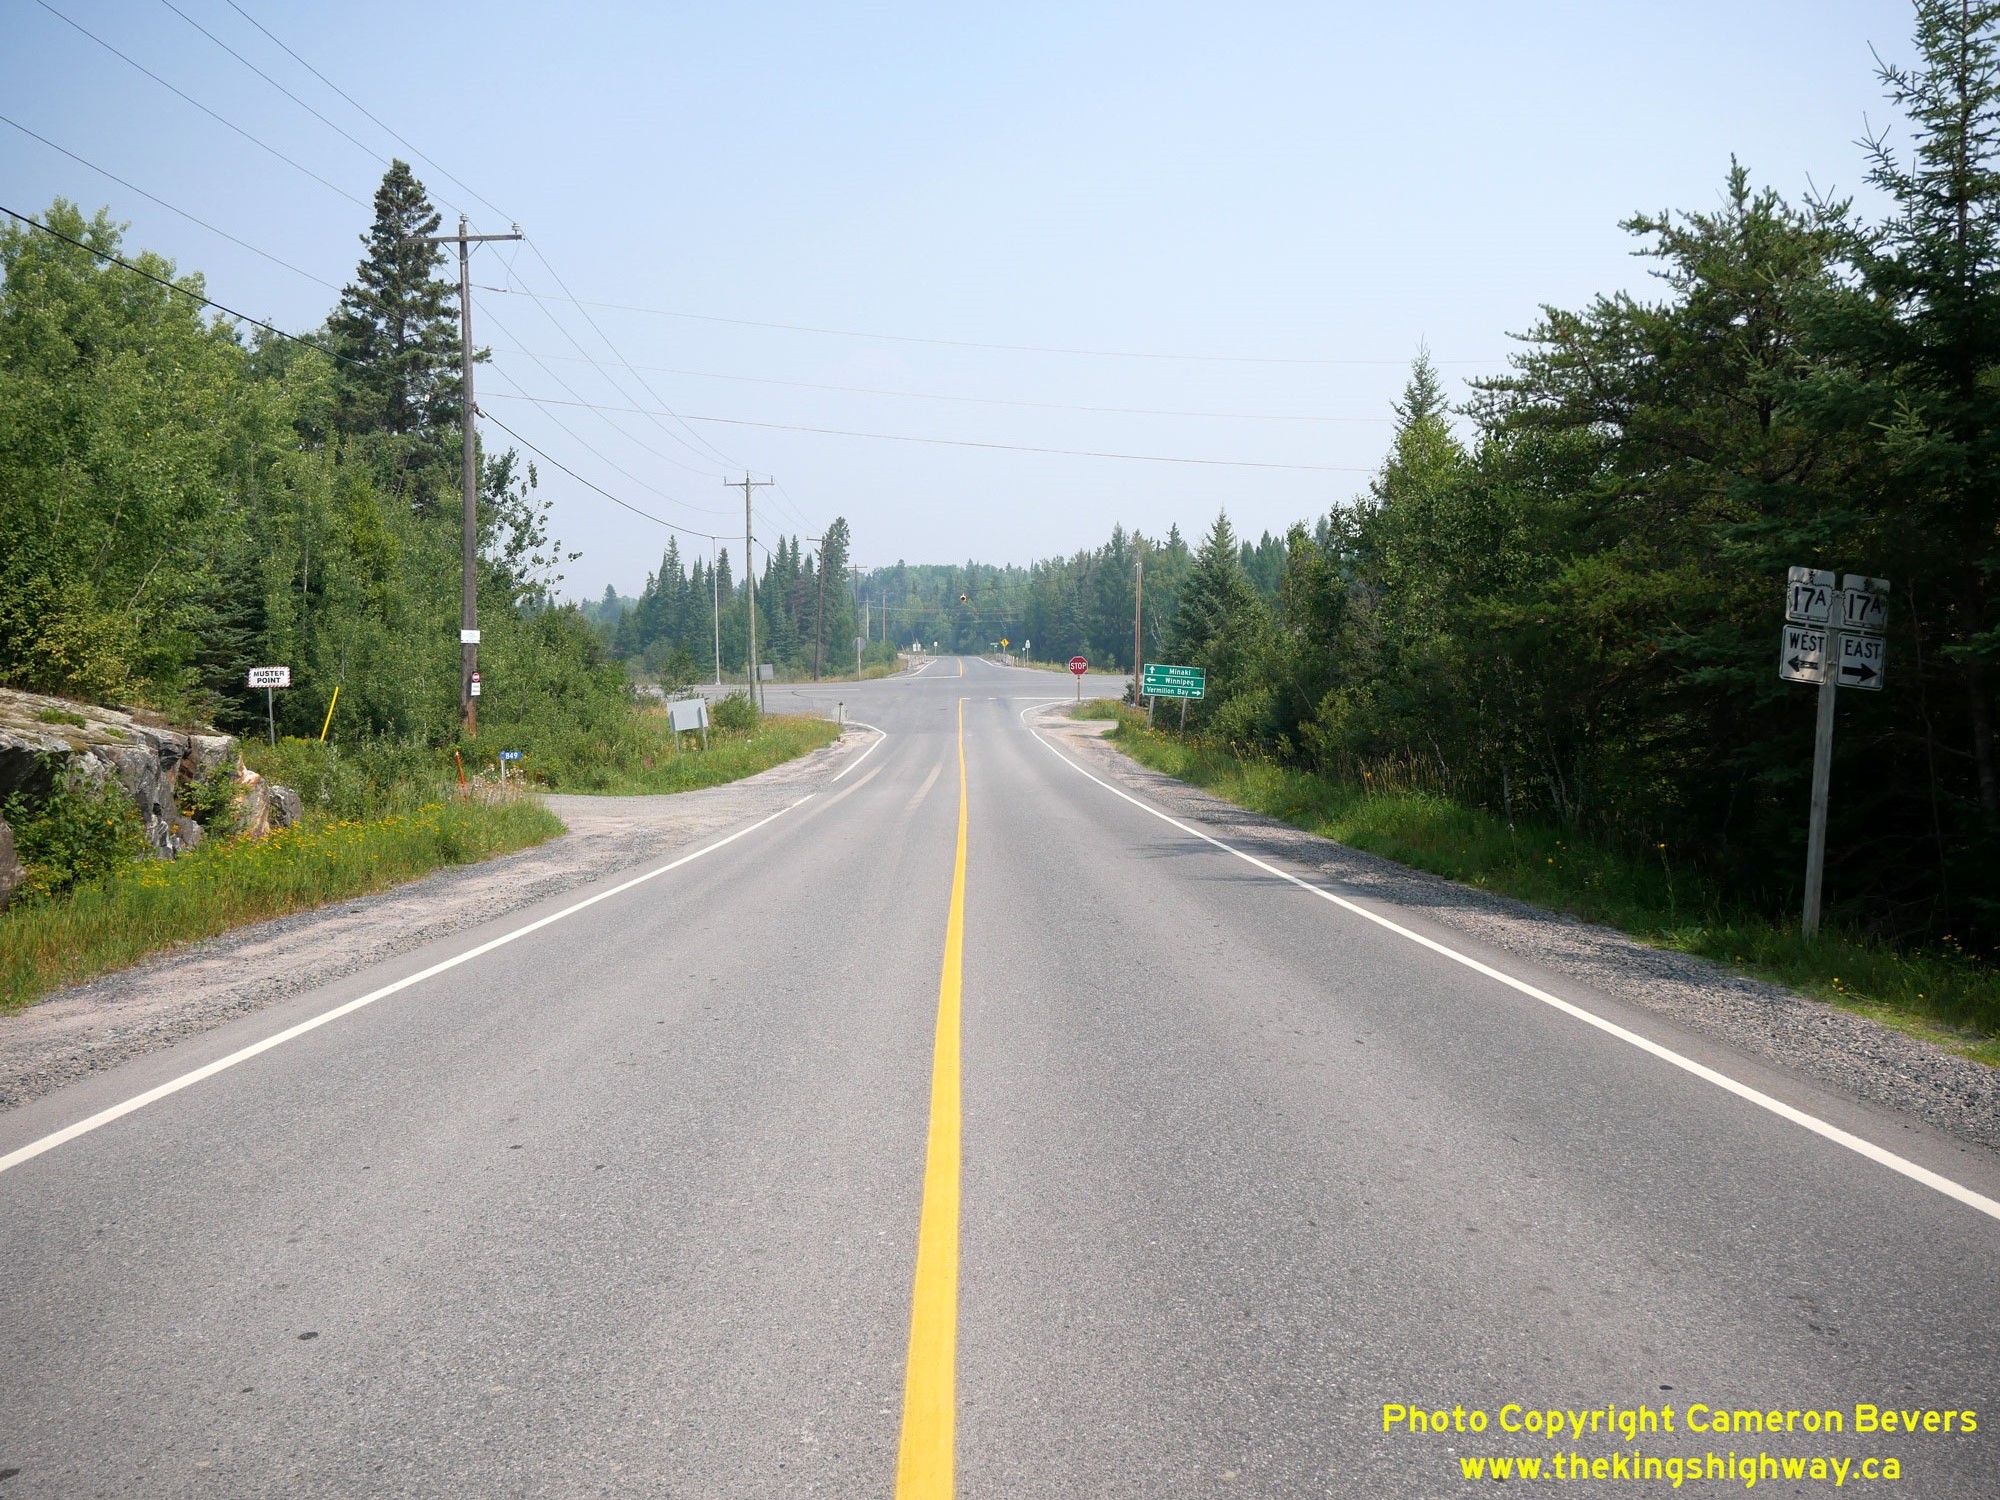
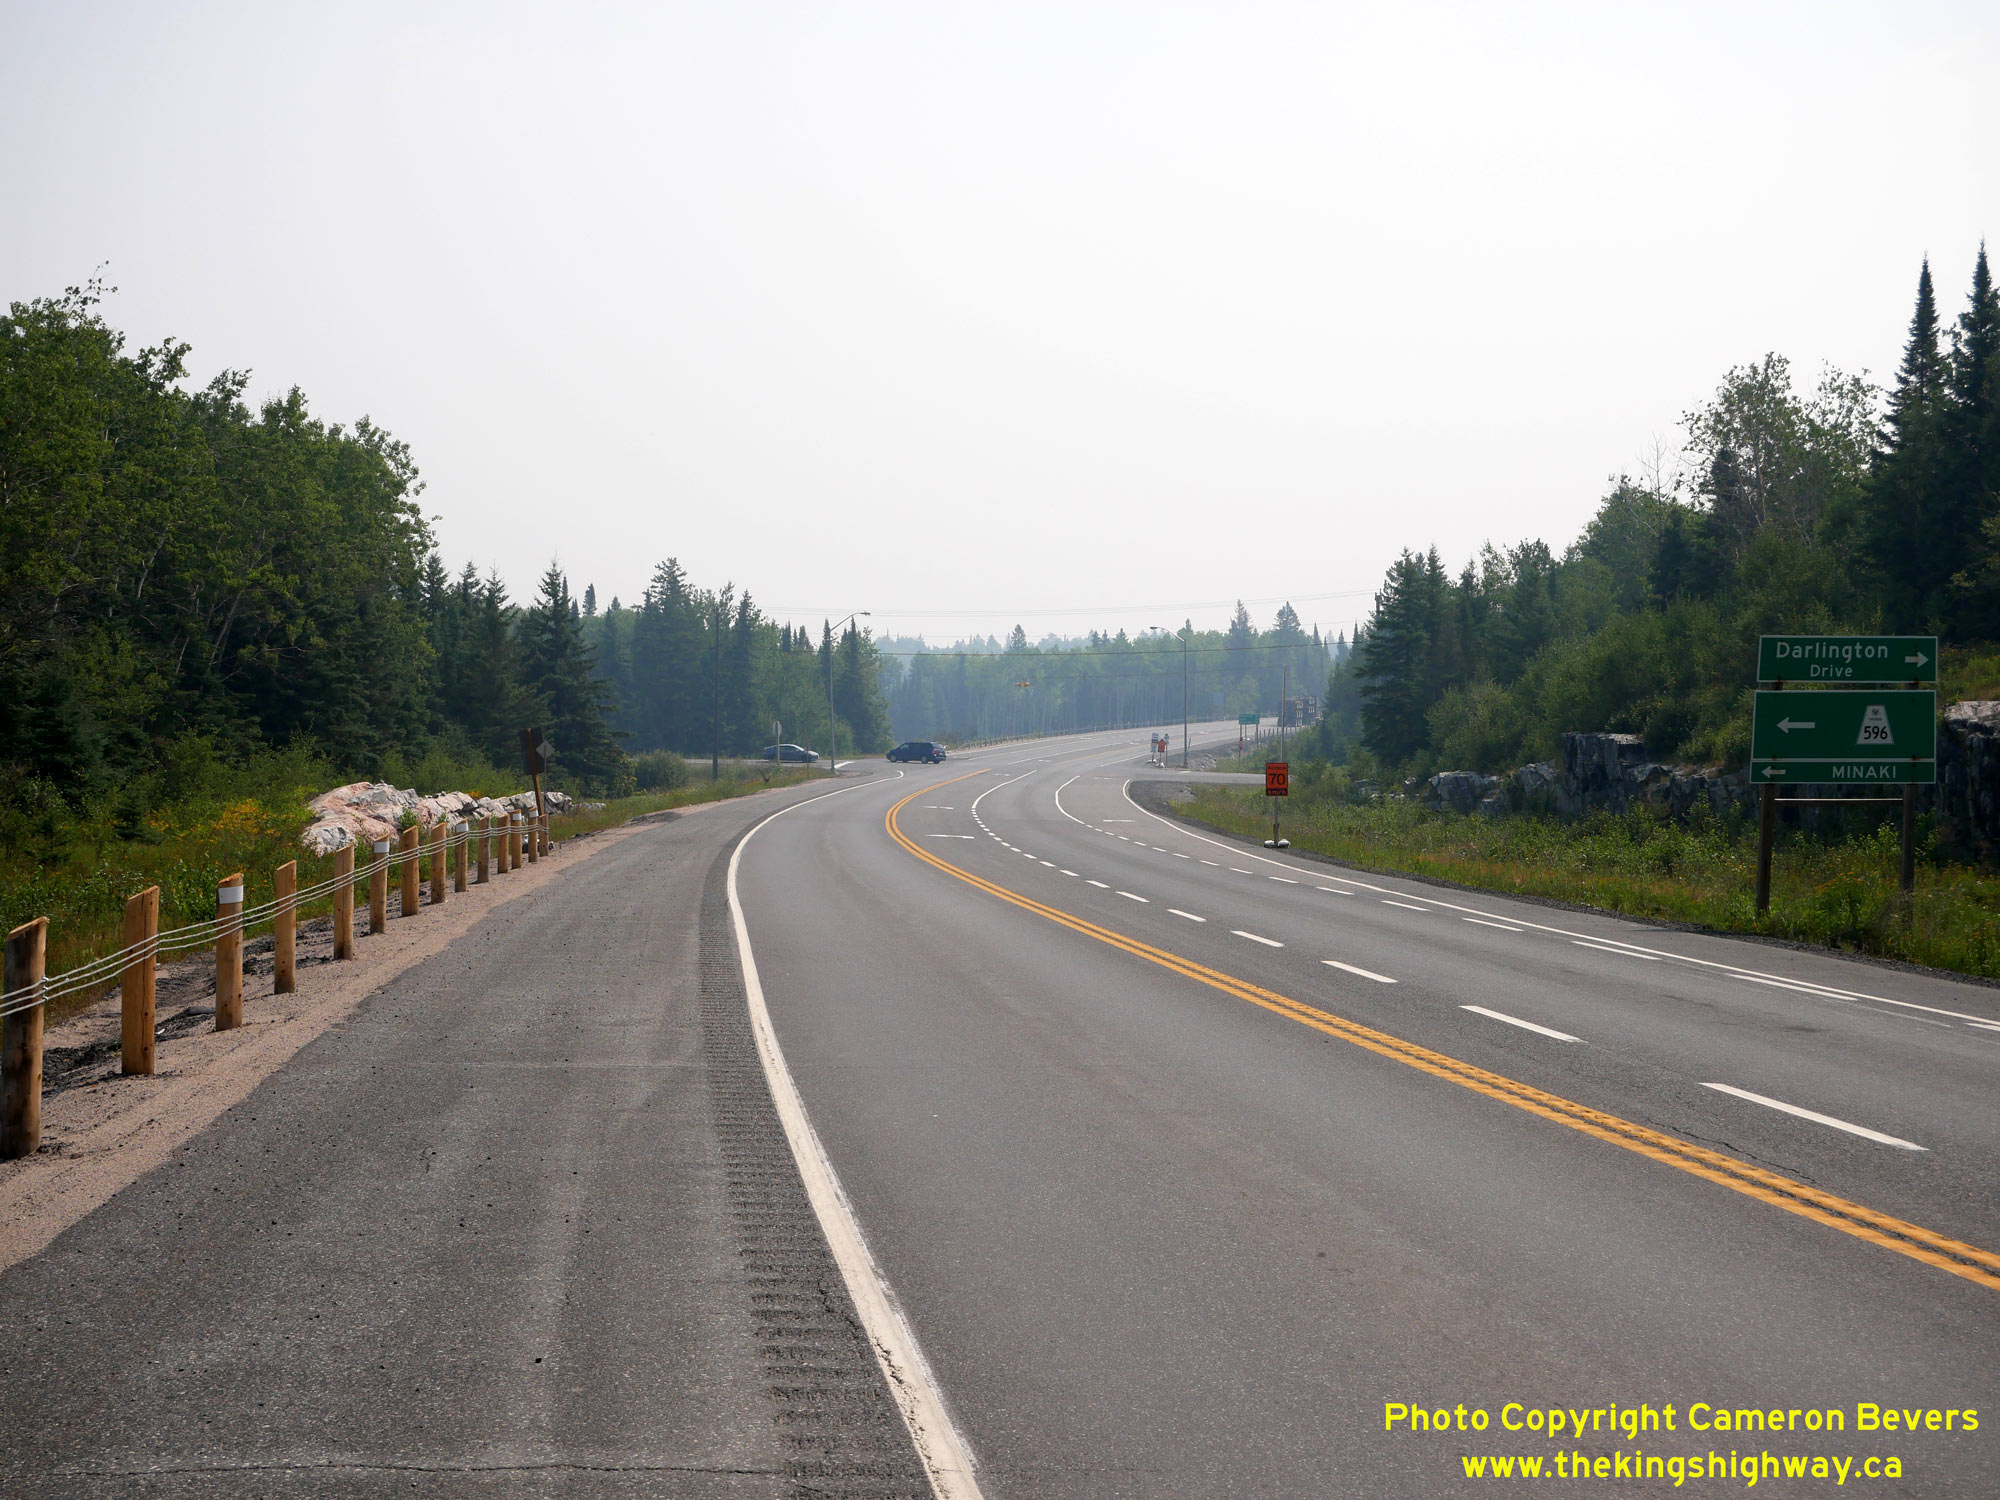
Left - Approaching the Hwy 17A Junction on northbound Hwy 596 (Darlington Drive) in Kenora. See an
Enlarged Photo Here. (Photograph taken on August 3, 2023 - © Cameron Bevers) Right - Facing south along Hwy 596 (Darlington Drive) from the Hwy 17A Junction. Since 1997, the section of Hwy 596 lying south of the Kenora Bypass has been under municipal jurisdiction. Today, this section of Hwy 596 is officially known as Darlington Drive. See an Enlarged Photo Here. (Photograph taken on August 3, 2023 - © Cameron Bevers) 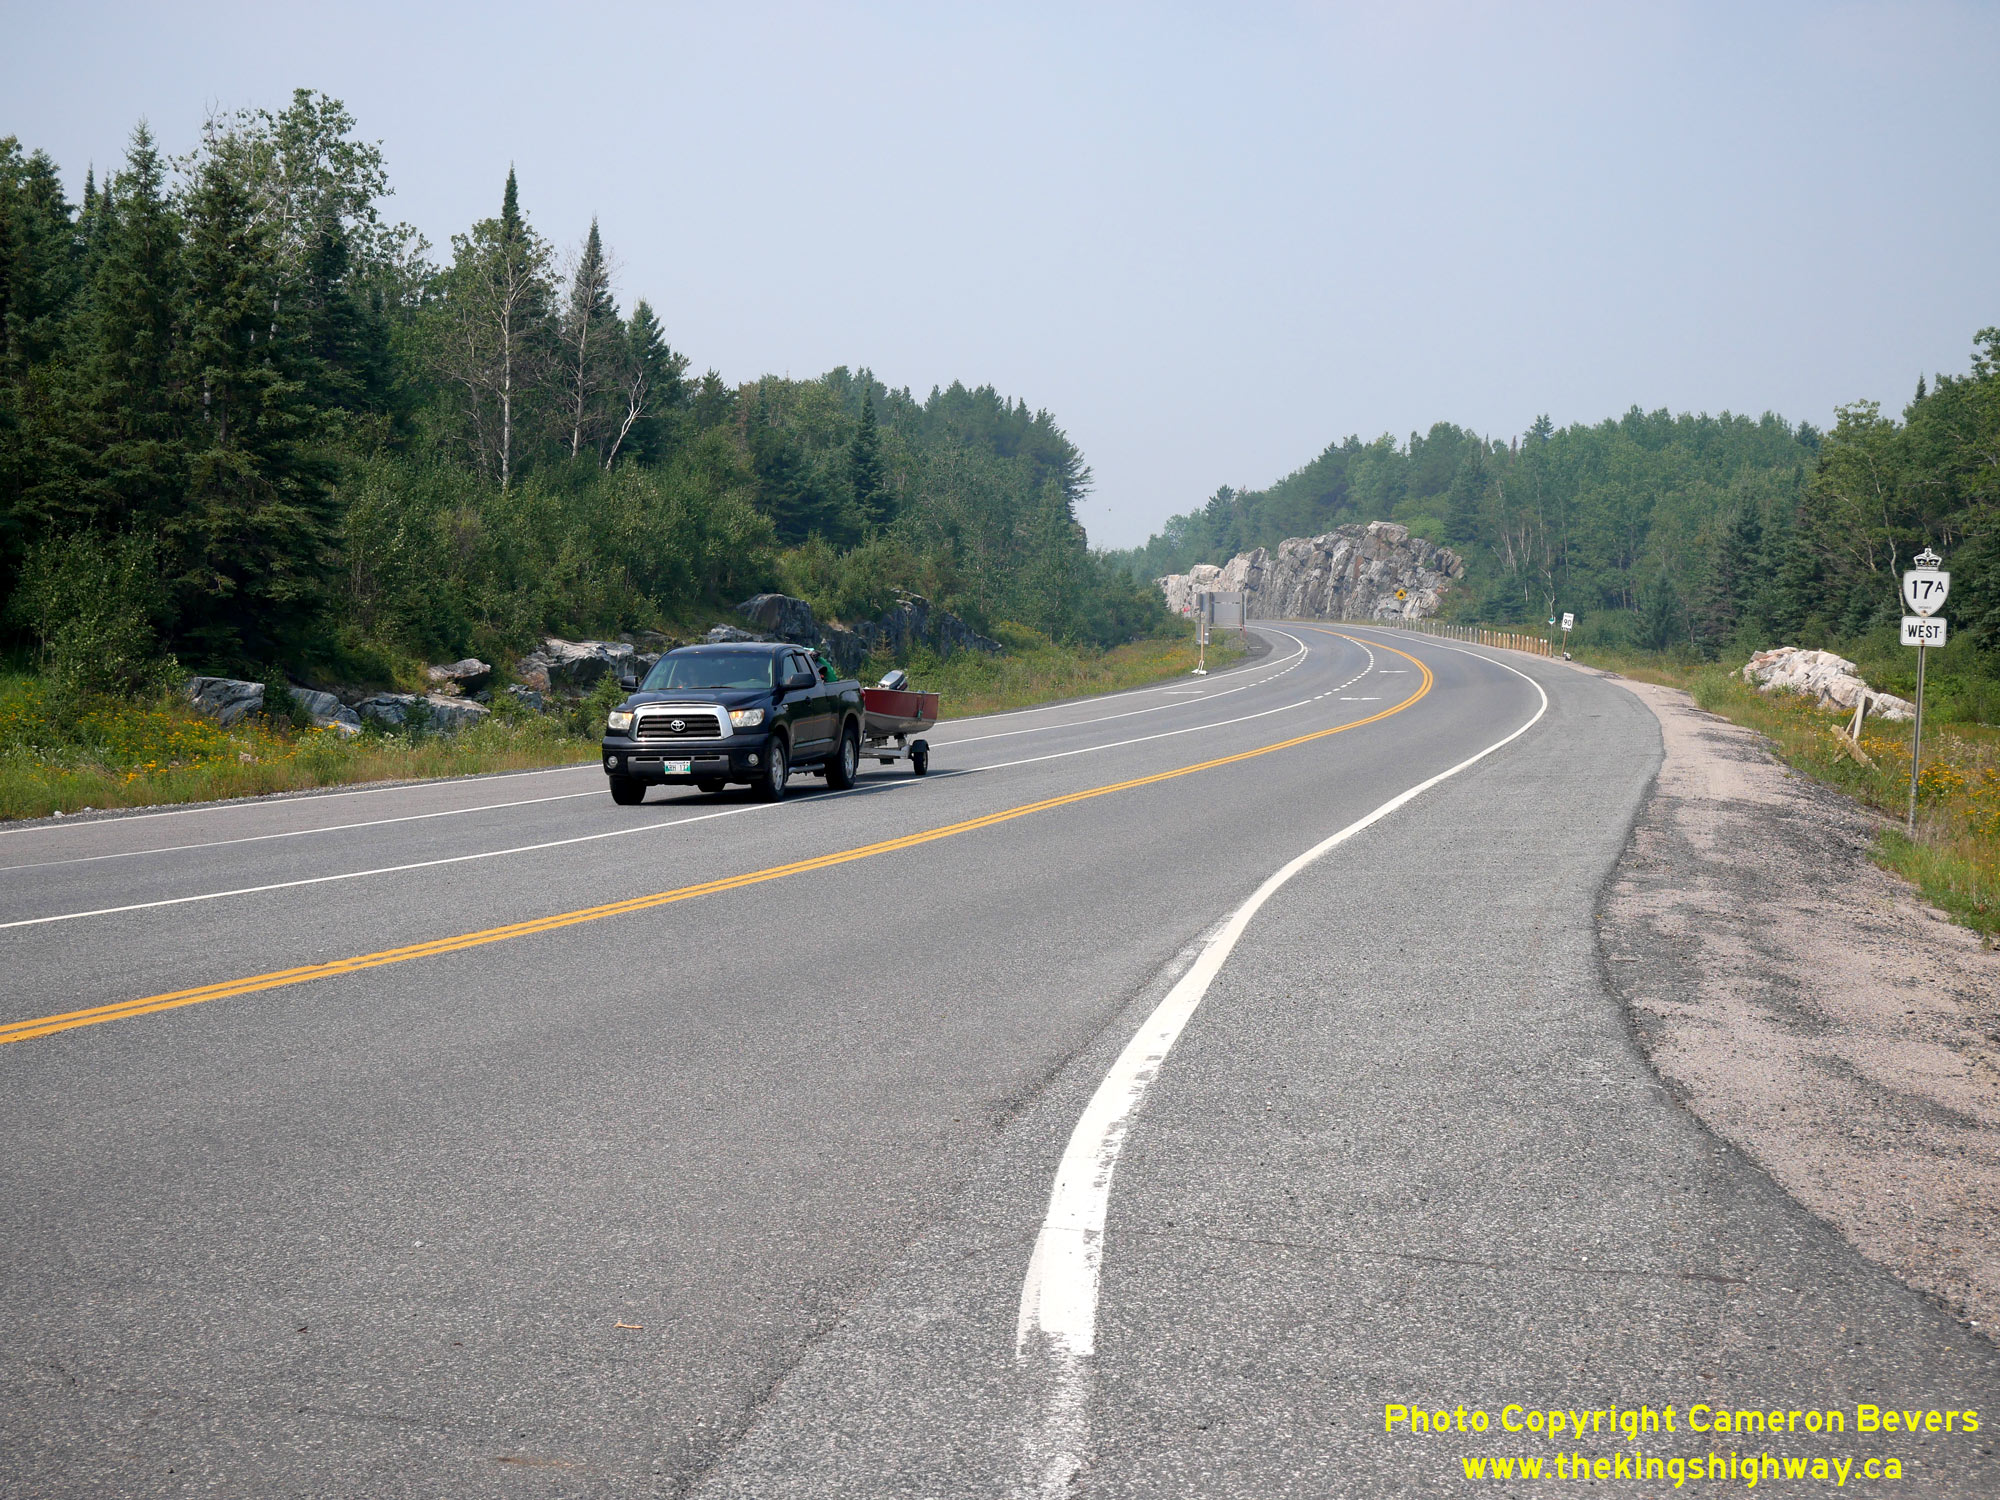
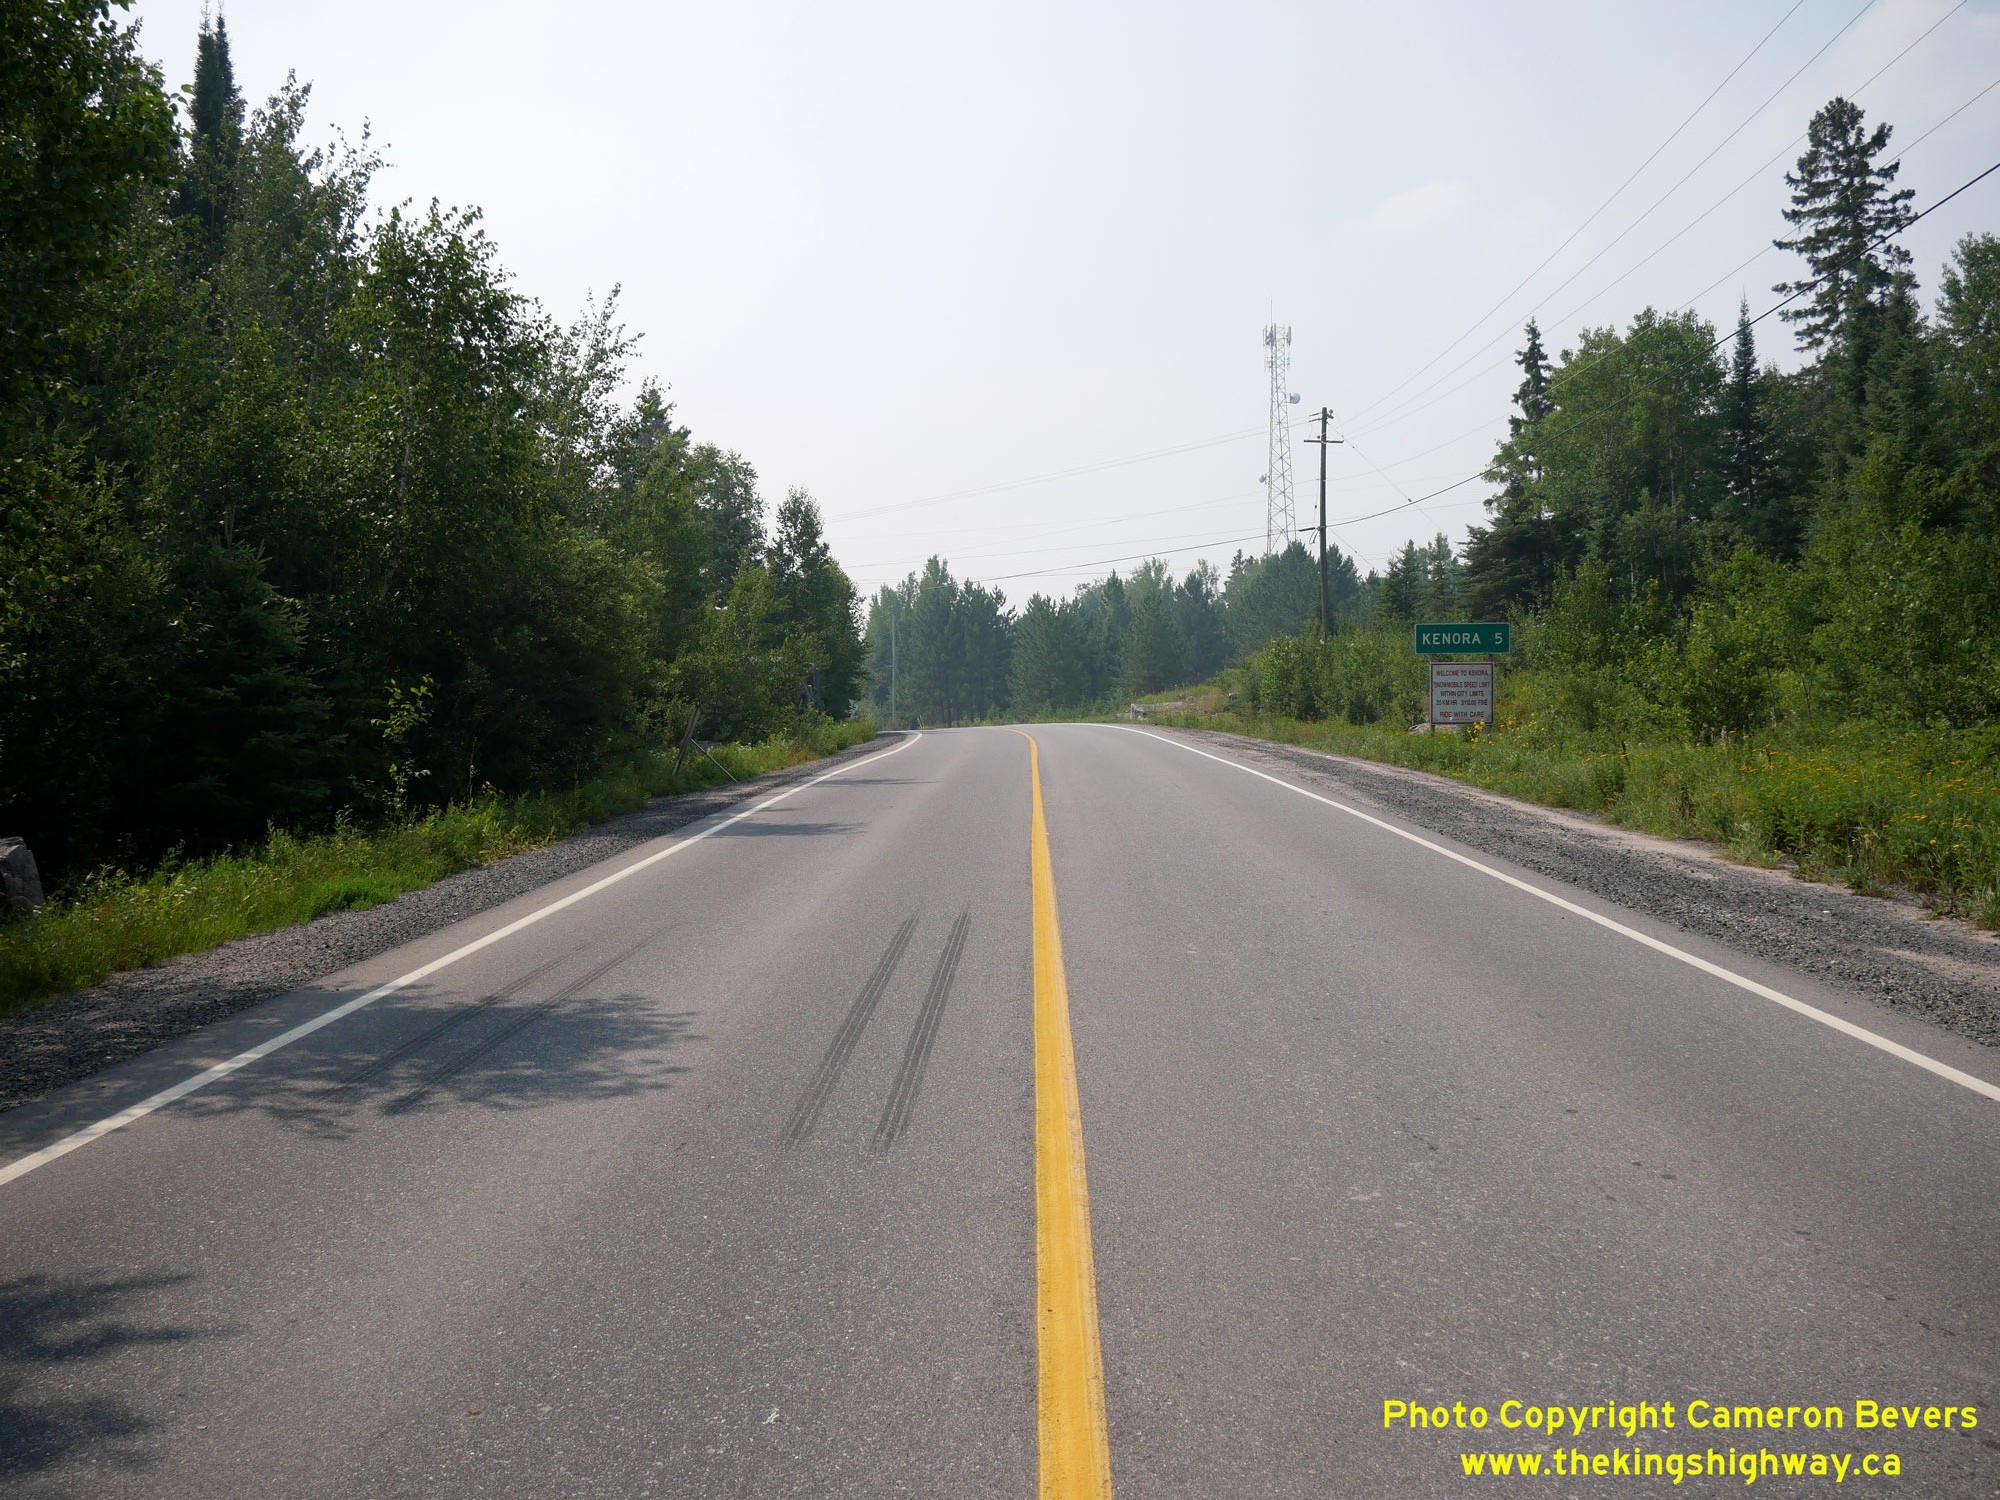
Left - Facing west along Hwy 17A towards Winnipeg from the Hwy 596 Junction in Kenora. The western city limits of Kenora lie a short distance west of Hwy 596.
See an Enlarged Photo Here. (Photograph taken on August 3, 2023 - © Cameron Bevers) Right - Approaching the Hwy 596 Junction on Hwy 17A, facing east. Due to the phased construction of the Kenora Bypass, this intersection marked the eastern terminus of Hwy 17A for several years in the 1980s. The first phase of the Kenora Bypass was constructed under Contract #1981-223 between the Hwy 596 Junction and the western tie-in at Hwy 17 west of Keewatin. This section of the highway opened to traffic in September 1983. The remainder of the bypass between the Hwy 596 Junction and the Hwy 658 Junction opened to traffic in 1988. See an Enlarged Photo Here. (Photograph taken on August 3, 2023 - © Cameron Bevers) 
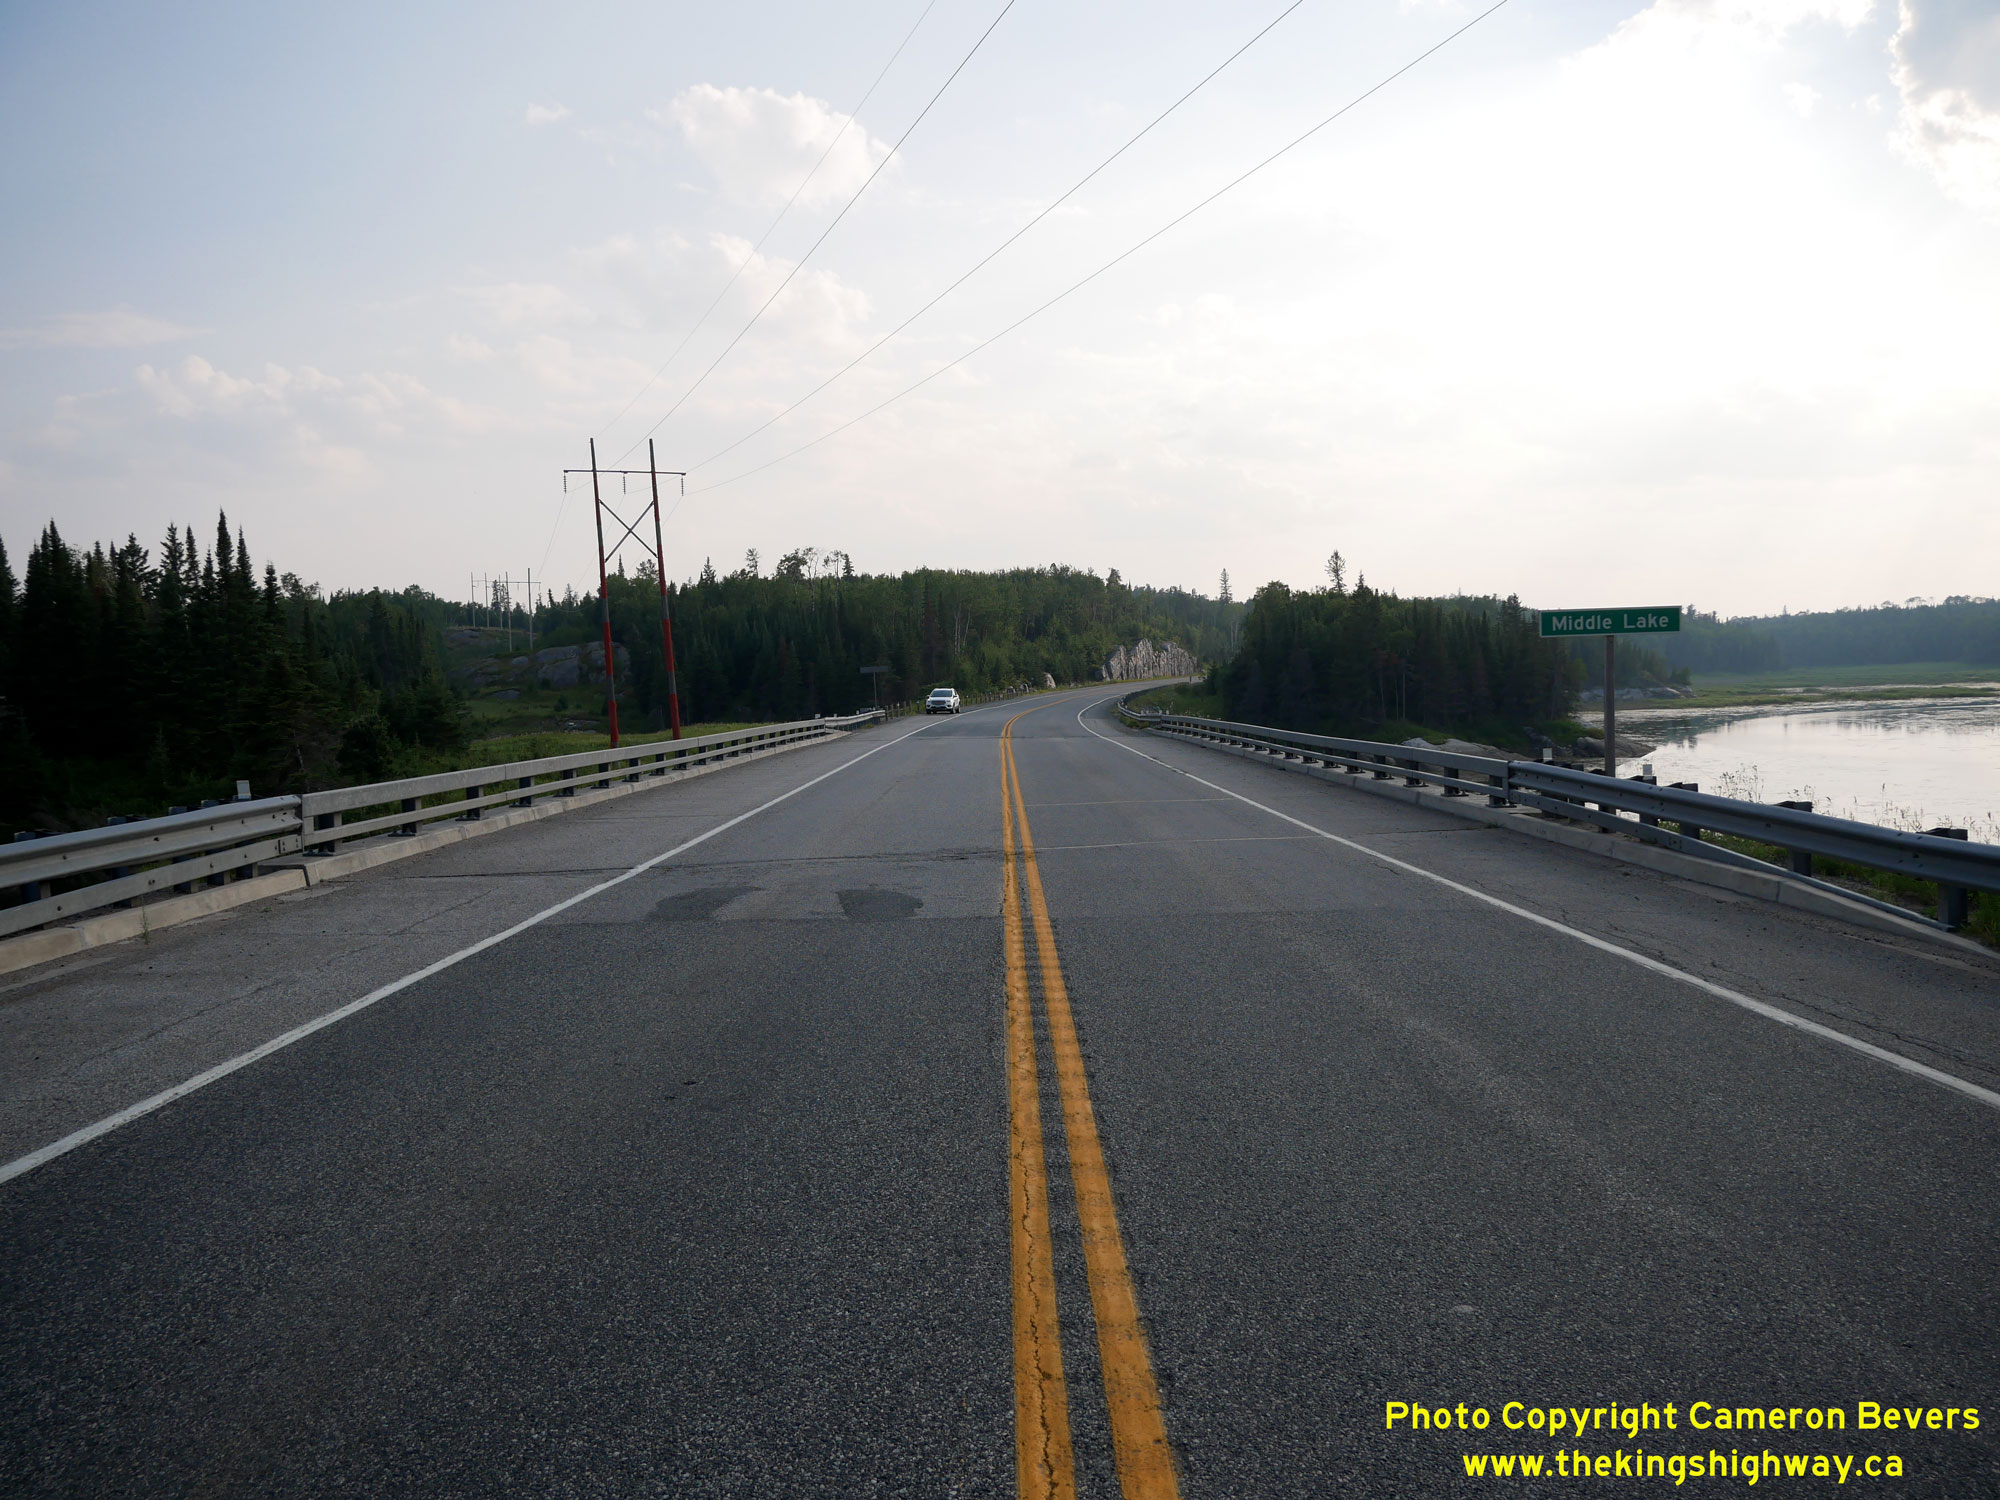
Left - Facing west along the Kenora Bypass (Hwy 17A) from the western city limits of Kenora, located just west of the Hwy 596 Junction. See an
Enlarged Photo Here. (Photograph taken on August 3, 2023 - © Cameron Bevers) Right - View of the Middle Lake Bridge (Site #41S-123) on Hwy 17A, facing west towards Winnipeg. See an Enlarged Photo Here. (Photograph taken on August 3, 2023 - © Cameron Bevers) 
Left - Southern side of the Middle Lake Bridge on Hwy 17A. This single-span steel beam bridge was constructed under Contract #1981-223 and was completed in
1982. See an Enlarged Photo Here. (Photograph taken on August 3, 2023 - © Cameron Bevers) Right - Facing east along Hwy 17A at the Middle Lake Bridge northwest of Kenora. See an Enlarged Photo Here. (Photograph taken on August 3, 2023 - © Cameron Bevers) 
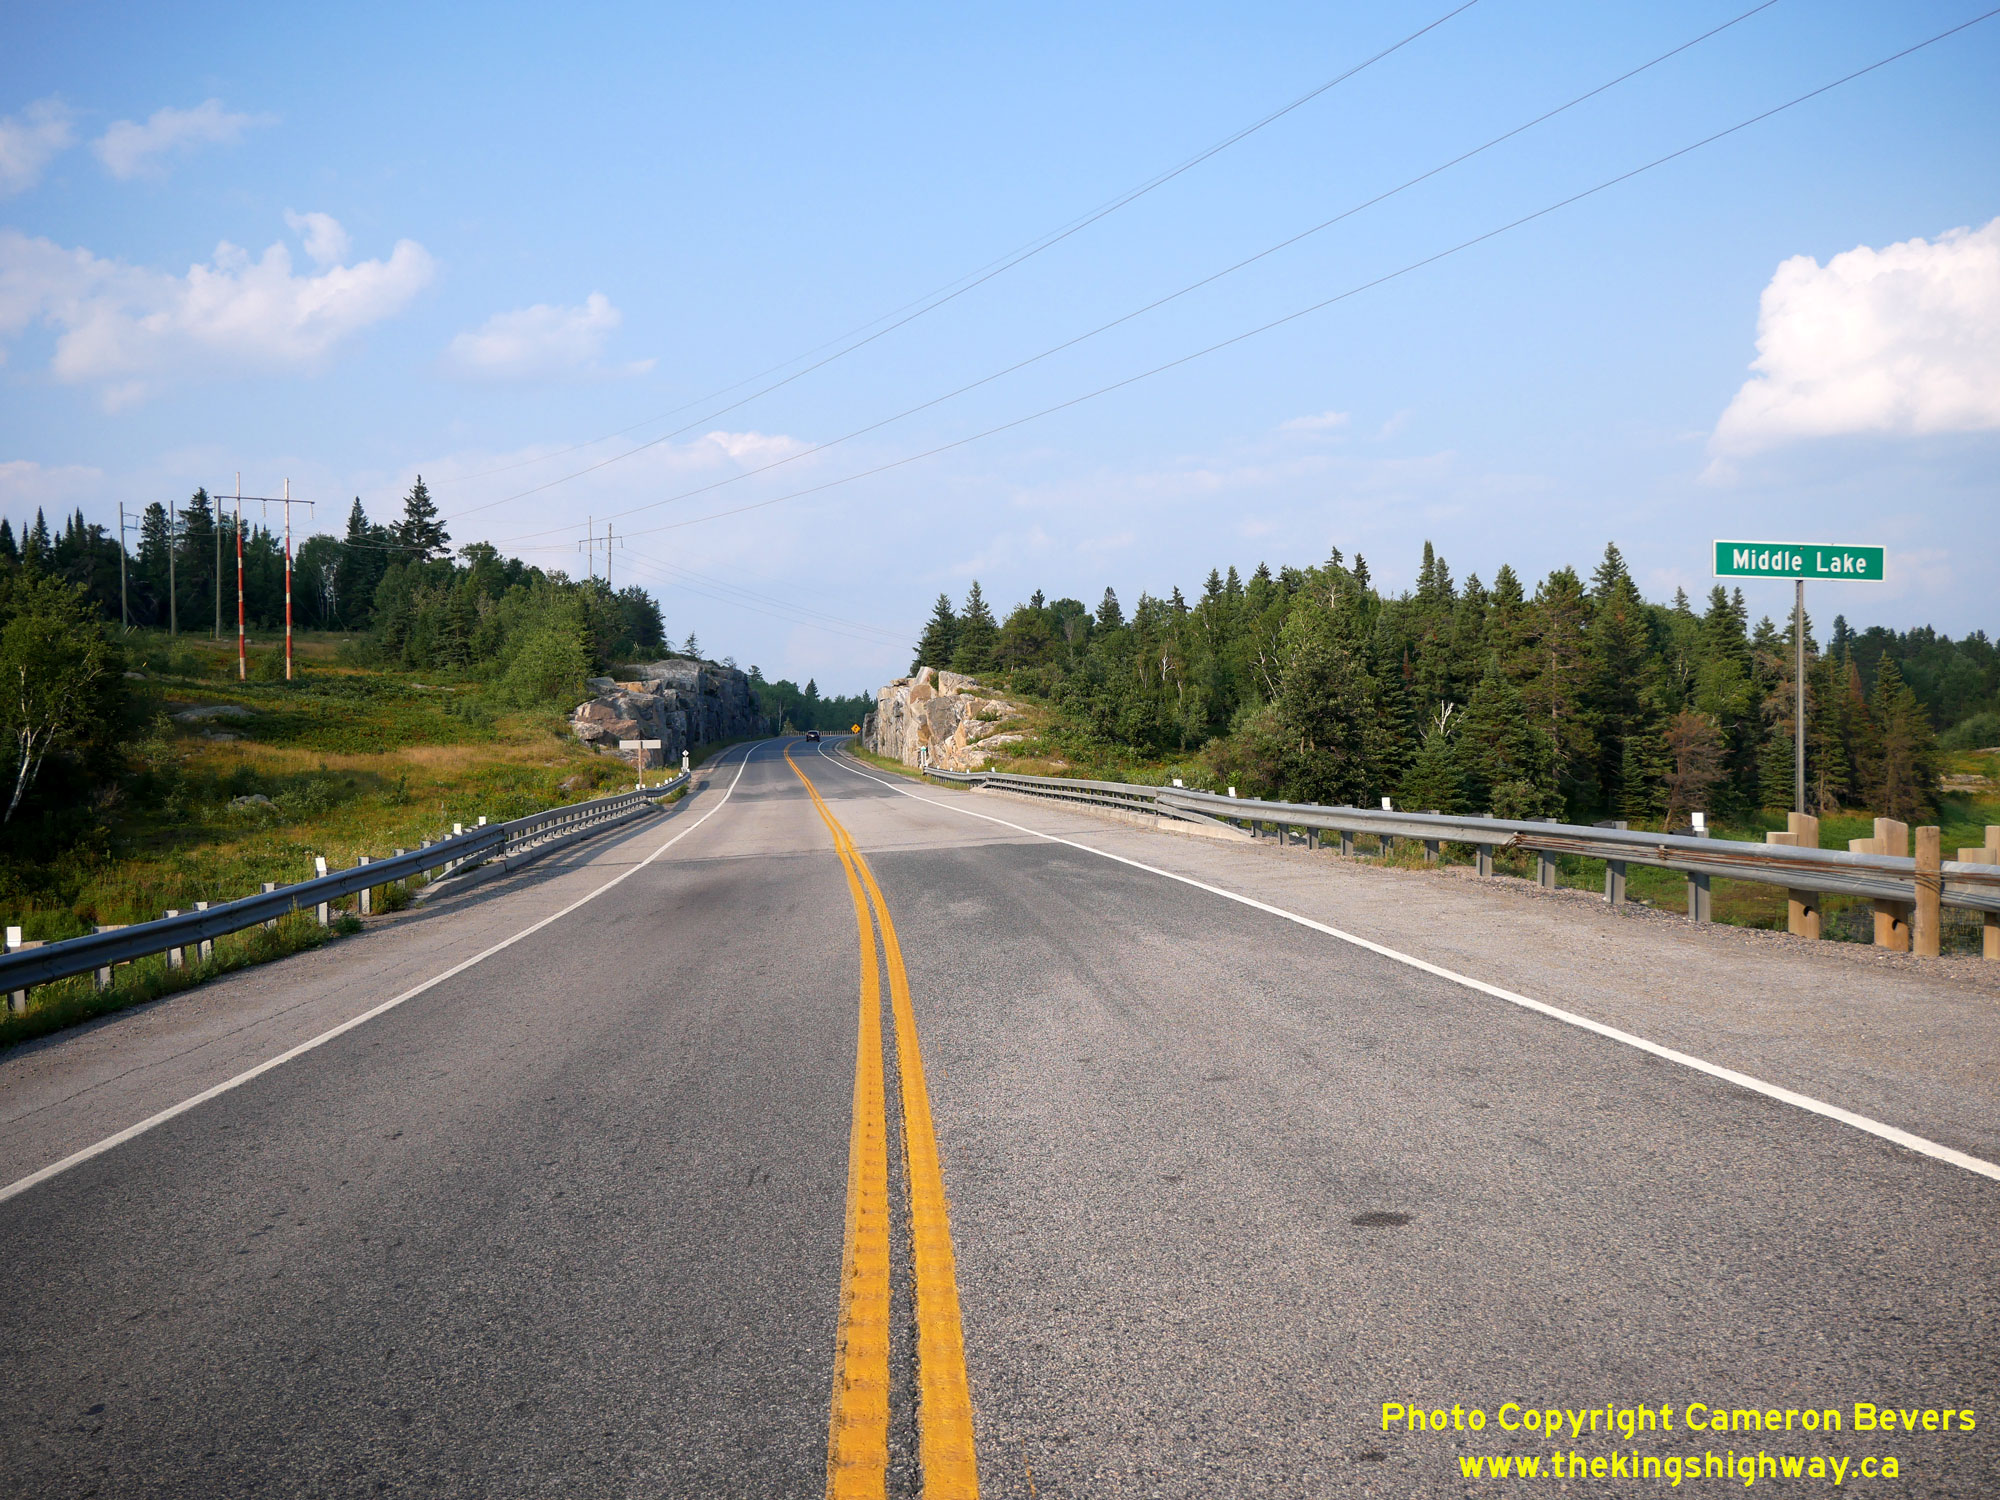
Left - Northern side of the Middle Lake Bridge on Hwy 17A. This bridge spans the outlet of Middle Lake, which drains southerly into the Winnipeg River. See an
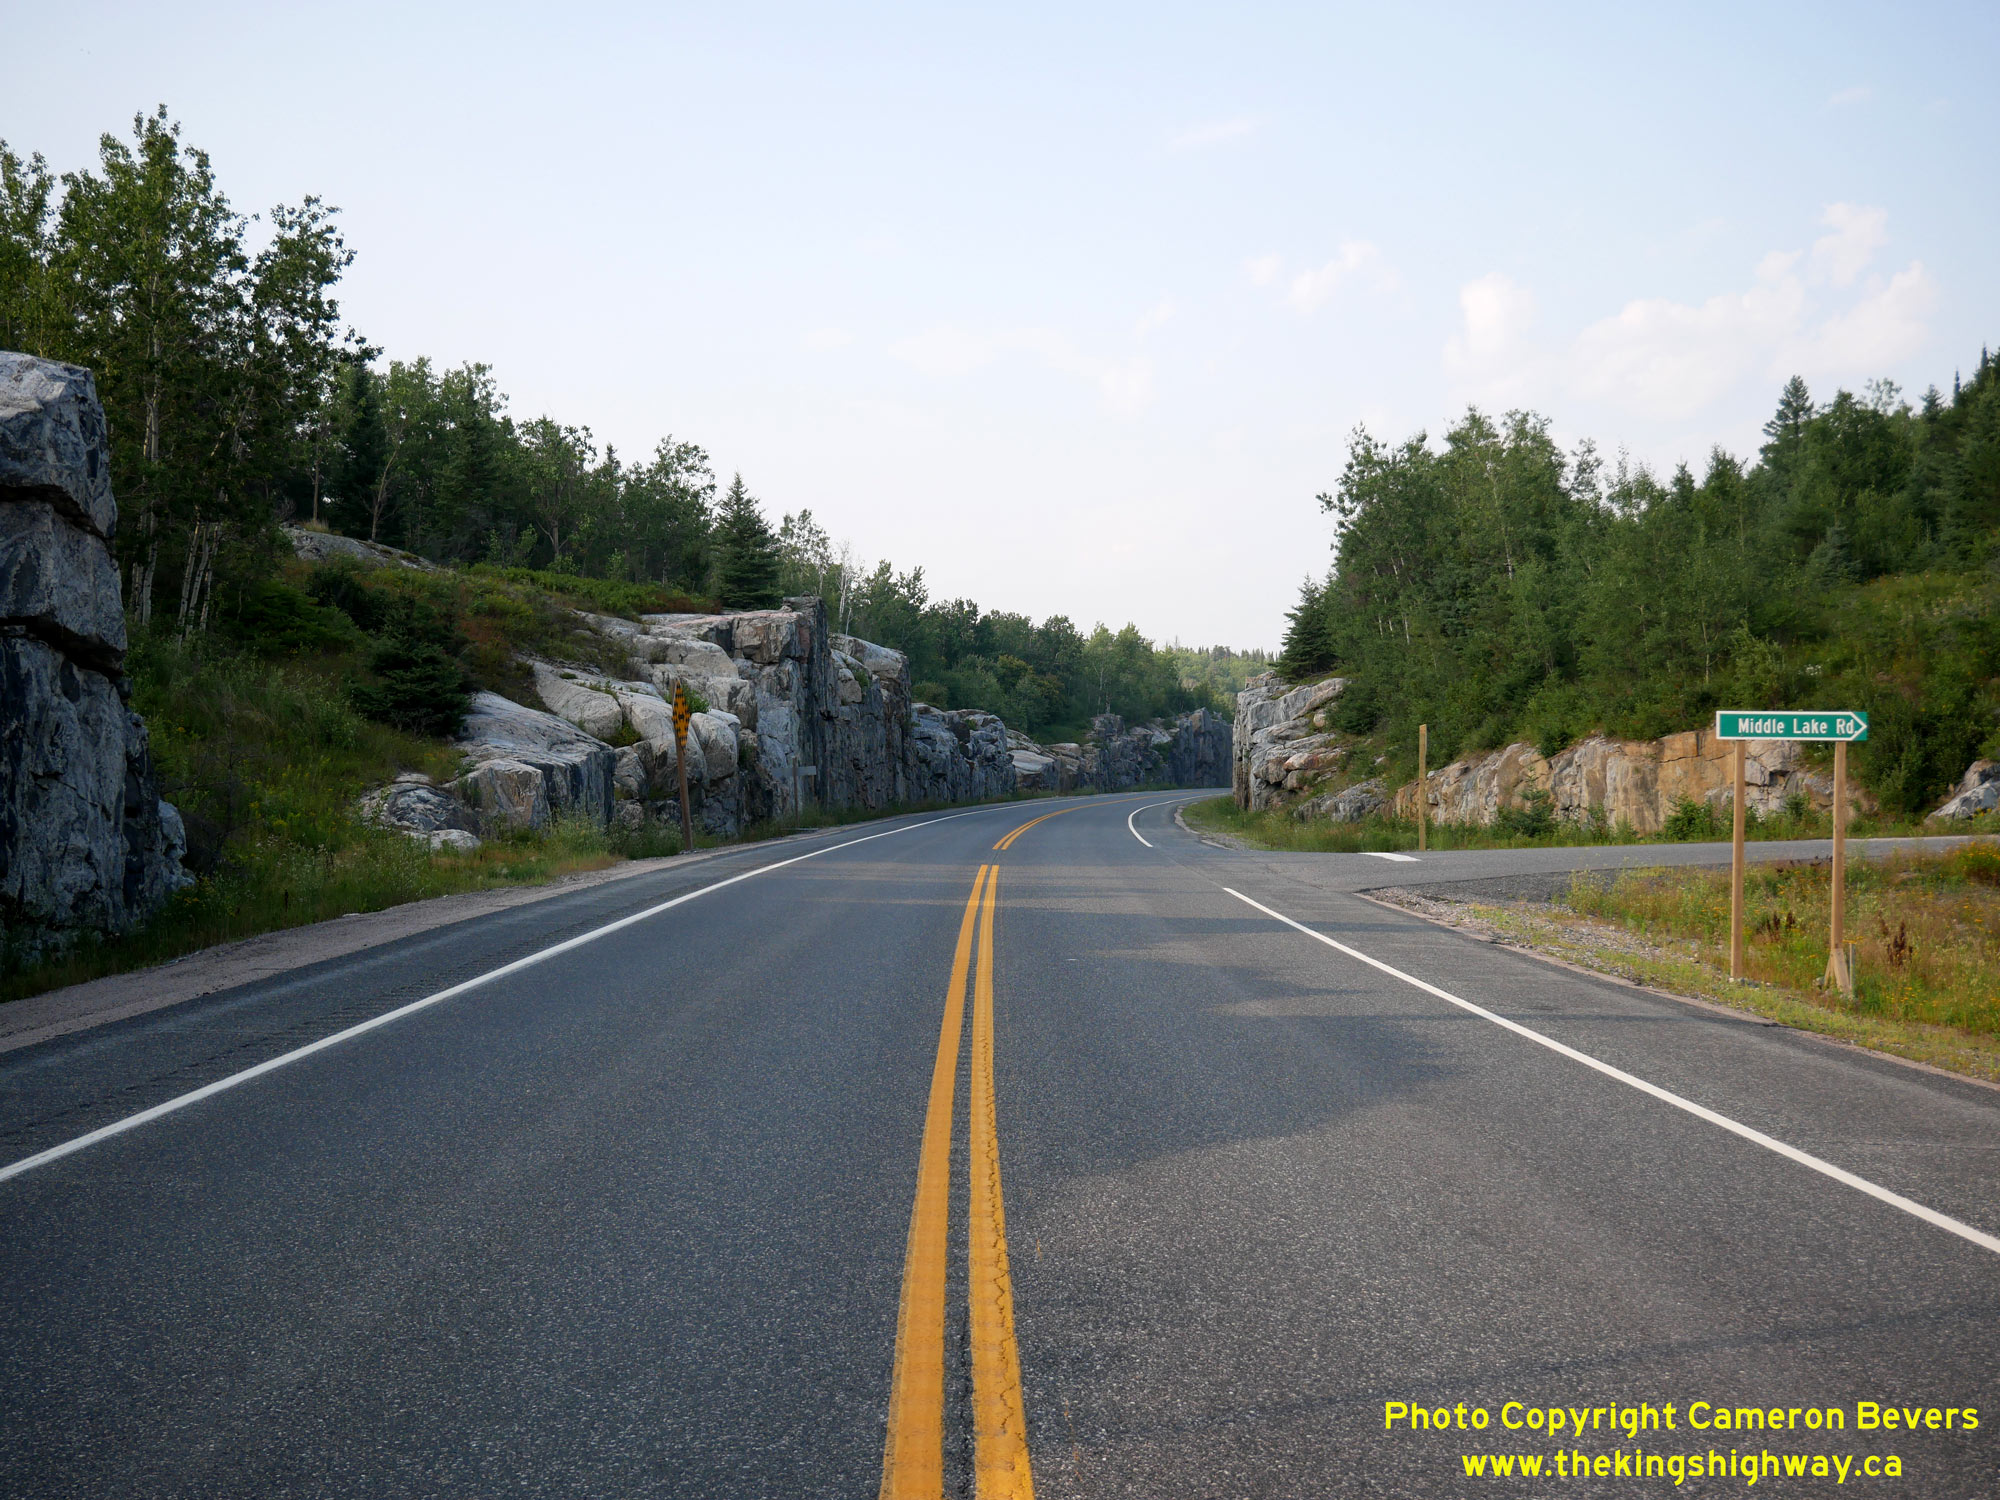
Enlarged Photo Here. (Photograph taken on August 3, 2023 - © Cameron Bevers) Right - Facing east along the Kenora Bypass (Hwy 17A) at Middle Lake Road northwest of Kenora. See an Enlarged Photo Here. (Photograph taken on August 3, 2023 - © Cameron Bevers) 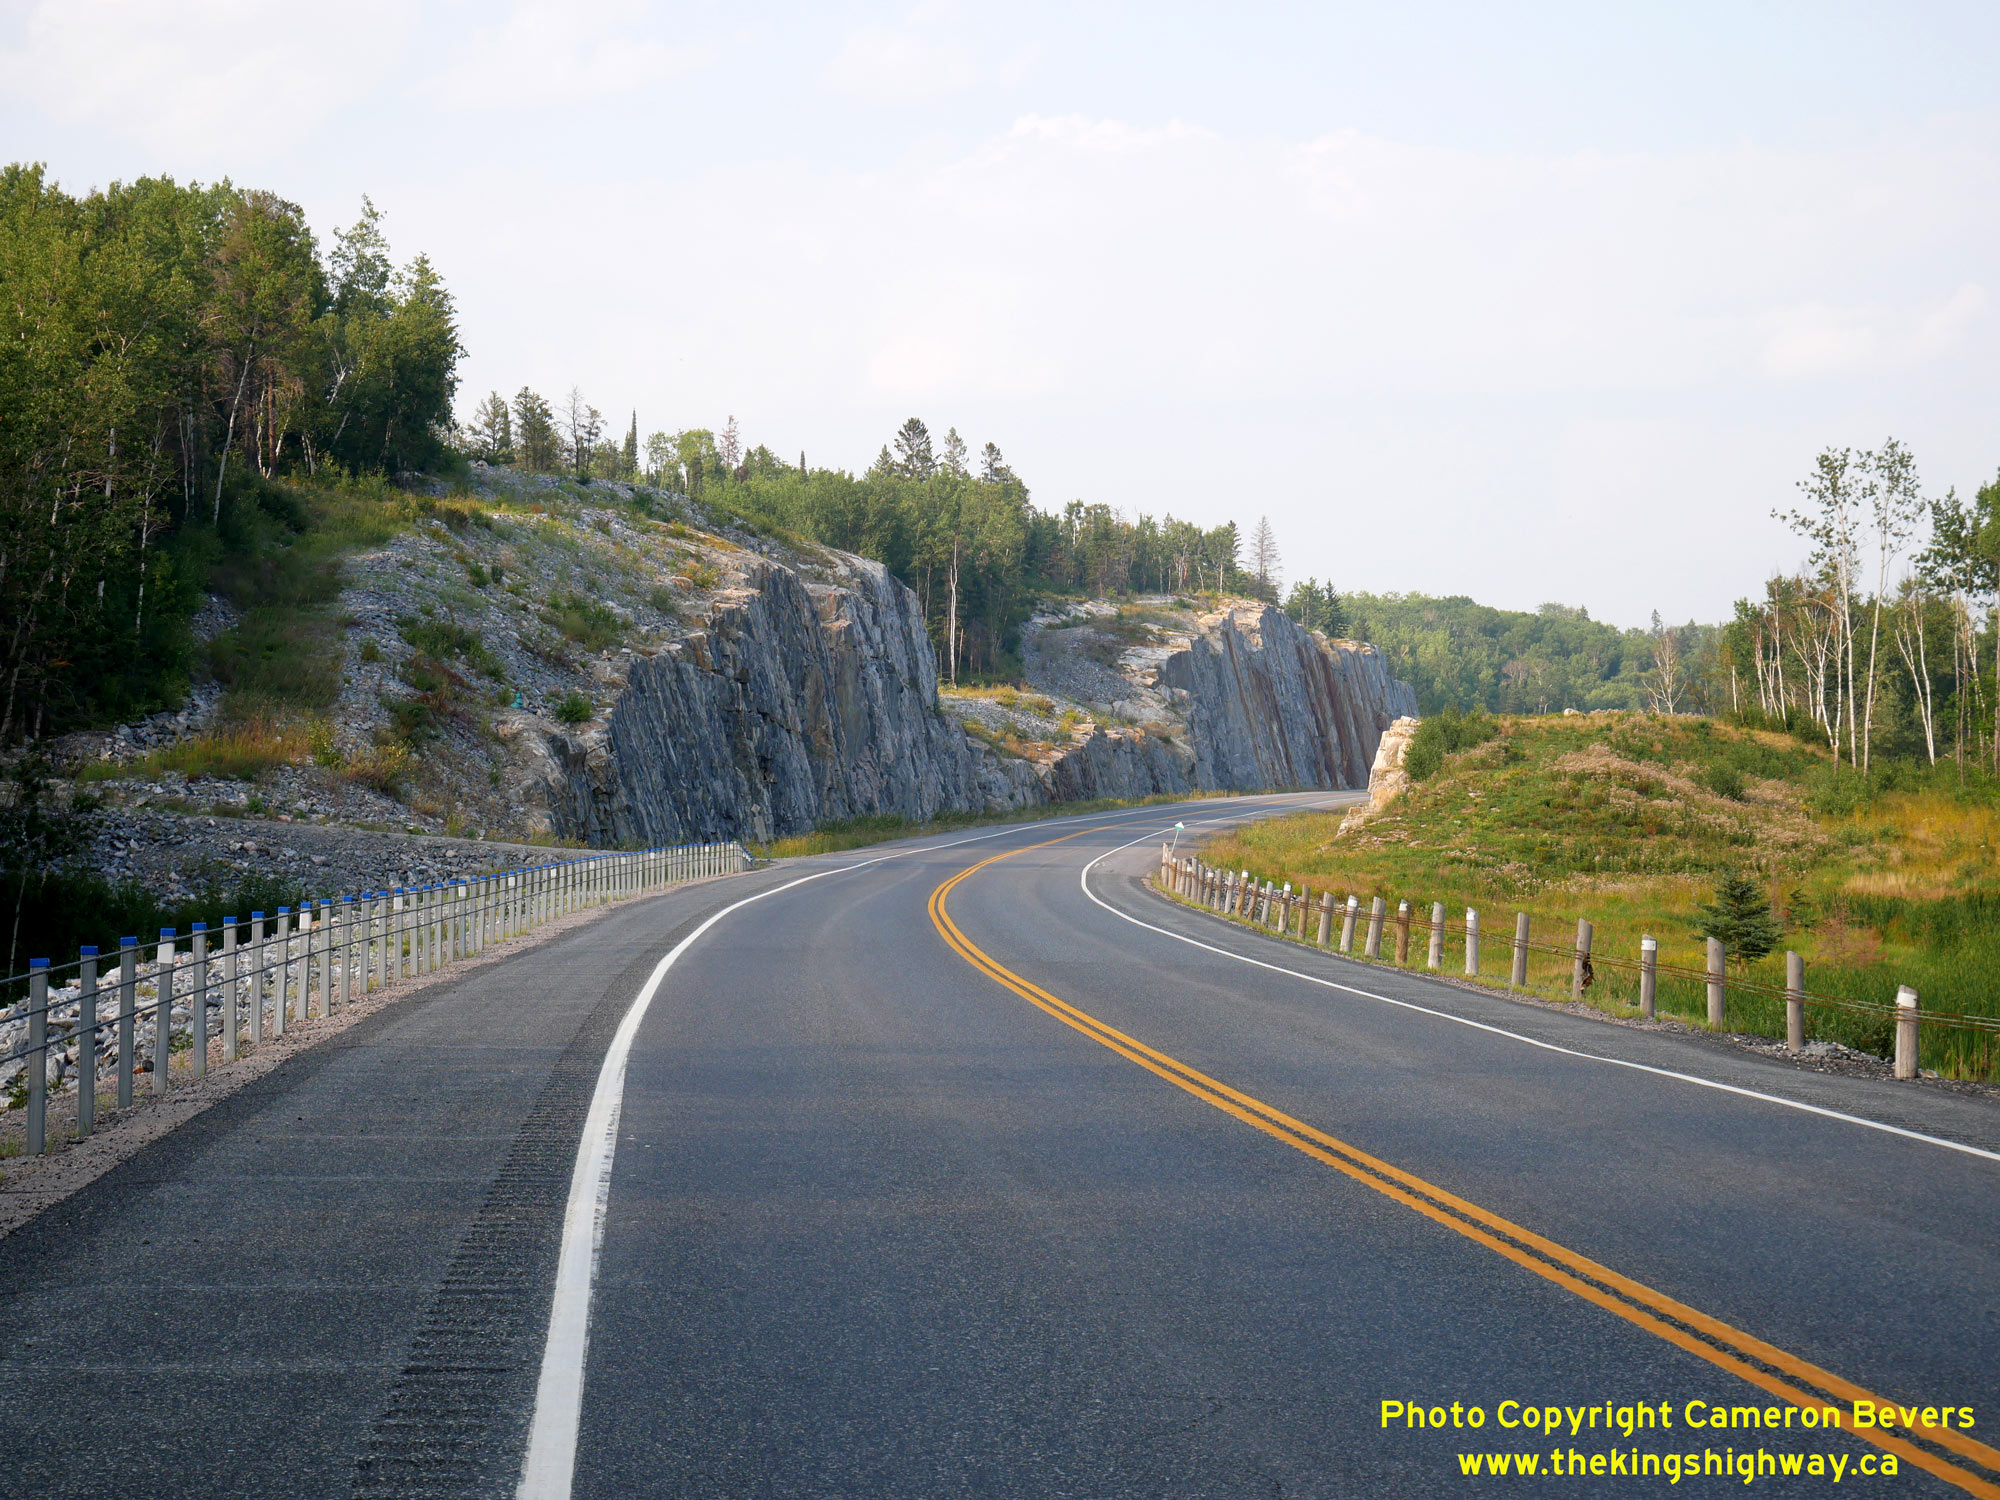
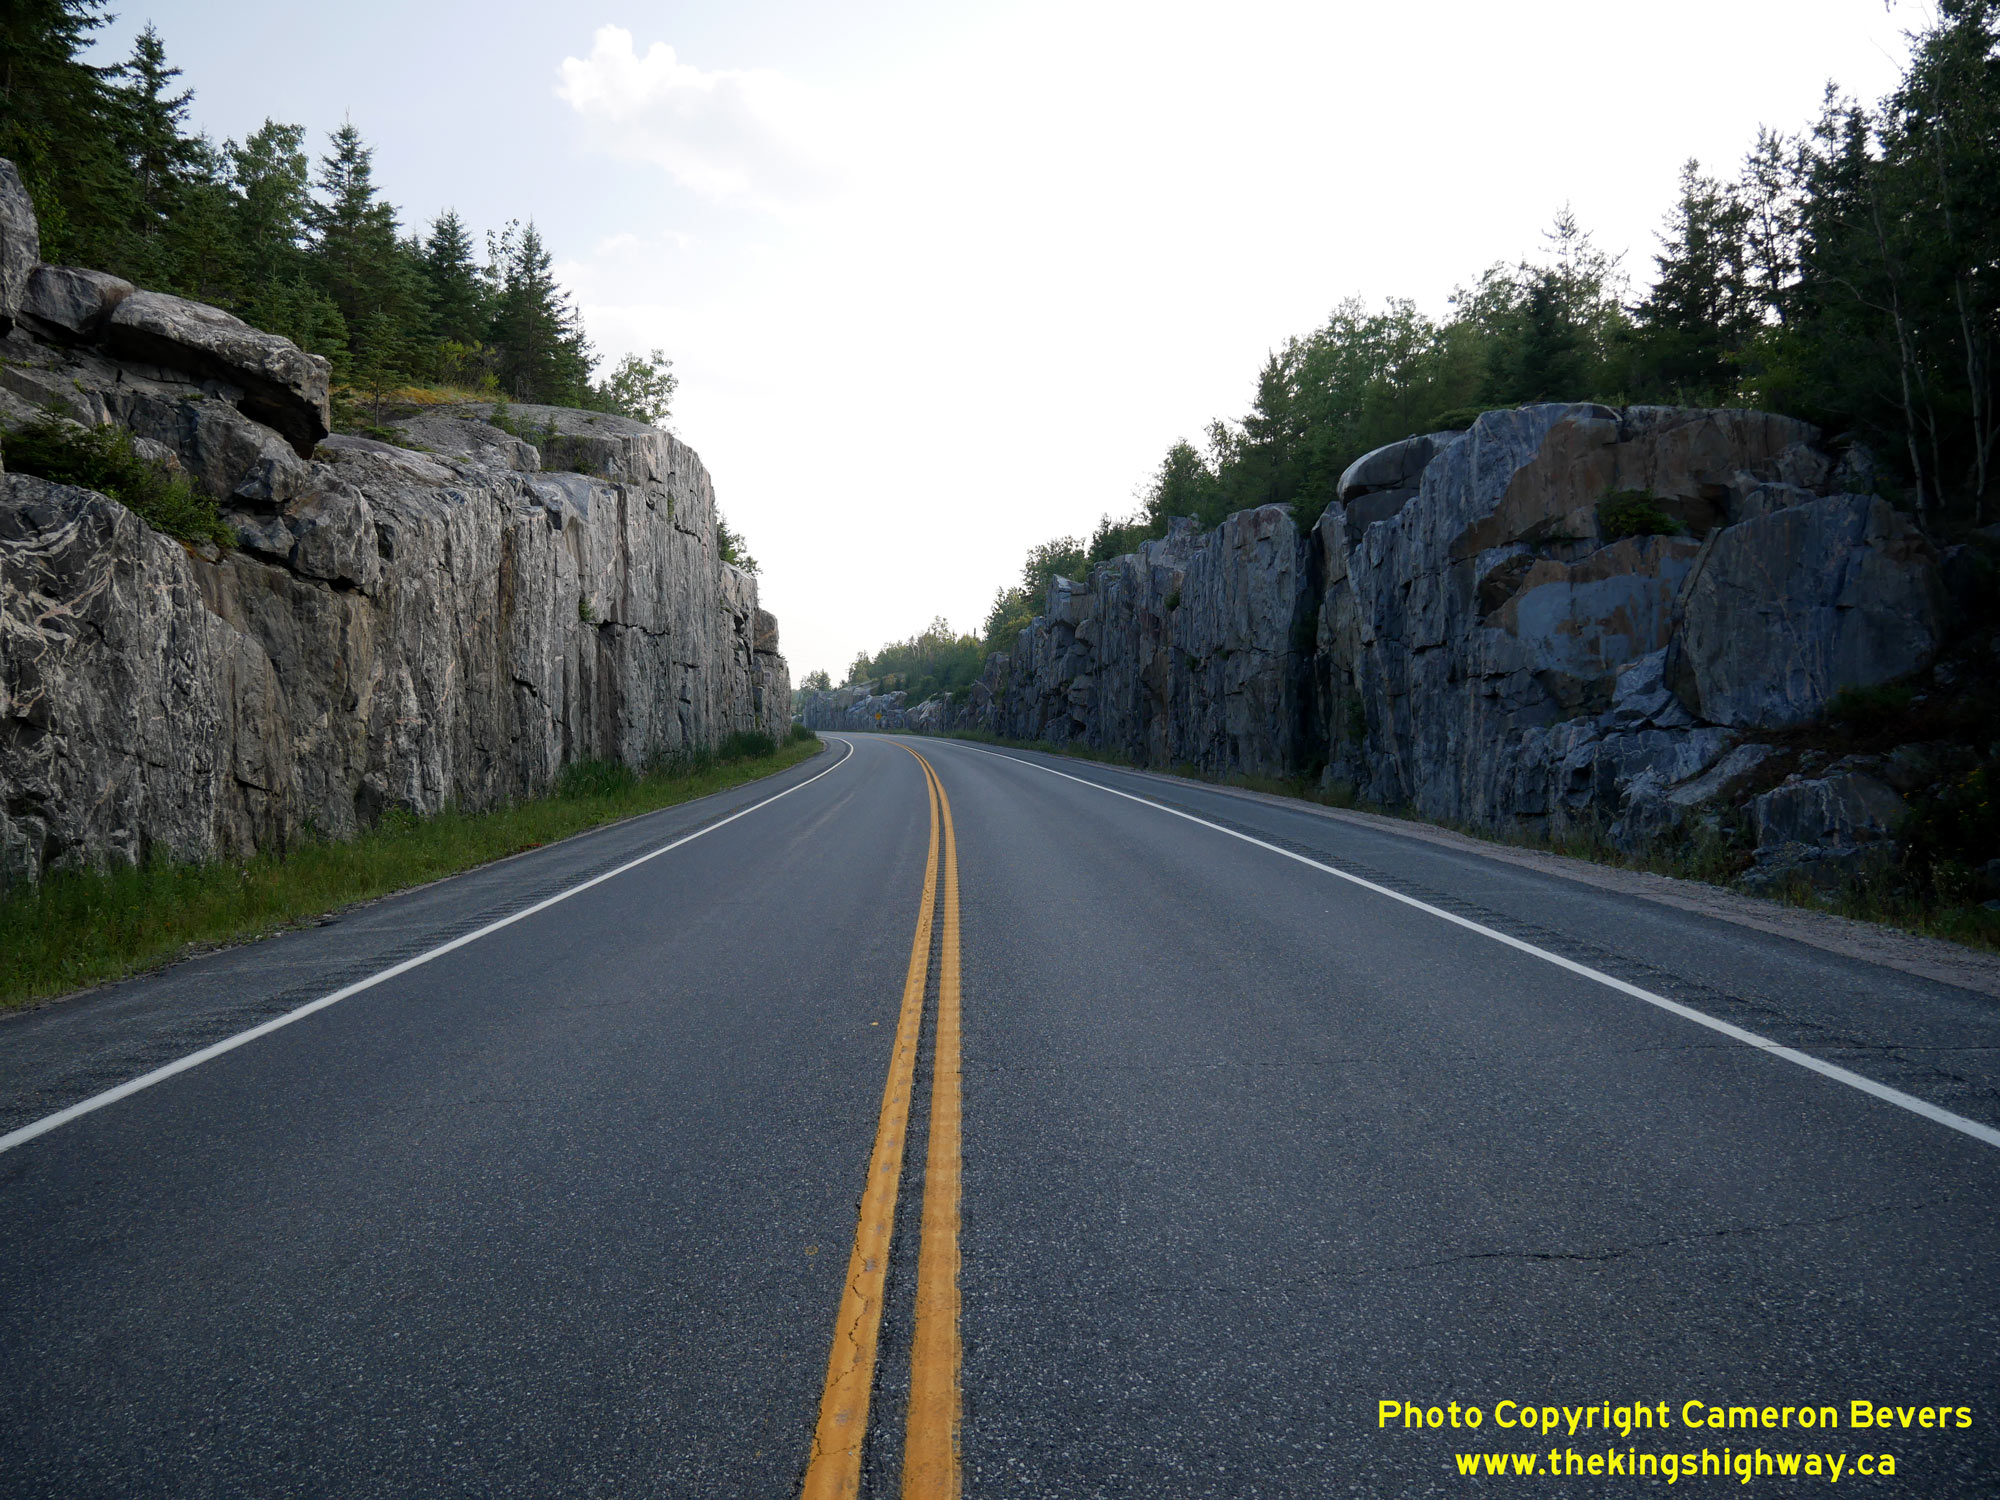
Left - This section of Hwy 17A features a run of the new high-tension 3-cable guide rail system on the north side of the highway, alongside an older cedar post
3-cable guide rail system on the south side, which was unaffected by recent highway construction. The new high-tension 3-cable roadside barrier type first
appeared along Ontario's highways in the 2010s and is now being implemented to replace older roadside barrier types as various sections of highway get reconstructed.
The high-tension 3-cable guide rail system provides improved roadside safety as it has been crash tested using modern vehicle fleets. Several of the existing roadside
barrier systems used across North America were originally tested using vehicle fleets which were on the road during the 1960s and 1970s, which coincided with the
period these roadside barrier designs were initially being developed. However, as vehicle fleets have changed over the years, many North American jurisdictions
including Ontario are updating their roadside barrier designs. This is being done to ensure that roadside safety hardware is kept compatible with the design
characteristics of newer vehicles and that this hardware performs as intended in the event of a collision. See an
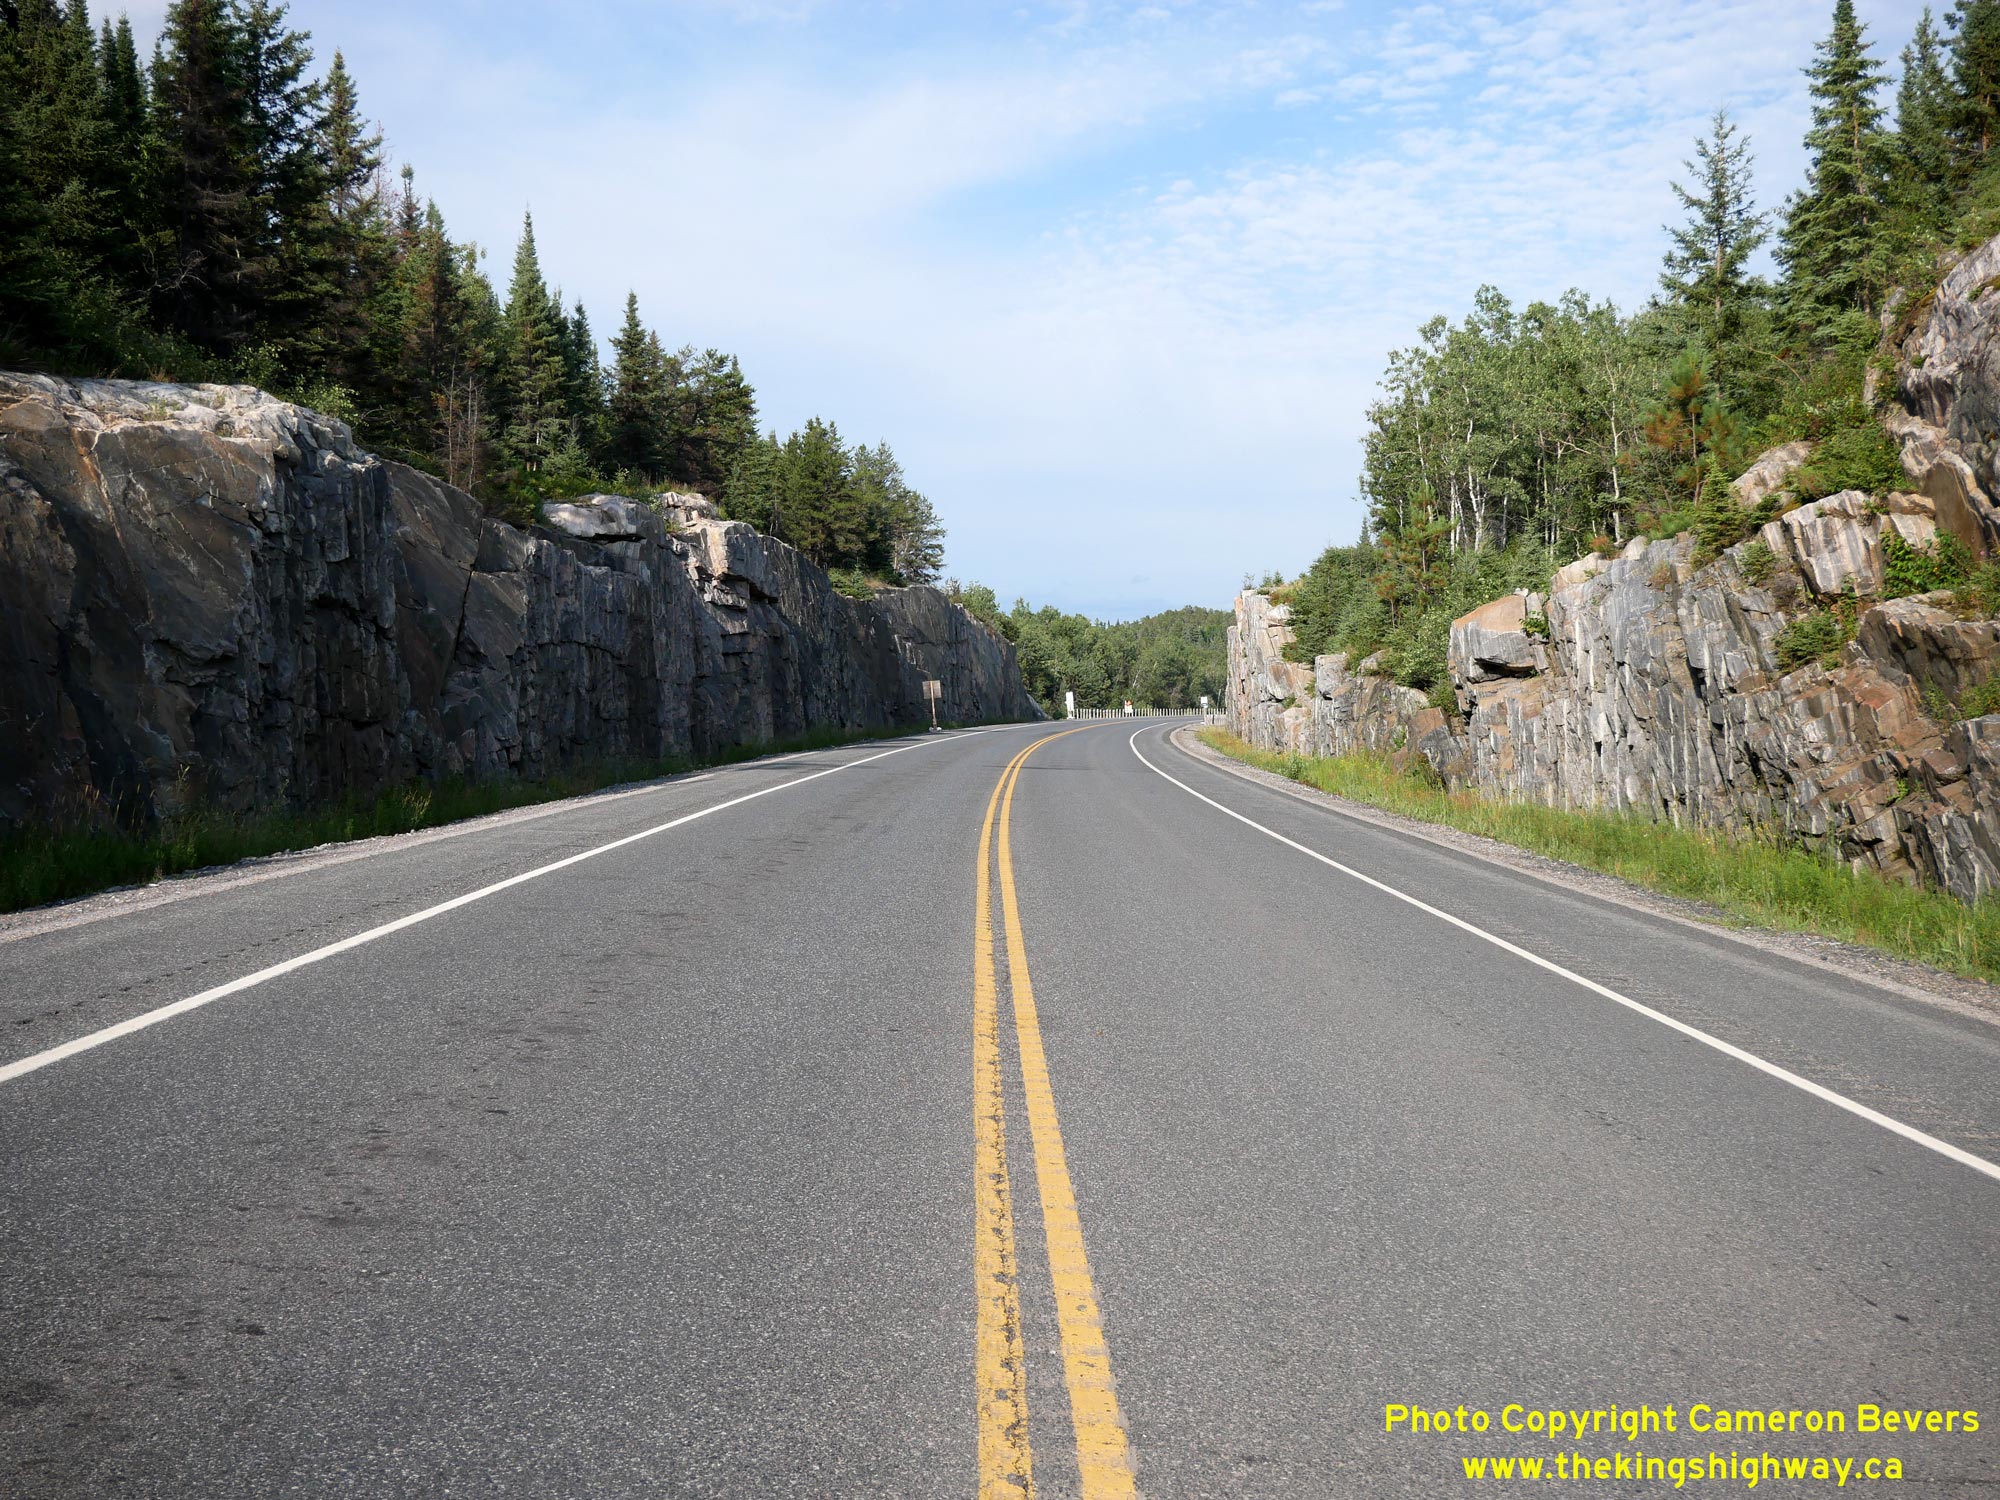
Enlarged Photo Here. (Photograph taken on August 3, 2023 - © Cameron Bevers) Right - Some of the province's most impressive highway rock cuts can be found along the Kenora Bypass (Hwy 17A). The Kenora area is quite rugged, with bedrock close to the surface in many areas. Accordingly, several deep rock cuts had to be blasted through this area in order to build the Kenora Bypass. See an Enlarged Photo Here. (Photograph taken on August 3, 2023 - © Cameron Bevers) 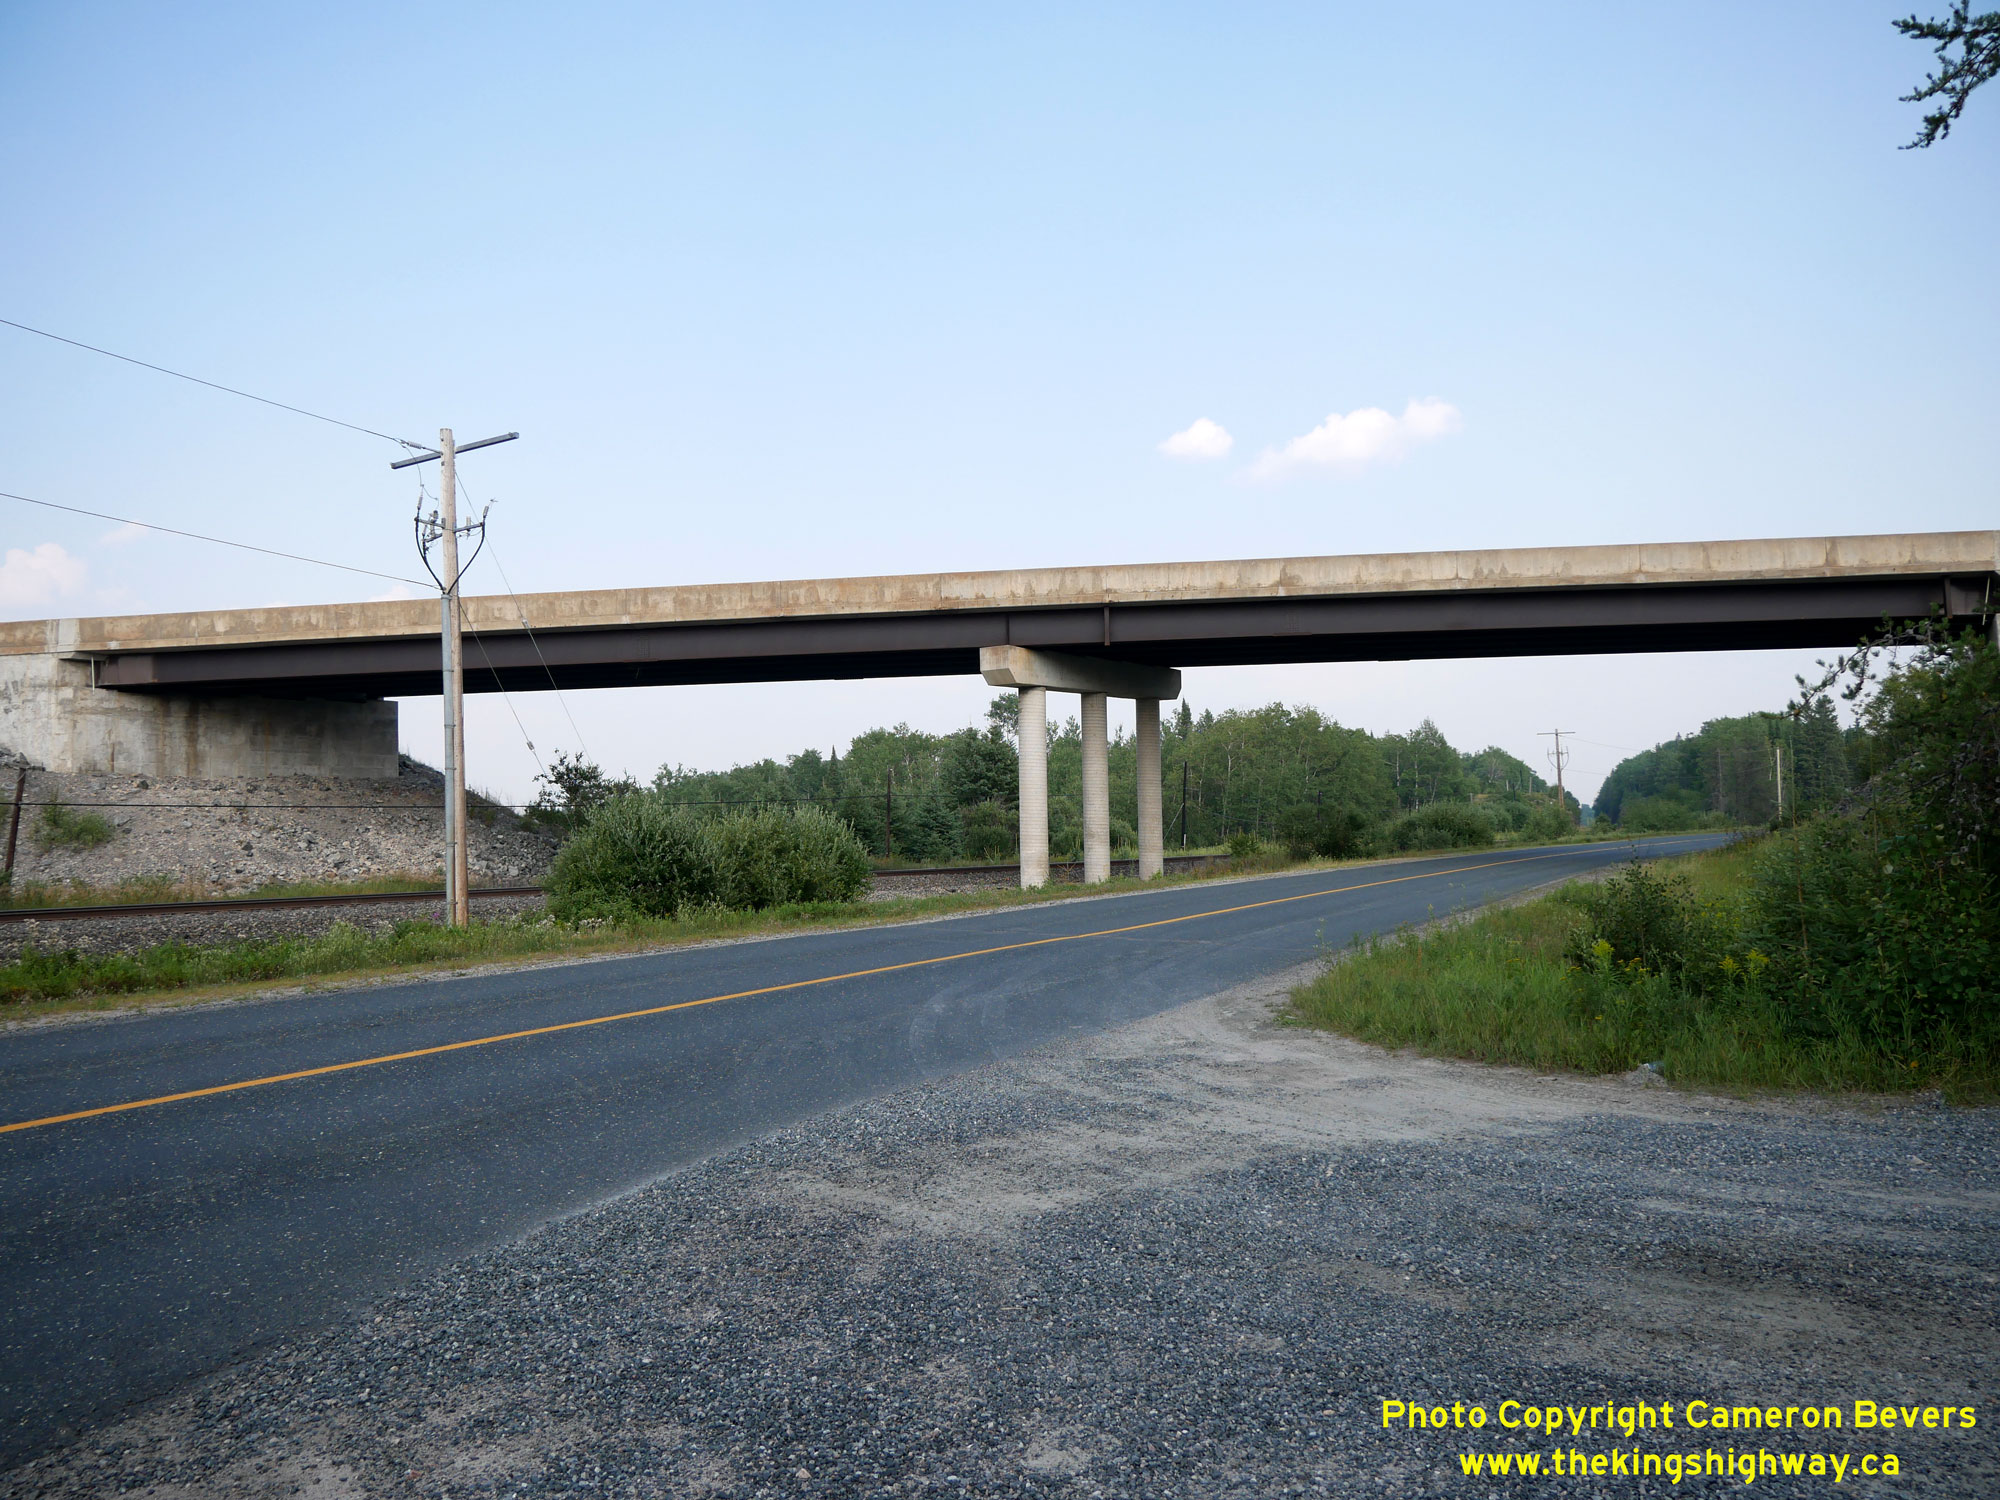
Left - Northern side of the grade separation on the Kenora Bypass (Hwy 17A) at the Canadian Pacific Railway (CPR) and Hwy 641. This two-span steel girder
structure was built under Contract #1981-223 and was completed in 1982. There is no direct connection between Hwy 641 and Hwy 17A at this point, so traffic wishing to
travel between these two highways must do so via nearby Hwy 17. See an Enlarged Photo Here. (Photograph taken on August 3, 2023 - © Cameron Bevers) Right - Facing west along Hwy 17A at the Hwy 641 and CPR Overhead northwest of Kenora. See an Enlarged Photo Here. (Photograph taken on August 3, 2023 - © Cameron Bevers) 
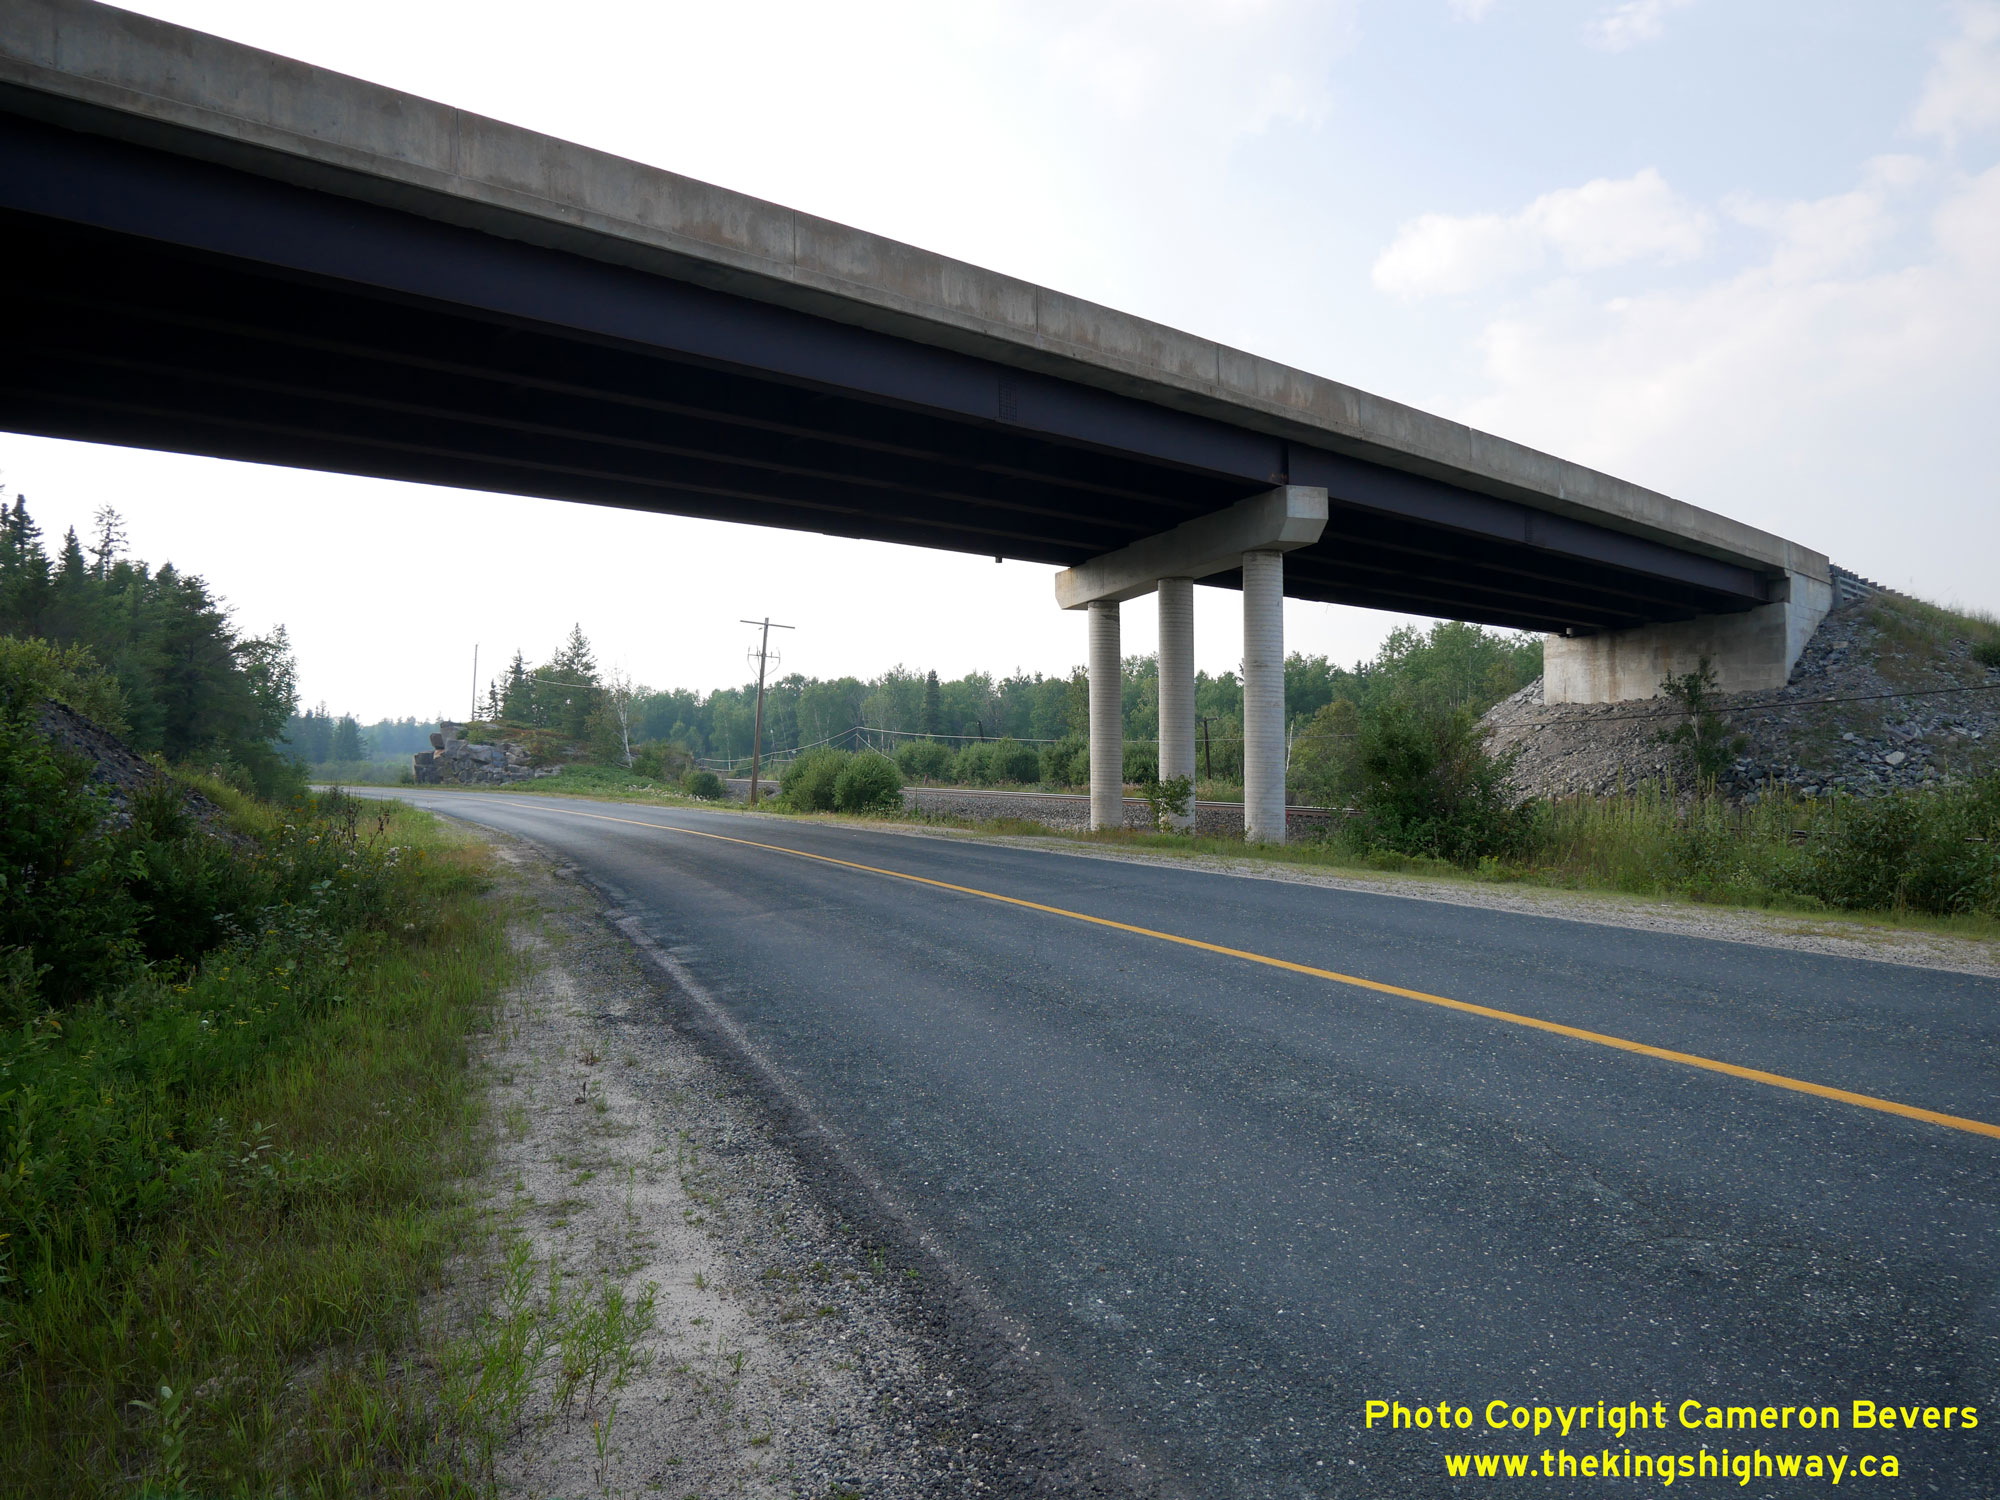
Left - Facing east along Hwy 17A at the Hwy 641 and CPR Overhead northwest of Kenora. See an
Enlarged Photo Here. (Photograph taken on August 3, 2023 - © Cameron Bevers) Right - Southern side of the grade separation on the Kenora Bypass (Hwy 17A) at the Canadian Pacific Railway (CPR) and Hwy 641. This structure is rather noteworthy in that it is the westernmost bridge along Ontario's King's Highways. By the time motorists drive west from Kenora towards the Manitoba Boundary, they are about as far west as Houston, Texas. It's easy to forget just how big the Province of Ontario really is! See an Enlarged Photo Here. (Photograph taken on August 3, 2023 - © Cameron Bevers) 
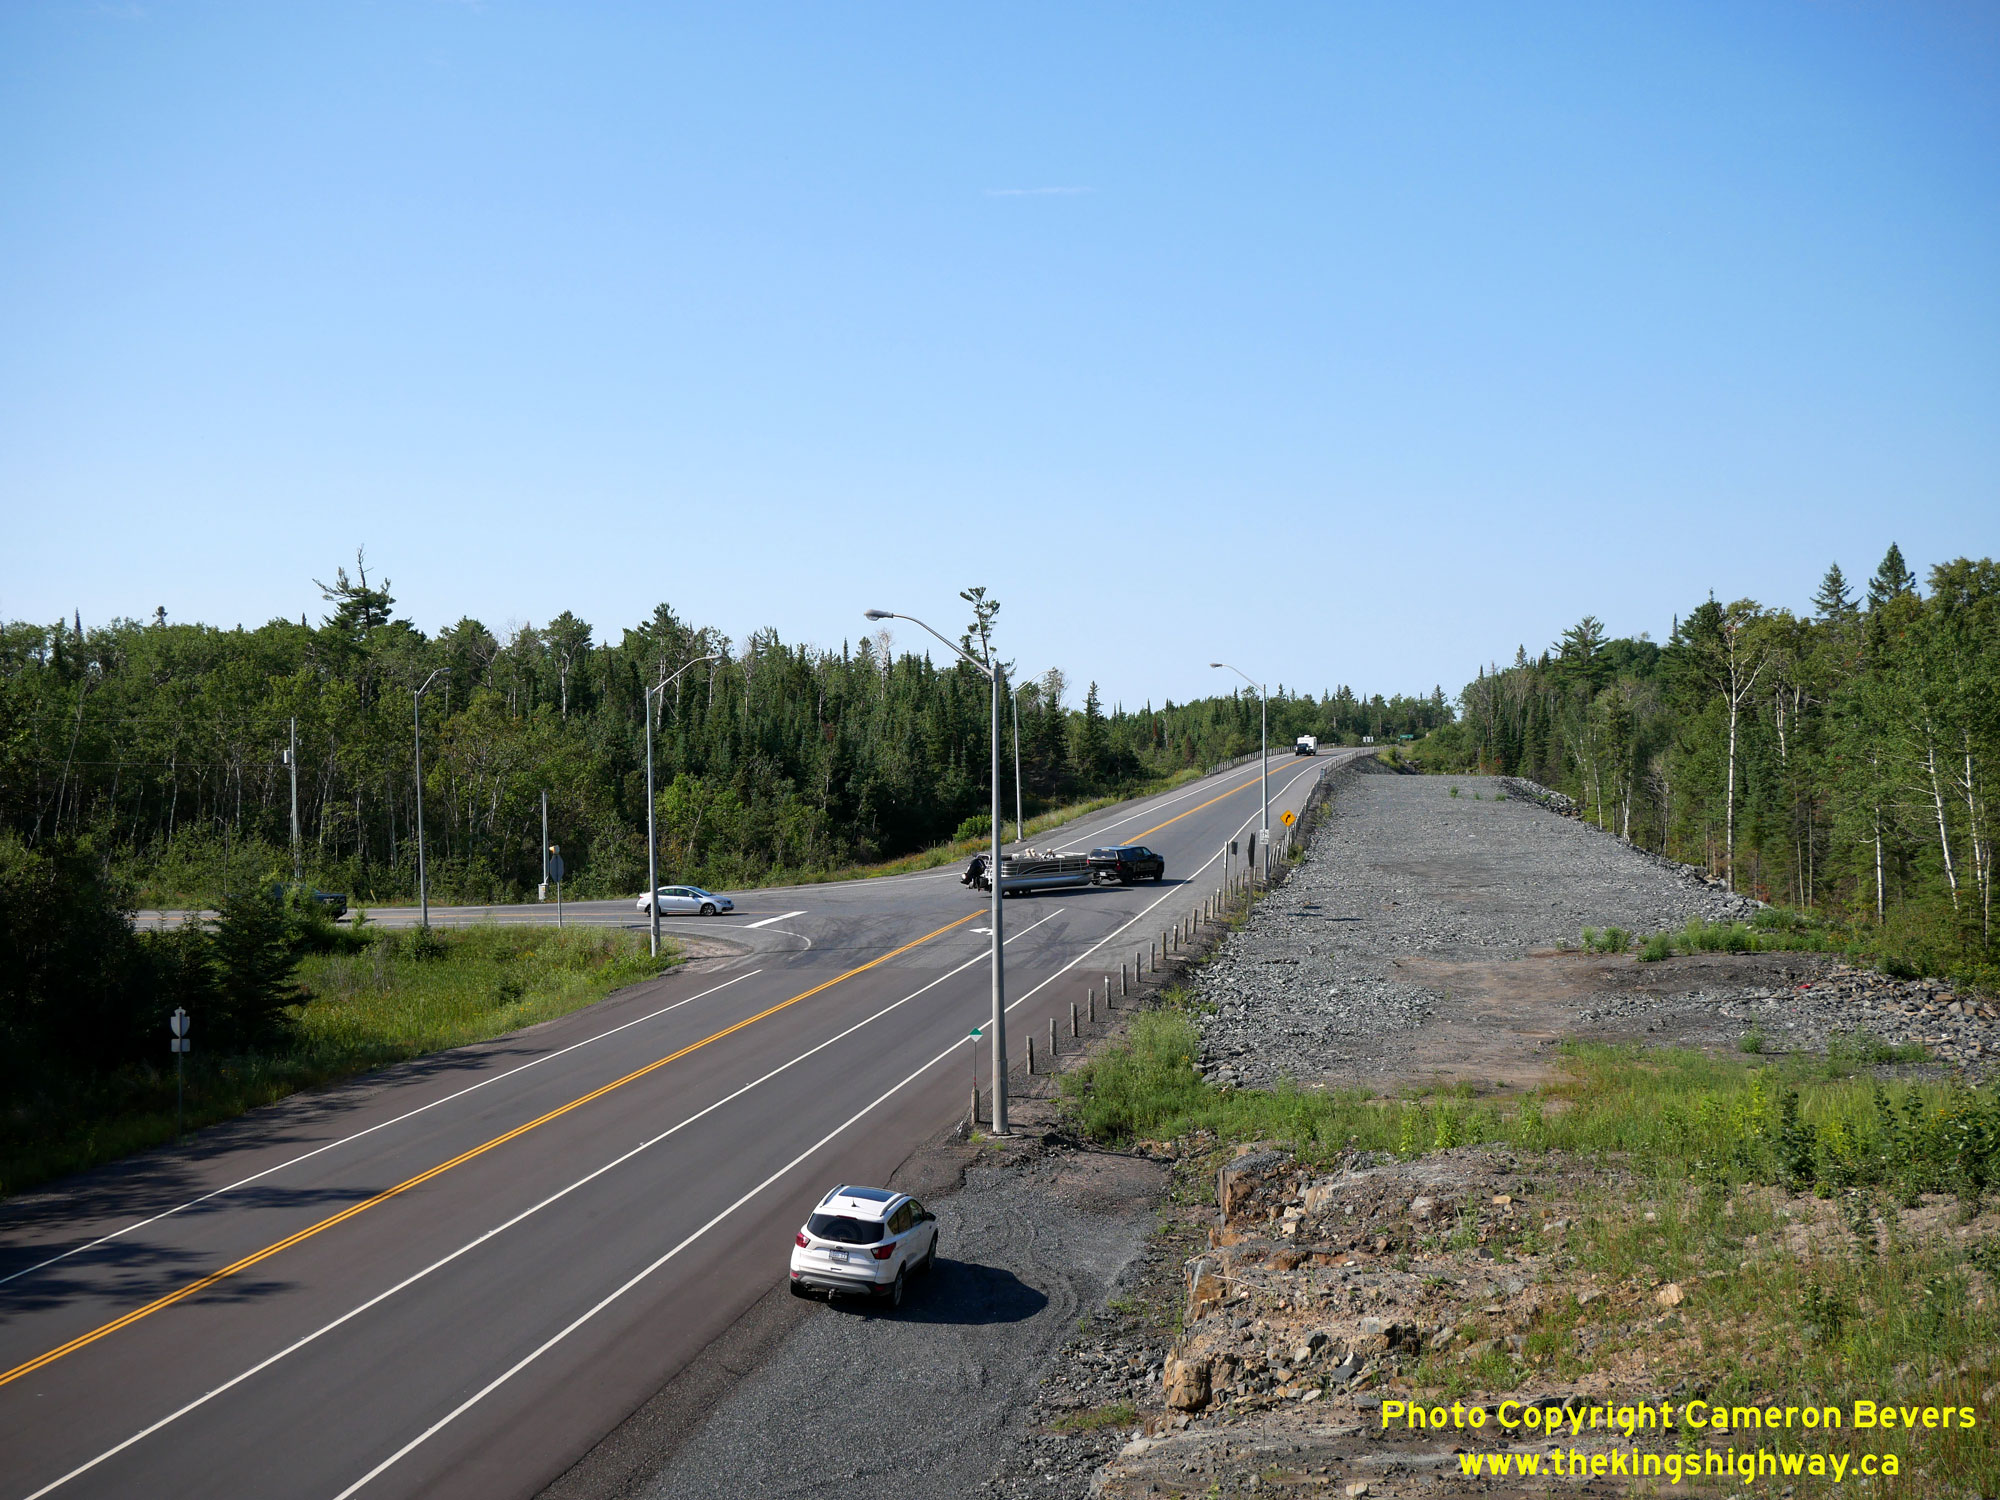
Left - Date stamp (1982) and structure identification number (Site #41S-122) on the Hwy 641 and CPR Overhead on Hwy 17A near Kenora. See an
Enlarged Photo Here. (Photograph taken on August 3, 2023 - © Cameron Bevers) Right - View of the Hwy 17 & Hwy 17A Junction at the western end of the Kenora Bypass. Traffic joins in from Hwy 17 via Kenora at left, while motorists who proceed straight ahead from Hwy 17A at this junction will continue west along Hwy 17 towards the Manitoba Boundary and Winnipeg. See an Enlarged Photo Here. (Photograph taken on August 2, 2023 - © Cameron Bevers) 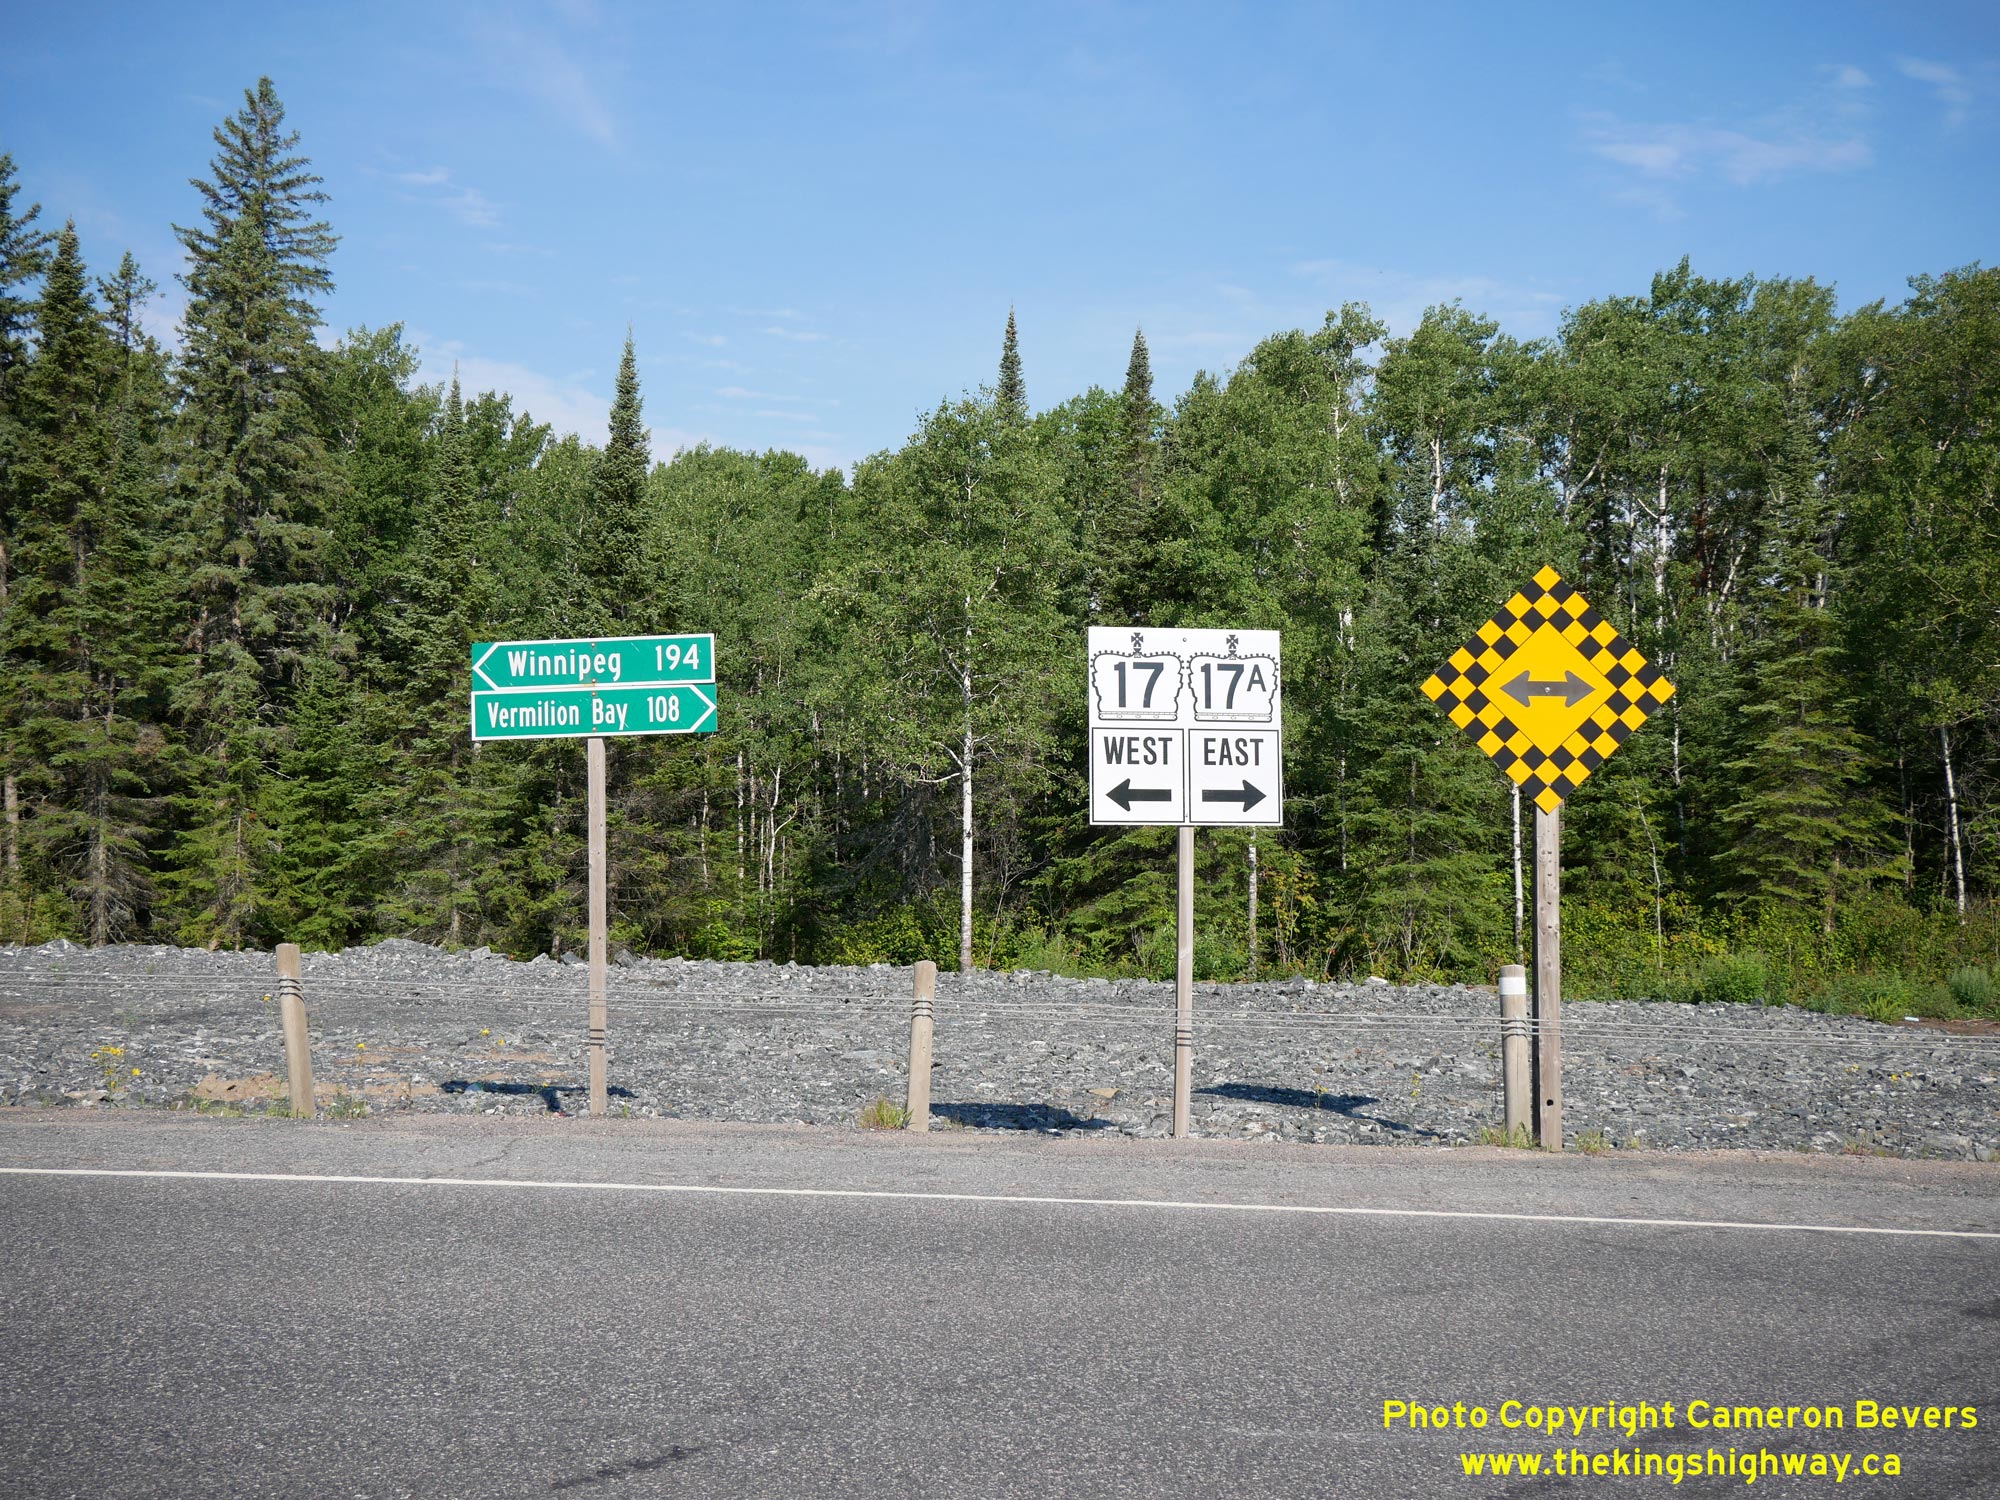
Left - Junction sign assembly at the Hwy 17 & Hwy 17A Junction west of Kenora. See an
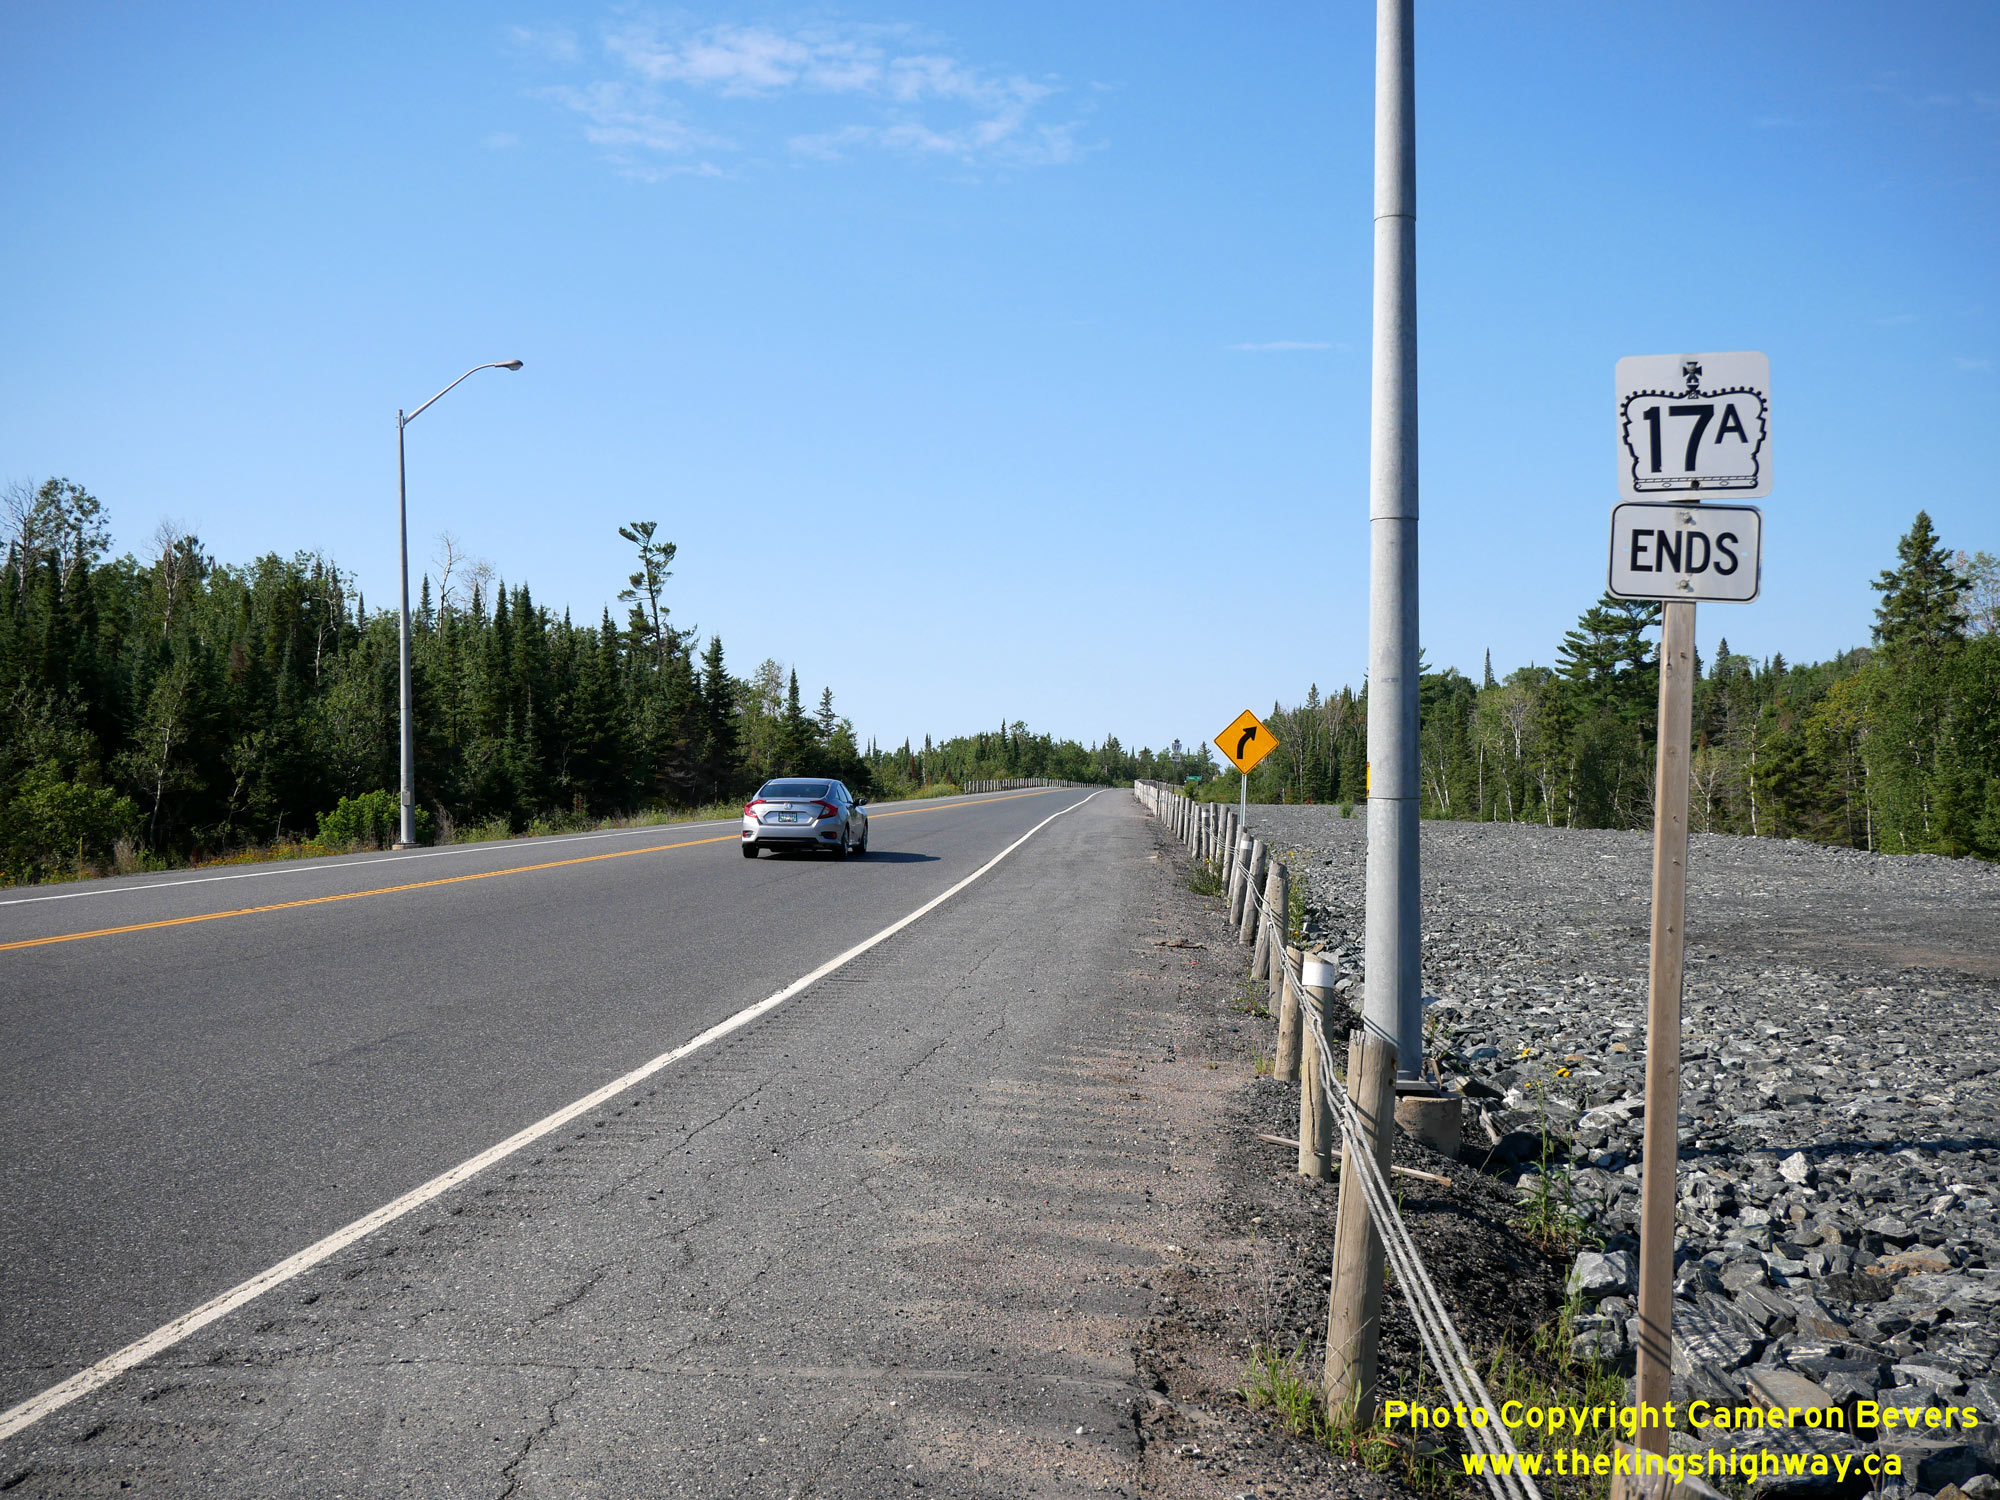
Enlarged Photo Here. (Photograph taken on August 2, 2023 - © Cameron Bevers) Right - Hwy 17A Ends sign along the Kenora Bypass at the Hwy 17 Junction. See an Enlarged Photo Here. (Photograph taken on August 2, 2023 - © Cameron Bevers) 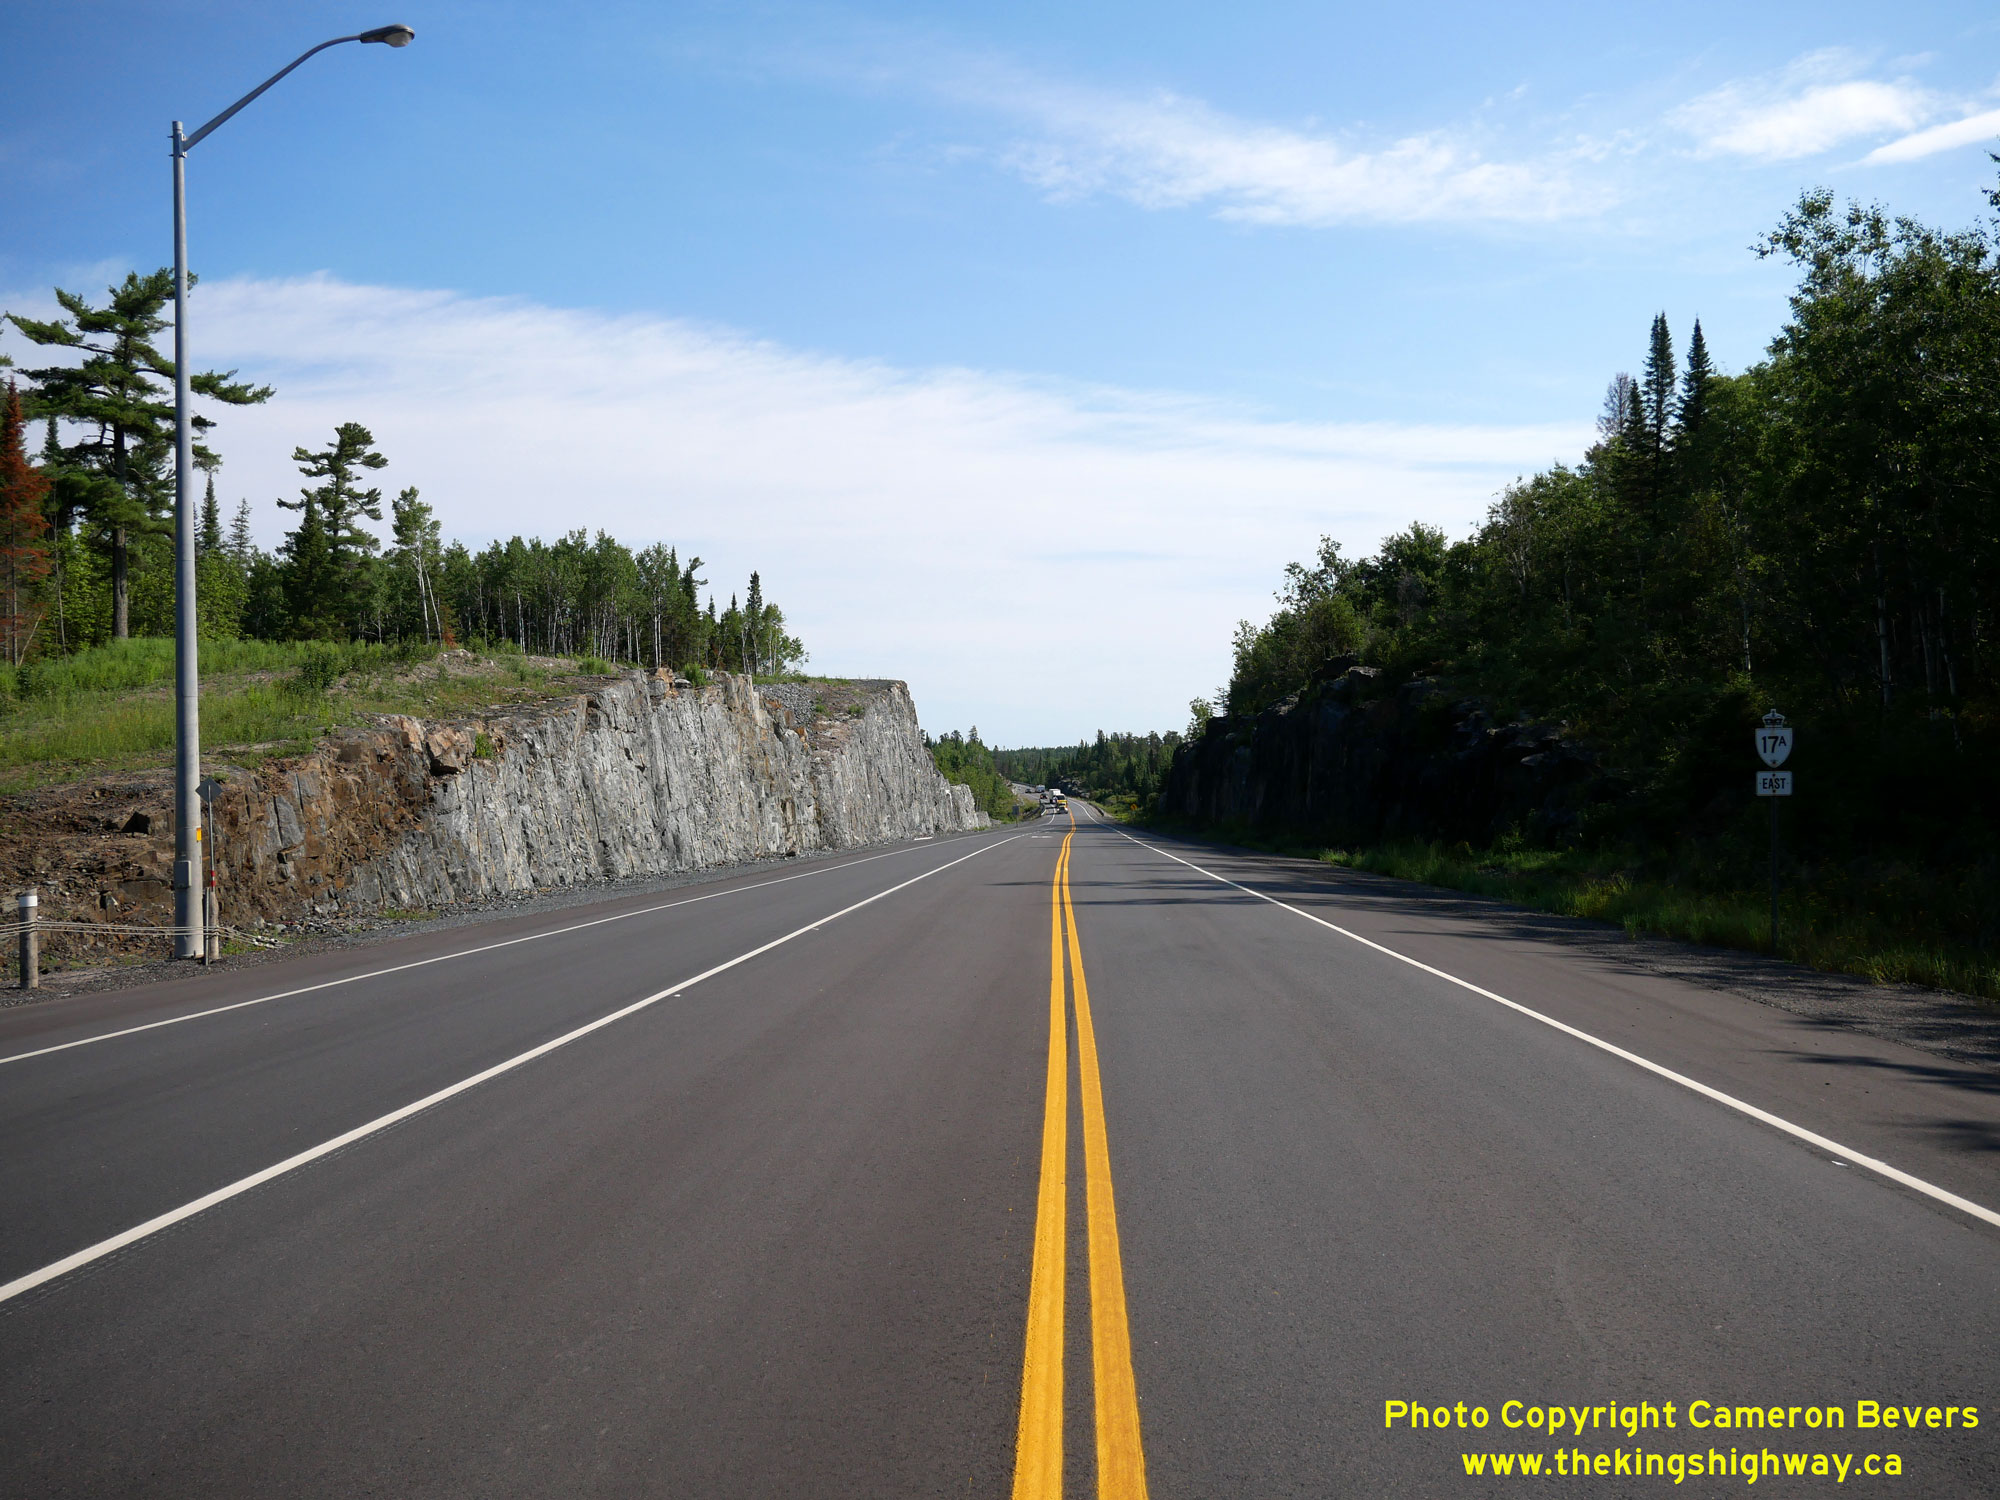
Left - Facing east along the Kenora Bypass (Hwy 17A) from the Hwy 17 Junction west of Kenora. See an
Enlarged Photo Here. (Photograph taken on August 2, 2023 - © Cameron Bevers) Right - Western terminus of Hwy 17A at the Hwy 17 Junction west of Kenora, facing west towards Winnipeg. See an Enlarged Photo Here. (Photograph taken on August 2, 2023 - © Cameron Bevers) 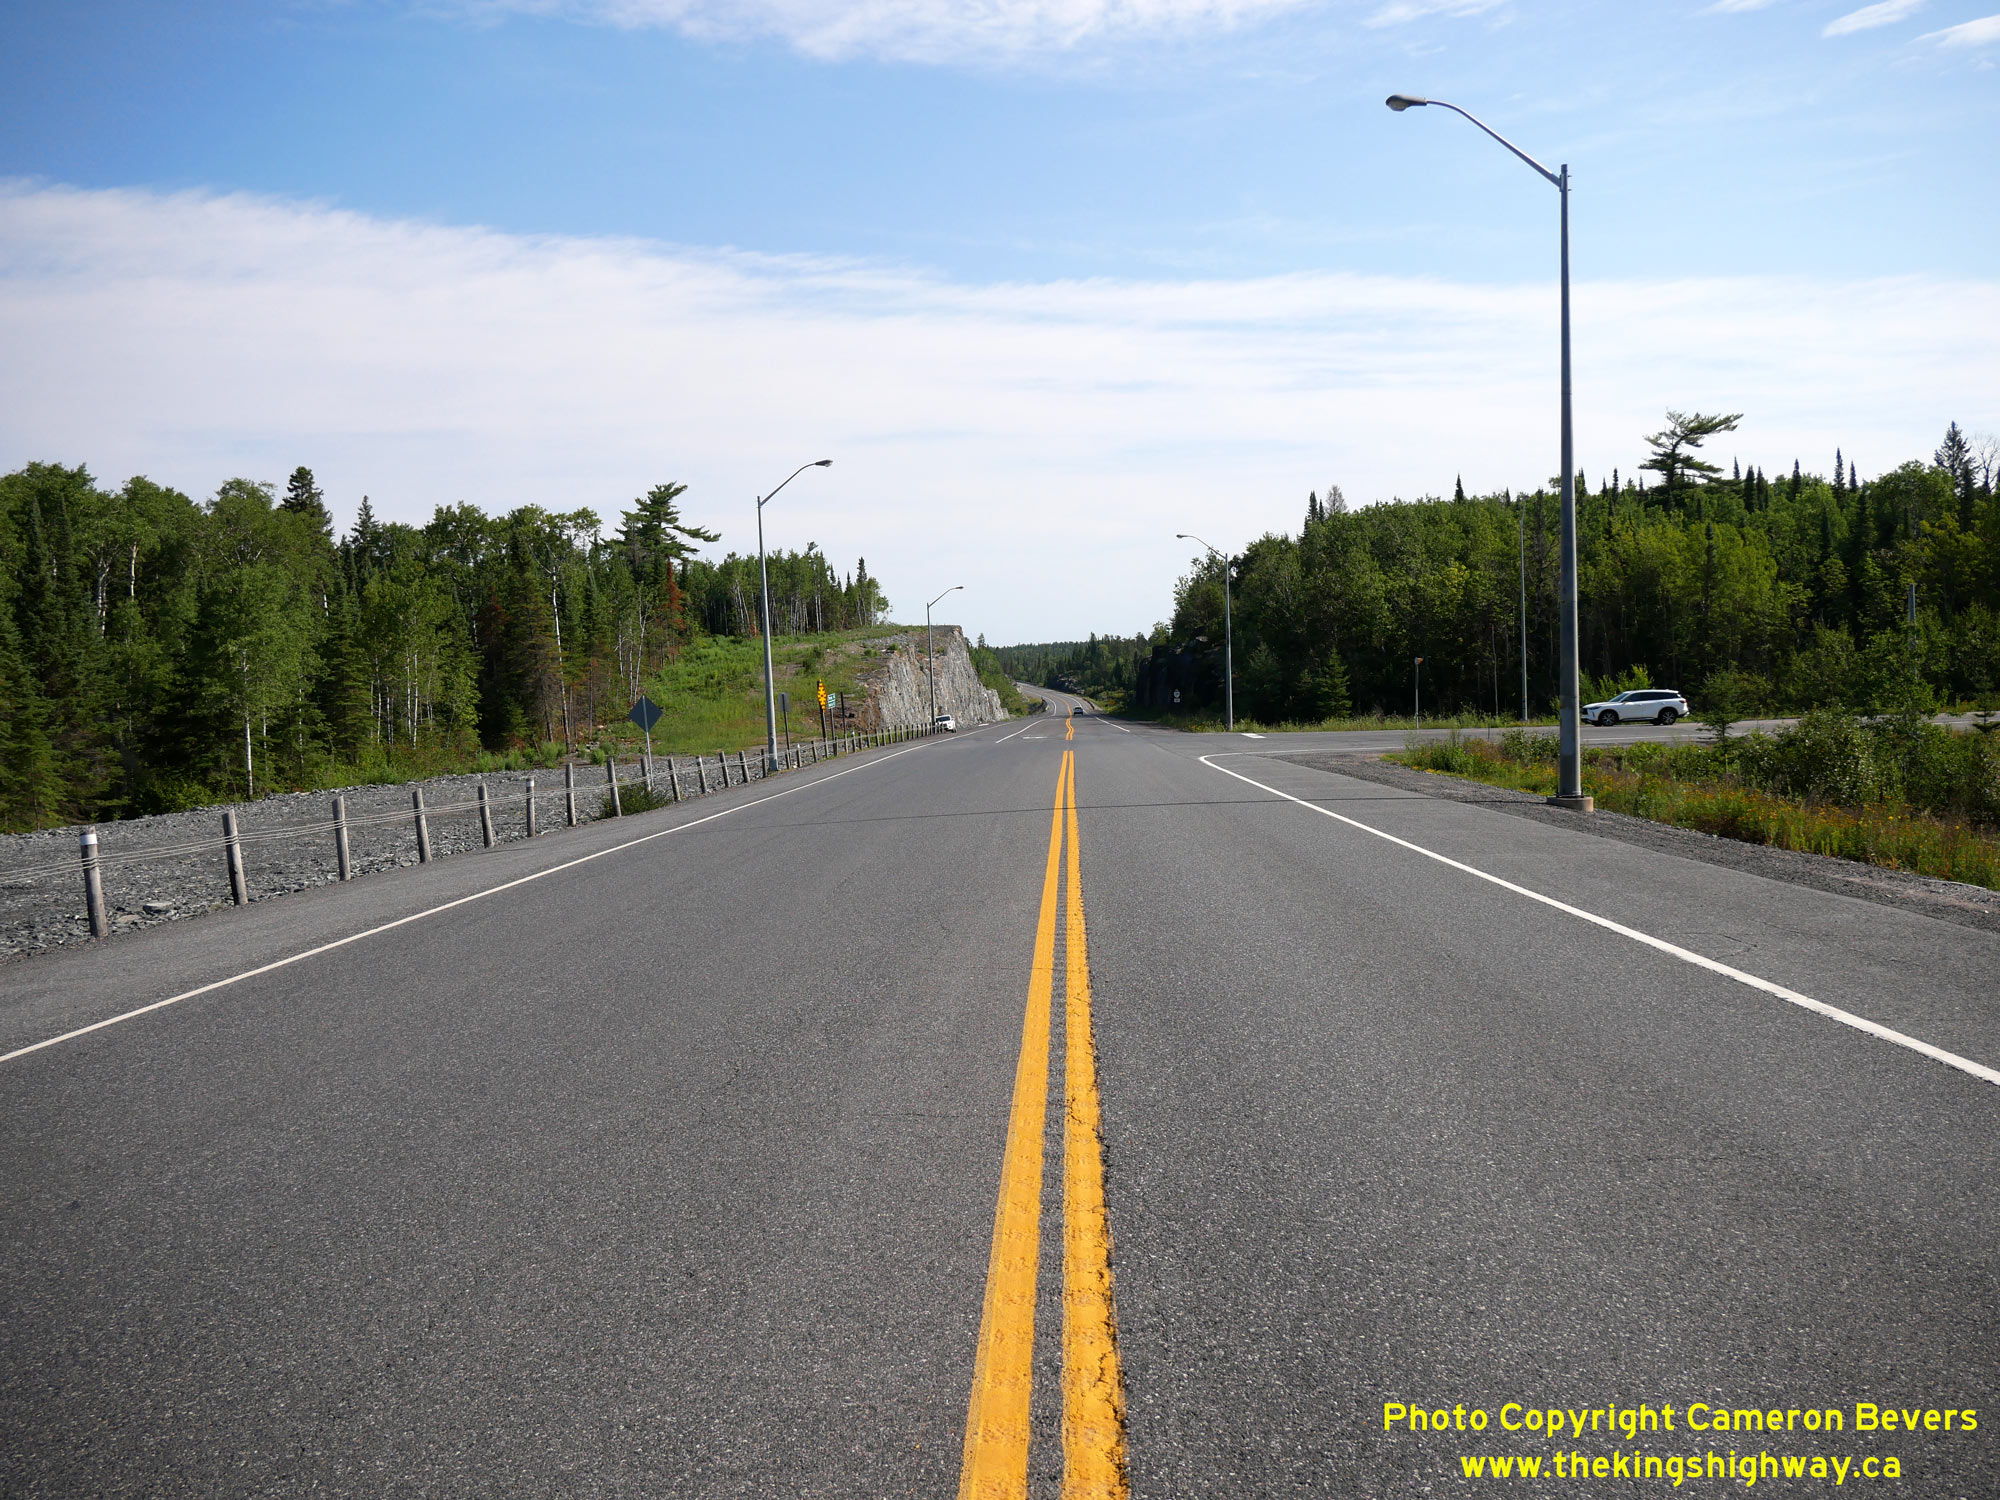
Left - Start of the Kenora Bypass (Hwy 17A), facing east at the turn-off to Hwy 17 via Kenora. See an
Enlarged Photo Here. (Photograph taken on August 2, 2023 - © Cameron Bevers) Right - Distance guide sign on westbound Hwy 17 at the end of the Kenora Bypass (Hwy 17A). See an Enlarged Photo Here. (Photograph taken on August 2, 2023 - © Cameron Bevers) 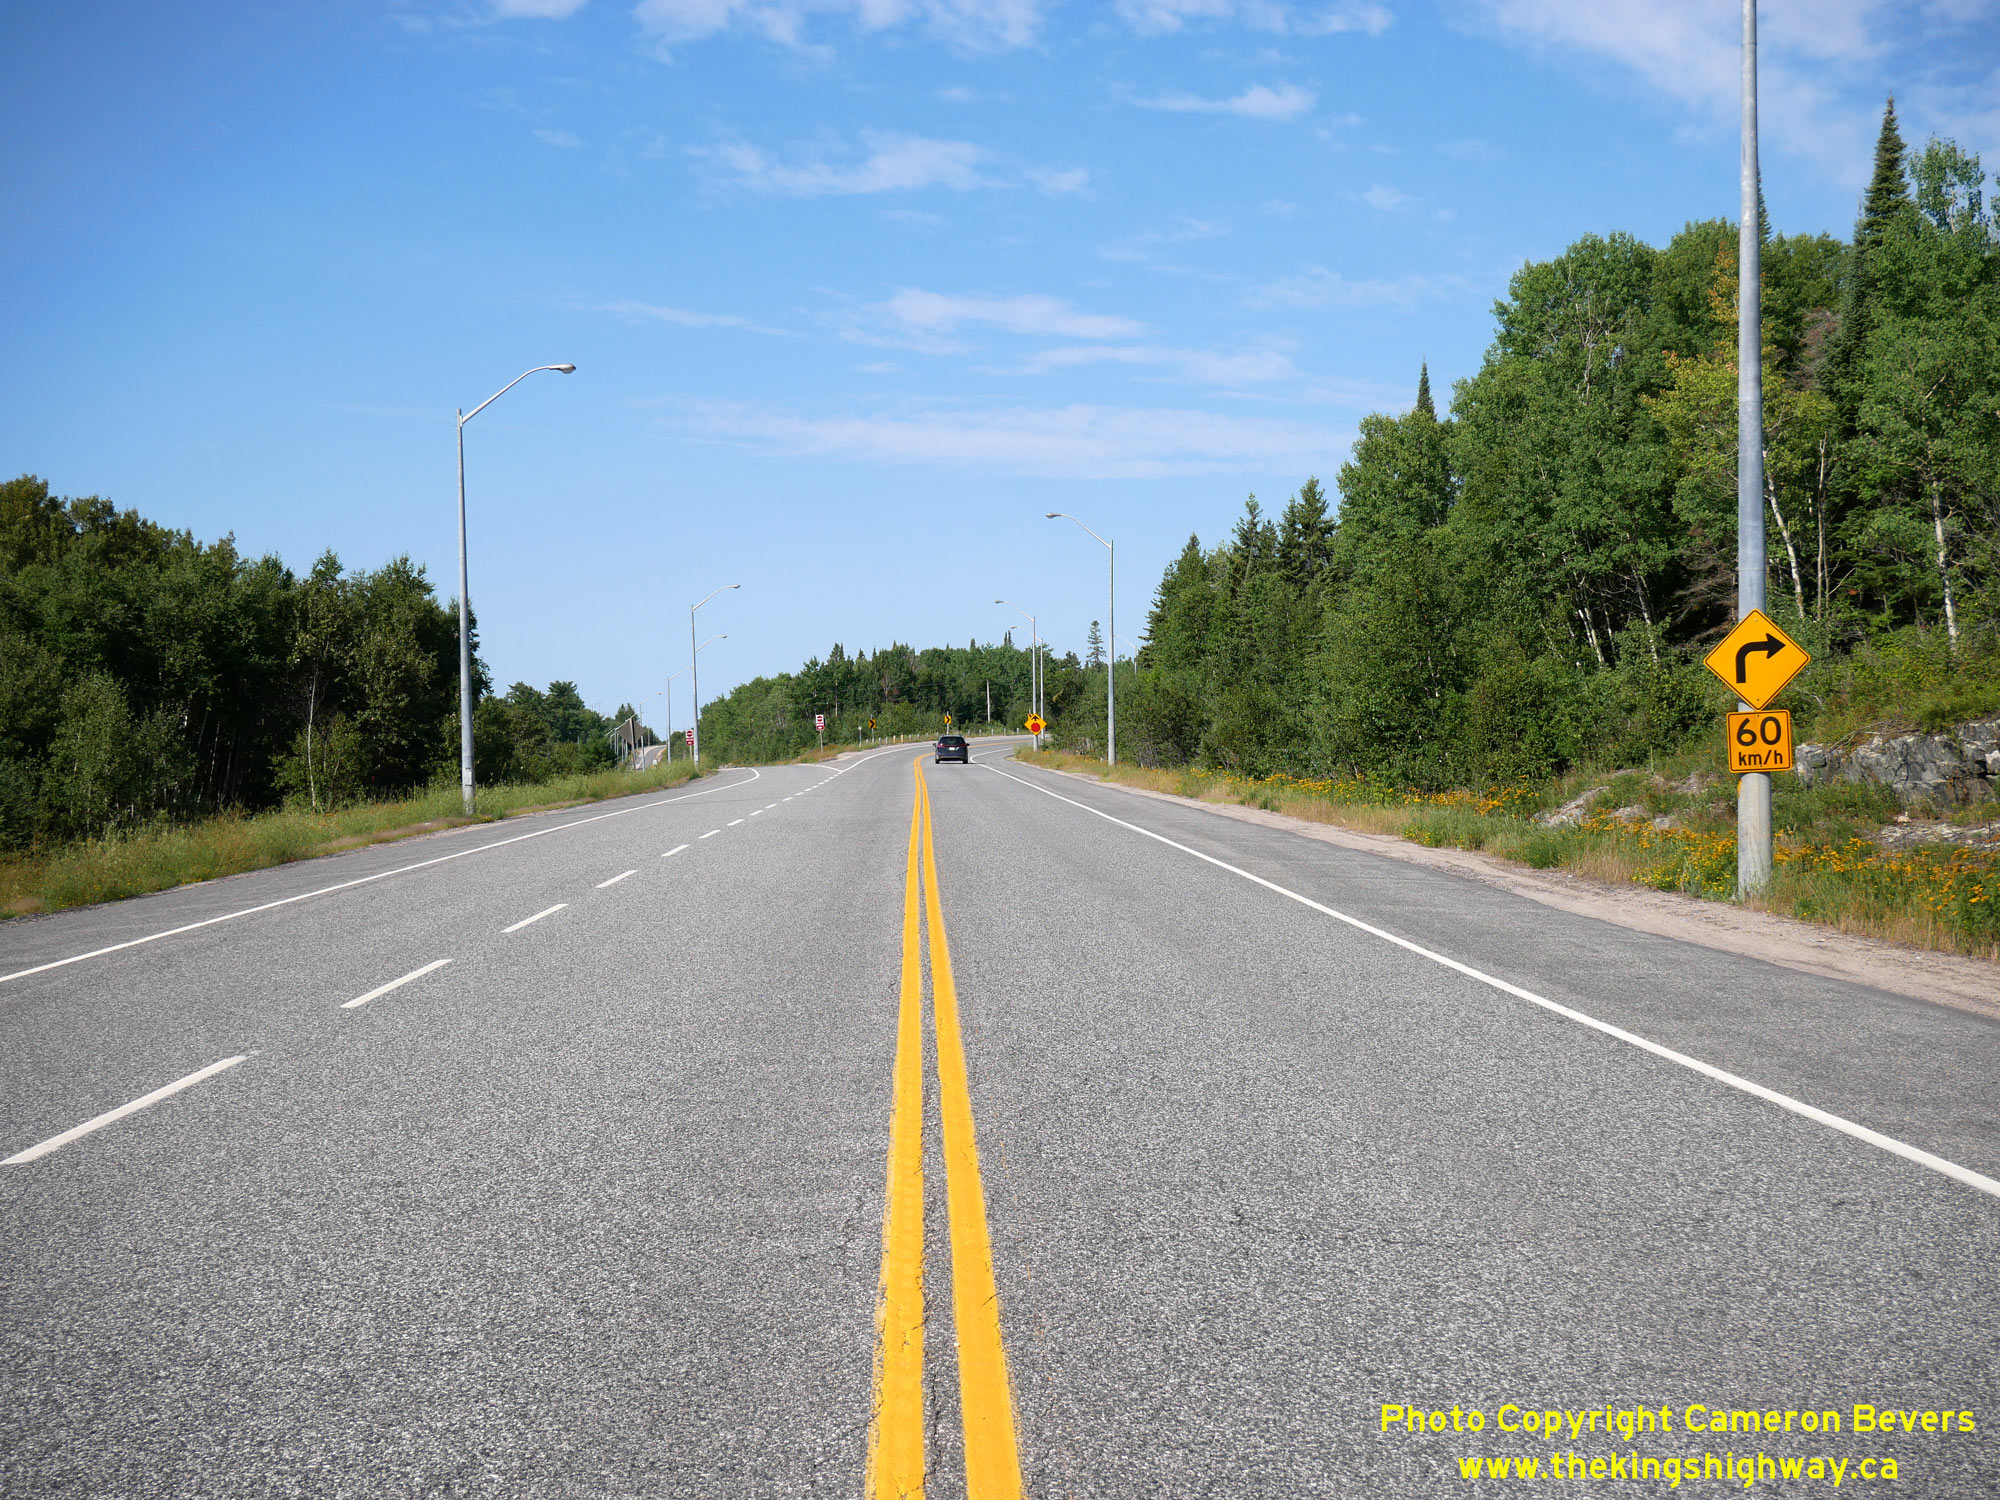
Left - Approaching the Kenora Bypass (Hwy 17A) Junction on Hwy 17, facing west. Westbound traffic must curve to the right and then turn left in order to
continue west along Hwy 17. Eastbound Hwy 17 traffic passes along a very long exit ramp between the two legs of Hwy 17. This ramp can be seen joining in at left. See
an Enlarged Photo Here. (Photograph taken on August 2, 2023 - © Cameron Bevers) Right - Facing east along Hwy 17 towards Kenora from the Kenora Bypass (Hwy 17A) Junction. See an Enlarged Photo Here. (Photograph taken on August 2, 2023 - © Cameron Bevers) 

Left - View of the exceptionally long exit ramp from eastbound Hwy 17 leading into Kenora. See an
Enlarged Photo Here. (Photograph taken on August 2, 2023 - © Cameron Bevers) Right - Approaching the Kenora Bypass Junction on Hwy 17. At the Stop sign, westbound Hwy 17 traffic can either turn left and continue west along Hwy 17, or turn right and head easterly around Kenora via Hwy 17A. See an Enlarged Photo Here. (Photograph taken on August 2, 2023 - © Cameron Bevers) 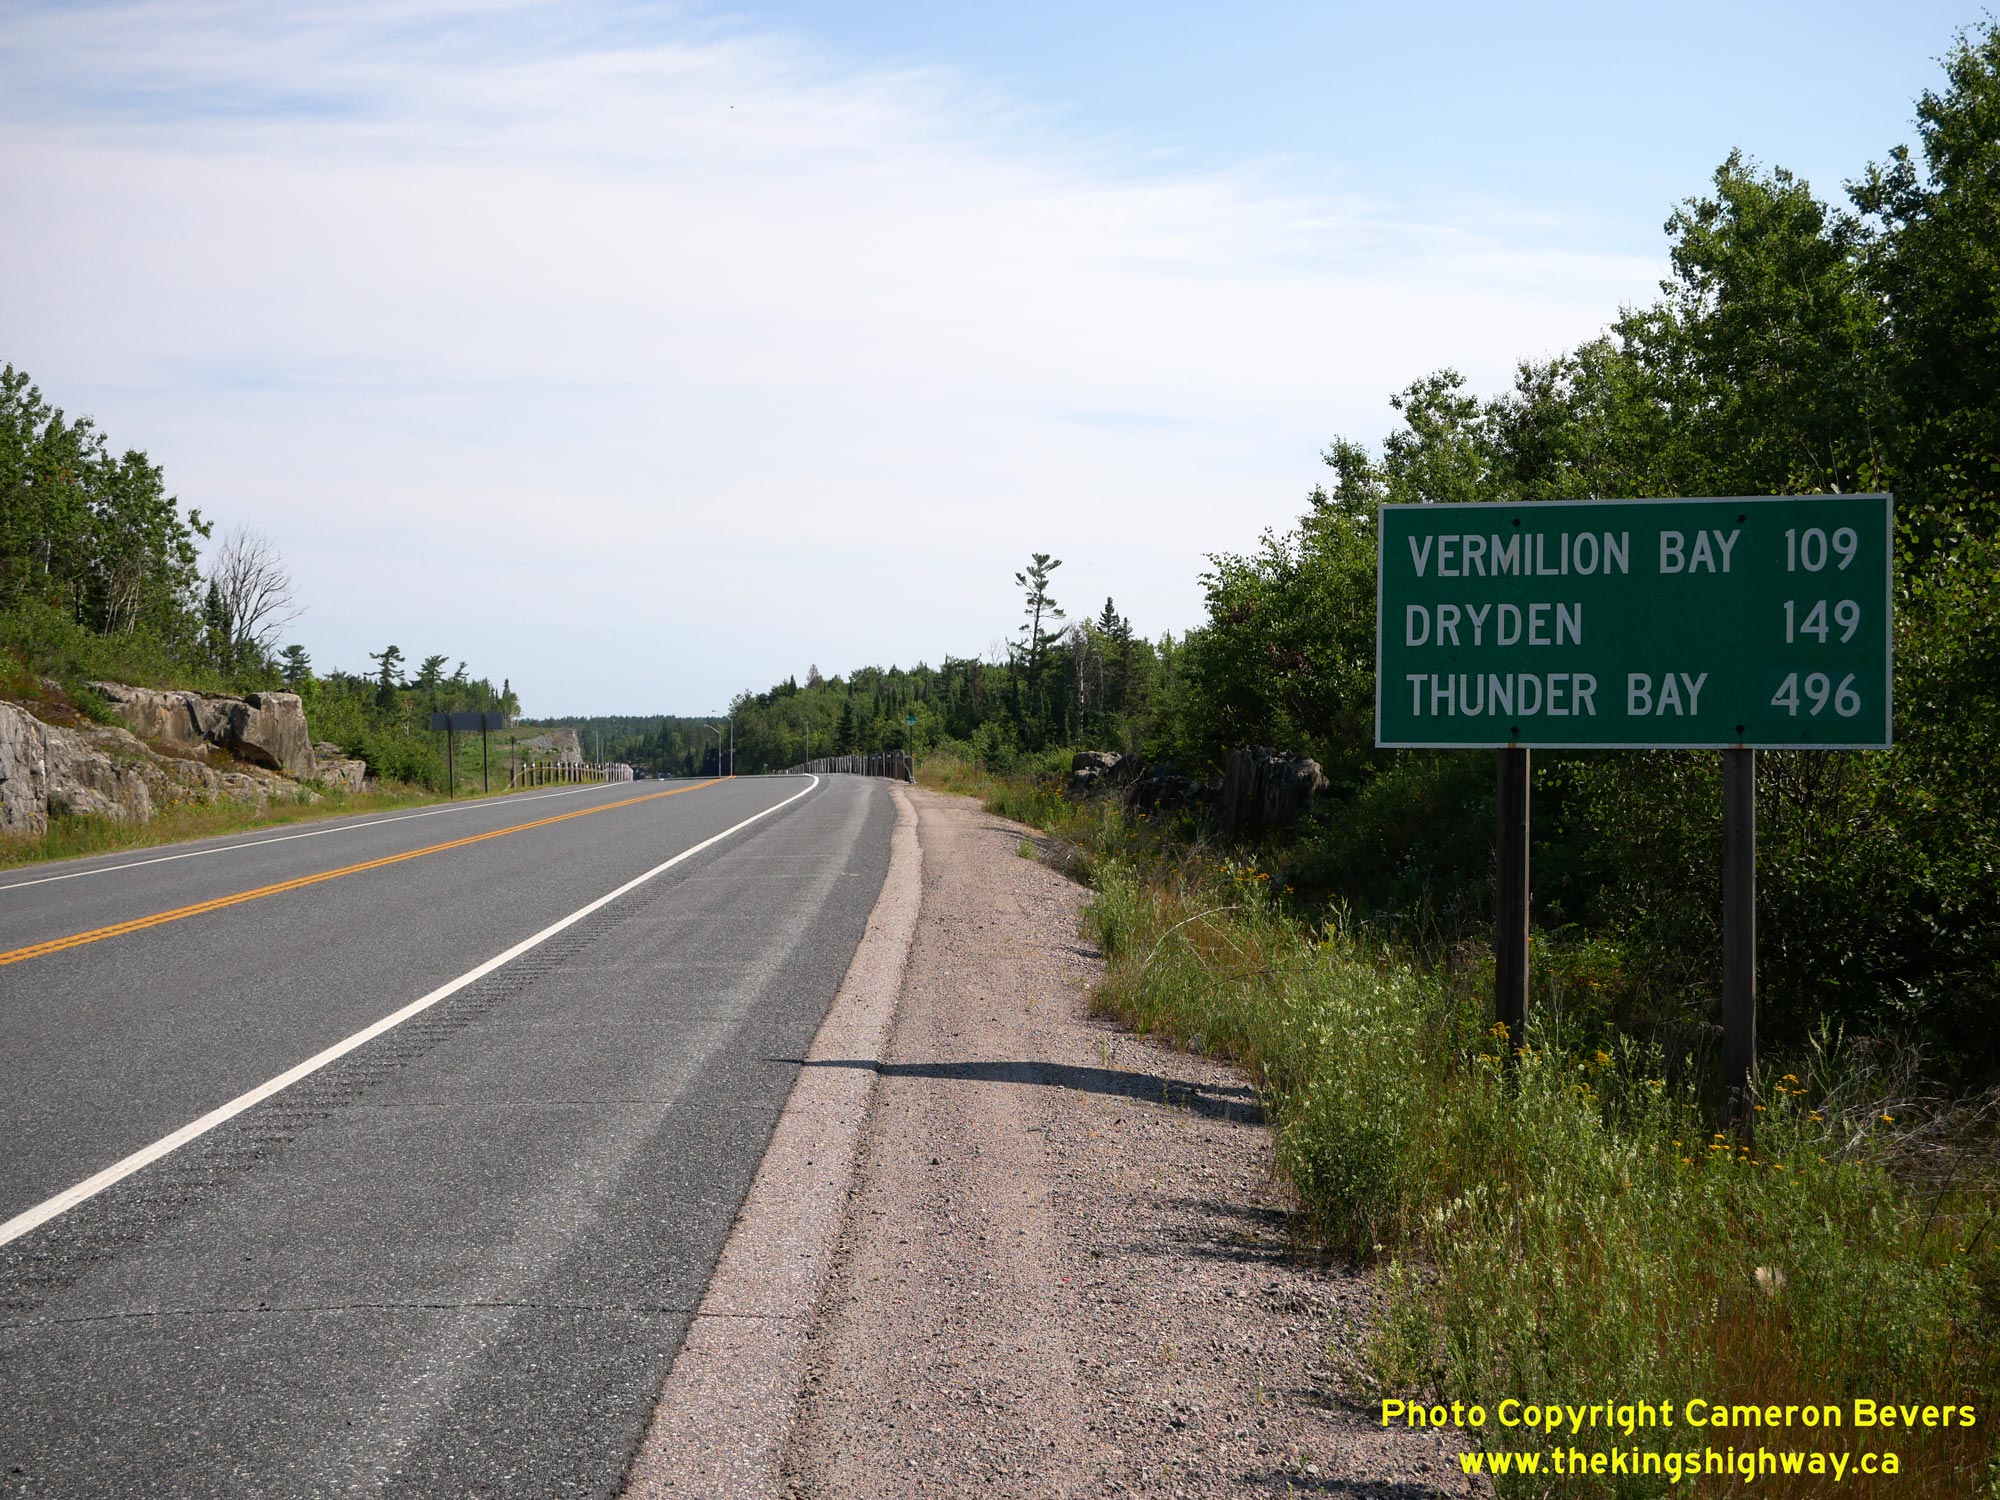
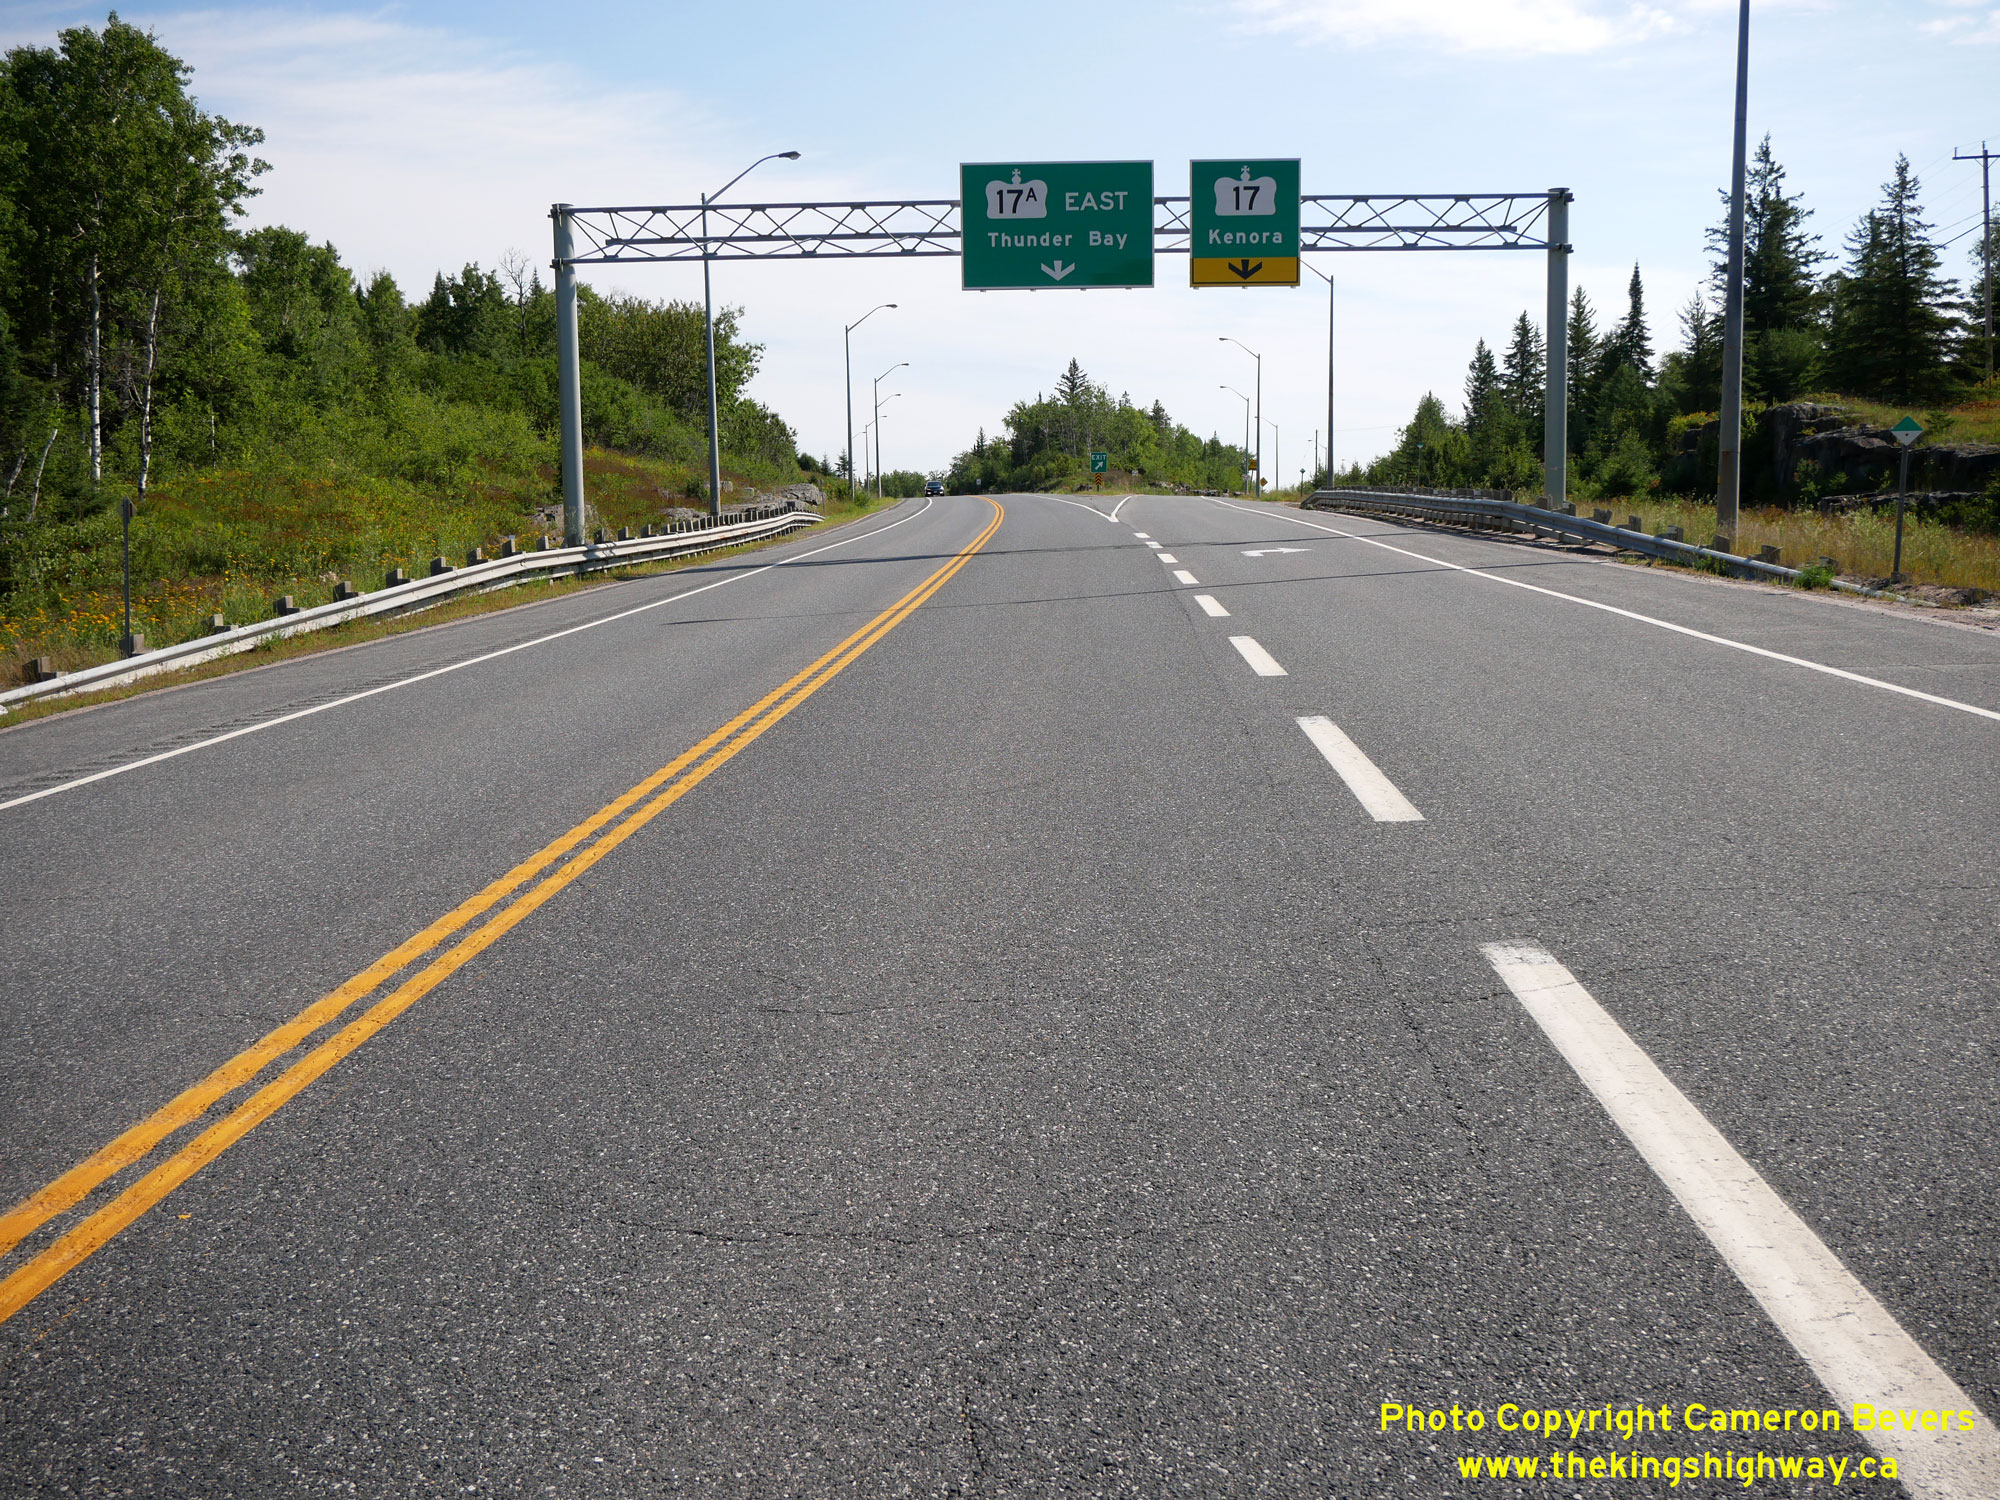
Left - Distance guide sign on the eastbound Kenora Bypass at the Hwy 17 Junction. See an
Enlarged Photo Here. (Photograph taken on August 2, 2023 - © Cameron Bevers) Right - Overhead guide signs at the Hwy 17 & Hwy 17A Junction west of Kenora. Eastbound traffic can either keep to the right and pass through Kenora via Hwy 17, or keep to the left and follow the Kenora Bypass (Hwy 17A) around the city. All destinations east of Kenora can be accessed by using either highway route, although through traffic is encouraged to use Hwy 17A. See an Enlarged Photo Here. (Photograph taken on August 2, 2023 - © Cameron Bevers) 
Above - Facing west along Hwy 17 towards Winnipeg from the diverge of Hwy 17 & Hwy 17A west of Kenora. From this point westerly to the Manitoba Boundary,
Hwy 17 forms the only east-west road link across Canada. See an Enlarged Photo Here. (Photograph taken on August 2, 2023 - © Cameron Bevers)
More King's Highway 17A Photographs Coming Soon!
|
|---|
Links to Adjacent King's Highway Photograph Pages
Back to King's Highway 17 Photos /
King's Highway 17A (Kenora) History /
On to King's Highway 18 Photos
Ontario Highway History - Main Menu / Back to List of Highways Website contents, photos & text © 2002-2026, Cameron
Bevers (Webmaster) - All Rights Reserved / Contact Me
|
|---|