
| 
| |
|
|
This page contains present day photos (Year 2000 to date) of Ontario's King's Highway 19, arranged by location from Port
Burwell northerly to Ingersoll. All photographs displayed on this page were taken by the Webmaster (Cameron Bevers), unless specifically noted otherwise. Click on any
thumbnail to see a larger image!
Please note that all photographs displayed on this
website are protected by copyright. These photographs must not be reproduced, published,
electronically stored or copied, distributed, or posted onto other websites without
my written permission. If you want to use photos from this website, please
email me first for permission. Thank-you!
|
|---|
|
Page 2: Present Day King's Highway 19 Photographs (Port Burwell to Ingersoll)

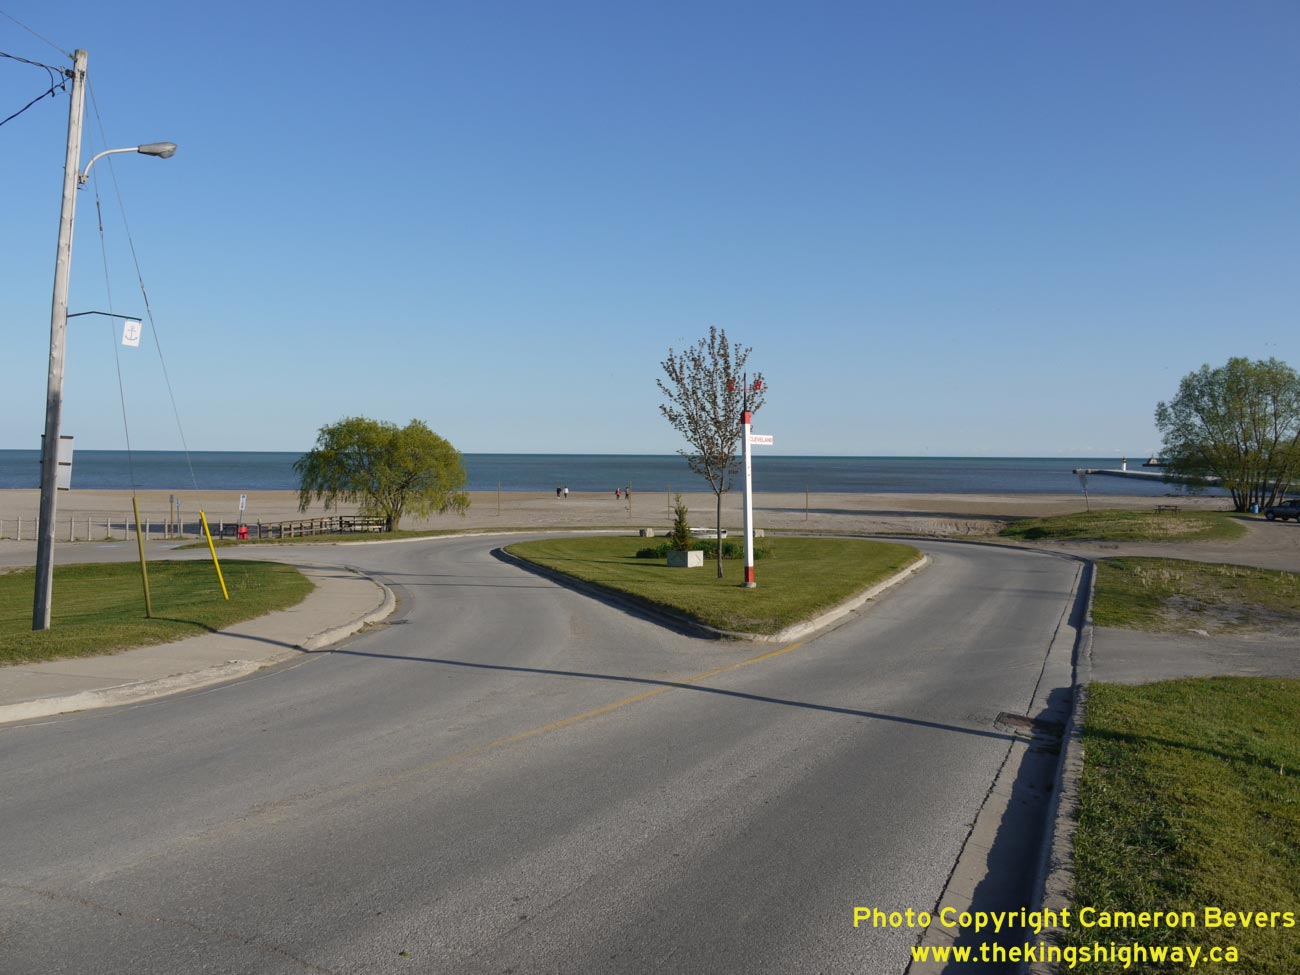
Left - Historical southern terminus of Hwy 19 at Port Burwell. The highway ends in a rather dramatic cul-de-sac at Port Burwell's beach, on the north shore of
Lake Erie. Prior to the mass highway downloading of 1997-1998, Hwy 19 was one of several provincial highways that ended on the shores of Lake Erie. The other routes
were Hwy 59 at Long Point, Hwy 73 in Port Bruce and Hwy 4 in Port Stanley. See an
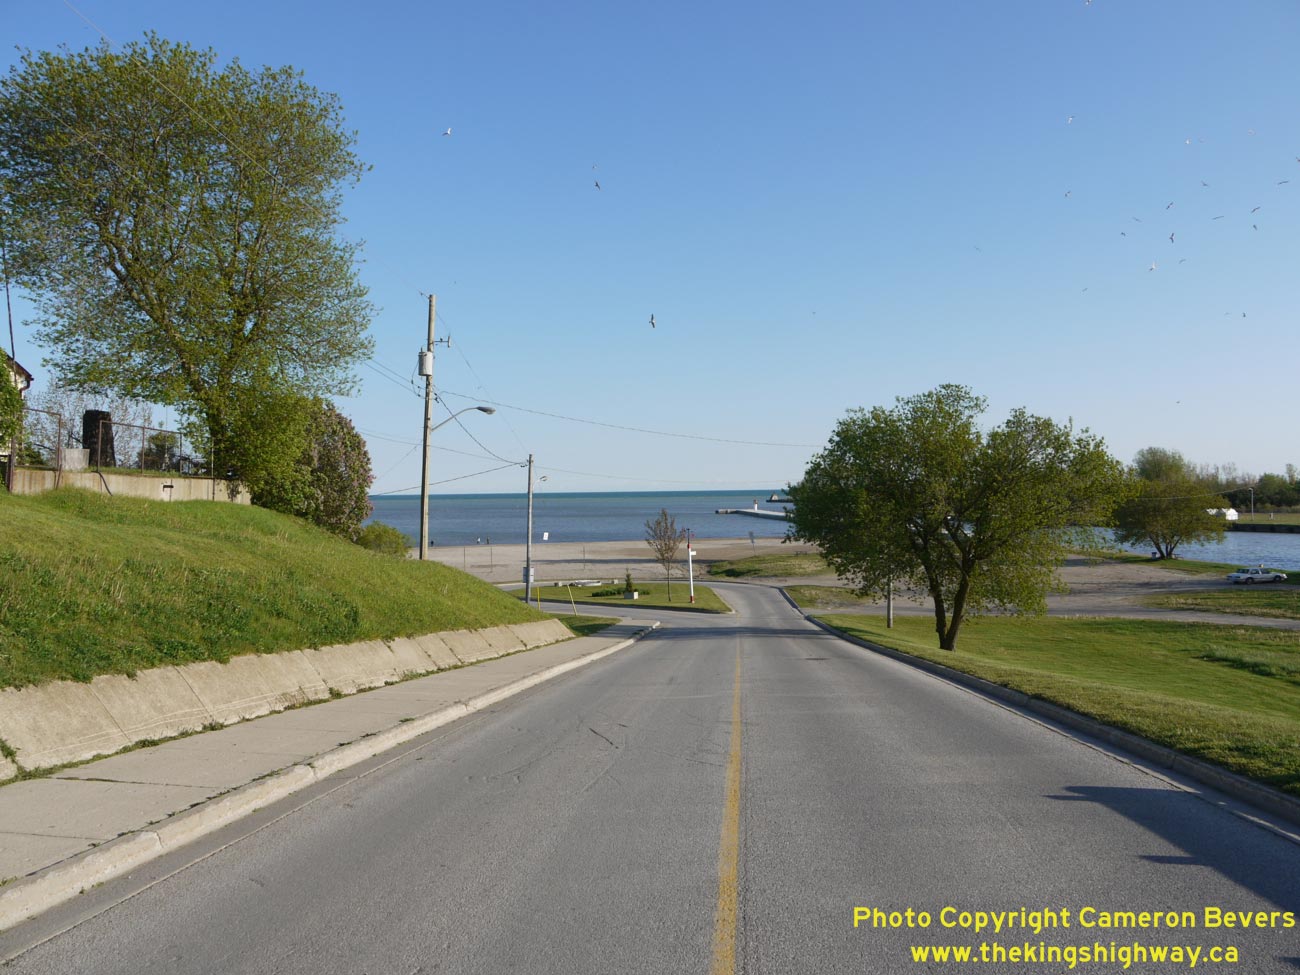
Enlarged Photo Here. (Photograph taken on May 10, 2012 - © Cameron Bevers) Right - Facing north along Hwy 19 from the highway's historical southern terminus at the beach entrance in Port Burwell. (Photograph taken on May 10, 2012 - © Cameron Bevers) 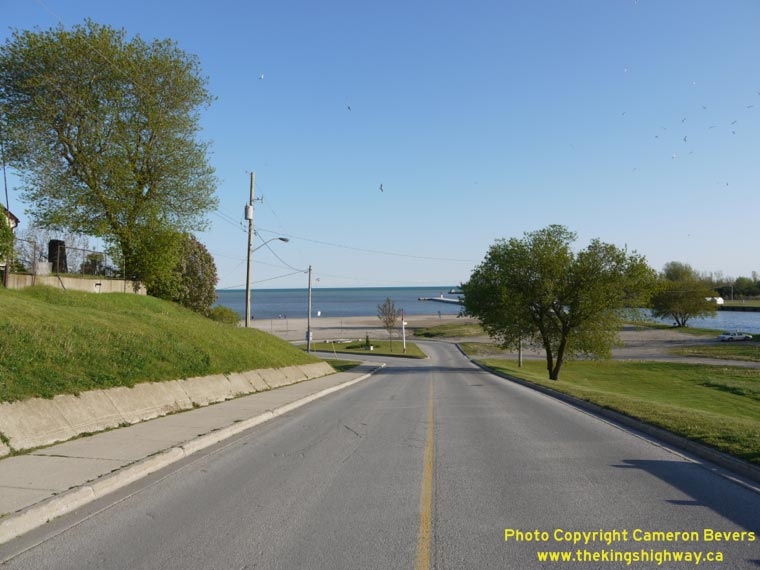

Left - Approaching the historical southern terminus of Hwy 19 at Port Burwell's beach. Prior to the mass highway downloading of 1997-1998, Hwy 19 ended its
nearly 145 km route across Southern Ontario in Port Burwell. Until the 1990s, the highway extended north from Port Burwell via Tillsonburg, Ingersoll and Stratford,
and ended at Hwy 86 between Elmira and Listowel. Today, the provincially-owned section of Hwy 19 only extends from Tillsonburg to Hwy 401 near Ingersoll. See an
Enlarged Photo Here. (Photograph taken on May 10, 2012 - © Cameron Bevers) Right - Facing north along Robinson Street (Hwy 19) approaching Downtown Port Burwell. See an Enlarged Photo Here. (Photograph taken on May 10, 2012 - © Cameron Bevers) 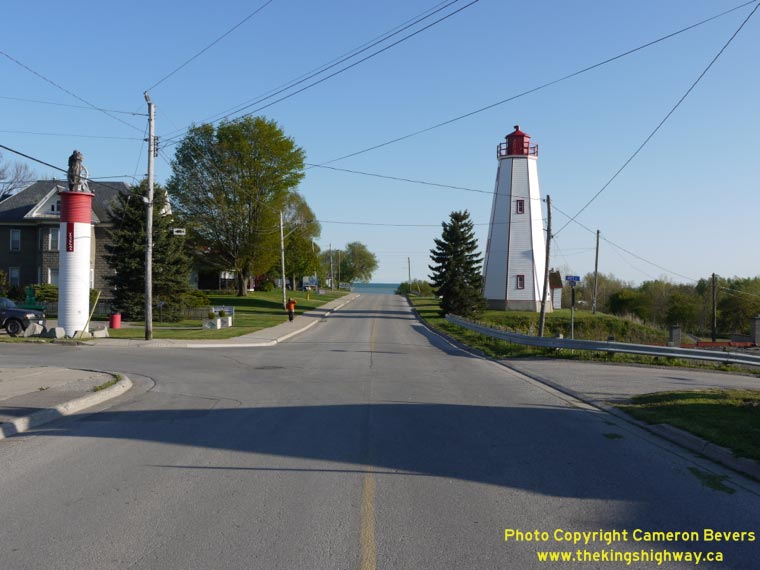
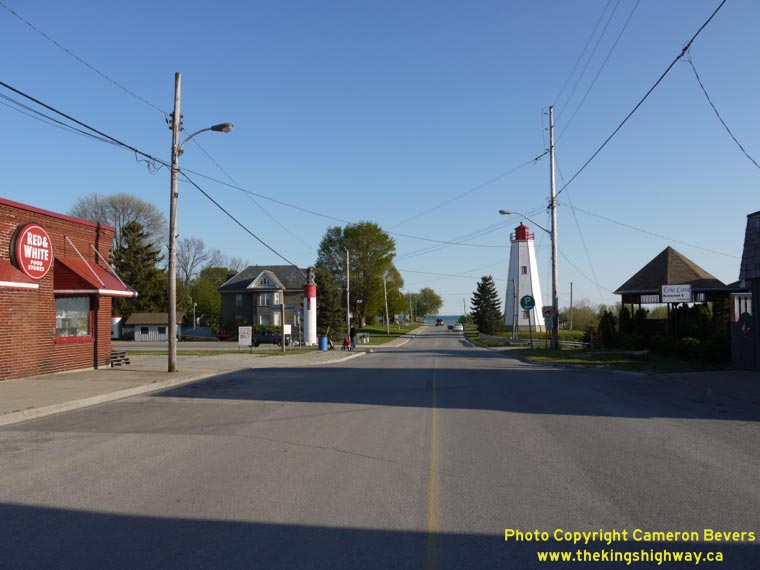
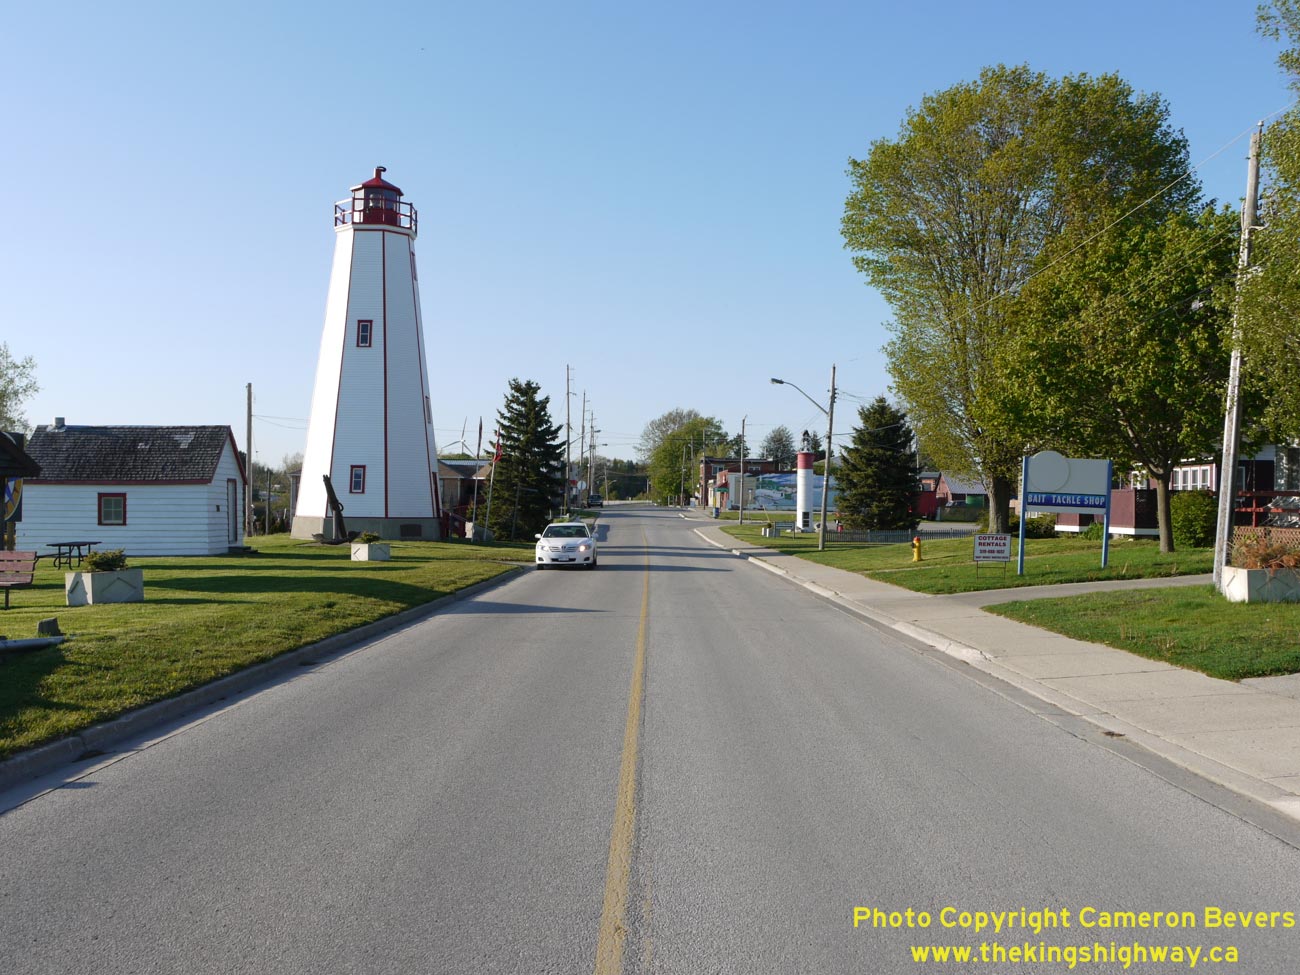
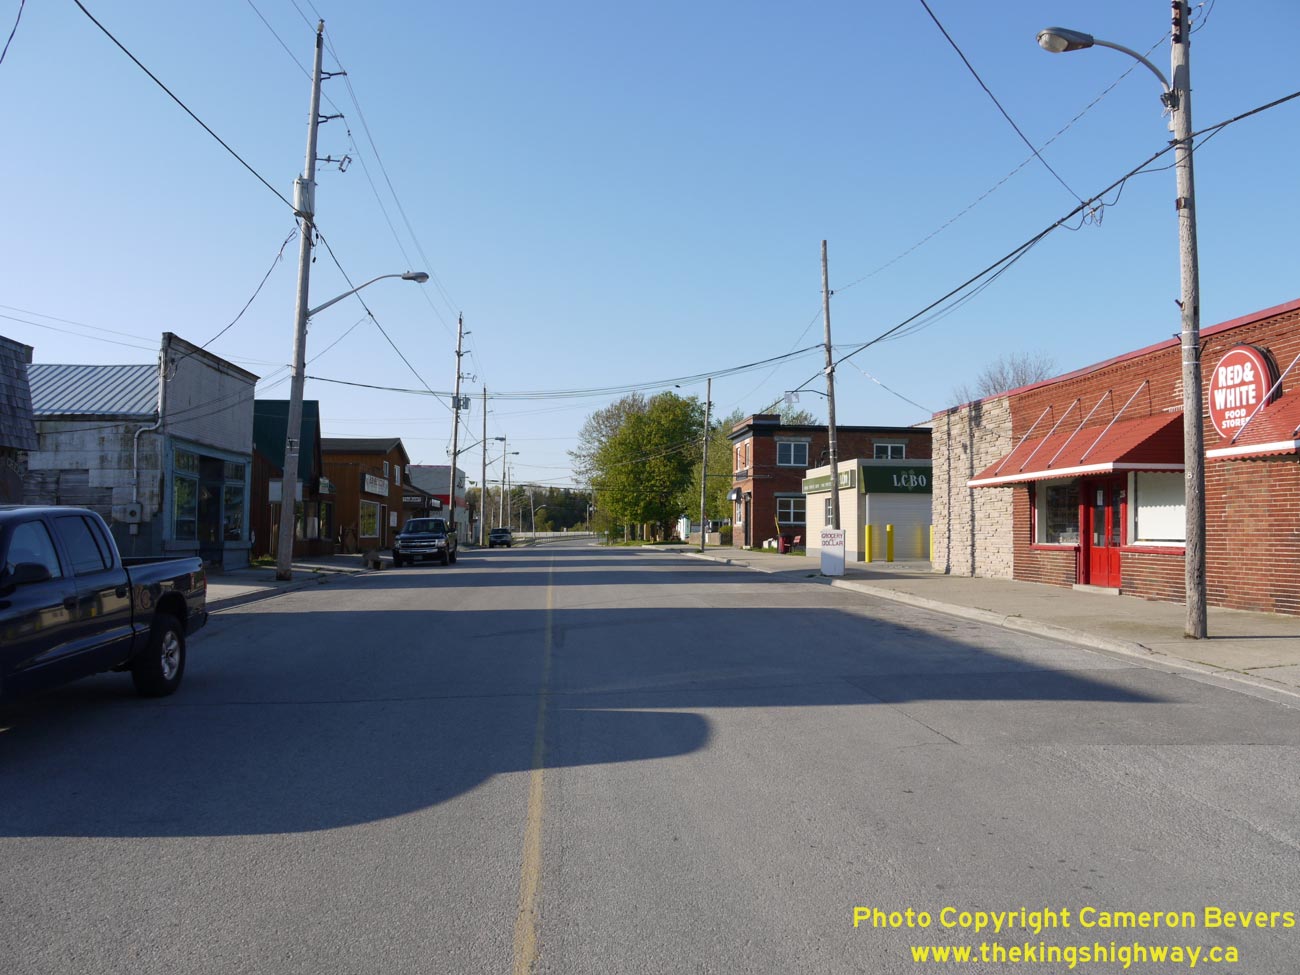
Left - Facing south along Robinson Street (Hwy 19) at the Port Burwell Lighthouse. (Photograph taken on May 10, 2012 - © Cameron Bevers) Right - Robinson Street (Hwy 19), facing south in Downtown Port Burwell at Pitt Street. Note the Red & White Food Store at left. Small grocery stores such as this one provide an interesting reminder of the bygone days before the era of "big box" grocery stores. Small Red & White Food Stores such as this one used to exist in small towns all across Ontario. The Red & White Food Store in Port Burwell is the only location that I know of that still remains open under that name. See an Enlarged Photo Here. (Photograph taken on May 10, 2012 - © Cameron Bevers) 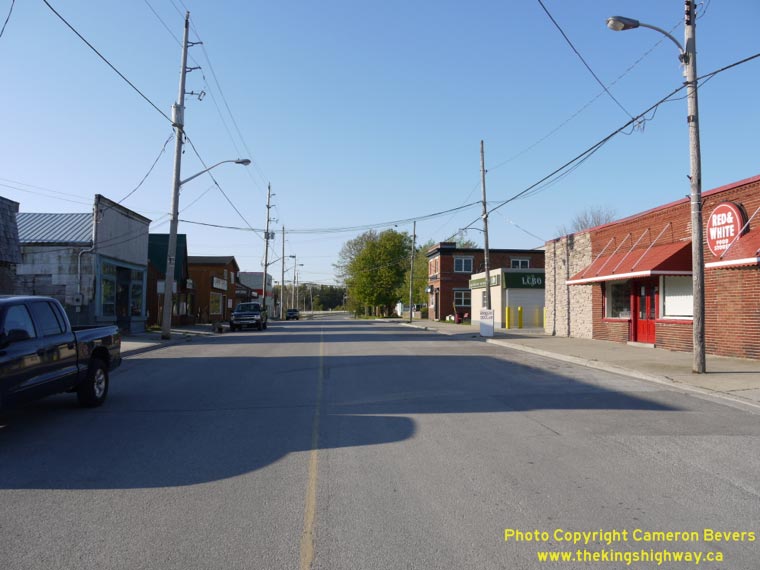

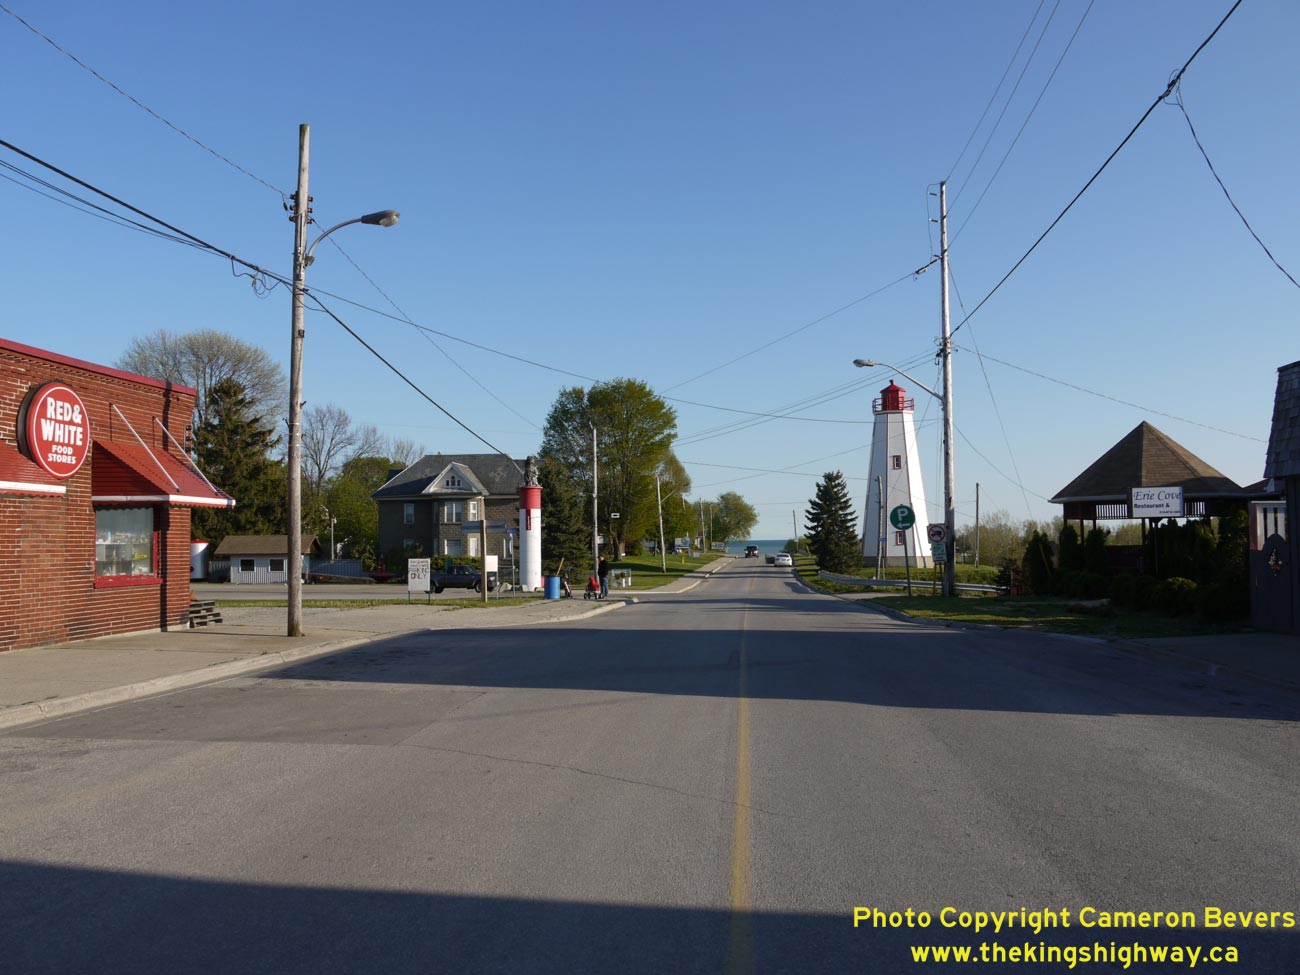
Left - Robinson Street (Hwy 19) in Downtown Port Burwell, facing north from Pitt Street. See an
Enlarged Photo Here. (Photograph taken on May 10, 2012 - © Cameron Bevers) Right - Facing south along Robinson Street (Hwy 19) in Downtown Port Burwell approaching Lakeshore Line. See an Enlarged Photo Here. (Photograph taken on May 10, 2012 - © Cameron Bevers) 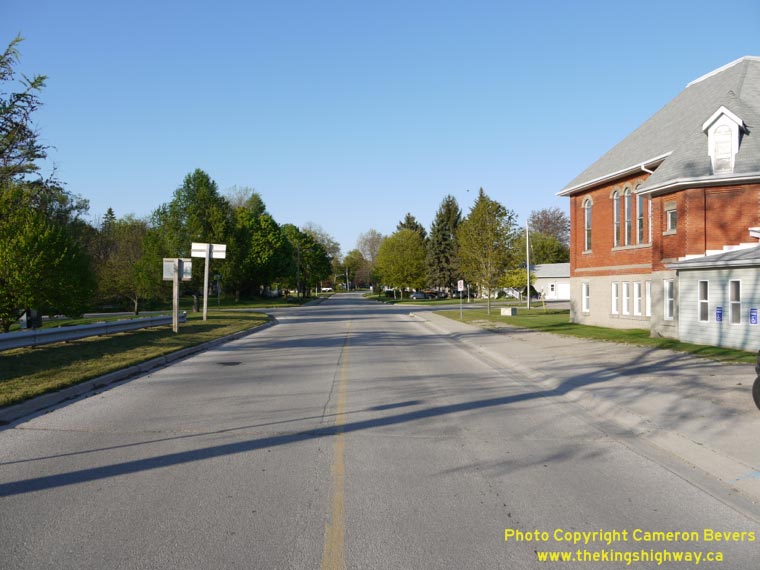
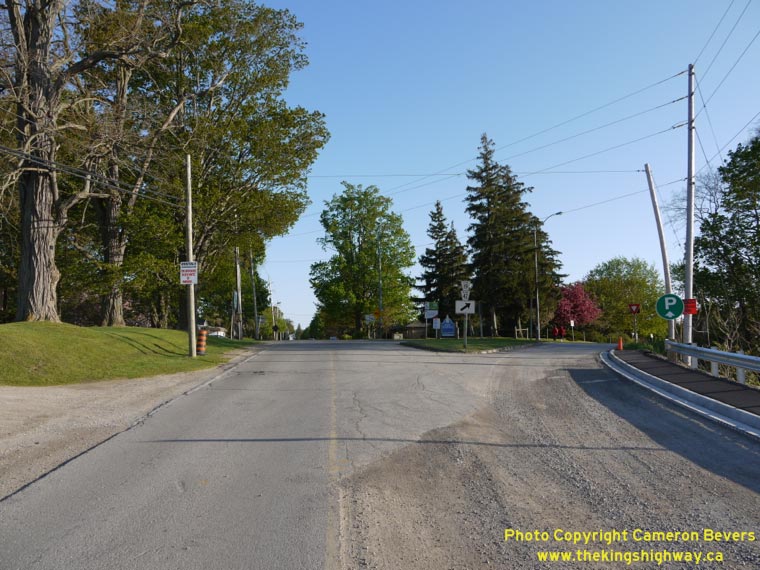
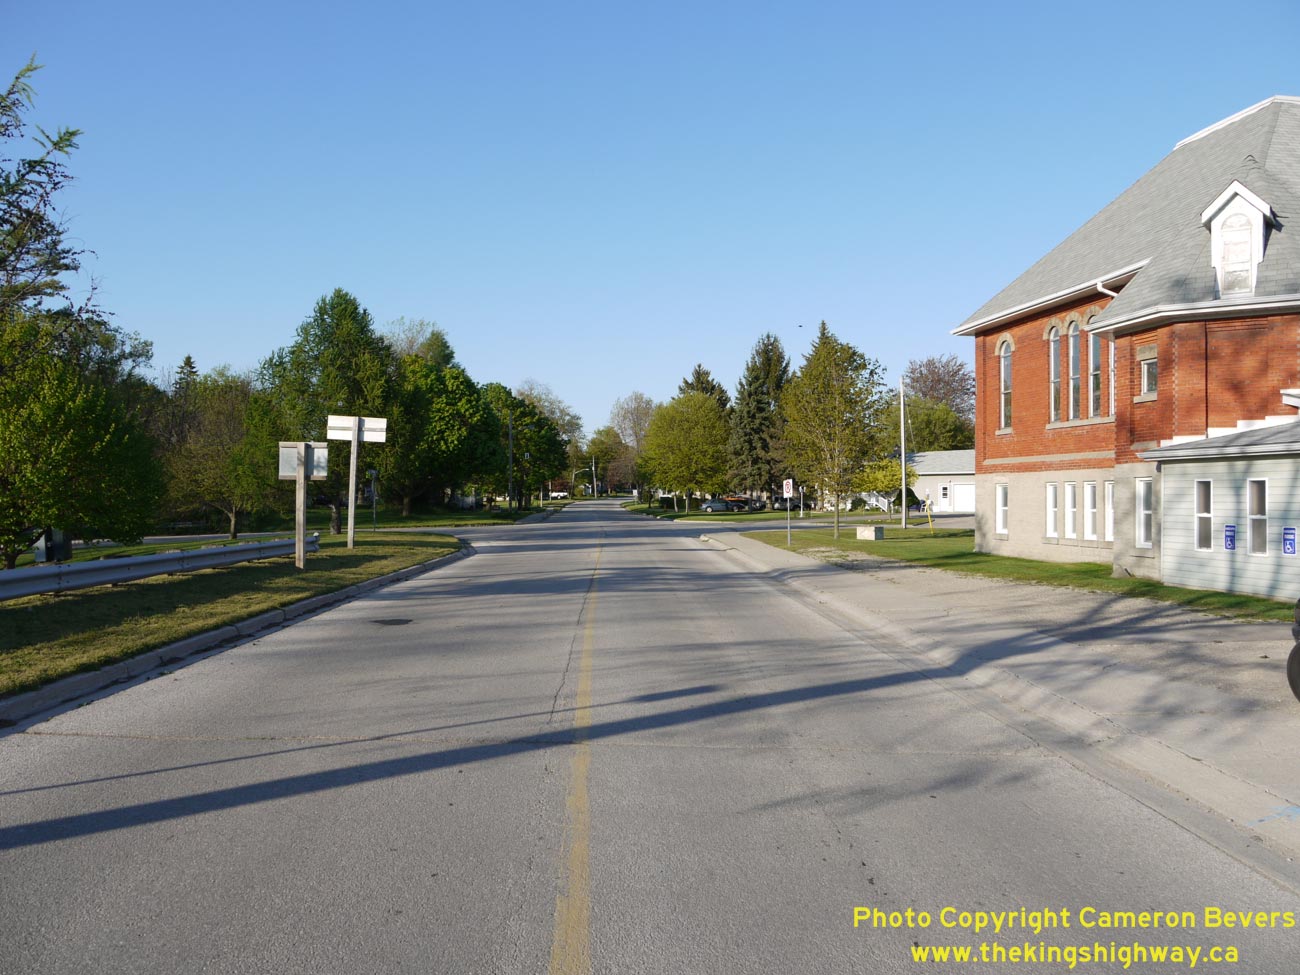
Left - Robinson Street (Hwy 19) in Port Burwell, facing north towards Erieus Street. See an
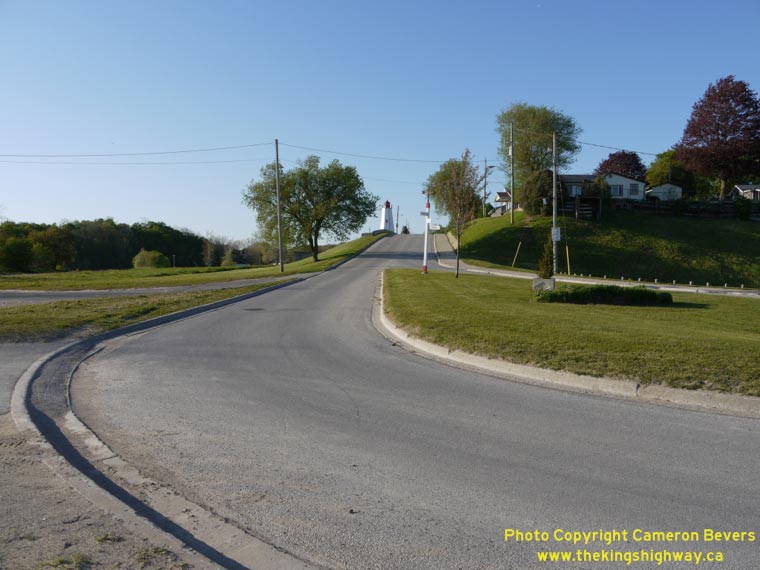
Enlarged Photo Here. (Photograph taken on May 10, 2012 - © Cameron Bevers) Right - Entering Port Burwell on Hwy 19 from Vienna. Here, Hwy 19 curves to the right and follows Robinson Street into Downtown Port Burwell. Victoria Street, which is the through street at this junction, heads south to meet Elgin Road 42 (Lakeshore Line). See an Enlarged Photo Here. (Photograph taken on May 10, 2012 - © Cameron Bevers) 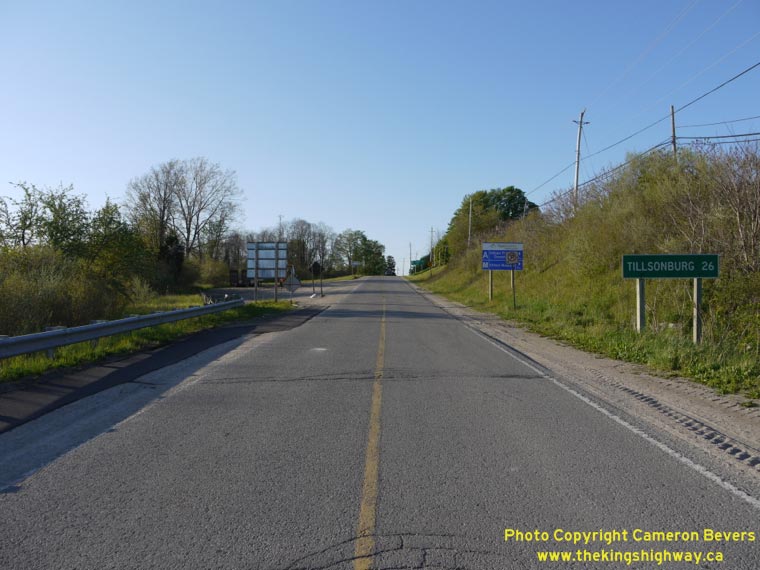
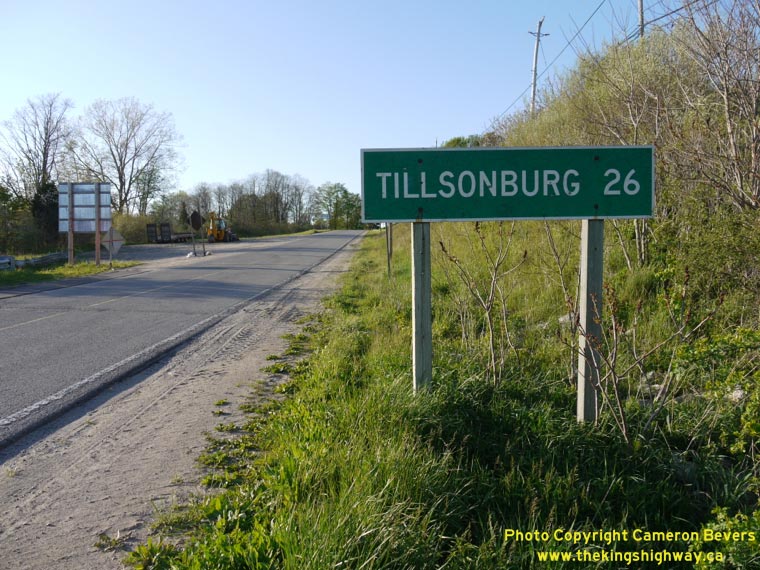
Left - Facing north along Hwy 19 towards Vienna, departing Port Burwell. (Photograph taken on May 10, 2012 - © Cameron Bevers) Right - Distance guide sign on Northbound Hwy 19 departing Port Burwell. Although the community of Vienna lies just a short distance ahead, Tillsonburg is the only destination shown on the sign. The next major road intersecting Hwy 19 is Hwy 3, which crosses in Tillsonburg. (Photograph taken on May 10, 2012 - © Cameron Bevers) 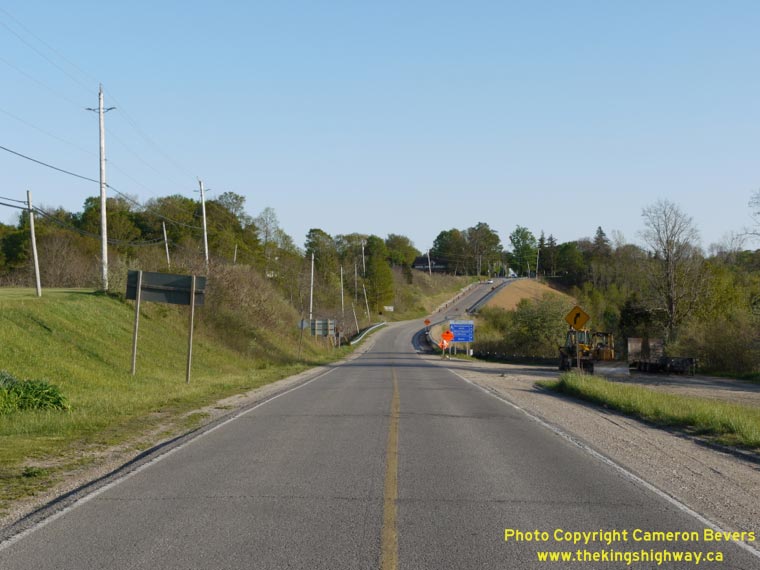
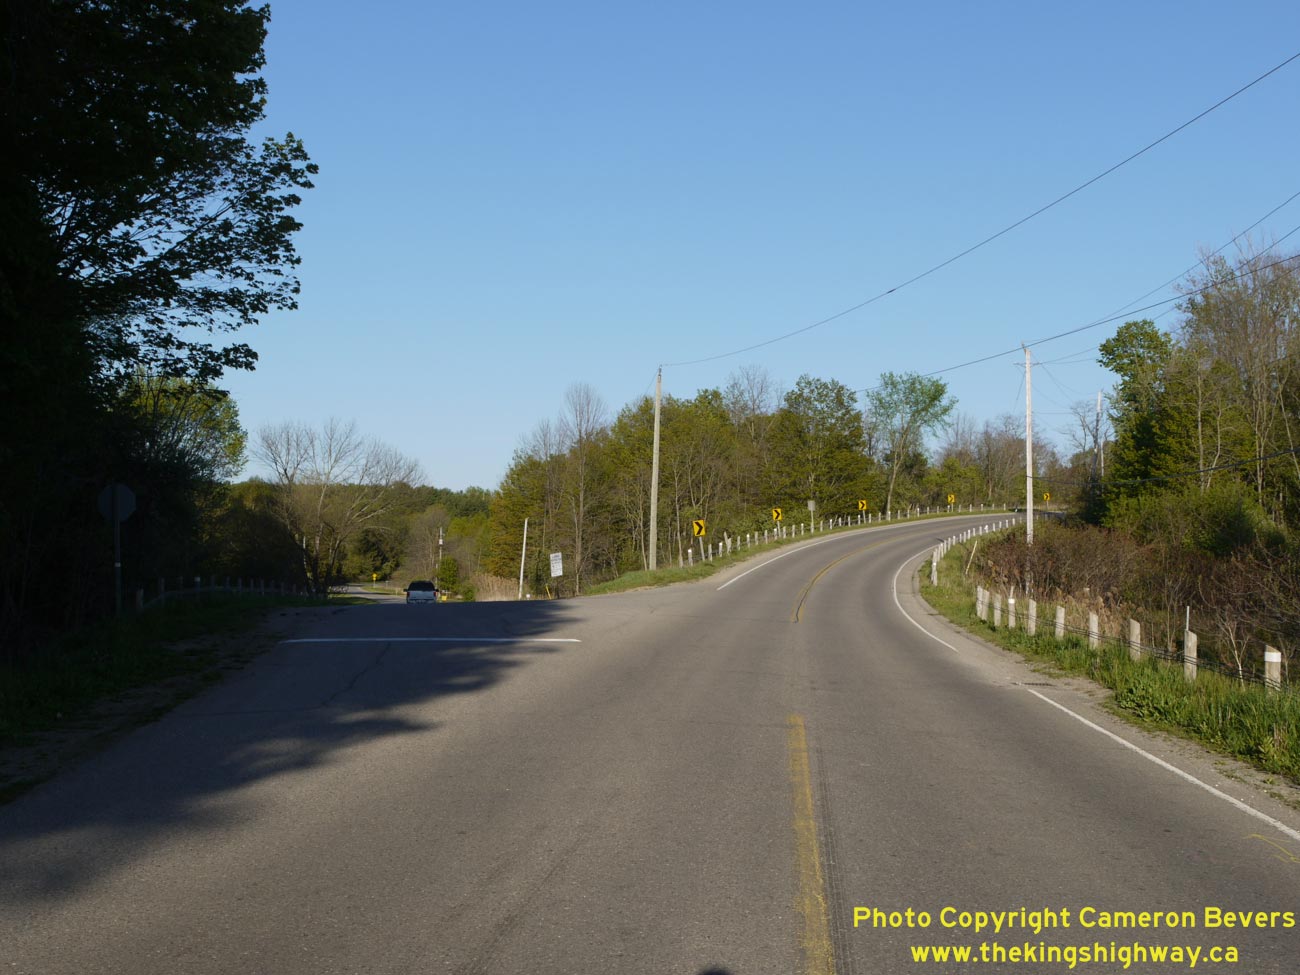
Left - Facing south along Hwy 19 towards Port Burwell. Compare this present-day photo to the historic 1935 photo shown above. See an
Enlarged Photo Here. (Photograph taken on May 10, 2012 - © Cameron Bevers) Right - Facing south along Hwy 19 at Tunnel Line between Vienna and Port Burwell. Compare this present-day photo to the historic 1935 photo shown above. The interesting alignment of the highway at this location hasn't changed much over the past 80 years. See an Enlarged Photo Here. (Photograph taken on May 10, 2012 - © Cameron Bevers) 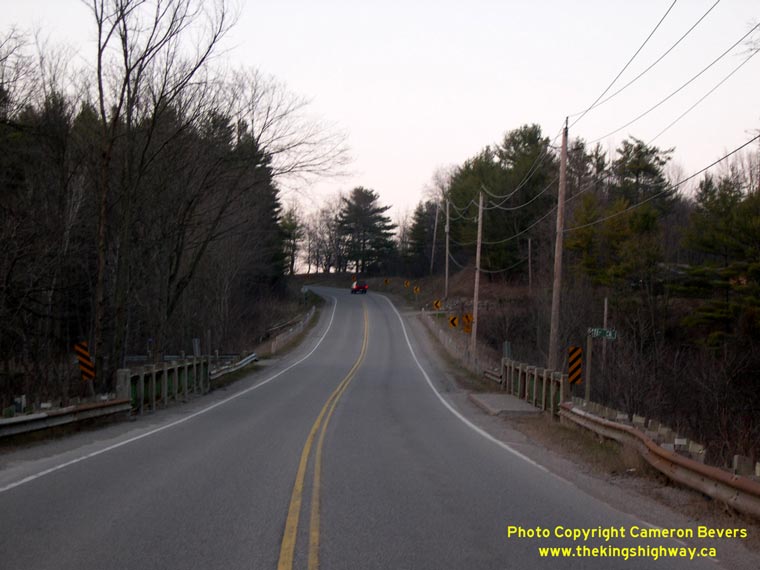
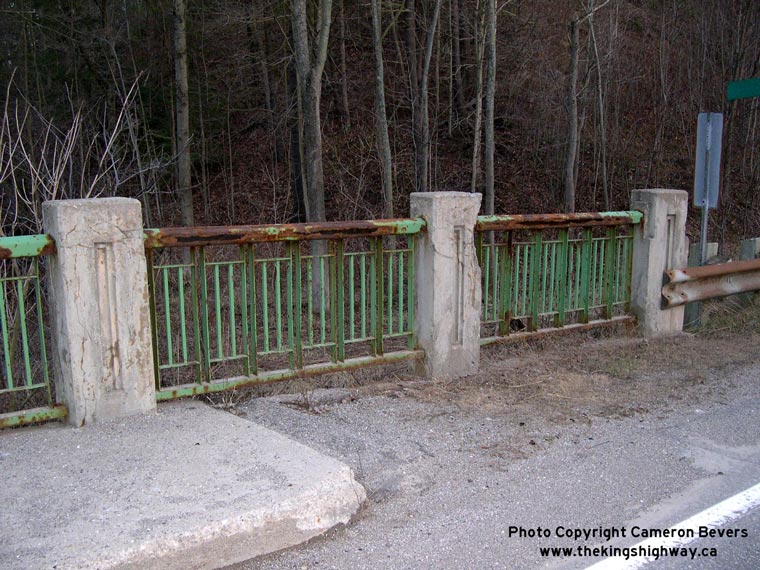
Left - Facing north towards Tillsonburg along Hwy 19 at the Otter Creek Bridge. (Photograph taken on April 7, 2004 - © Cameron Bevers) Right - Close-up of the embossed concrete railing design on the Otter Creek Bridge. This embossed pattern was used on the concrete handrails of numerous Ontario provincial highway bridges constructed between 1934 and 1936. (Photograph taken on April 7, 2004 - © Cameron Bevers) 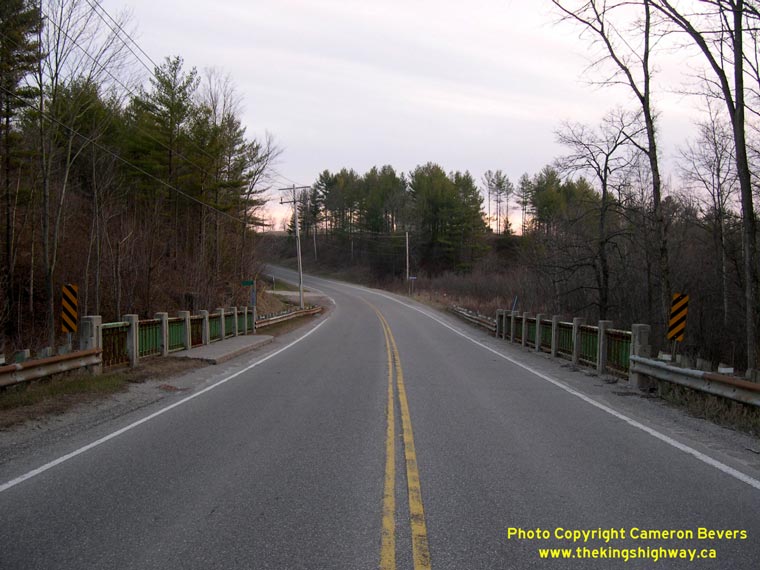
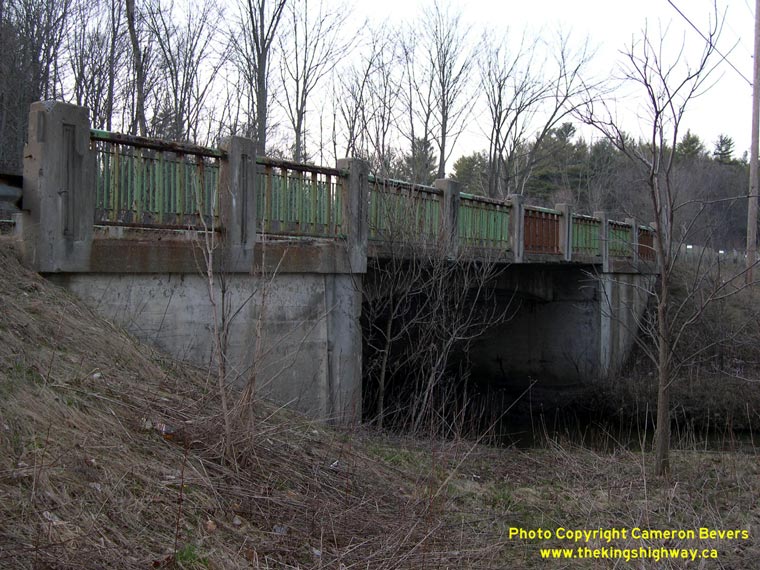
Left - Facing south towards Port Burwell along Hwy 19 at the Otter Creek Bridge. (Photograph taken on April 7, 2004 - © Cameron Bevers) Right - Eastern side of Otter Creek Bridge on Hwy 19. Structure completed in 1934. (Photograph taken on April 7, 2004 - © Cameron Bevers) 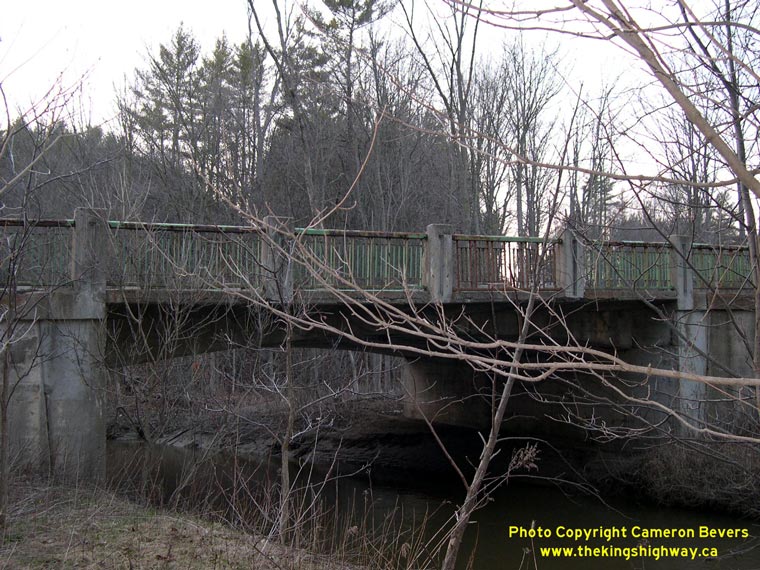
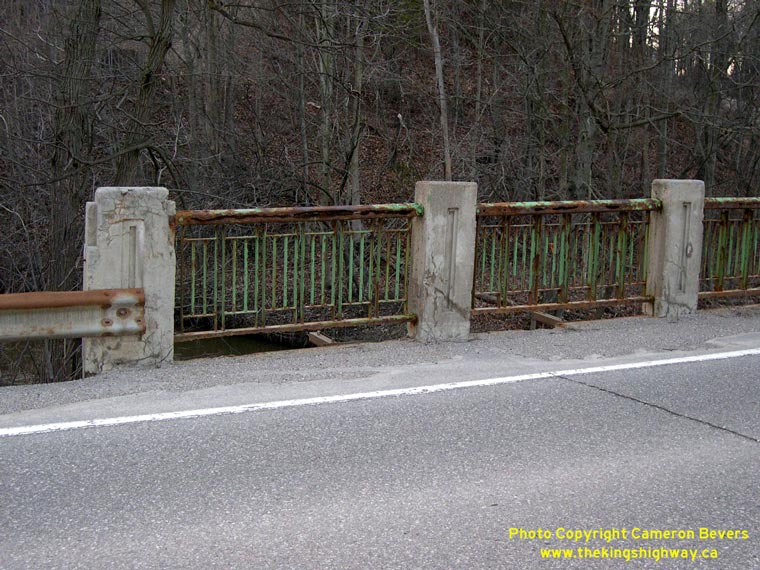
Left - Western side of Otter Creek Bridge. This bridge is unusual because the rigid frame arch is located only underneath the travelled portion of the roadway.
The shoulders were constructed on lateral concrete slab extensions which flanked a recessed rigid frame arch. (Photograph taken on April 7, 2004 - © Cameron Bevers) Right - This steel handrail design was introduced on a handful of bridges that were constructed by the Department of Highways in 1934. This new steel handrail became part of the standard parapet design for the Department of Highways for almost three decades. Unfortunately, this original 1934 steel handrail on the Otter Creek Bridge is showing its age and is now quite deteriorated. This aging structure was recently replaced by a new bridge. (Photograph taken on April 7, 2004 - © Cameron Bevers) 

Left - Facing north along Hwy 19 approaching the Hwy 3 Junction in Tillsonburg. See an
Enlarged Photo Here. (Photograph taken on May 10, 2012 - © Cameron Bevers) Right - Junction assembly approaching the Hwy 3 Junction on Northbound Hwy 19 in Tillsonburg. The route of Hwy 3 was relocated onto a new alignment in the 1970s. Prior to that time, Hwy 3 & Hwy 19 met at an offset highway junction in Downtown Tillsonburg. As a result of the new bypass construction un the 1970s, Downtown Tillsonburg actually lies a short distance to the north of the present-day Hwy 3 & Hwy 19 Junction. (Photograph taken on May 10, 2012 - © Cameron Bevers) 

Left - Facing south along Hwy 19 towards Port Burwell from the Hwy 3 Junction in Tillsonburg. See an
Enlarged Photo Here. (Photograph taken on May 10, 2012 - © Cameron Bevers) Right - Approaching the Hwy 3 Junction at Tillsonburg on Northbound Hwy 19. (Photograph taken on May 10, 2012 - © Cameron Bevers) 

Left - Facing east along Hwy 3 at the Hwy 19 Junction in Tillsonburg. This intersection in rather unusual because it does not have separate left-turn lanes. The
Ministry of Transportation is considering the construction of a modern roundabout to replace this older signalized intersection. The new roundabout is expected to
increase traffic safety and reduce overall delays for motorists. See an
Enlarged Photo Here. (Photograph taken on May 10, 2012 - © Cameron Bevers) Right - Approaching the Hwy 19 Junction on Eastbound Hwy 3 in Tillsonburg. The section of Hwy 19 leading south from Tillsonburg is also known as Vienna Road. (Photograph taken on May 10, 2012 - © Cameron Bevers) 

Left - Junction assembly and destination guide signs at the Hwy 3 & Hwy 19 Junction in Tillsonburg. Up until the late 1990s, several King's Highways
intersected Hwy 3 between St. Thomas and Simcoe (Hwy 4, Hwy 74, Hwy 73, Hwy 19, Hwy 59 and Hwy 24). Today, only Hwy 4, Hwy 19 and Hwy 24 remain under provincial
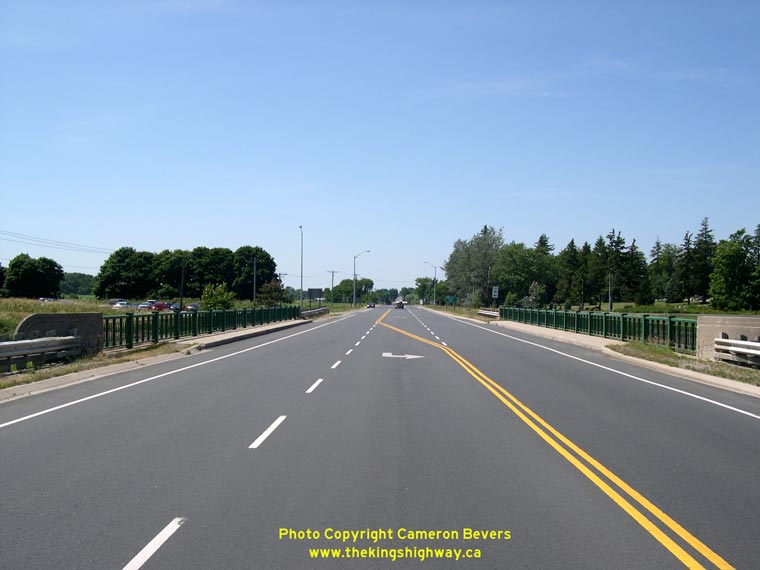
jurisdiction. The rest of these highways were transferred to municipalities in 1997-1998, along with the sections of Hwy 4, Hwy 19 and Hwy 24 lying south of Hwy 3. (Photograph taken on May 10, 2012 - © Cameron Bevers) Right - Facing east along Hwy 3 towards Simcoe from the Hwy 19 Junction in Tillsonburg. Note the wide right-of-way set aside along the Tillsonburg Bypass. Clearly, it was anticipated that this route would become a four-lane divided highway at some point in the future. See an Enlarged Photo Here. (Photograph taken on May 10, 2012 - © Cameron Bevers) 

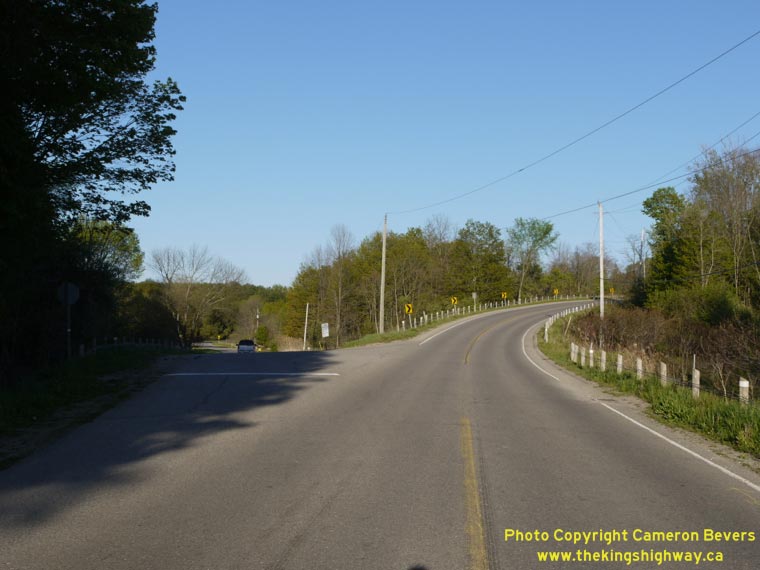
Left - Facing south along Hwy 19 towards the Hwy 3 Junction in Tillsonburg. See an
Enlarged Photo Here. (Photograph taken on May 10, 2012 - © Cameron Bevers) Right - Facing north along Hwy 19 towards Tillsonburg from the Hwy 3 Junction. See an Enlarged Photo Here. (Photograph taken on May 10, 2012 - © Cameron Bevers) 
Left - Junction assembly at the Hwy 3 & Hwy 19 Junction in Tillsonburg. Note the "Hwy 19 Ends" sign, marking the present-day southern terminus of Hwy 19.
Prior to the mass highway downloading of 1997-1998, Hwy 19 used to continue south from the Hwy 3 Junction in Tillsonburg to Port Burwell. Since Hwy 19 does not
intersect with any other provincial highways south of Hwy 3, this 26 km section of Hwy 19 was deemed to serve only a local purpose and was transferred to the Counties
of Oxford, Norfolk and Elgin. (Photograph taken on May 10, 2012 - © Cameron Bevers) Right - Facing north across the Hwy 19 Overpass on Hwy 401 in Ingersoll. (Photograph taken on June 24, 2007 - © Cameron Bevers) 
Left - Single-span concrete rigid frame structure carrying Hwy 19 over Hwy 401 in Ingersoll. The Hwy 19 Overpass was completed in 1955. (Photograph taken on June 24, 2007 - © Cameron Bevers) Right - Facing south across the Hwy 19 Overpass on Hwy 401 in Ingersoll. (Photograph taken on June 24, 2007 - © Cameron Bevers) 

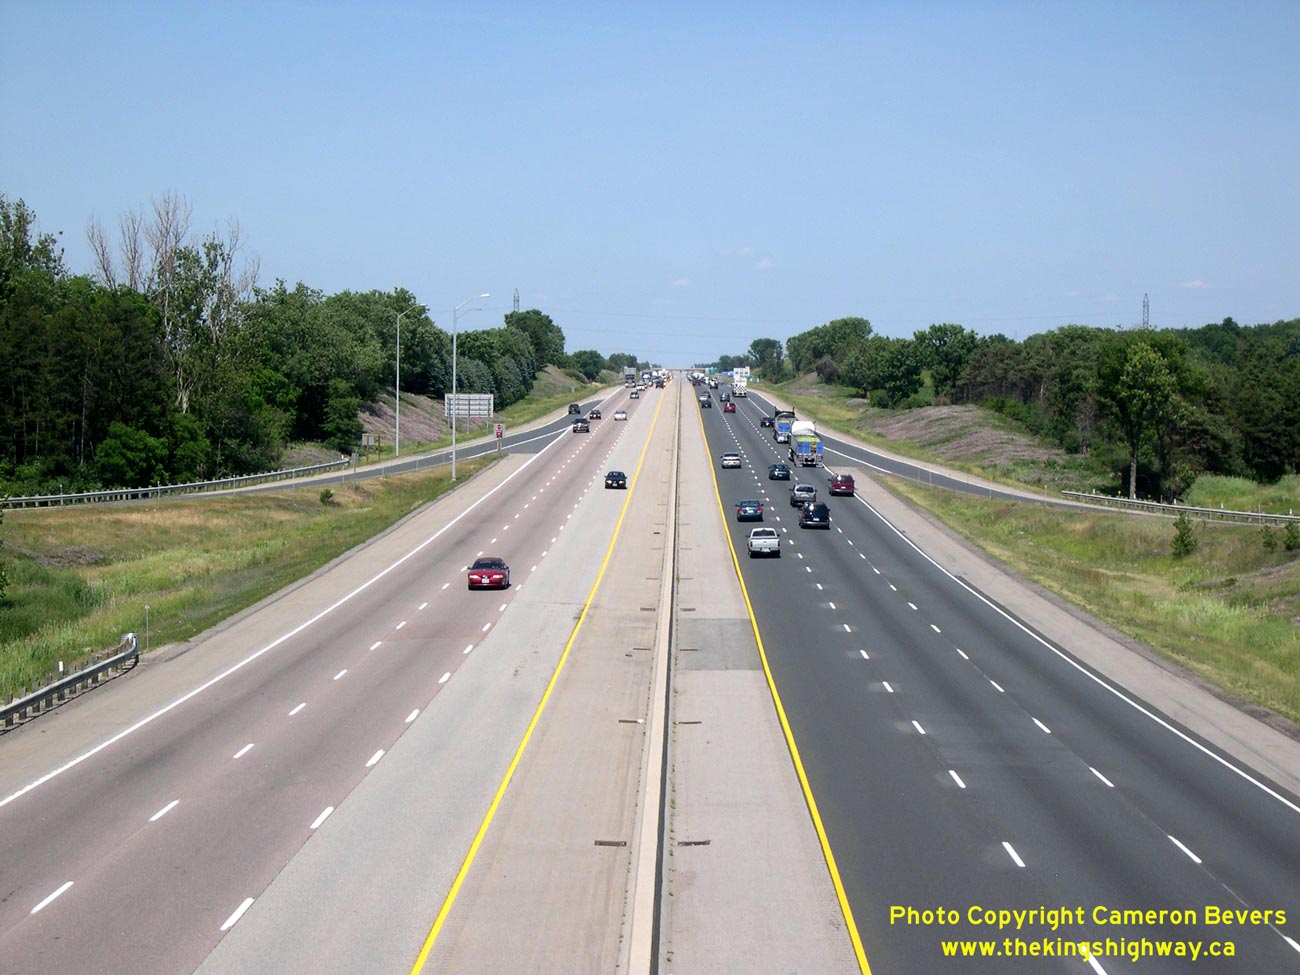
Left - Facing east along Hwy 401 towards Woodstock from the Hwy 19 Overpass in Ingersoll. Hwy 401 ascends a long grade east of the Hwy 19
Interchange. Despite the fact that it is located 4 km away, the Oxford Road 6 (Foldens Line) Interchange can be seen in the far background. See an
Enlarged Photo here. (Photograph taken on June 24, 2007 - © Cameron Bevers) Right - Facing west along Hwy 401 towards London from the Hwy 19 Overpass in Ingersoll. (Photograph taken on June 24, 2007 - © Cameron Bevers) 

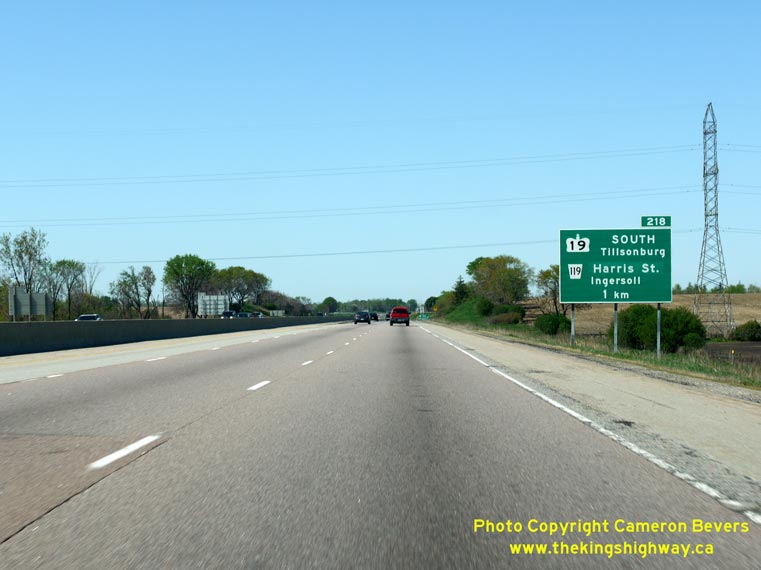
Left - Close-up view of the steel handrails on the Hwy 19 Overpass in Ingersoll. (Photograph taken on June 24, 2007 - © Cameron Bevers) Right - Approaching the Hwy 19 Interchange on Westbound Hwy 401 in Ingersoll. (Photograph taken on May 18, 2009 - © Cameron Bevers) 
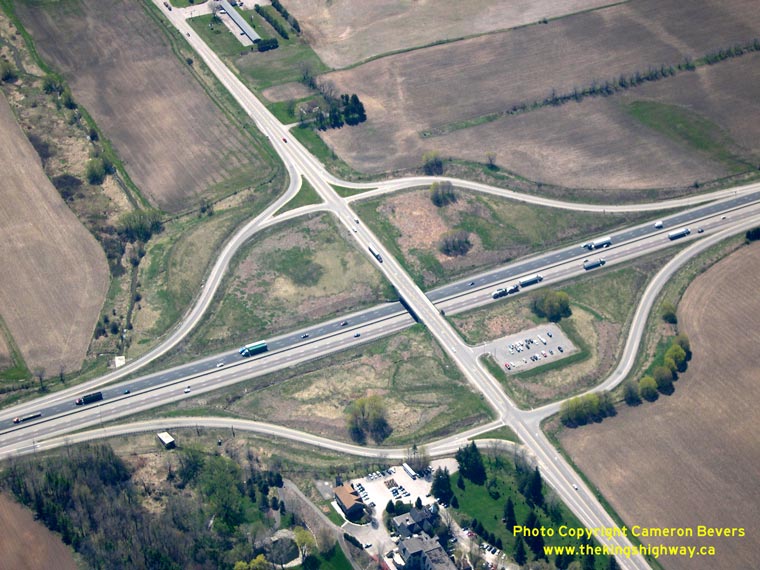
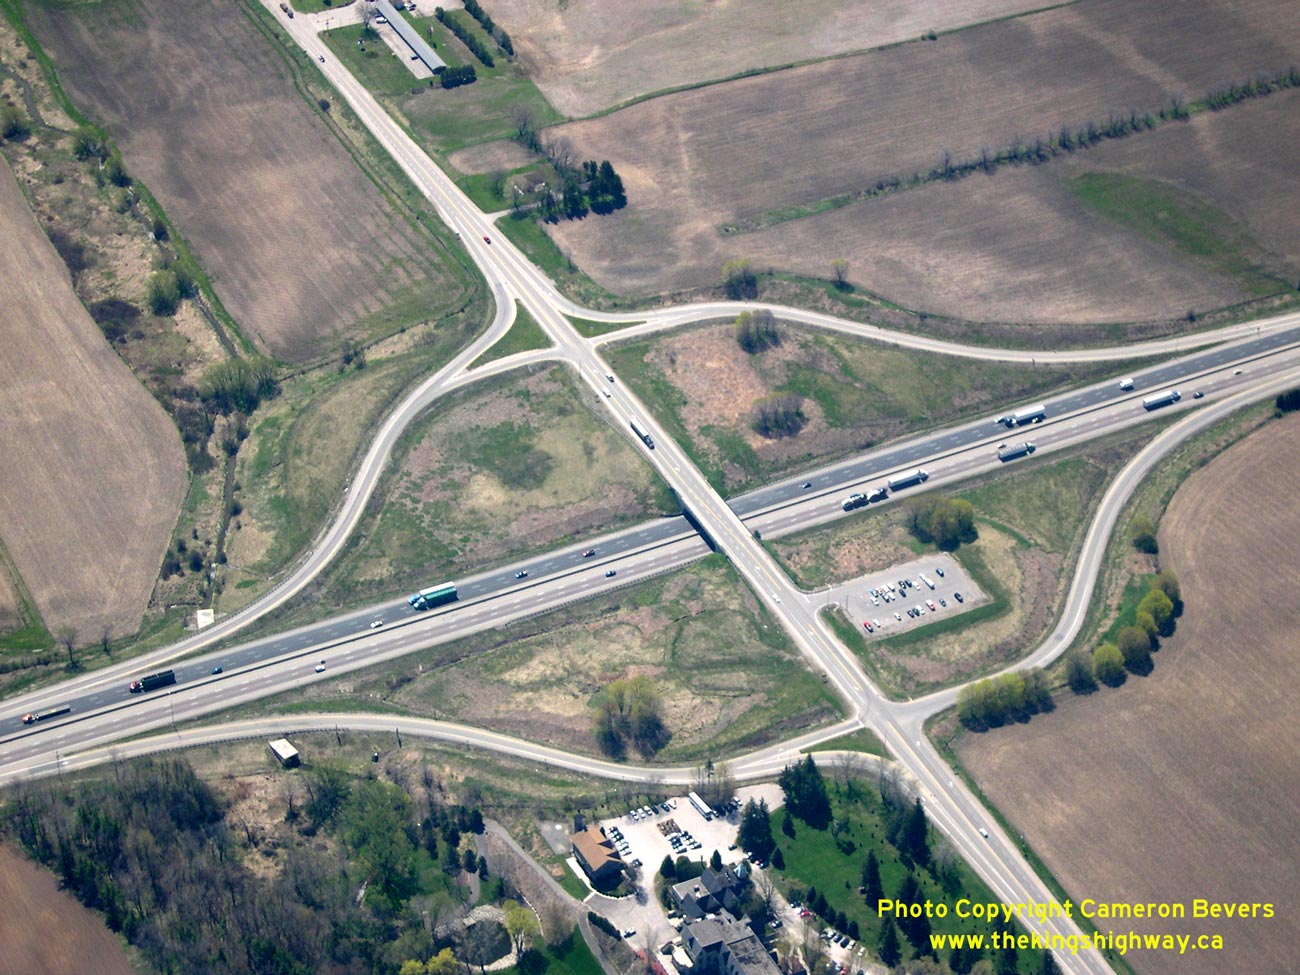
Left - Aerial view of the Hwy 401 and Hwy 19 Interchange in Ingersoll, facing south. (Photograph taken on April 28, 2006 - © Cameron Bevers) Right - Aerial view of the Hwy 401 and Hwy 19 Interchange in Ingersoll, facing southwest. When this section of Hwy 401 was first constructed in the 1950s, the Hwy 19 Interchange was a full cloverleaf. In the early 1990s, Hwy 401 was widened to six lanes and the full cloverleaf interchange at Hwy 19 was converted into a diamond interchange. See an Enlarged Photo here. (Photograph taken on April 28, 2006 - © Cameron Bevers) 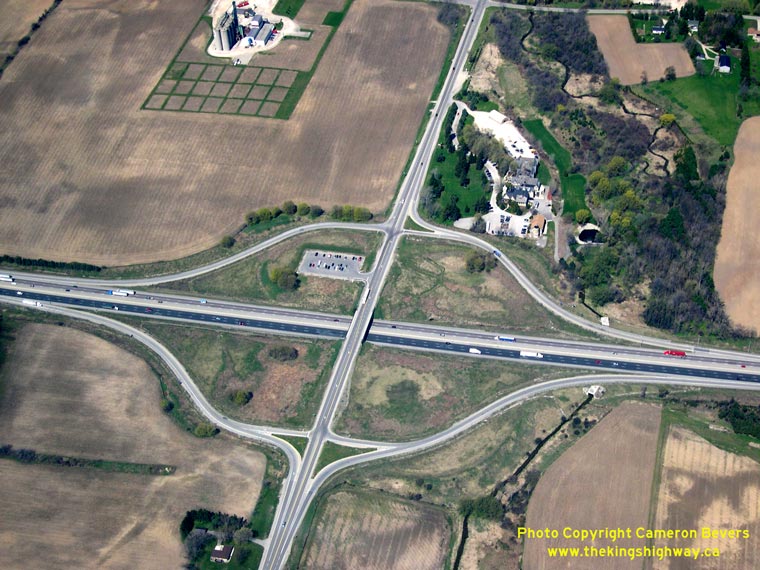
Left - Aerial view of the Hwy 401 and Hwy 19 Interchange in Ingersoll, facing north. (Photograph taken on April 28, 2006 - © Cameron Bevers) Right - Guide sign marking the Hwy 19 Interchange on Westbound Hwy 401 in Ingersoll. This interchange marks the current northern terminus of Hwy 19. Until the northern section of Hwy 19 was downloaded to Oxford and Perth Counties in 1997-1998, Hwy 19 continued north from Hwy 401 for over 90 km, passing through Ingersoll and Stratford. The section of former Hwy 19 lying north of Hwy 401 was renumbered as County Road 119, since Oxford County already had a County Road 19 designated in their county road system at the time Hwy 19 was transferred to them. (Photograph taken on May 18, 2009 - © Cameron Bevers)
Continue on to King's Highway 19 Photos: Ingersoll to Stratford
|
|---|
Links to Adjacent King's Highway Photograph Pages:
Back to Hwy 19 - Historical Photos (1930-1999)
Hwy 19 Photo Index
On to Hwy 19 - Ingersoll to Stratford
Back to King's Highway 18 Photos /
King's Highway 19 History /
On to King's Highway 20 Photos
Ontario Highway History - Main Menu / Back to List of Highways Website contents, photos & text © 2002-2026, Cameron
Bevers (Webmaster) - All Rights Reserved / Contact Me
|
|---|