
| 
| |
|
|
All photographs displayed on this page were taken by the
Webmaster (Cameron Bevers), unless specifically noted otherwise. Historical photographs are
arranged in approximate chronological order, while present day photographs (Year 2010 to date)
are arranged by location from east to west. Click on any thumbnail to see a larger image!
Please note that all photographs displayed on this
website are protected by copyright. These photographs must not be reproduced, published,
electronically stored or copied, distributed, or posted onto other websites without
my written permission. If you want to use photos from this website, please
email me first for permission. Thank-you!
|
|---|
|
Historical Secondary Highway 558 Photographs
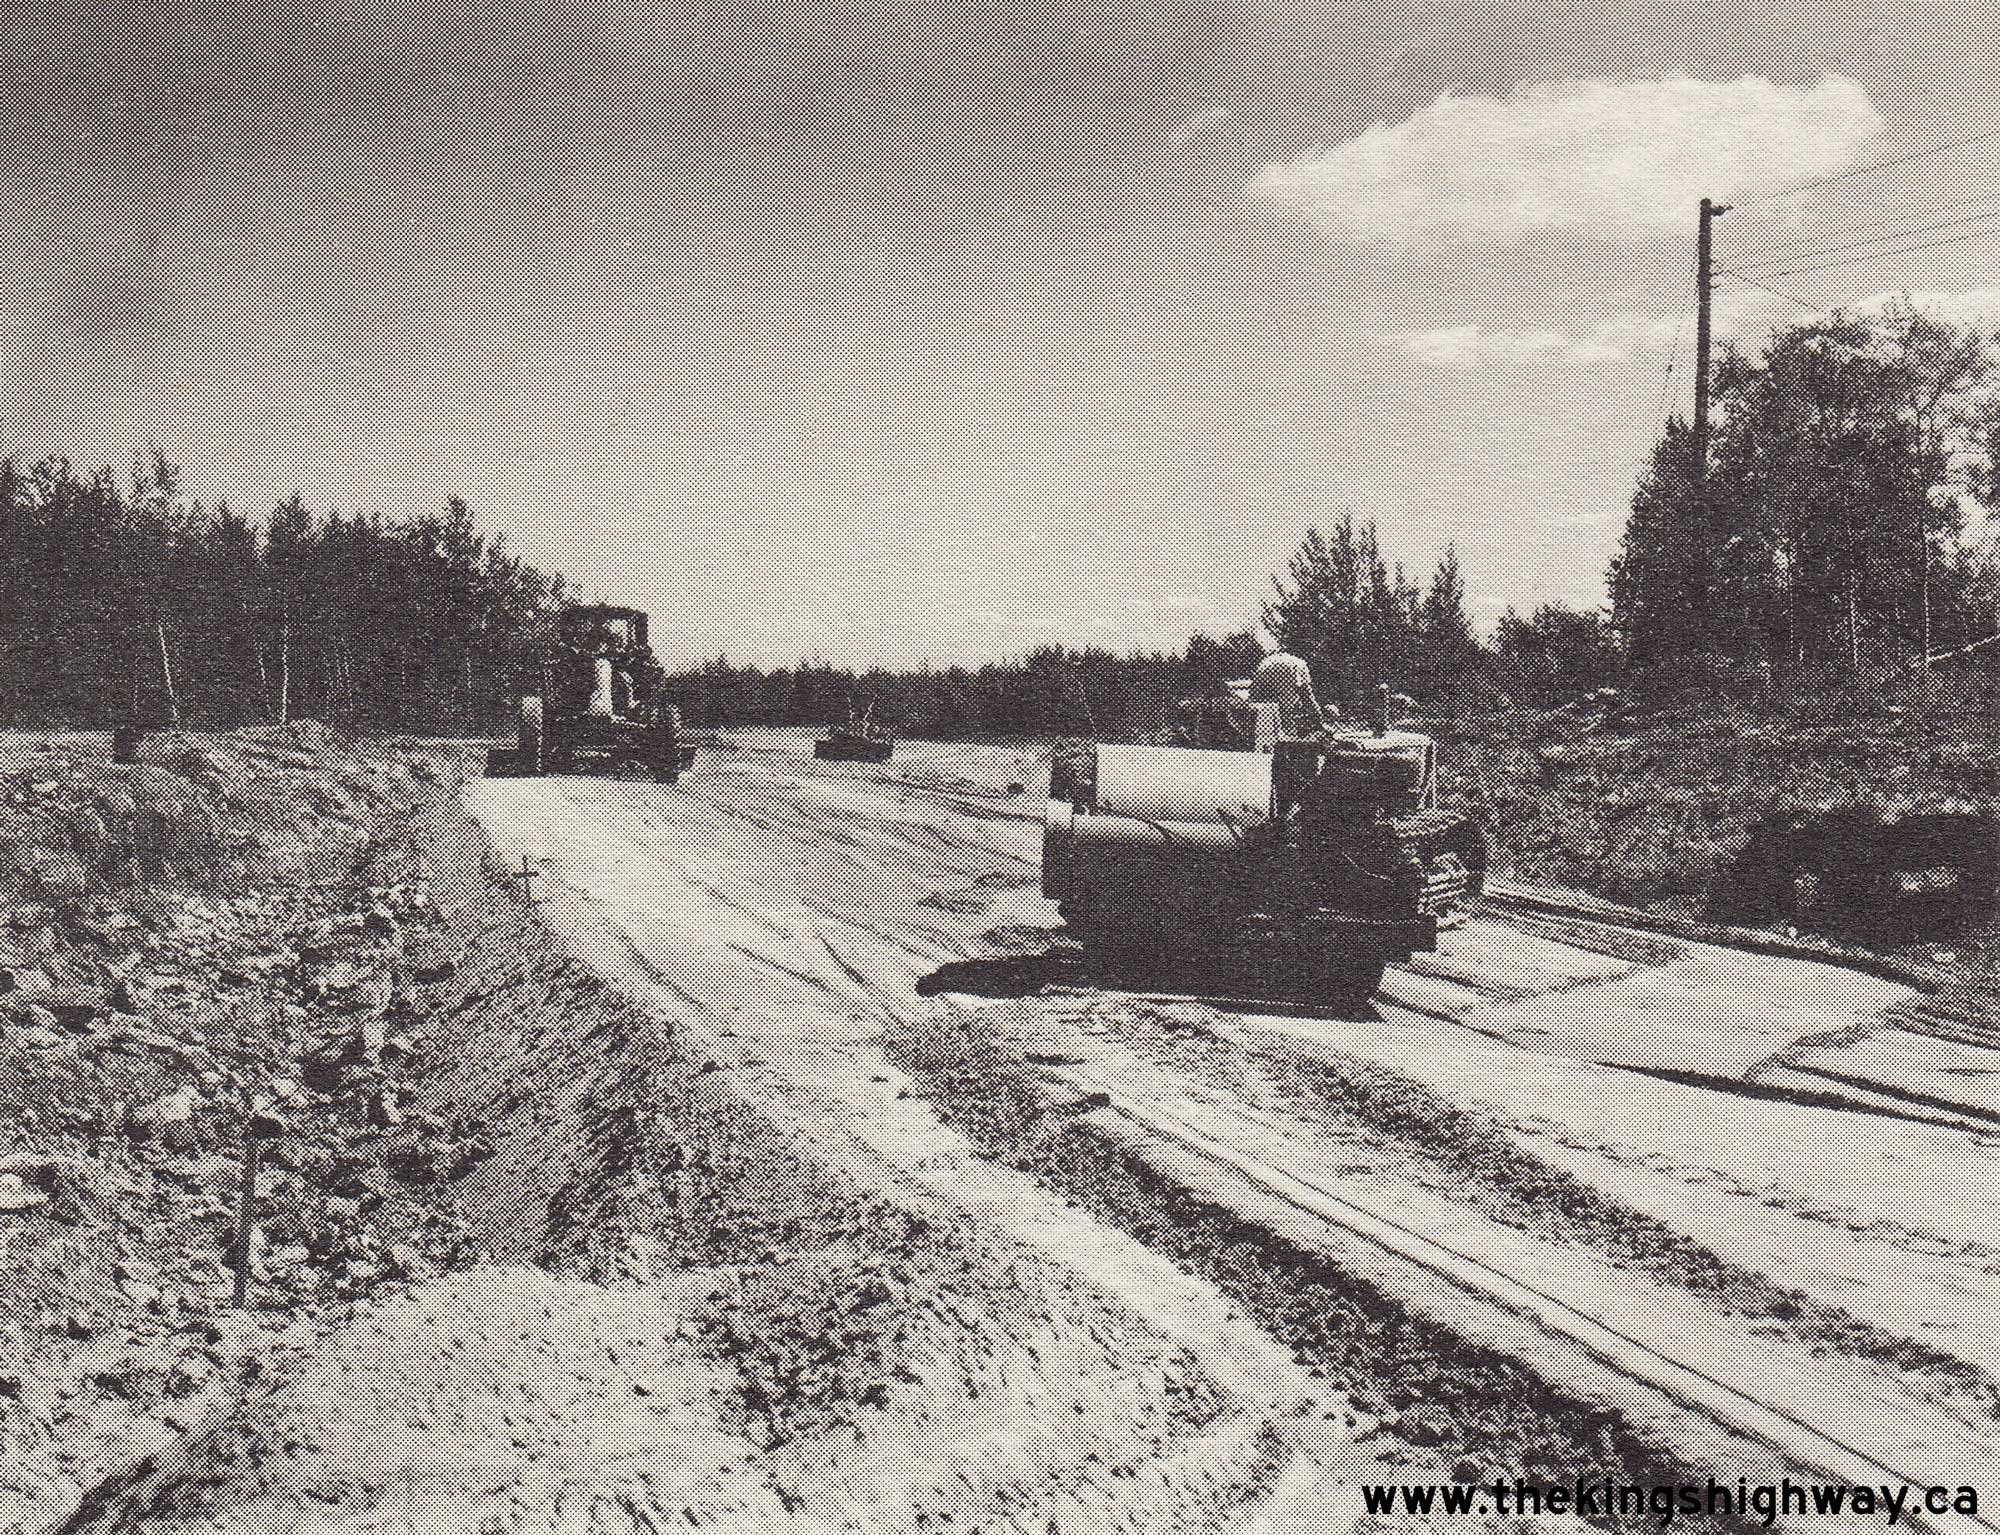
  Above - Construction of the new Main Street Extension (Hwy 558) under Contract #1964-272 approaching Haileybury in 1965. This diversion of Hwy 558 included a
new grade separation at the Ontario Northland Railway and improved access to Downtown Haileybury from the Tri-Town Bypass (Hwy 11). The new diversion opened to
traffic in late summer 1965. See an Enlarged Photo Here. Photo taken in 1965. Above - Construction of the new Main Street Extension (Hwy 558) under Contract #1964-272 approaching Haileybury in 1965. This diversion of Hwy 558 included a
new grade separation at the Ontario Northland Railway and improved access to Downtown Haileybury from the Tri-Town Bypass (Hwy 11). The new diversion opened to
traffic in late summer 1965. See an Enlarged Photo Here. Photo taken in 1965.(Photo courtesy of Ontario Ministry of Transportation - © King's Printer for Ontario, 1965) |
|---|
|
Present Day Secondary Highway 558 Photographs

Left - Facing south along the Tri-Town Bypass (Hwy 11) towards Latchford from the Hwy 558 Junction near Haileybury. See an
Enlarged Photo Here. (Photograph taken on September 23, 2017 - © Cameron Bevers) Right - Junction of Hwy 11 & Hwy 558, facing north towards New Liskeard. See an Enlarged Photo Here. (Photograph taken on September 23, 2017 - © Cameron Bevers) 

Left - Distance guide sign on southbound Hwy 11 at the Hwy 558 Junction near Haileybury. See an
Enlarged Photo Here. (Photograph taken on September 23, 2017 - © Cameron Bevers) Right - Junction sign assembly at the current eastern terminus of Hwy 558 at the Tri-Town Bypass (Hwy 11) Junction. Up until the late 1990s, Hwy 558 continued east from Hwy 11 towards Downtown Haileybury, where the route ended at Rorke Avenue (Hwy 11B). See an Enlarged Photo Here. (Photograph taken on September 23, 2017 - © Cameron Bevers) 

Left - Facing east along West Road (Formerly Hwy 558) towards Haileybury from the Tri-Town Bypass (Hwy 11). The town centre lies about 7 km ahead. See an
Enlarged Photo Here. (Photograph taken on September 23, 2017 - © Cameron Bevers) Right - Approaching the Hwy 11 Junction on West Road (Formerly Hwy 558), facing west towards Mowat Landing. Red flashing warning beacons were installed over the stop signs facing Hwy 558 traffic to increase the conspicuity of this intersection. See an Enlarged Photo Here. (Photograph taken on September 23, 2017 - © Cameron Bevers) 

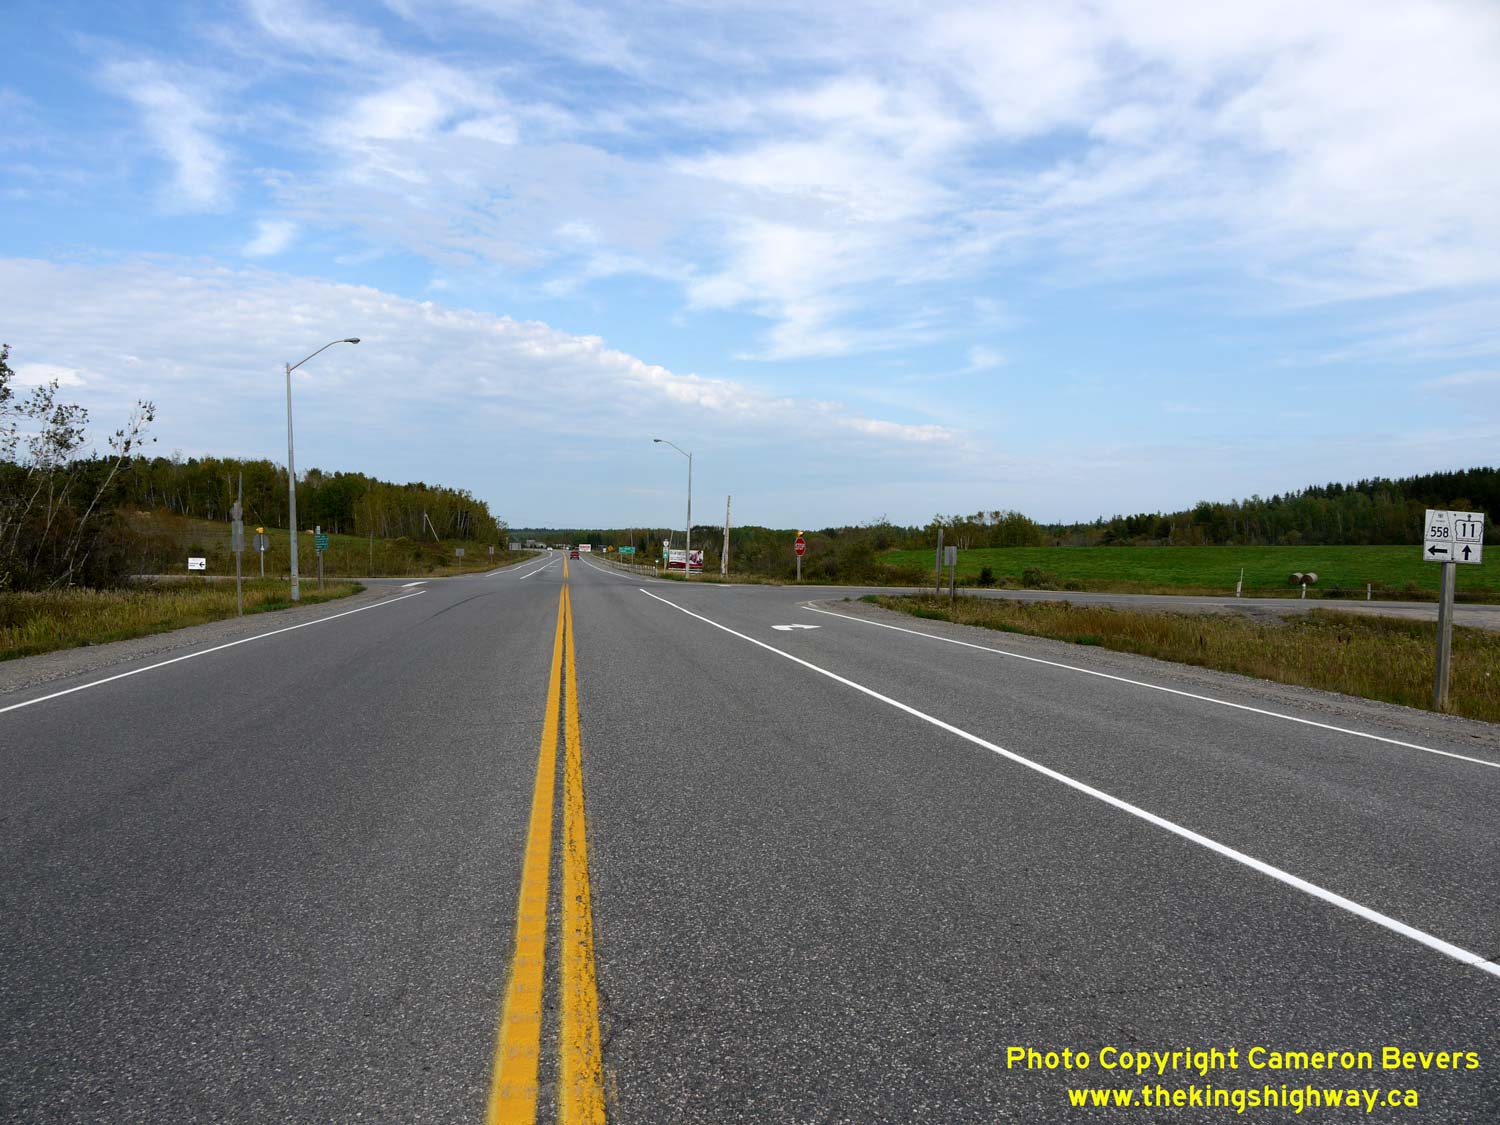
Left - Junction sign assembly facing westbound traffic on Hwy 558 at the Tri-Town Bypass (Hwy 11) Junction. The signed route of Hwy 558 begins here and
continues west for about 21 km to Mowat Landing. Prior to 1997-1998, Hwy 558 also continued east from Hwy 11 into Downtown Haileybury. See an
Enlarged Photo Here. (Photograph taken on September 23, 2017 - © Cameron Bevers) Right - Facing west along Hwy 558 towards Mowat Landing from the Tri-Town Bypass (Hwy 11) Junction. Provincial ownership of Hwy 558 actually begins about 3 km west of Hwy 11. The balance of the highway is now maintained by the City of Temiskaming Shores. There are no other provincial highway junctions located along Hwy 558, which comes to a dead-end about 21 km ahead at Mowat Landing on the Montreal River. See an Enlarged Photo Here. (Photograph taken on September 23, 2017 - © Cameron Bevers) 

Left - Approaching the eastern terminus of Hwy 558 at the Tri-Town Bypass (Hwy 11) Junction. West Road (Formerly Hwy 558) continues east towards Haileybury.
See an Enlarged Photo Here. (Photograph taken on September 23, 2017 - © Cameron Bevers) Right - Approaching the Hwy 558 Junction on the Tri-Town Bypass (Hwy 11), facing south towards Latchford. See an Enlarged Photo Here. (Photograph taken on September 23, 2017 - © Cameron Bevers) 

Left - Facing north along the Tri-Town Bypass (Hwy 11) towards New Liskeard from the Hwy 558 Junction west of Haileybury. See an
Enlarged Photo Here. (Photograph taken on September 23, 2017 - © Cameron Bevers) Right - Distance guide sign on northbound Hwy 11 at the Hwy 558 Junction near Haileybury. See an Enlarged Photo Here. (Photograph taken on September 23, 2017 - © Cameron Bevers) 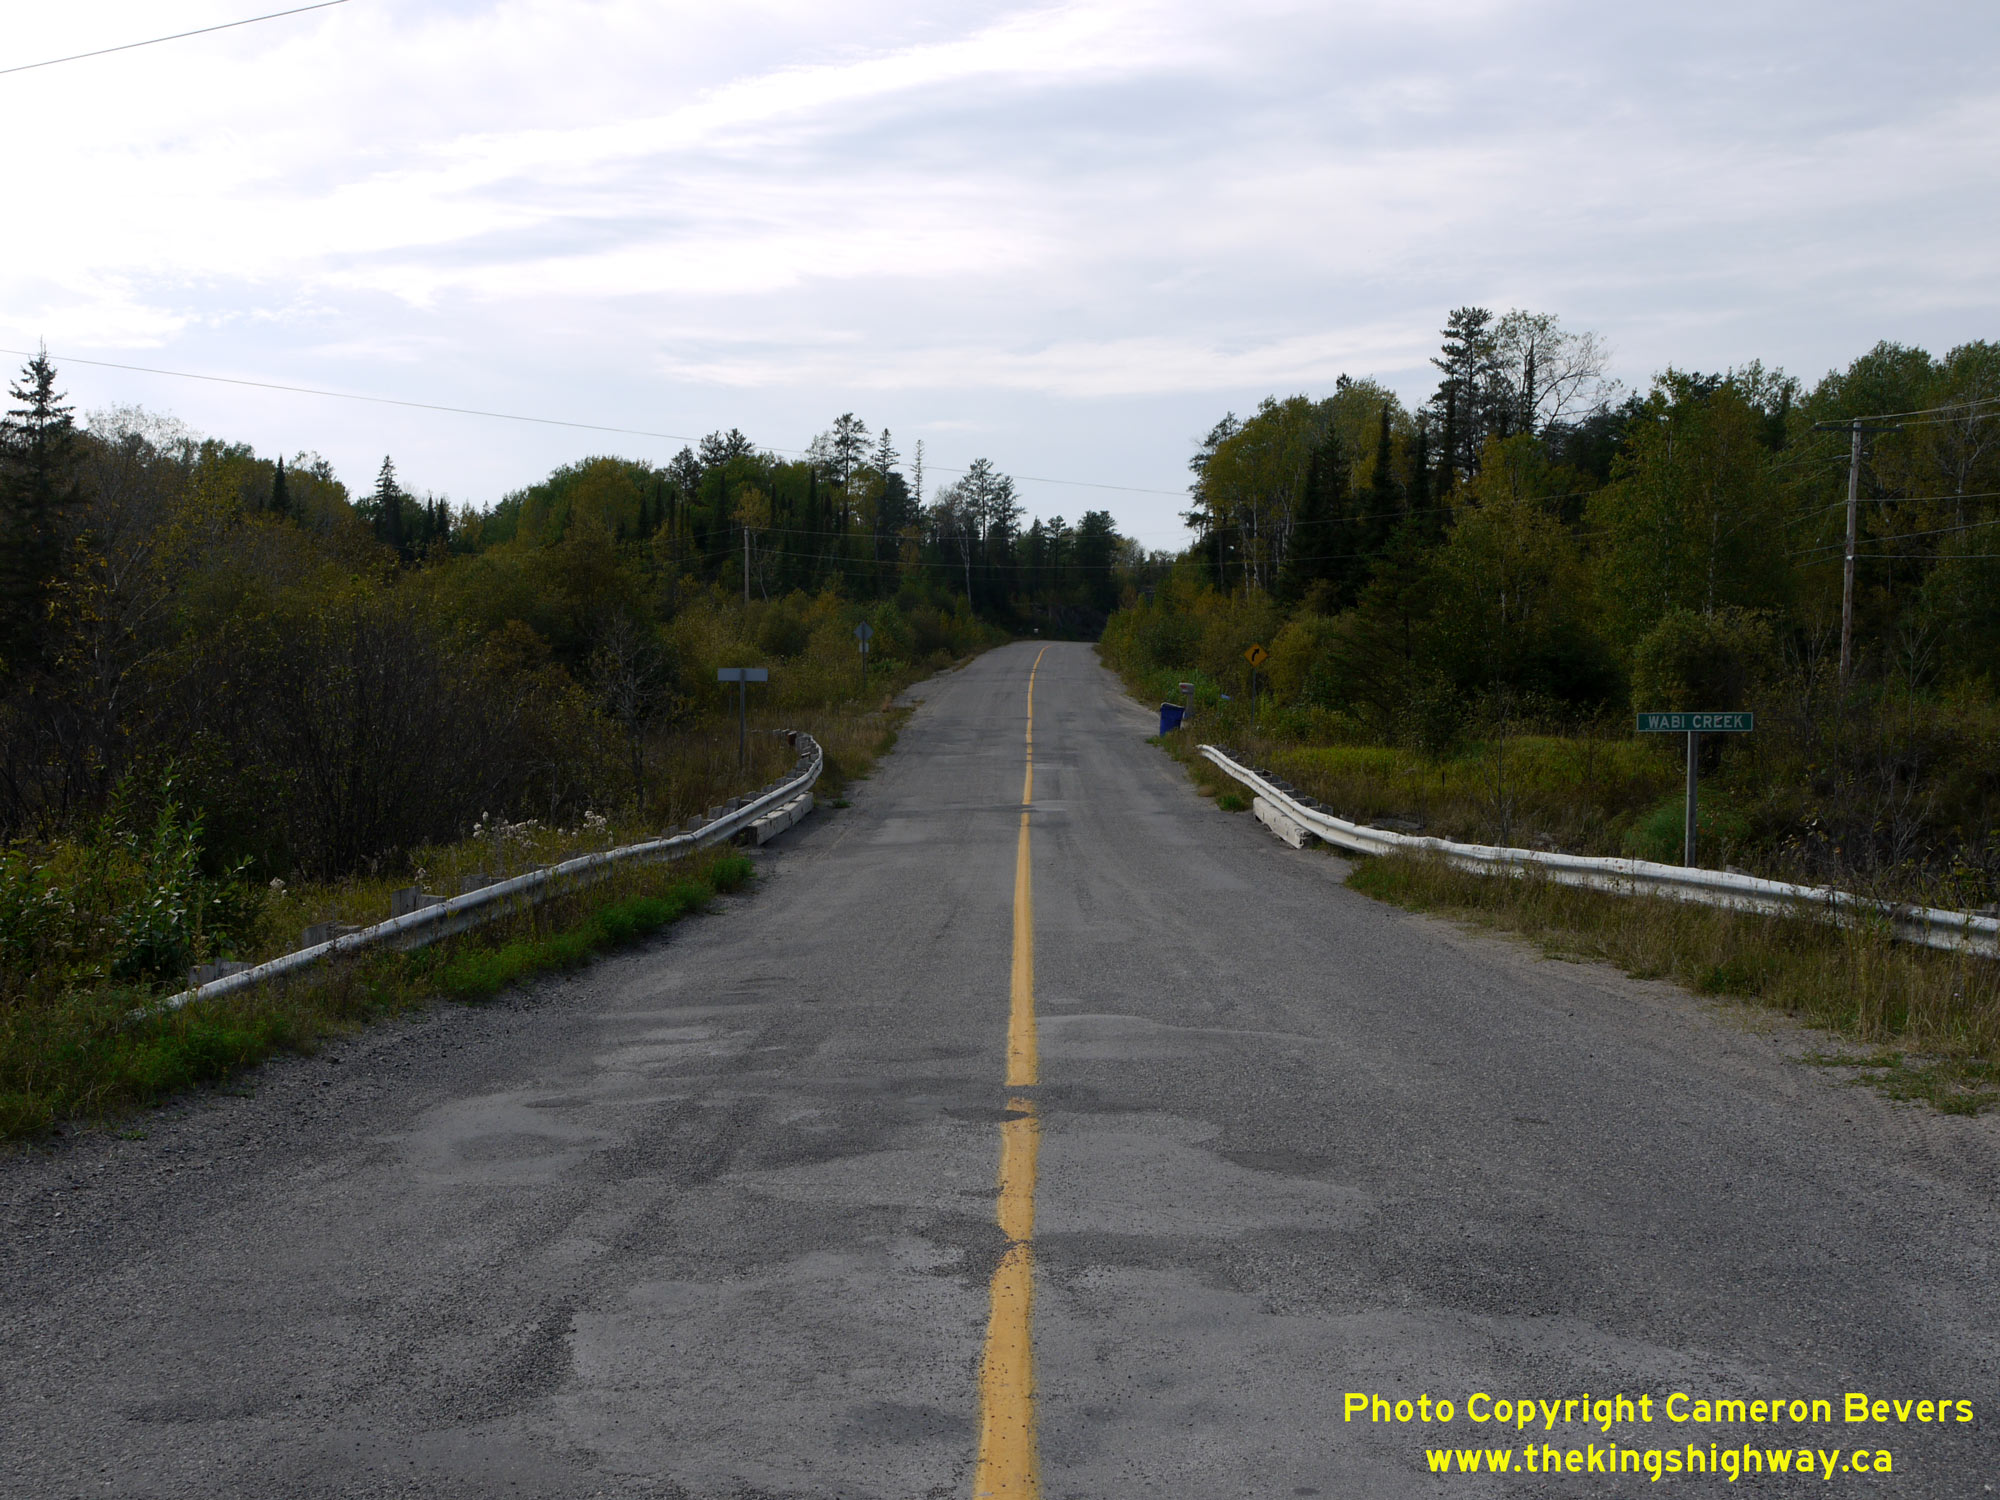
 Left - Facing west along Hwy 558 at the Wabi Creek Bridge west of Haileybury. See an
Enlarged Photo Here. Left - Facing west along Hwy 558 at the Wabi Creek Bridge west of Haileybury. See an
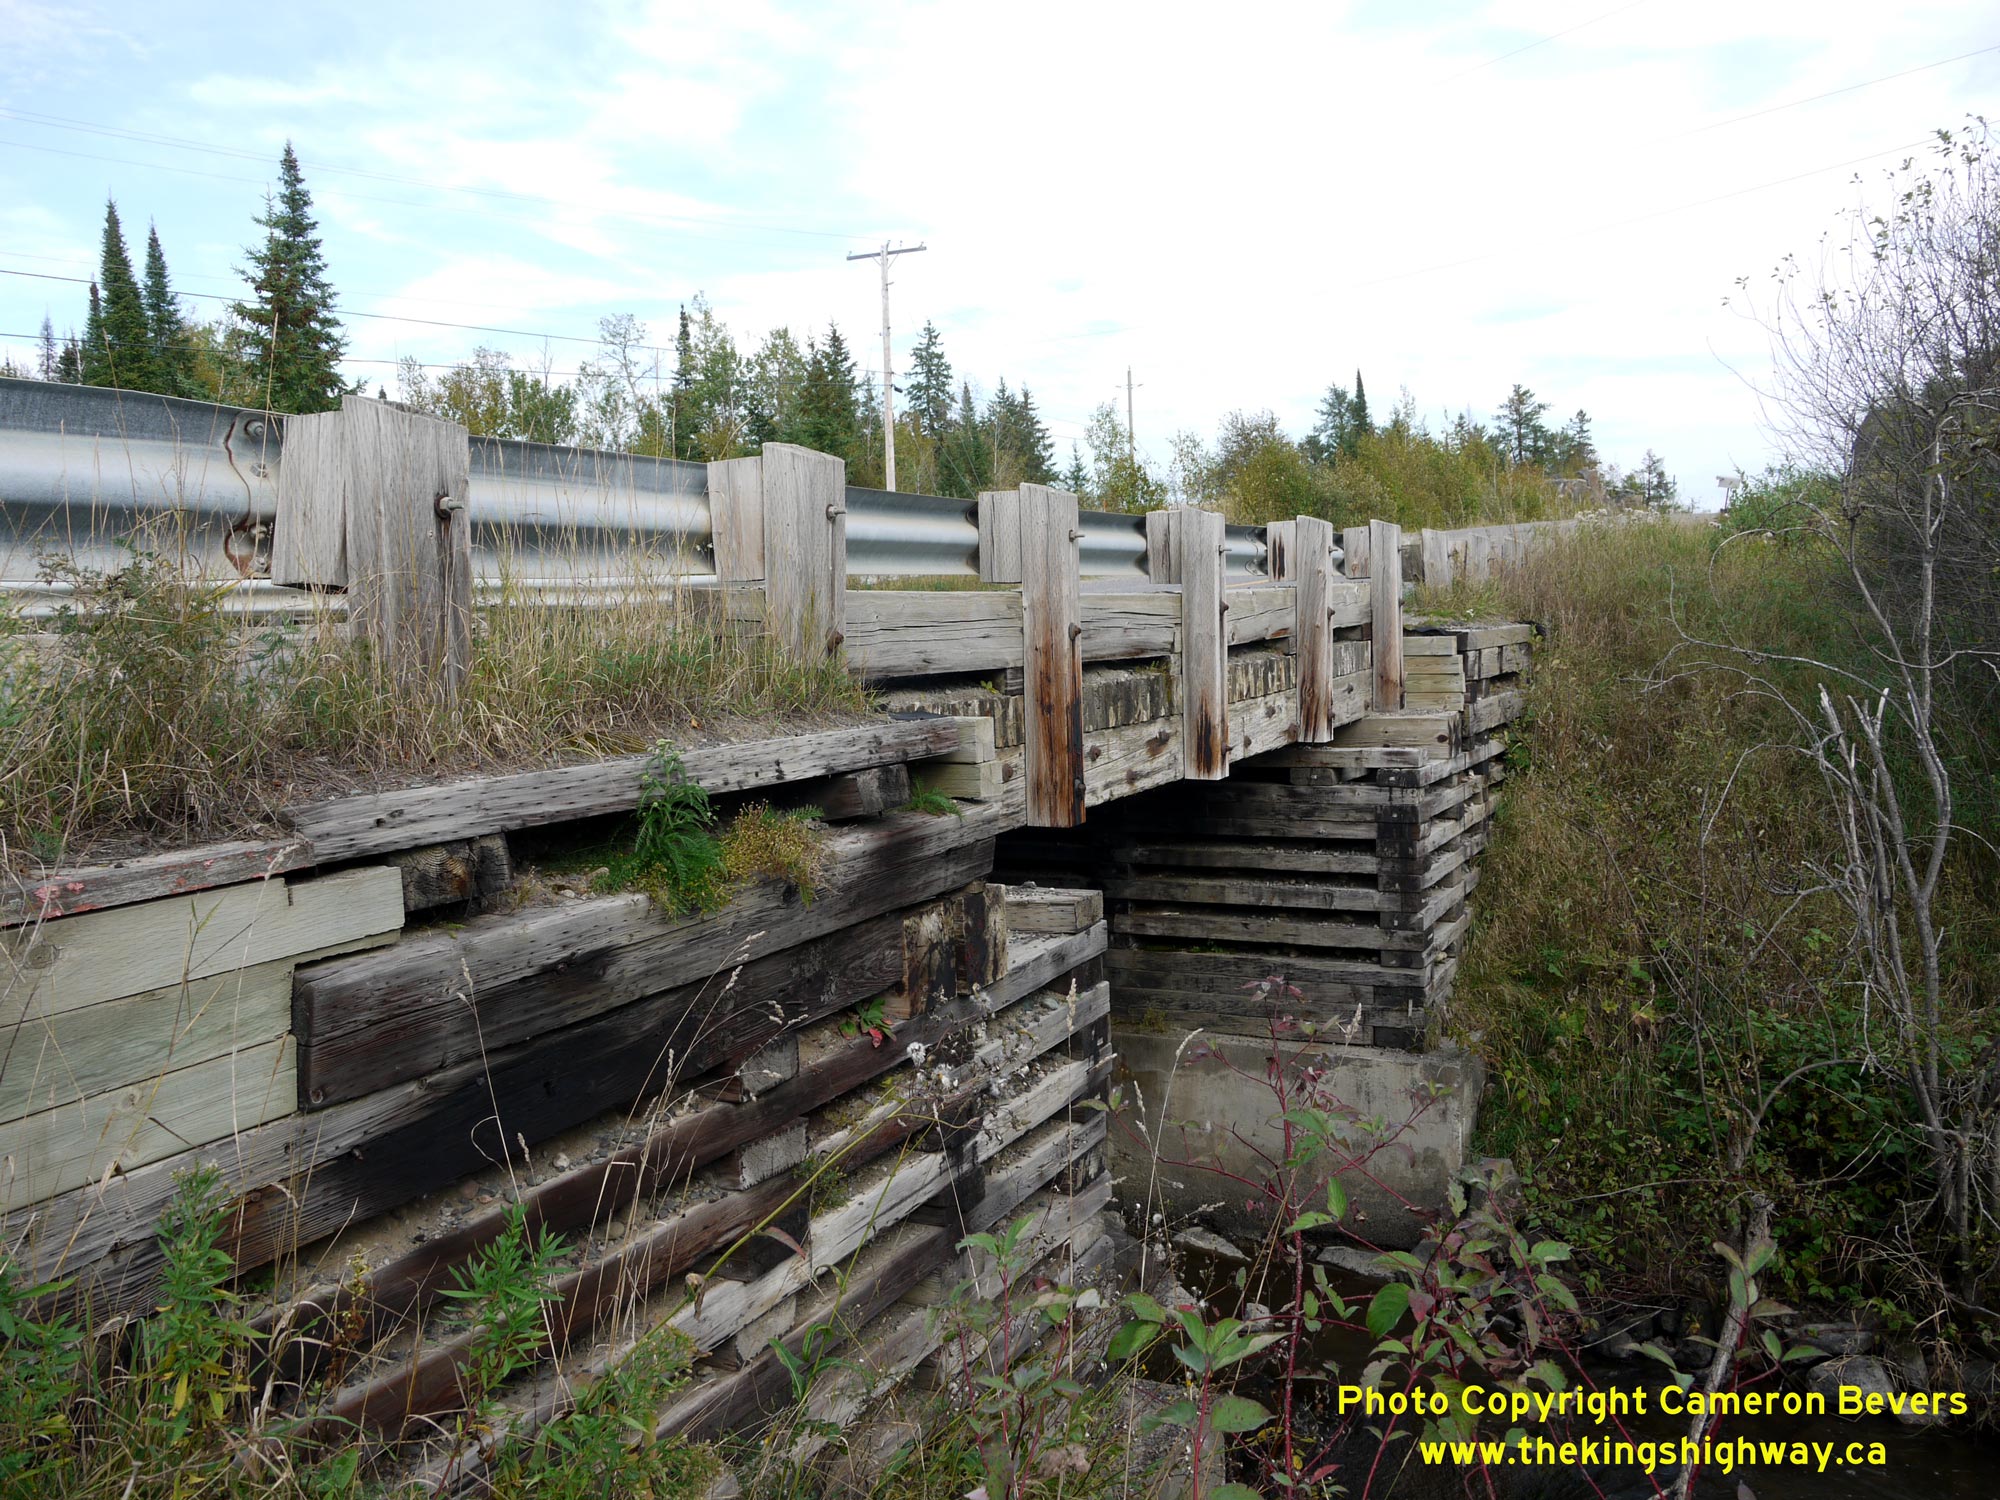
Enlarged Photo Here.(Photograph taken on September 23, 2017 - © Cameron Bevers) Right - Southern side of the Wabi Creek Bridge on Hwy 558. This undated laminated timber beam bridge is believed to have been constructed in the 1960s. See an
Enlarged Photo Here.(Photograph taken on September 23, 2017 - © Cameron Bevers) 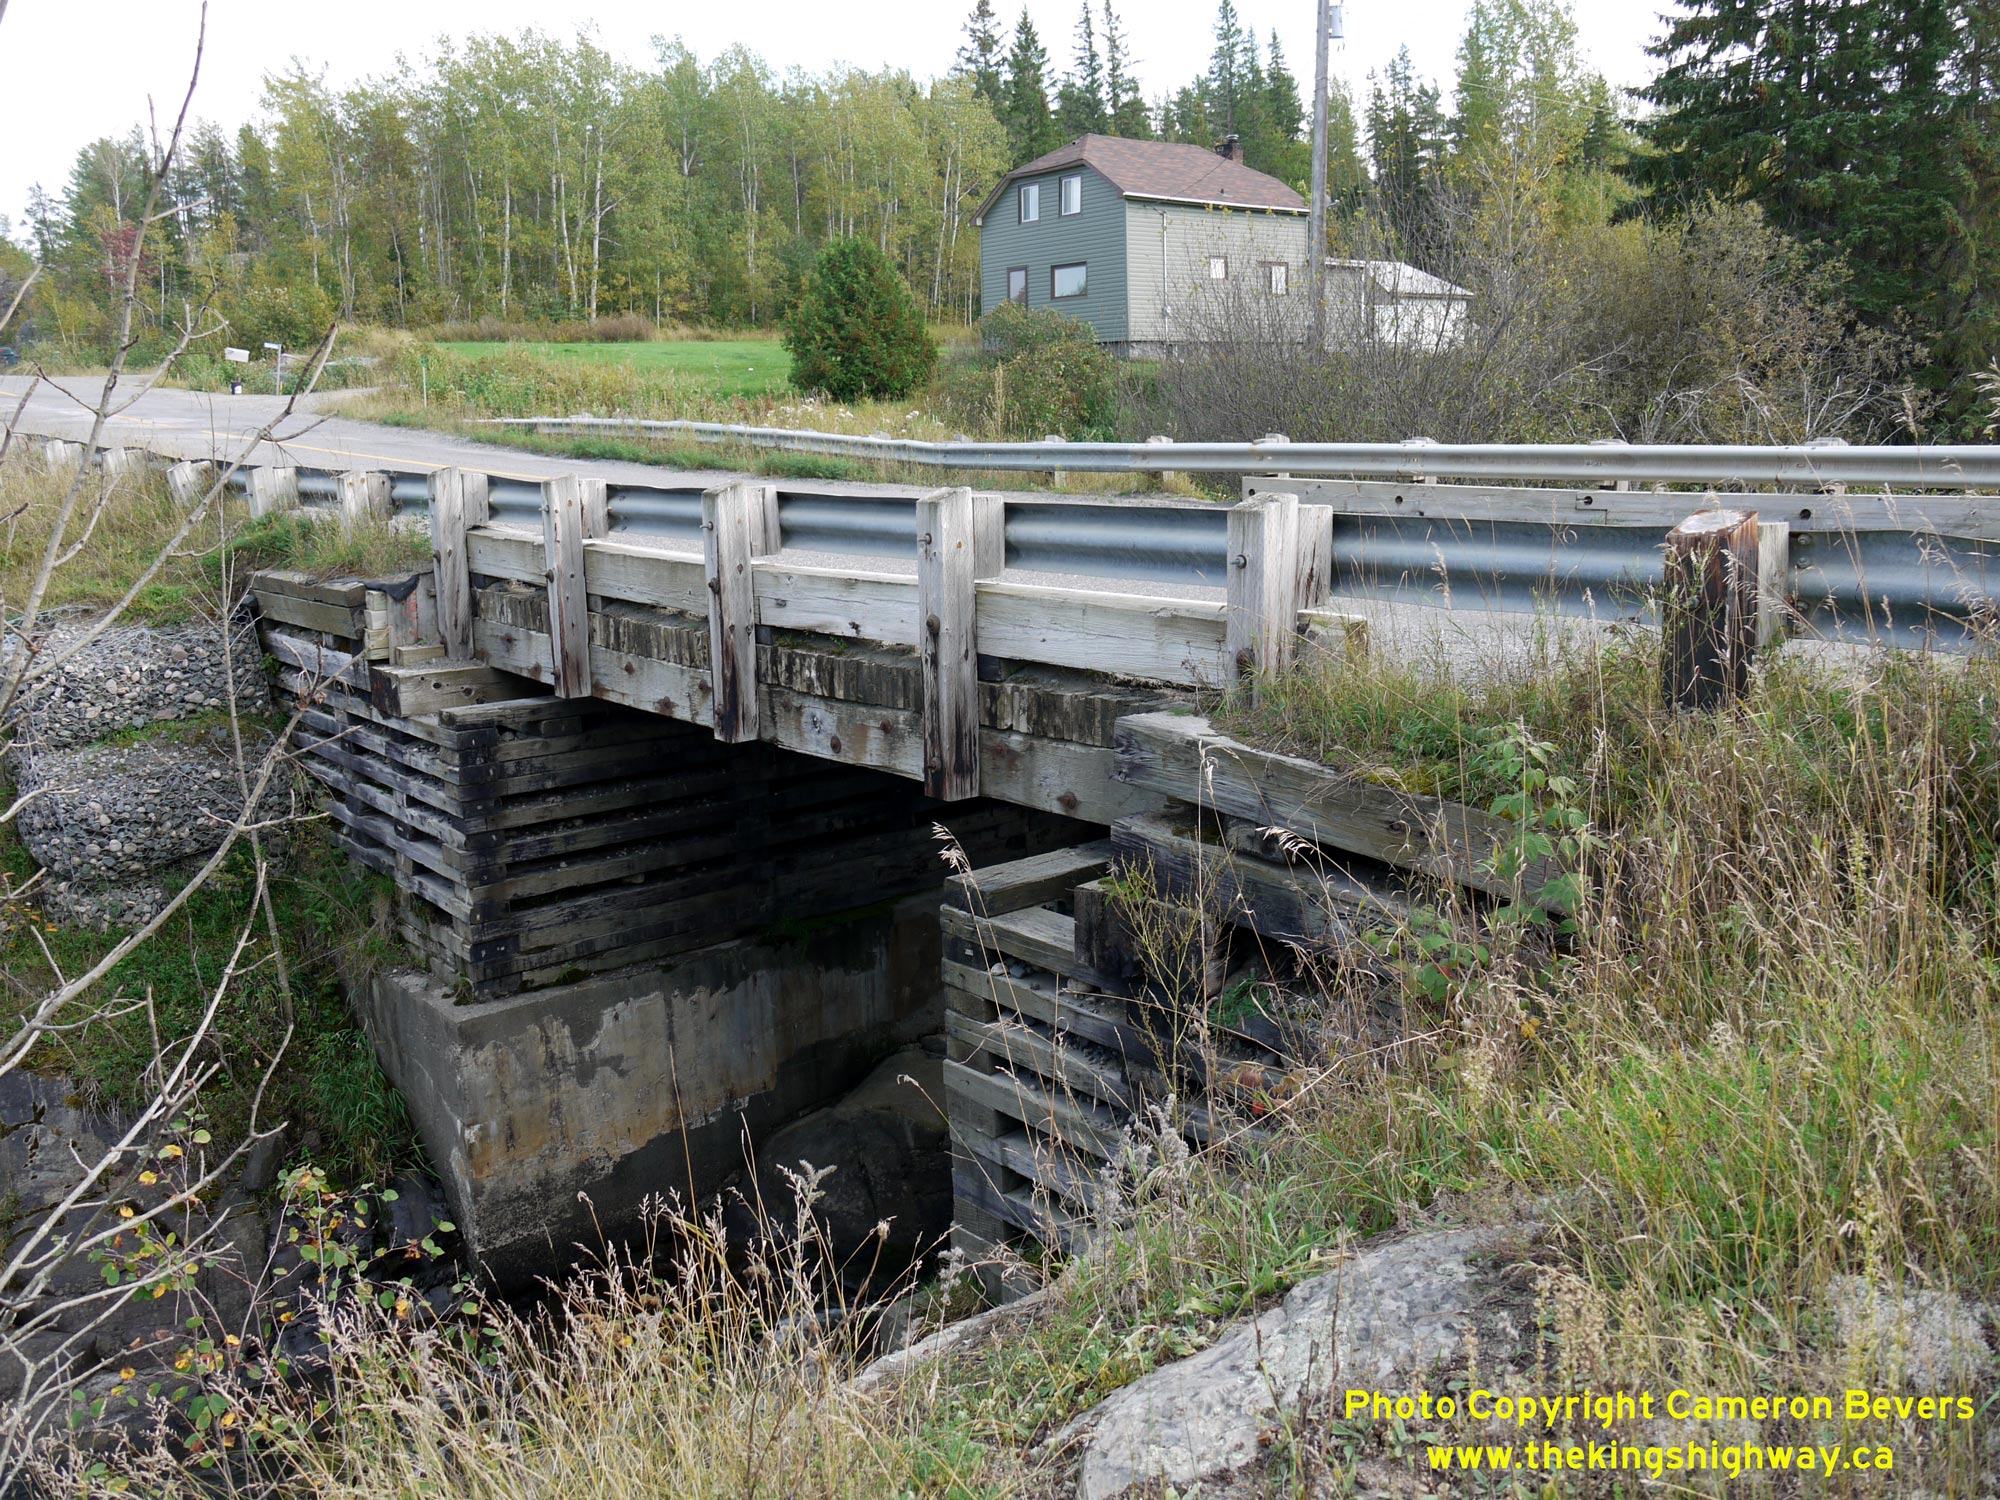
 Left - Southern side of the Wabi Creek Bridge on Hwy 558 located about 1 km west of the Hwy 11 Junction. See an
Enlarged Photo Here. Left - Southern side of the Wabi Creek Bridge on Hwy 558 located about 1 km west of the Hwy 11 Junction. See an
Enlarged Photo Here.(Photograph taken on September 23, 2017 - © Cameron Bevers) Right - Facing east along Hwy 558 at the Wabi Creek Bridge west of Haileybury. See an
Enlarged Photo Here.(Photograph taken on September 23, 2017 - © Cameron Bevers) 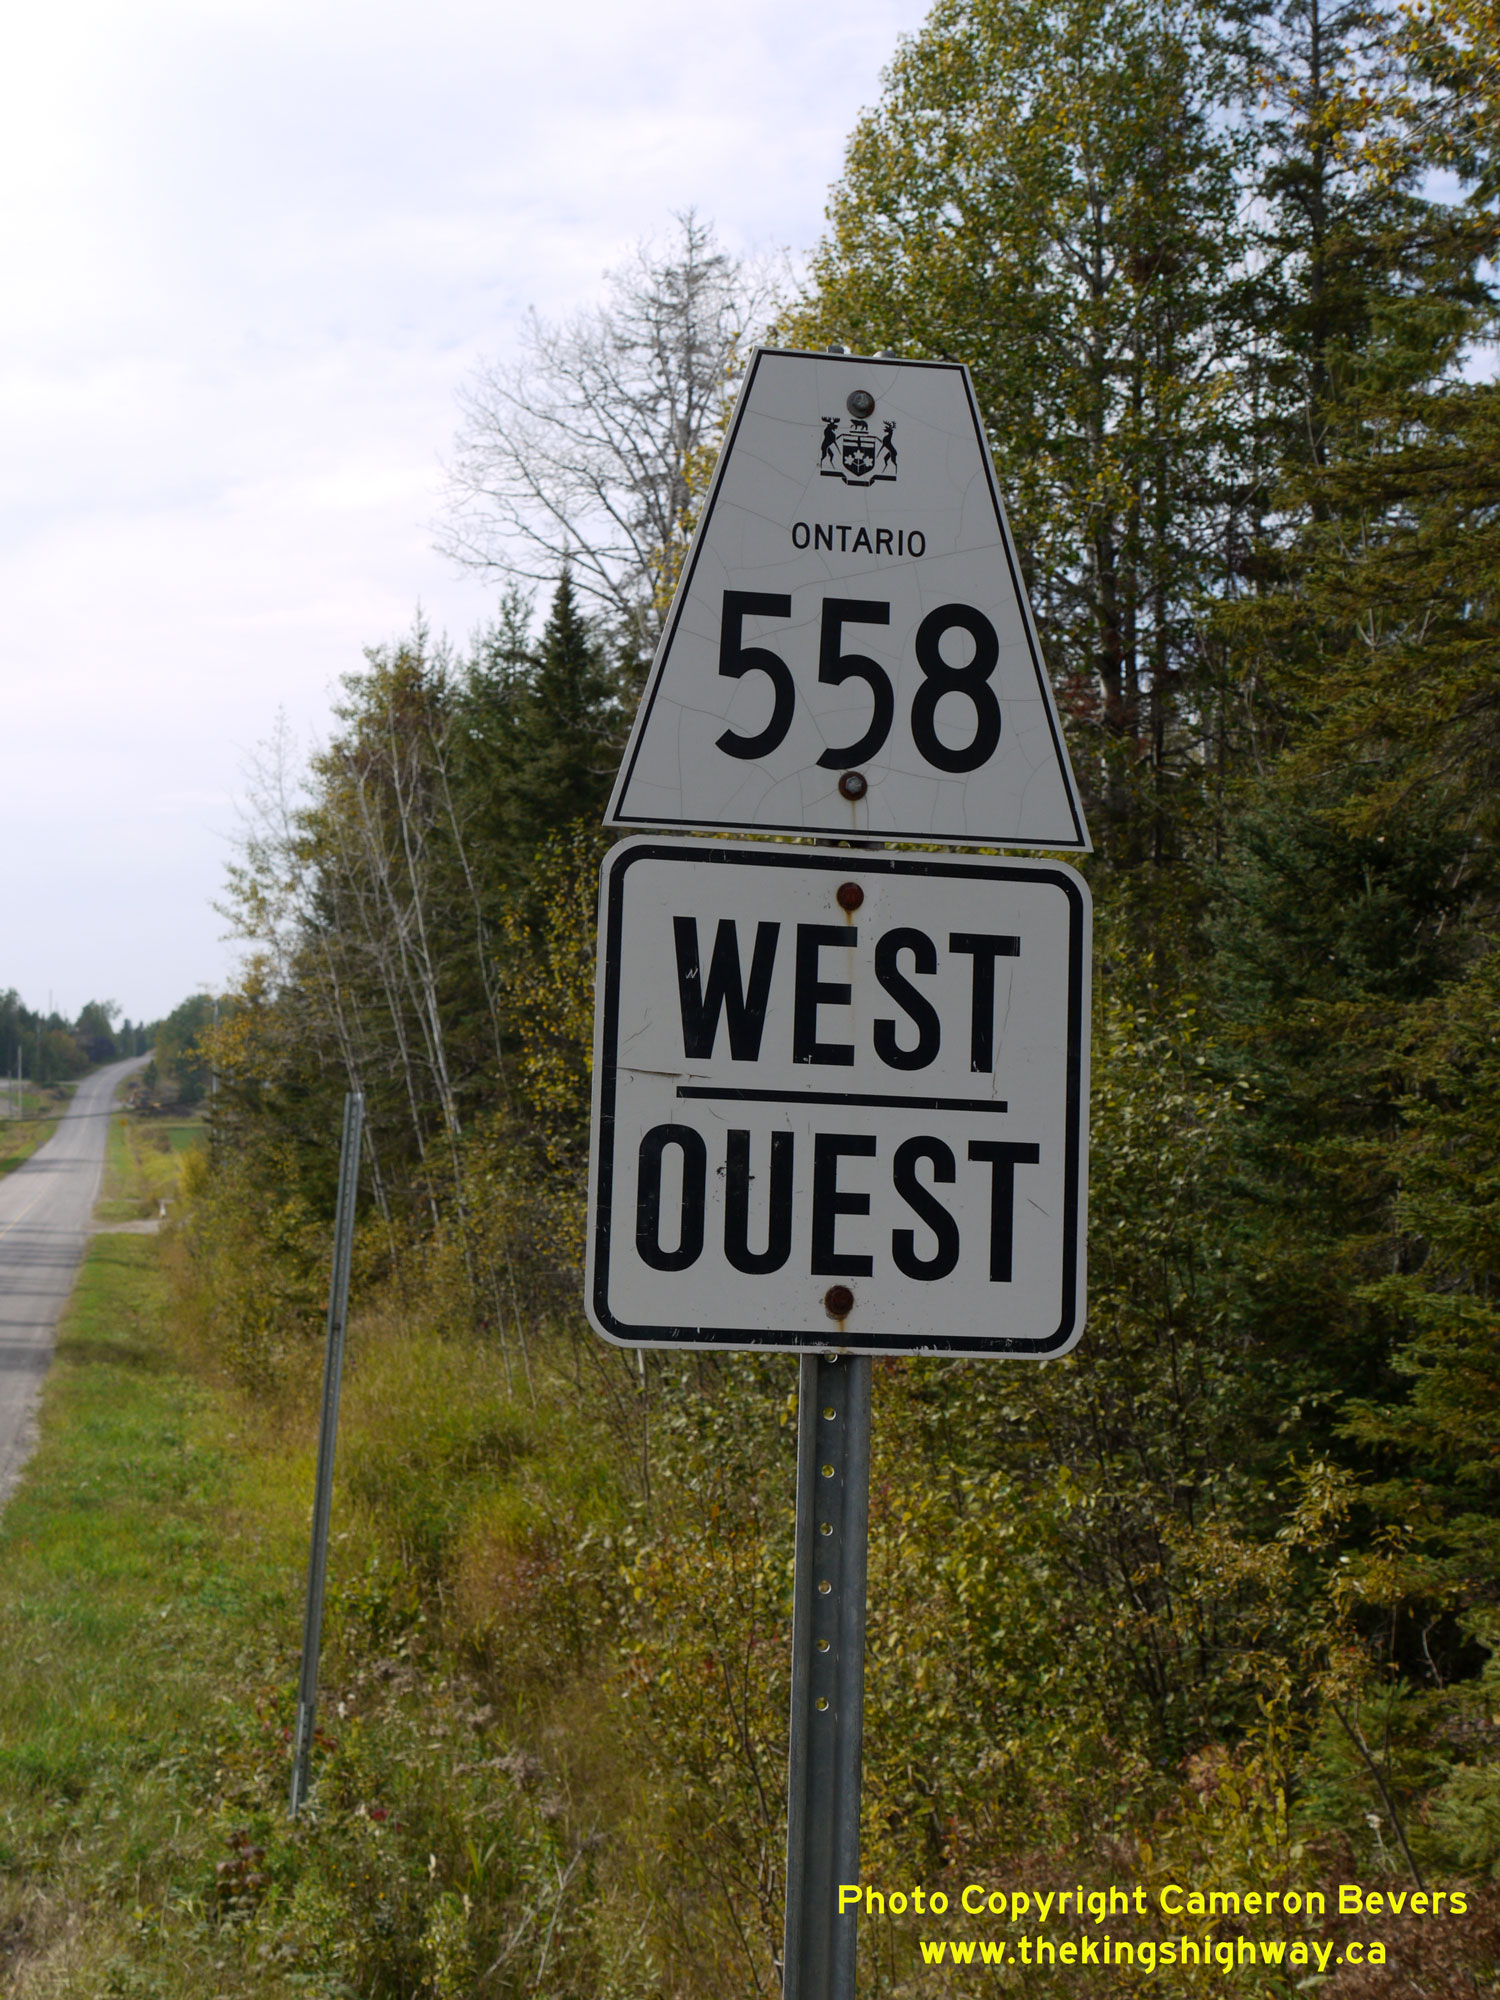 Above - Secondary Highway 558 route marker near Haileybury. See an
Enlarged Photo Here. Above - Secondary Highway 558 route marker near Haileybury. See an
Enlarged Photo Here.(Photograph taken on September 23, 2017 - © Cameron Bevers) 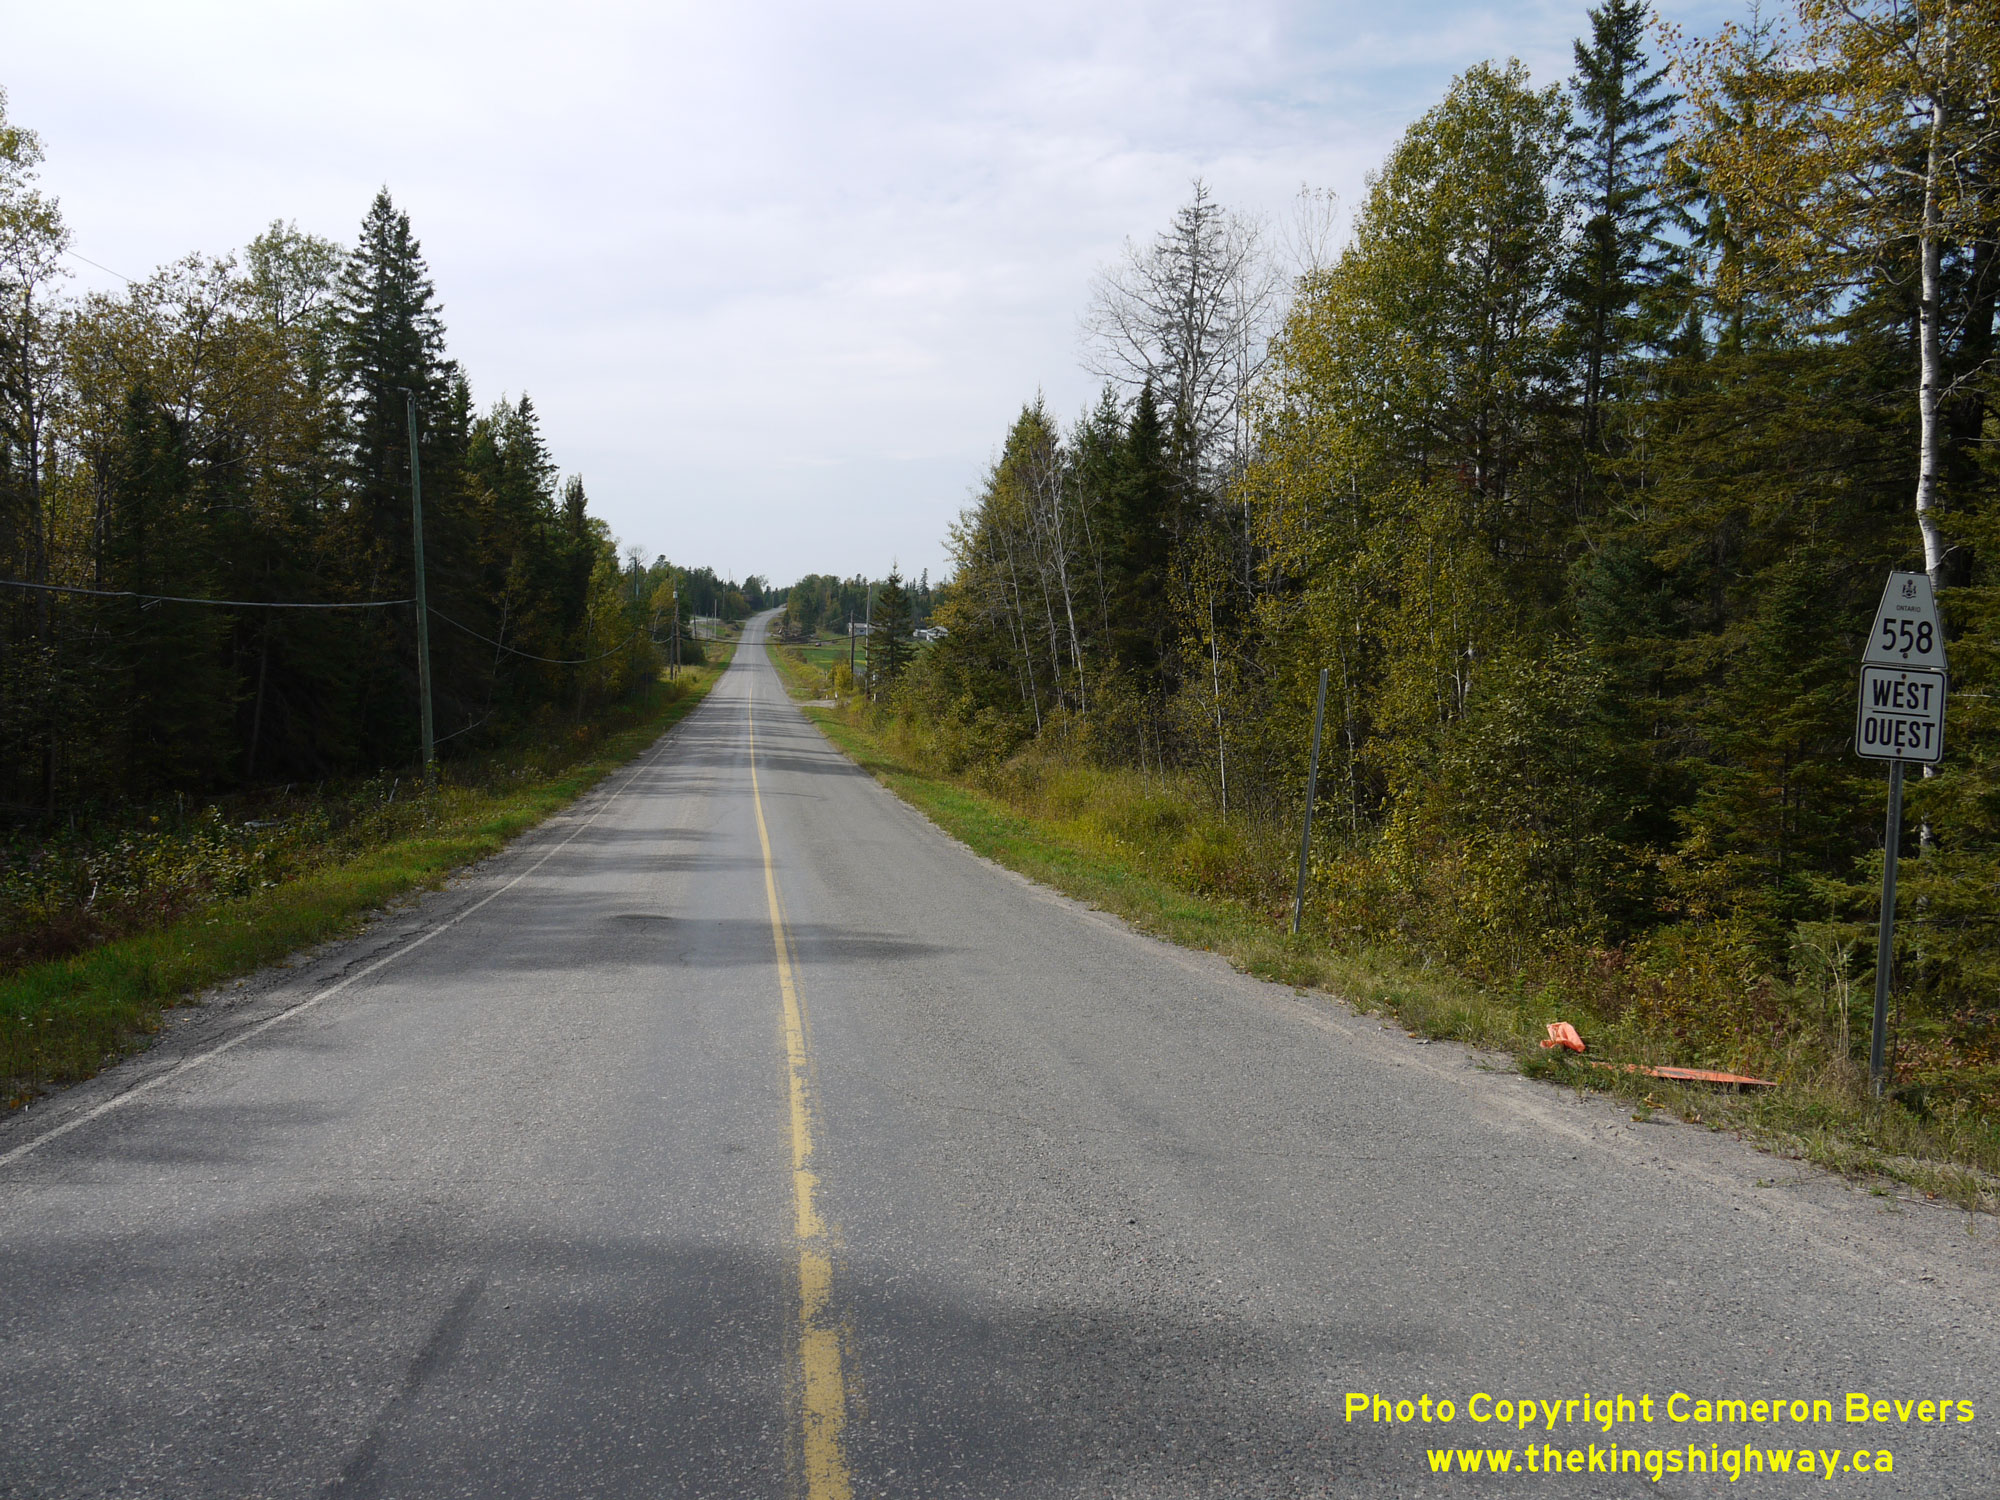
 Left - Facing west along Hwy 558 from the municipal limits of Temiskaming Shores. Provincial jurisdiction over Hwy 558 begins at this point, located about 3 km
west of the Hwy 11 Junction. East of this point, Hwy 558 is under municipal jurisdiction. See an
Enlarged Photo Here. Left - Facing west along Hwy 558 from the municipal limits of Temiskaming Shores. Provincial jurisdiction over Hwy 558 begins at this point, located about 3 km
west of the Hwy 11 Junction. East of this point, Hwy 558 is under municipal jurisdiction. See an
Enlarged Photo Here.(Photograph taken on September 23, 2017 - © Cameron Bevers) Right - View of Hwy 558 about 4 km west of the Hwy 11 Junction, facing east towards Haileybury. See an
Enlarged Photo Here.(Photograph taken on September 23, 2017 - © Cameron Bevers)
More Secondary Highway 558 Photographs Coming Soon!
|
|---|
Links to Adjacent Highway Photograph Pages:
Back to Secondary Highway 554 Photos /
Secondary Highway 558 History /
On to Secondary Highway 562 Photos
Ontario Highway History - Main Menu / Back to List of Highways / Main Photograph Index Page Website contents, photos & text © 2002-2026, Cameron
Bevers (Webmaster) - All Rights Reserved / Contact Me
|
|---|