
| 
| |
|
|
This page contains historical and present day photos of Ontario's King's Highway 63. All photographs displayed on this page
were taken by the Webmaster (Cameron Bevers), unless specifically noted otherwise. Historical photographs are arranged in approximate chronological order, while
present day photographs (Year 2000 to date) are arranged by location from south to north. Click on any thumbnail to see a larger image!
Please note that all photographs displayed on this
website are protected by copyright. These photographs must not be reproduced, published,
electronically stored or copied, distributed, or posted onto other websites without
my written permission. If you want to use photos from this website, please
email me first for permission. Thank-you!
|
|---|
|
Historical King's Highway 63 Photographs
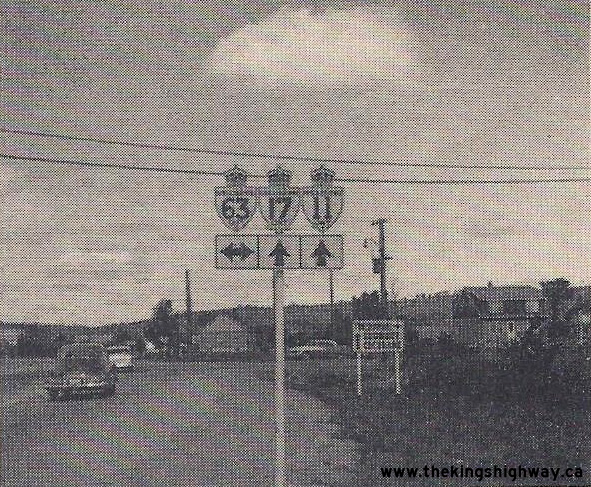
Above - Route marker assembly approaching the Hwy 63 Junction on the North Bay Bypass (Hwy 11 & Hwy 17). Photo taken circa 1957. (Photo courtesy of North Magazine - Donated by Eric Vettoretti) |
|---|
|
Present Day King's Highway 63 Photographs
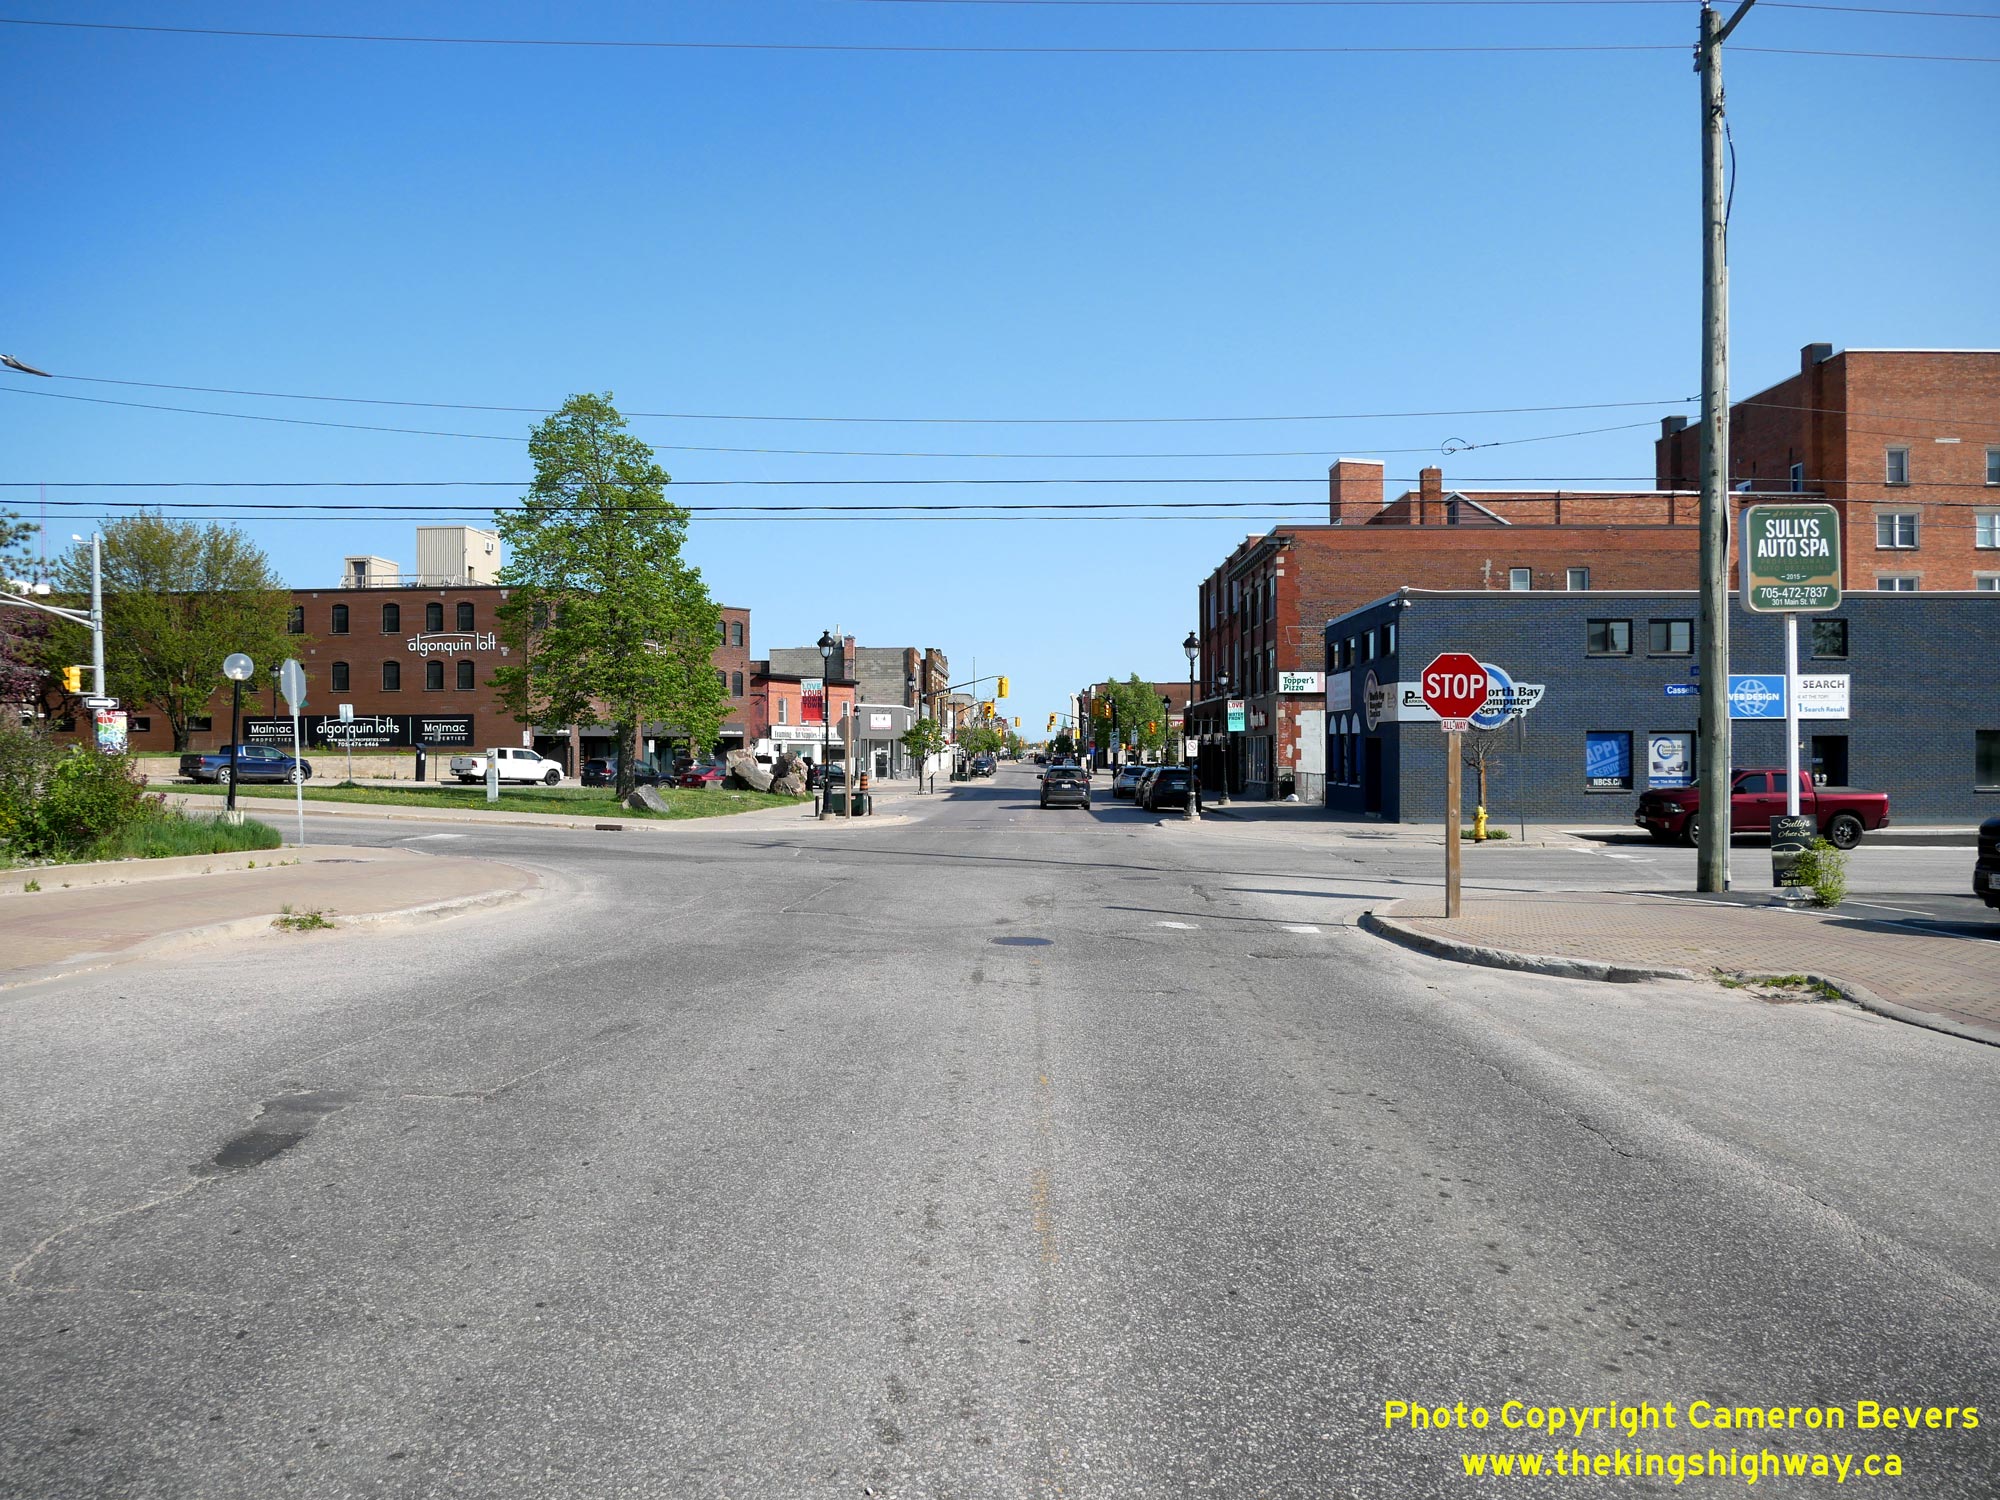
Above - Facing north along Cassells Street (Hwy 63) from its historical southern terminus at Main Street (Hwy 17B) in Downtown North Bay. At the northern
entrance to the city centre, Hwy 11B, Hwy 17B and Hwy 63 all interconnected within a space of two city blocks. Cassells Street (Hwy 63) intersects with the
southbound route of Hwy 11B via Algonquin Avenue just ahead. One block to the north, Hwy 63 intersects with the northbound route of Hwy 11B via McIntyre Street. See
an Enlarged Photo Here. (Photograph taken on May 27, 2023 - © Cameron Bevers) 
Left - Historical southern terminus of Hwy 63 at the intersection of Cassells Street and Main Street (Hwy 17B) in North Bay. See an
Enlarged Photo Here. (Photograph taken on May 27, 2023 - © Cameron Bevers) Right - Facing east along Main Street (Hwy 17B) approaching Cassells Street (Hwy 63) in North Bay. Up until the 1990s, the southbound route of Hwy 17B continued straight ahead via Main Street, while Hwy 63 turned left and headed north towards Temiscaming, Quebec. The routes of Hwy 11B, Hwy 17B and Hwy 63 within the downtown area were still being sporadically signed by the city up until 2007, although none of these routes were designated as Municipal Connecting Links by that time. See an Enlarged Photo Here. (Photograph taken on May 27, 2023 - © Cameron Bevers) 

Left - Facing west along Main Street (Hwy 17B) in North Bay approaching Cassells Street (Hwy 63). Prior to the completion of the North Bay Bypass, traffic on
Hwy 11 & Hwy 17 had to pass right through Downtown North Bay in order to access Hwy 63. The completion of the new bypass in 1953 provided an interceptor road to
redirect long distance traffic away from the downtown area. After 1953, through traffic approaching North Bay via Hwy 11 & Hwy 17 could directly access Hwy 63
from the North Bay Bypass, instead of having to go through downtown. See an Enlarged Photo Here. (Photograph taken on May 27, 2023 - © Cameron Bevers) Right - View of Main Street (Hwy 17B) in North Bay, facing south towards the southbound route of Hwy 11B via Algonquin Avenue. Historically, both Hwy 11 & Hwy 17 followed Main Street through North Bay's City Centre. In the years following the completion of the North Bay Bypass, Hwy 11B & Hwy 17B continued to be signed via Main Street. During the 1970s, a new one-way street system was introduced through North Bay with southbound traffic on Hwy 11B & Hwy 17B signed via Oak Street, and northbound traffic signed via McIntyre Street. Southbound Hwy 17B turned right from Main Street onto Algonquin Avenue and ran concurrently with Hwy 11B through the city centre. See an Enlarged Photo Here. (Photograph taken on May 27, 2023 - © Cameron Bevers) 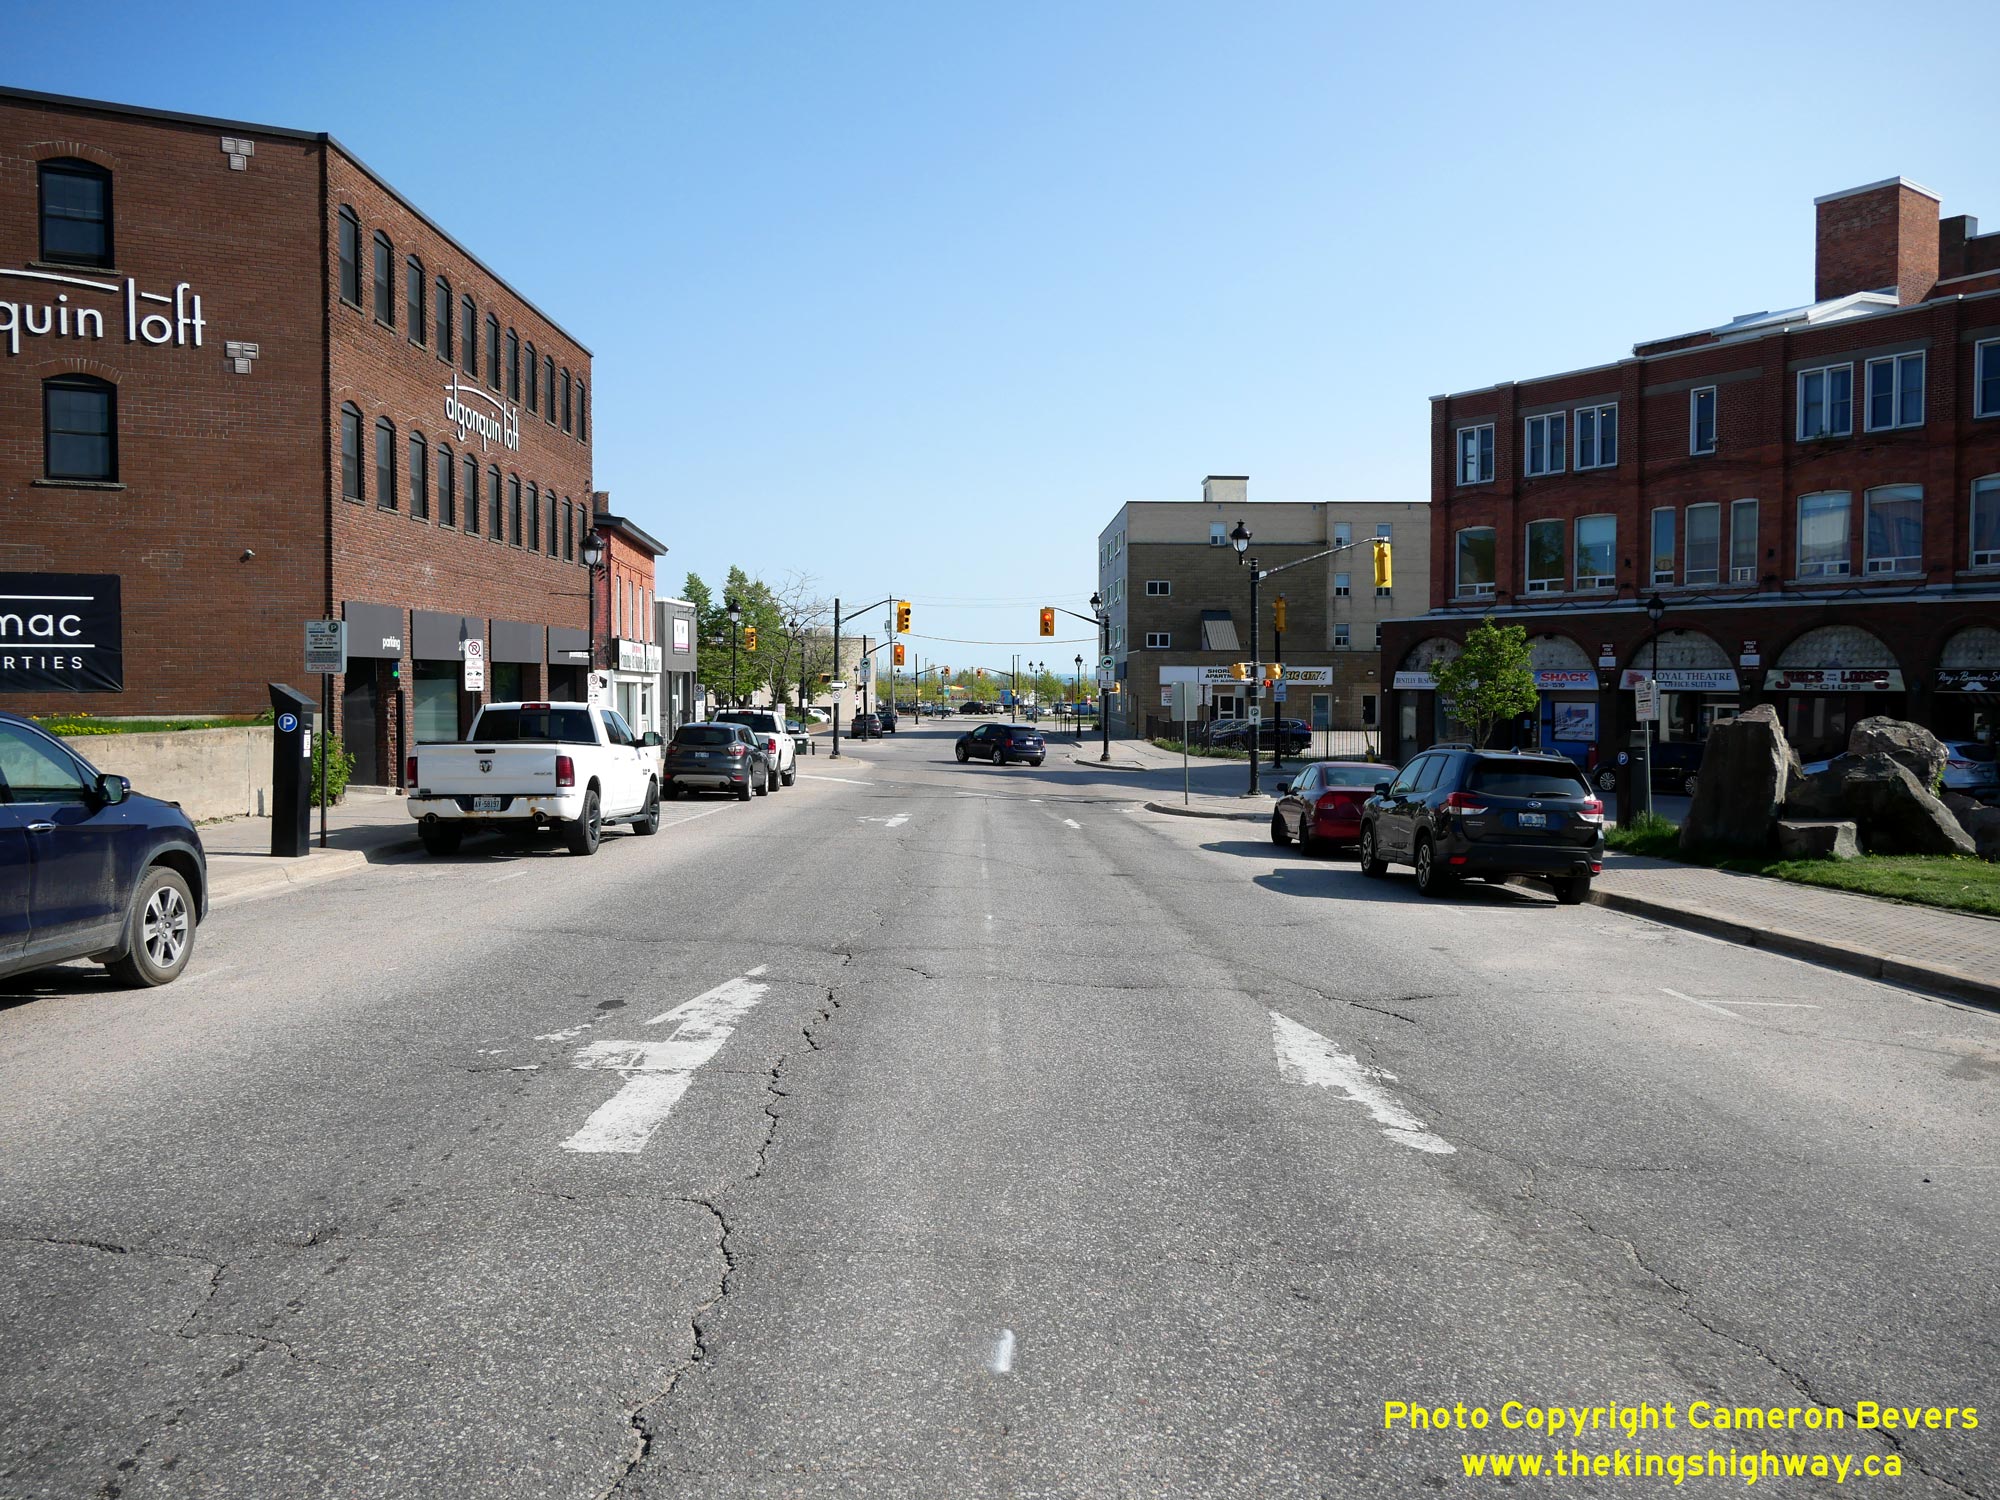
Left - Facing south along the southbound route of Hwy 11B via Algonquin Avenue towards Main Street (Hwy 17B) in Downtown North Bay. Following the conversion
of Oak Street and McIntyre Street as a one-way bypass loop around the city centre, Hwy 11B & Hwy 17B joined together at this intersection and proceeded south for
one block to join Oak Street at the next signalized intersection. See an Enlarged Photo Here. (Photograph taken on May 27, 2023 - © Cameron Bevers) Right - Facing north along the southbound route of Hwy 11B via Algonquin Avenue towards Cassells Street (Hwy 63) in Downtown North Bay. See an Enlarged Photo Here. (Photograph taken on May 27, 2023 - © Cameron Bevers) 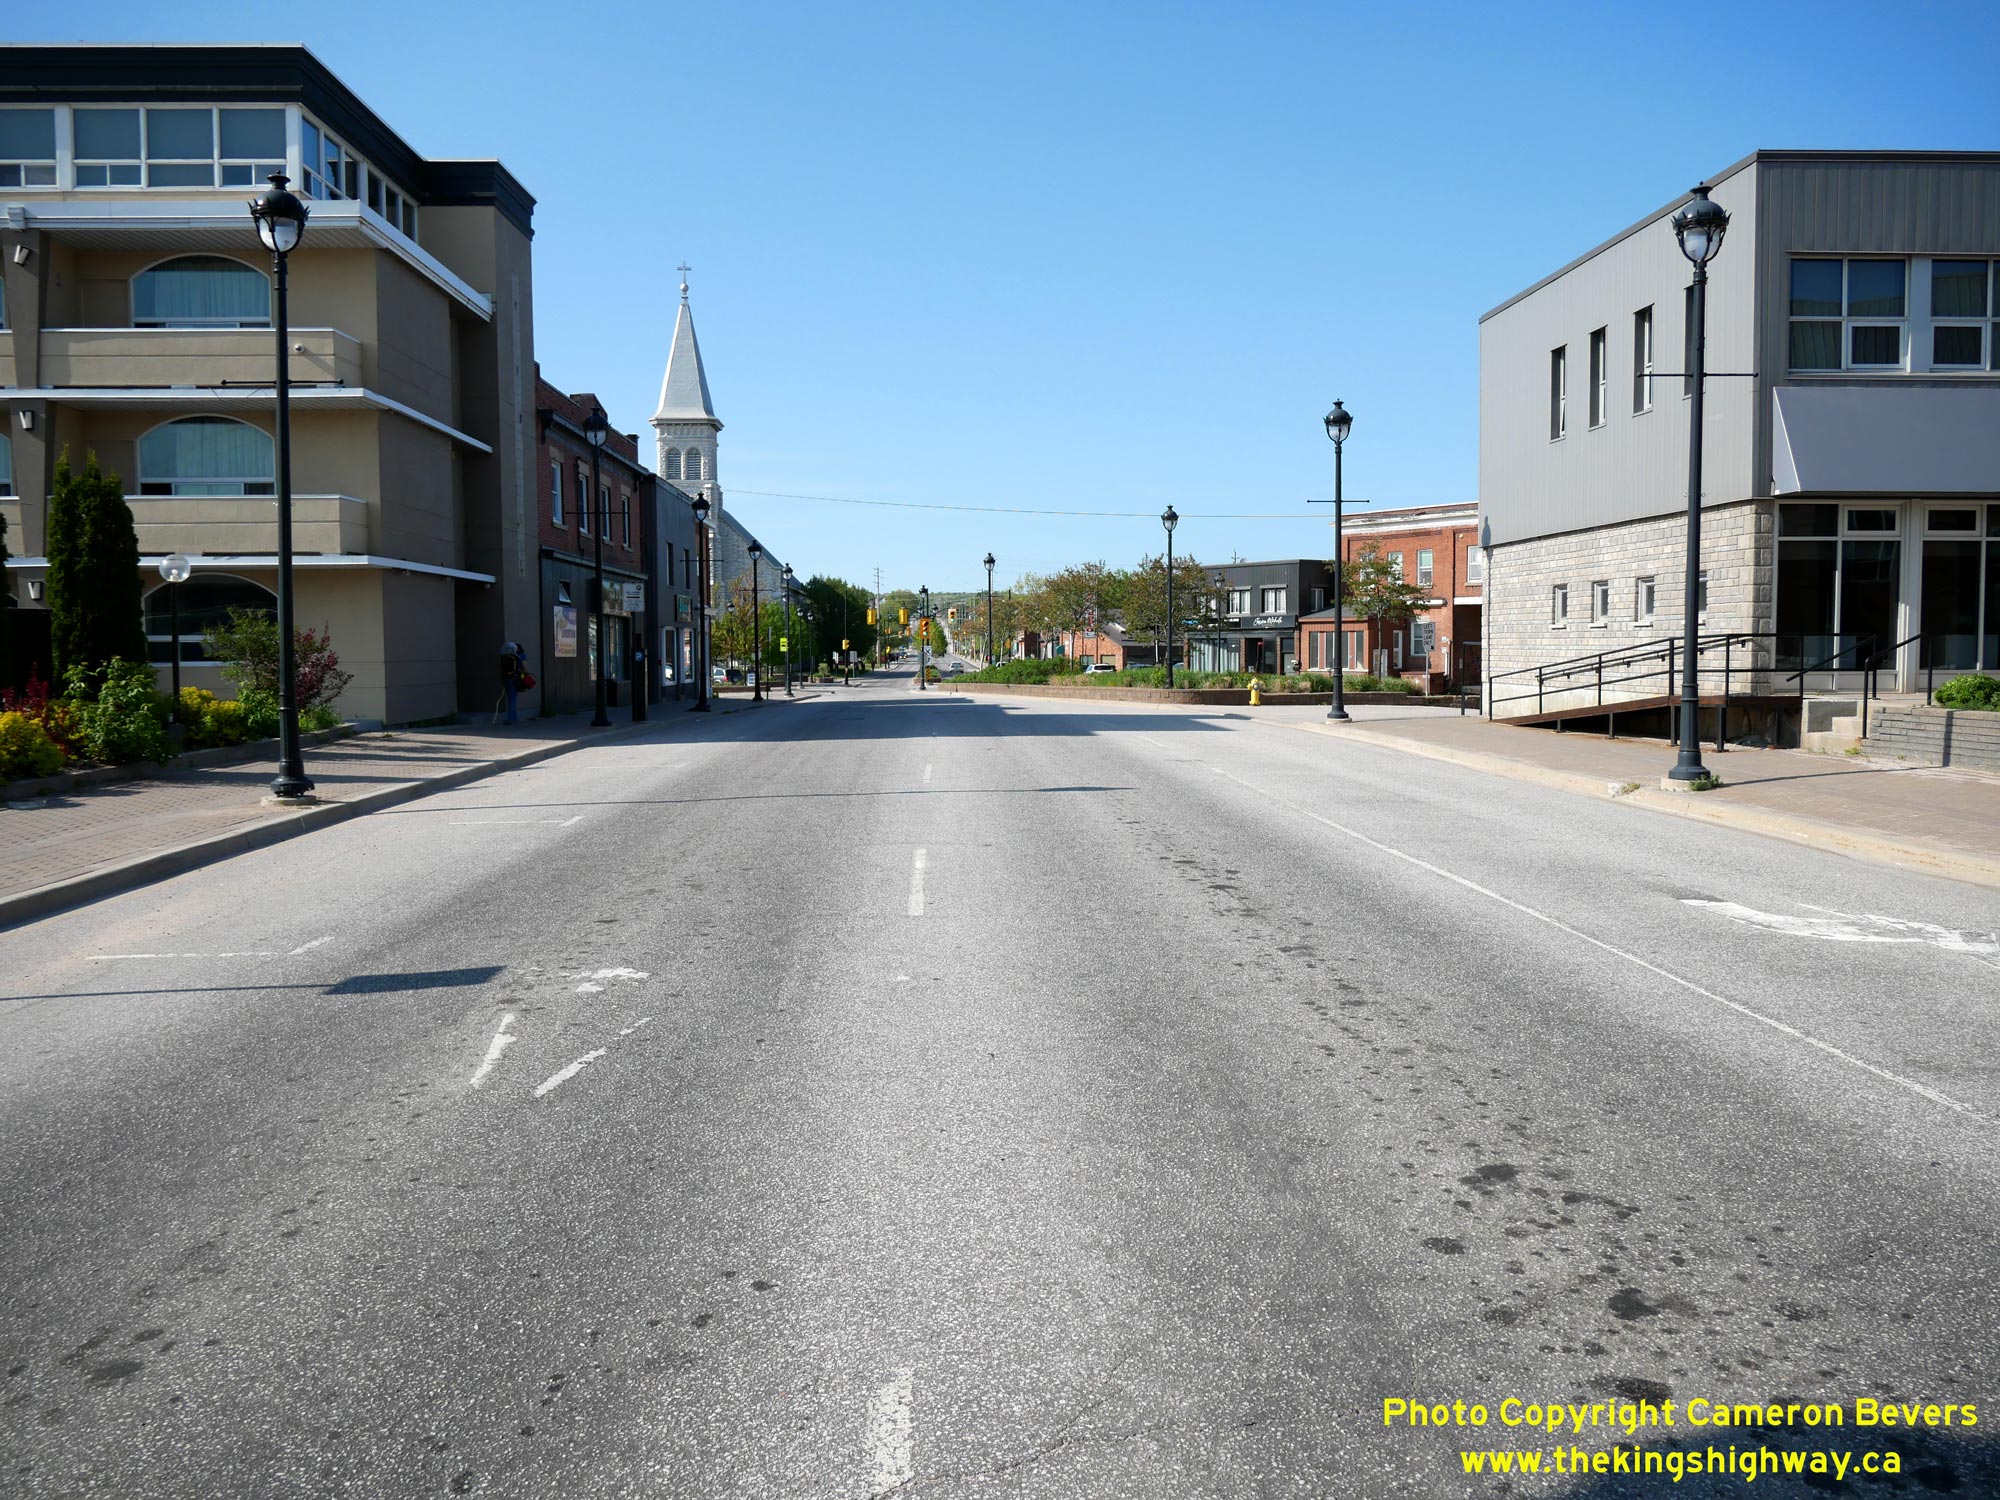
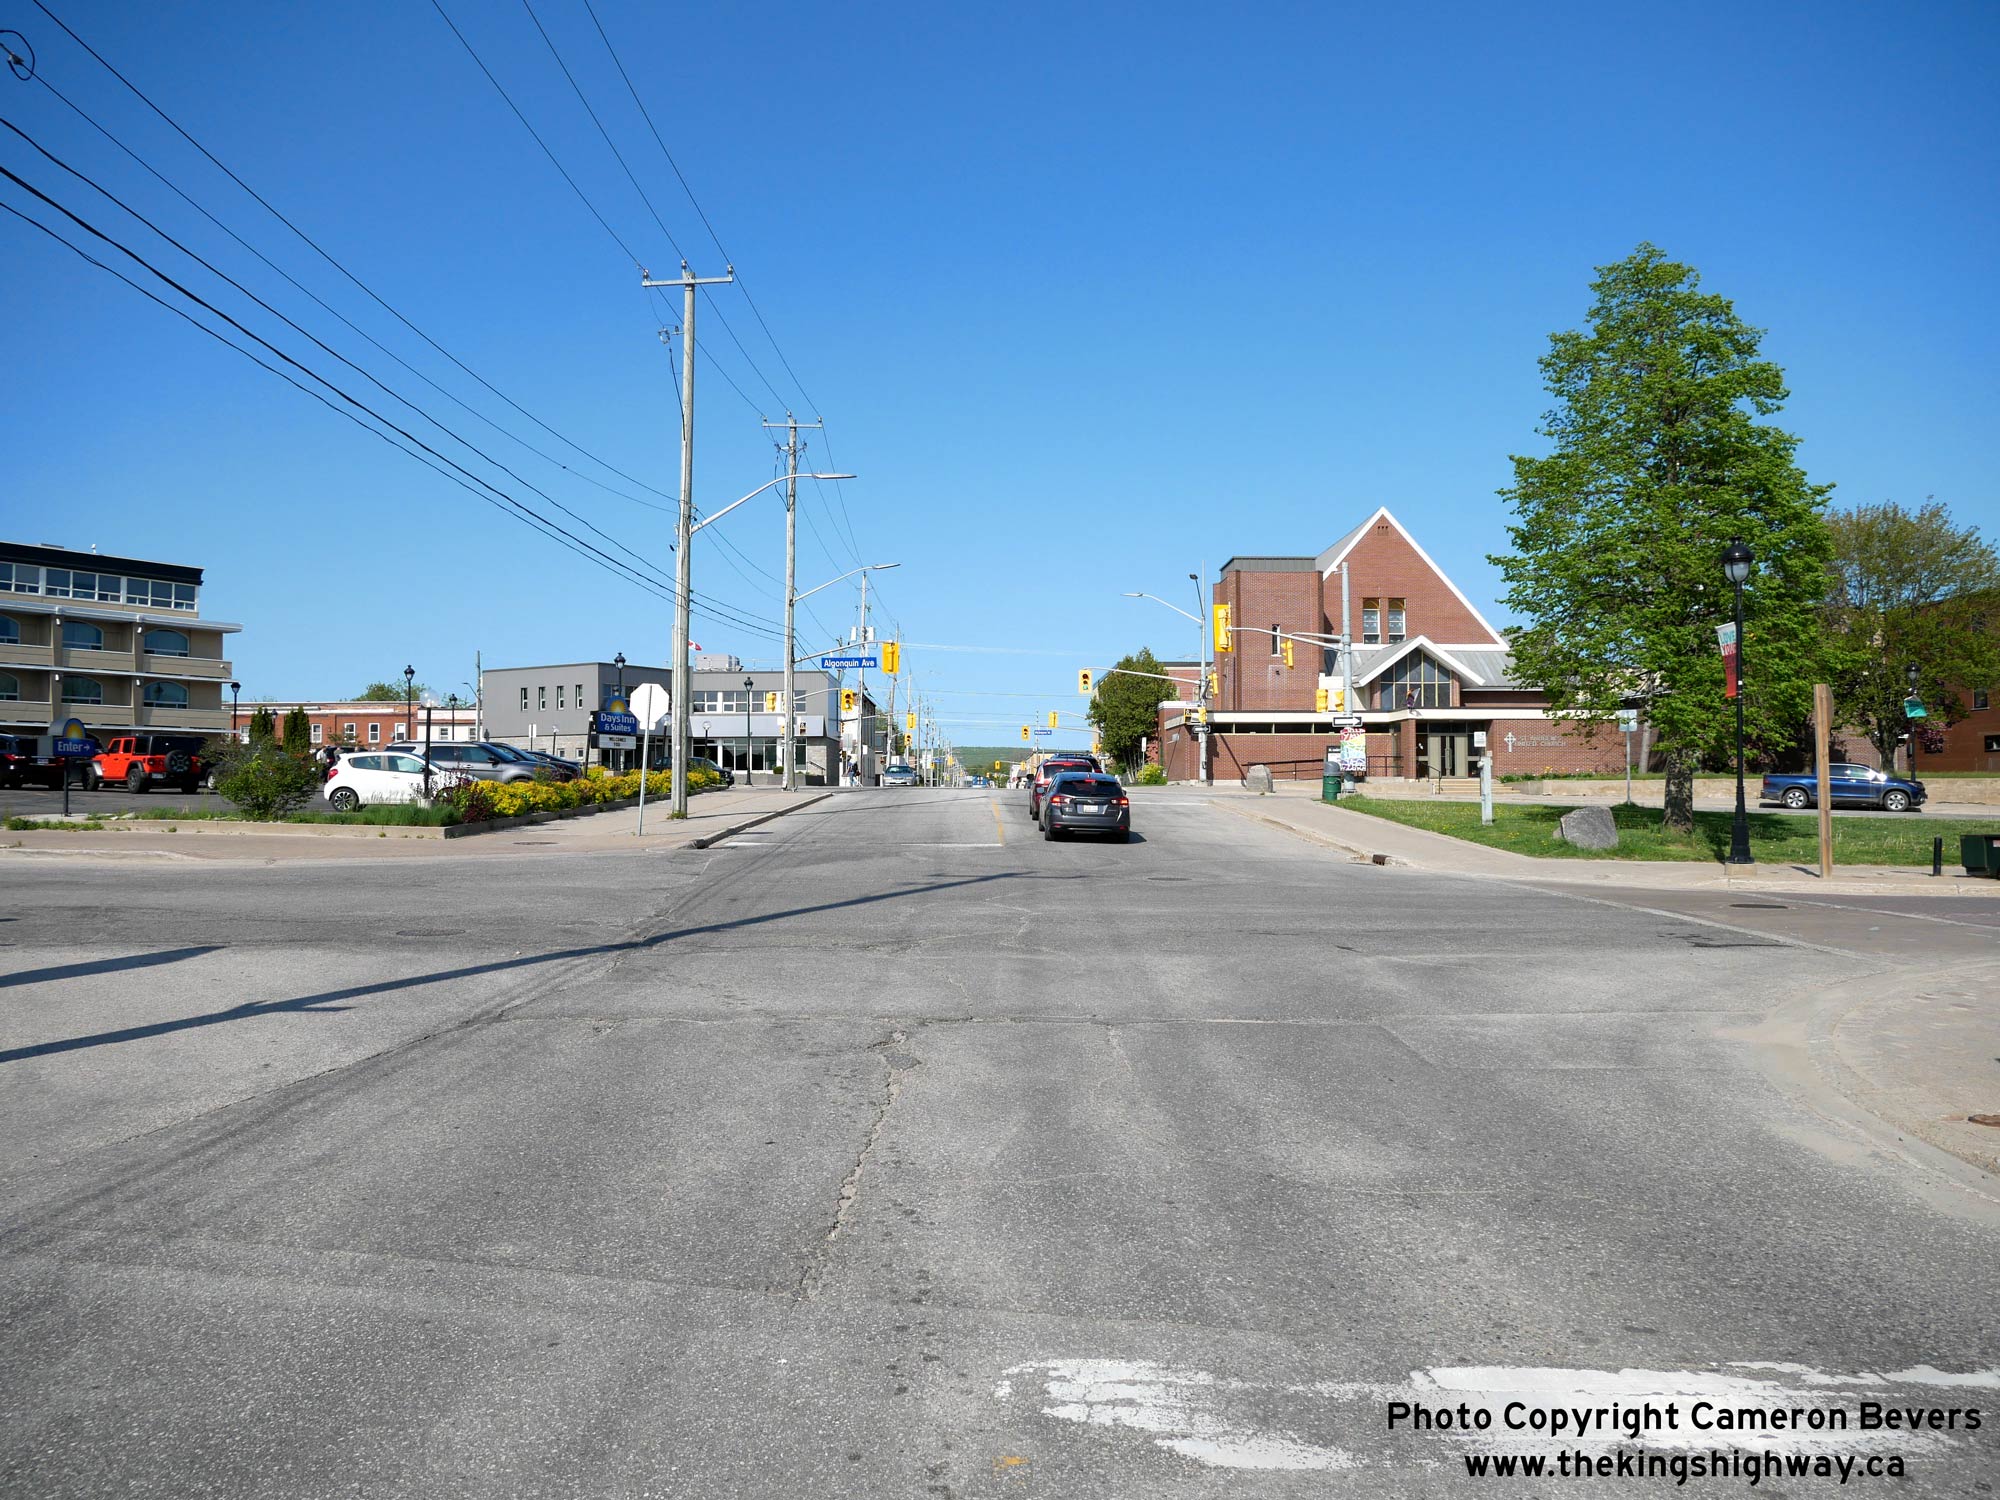
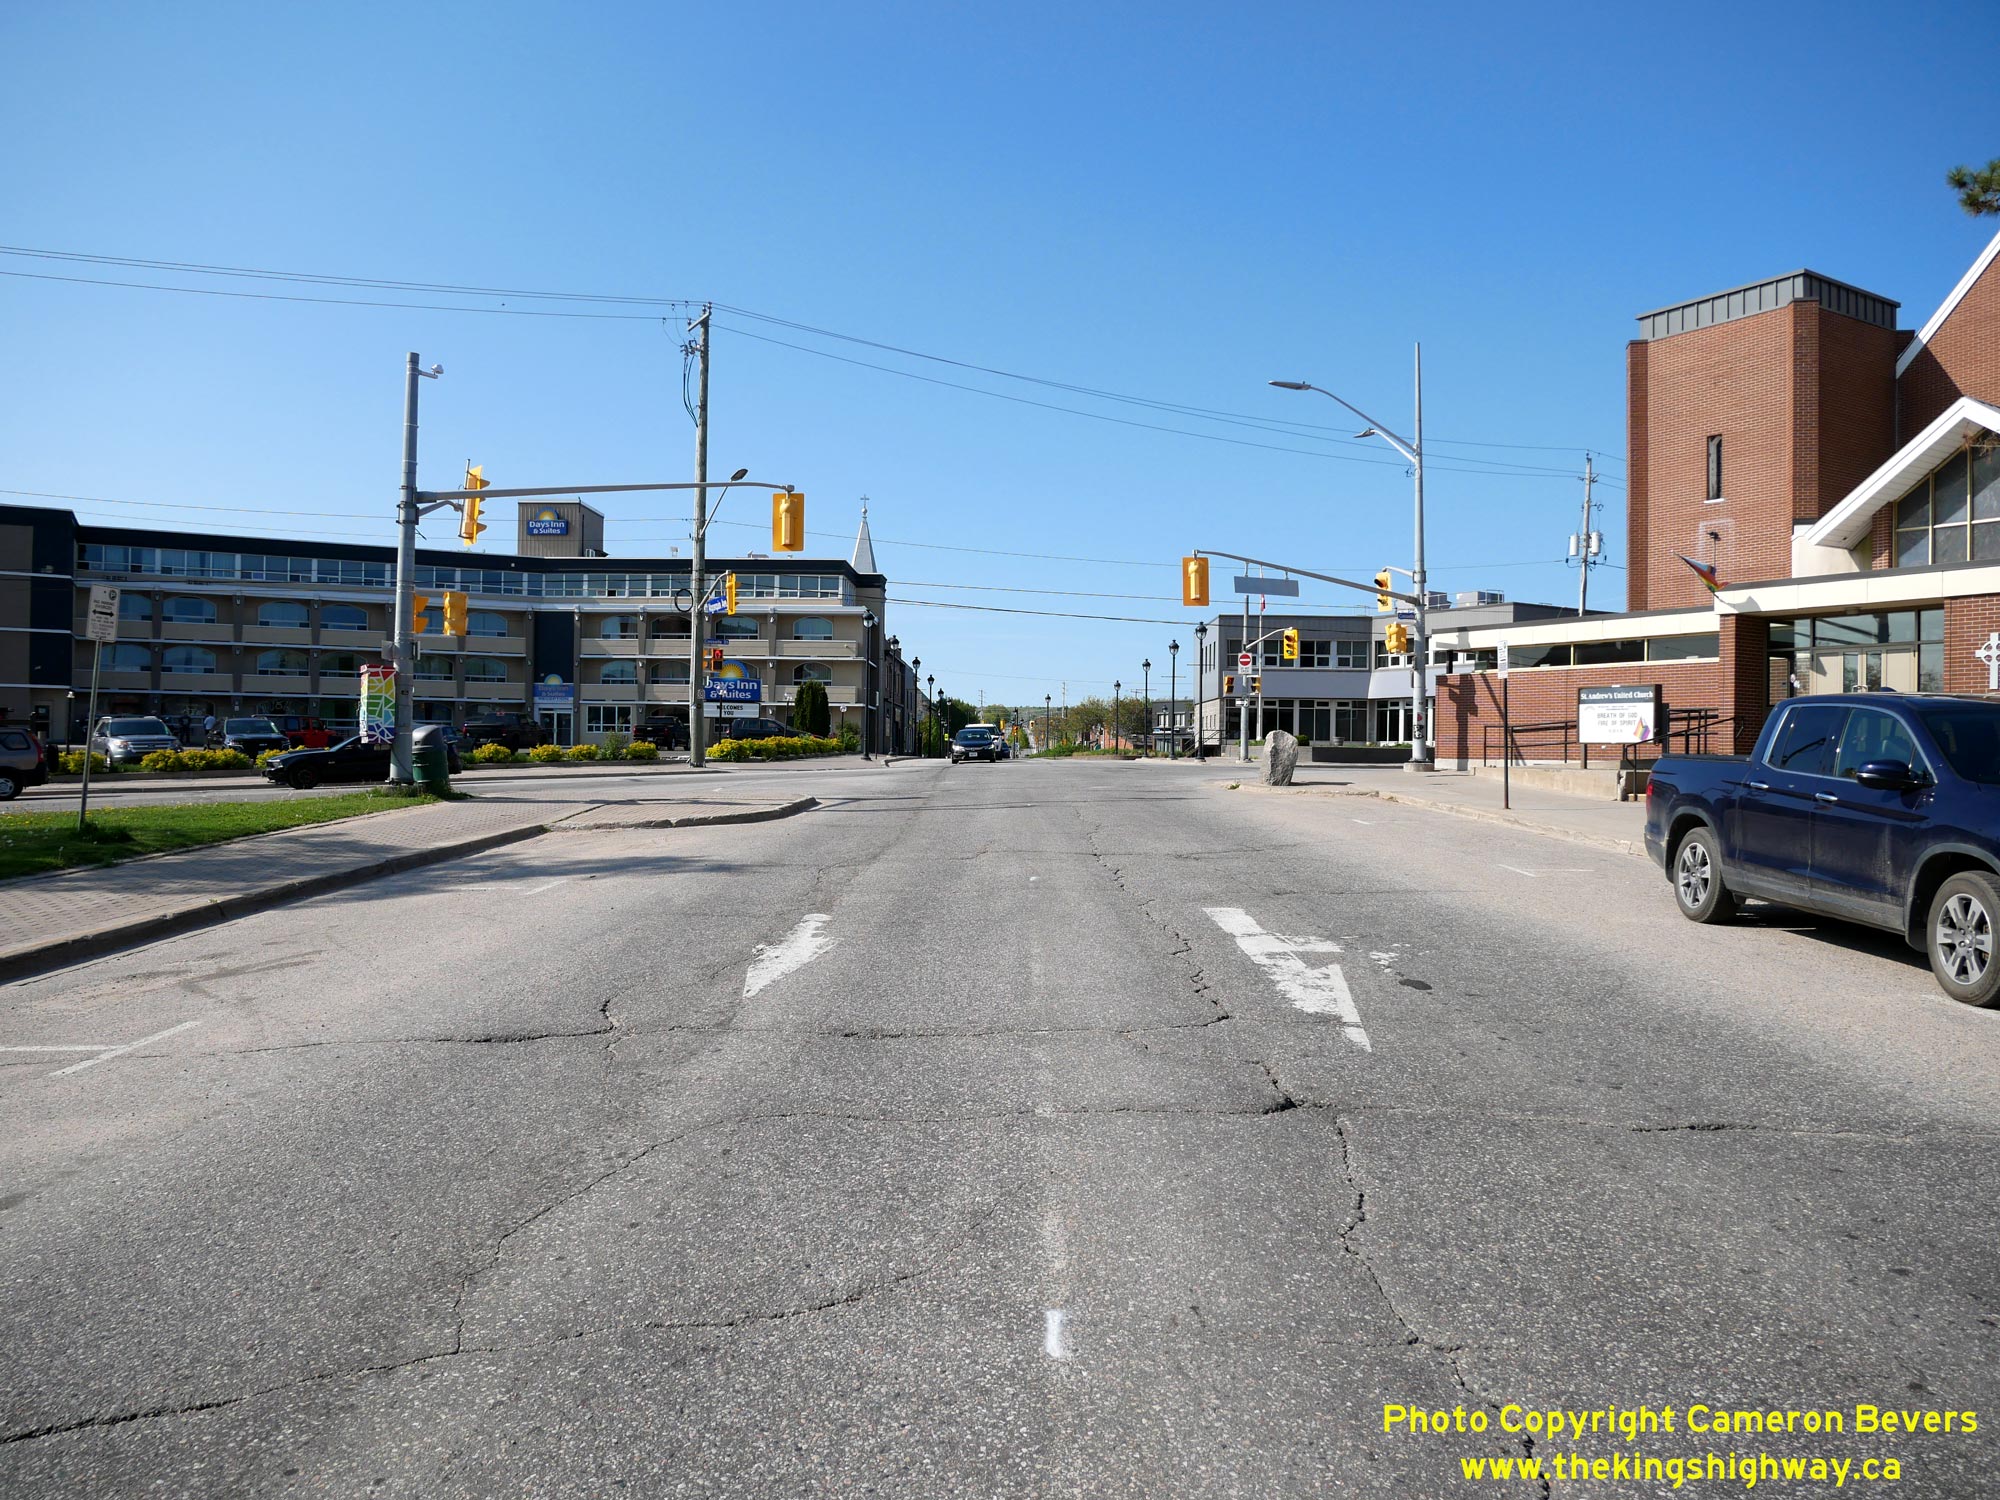
Left - View of Algonquin Avenue, facing north from Cassells Street (Hwy 63). The one-way street system through Downtown North Bay comes to an end just ahead
beside the church, where the northbound route of Hwy 11B via McIntyre Street ties back into Algonquin Avenue. See an
Enlarged Photo Here. (Photograph taken on May 27, 2023 - © Cameron Bevers) Right - Facing north along Cassells Street (Hwy 63) from the southbound route of Hwy 11B via Algonquin Avenue. Cassells Street intersects the northbound route of Hwy 11B via McIntyre Street just ahead at the next traffic signal. See an Enlarged Photo Here. (Photograph taken on May 27, 2023 - © Cameron Bevers) 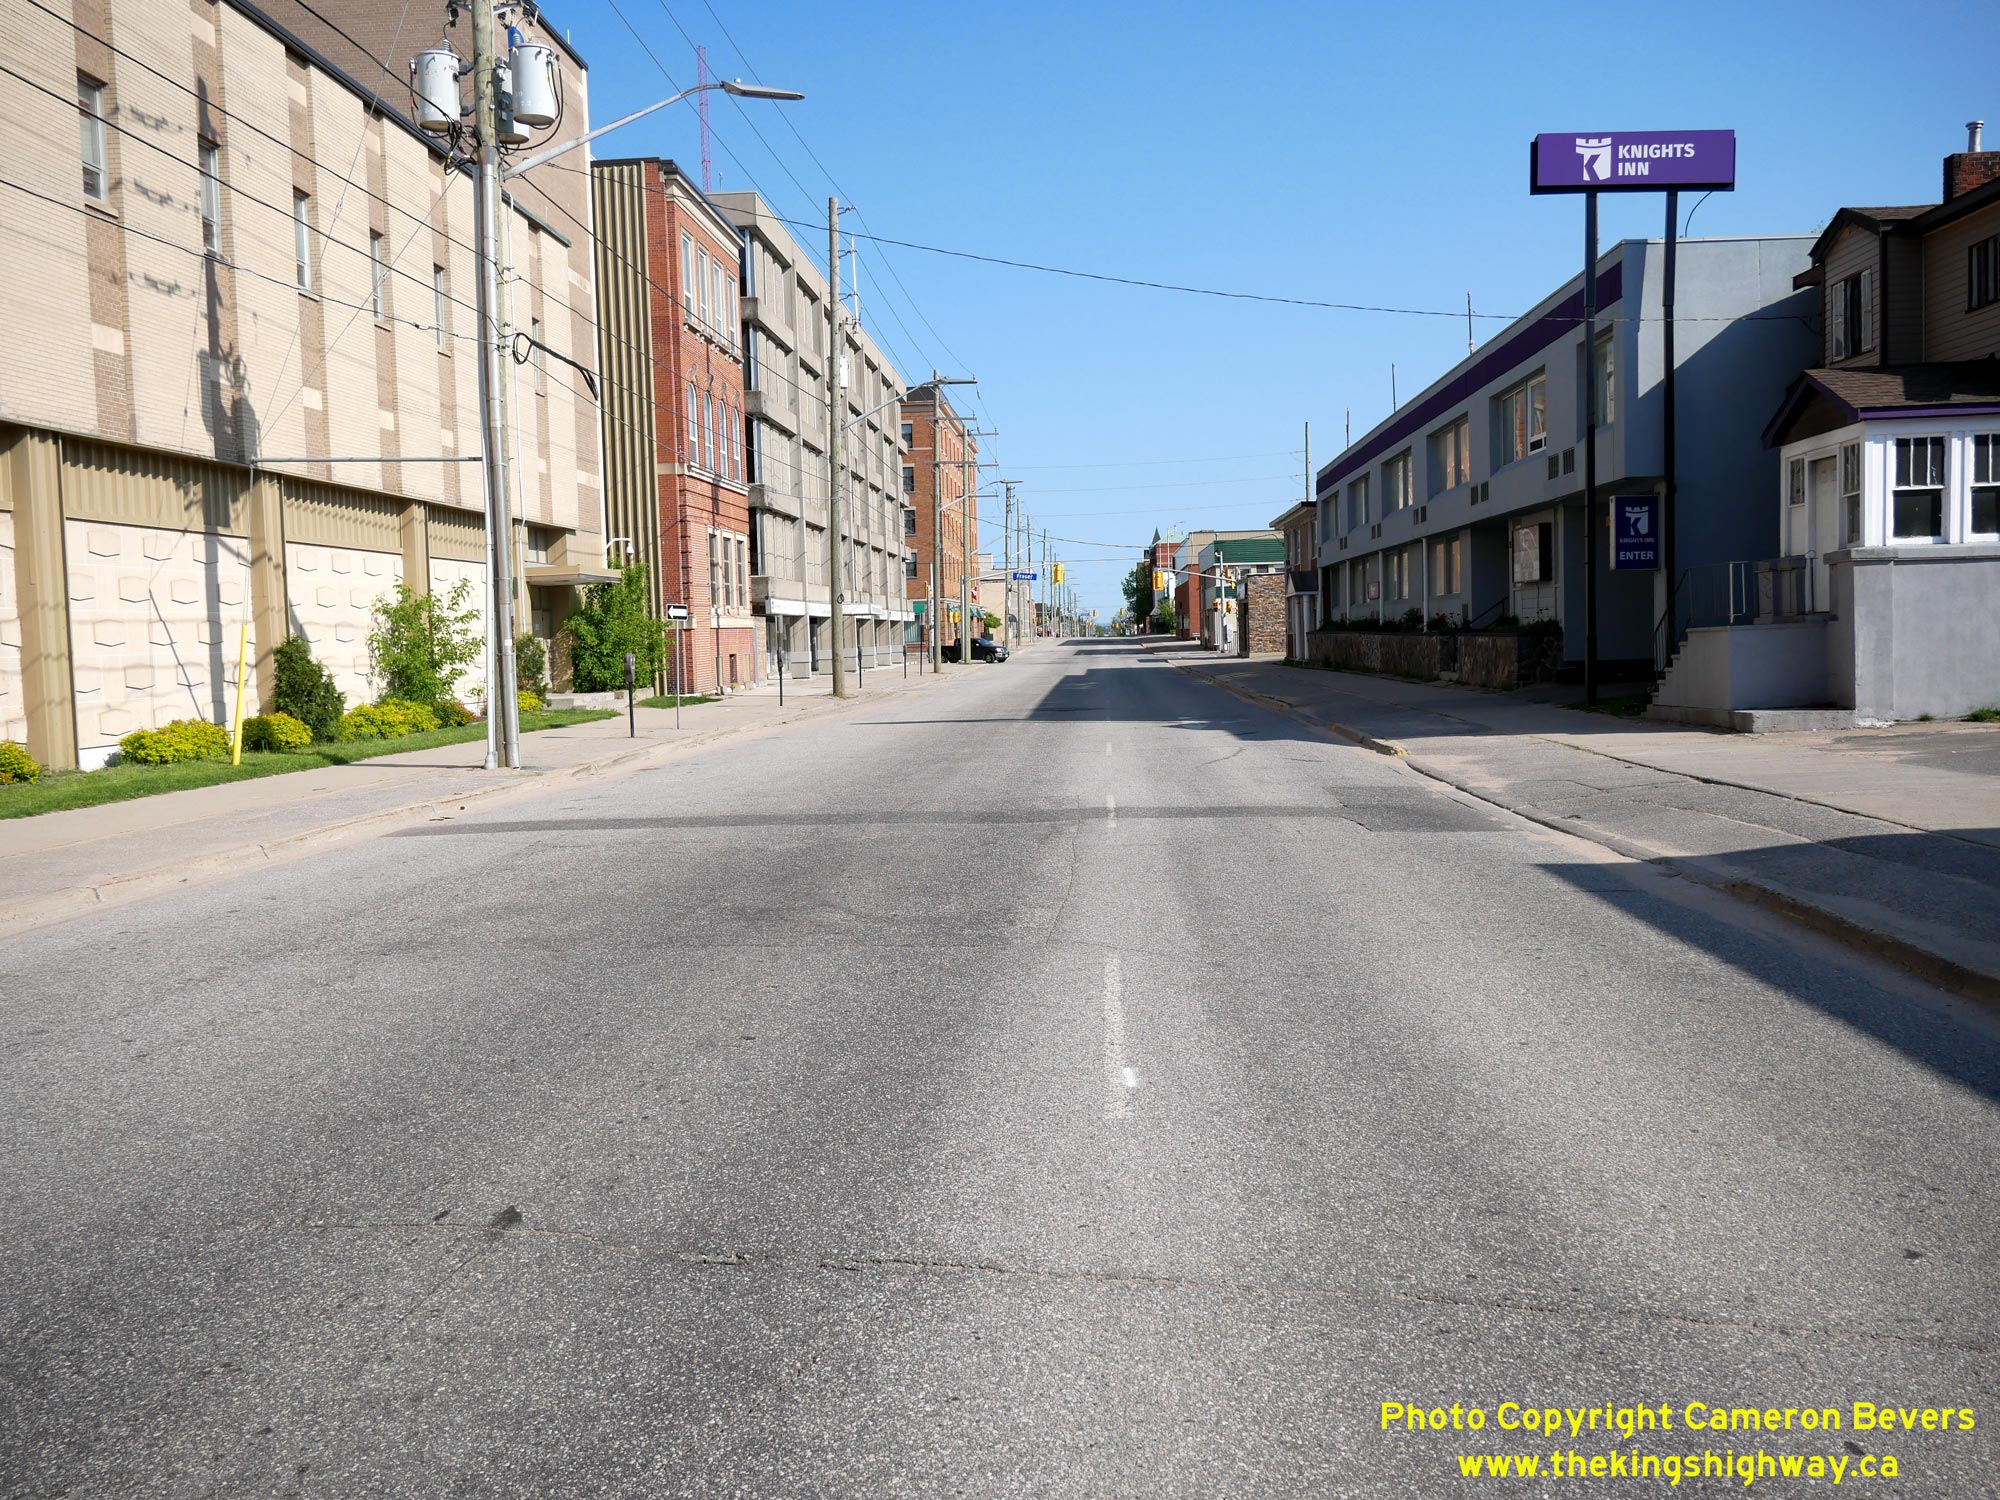

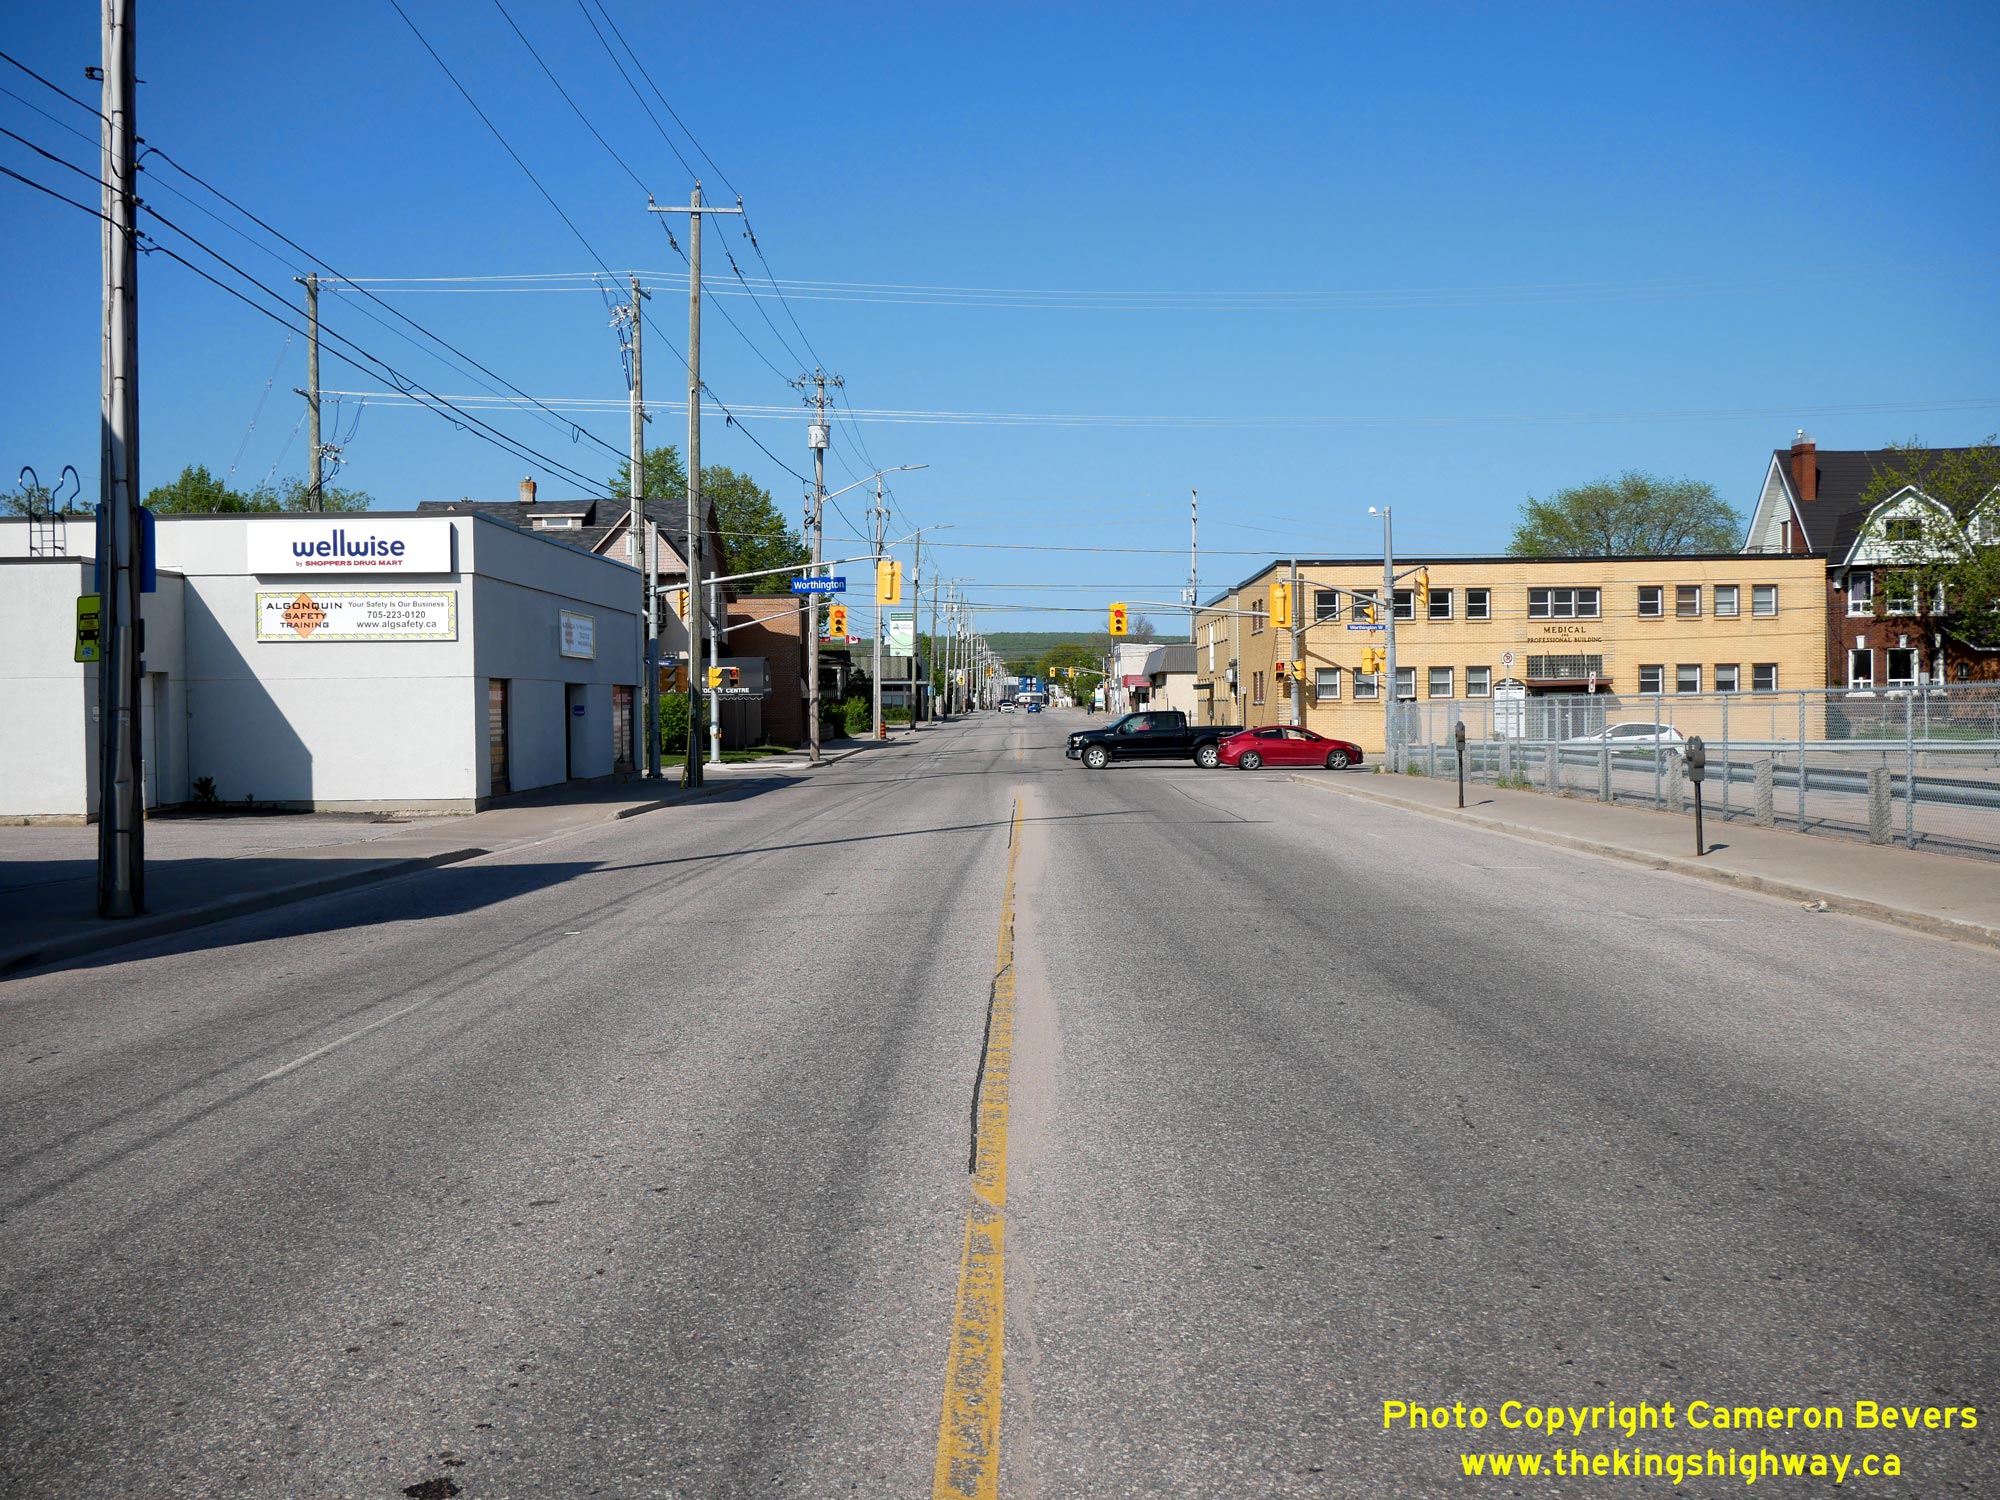
Left - View of the northbound route of Hwy 11B & Hwy 17B via McIntyre Street, facing south from Cassells Street (Hwy 63). See an
Enlarged Photo Here. (Photograph taken on May 27, 2023 - © Cameron Bevers) Right - Facing north along McIntyre Street at Cassells Street (Hwy 63). Traffic wishing to continue west along Hwy 17B can turn left onto Cassells Street and return to Main Street, while northbound traffic on Hwy 11B continues straight ahead, where traffic merges back into Algonquin Avenue. See an Enlarged Photo Here. (Photograph taken on May 27, 2023 - © Cameron Bevers) 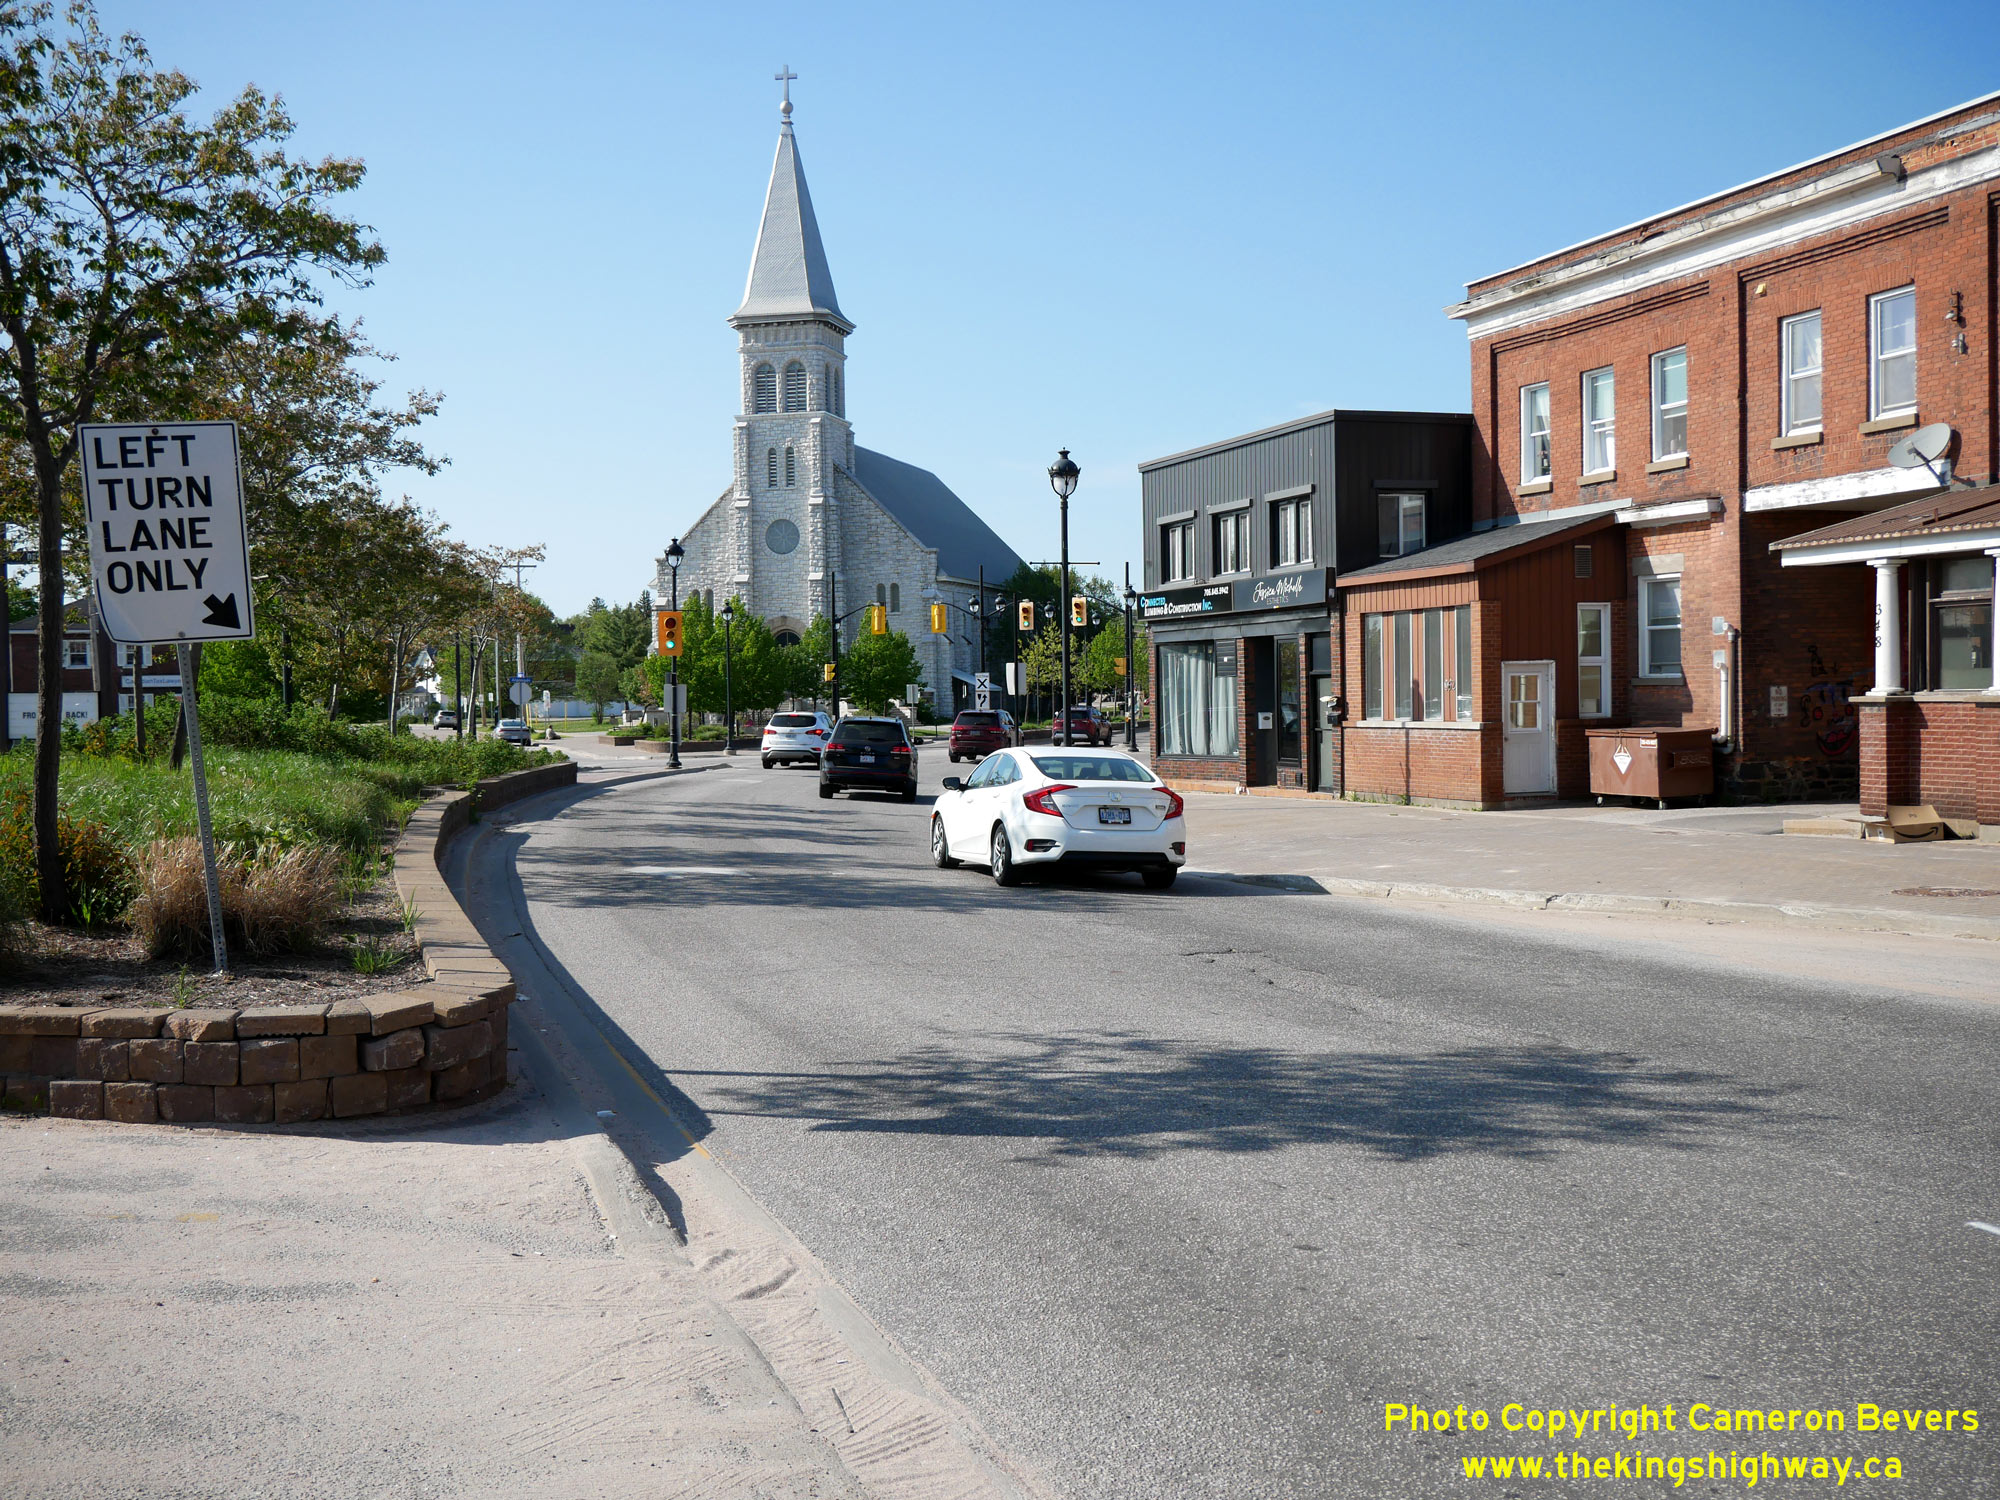

Left - End of the one-way street system for Hwy 11B at McIntyre Street and Algonquin Avenue. Here, the northbound route of Hwy 11B converges with the
southbound route of Hwy 11B via Algonquin Avenue. The reunion of the two routes takes place immediately north of Cassells Street (Hwy 63). The route of Hwy 11B
continues north via Algonquin Avenue and returns to the North Bay Bypass, which lies about 2 km ahead. The Pro-Cathedral of the Assumption, completed in 1905, forms
a very attractive landmark at the northern entrance to the city centre. See an
Enlarged Photo Here. (Photograph taken on May 27, 2023 - © Cameron Bevers) Right - Facing south along McIntyre Street (Hwy 11B) at Cassells Street (Hwy 63). See an Enlarged Photo Here. (Photograph taken on May 27, 2023 - © Cameron Bevers) 
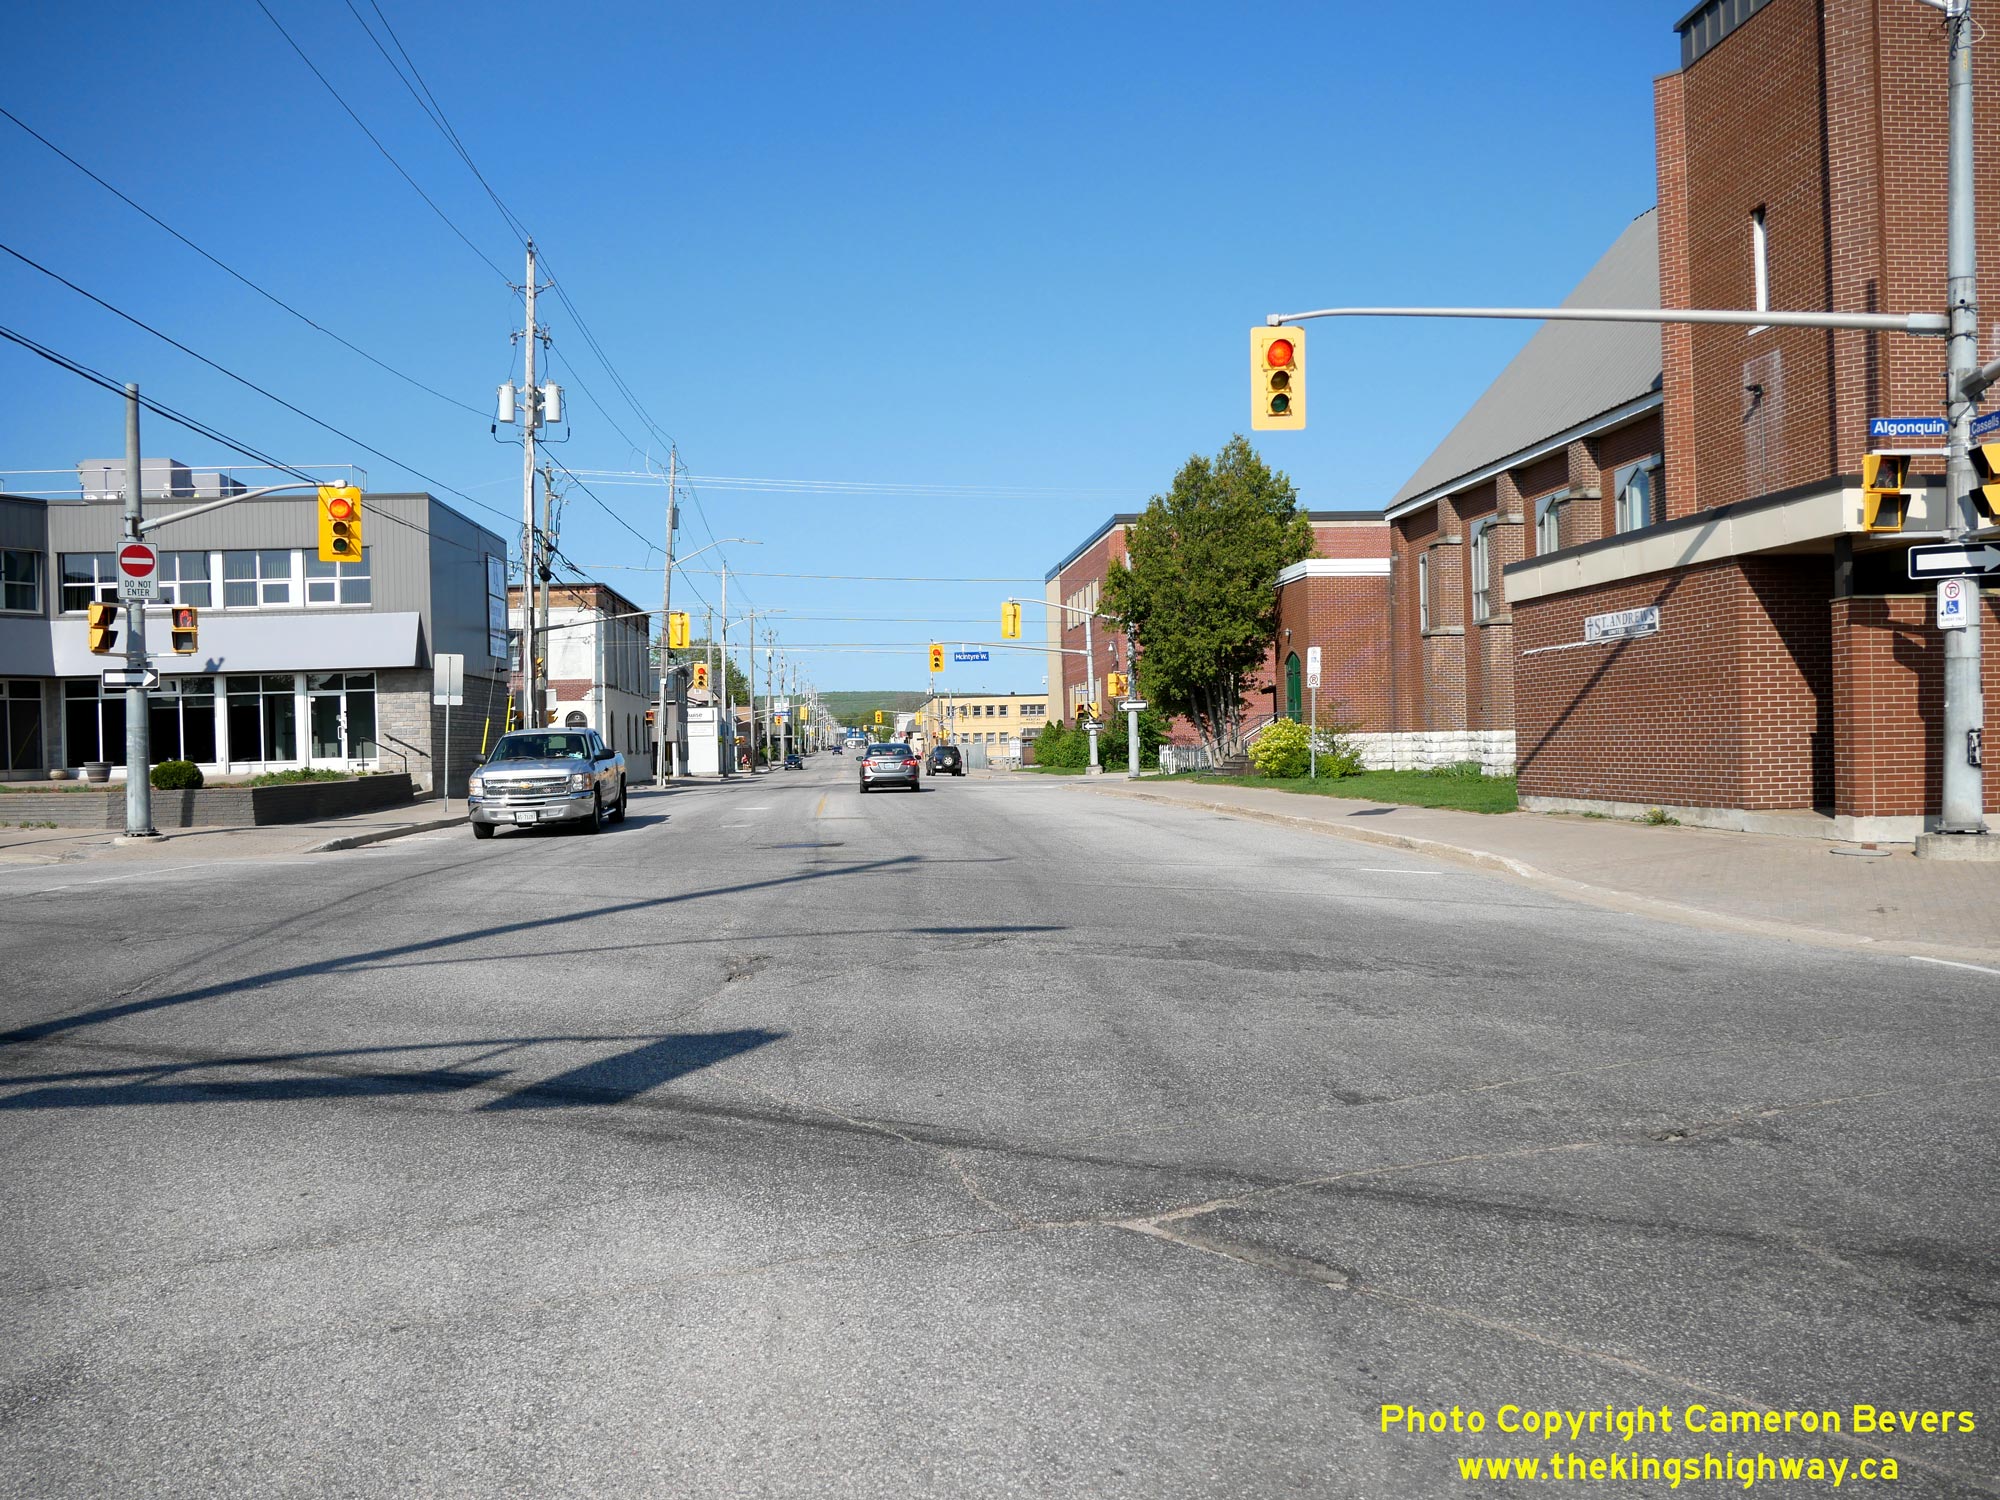
Left - Junction of Cassells Street (Hwy 63) at the northbound route of Hwy 11B (McIntyre Street), facing south towards Algonquin Avenue and Main Street.
Traffic bound for the city centre can continue ahead and then turn left onto Algonquin Avenue at the next block, while traffic heading out of the city may either turn
right at this intersection and follow Hwy 11B via McIntyre Street or proceed two blocks ahead and turn right onto Main Street (Hwy 17B). See an
Enlarged Photo Here. (Photograph taken on May 27, 2023 - © Cameron Bevers) Right - Facing north along Cassells Street (Hwy 63) from the northbound route of Hwy 11B (McIntyre Street). The North Bay Bypass lies about 2 km ahead. See an Enlarged Photo Here. (Photograph taken on May 27, 2023 - © Cameron Bevers) 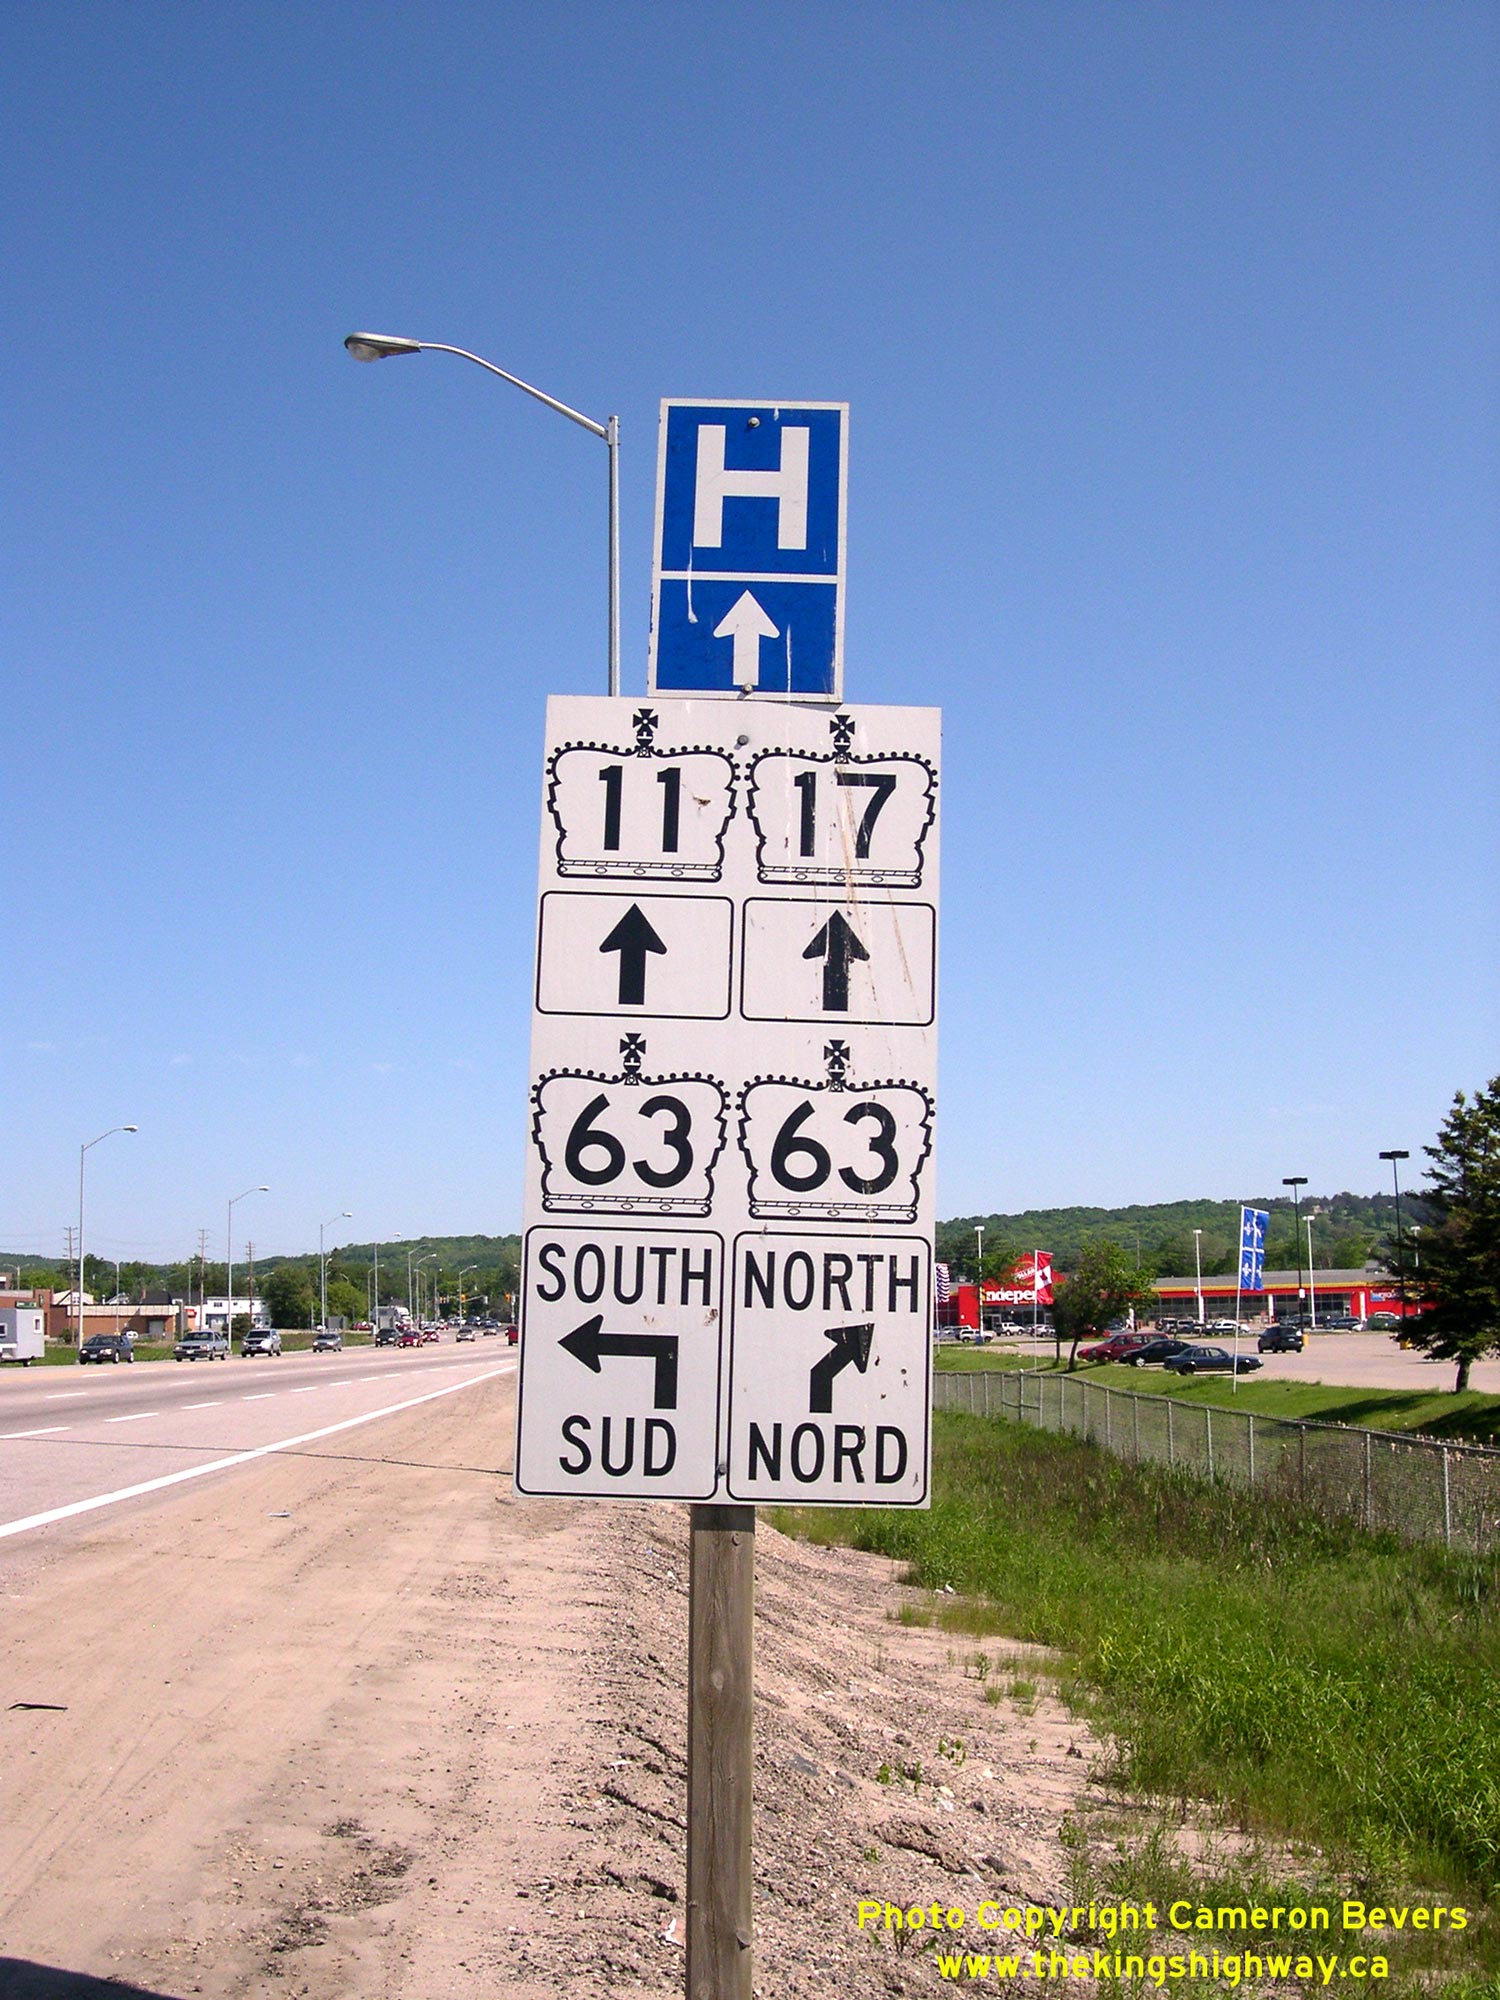
Above - Advance junction sign assembly at Hwy 11 & Hwy 17 and Hwy 63 in North Bay. See an
Enlarged Photo Here. (Photograph taken on June 4, 2006 - © Cameron Bevers) 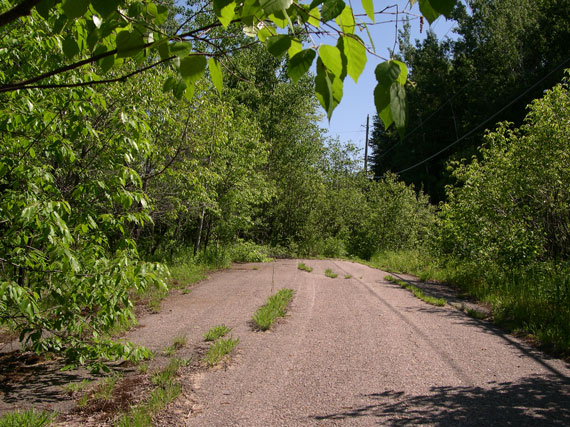
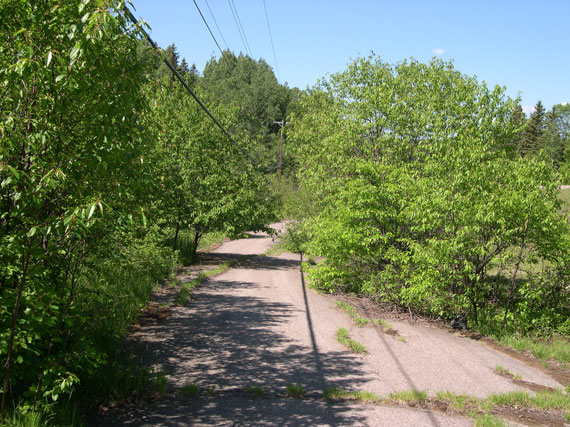
Left - Abandoned curve on Hwy 63 near Feronia, facing north (Photograph taken on June 4, 2006 - © Cameron Bevers) Right - Abandoned curve on Hwy 63 near Feronia, facing south (Photograph taken on June 4, 2006 - © Cameron Bevers) 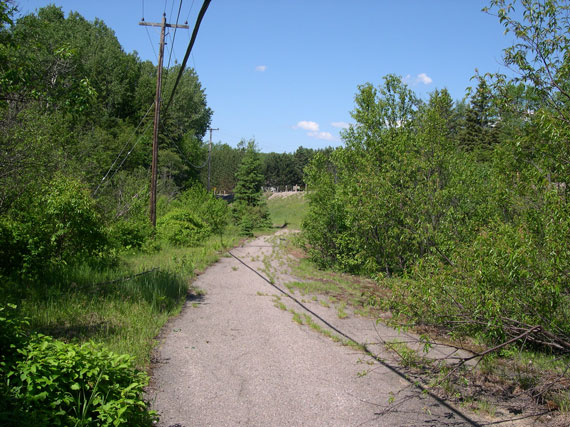
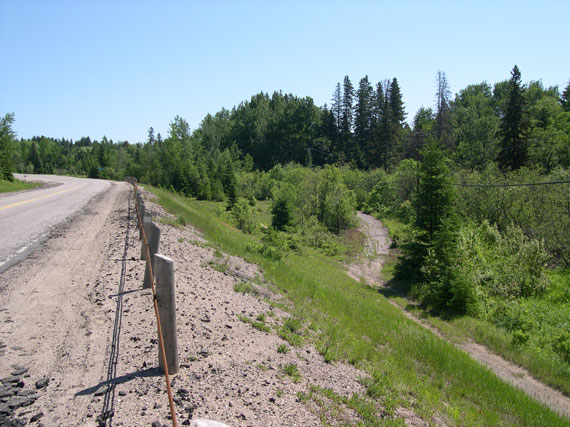
Left - Overgrown asphalt on abandoned curve on Hwy 63 near Feronia (Photograph taken on June 4, 2006 - © Cameron Bevers) Right - Abandoned curve on Hwy 63 near Feronia, as seen from current highway (Photograph taken on June 4, 2006 - © Cameron Bevers) 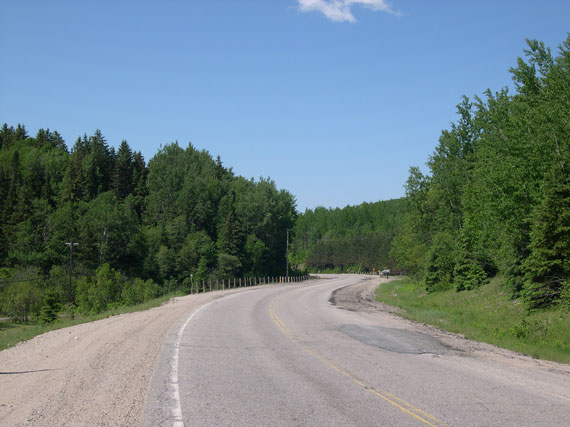

Left - A reverse curve on Hwy 63 near Feronia, facing south towards North Bay (Photograph taken on June 4, 2006 - © Cameron Bevers) Right - Facing south towards Feronia along a straight section of Hwy 63 near Balsam Creek (Photograph taken on June 4, 2006 - © Cameron Bevers) 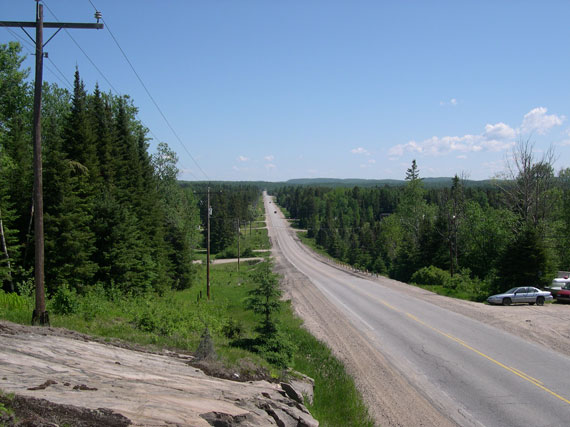
Left - Facing north along Hwy 63 near Balsam Creek (Photograph taken on June 4, 2006 - © Cameron Bevers) Right - Large valley on Hwy 63 between Balsam Creek and Eldee (Photograph taken on June 4, 2006 - © Cameron Bevers) 

Left - Facing north along Hwy 63 towards Eldee from the Hwy 533 Junction (Photograph taken on June 4, 2006 - © Cameron Bevers) Right - Junction of Hwy 533 and Hwy 63 between North Bay and Eldee (Photograph taken on June 4, 2006 - © Cameron Bevers) 

Left - Junction and distance signs at the end of Hwy 533 at Hwy 63 (Photograph taken on June 4, 2006 - © Cameron Bevers) Right - Distance sign on Hwy 63 North at Hwy 533 Junction. Note that the control or destination city is listed as the Province of Quebec rather than Temiskaming. Aside from a few rare exceptions, Ontario does not sign distances to cities beyond its boundaries. (Photograph taken on June 4, 2006 - © Cameron Bevers) 

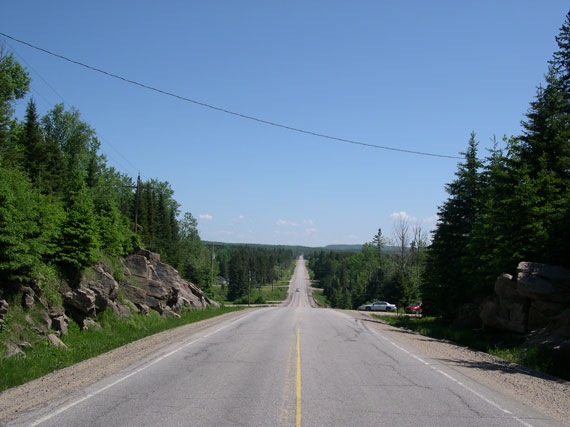
Left - Facing south along Hwy 63 towards Hwy 533 Junction north of North Bay (Photograph taken on June 4, 2006 - © Cameron Bevers) Right - Facing north along Hwy 63 towards Eldee from the Hwy 533 Junction (Photograph taken on June 4, 2006 - © Cameron Bevers) 
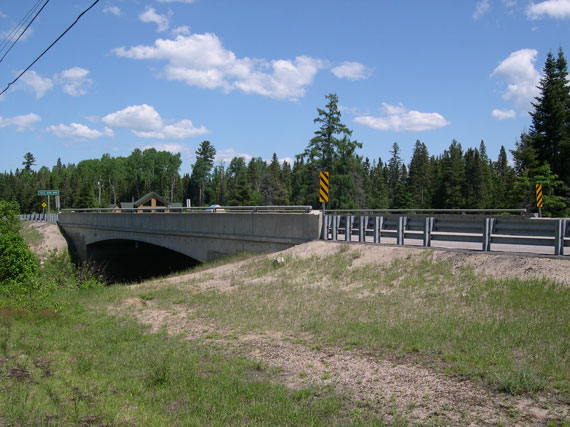
Left - Facing south towards North Bay from Hwy 533 Junction, south of Eldee (Photograph taken on June 4, 2006 - © Cameron Bevers) Right - Western side of the Little Jocko River Bridge on Hwy 63. Structure completed in 1949. (Photograph taken on June 4, 2006 - © Cameron Bevers) 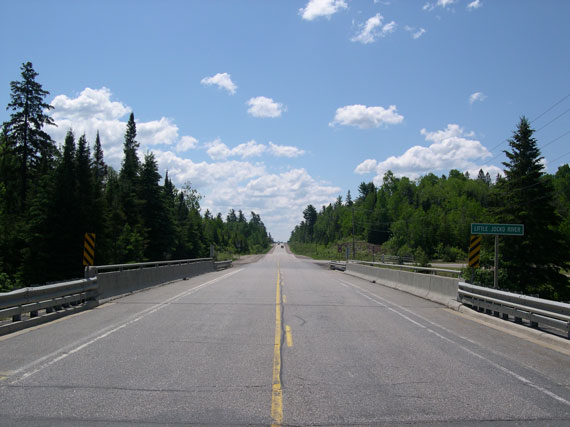
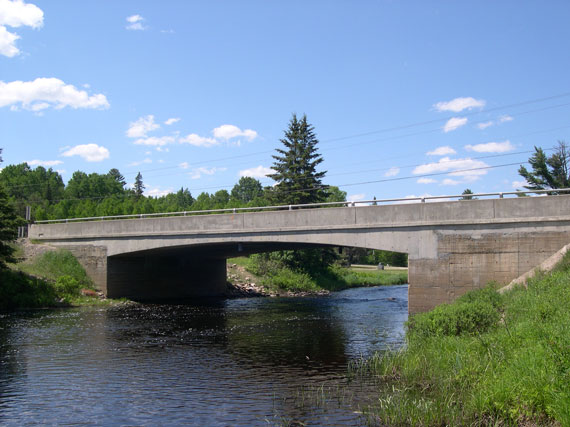
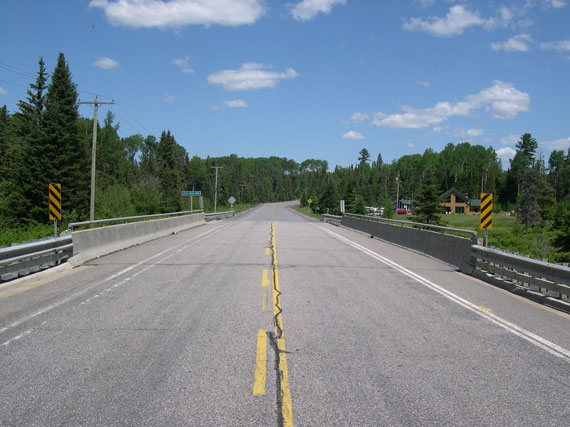
Left - Facing south along Hwy 63 towards North Bay at the Little Jocko River Bridge (Photograph taken on June 4, 2006 - © Cameron Bevers) Right - Eastern side of the Little Jocko River Bridge on Hwy 63 (Photograph taken on June 4, 2006 - © Cameron Bevers) 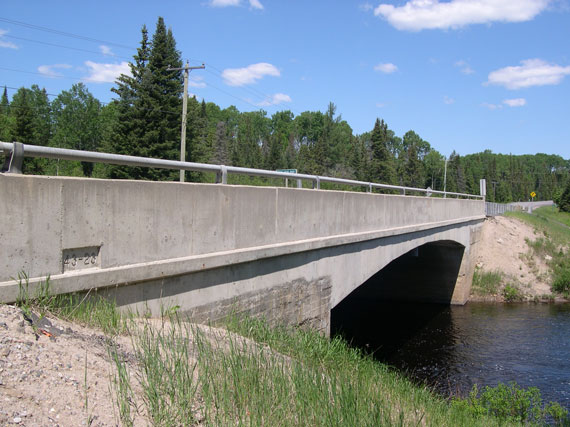
Left - The Little Jocko River Bridge was recently rehabilitated by the MTO. Parts of the concrete abutments are still original and unmodified. The
original bridge sections are discernible by the impressions left in the concrete by the single-plank timber forms that were used to construct most
Ontario bridges until about 1955. Large plywood sheets were used as forms for concrete pours on most bridges after 1955, which gave the finished concrete
a much smoother surface. Note the structure identification number, which was stamped into the bridge parapet during reconstruction. (Photograph taken on June 4, 2006 - © Cameron Bevers) Right - Facing north along Hwy 63 towards Eldee at the Little Jocko River Bridge (Photograph taken on June 4, 2006 - © Cameron Bevers) 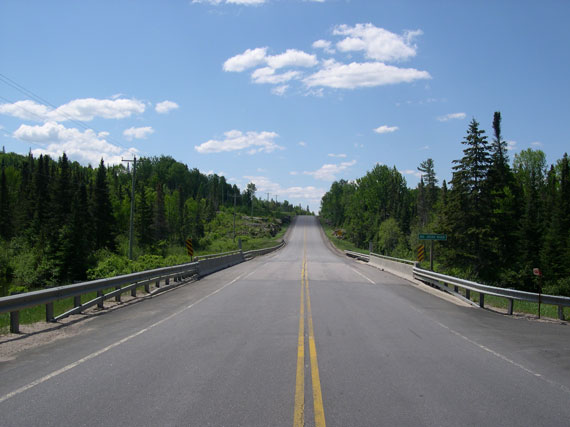
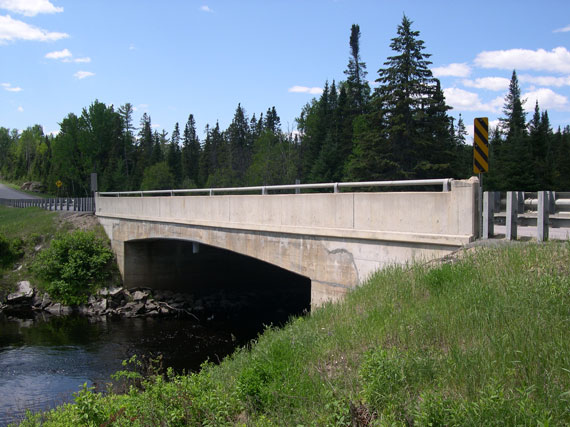
Left - Facing south along Hwy 63 towards North Bay at the Big Jocko River Bridge (Photograph taken on June 4, 2006 - © Cameron Bevers) Right - Eastern side of the Big Jocko River Bridge on Hwy 63 south of Eldee (Photograph taken on June 4, 2006 - © Cameron Bevers) 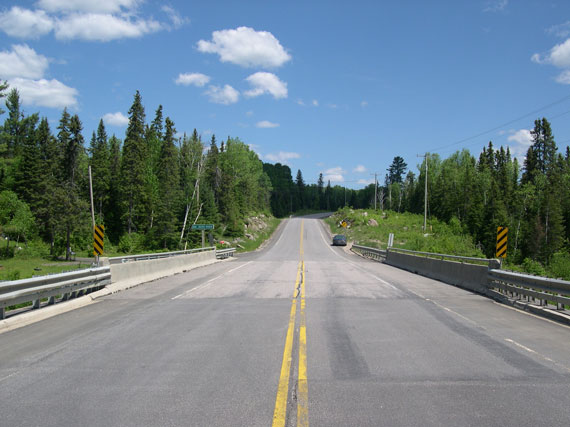
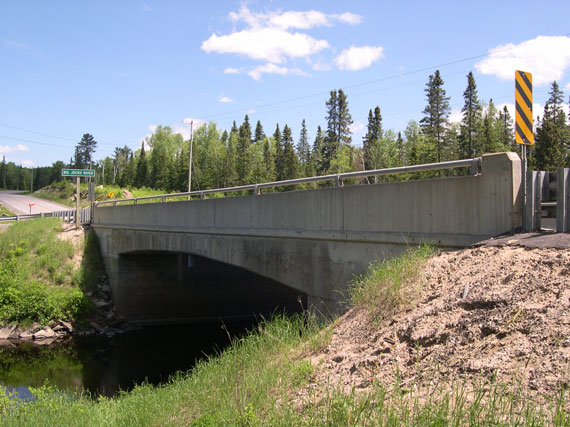
Left - Facing north along Hwy 63 towards Eldee at the Big Jocko River Bridge (Photograph taken on June 4, 2006 - © Cameron Bevers) Right - Western side of the Big Jocko River Bridge on Hwy 63. Structure completed in 1951. (Photograph taken on June 4, 2006 - © Cameron Bevers) 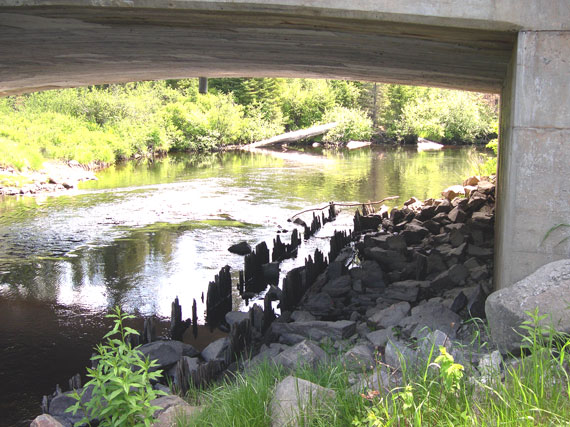
Left - The remains of an old timber pier from a previous 1930s structure can still be seen underneath the current Big Jocko River Bridge (Photograph taken on June 4, 2006 - © Cameron Bevers) Right - Facing north along Hwy 63 towards Thorne from Eldee (Photograph taken on June 4, 2006 - © Cameron Bevers) 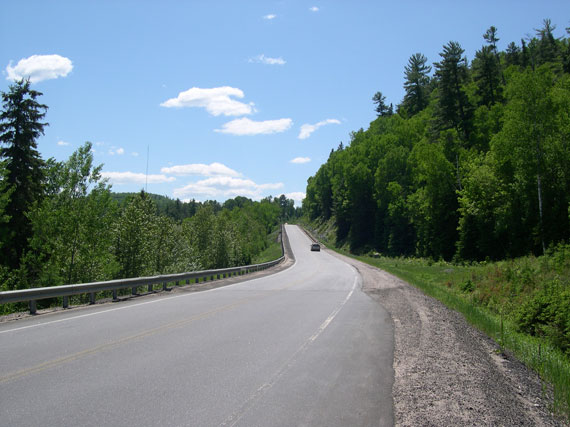
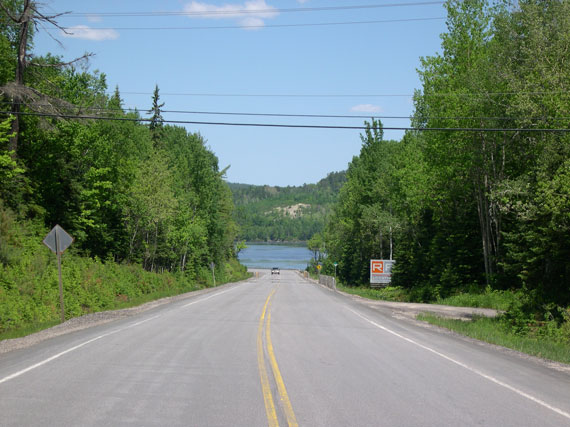
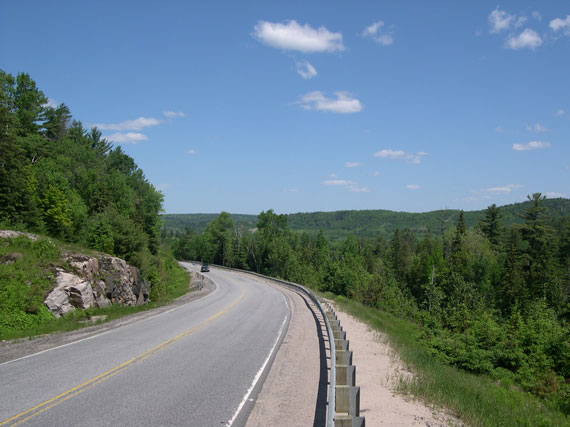
Left - Large hill on Hwy 63 between Thorne and Eldee, facing south (Photograph taken on June 4, 2006 - © Cameron Bevers) Right - Facing north along Hwy 63 towards Lake Temiskaming near Thorne (Photograph taken on June 4, 2006 - © Cameron Bevers) 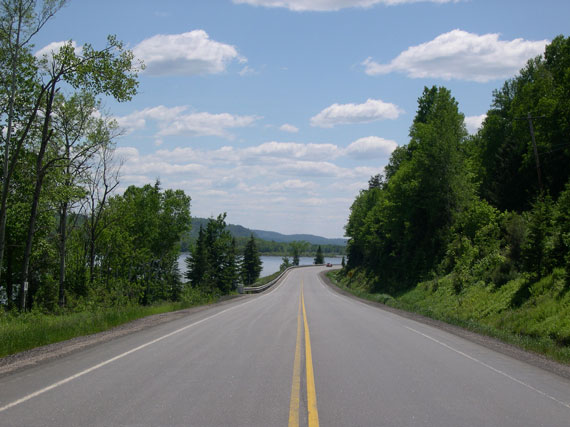
Left - Facing south along Hwy 63 towards Eldee from Thorne (Photograph taken on June 4, 2006 - © Cameron Bevers) Right - Facing south along Hwy 63 towards Thorne at the western Temiskaming Dam (Photograph taken on June 4, 2006 - © Cameron Bevers) 
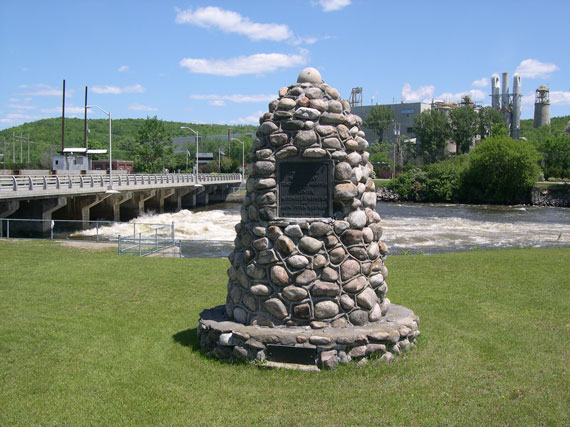
Left - An old alignment of Hwy 63 exists on the island in the middle of the Ottawa River, between the eastern and western Temiskaming Dams (Photograph taken on June 4, 2006 - © Cameron Bevers) Right - Commemorative monument marking the completion of the North Bay-Temiskaming Highway. The monument straddles the Ontario-Quebec Boundary and roughly marks the common terminus of Ontario Hwy 63 and Quebec's Hwy 101. The eastern Temiskaming Dam can be seen in the background, along with Temiskaming's Tembec Lumber Mill. (Photograph taken on June 4, 2006 - © Cameron Bevers) 
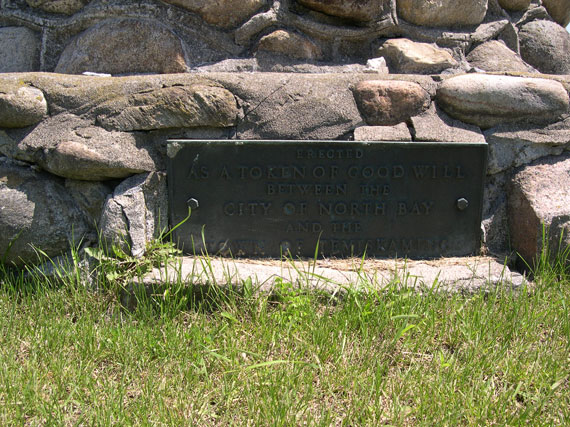
Left - Close-up view of commemorative plaque marking the completion of Hwy 63 on September 6, 1937 (Photograph taken on June 4, 2006 - © Cameron Bevers) Right - Close-up of Temiskaming and North Bay "good will" plaque on Temiskaming Monument (Photograph taken on June 4, 2006 - © Cameron Bevers) 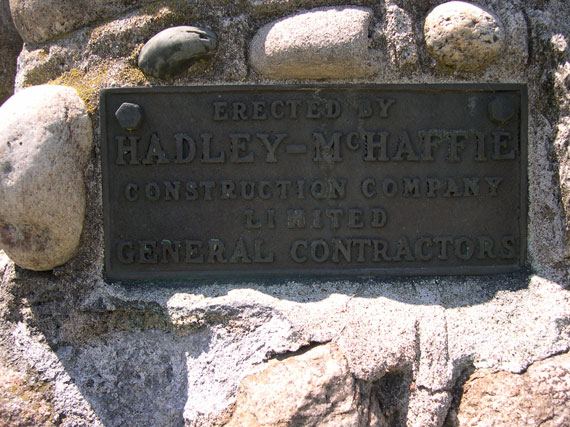
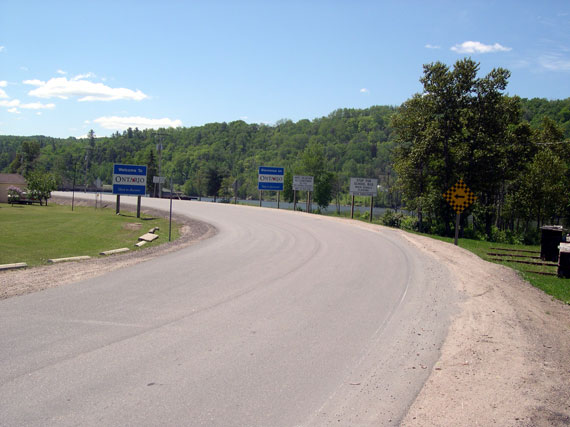
Left - Close-up of contractor's plaque on Temiskaming's Hwy 63 Monument (Photograph taken on June 4, 2006 - © Cameron Bevers) Right - Facing south along Hwy 63 from Ontario-Quebec Boundary (Photograph taken on June 4, 2006 - © Cameron Bevers) 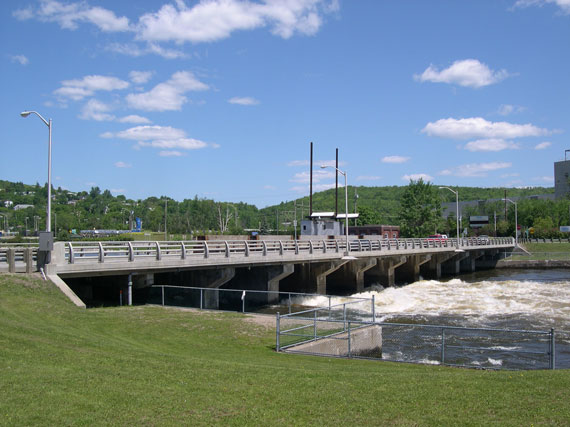
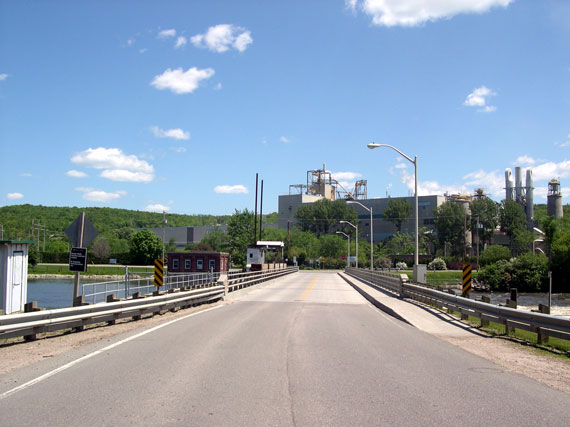
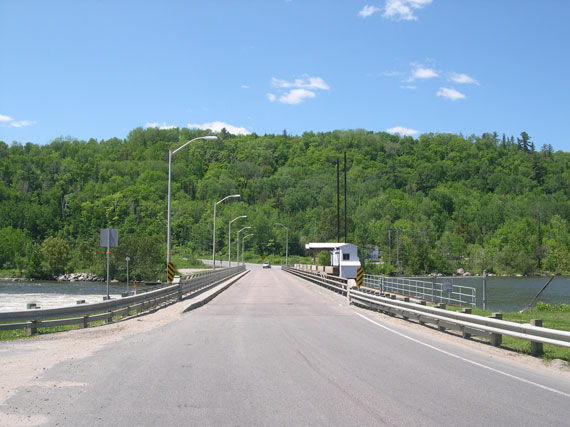
Left - The eastern Temiskaming Dam forms the highway link between Ontario and Quebec at Temiskaming (Photograph taken on June 4, 2006 - © Cameron Bevers) Right - Facing north across the eastern Temiskaming Dam towards Quebec from the northern terminus of Hwy 63 (Photograph taken on June 4, 2006 - © Cameron Bevers) 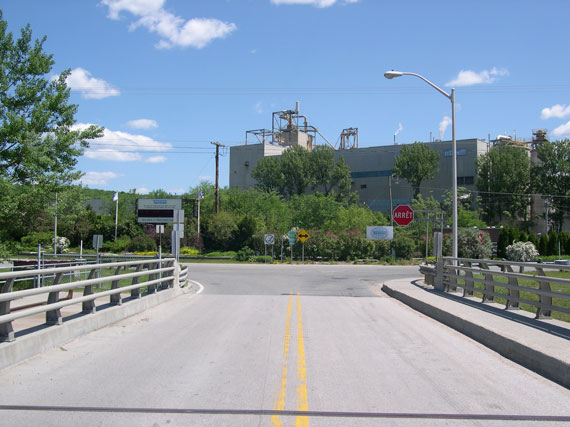
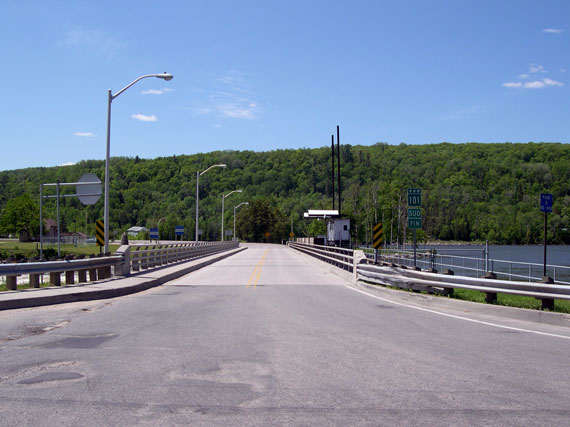
Left - Arrival at the Quebec side of the eastern Temiskaming Dam. At the stop sign, Quebec's Hwy 101 turns left and resumes its northern
trek along the eastern shores of Lake Temiskaming. (Photograph taken on June 4, 2006 - © Cameron Bevers) Right - Facing south along Hwy 63 across the eastern Temiskaming Dam. Note the Quebec Hwy 101 Ends sign at right. (Photograph taken on June 4, 2006 - © Cameron Bevers) 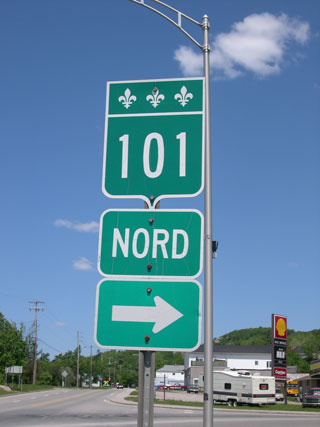
Above - Quebec's Hwy 101 continues north from the end of Ontario's Hwy 63 at Temiskaming towards Rouyn-Noranda (Photograph taken on June 4, 2006 - © Cameron Bevers)
More King's Highway 63 Photographs Coming Soon!
|
|---|
Links to Adjacent King's Highway Photograph Pages:
Back to King's Highway 62 Photos /
King's Highway 63 History /
On to King's Highway 64 Photos
Ontario Highway History - Main Menu / Back to List of Highways Website contents, photos & text © 2002-2026, Cameron
Bevers (Webmaster) - All Rights Reserved / Contact Me
|
|---|