
| 
| |
|
|
This page contains present day photos (Year 2000 to date) of Ontario's King's Highway 7, arranged by location from Kitchener
easterly to Brampton. All photographs displayed on this page were taken by the Webmaster (Cameron Bevers), unless specifically noted otherwise. Click on any
thumbnail to see a larger image!
Please note that all photographs displayed on this
website are protected by copyright. These photographs must not be reproduced, published,
electronically stored or copied, distributed, or posted onto other websites without
my written permission. If you want to use photos from this website, please
email me first for permission. Thank-you!
|
|---|
|
Page 9: Present Day King's Highway 7 Photographs (Kitchener to Brampton)
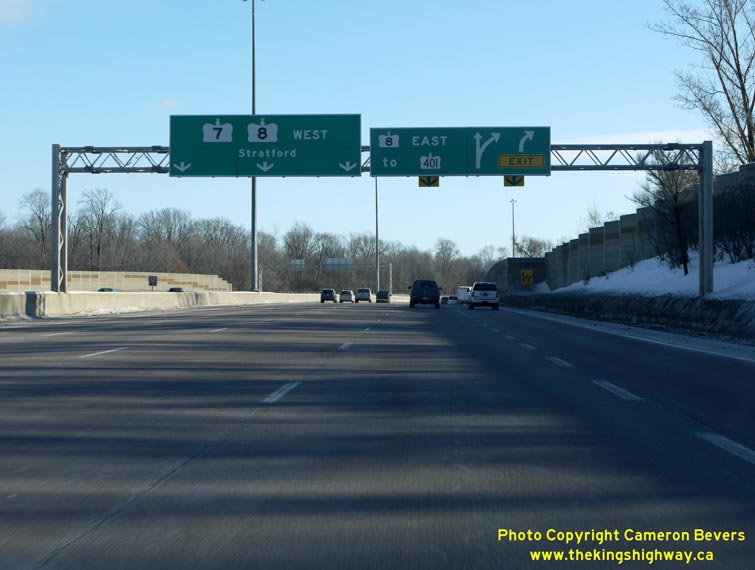

Left - Overhead freeway guide signs on Hwy 7 West marking the upcoming interchange at Hwy 8. At this interchange, Hwy 7 West follows the three left lanes and
joins Hwy 8 West, before proceeding to Stratford. Hwy 401-bound traffic must use the two right lanes and follow the flyover onto Hwy 8 East to Cambridge. See an
Enlarged Photo here. (Photograph taken on January 24, 2009 - © Cameron Bevers) Right - Advance diagrammatic overhead sign on westbound Hwy 8 in Kitchener, showing the lane configurations approaching the Hwy 7 (Conestoga Parkway) Interchange. There is also a single-lane ramp that connects to King Street at this interchange. See an Enlarged Photo here. (Photograph taken in January 24, 2009 - © Cameron Bevers) 
Left - Facing west along Hwy 8 at the Franklin Street Overpass, approaching the Hwy 7 (Conestoga Parkway) Interchange in Kitchener. See an
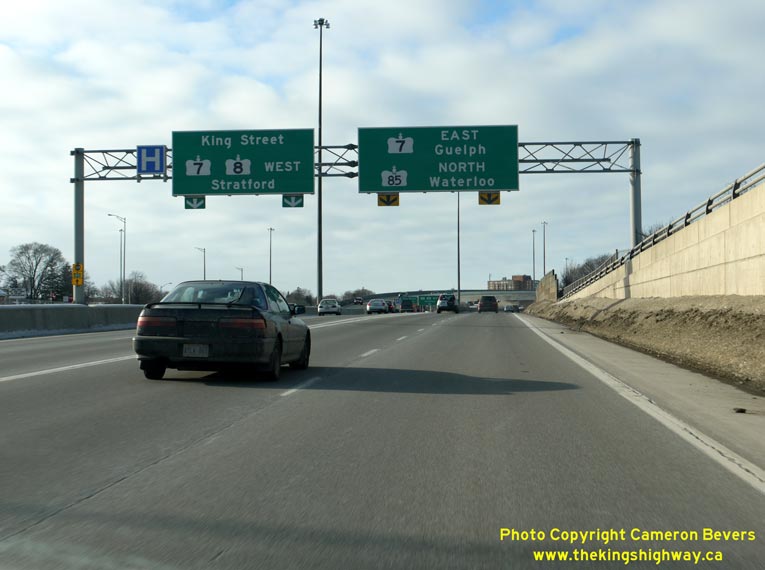
Enlarged Photo here. (Photograph taken on January 24, 2009 - © Cameron Bevers) Right - Overhead freeway guide signs on Hwy 8 West marking the upcoming interchange at the Conestoga Parkway. From here, Hwy 8 West stays to the left and joins Hwy 7 West to Stratford. Guelph and Waterloo-bound traffic must use the two right lanes and follow Hwy 7 East. See an Enlarged Photo here. (Photograph taken in January 24, 2009 - © Cameron Bevers) 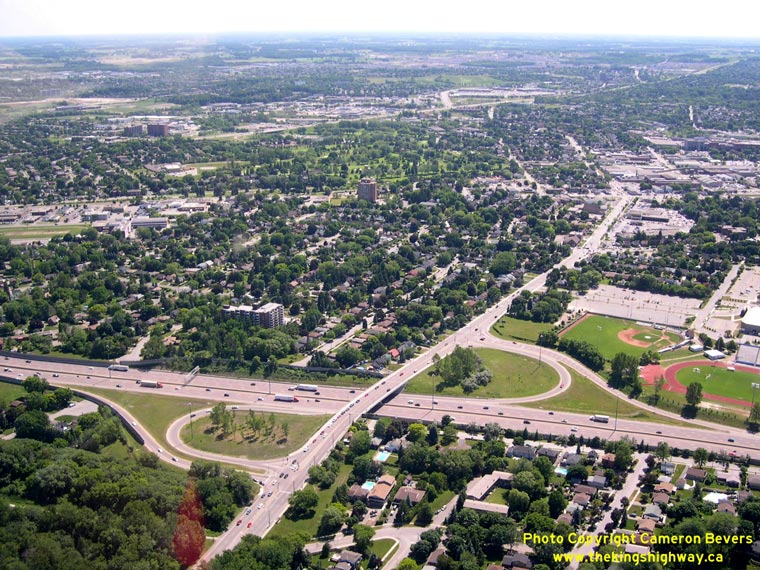

Left - Aerial view of the Conestoga Parkway (Hwy 7) Interchange at Ottawa Street in Kitchener, facing west. See an
Enlarged Photo here. (Photograph taken on June 22, 2005 - © Cameron Bevers) Right - Aerial view of the Conestoga Parkway (Hwy 7) Interchange at Ottawa Street in Kitchener, facing east. See an Enlarged Photo here. (Photograph taken in June 22, 2005 - © Cameron Bevers) 

Left - Overhead sign marking Hwy 7 East and "To 85 Waterloo" approaching the Ottawa Street Interchange in Kitchener. There are no ground-mounted route
reassurance markers or guide signs on this section of the Conestoga Parkway, due to the placement of noise attenuation barriers and retaining walls along the freeway.
See an Enlarged Photo here. (Photograph taken on January 24, 2009 - © Cameron Bevers) Right - Advance diagrammatic overhead sign marking the lane configurations approaching the Hwy 7 and Hwy 85 Interchange on the Conestoga Parkway in Kitchener. See an Enlarged Photo here. (Photograph taken in January 24, 2009 - © Cameron Bevers) 

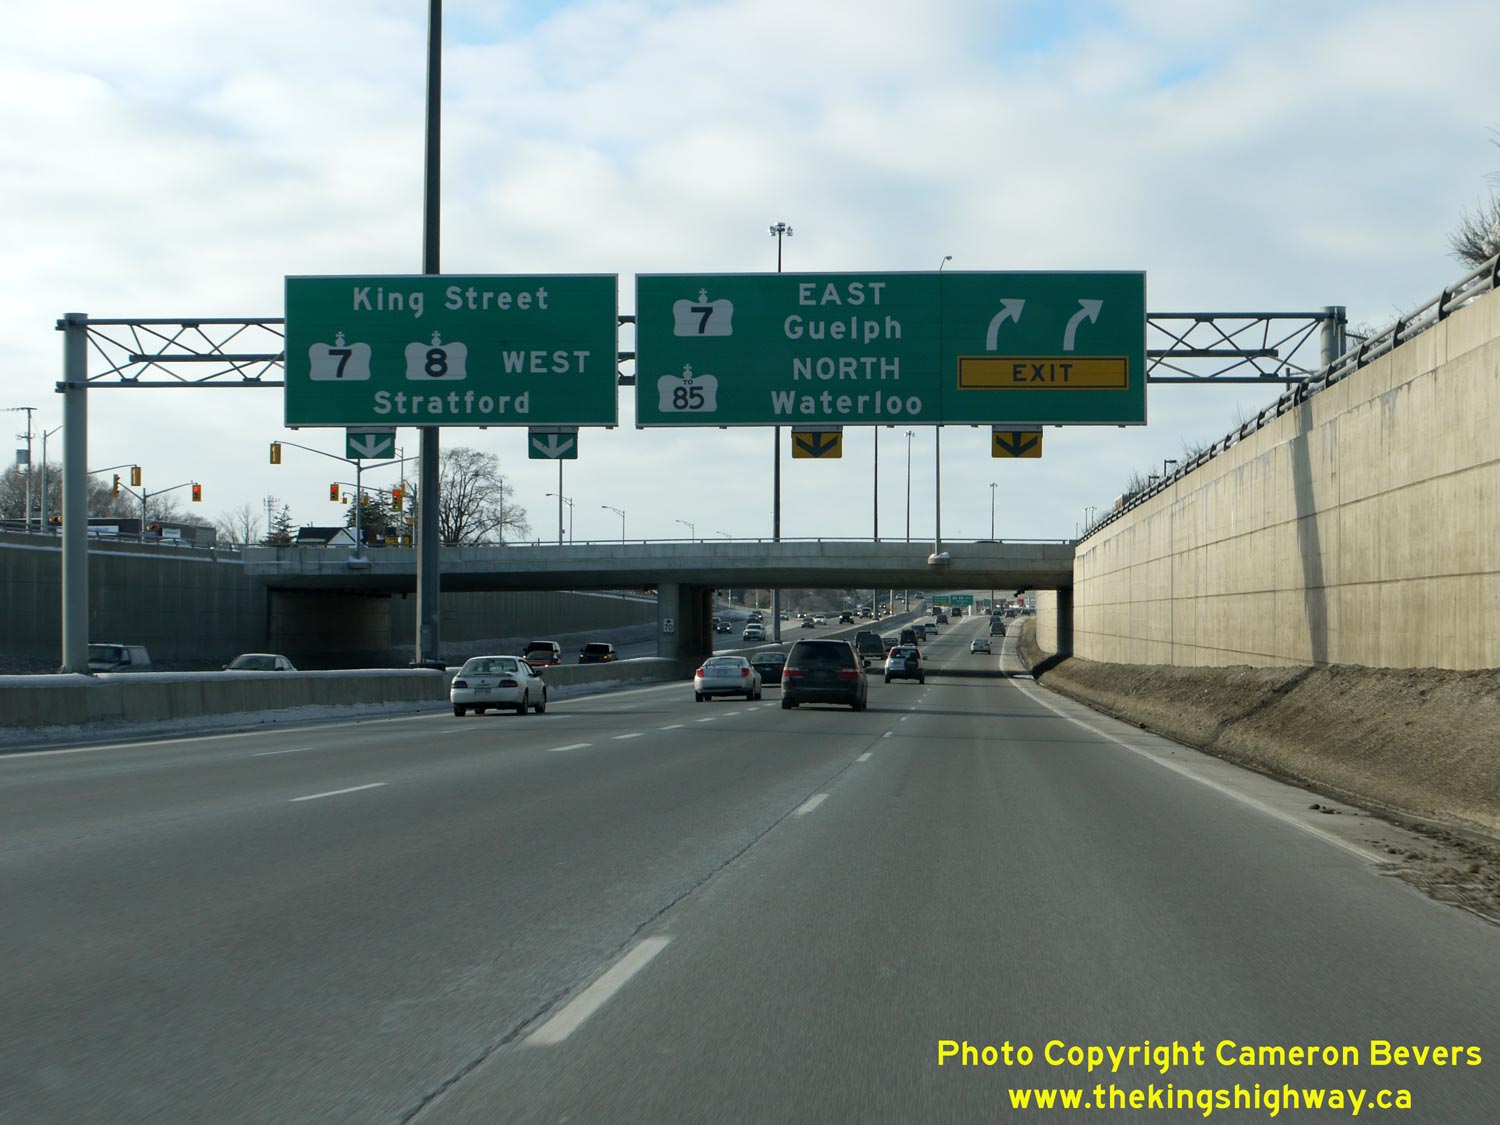
Left - Advance overhead freeway guide sign marking the upcoming exit for Hwy 7 East on the Conestoga Parkway. Although Hwy 7 exits from the freeway at Victoria
Street, all four northbound lanes of the Conestoga Parkway continue north towards Waterloo as Hwy 85. See an
Enlarged Photo here. (Photograph taken on January 24, 2009 - © Cameron Bevers) Right - Overhead freeway guide signs marking the split on the Conestoga Parkway at the express-collector lanes. The collector lanes provide access to Hwy 7 East, while Hwy 85 North to Waterloo can be accessed from either the express or the collector lanes, despite the indication marked on this sign. See an Enlarged Photo here. (Photograph taken in January 24, 2009 - © Cameron Bevers) 

Left - Aerial view of the Conestoga Parkway Interchange at Victoria Street (Hwy 7 East), facing west towards Downtown Kitchener. From this point north, the
Conestoga Parkway is known as Hwy 85. See an Enlarged Photo here. (Photograph taken on June 22, 2005 - © Cameron Bevers) Right - Aerial view of Victoria Street (Hwy 7 East) approaching the Conestoga Parkway Interchange from Guelph. The freeway joining in from the left is Hwy 85 from Waterloo. At this interchange, Hwy 7 joins the freeway and bypasses Downtown Kitchener on its route towards Stratford. See an Enlarged Photo here. (Photograph taken in June 22, 2005 - © Cameron Bevers) 
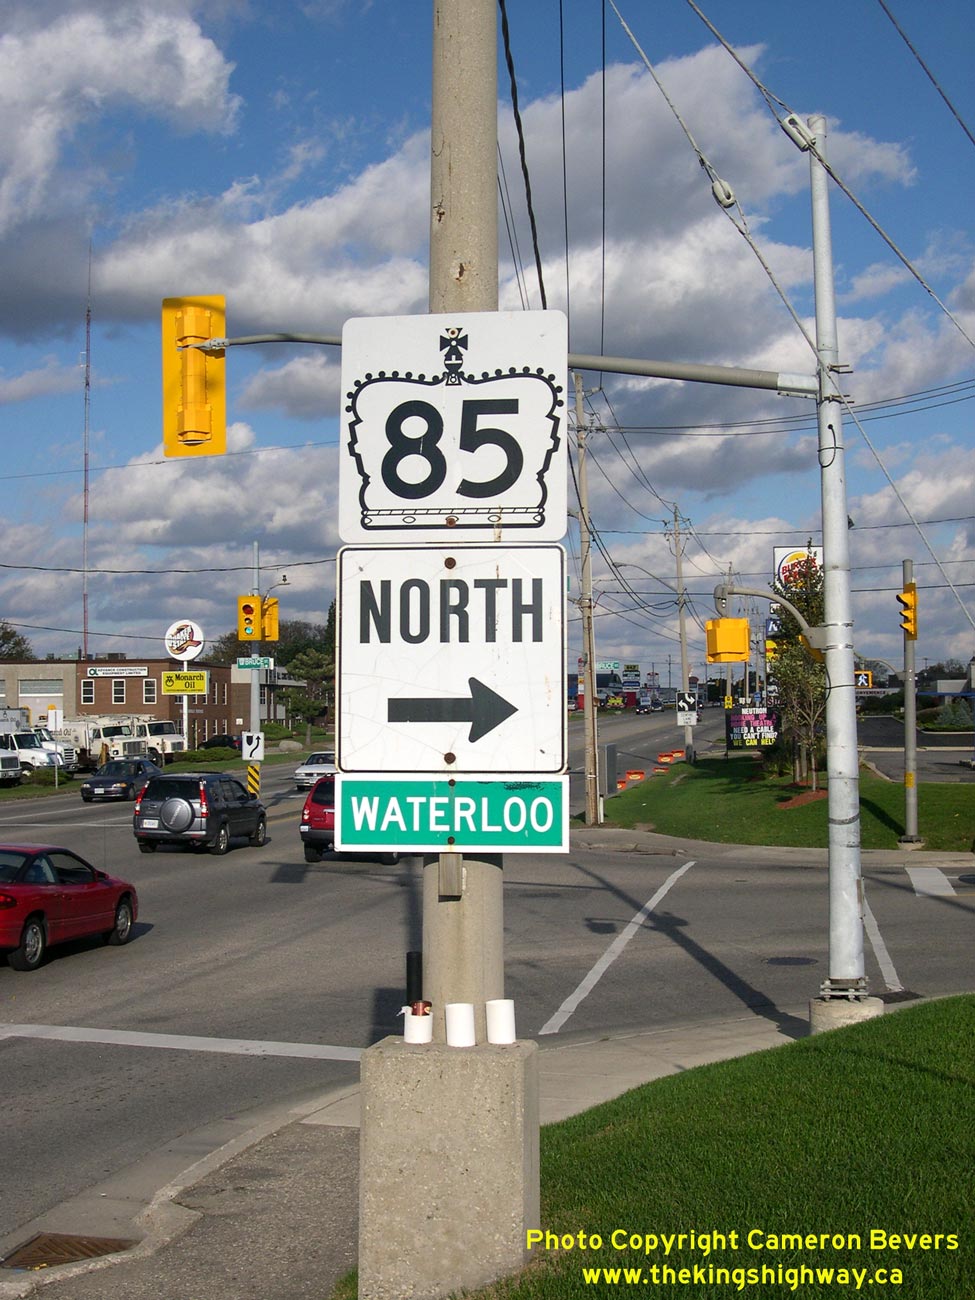
Above - Sign marking the entrance to Hwy 85 North at Victoria Street (Hwy 7) in Kitchener. See an
Enlarged Photo here. (Photograph taken in October 20, 2007 - © Cameron Bevers) 

Left - Aerial view of the Hwy 7 & Hwy 85 Interchange in Kitchener. The Conestoga Parkway changes route numbers at this point, as Hwy 7 exits the freeway
and heads easterly to Guelph. The Conestoga Parkway continues north towards Waterloo (at right) as Hwy 85. See an
Enlarged Photo here. (Photograph taken on June 22, 2005 - © Cameron Bevers) Right - Aerial view of Hwy 85 in Kitchener, facing south towards the Wellington Street and Victoria Street (Hwy 7) Interchanges. Note the collector-express lane system on Hwy 85 through the two interchanges. See an Enlarged Photo here. (Photograph taken in June 22, 2005 - © Cameron Bevers) 
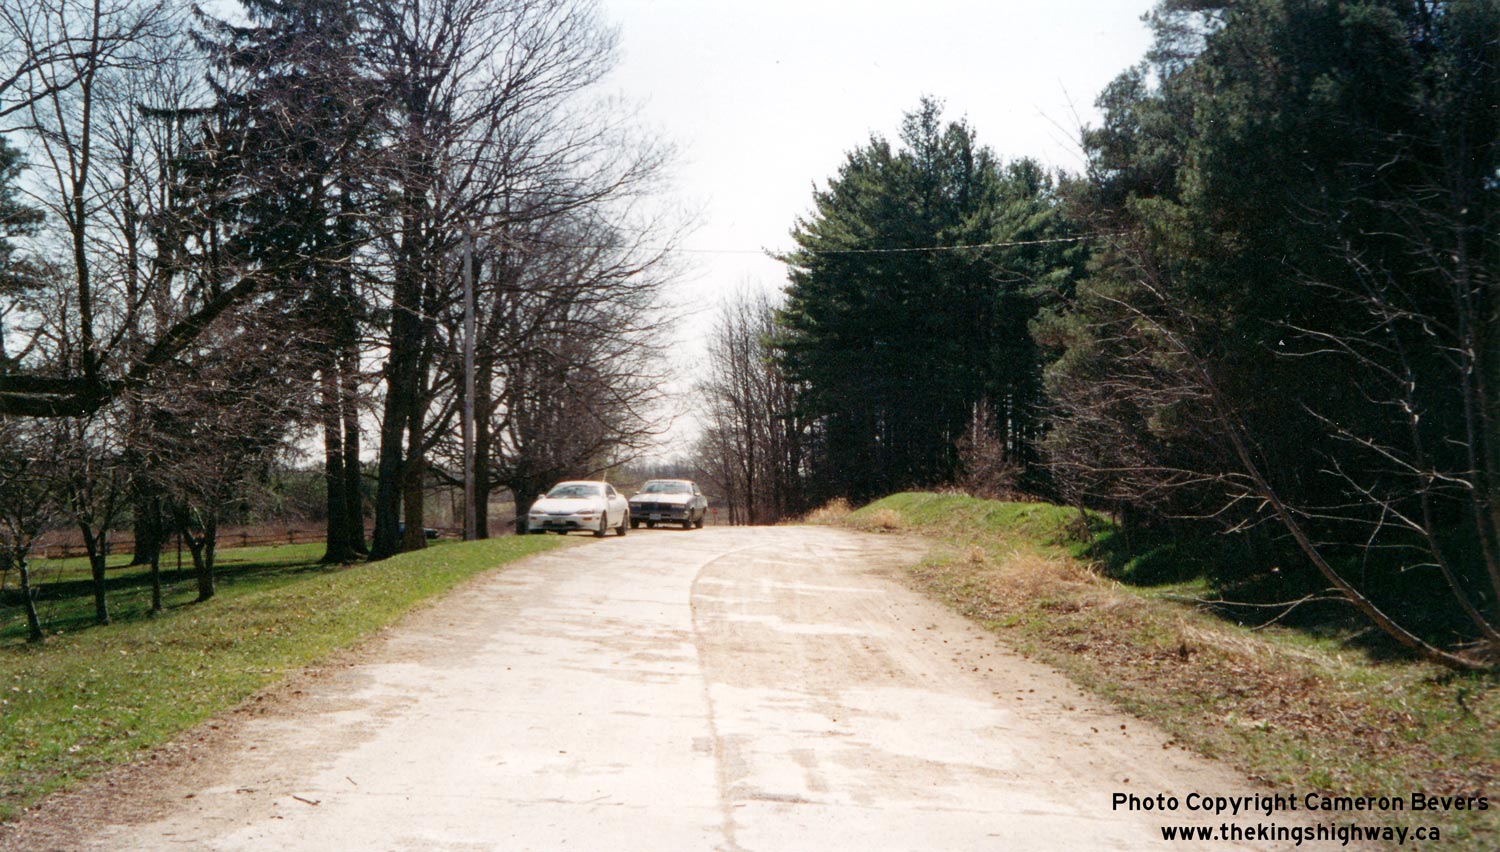
Above - Superelevated twin-slab concrete curve on old Hwy 7 alignment east of Breslau. See an
Enlarged Photo here. (Photograph taken in April, 2003 - © Cameron Bevers) 
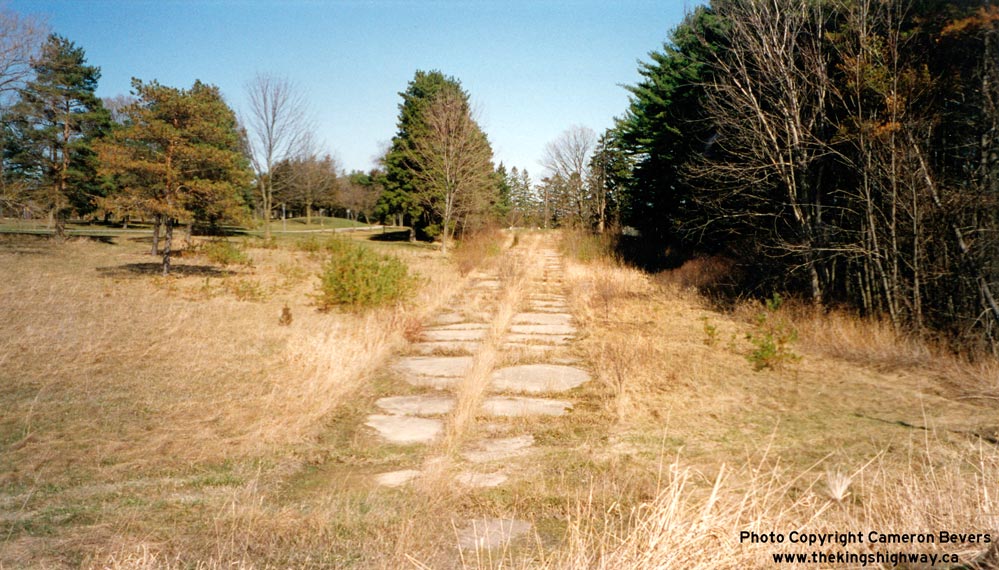
Left - Superelevated twin-slab concrete curve on old Hwy 7 alignment west of Guelph. See an
Enlarged Photo here. (Photograph taken in April, 2003 - © Cameron Bevers) Right - Abandoned twin-slab concrete Hwy 7 alignment at Waterloo-Wellington Boundary. See an Enlarged Photo here. (Photograph taken in April, 2003 - © Cameron Bevers) 

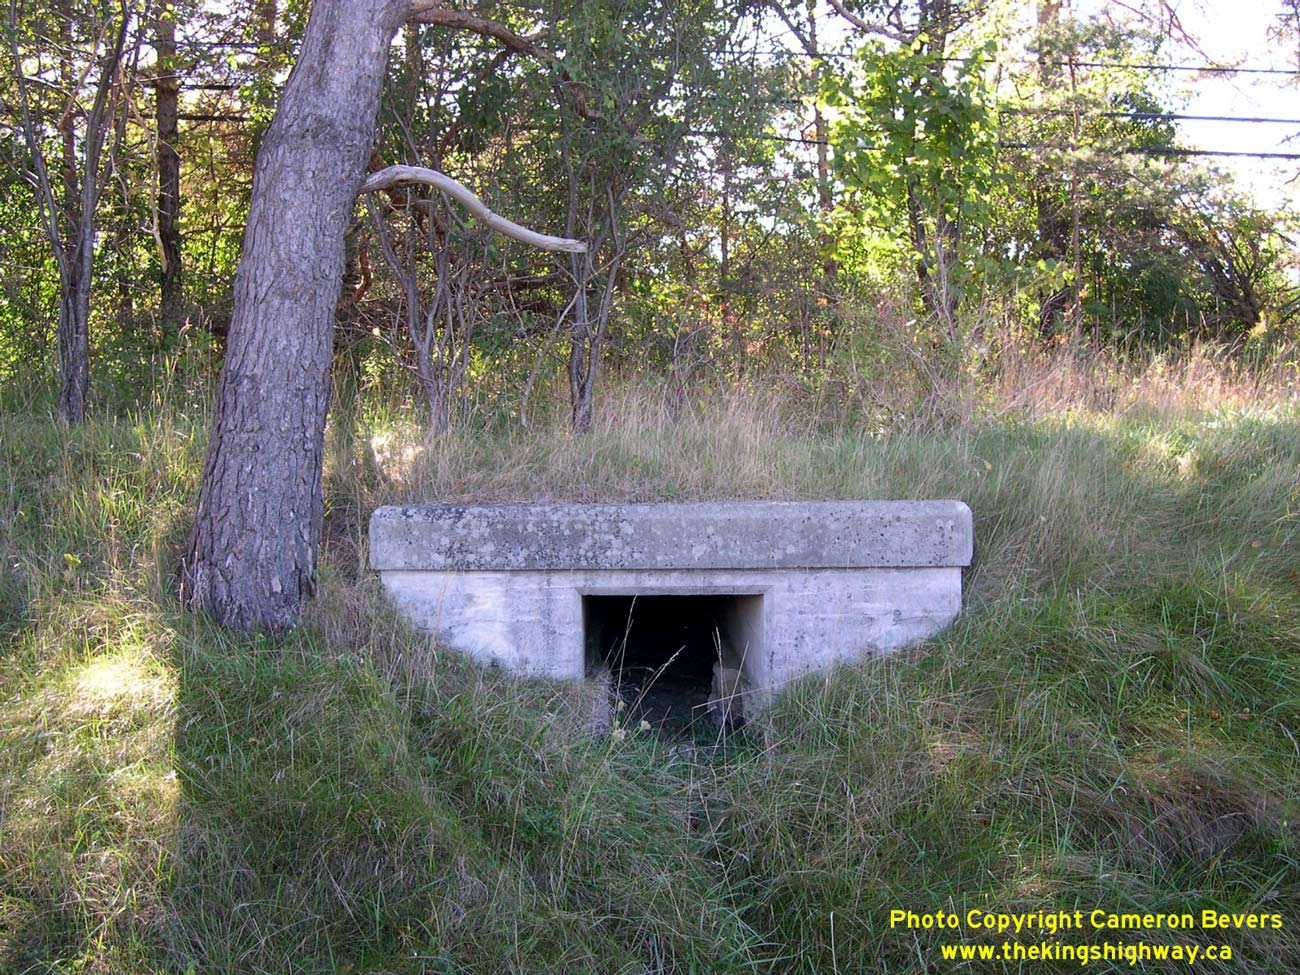
Left - Abandoned culvert on a former Hwy 7 alignment just west of Rockwood. See an
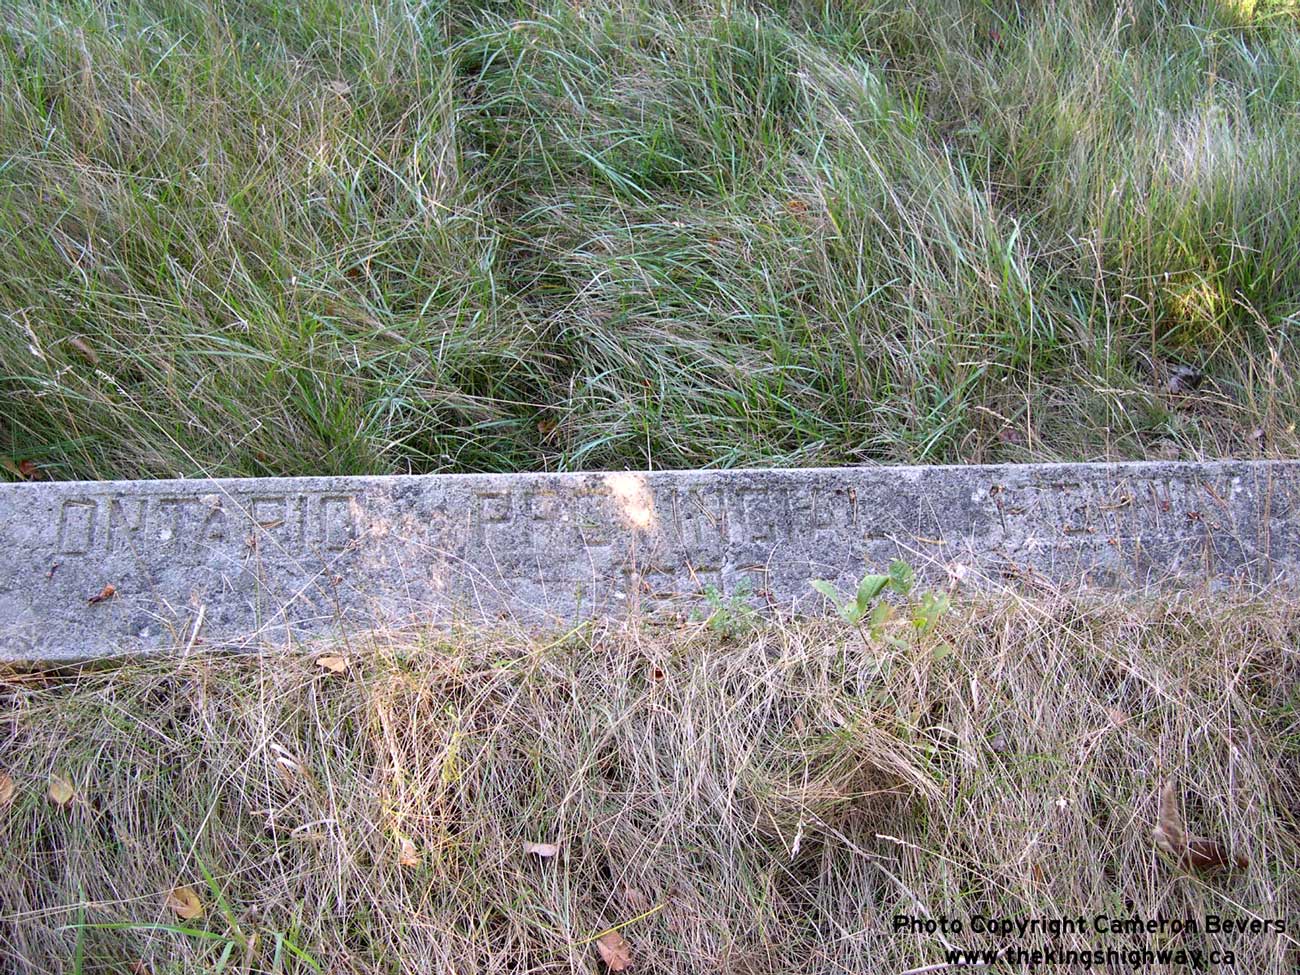
Enlarged Photo here. (Photograph taken on October 3, 2004 - © Cameron Bevers) Right - Culvert inscription on Hwy 7 near Rockwood - ONTARIO PROVINCIAL HIGHWAY 1923". See an Enlarged Photo here. (Photograph taken on October 3, 2004 - © Cameron Bevers) 
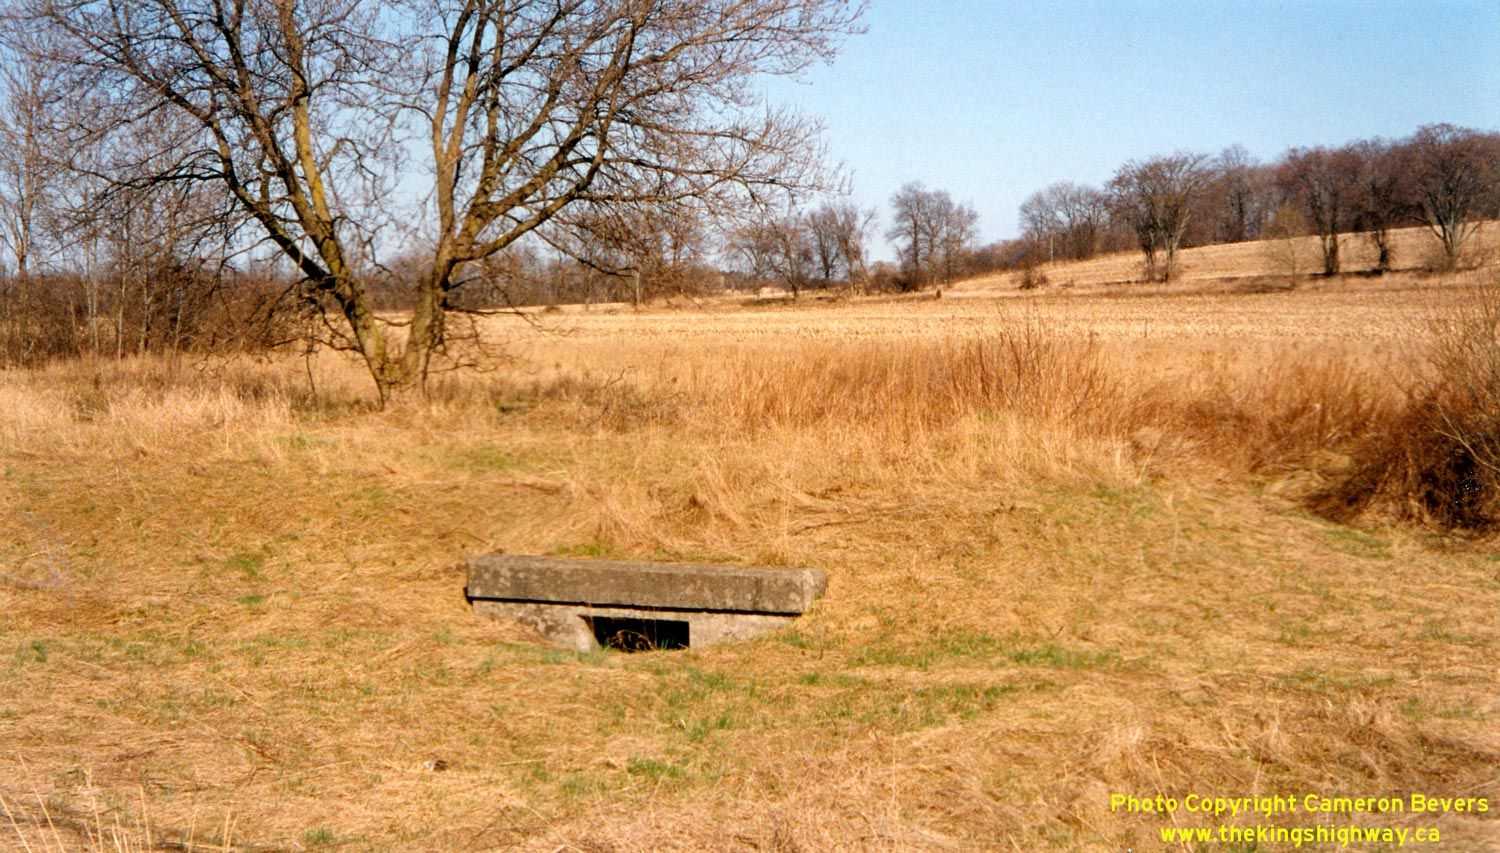
Left - Early Department of Public Highways of Ontario (DPHO) culvert on a forgotten Hwy 7 alignment east of Guelph (Culvert dated 1923). See an
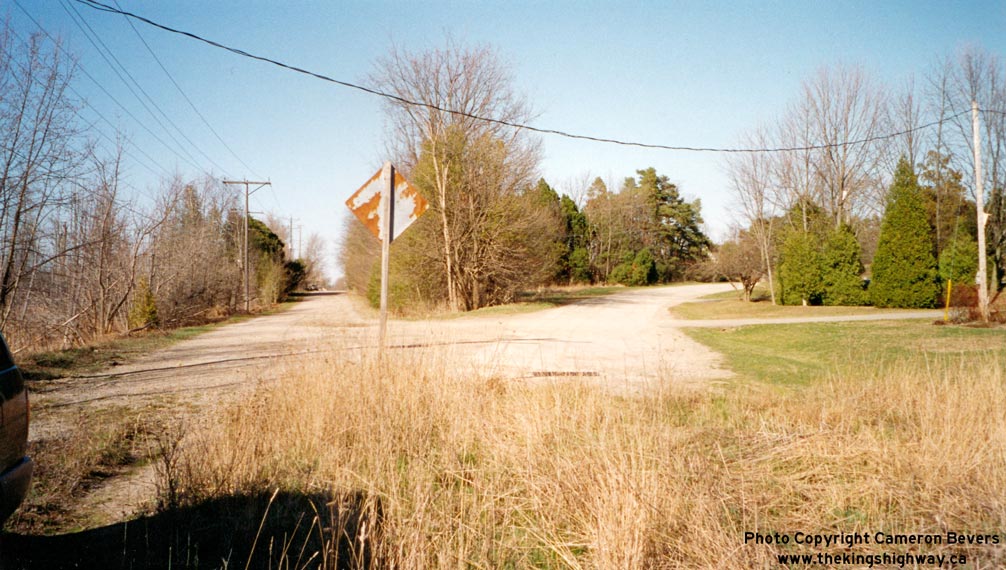
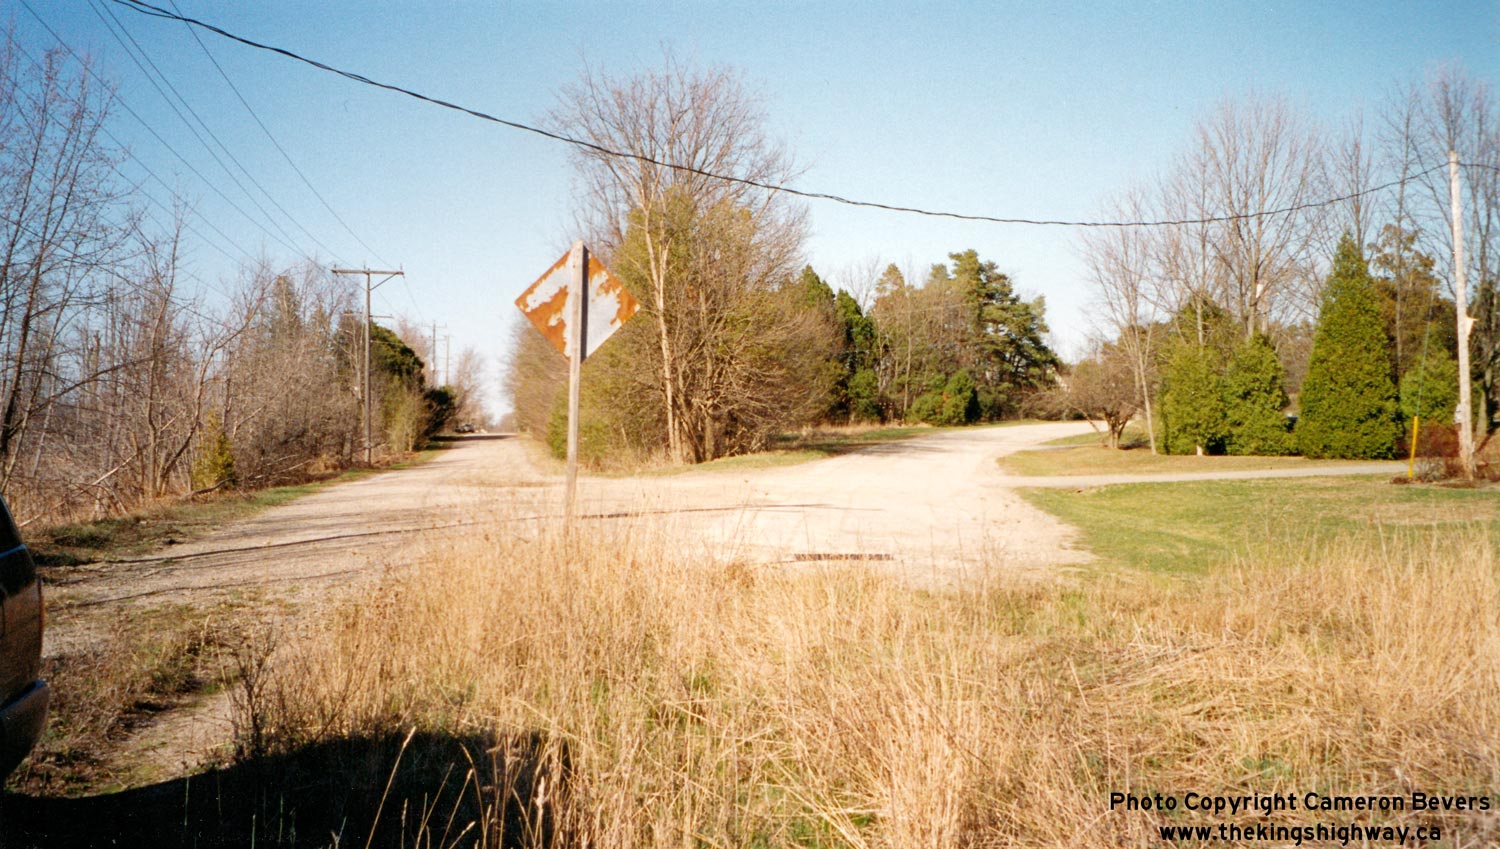
Enlarged Photo here. (Photograph taken in April, 2003 - © Cameron Bevers) Right - Old Hwy 7 diversion at right, in Silver Creek at the Trafalgar Road North junction. See an Enlarged Photo here. (Photograph taken in April, 2003 - © Cameron Bevers) 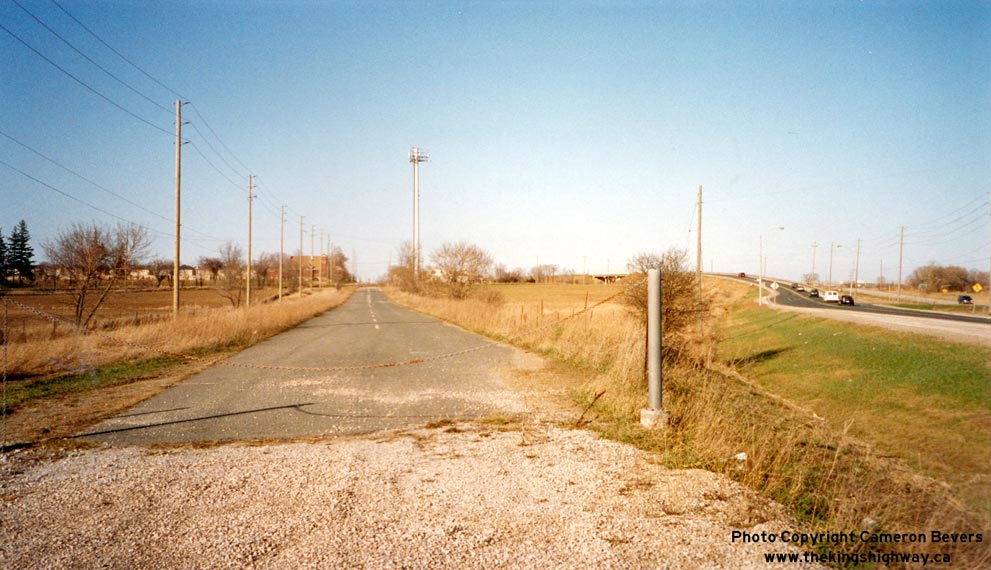
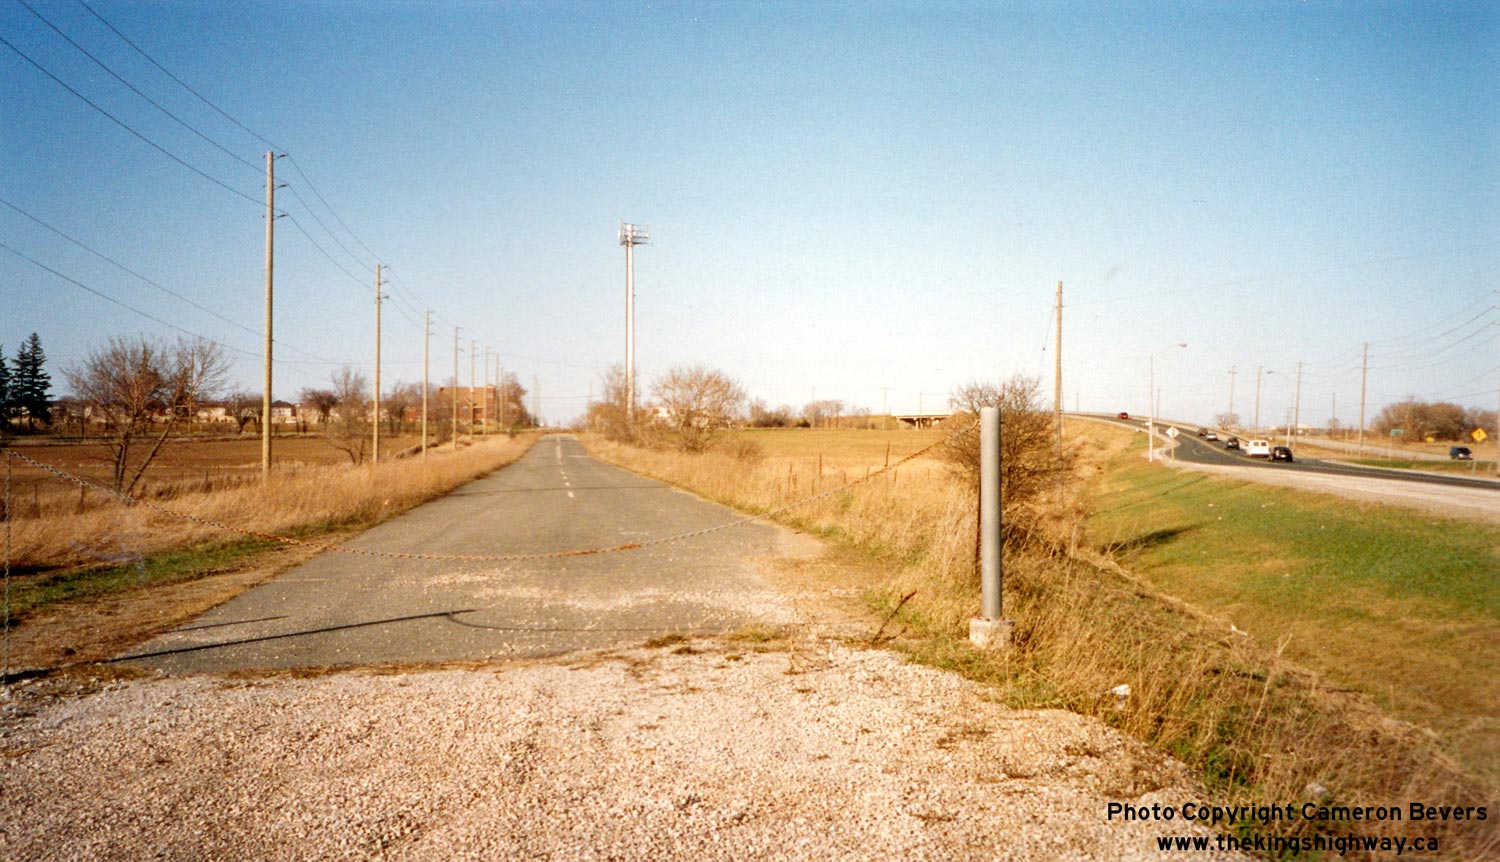
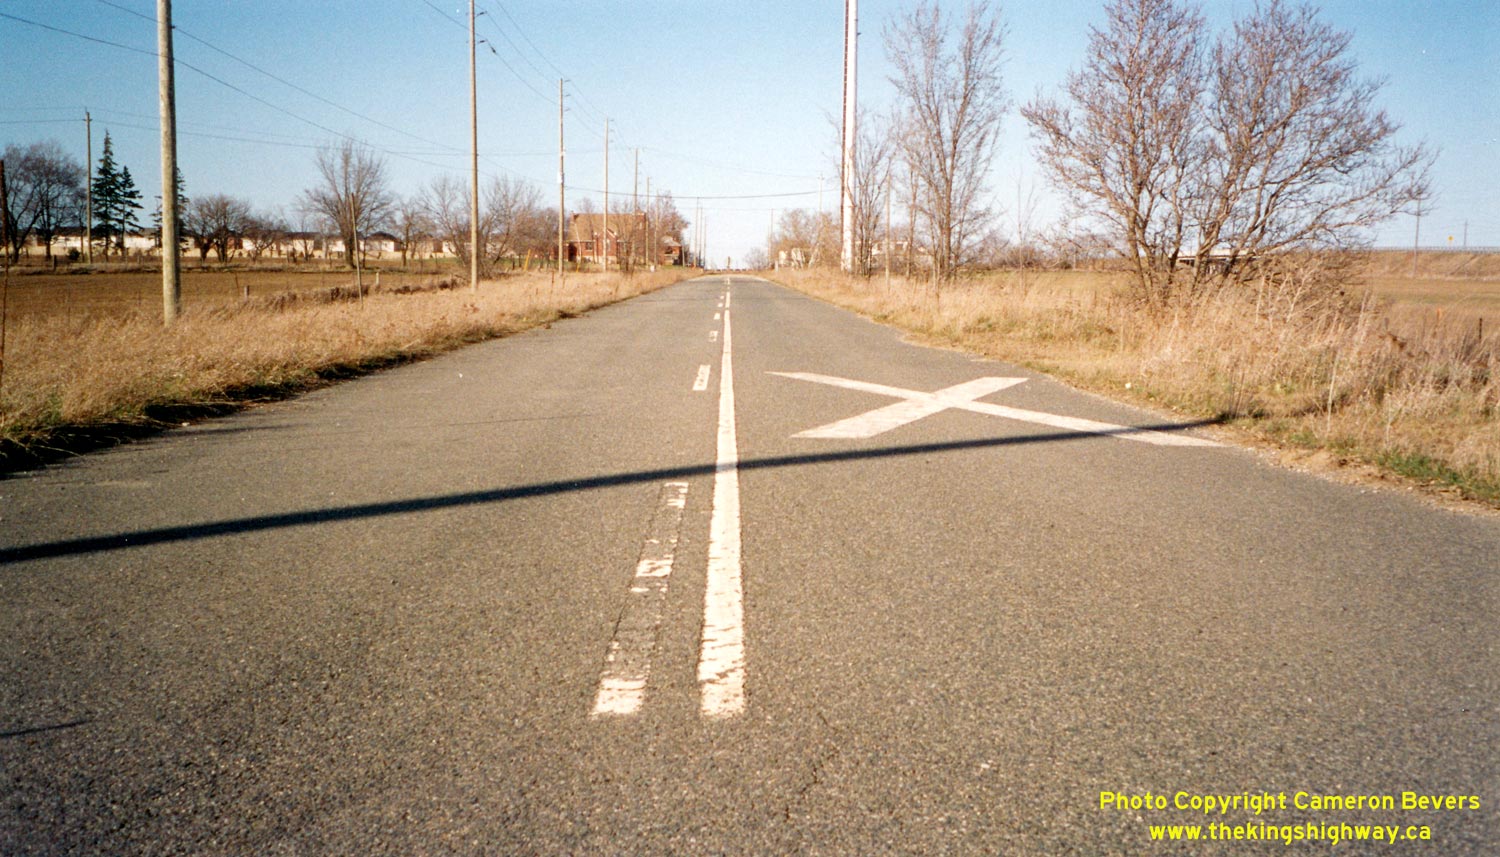
Left - Old Hwy 7 alignment at Mount Pleasant, just west of Brampton in early 2003. Note the newer railway overhead at right, which caused this portion of the
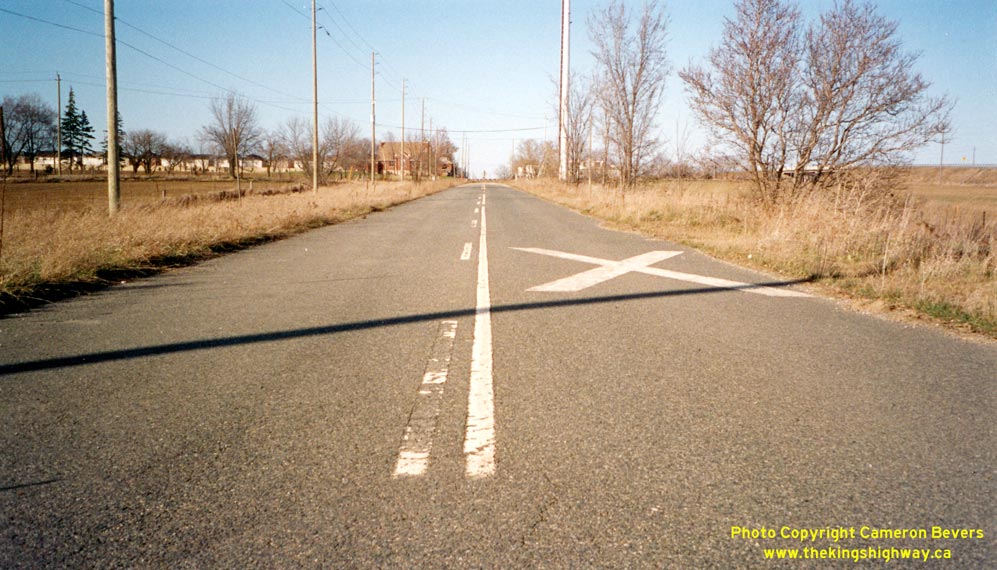
highway to be abandoned. See an Enlarged Photo here. (Photograph taken in April, 2003 - © Cameron Bevers) Right - Old Hwy 7 alignment at Mount Pleasant. This was the best example of original white centre lines that I had ever encountered on an Ontario highway. Unfortunately, a considerable portion of this abandoned alignment was torn up in 2004, during the construction of the Mount Pleasant GO Station. See an Enlarged Photo here. (Photograph taken in April, 2003 - © Cameron Bevers) 
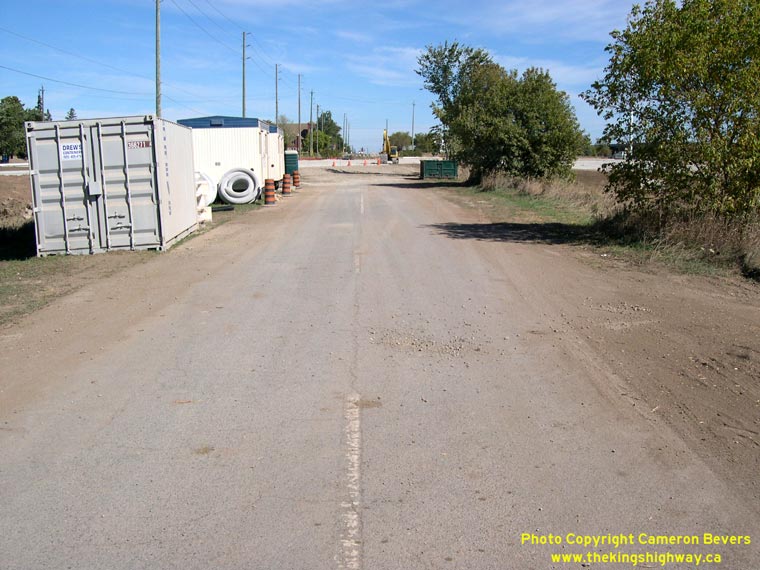
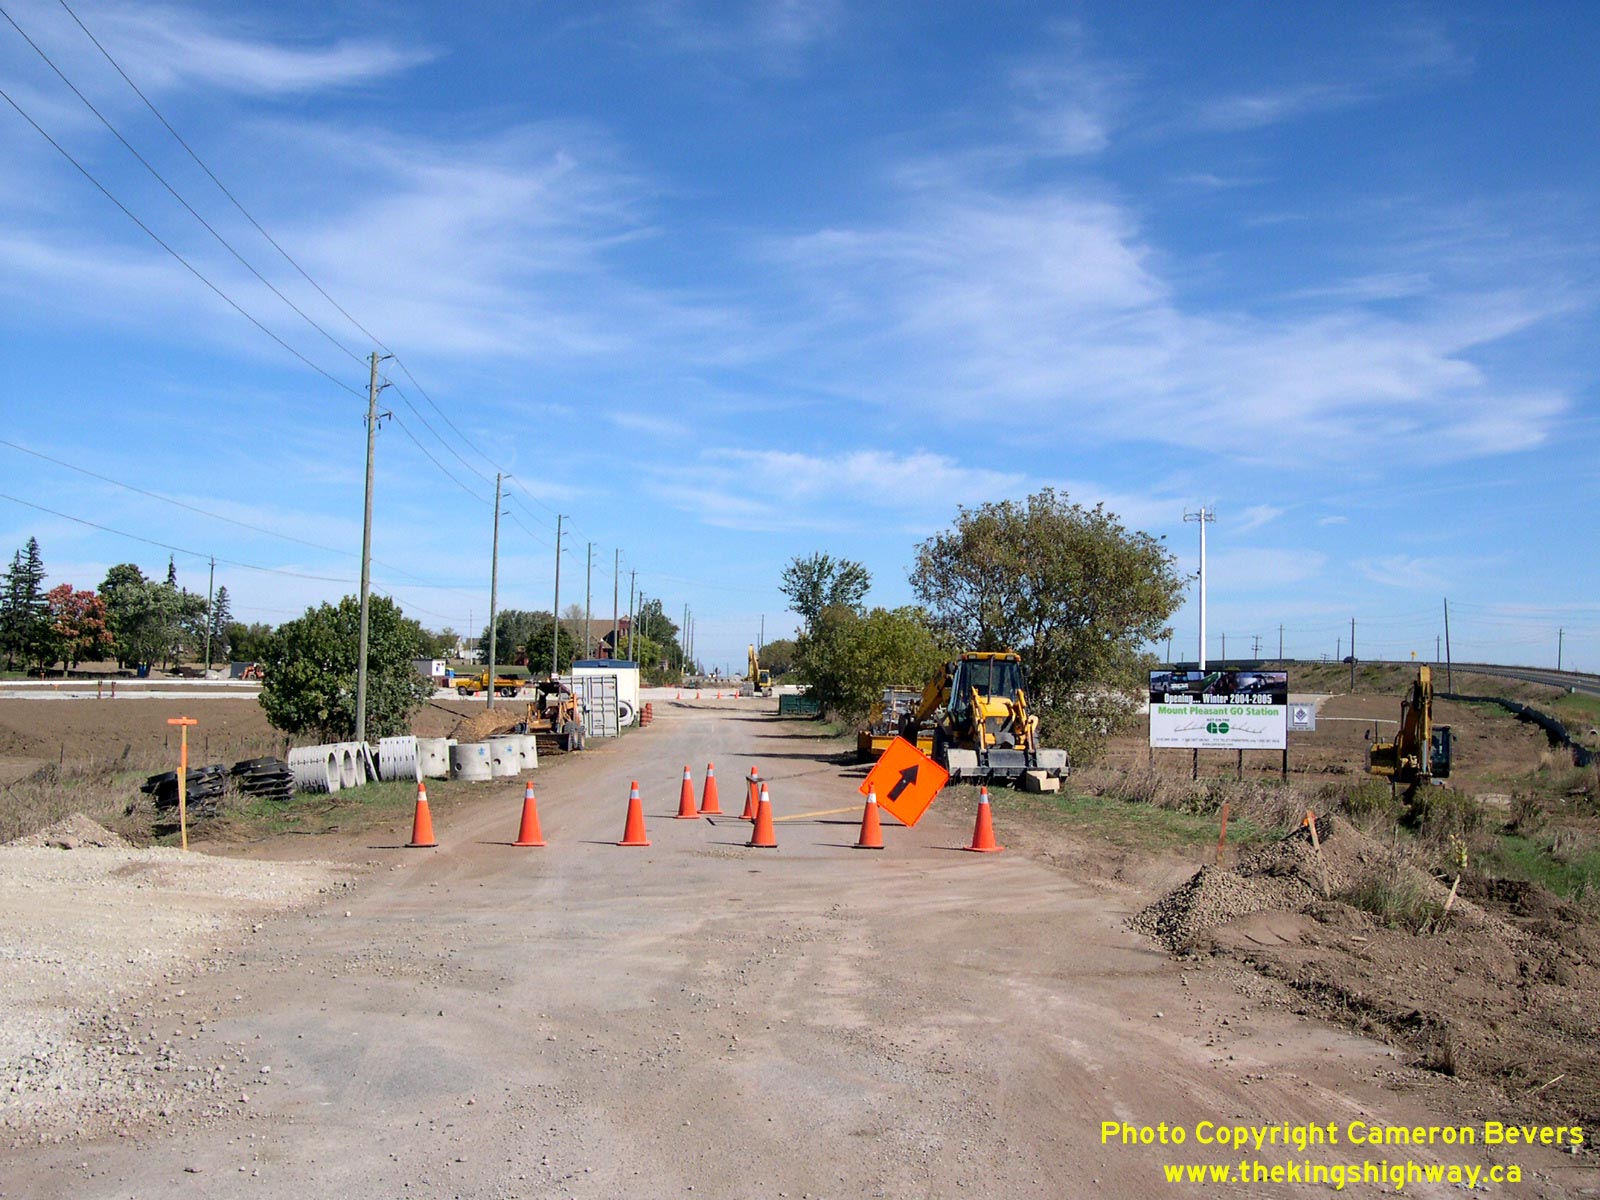
Left - Abandoned Mount Pleasant alignment in October 2004, shortly before being removed. See an
Enlarged Photo here. (Photograph taken on October 3, 2004 - © Cameron Bevers) Right - Much of the old Mount Pleasant alignment was torn up in late 2004, during the construction of a new GO commuter train station. Over the past 60 years, the construction of new and better highways in Ontario has largely contributed to the mass closure and subsequent demolition of many of Ontario's old railway stations. Therefore, it seems rather ironic that this historical section of highway was demolished due to the construction of a new railway station. See an Enlarged Photo here. (Photograph taken on October 3, 2004 - © Cameron Bevers) 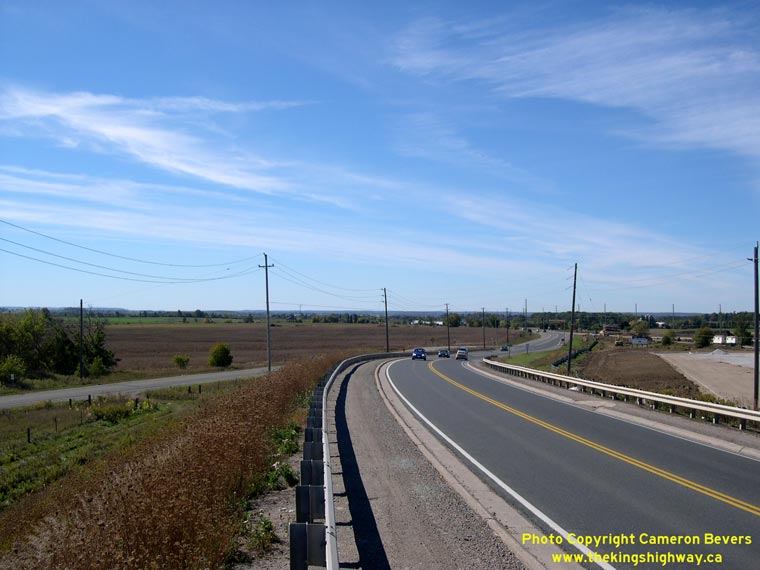

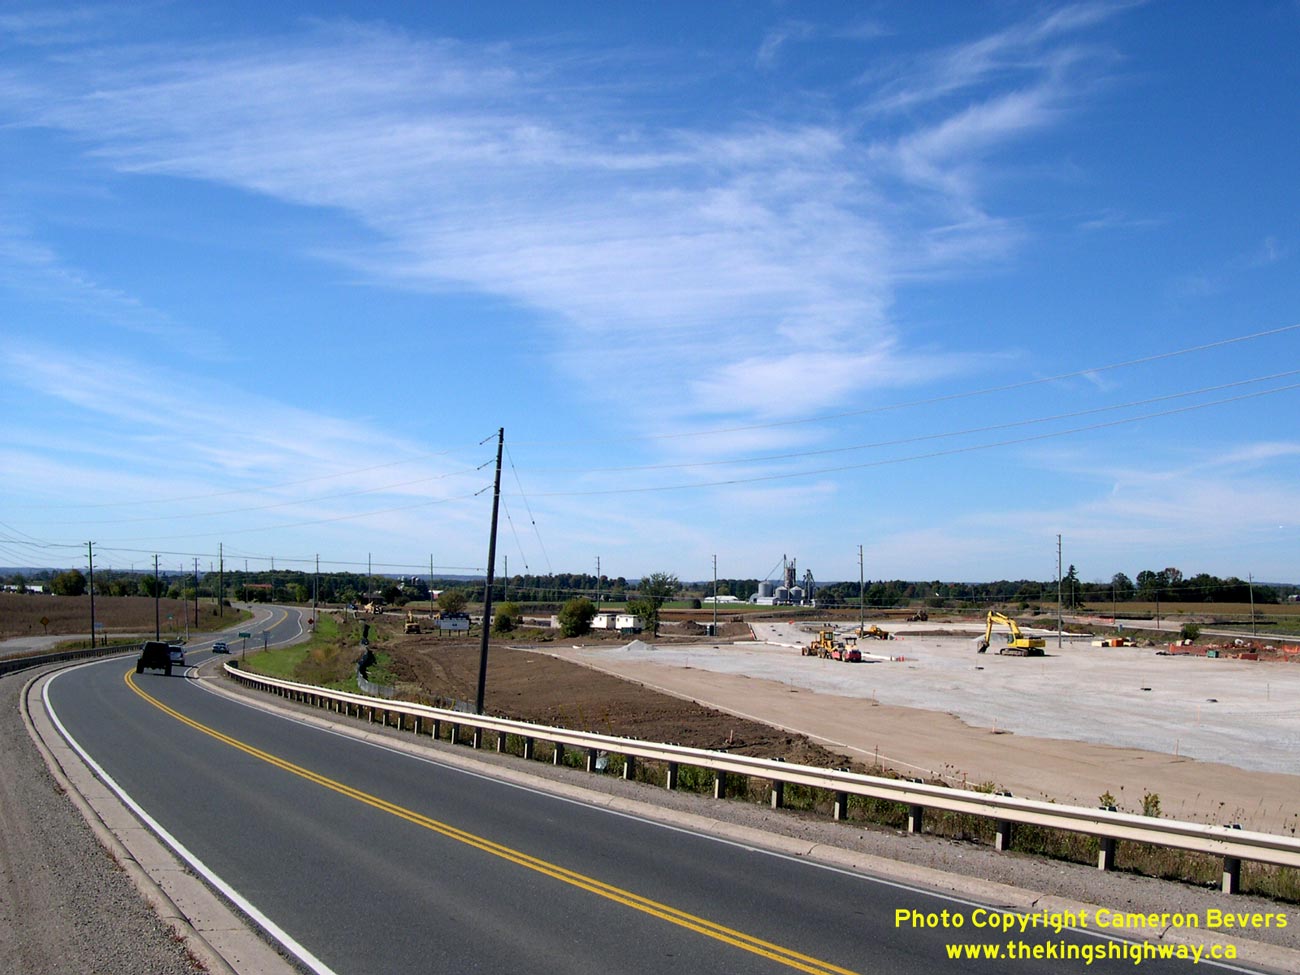
Left - Facing west along Hwy 7 from Mount Pleasant Overhead near Brampton. See an
Enlarged Photo here. (Photograph taken on October 3, 2004 - © Cameron Bevers) Right - View of the Mount Pleasant GO Station construction from Hwy 7. See an Enlarged Photo here. (Photograph taken on October 3, 2004 - © Cameron Bevers) 
Above - Junction of Bovaird Drive (Hwy 7) & Hurontario Street (Hwy 10) in Brampton, facing south. This intersection has become very urbanized over the past
two decades. Please click here to see a photo of this intersection as it appeared in 1930. See an
Enlarged Photo here. (Photograph taken on October 3, 2004 - © Cameron Bevers)
Continue on to King's Highway 7 Photos: Brampton to Markham
|
|---|
Links to Adjacent King's Highway Photograph Pages:
Back to King's Highway 6 Photos /
King's Highway 7 History /
On to King's Highway 8 Photos
Ontario Highway History - Main Menu / Back to List of Highways Website contents, photos & text © 2002-2026, Cameron
Bevers (Webmaster) - All Rights Reserved / Contact Me
|
|---|