
| 
| |
|
|
This page contains historical and present day photos of Ontario's King's Highway 99. All photographs displayed on
this page were taken by the Webmaster (Cameron Bevers), unless specifically noted otherwise. Historical photographs are arranged in approximate chronological order,
while present day photographs (Year 2010 to date) are arranged by location from west to east. Click on any thumbnail to see a larger image!
Please note that all photographs displayed on this
website are protected by copyright. These photographs must not be reproduced, published,
electronically stored or copied, distributed, or posted onto other websites without
my written permission. If you want to use photos from this website, please
email me first for permission. Thank-you!
|
|---|
|
Historical King's Highway 99 Photographs
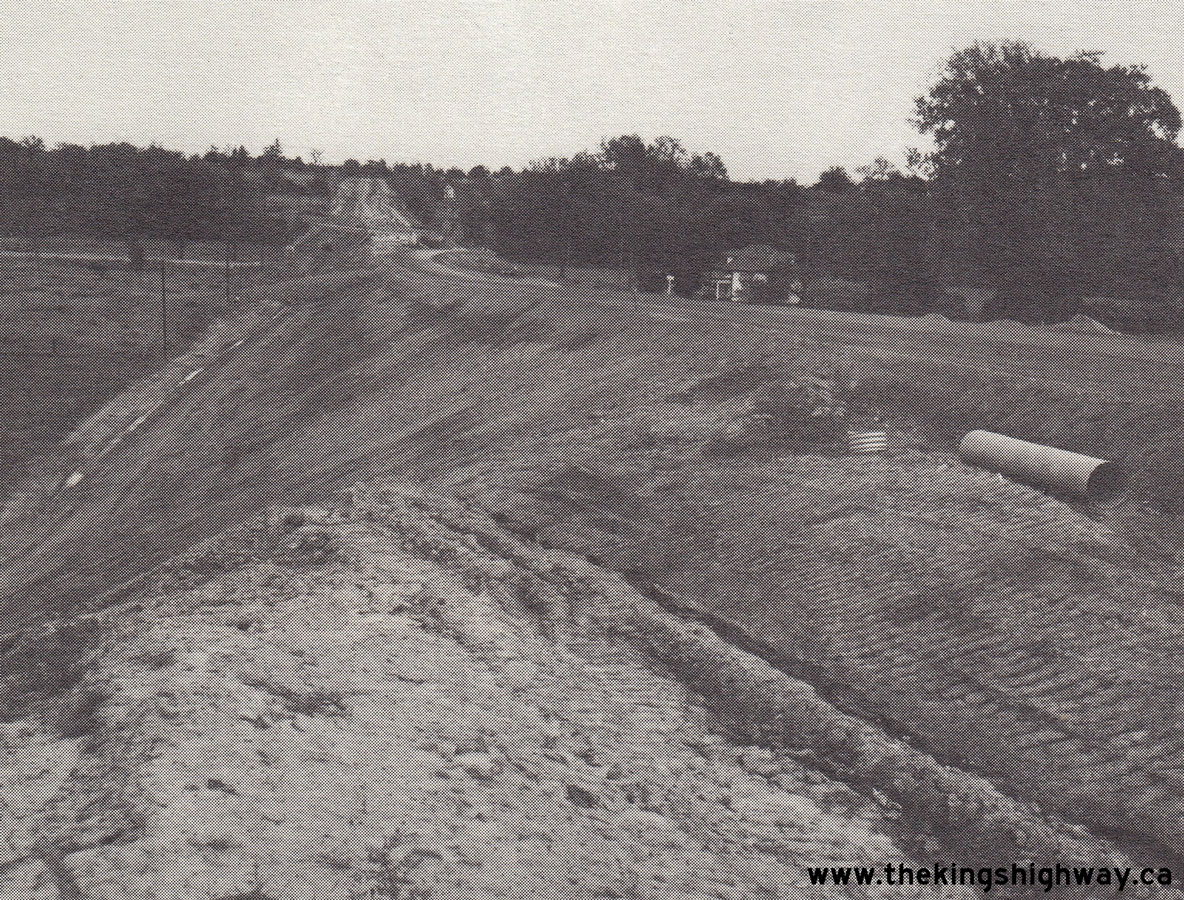
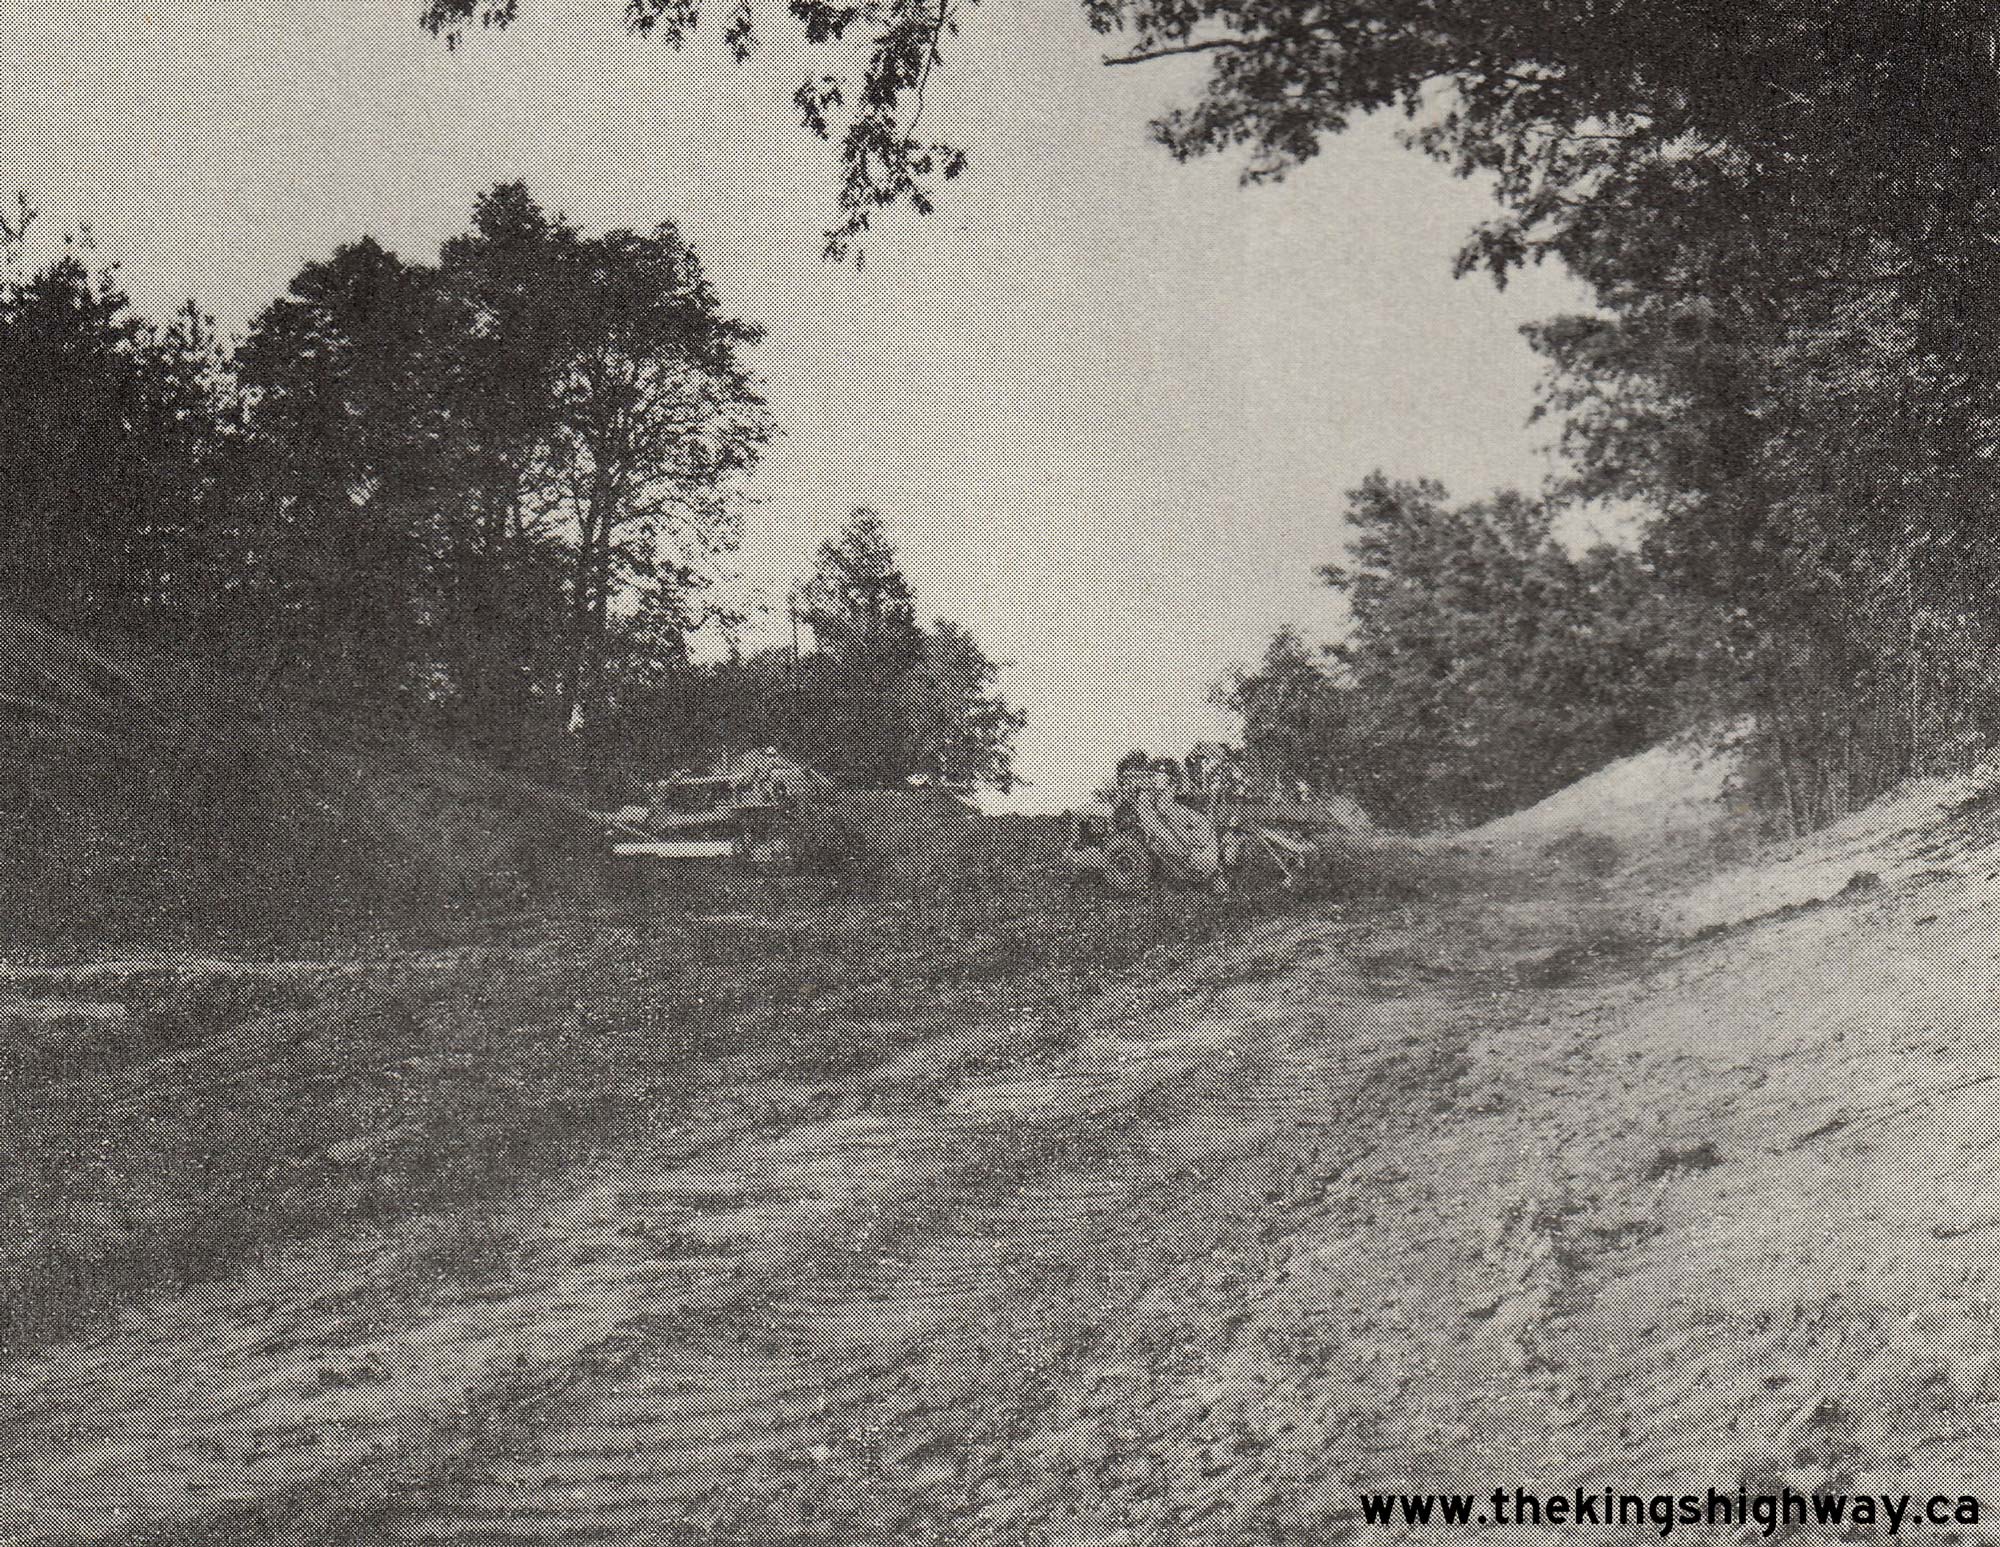
  Left - Reconstruction of Hwy 99 about 7 miles east of the Hwy 24 Junction at Osborne Corners, Contract #1964-306. See an
Enlarged Photo Here. Photo taken in 1965. Left - Reconstruction of Hwy 99 about 7 miles east of the Hwy 24 Junction at Osborne Corners, Contract #1964-306. See an
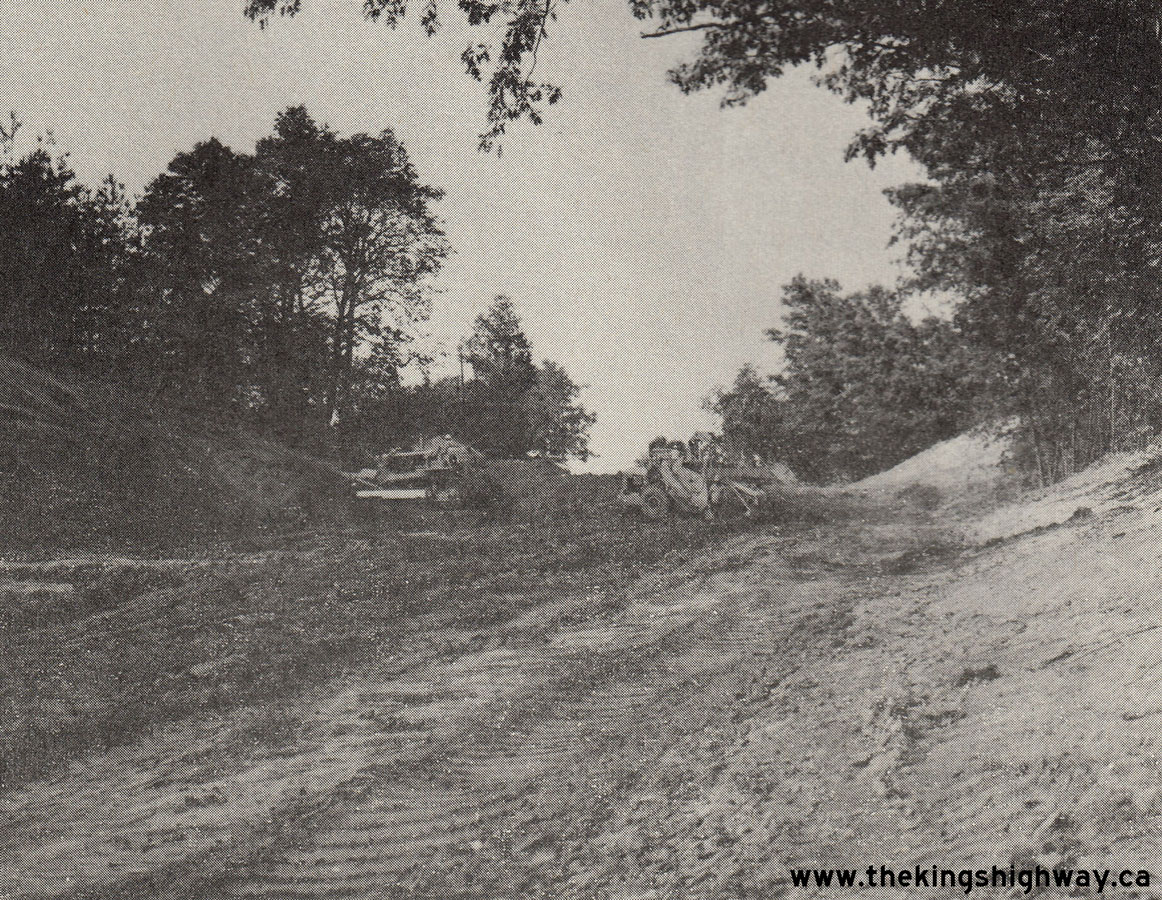
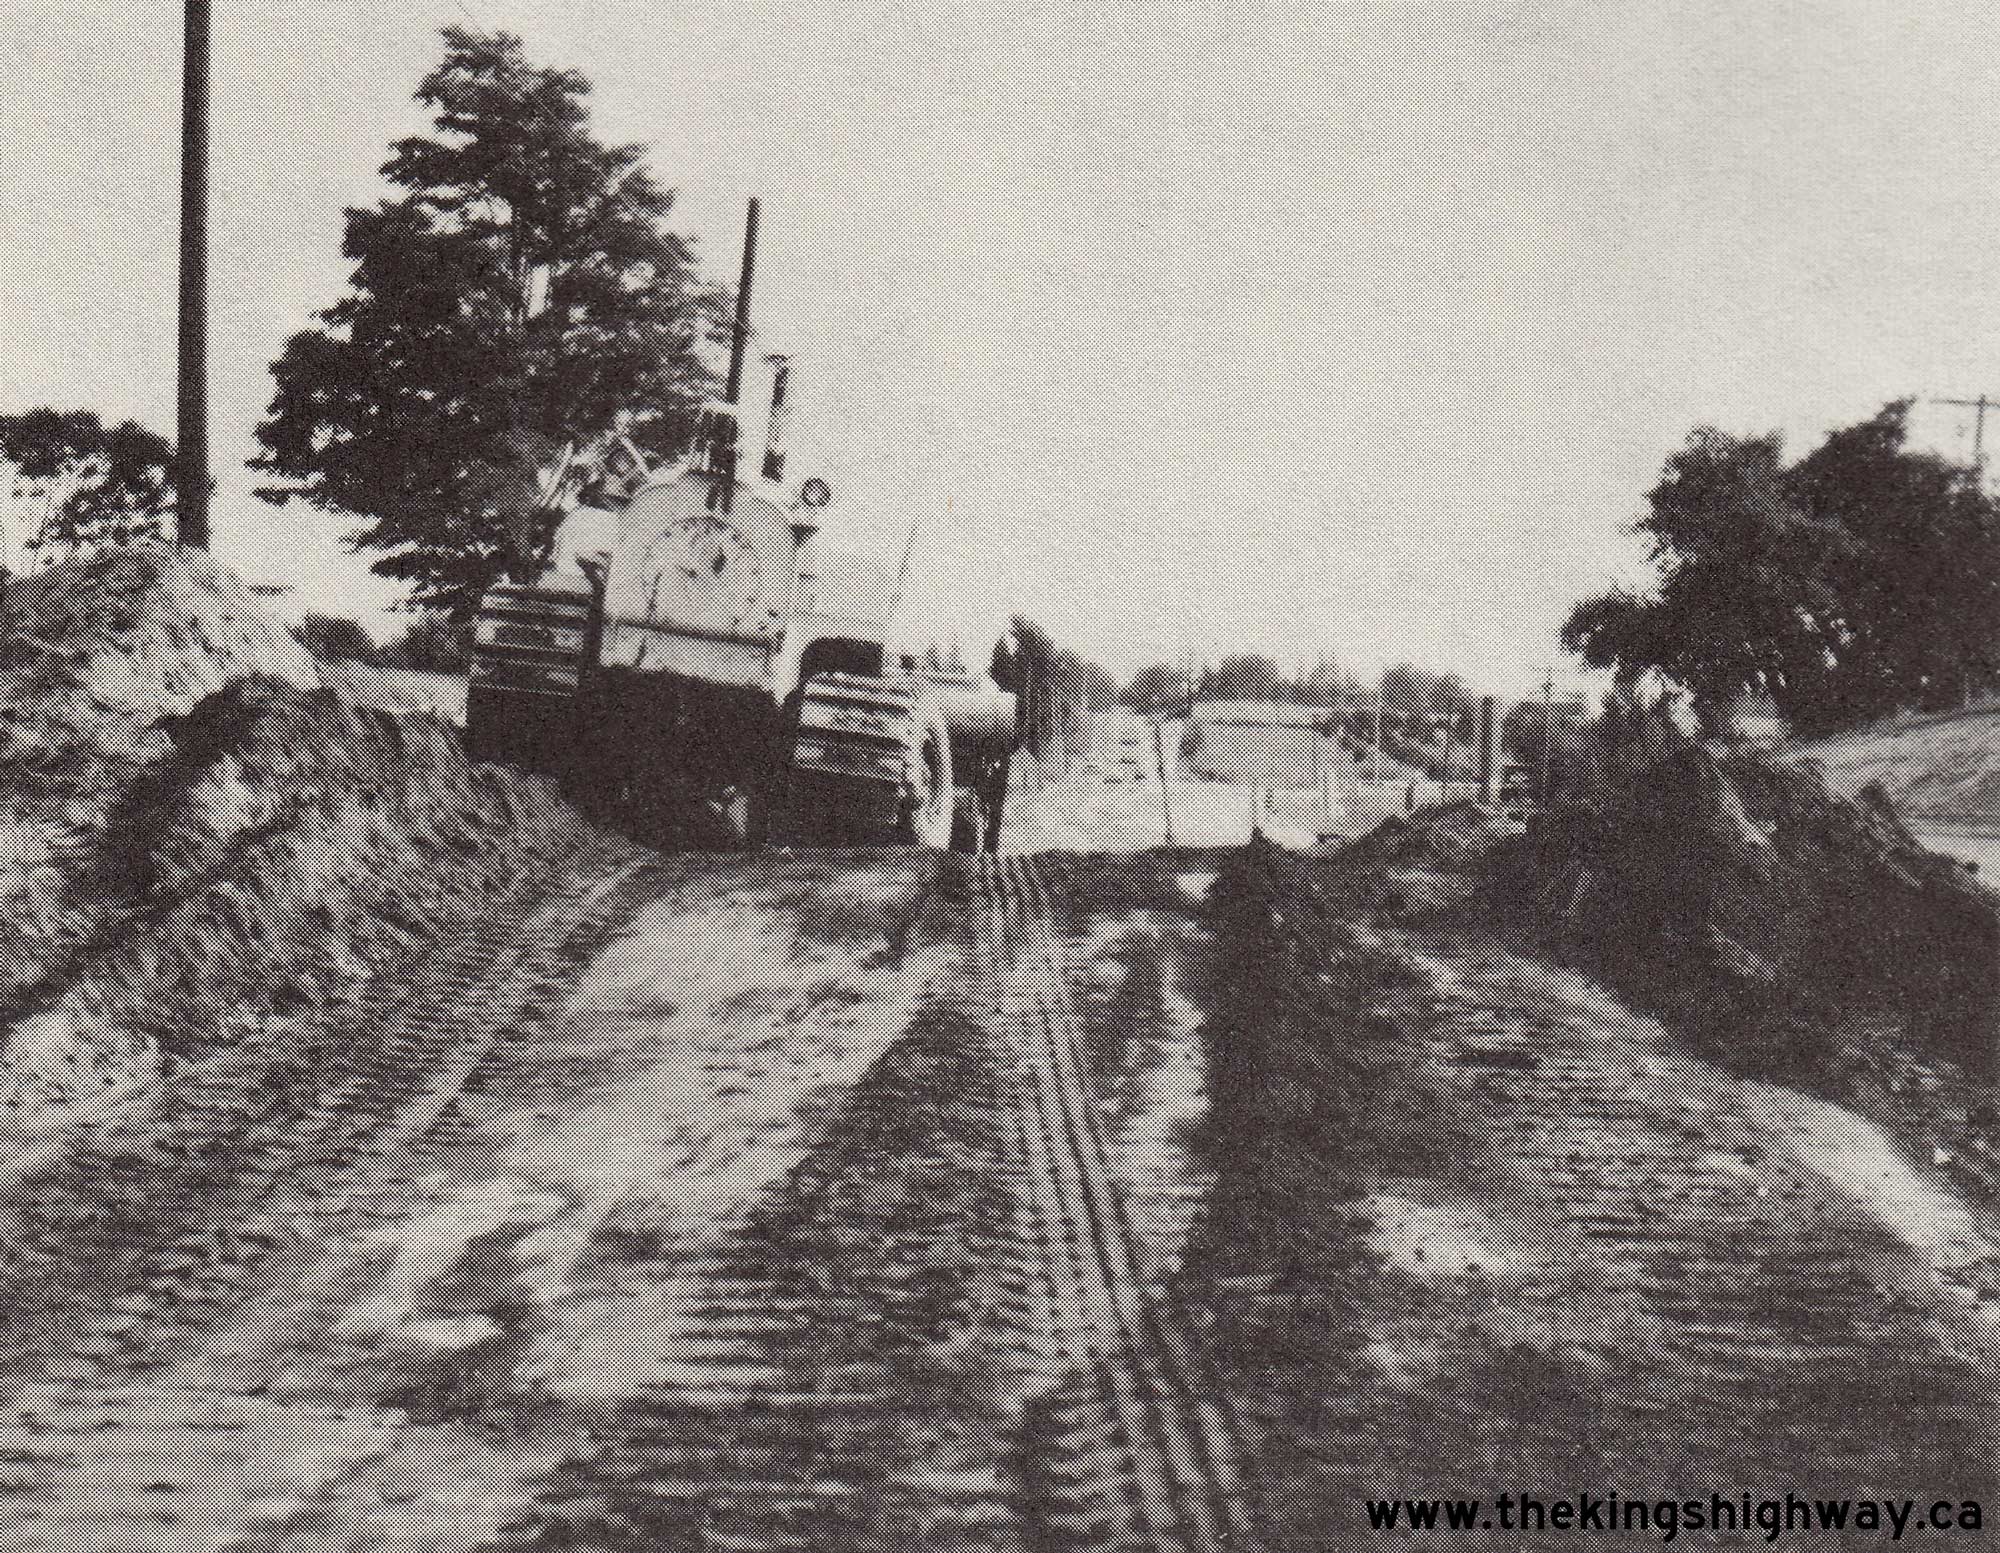
Enlarged Photo Here. Photo taken in 1965.(Photo courtesy of Ontario Ministry of Transportation - © King's Printer for Ontario, 1965) Right - Grading a new diversion of Hwy 99 west of Dundas, Contract #1972-160. See an
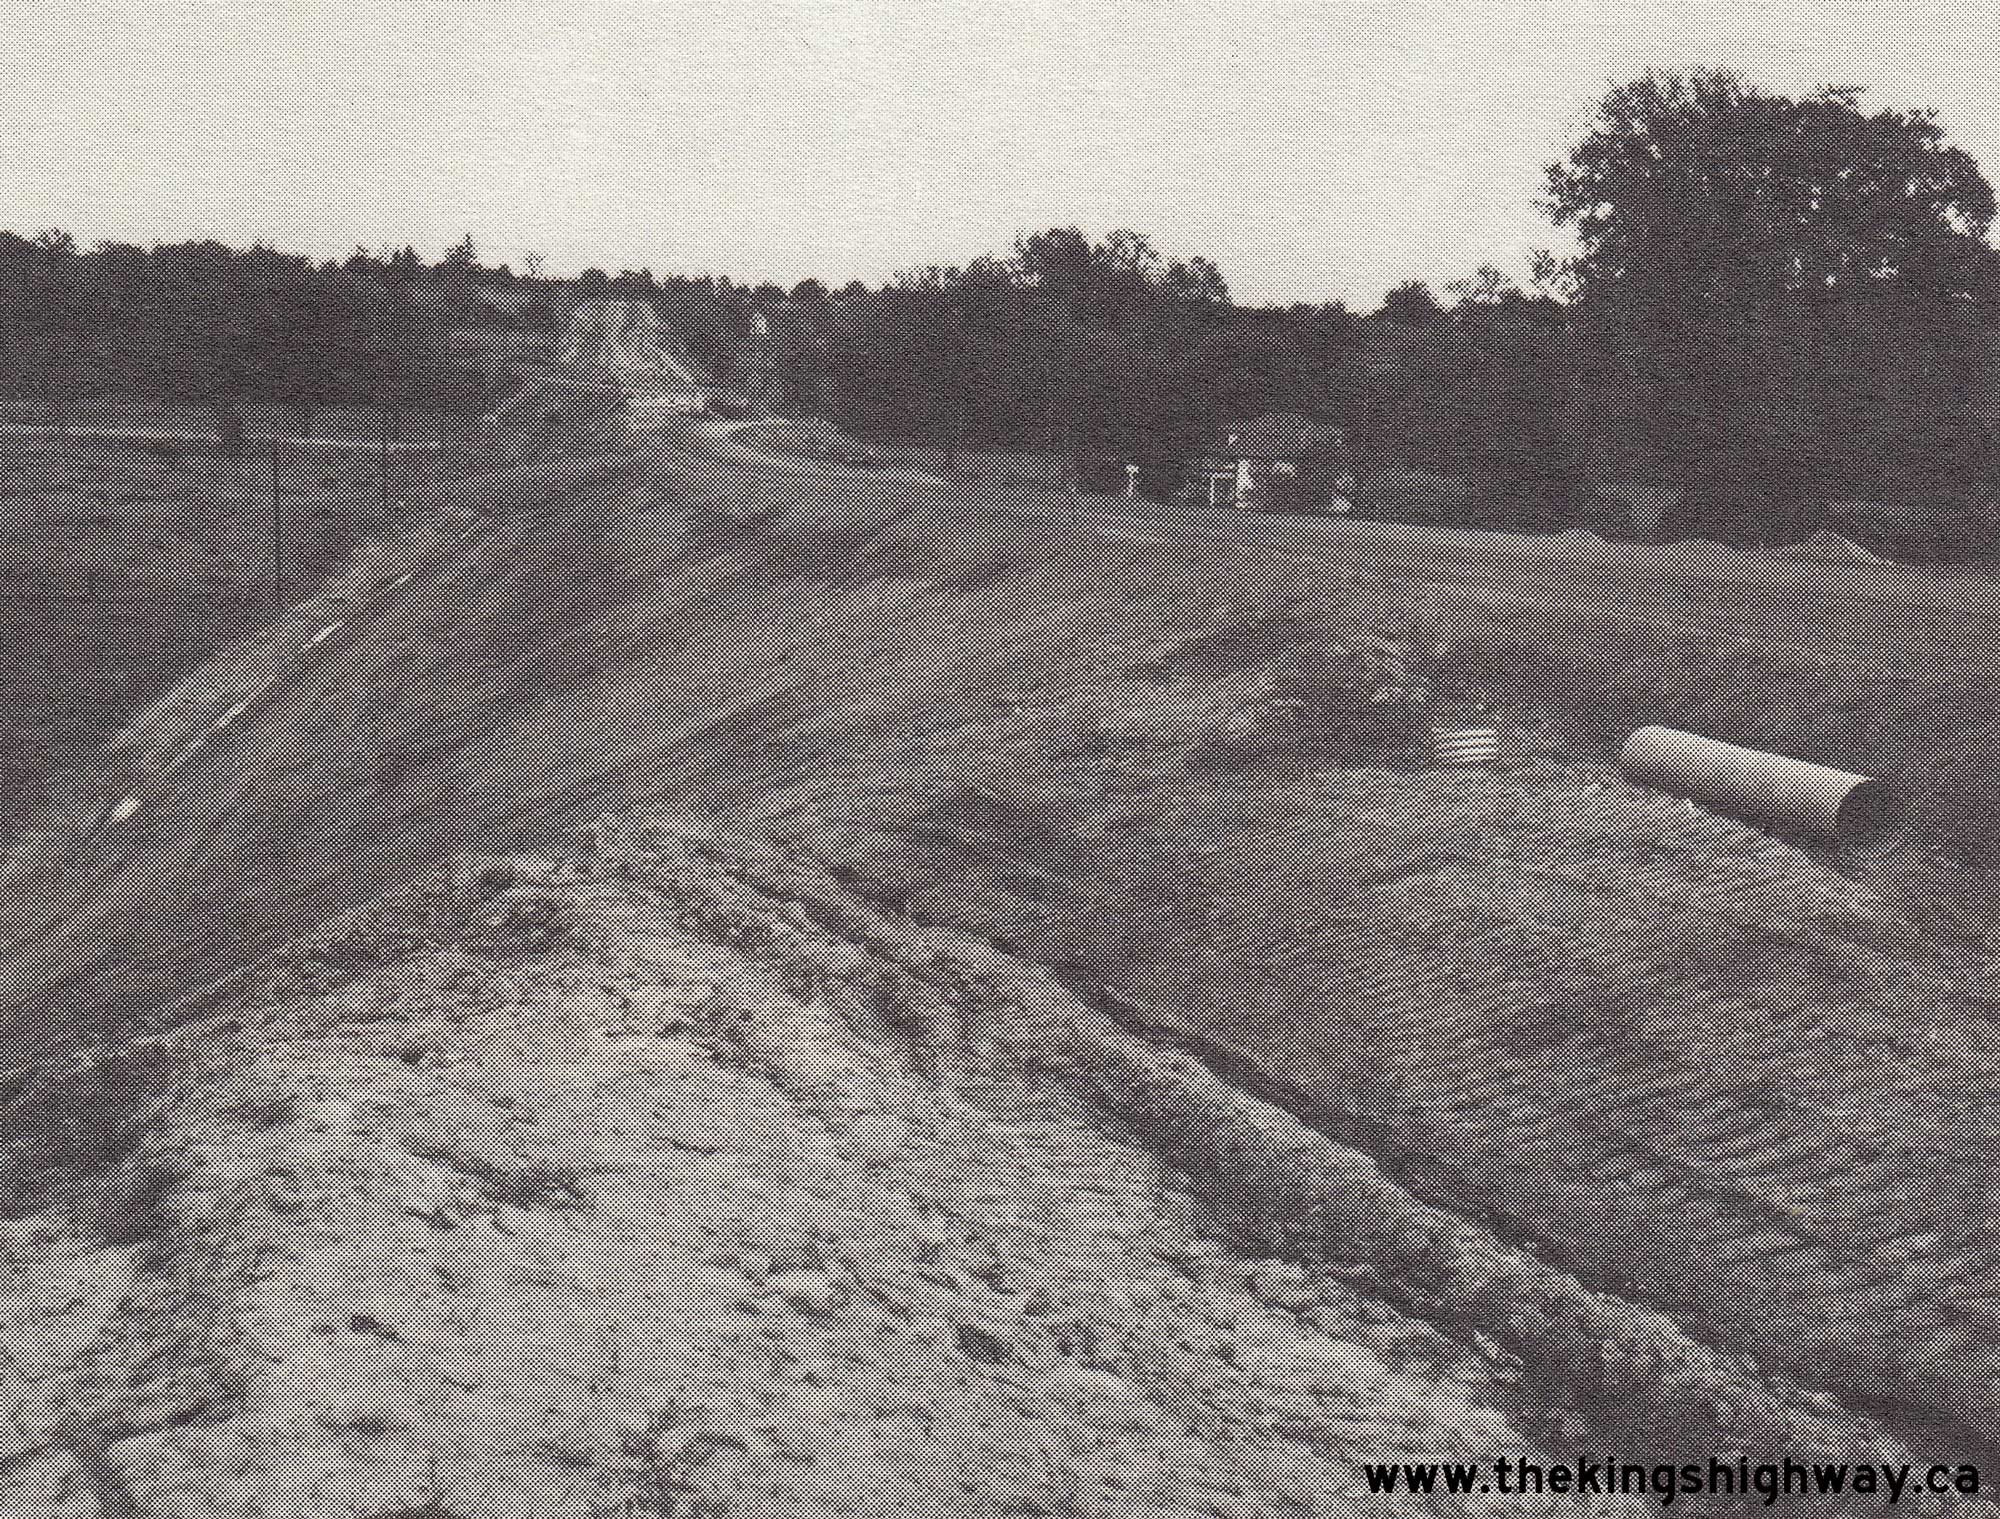
Enlarged Photo Here. Photo taken in 1973.(Photo courtesy of Ontario Ministry of Transportation - © King's Printer for Ontario, 1973) 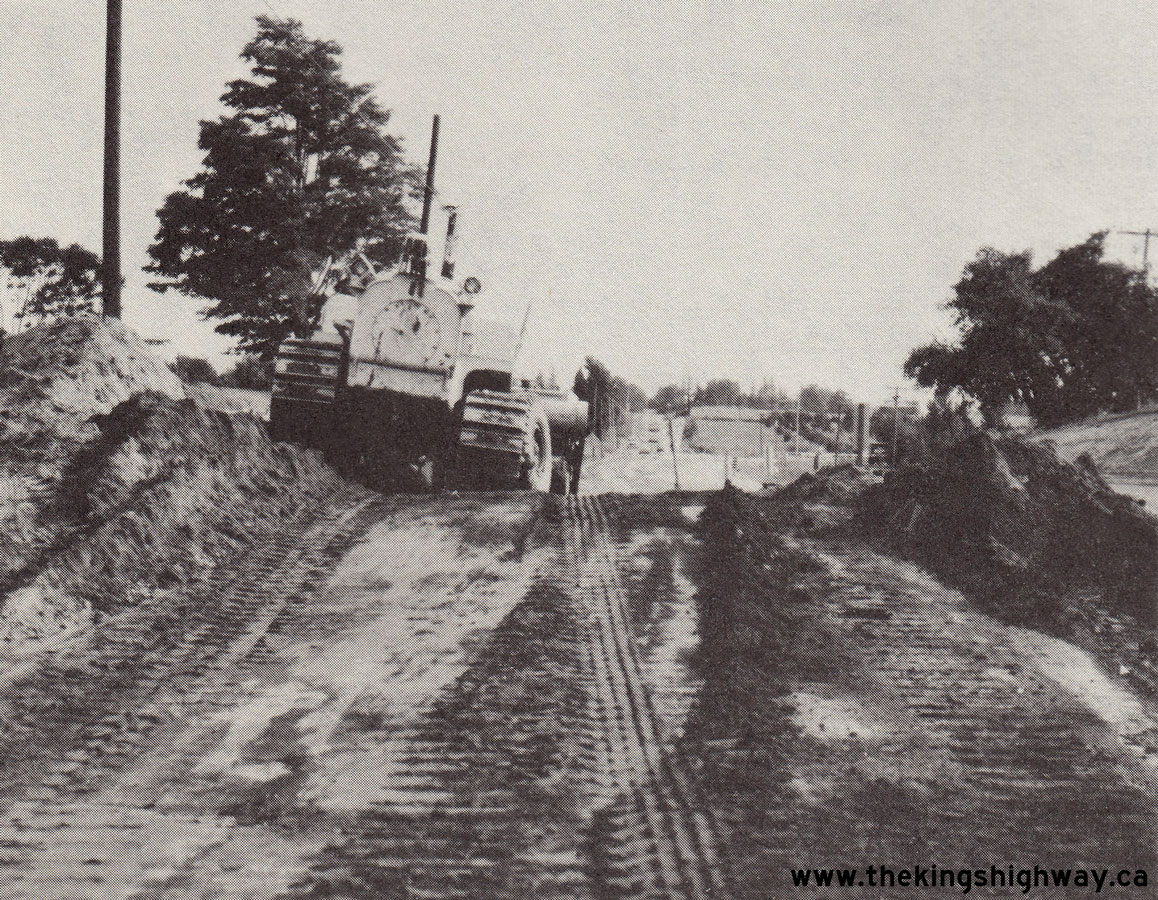 Above - Grading for intersection improvements at the Hwy 99 & Hwy 52 Junction west of Dundas, Contract #1974-05. See an
Enlarged Photo Here. Photo taken in 1974. Above - Grading for intersection improvements at the Hwy 99 & Hwy 52 Junction west of Dundas, Contract #1974-05. See an
Enlarged Photo Here. Photo taken in 1974.(Photo courtesy of Ontario Ministry of Transportation - © King's Printer for Ontario, 1974) 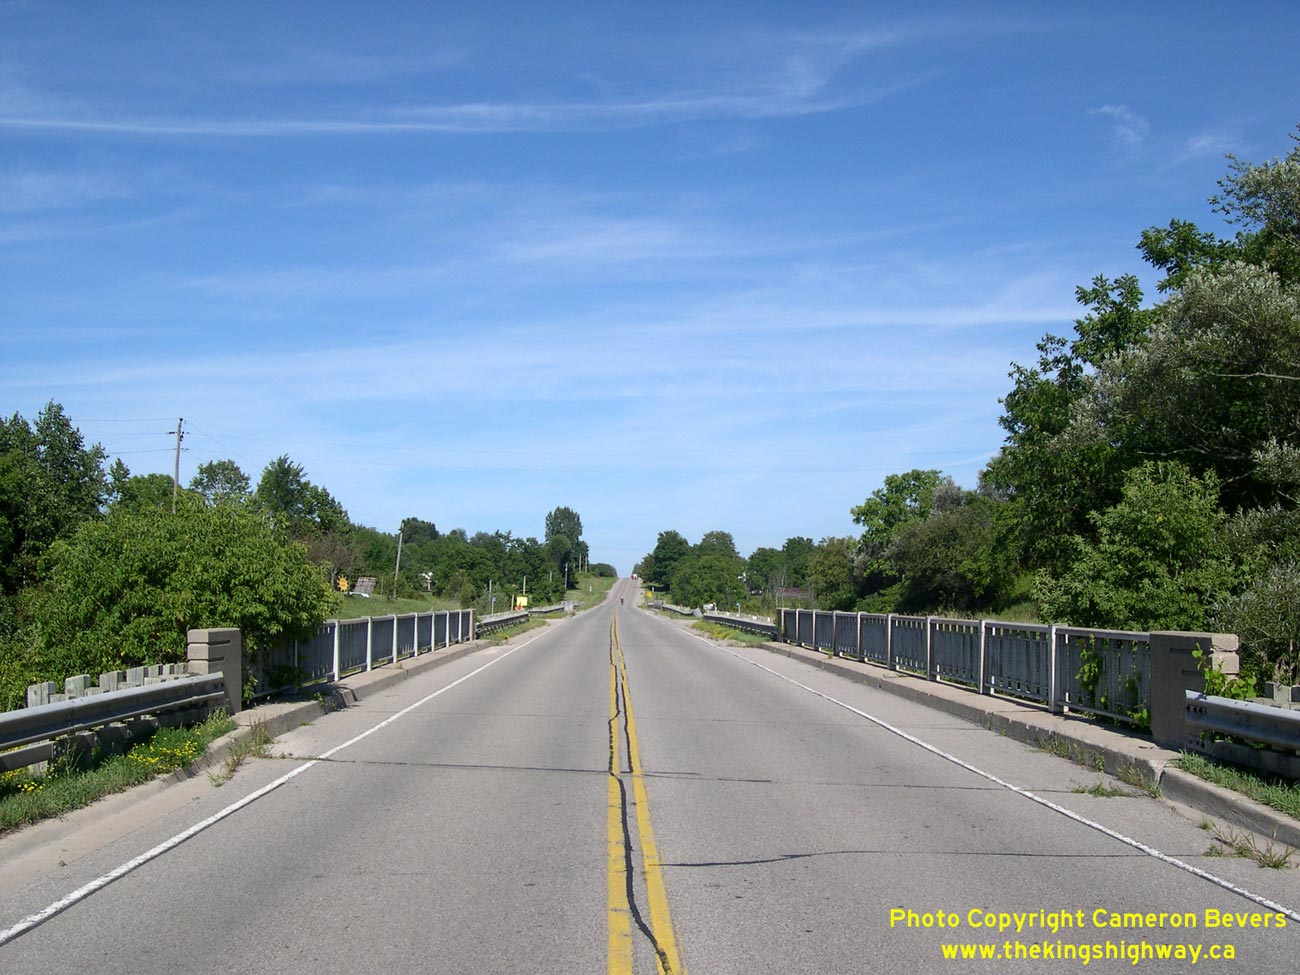
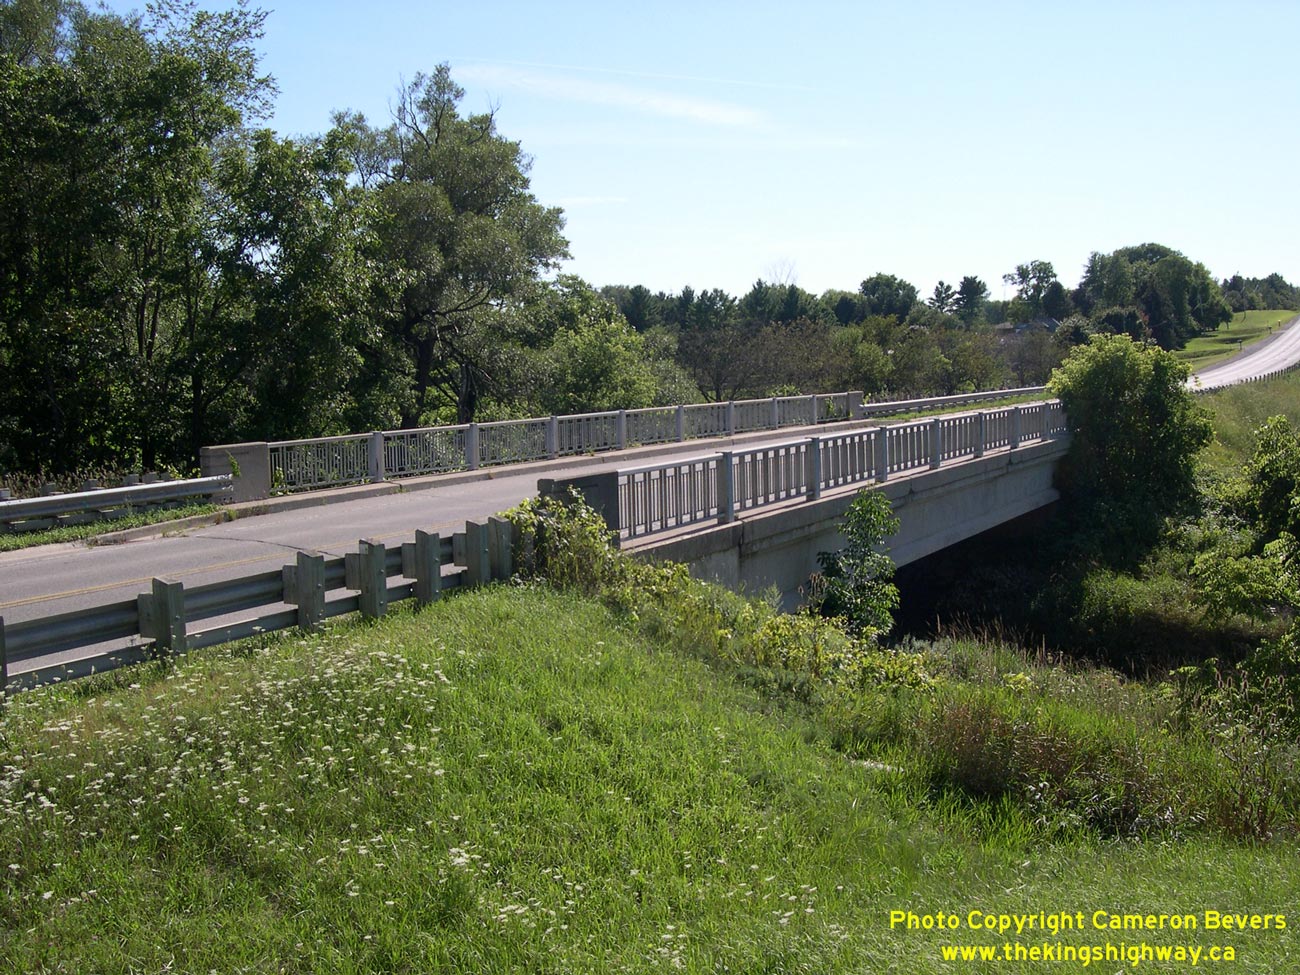
Left - Facing east along Hwy 99 towards Dundas at the Fairchild Creek Bridge (West Branch). See an
Enlarged Photo Here. (Photograph taken on August 13, 2006 - © Cameron Bevers) Right - Northern side of the Fairchild Creek Bridge (West Branch). Structure completed in 1965. See an Enlarged Photo Here. (Photograph taken on August 13, 2006 - © Cameron Bevers) 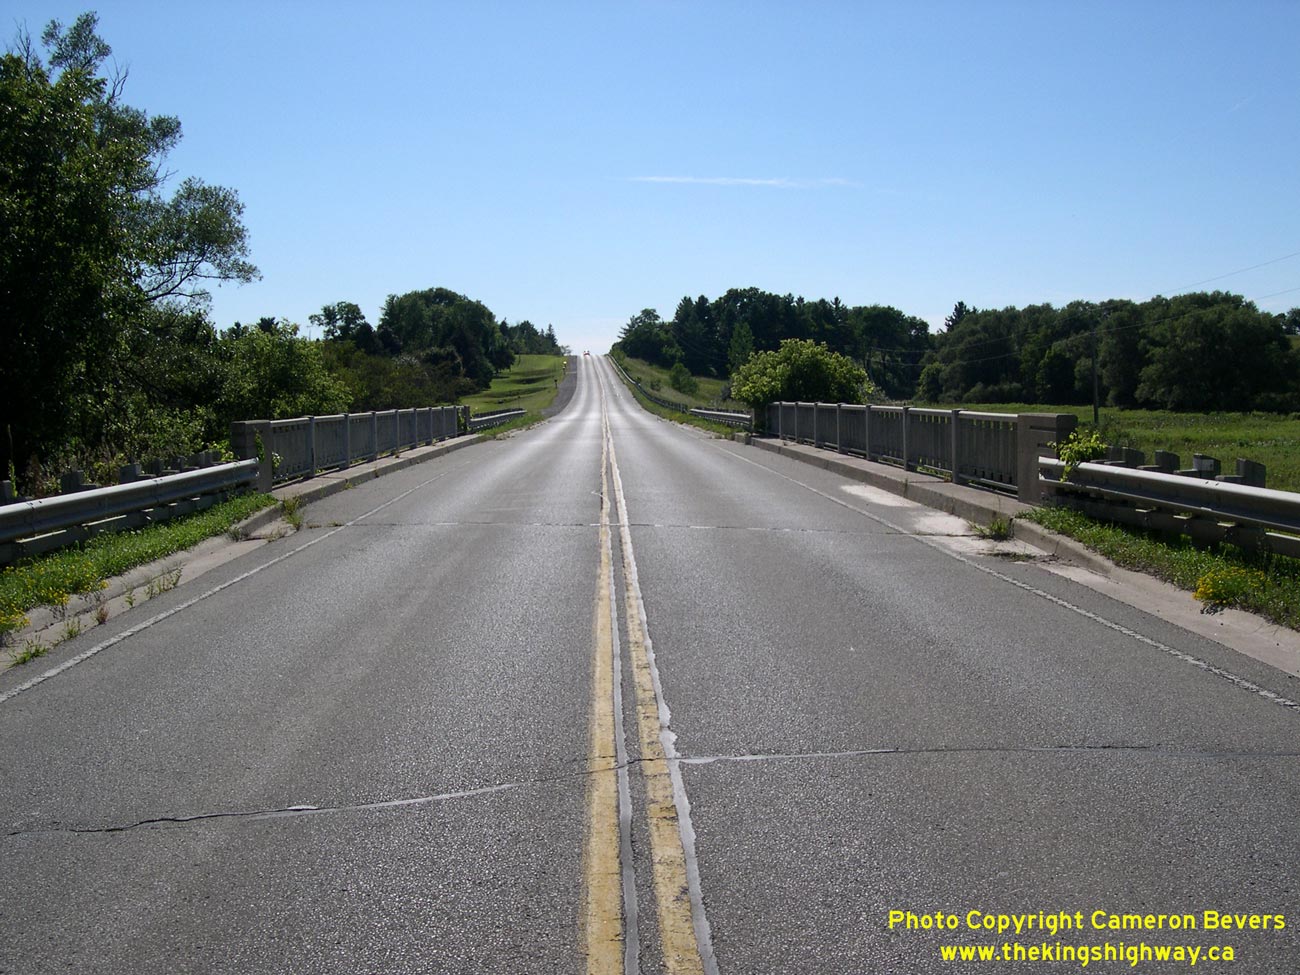
Left - Facing west along Hwy 99 towards Osborne Corners at the Fairchild Creek Bridge (West Branch). See an
Enlarged Photo Here. (Photograph taken on August 13, 2006 - © Cameron Bevers) Right - Facing east along Hwy 99 towards Dundas at the Fairchild Creek Bridge (East Branch). See an Enlarged Photo Here. (Photograph taken on August 13, 2006 - © Cameron Bevers) 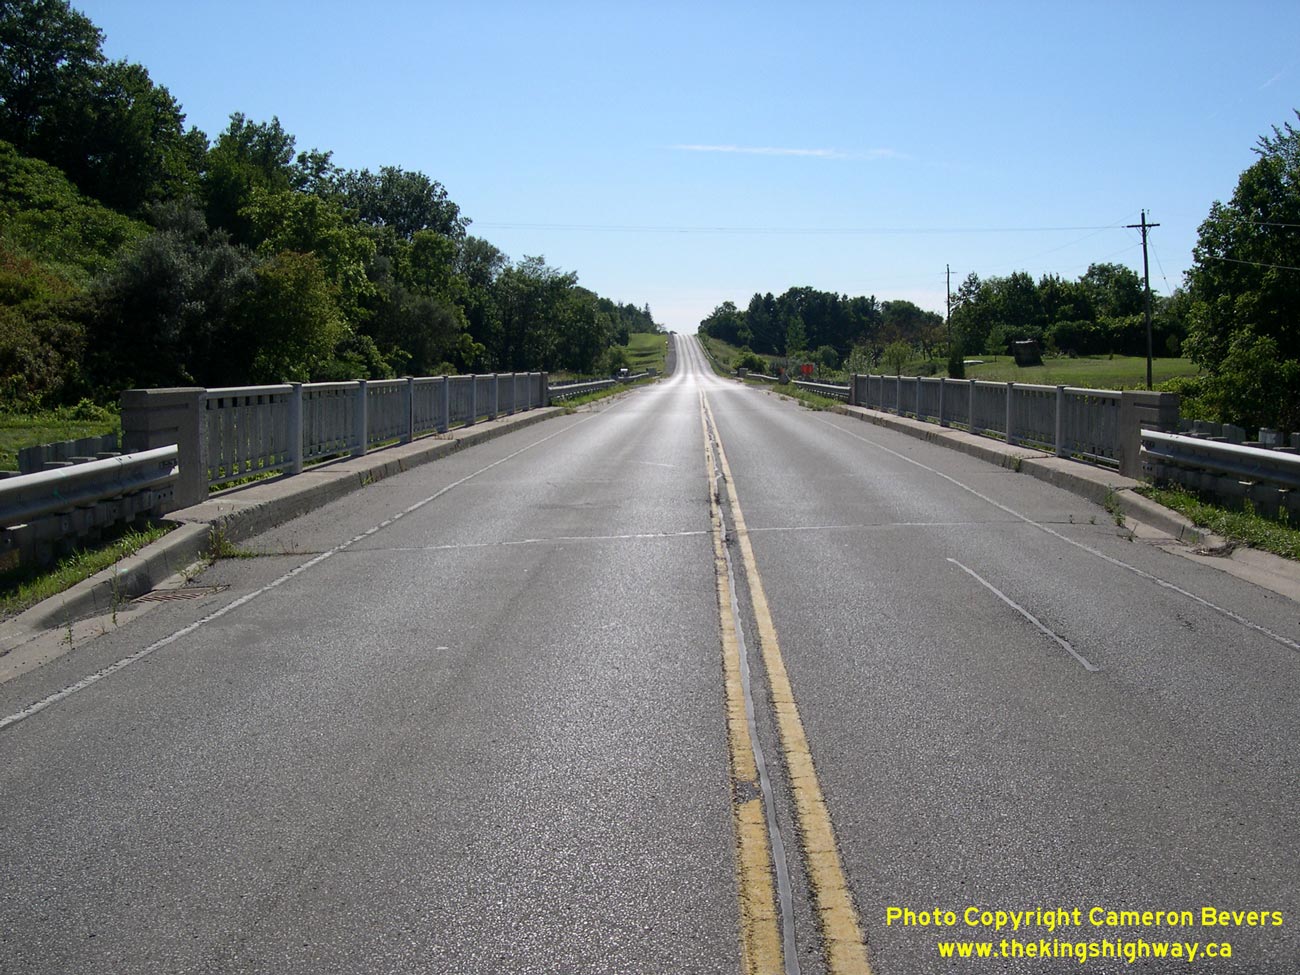

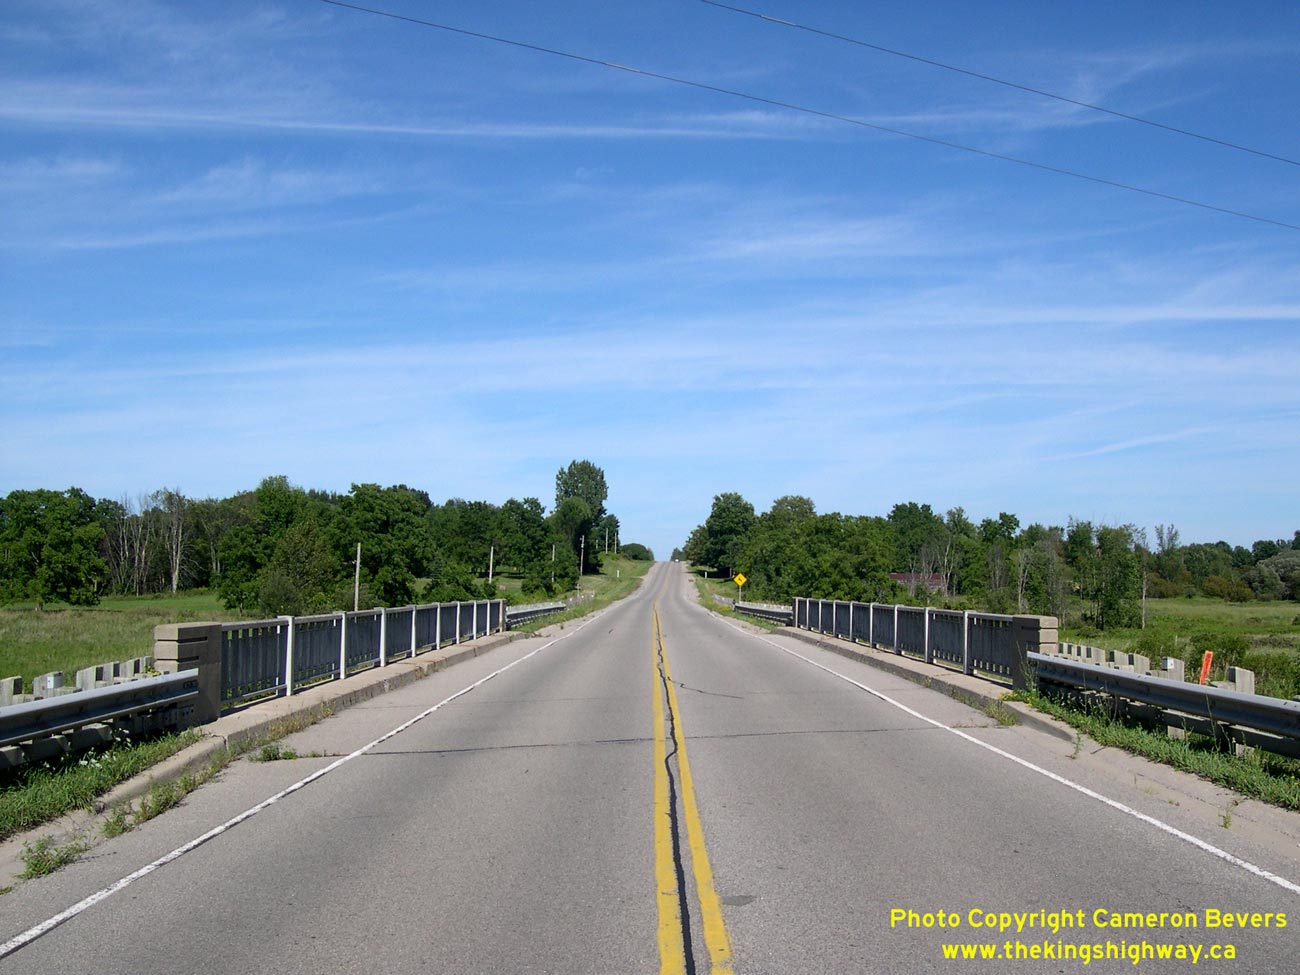
Left - Facing west along Hwy 99 towards Osborne Corners at the Fairchild Creek Bridge (East Branch). See an
Enlarged Photo Here. (Photograph taken on August 13, 2006 - © Cameron Bevers) Right - Northern side of the Fairchild Creek Bridge (East Branch) north of Brantford. See an Enlarged Photo Here. (Photograph taken on August 13, 2006 - © Cameron Bevers) 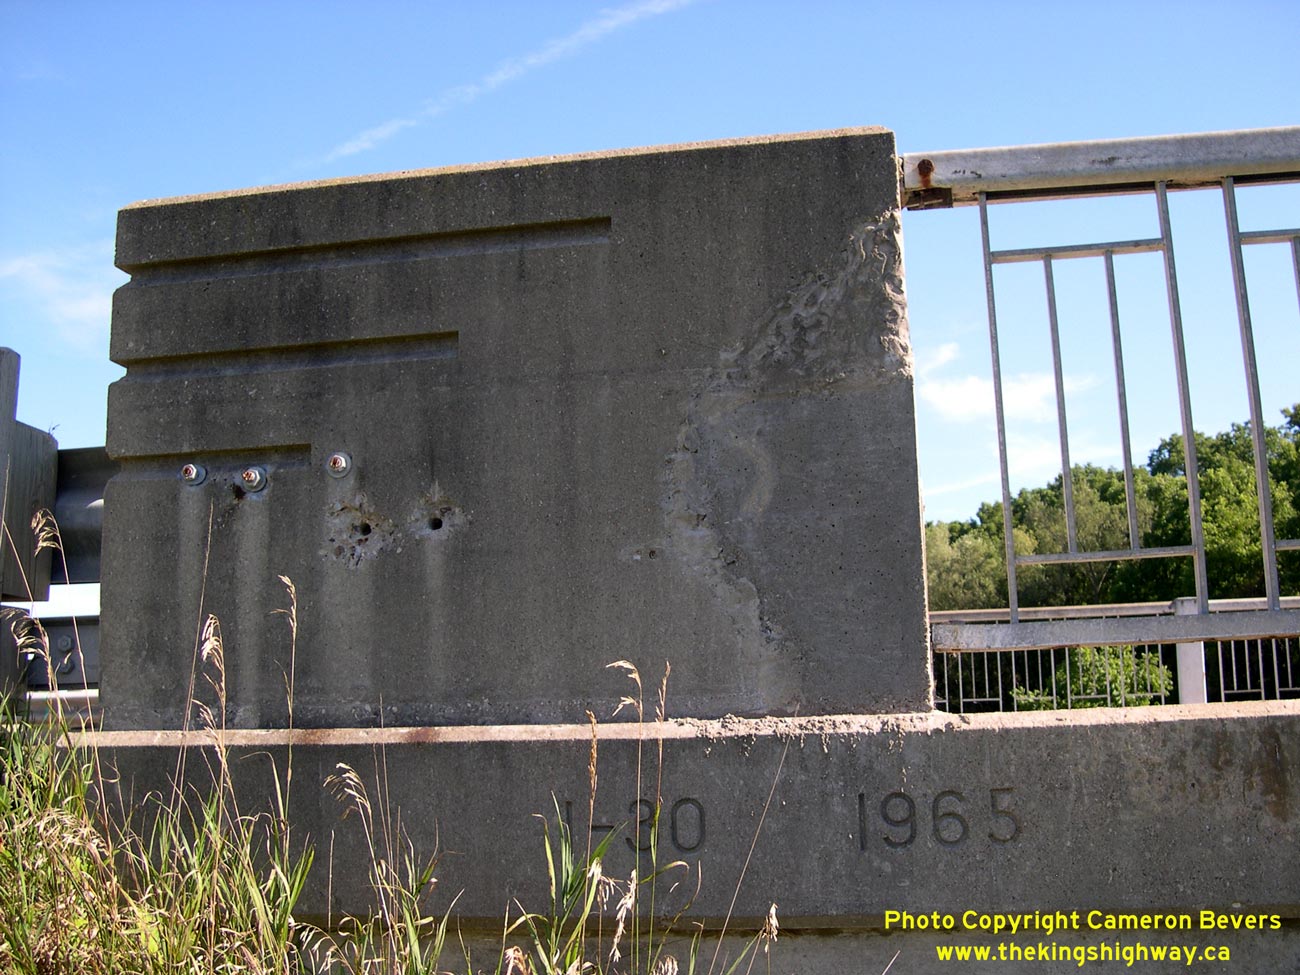
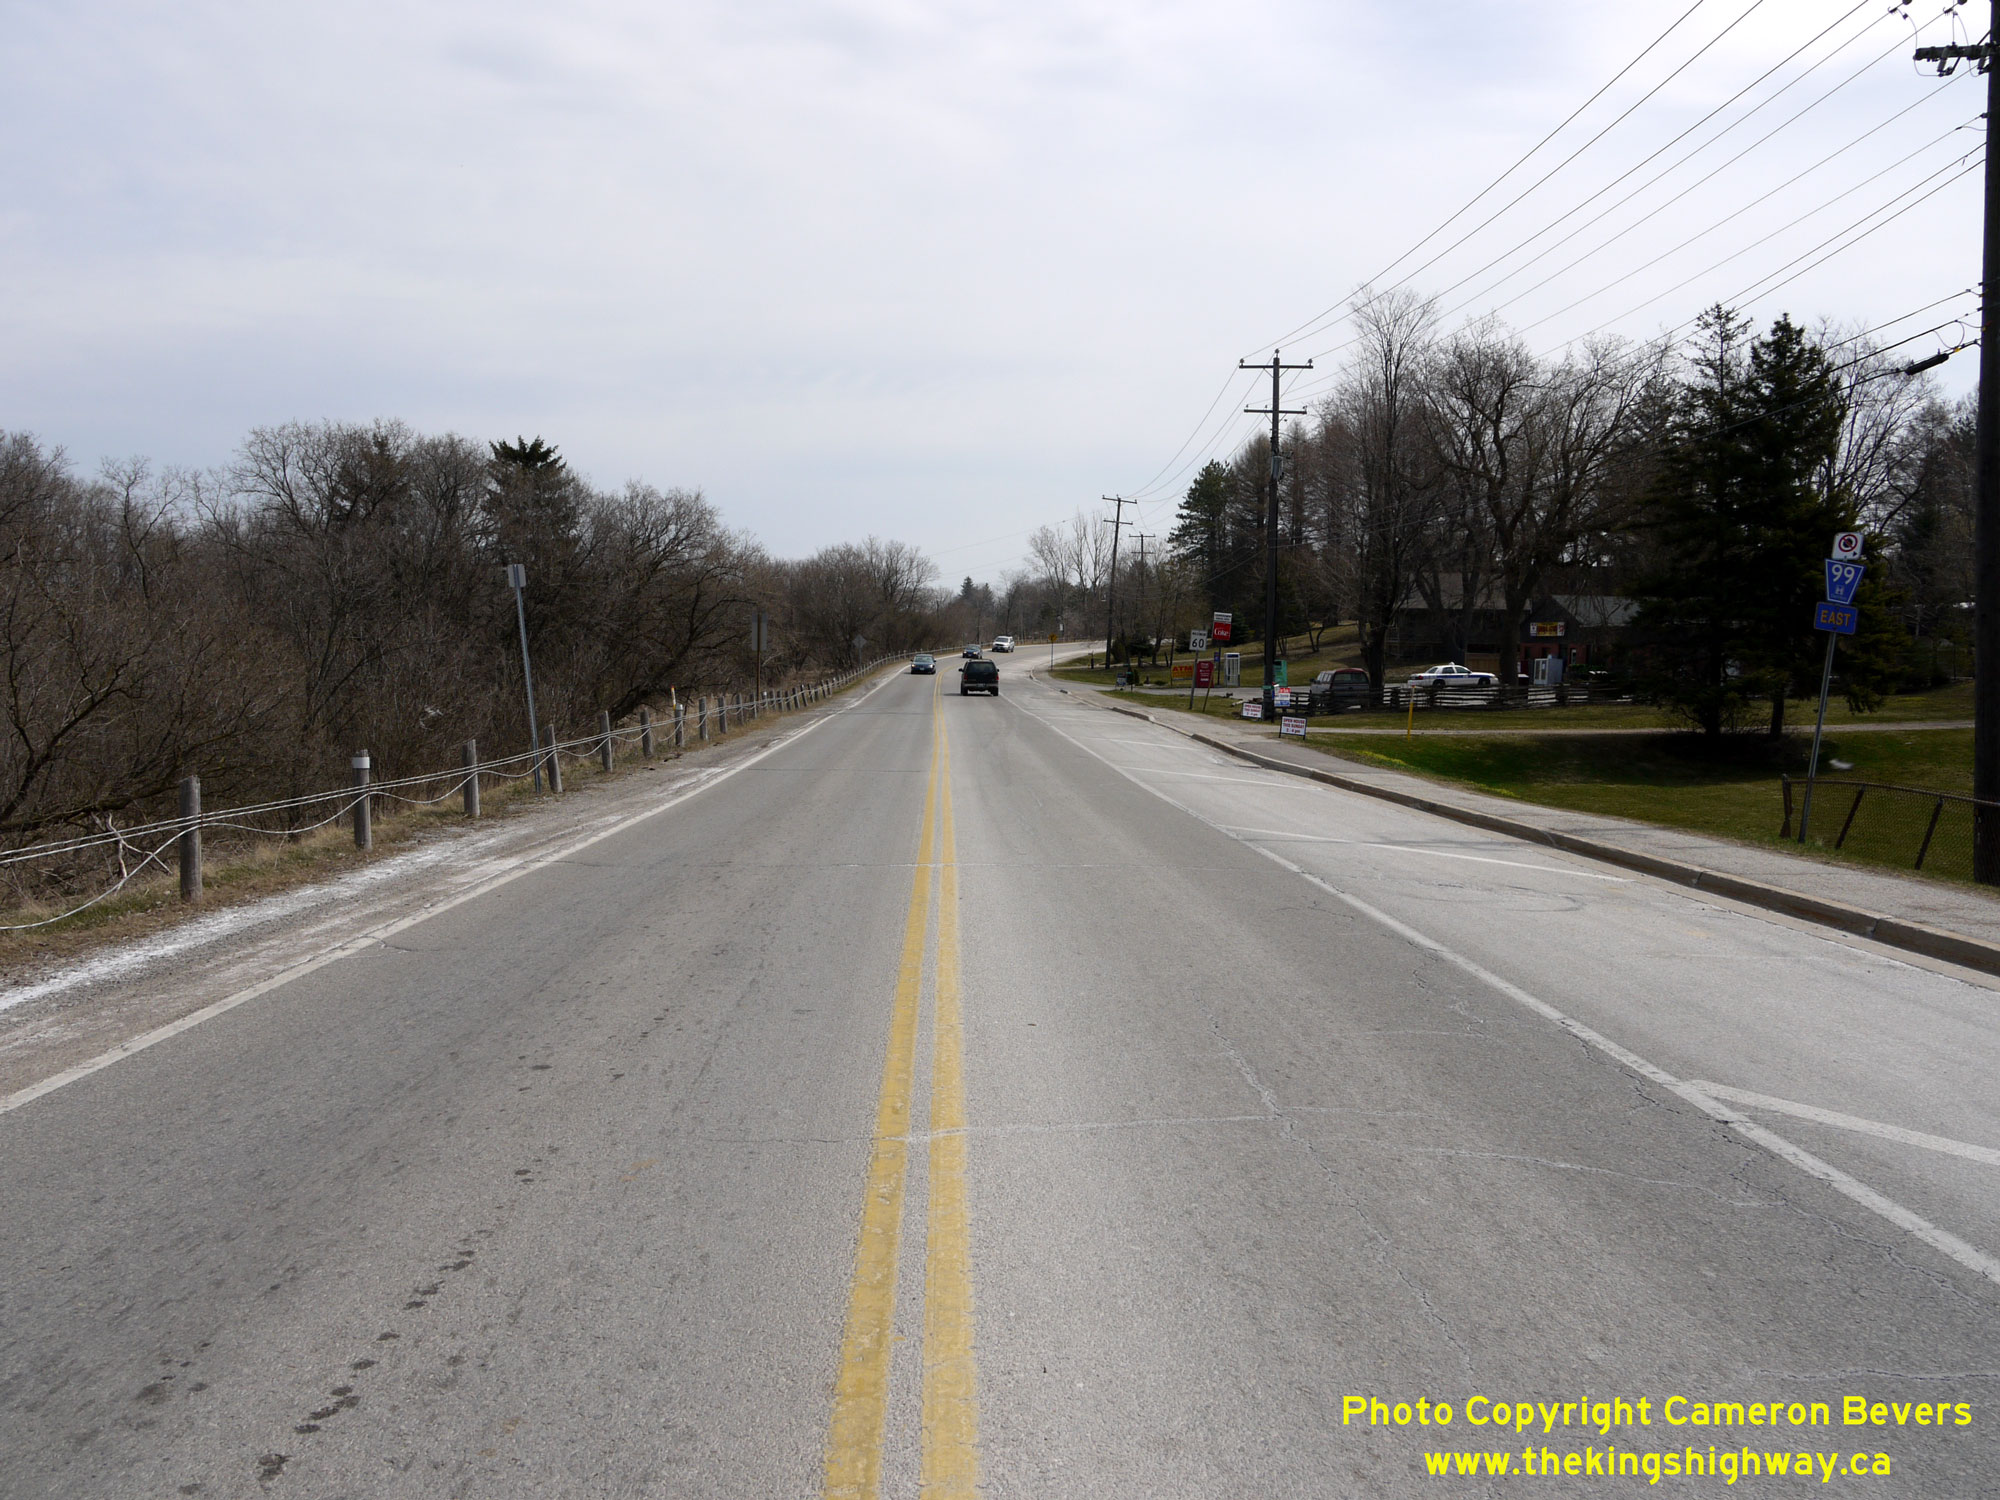
Left - Date stamp (1965) on the Fairchild Creek Bridge (East Branch) on Hwy 99. See an
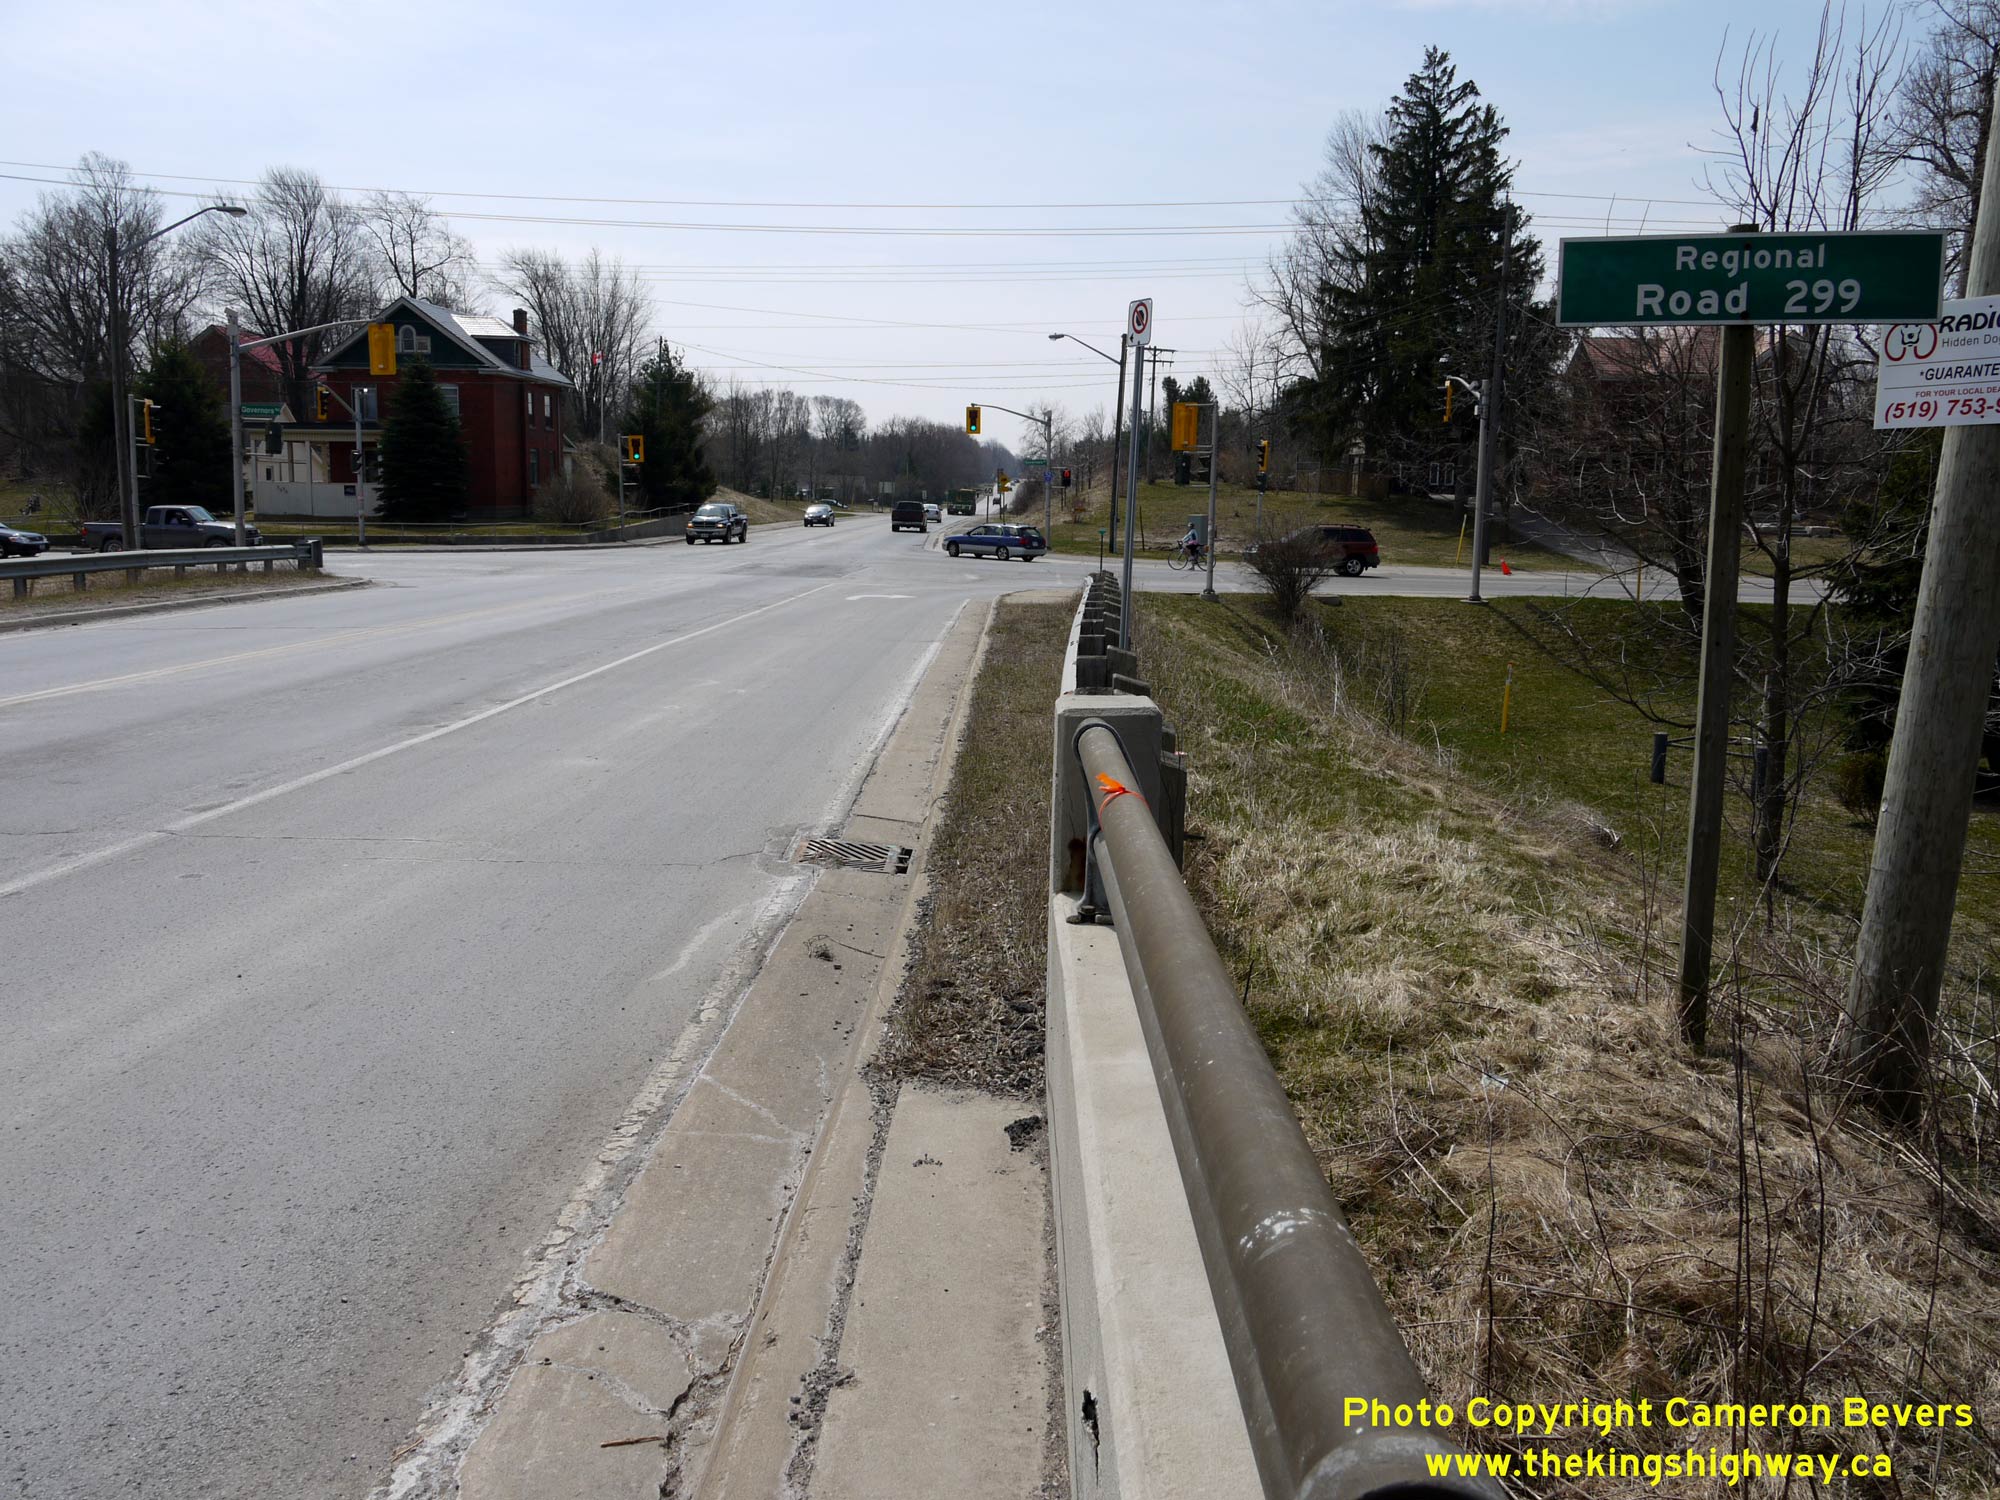
Enlarged Photo Here. (Photograph taken on August 13, 2006 - © Cameron Bevers) Right - Regional Road 299 sign on southbound Hwy 52 approaching the Hwy 99 Junction at Copetown west of Dundas. Decades ago, Hwy 99 west of Dundas was a
provincially-owned King's Highway, but it was transferred over to the Regional Municipality of Hamilton-Wentworth in the early 1980s. The region renamed Hwy 99 as
Regional Road 299, after the road was transferred to them in 1982. See an Enlarged Photo Here.(Photograph taken on April 18, 2009 - © Cameron Bevers) 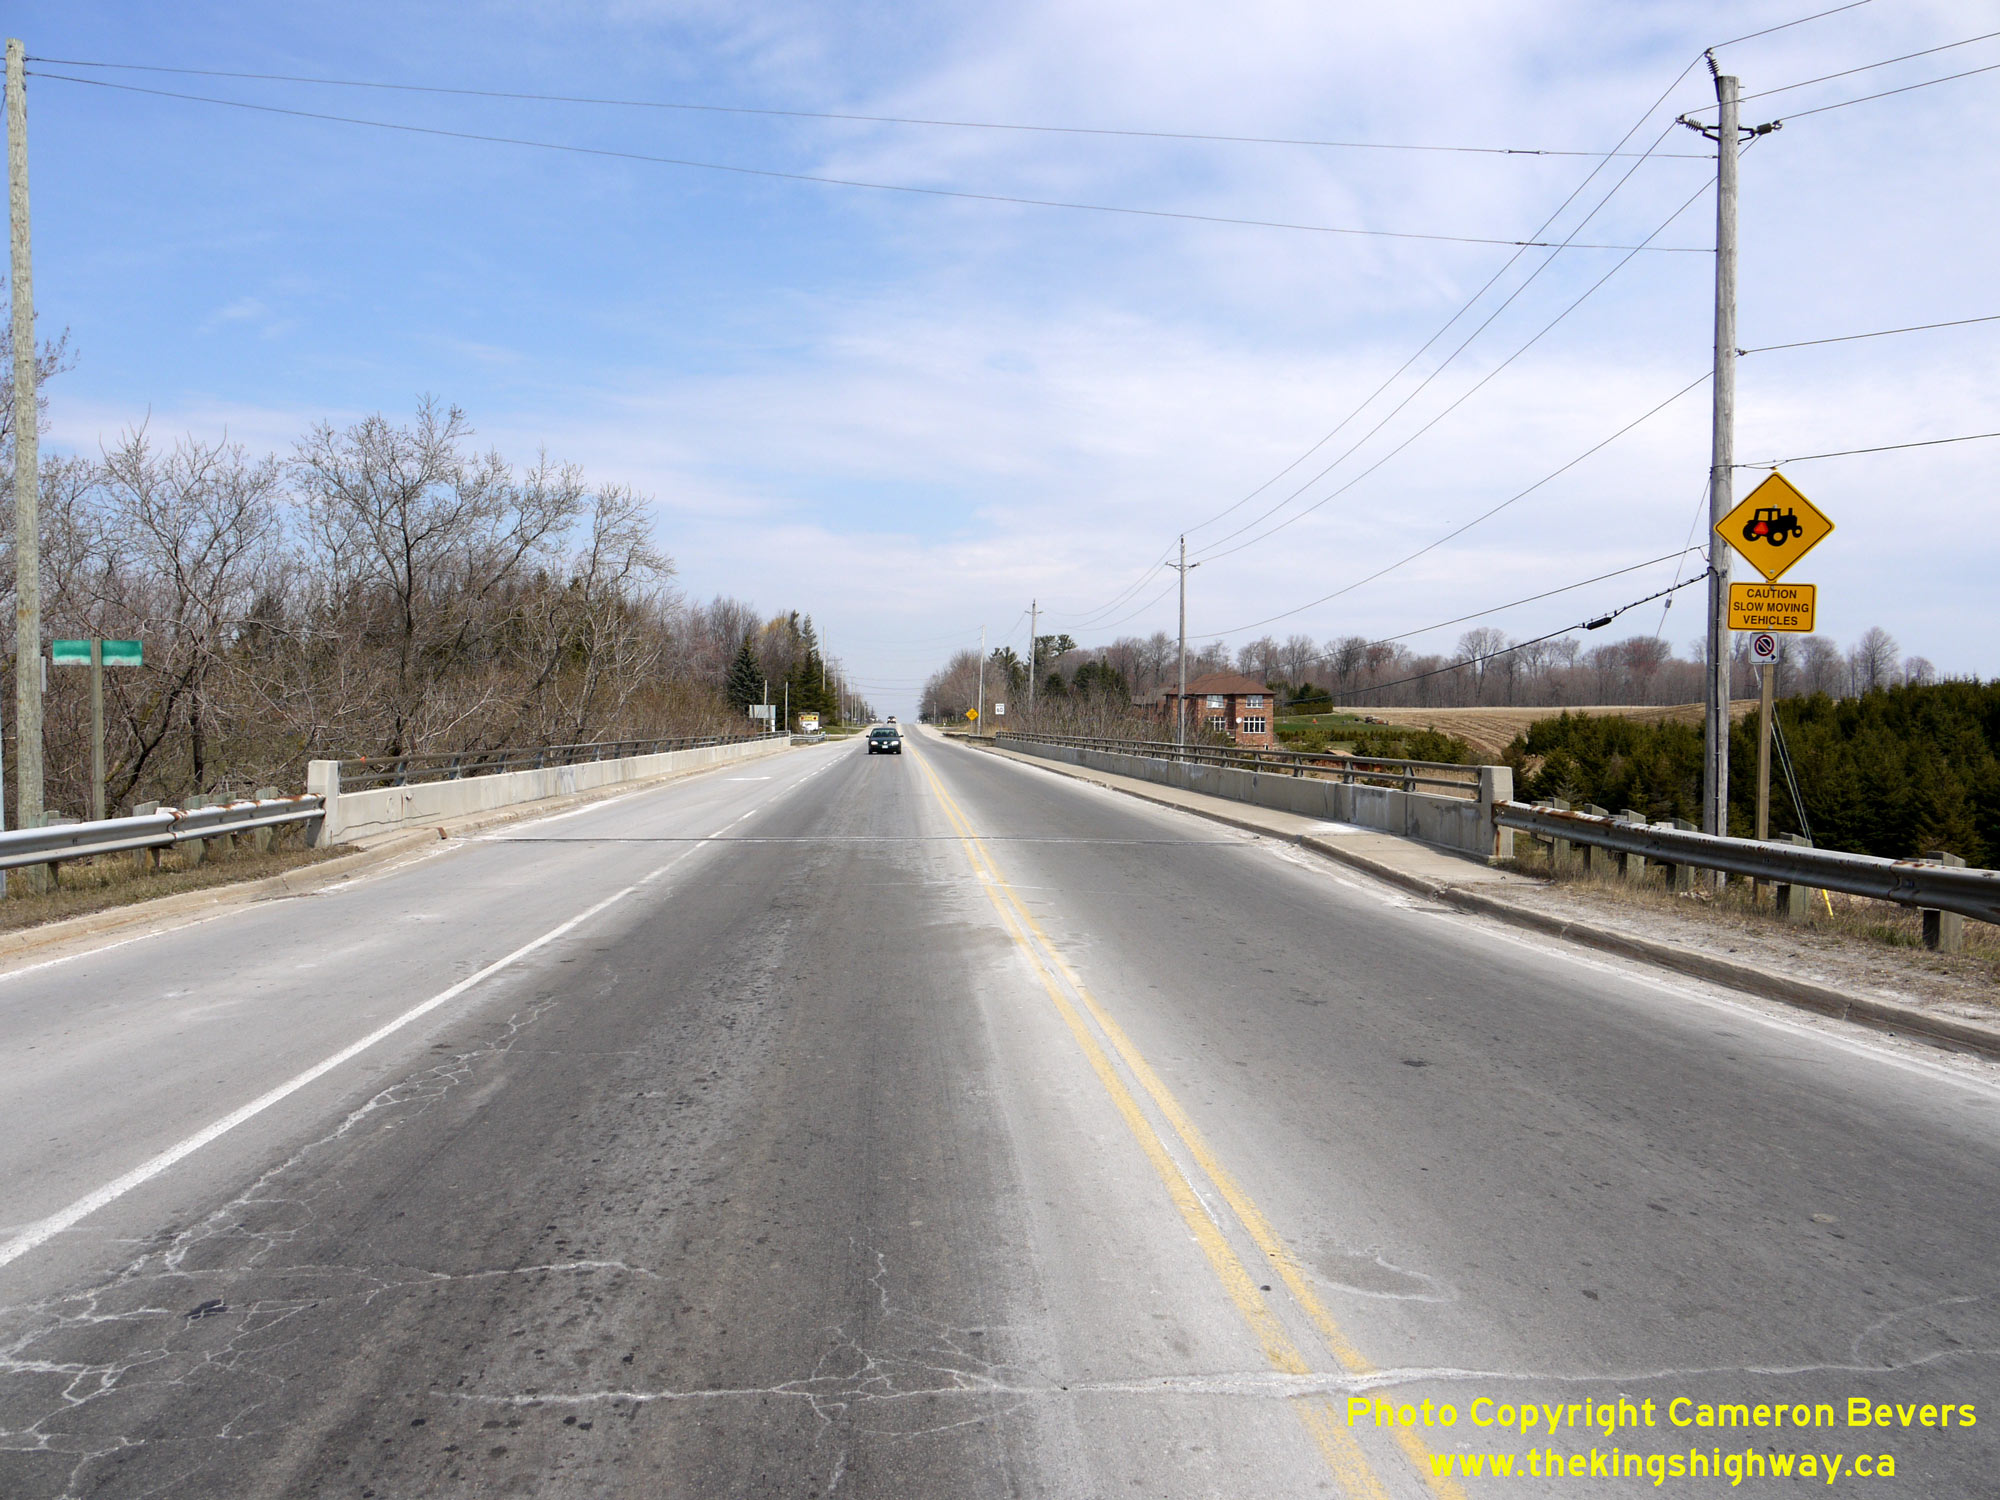
 Left - Facing north along Hwy 52 towards Peters Corners from the Hwy 99 Junction at Copetown. See an
Enlarged Photo Here. Left - Facing north along Hwy 52 towards Peters Corners from the Hwy 99 Junction at Copetown. See an
Enlarged Photo Here.(Photograph taken on April 18, 2009 - © Cameron Bevers) Right - View of the Hwy 52 Junction on Hwy 99 at Copetown, facing east towards Dundas. See an
Enlarged Photo Here.(Photograph taken on April 18, 2009 - © Cameron Bevers) 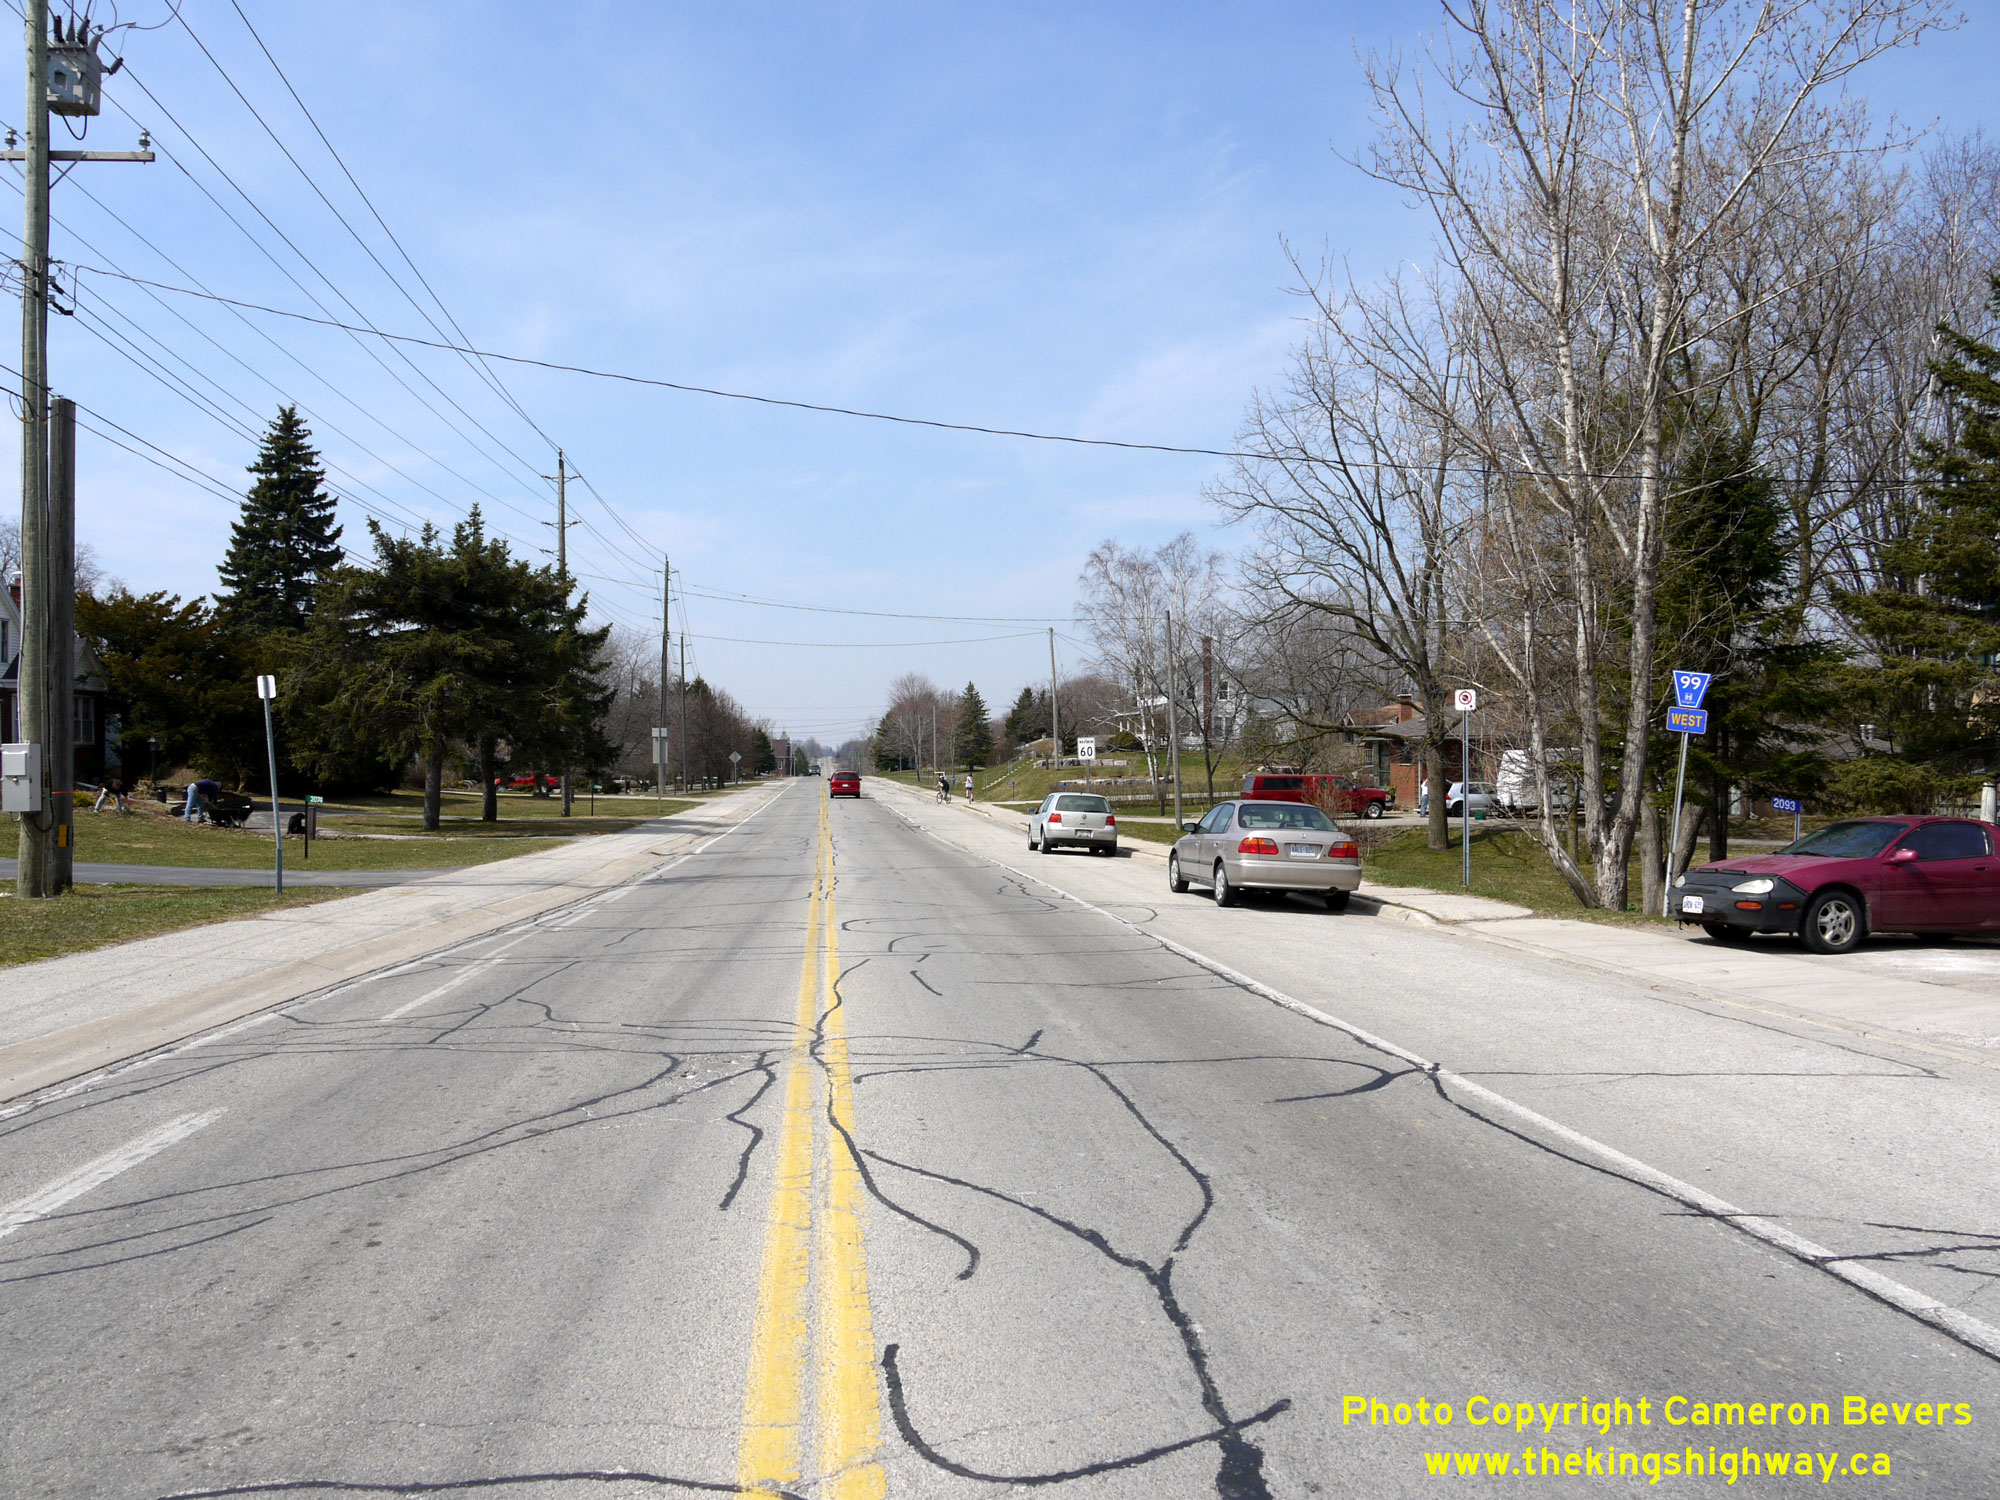
 Left - Facing west along Hwy 99 towards Osborne Corners from the Hwy 52 Junction at Copetown. See an
Enlarged Photo Here. Left - Facing west along Hwy 99 towards Osborne Corners from the Hwy 52 Junction at Copetown. See an
Enlarged Photo Here.(Photograph taken on April 18, 2009 - © Cameron Bevers) Right - View of Hwy 99, facing east from the Hwy 52 Junction towards Dundas. See an
Enlarged Photo Here.(Photograph taken on April 18, 2009 - © Cameron Bevers) 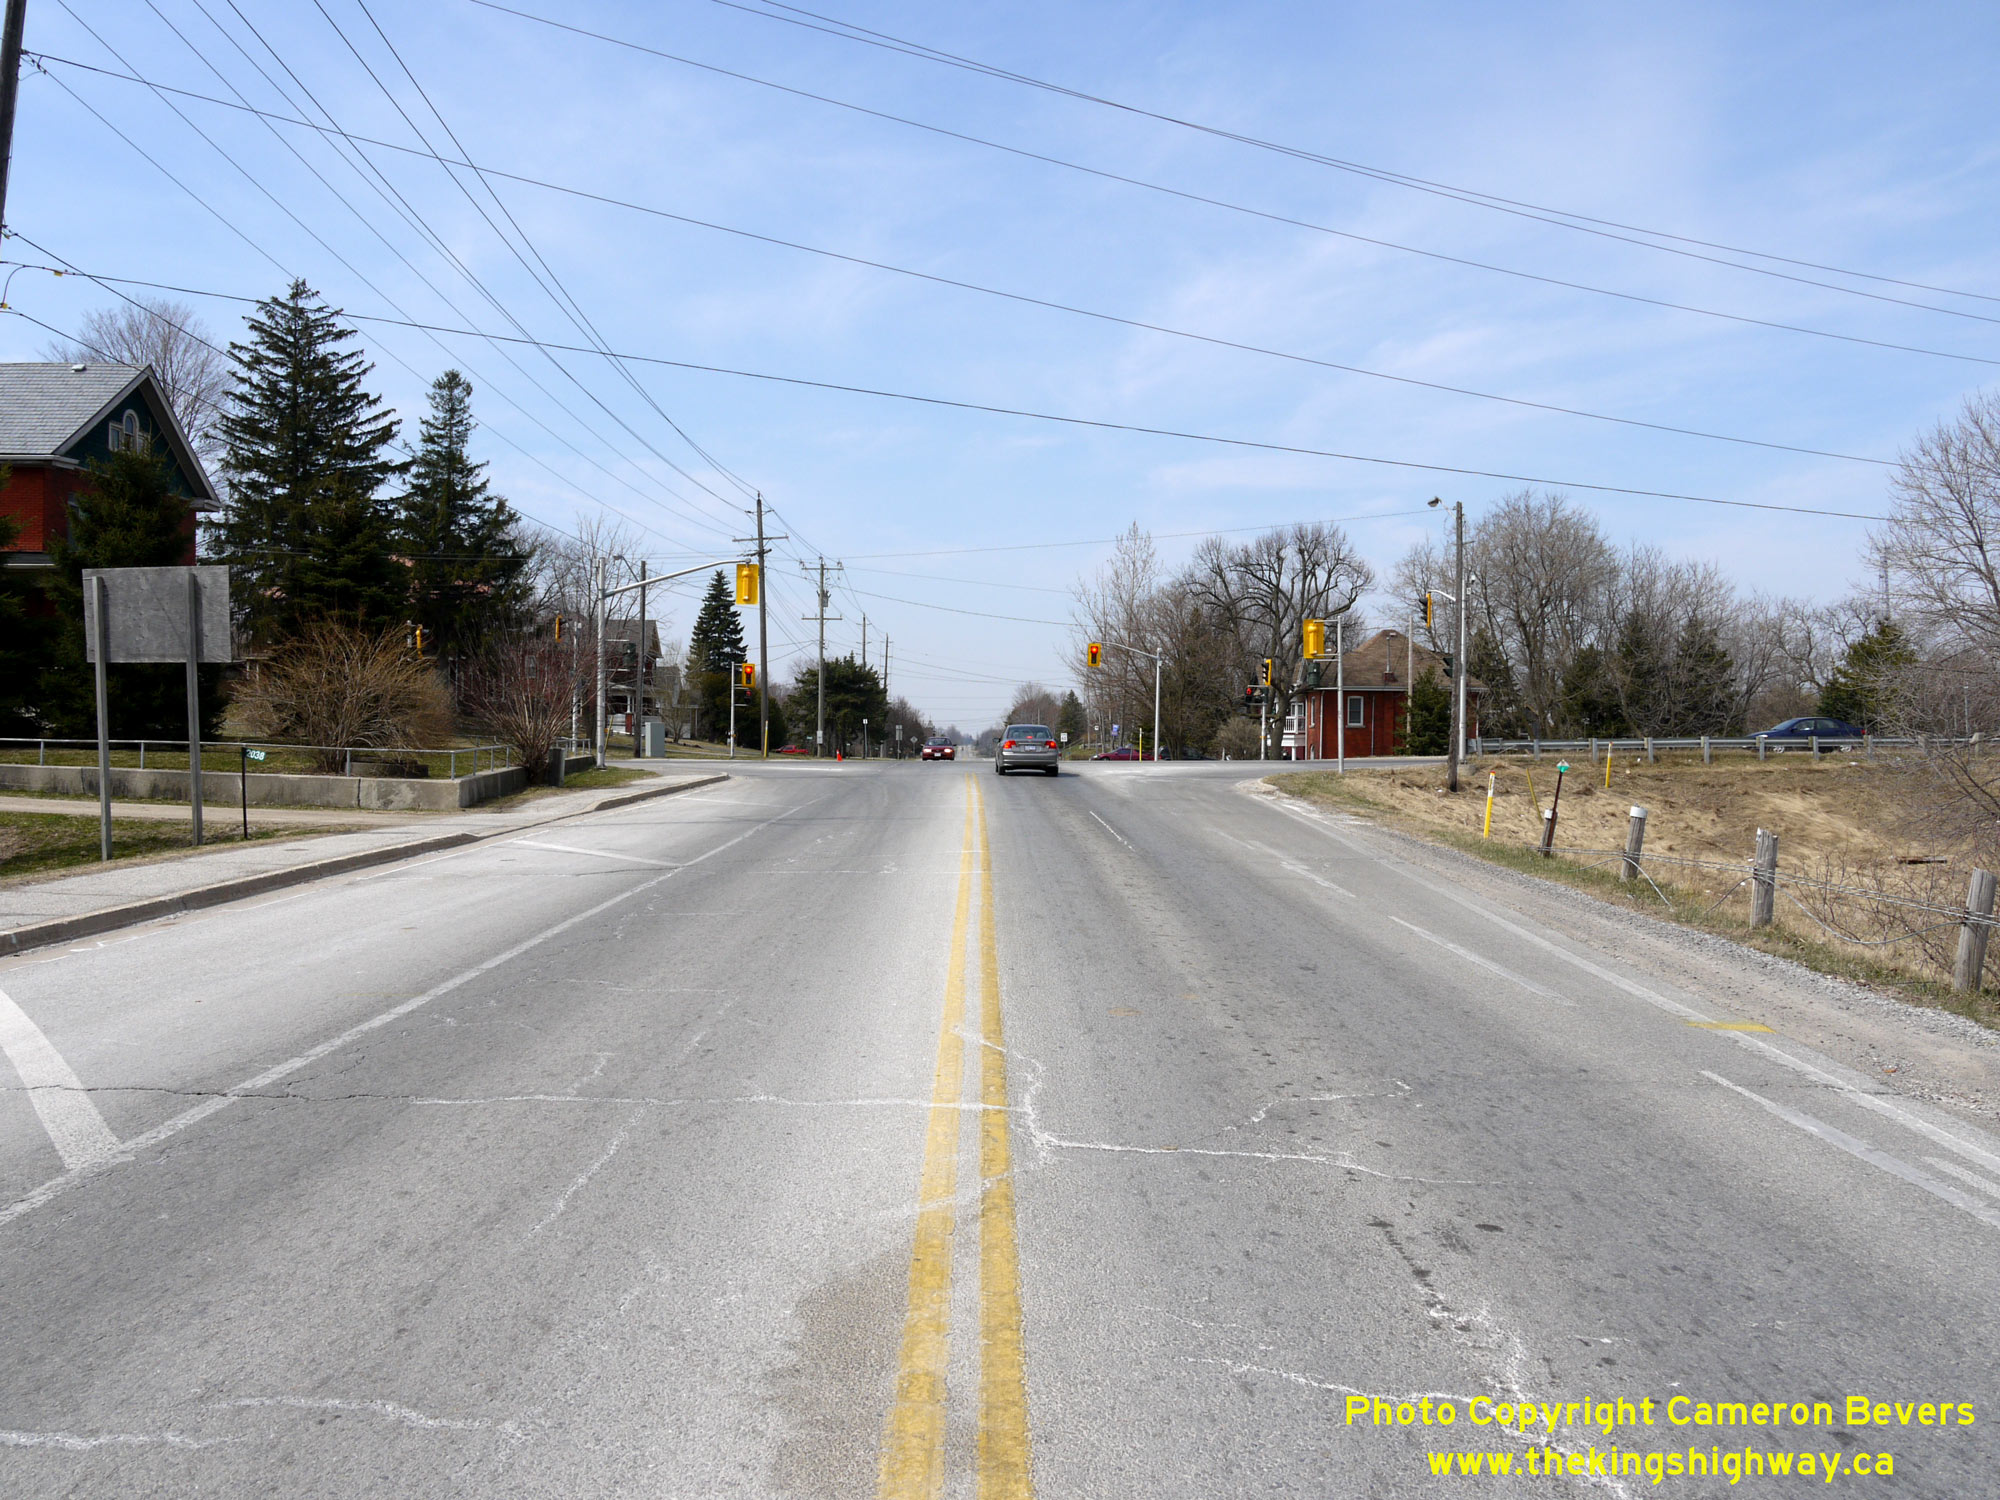
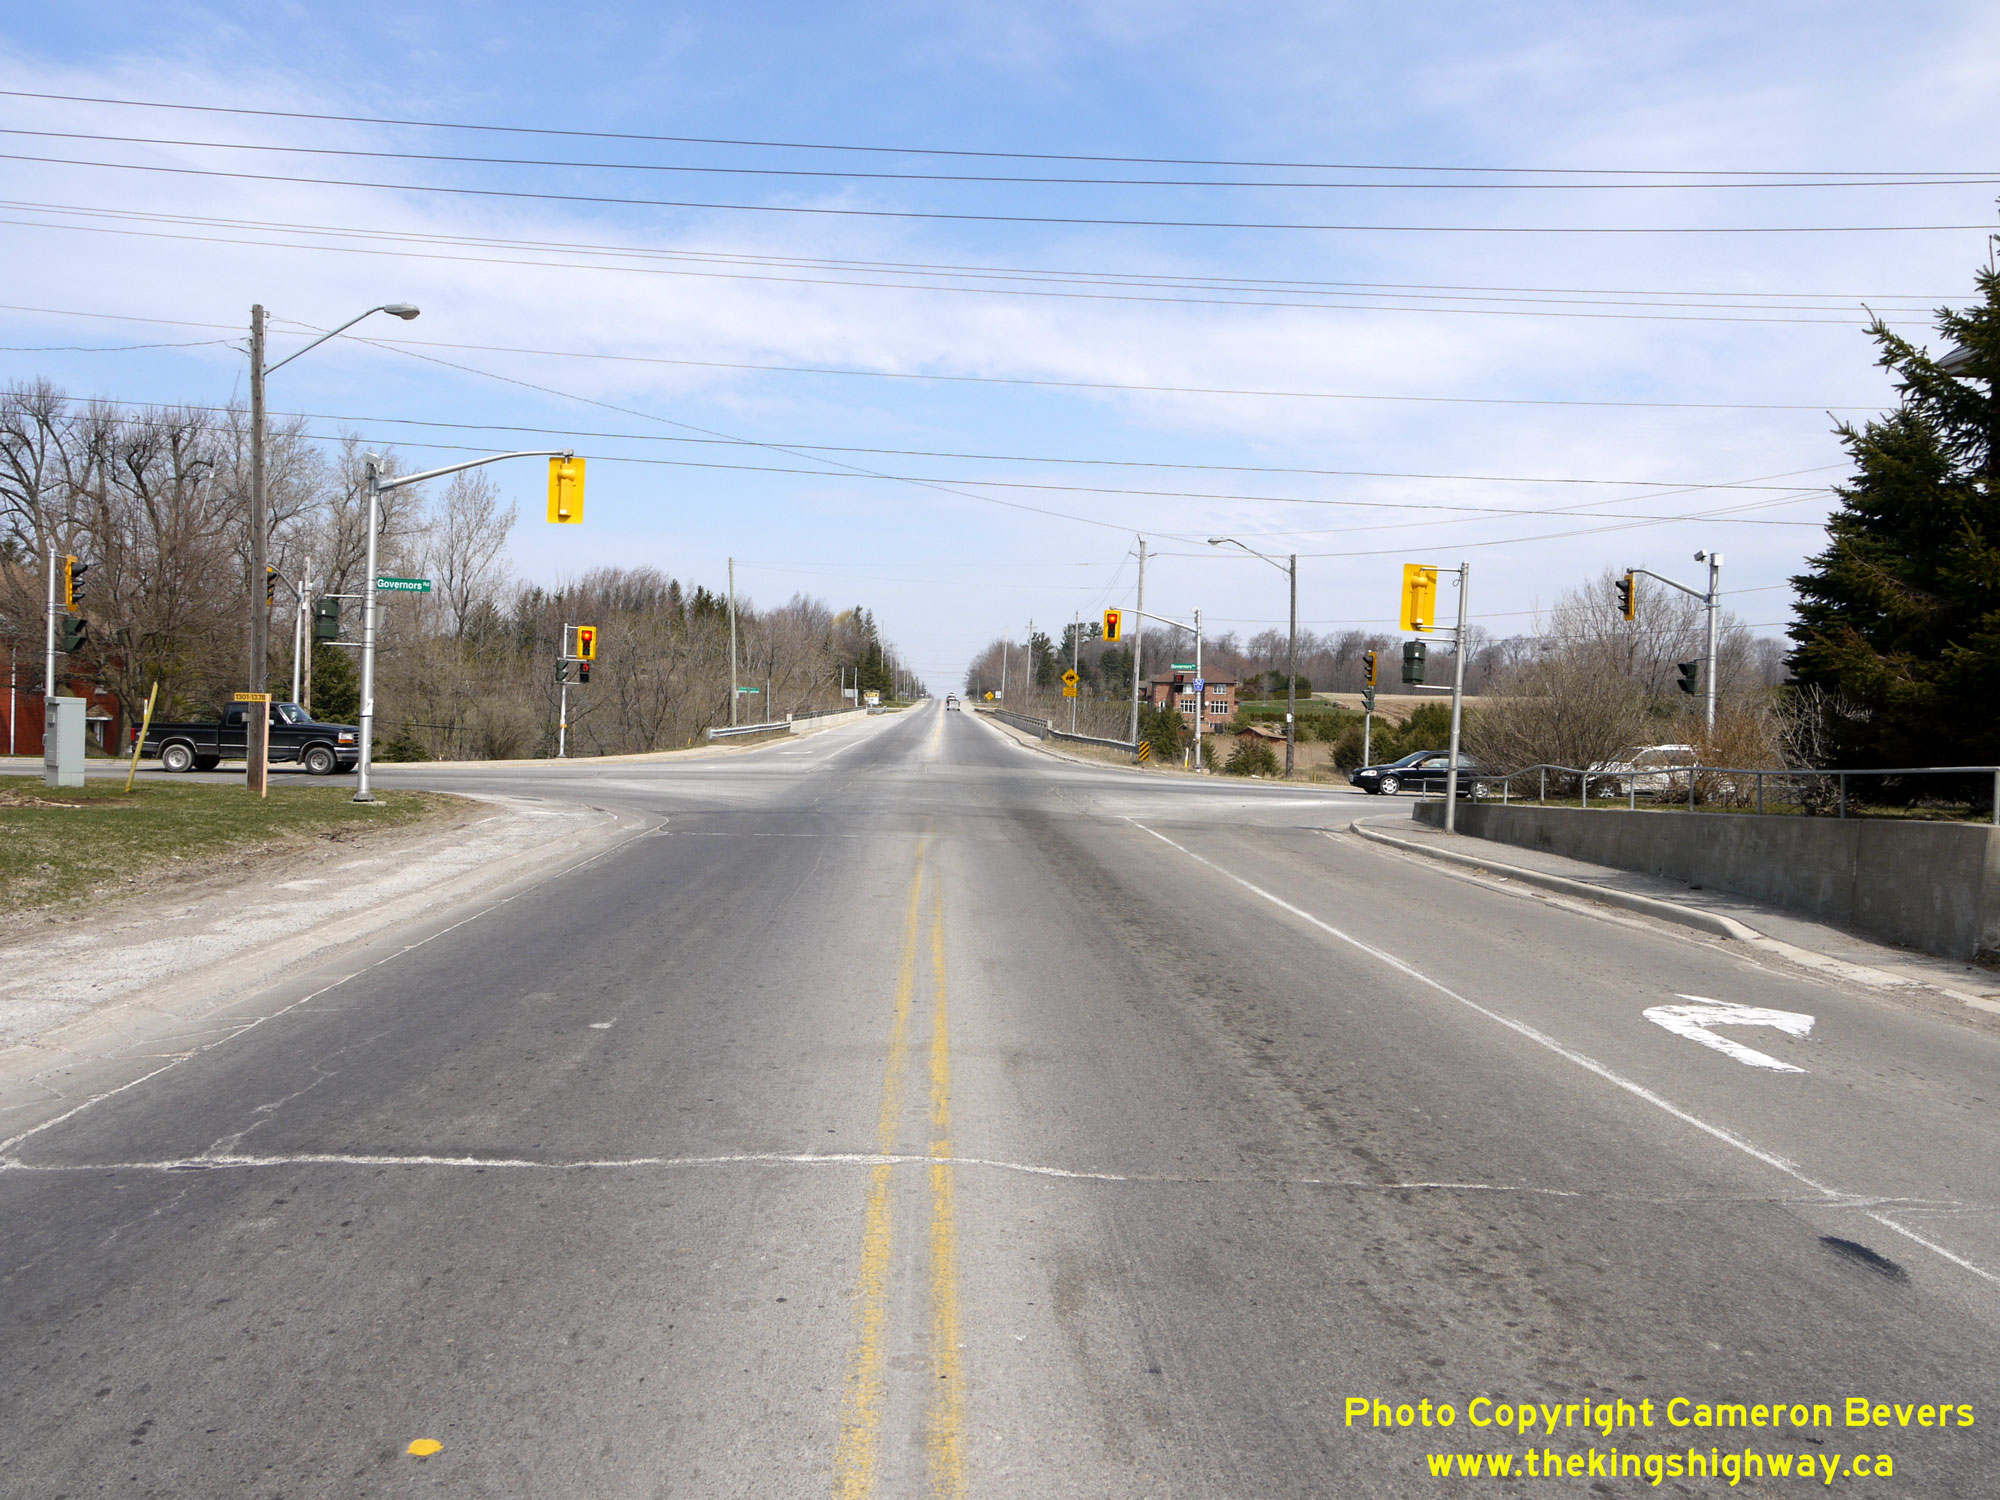 Left - View of the Hwy 52 Junction on Hwy 99, facing west towards Osborne Corners. Historically, Hwy 99 came to an end at Hwy 24 just north of Brantford. See
an Enlarged Photo Here. Left - View of the Hwy 52 Junction on Hwy 99, facing west towards Osborne Corners. Historically, Hwy 99 came to an end at Hwy 24 just north of Brantford. See
an Enlarged Photo Here.(Photograph taken on April 18, 2009 - © Cameron Bevers) Right - Facing north along Hwy 52 approaching the Hwy 99 Junction at Copetown. See an
Enlarged Photo Here.(Photograph taken on April 18, 2009 - © Cameron Bevers)
More King's Highway 99 Photographs Coming Soon!
|
|---|
Links to Adjacent King's Highway Photograph Pages:
Back to King's Highway 98B Photos /
King's Highway 99 History /
On to King's Highway 100 (#1) Photos
Ontario Highway History - Main Menu / Back to List of Highways Website contents, photos & text © 2002-2026, Cameron
Bevers (Webmaster) - All Rights Reserved / Contact Me
|
|---|