
| 
| |
|
|
All photographs displayed on this page were taken by the
Webmaster (Cameron Bevers). Photographs of Alaska Highway 1 are arranged by location from south
to north, heading outbound from Anchorage. To view
photos of other Alaska Highways, please select a highway number listed on the
Alaska Photograph Index Page.
Click on any thumbnail to see a larger image!
Please note that all photographs displayed on this
website are protected by copyright. These photographs must not be reproduced, published,
electronically stored or copied, distributed, or posted onto other websites without
my written permission. If you want to use photos from this website, please
email me first for permission. Thank-you!
|
|---|
|
Page 1N - Alaska Highway 1 (Glenn Highway) Photographs: Anchorage to Eagle River


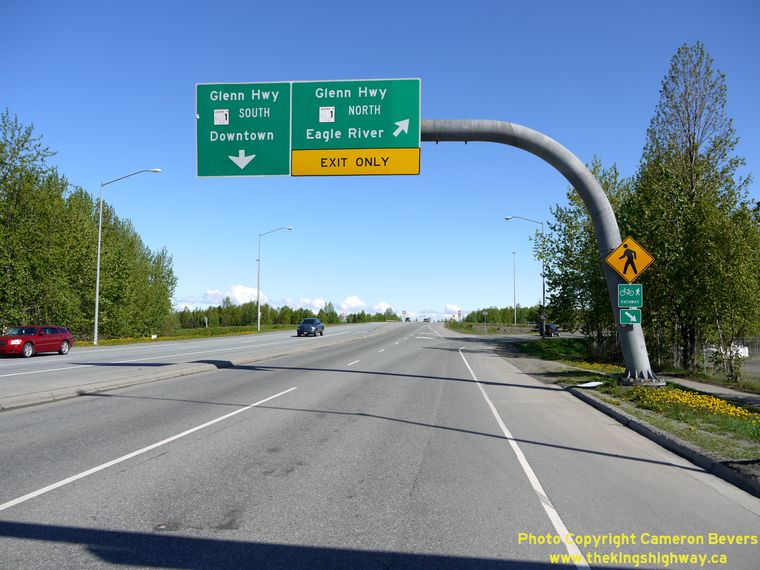
Left - Facing east along East 6th Avenue leaving Downtown Anchorage, approaching Gambell Street. At this point, motorists can either continue east along East
6th Avenue (Hwy 1 East) to join the Glenn Highway or turn south along Gambell Street (Hwy 1 South) to join the Seward Highway. Essentially, Hwy 1 provides the only
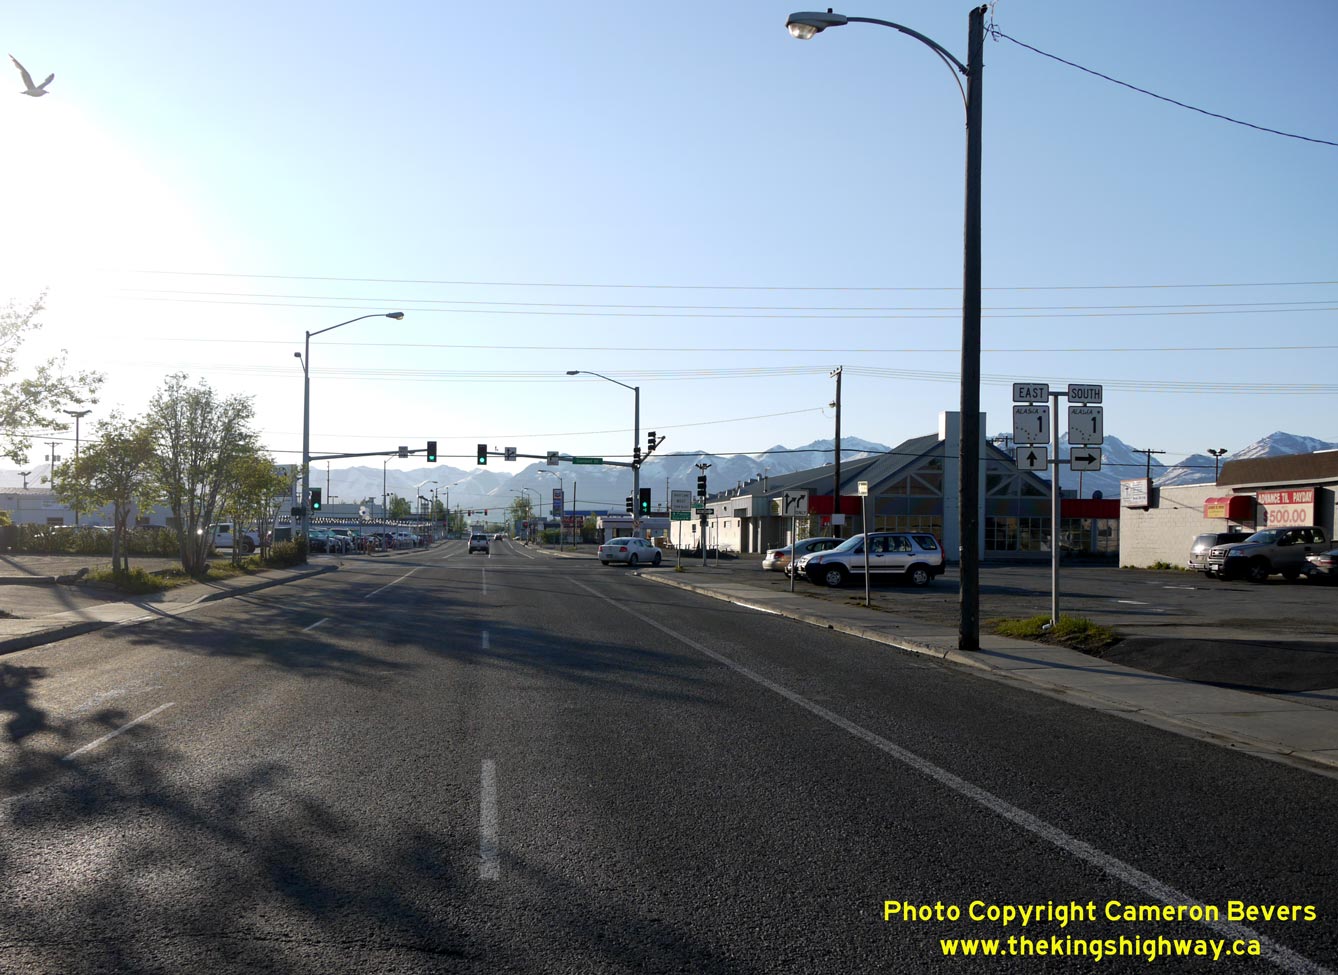
road access into and out of Anchorage. See an Enlarged Photo Here. (Photograph taken on May 28, 2012 - © Cameron Bevers) Right - Destination guide sign leaving Downtown Anchorage on East 6th Avenue. Hwy 1 East heads towards Palmer, while Hwy 1 South heads towards Seward. (Photograph taken on May 28, 2012 - © Cameron Bevers) 
Left - Hwy 1 Junction Assembly on East 6th Avenue leaving Downtown Anchorage at Gambell Street (Seward Highway South). (Photograph taken on May 28, 2012 - © Cameron Bevers) Right - Facing east along East 6th Avenue (Hwy 1) in Anchorage, approaching Ingra Street (Seward Highway North). (Photograph taken on May 28, 2012 - © Cameron Bevers) 

Left - Facing north along Ingra Street (Hwy 1), approaching East 6th Avenue in Anchorage. Although the Seward Highway ends at this intersection, Hwy 1
continues east from this point towards Palmer via the Glenn Highway (East 6th Avenue). See an
Enlarged Photo Here. (Photograph taken on May 28, 2012 - © Cameron Bevers) Right - Alaska Hwy 1 route marker on Northbound Ingra Street in Anchorage, indicating the route's turn towards the east at East 6th Avenue. (Photograph taken on May 28, 2012 - © Cameron Bevers) 

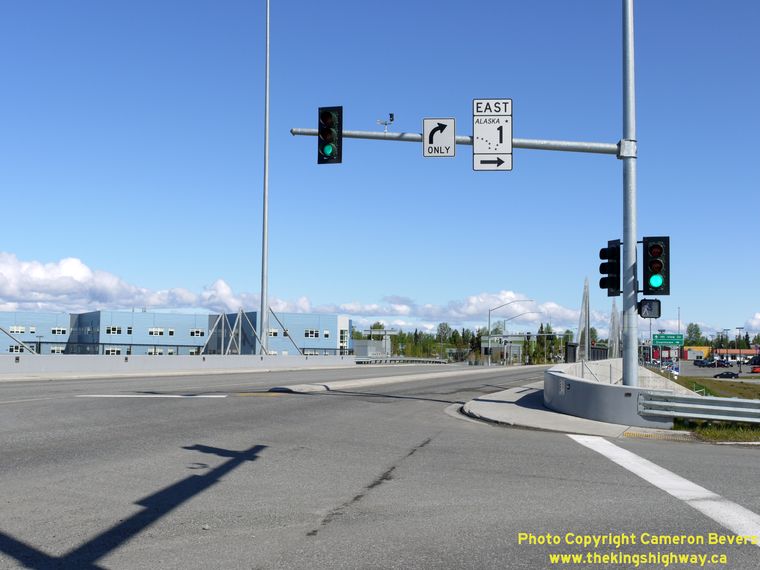
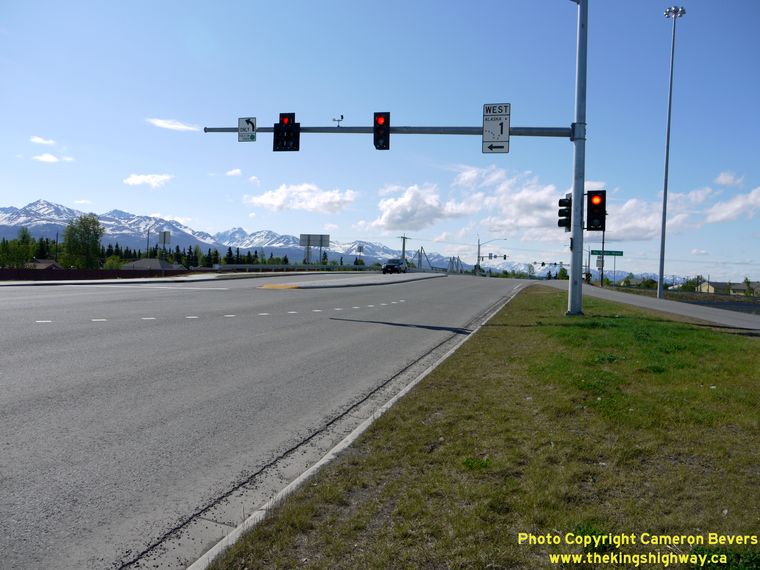
Left - Overhead sign marking the turn-off to the Glenn Highway in Anchorage. It is interesting to note that Alaskans typically refer to their highways by
route names, rather than route numbers. Much to my dismay, Clearview highway sign fonts seem to have made their way to Alaska. (Photograph taken on May 28, 2012 - © Cameron Bevers) Right - Alaska Hwy 1 route marker on East 5th Avenue approaching Downtown Anchorage. (Photograph taken on May 28, 2012 - © Cameron Bevers) 

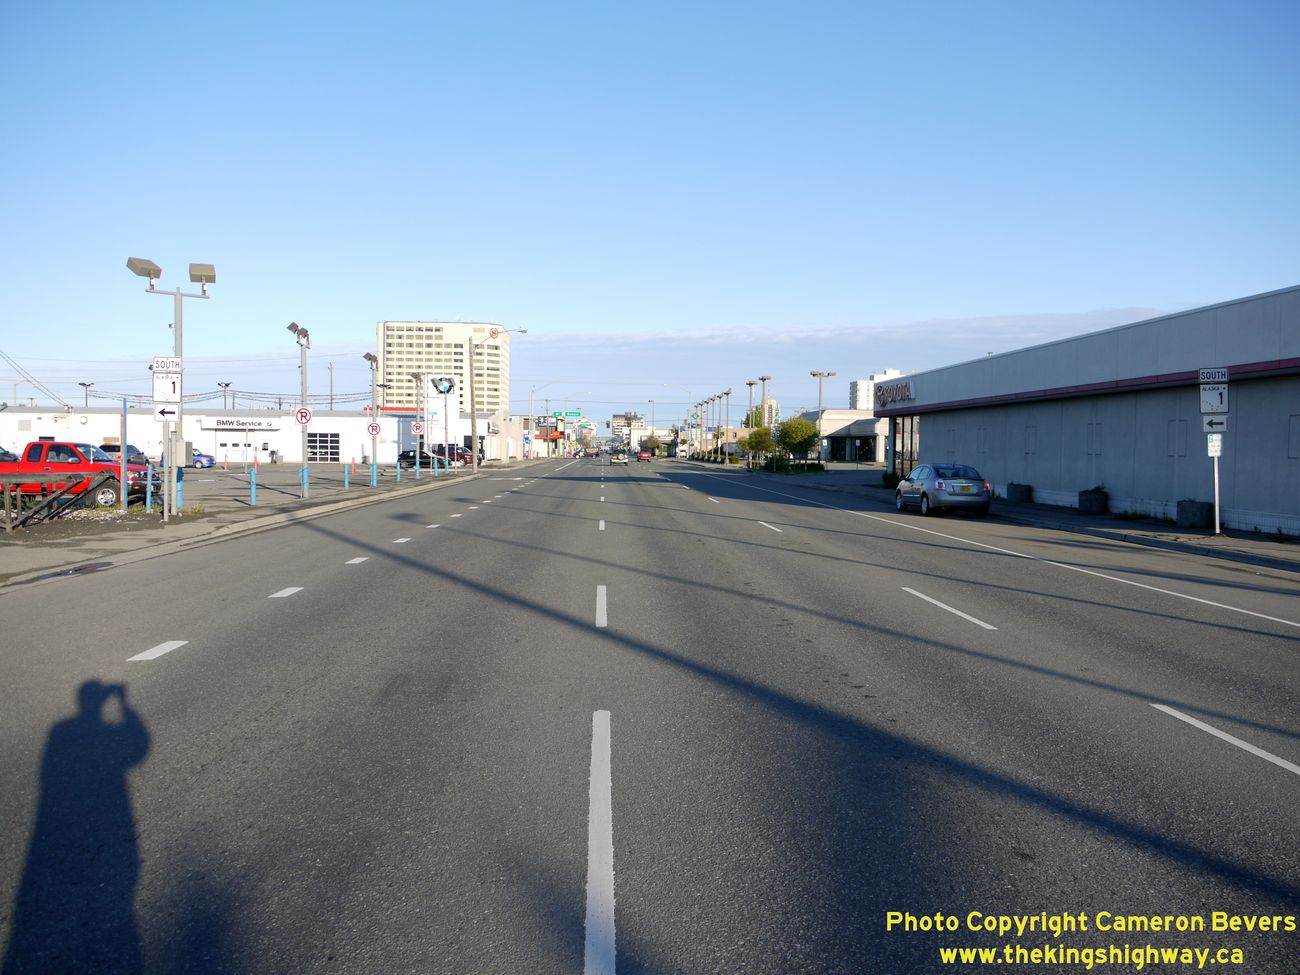
Left - Facing west along East 5th Avenue (Hwy 1) towards Downtown Anchorage, approaching Gambell Street. See an
Enlarged Photo Here. (Photograph taken on May 28, 2012 - © Cameron Bevers) Right - Facing west along East 5th Avenue towards Downtown Anchorage, at Gambell Street. The Glenn Highway ends at this intersection, although Hwy 1 continues south from this point towards Seward via the Seward Highway (Gambell Street). See an Enlarged Photo Here. (Photograph taken on May 28, 2012 - © Cameron Bevers) 

Left - Alaska Hwy 1 marker on Westbound East 5th Avenue in Anchorage, approaching Gambell Street. (Photograph taken on May 28, 2012 - © Cameron Bevers) Right - Alaska Hwy 1 marker on Westbound East 5th Avenue in Anchorage, indicating the route's turn towards the south at Gambell Street. (Photograph taken on May 28, 2012 - © Cameron Bevers) 

Left - Overhead sign marking the turn-off to the Seward Highway (Hwy 1) on East 5th Avenue in Anchorage. See an
Enlarged Photo Here. (Photograph taken on May 28, 2012 - © Cameron Bevers) Right - Start of the Seward Highway (Hwy 1 South), facing south from the intersection of Gambell Street and East 5th Avenue (Glenn Highway). (Photograph taken on May 28, 2012 - © Cameron Bevers) 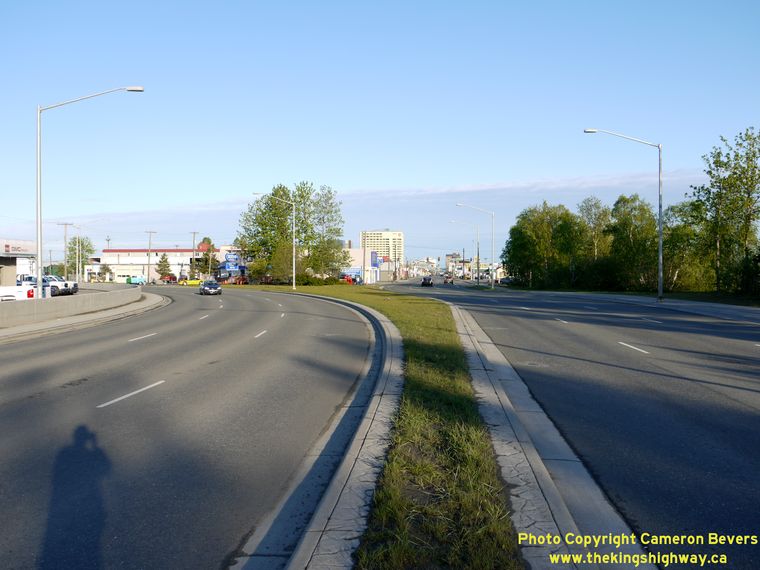

Left - At Merrill Field, the Glenn Highway (Hwy 1) splits off into Anchorage's one-way downtown street system. The Glenn Highway follows East 5th Avenue
Westbound and East 6th Avenue Eastbound. These wide streets may seem very quiet, but I should point out that Alaska's seemingly unceasing summer daylight allowed
me to take these photos very early in the morning. Anchorage experiences almost 19 hours of daylight at this time of year. See an
Enlarged Photo Here. (Photograph taken on May 28, 2012 - © Cameron Bevers) Right - Facing west along the Westbound Glenn Highway (East 5th Avenue) towards Downtown Anchorage. Hwy 1 turns south via the Seward Highway five blocks to the west. East 5th Avenue continues west beyond the Seward Highway turn-off into Anchorage's surprisingly large downtown area. (Photograph taken on May 28, 2012 - © Cameron Bevers) 
Left - Facing west along the Eastbound Glenn Highway (East 5th Avenue) from Merrill Field. See an
Enlarged Photo Here. (Photograph taken on May 28, 2012 - © Cameron Bevers) Right - Facing east along the Glenn Highway (Hwy 1) towards Merrill Field from the end of Anchorage's one-way downtown street system. See an Enlarged Photo Here. (Photograph taken on May 28, 2012 - © Cameron Bevers) 
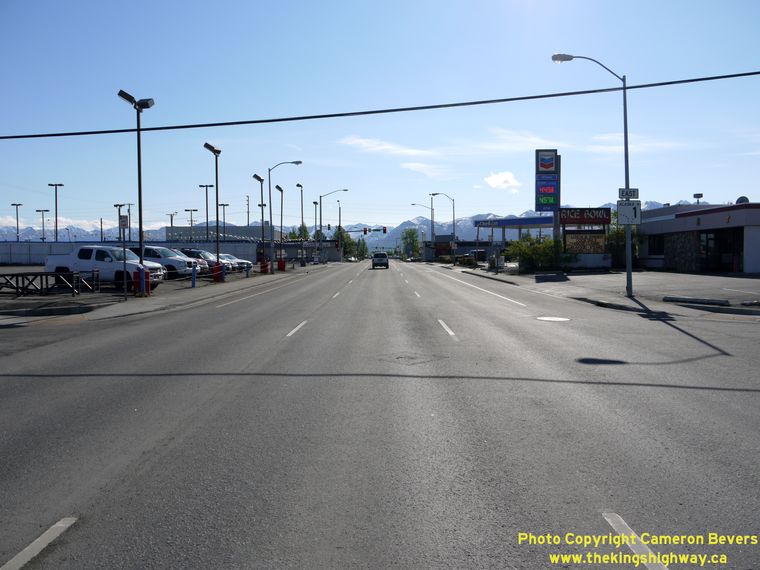
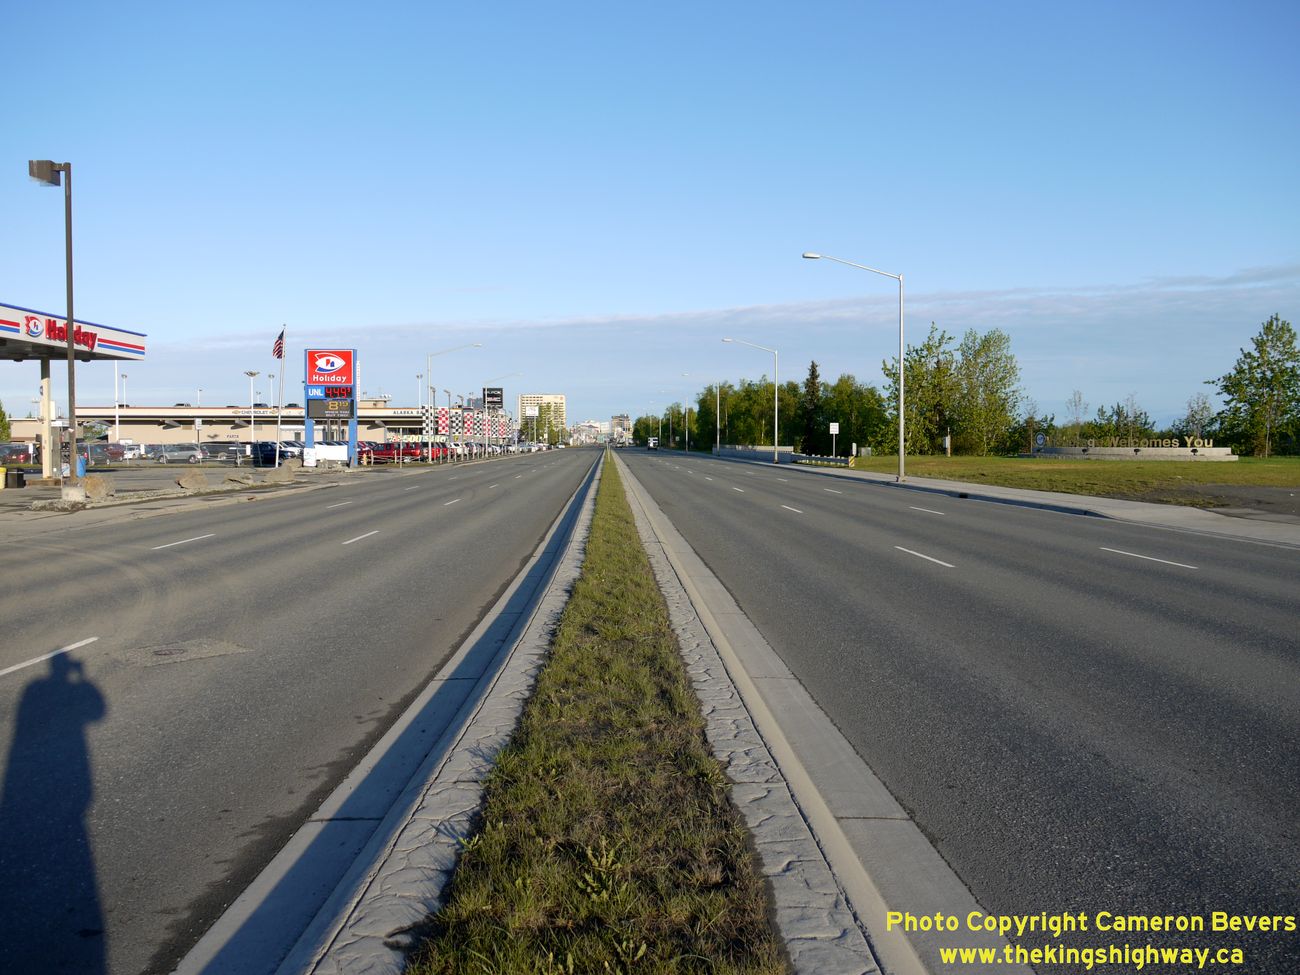
Left - Facing west along a deceptively quiet Glenn Highway (Hwy 1) from Merrill Field. This highway is actually very busy during the day, but not at this time
in the morning. Note the "Anchorage Welcomes You" sign at right. See an
Enlarged Photo Here. (Photograph taken on May 28, 2012 - © Cameron Bevers) Right - Facing east along the Glenn Highway (Hwy 1) approaching Concrete Street in Anchorage. The scenic Chugach Mountains can be seen in the distance. See an Enlarged Photo Here. (Photograph taken on May 28, 2012 - © Cameron Bevers) 
Left - Glenn Highway (Hwy 1) at Merrill Field, facing east towards Eagle River. Merrill Field is Anchorage's local airport. Ted Stevens (Anchorage)
International Airport is located off of Minnesota Drive southwest of Downtown Anchorage. See an
Enlarged Photo Here. (Photograph taken on May 28, 2012 - © Cameron Bevers) Right - Facing west along the Glenn Highway (Hwy 1) at Airport Heights Road. This is the final traffic signal in Anchorage. From this point easterly to the Matanuska-Susitna (Mat-Su) Valley Interchange near Palmer, Hwy 1 is a controlled-access freeway. (Photograph taken on May 28, 2012 - © Cameron Bevers) 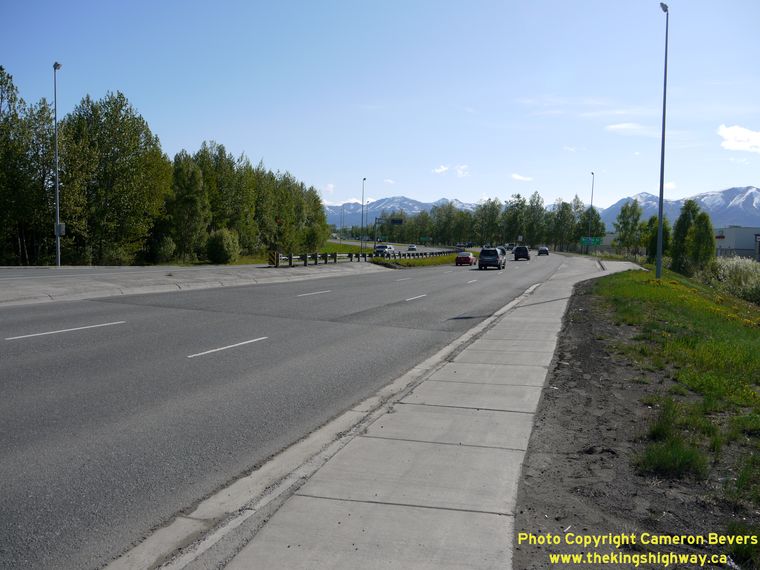

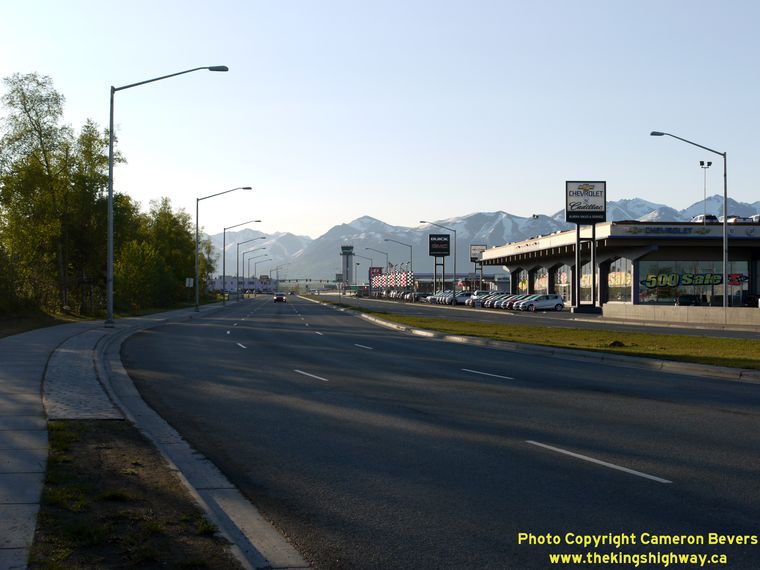
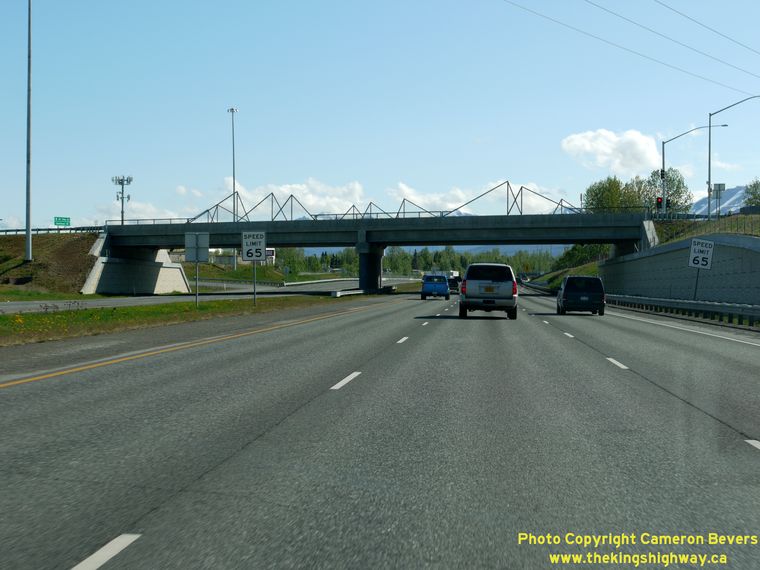
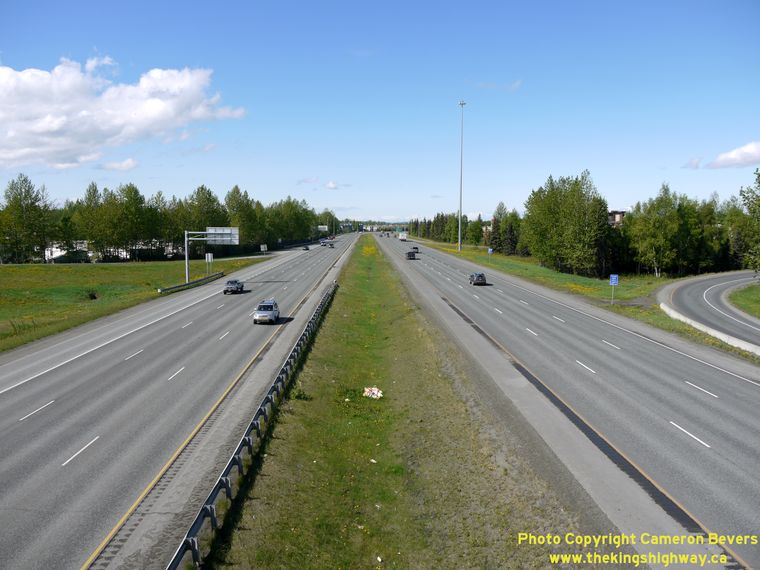
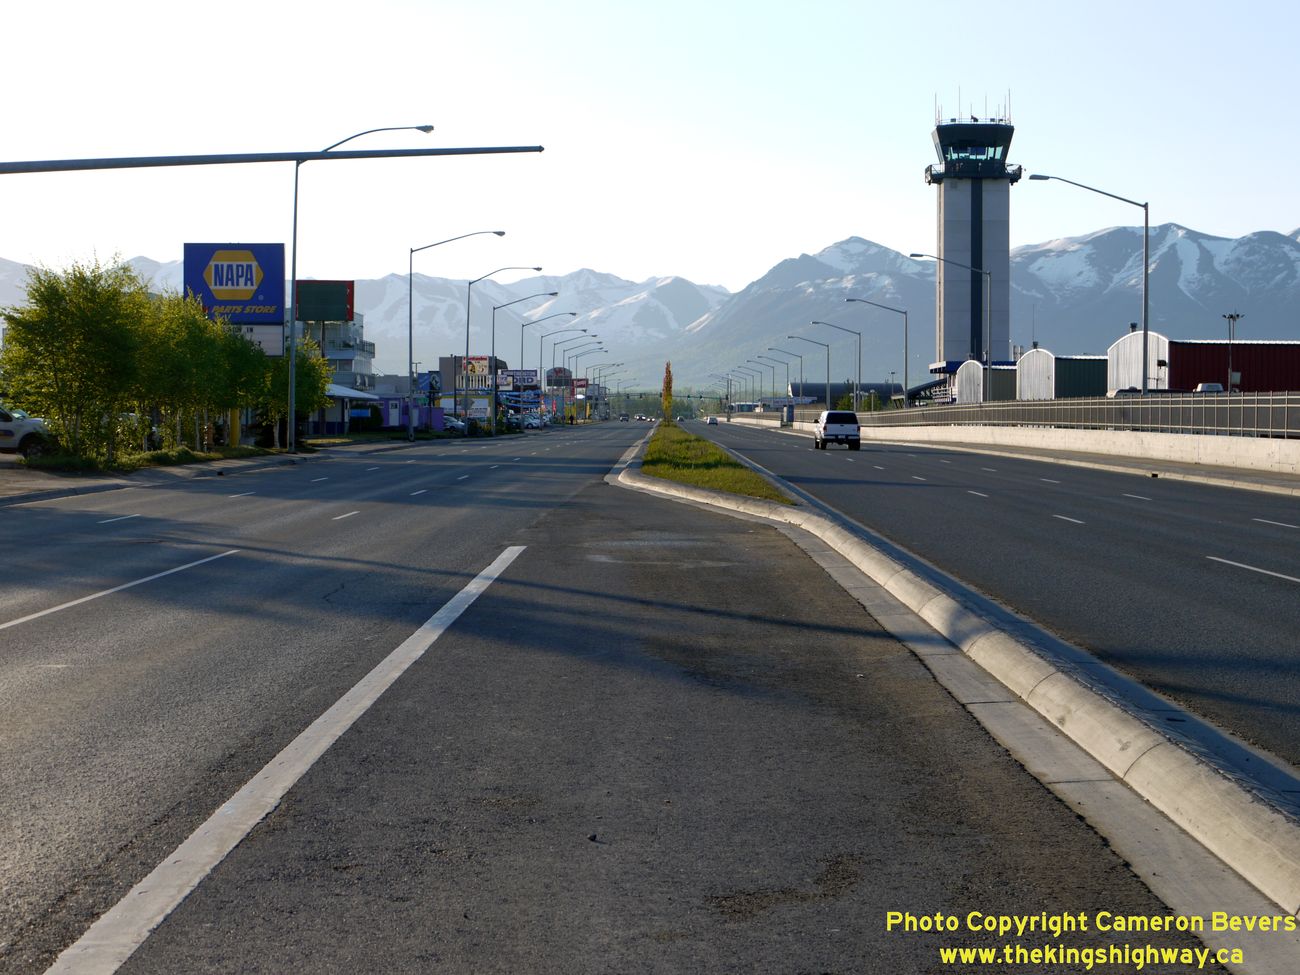
Left - Glenn Highway (Hwy 1) near Merrill Field, facing east from Airport Heights Road. (Photograph taken on May 28, 2012 - © Cameron Bevers) Right - East of Airport Heights Road, the Glenn Highway (Hwy 1) becomes a six-lane freeway. See an Enlarged Photo Here. (Photograph taken on May 28, 2012 - © Cameron Bevers) 
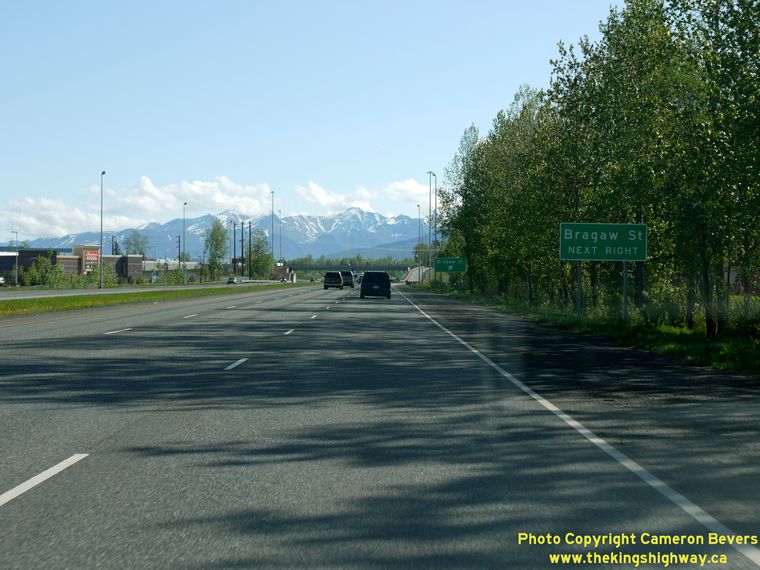
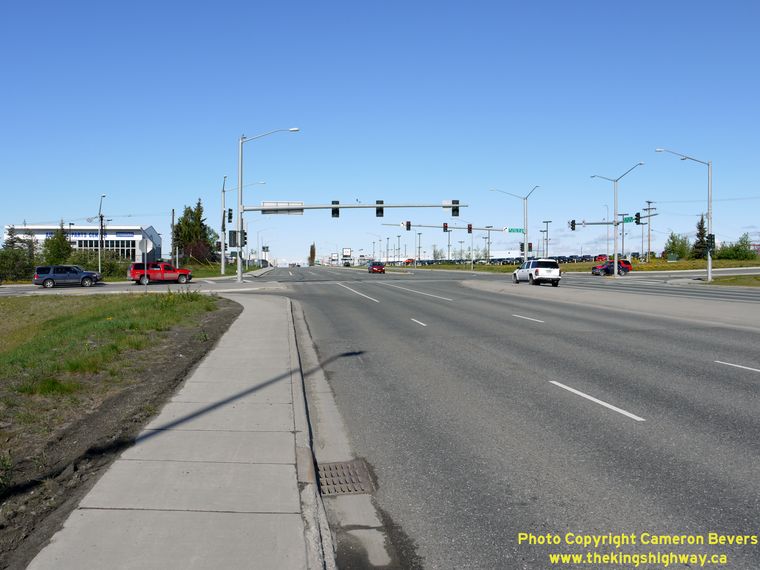
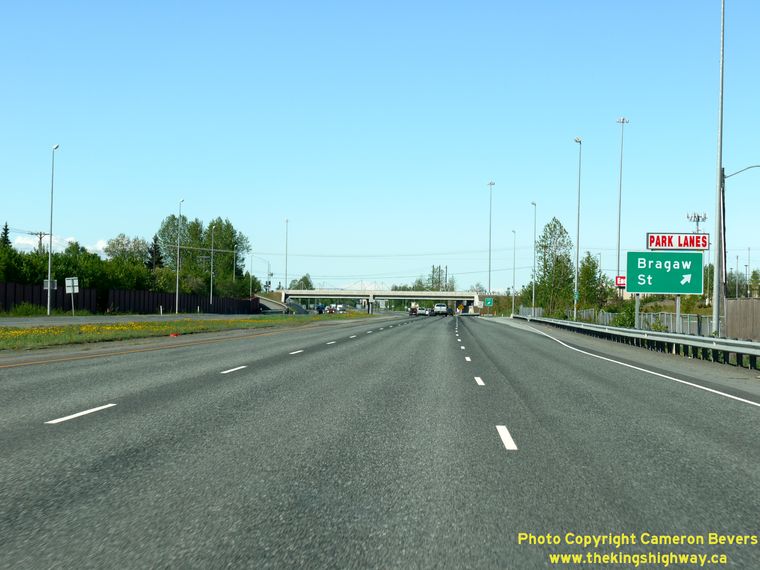
Left - The freeway section of Hwy 1 extends from Anchorage to the Mat-Su Valley Interchange, located about 35 miles northeast of Anchorage. (Photograph taken on May 28, 2012 - © Cameron Bevers) Right - The first full interchange on the Glenn Highway (Hwy 1) east of Downtown Anchorage is Bragaw Street. (Photograph taken on May 28, 2012 - © Cameron Bevers) 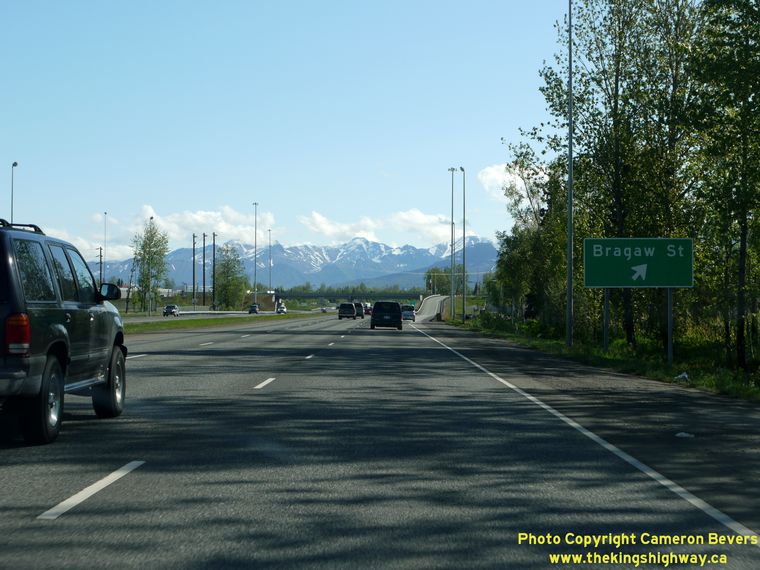
Left - Exit sign for the Bragaw Street Interchange on the Eastbound Glenn Highway (Hwy 1) in Anchorage. (Photograph taken on May 28, 2012 - © Cameron Bevers) Right - Bragaw Street Overpass on the Glenn Highway (Hwy 1) in Anchorage. (Photograph taken on May 28, 2012 - © Cameron Bevers) 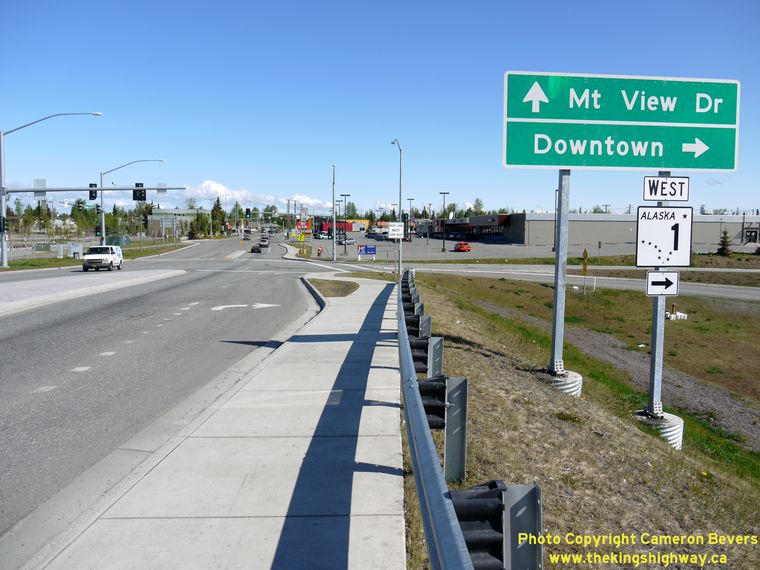
Left - Freeway entrance sign for Hwy 1 West on Northbound Bragaw Street. The turn-off to the Westbound Glenn Highway is merely signed as "Downtown" from this
interchange. (Photograph taken on May 28, 2012 - © Cameron Bevers) Right - Facing east along the Glenn Highway (Hwy 1) from the Bragaw Street Overpass. The Bragaw Street Interchange is in a half-diamond and half "A-2 Parclo" ramp configuration. (Photograph taken on May 28, 2012 - © Cameron Bevers) 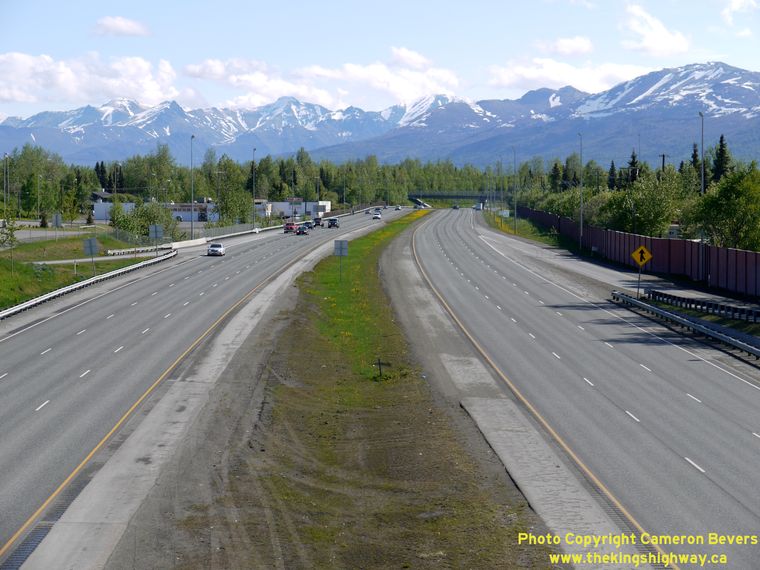
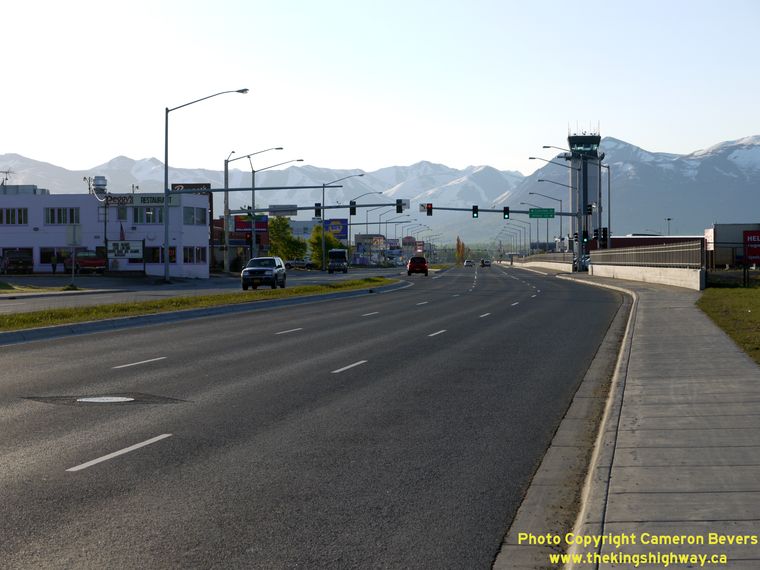
Left - The snow-capped Chugach Mountains provide a scenic backdrop for this view of the Glenn Highway in Anchorage. See an
Enlarged Photo Here. (Photograph taken on May 28, 2012 - © Cameron Bevers) Right - This Alaska Hwy 1 East route marker is mounted onto a traffic signal mast arm at the Bragaw Street Interchange. (Photograph taken on May 28, 2012 - © Cameron Bevers) 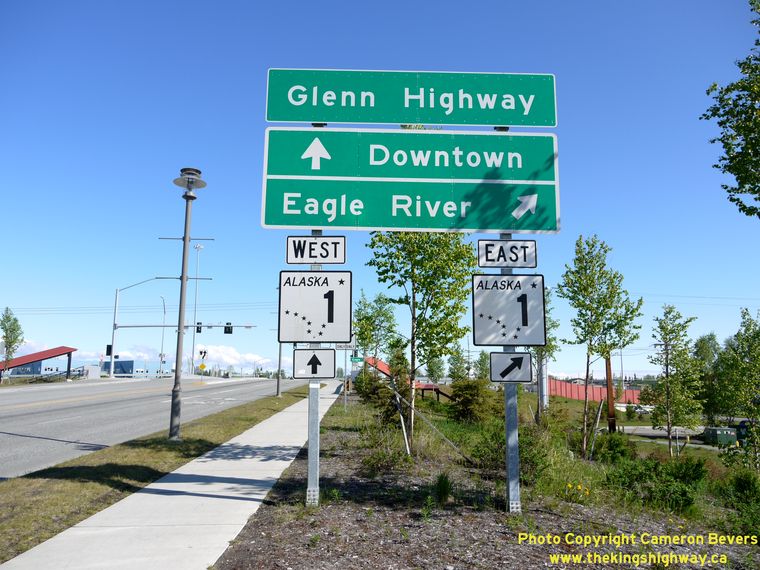
Left - Guide sign on Northbound Bragaw Street at the Glenn Highway Interchange in Anchorage. (Photograph taken on May 28, 2012 - © Cameron Bevers) Right - Freeway entrance sign on Northbound Bragaw Street. The control city on the Eastbound Glenn Highway is Eagle River, which is a suburb of Anchorage. (Photograph taken on May 28, 2012 - © Cameron Bevers) 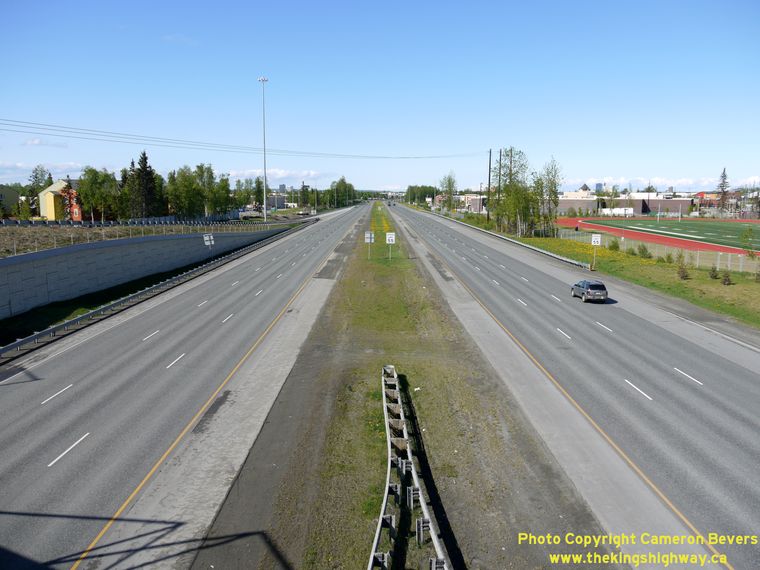

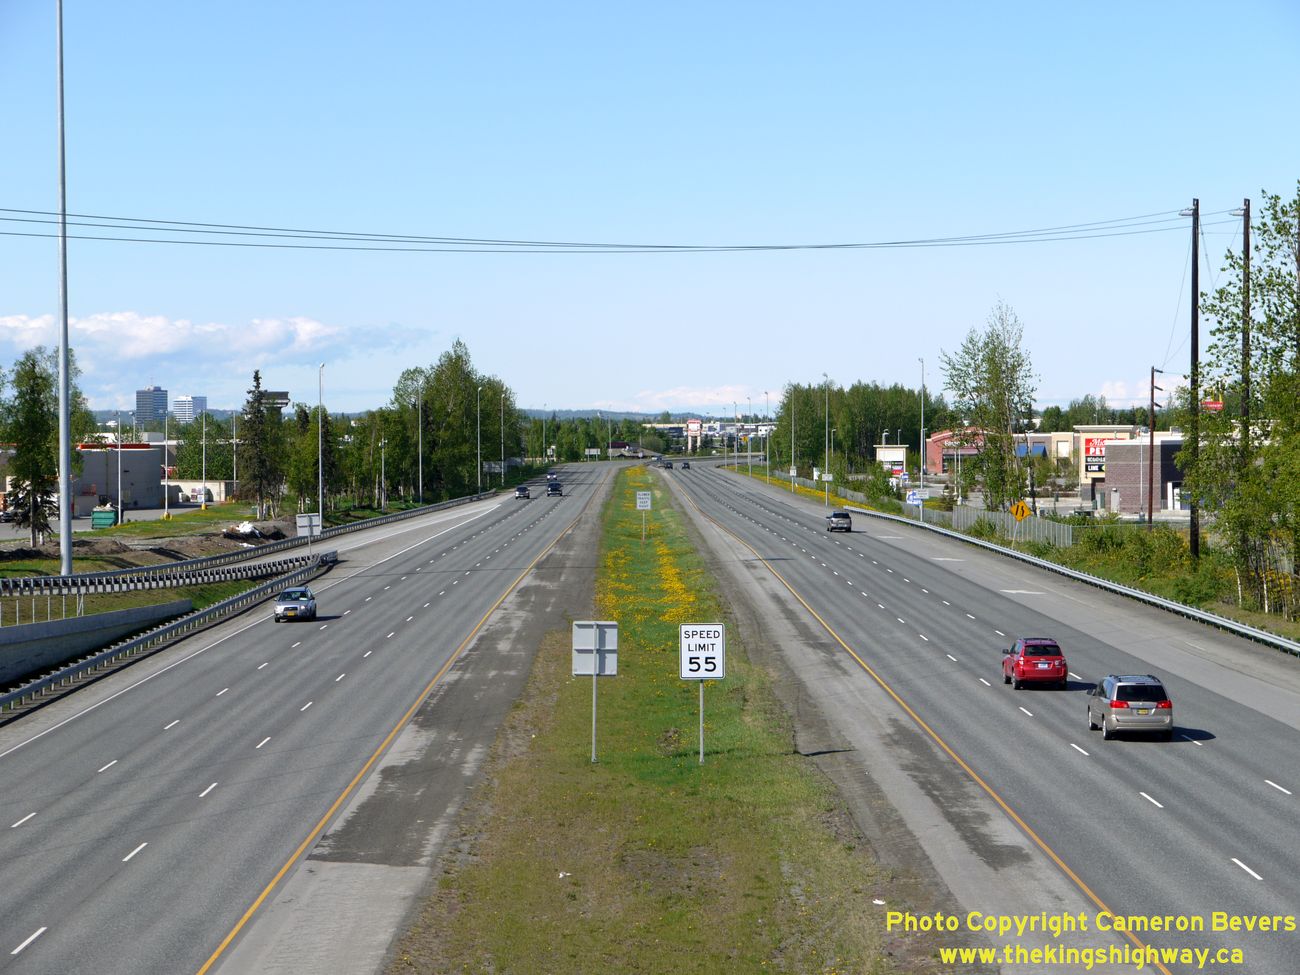
Left - Facing west along the Glenn Highway (Hwy 1) from the Bragaw Street Interchange in Anchorage. (Photograph taken on May 28, 2012 - © Cameron Bevers) Right - West of Bragaw Street, the speed limit on the Glenn Highway drops from 65 mph to 55 mph. The freeway portion of the Glenn Highway ends about 1/2 mile ahead at Airport Heights Road, before proceeding into Downtown Anchorage. See an Enlarged Photo Here. (Photograph taken on May 28, 2012 - © Cameron Bevers) 
Left - Freeway entrance sign for Hwy 1 East on Southbound Bragaw Street in Anchorage. (Photograph taken on May 28, 2012 - © Cameron Bevers) Right - This Alaska Hwy 1 West route marker is mounted onto a traffic signal mast arm at the Bragaw Street Interchange. (Photograph taken on May 28, 2012 - © Cameron Bevers) 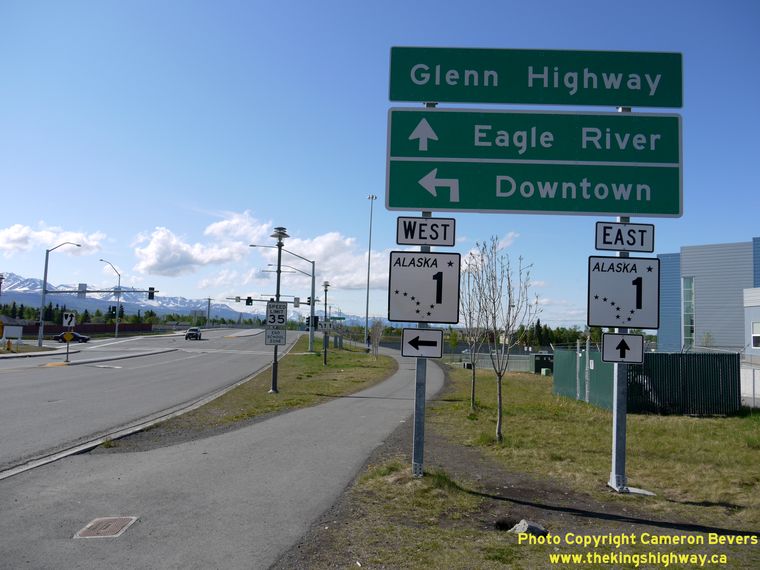
Left - Guide sign on Southbound Bragaw Street at the Glenn Highway Interchange in Anchorage. (Photograph taken on May 28, 2012 - © Cameron Bevers) Right - Exit sign for the Bragaw Street Interchange on the Westbound Glenn Highway (Hwy 1) in Anchorage. (Photograph taken on May 28, 2012 - © Cameron Bevers) 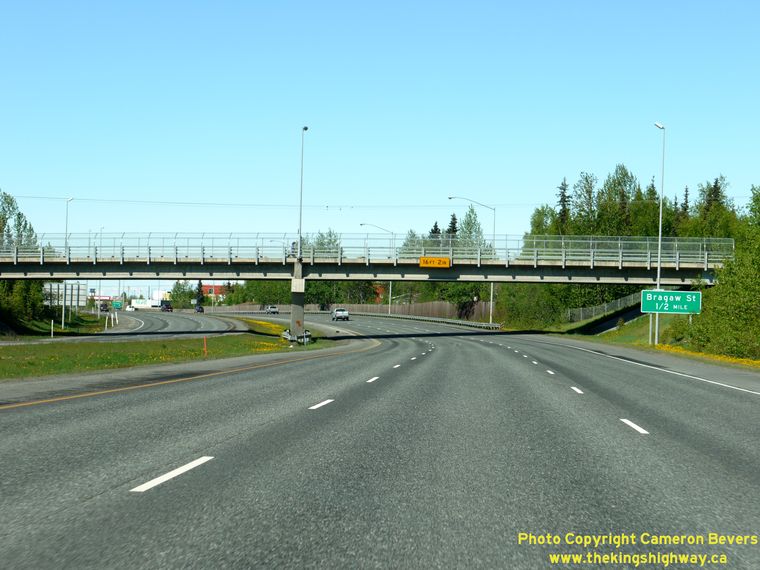

Left - McCarrey Street Overpass on the Westbound Glenn Highway (Hwy 1) in Anchorage. (Photograph taken on May 28, 2012 - © Cameron Bevers) Right - Approaching the McCarrey Street Overpass on the Eastbound Glenn Highway (Hwy 1) in Anchorage. (Photograph taken on May 28, 2012 - © Cameron Bevers) 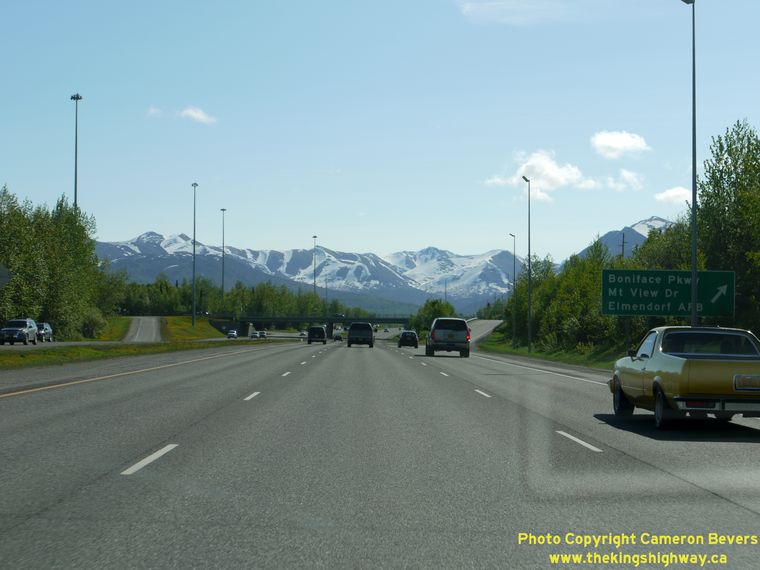
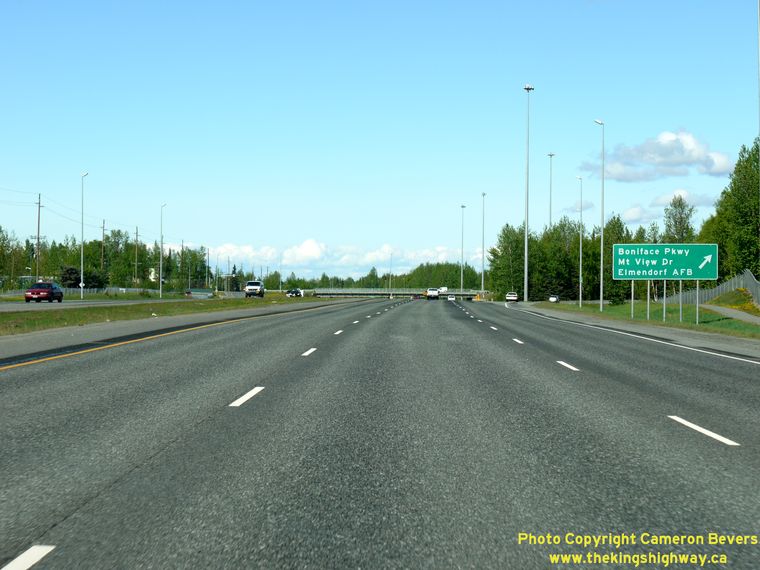
Left - Approaching the Boniface Parkway Interchange on the Eastbound Glenn Highway (Hwy 1) in Anchorage. (Photograph taken on May 28, 2012 - © Cameron Bevers) Right - Facing east along the Glenn Highway (Hwy 1) in Anchorage towards the Boniface Parkway Overpass. (Photograph taken on May 28, 2012 - © Cameron Bevers) 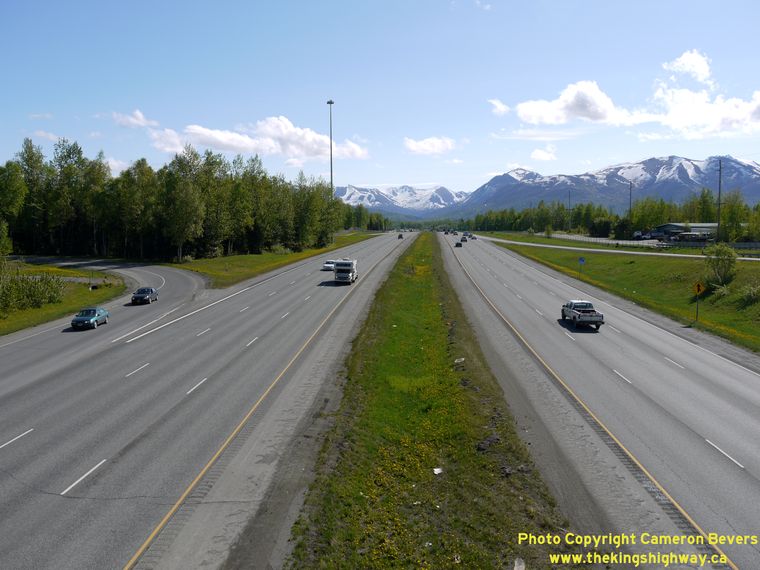
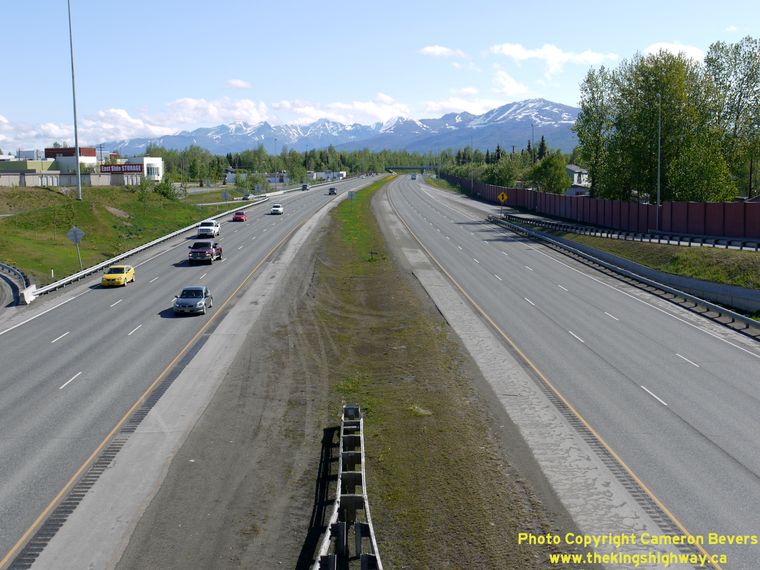
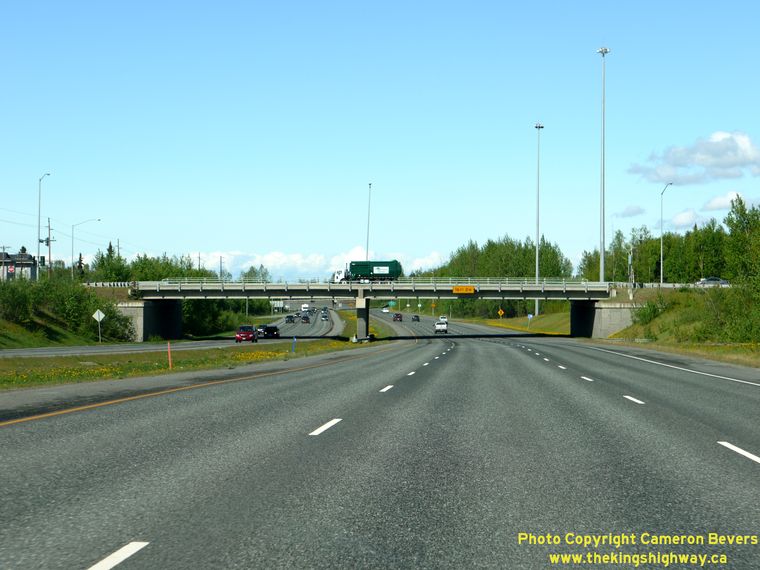
Left - Facing east along the Glenn Highway (Hwy 1) towards Eagle River from the Boniface Parkway Overpass. See an
Enlarged Photo Here. (Photograph taken on May 28, 2012 - © Cameron Bevers) Right - Freeway entrance sign for Hwy 1 West on Northbound Boniface Parkway in Anchorage. (Photograph taken on May 28, 2012 - © Cameron Bevers) 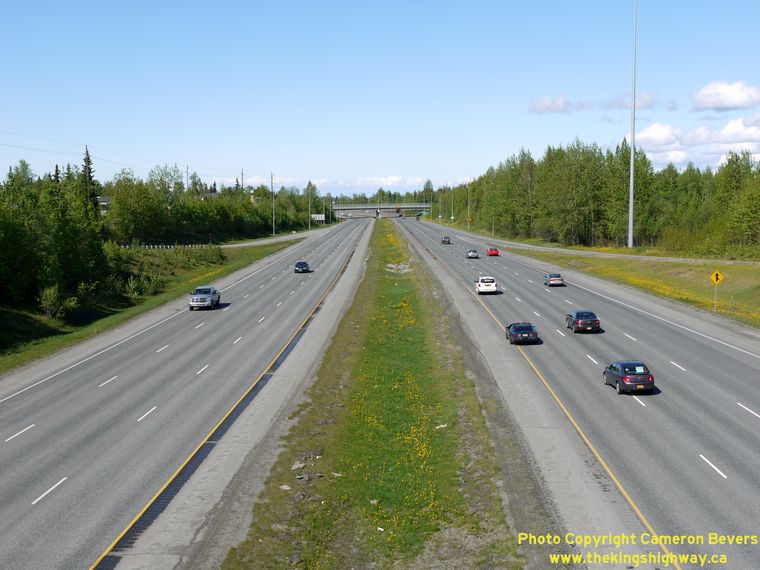
Left - Facing west along the Glenn Highway (Hwy 1) towards Downtown Anchorage from the Boniface Parkway Overpass. See an
Enlarged Photo Here. (Photograph taken on May 28, 2012 - © Cameron Bevers) Right - Boniface Parkway Overpass on the Westbound Glenn Highway (Hwy 1) in Anchorage. (Photograph taken on May 28, 2012 - © Cameron Bevers) 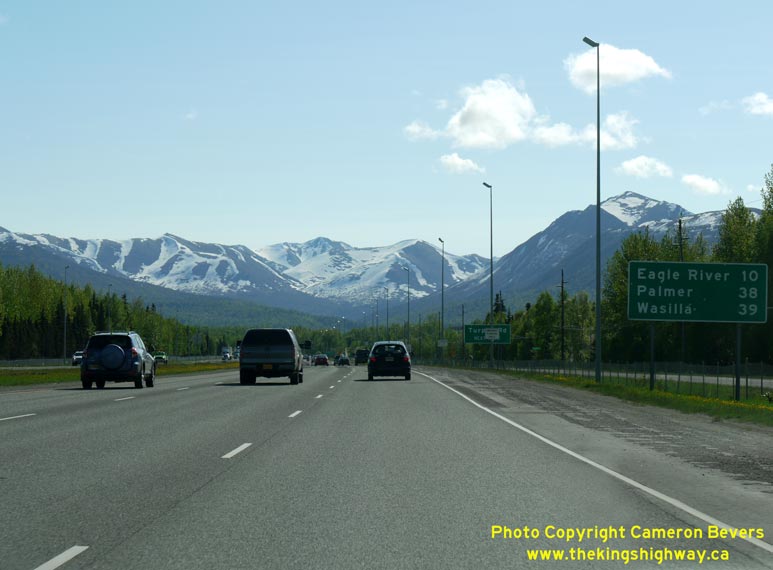
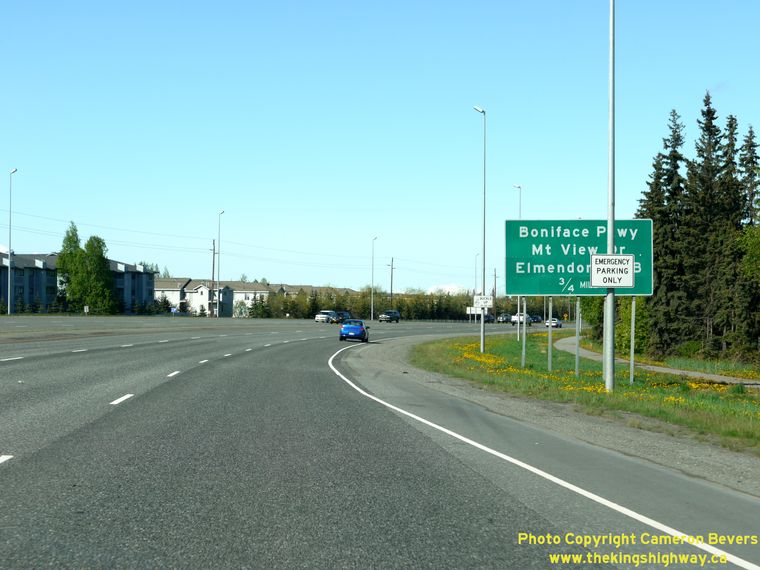
Left - Distance sign on the Eastbound Glenn Highway (Hwy 1) at the Boniface Parkway Interchange in Anchorage. See an
Enlarged Photo Here. (Photograph taken on May 28, 2012 - © Cameron Bevers) Right - Exit sign for the Boniface Parkway Interchange on the Westbound Glenn Highway (Hwy 1) in Anchorage. (Photograph taken on May 28, 2012 - © Cameron Bevers) 
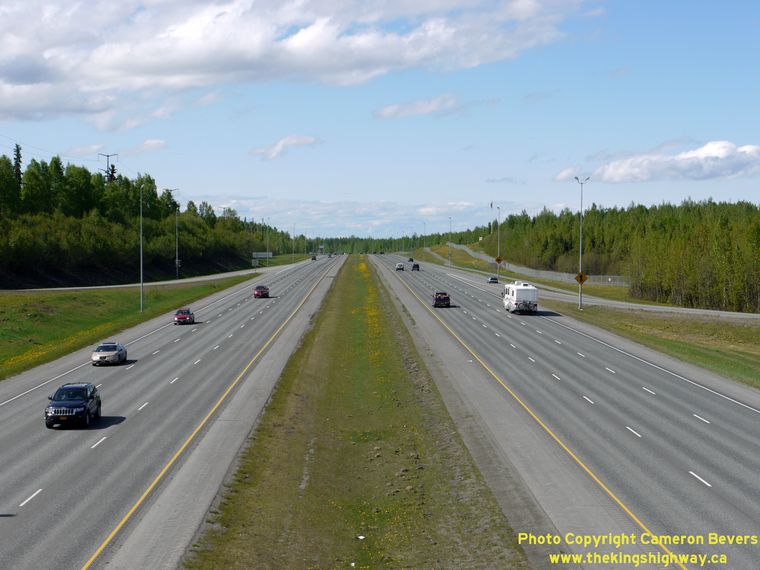
Left - Approaching the Boniface Parkway Interchange on the Westbound Glenn Highway (Hwy 1). Boniface Parkway is the second interchange on the Glenn Highway
heading outbound from Downtown Anchorage. There are 16 full interchanges and a handful of partial interchanges along the freeway between Anchorage and
the Parks Highway (Hwy 3) Junction near Palmer. (Photograph taken on May 28, 2012 - © Cameron Bevers) Right - Freeway illumination on the Glenn Highway approaching the Boniface Parkway Interchange in Anchorage. Illumination is a particularly important highway feature in Alaska, where winter nights can last in perpetuity for weeks. The Anchorage area only gets about 4.5 hours of daylight on the winter solstice in December. (Photograph taken on May 28, 2012 - © Cameron Bevers) 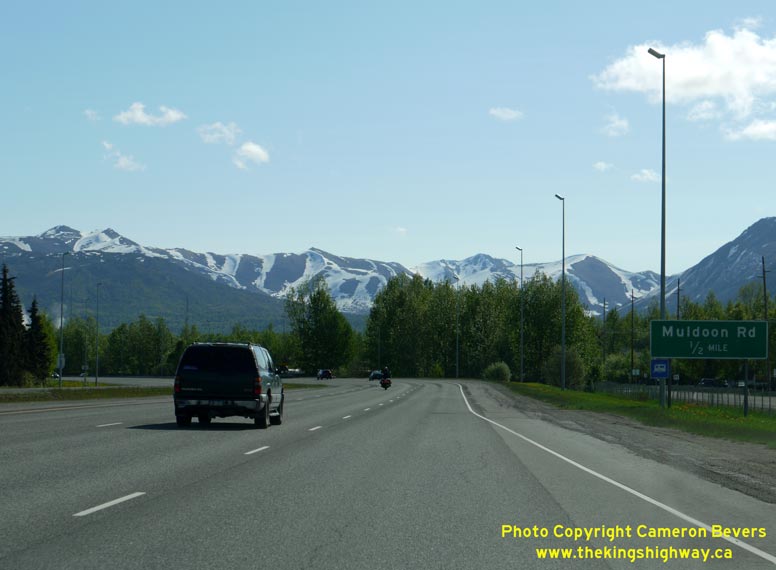
Left - Facing east along the Glenn Highway (Hwy 1) towards Eagle River from the Turpin Street Exit. This is a partial interchange located between Boniface
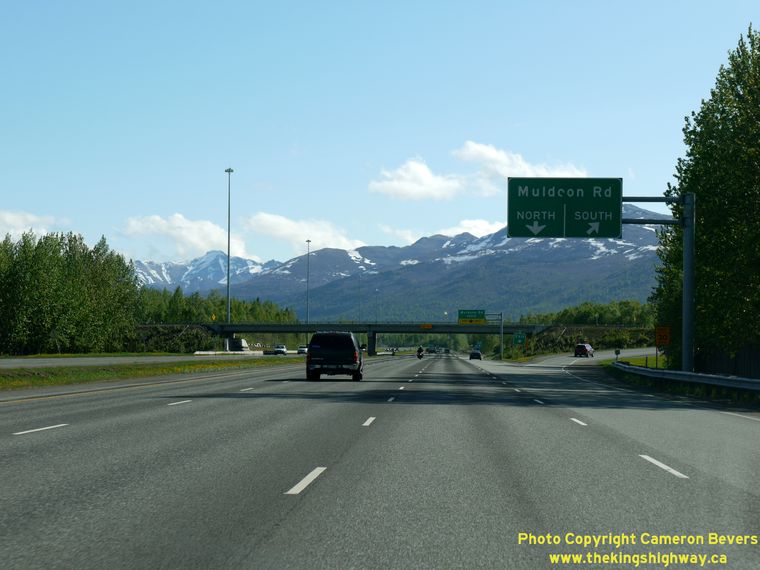
Parkway and Muldoon Road. All ramps are on the southern side of the freeway. Turpin Street ends at the Glenn Highway, so there is no grade separation at the freeway. (Photograph taken on May 28, 2012 - © Cameron Bevers) Right - Approaching the Muldoon Road Interchange on the Eastbound Glenn Highway (Hwy 1). The Muldoon Road Interchange is in a "B-4 Parclo" ramp configuration, so there are separate exit ramps for Muldoon Road North and Muldoon Road South. (Photograph taken on May 28, 2012 - © Cameron Bevers) 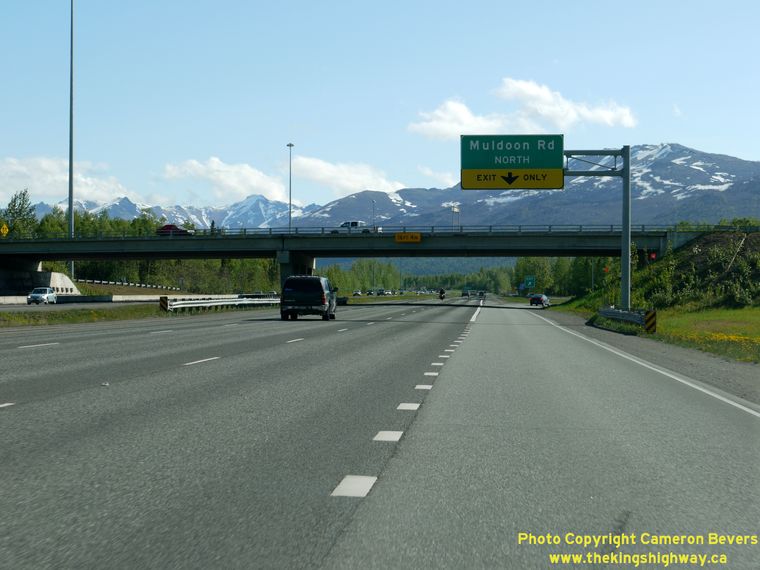
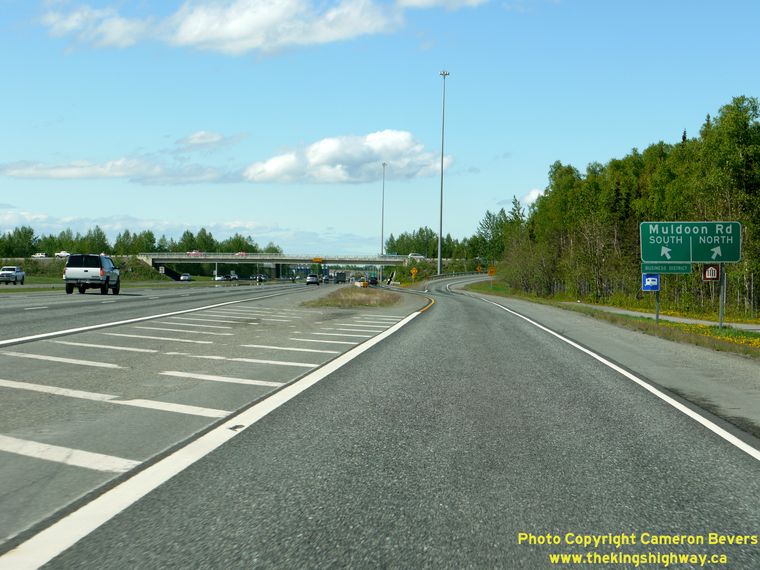
Left - Overhead sign marking the Muldoon Road North Exit on the Eastbound Glenn Highway (Hwy 1) in Anchorage. (Photograph taken on May 28, 2012 - © Cameron Bevers) Right - Facing west along the Glenn Highway (Hwy 1) towards Downtown Anchorage from the Muldoon Road Overpass. (Photograph taken on May 28, 2012 - © Cameron Bevers) 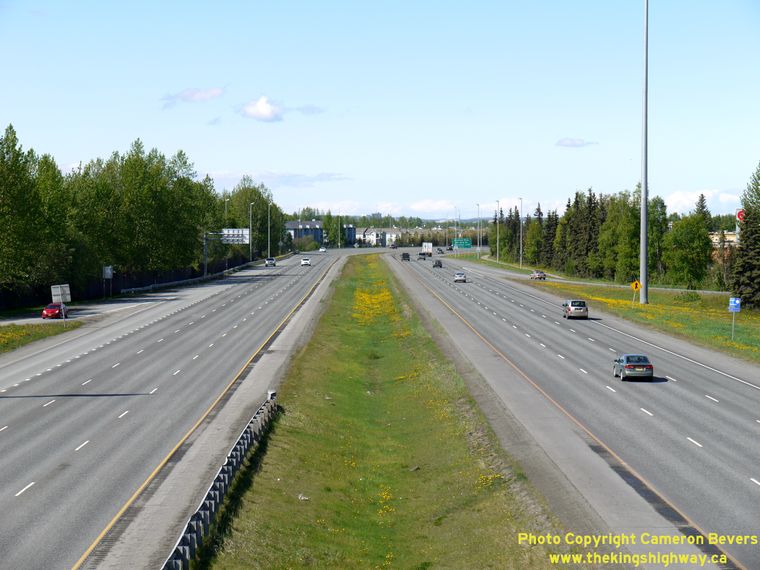
Left - Glenn Highway (Hwy 1) facing west towards Turpin Street and Boniface Parkway from the Muldoon Road Interchange. (Photograph taken on May 28, 2012 - © Cameron Bevers) Right - Overhead sign marking the Glenn Highway (Hwy 1) Interchange on Northbound Muldoon Road. (Photograph taken on May 28, 2012 - © Cameron Bevers) 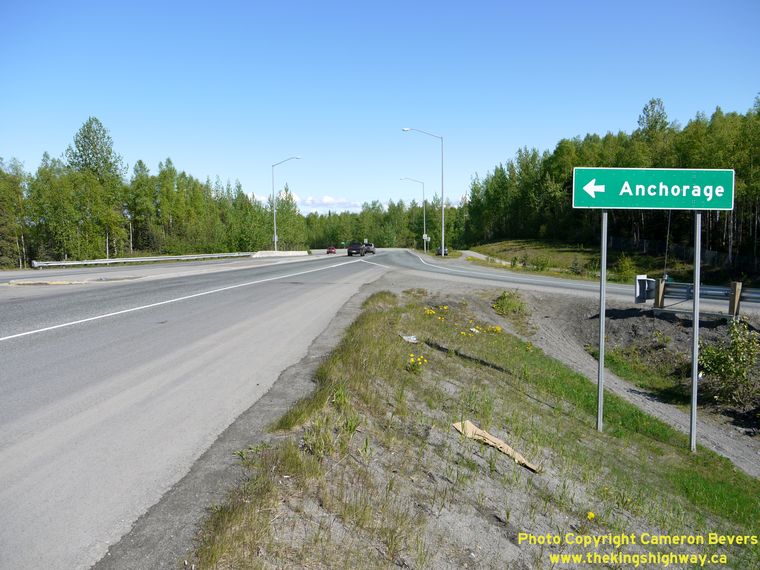
Left - A small sign points the way to Anchorage at the entrance ramp to the Glenn Highway (Hwy 1) on Muldoon Road. (Photograph taken on May 28, 2012 - © Cameron Bevers) Right - Facing south along Muldoon Road at the Glenn Highway (Hwy 1) Interchange. Muldoon Road more or less marks the contiguous developed limits of Anchorage. Although the official municipal limits of Anchorage extend considerably further to the east, the mountains have contained development to the area approximately bounded by Muldoon Road. (Photograph taken on May 28, 2012 - © Cameron Bevers) 

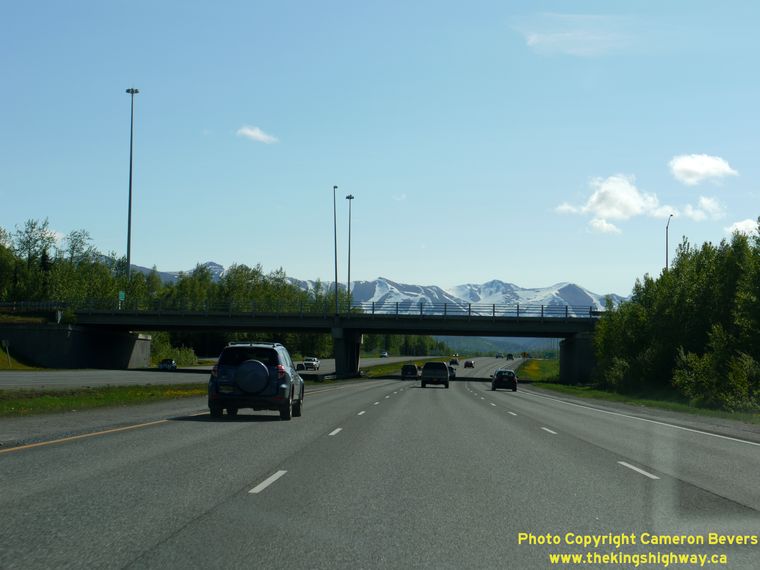
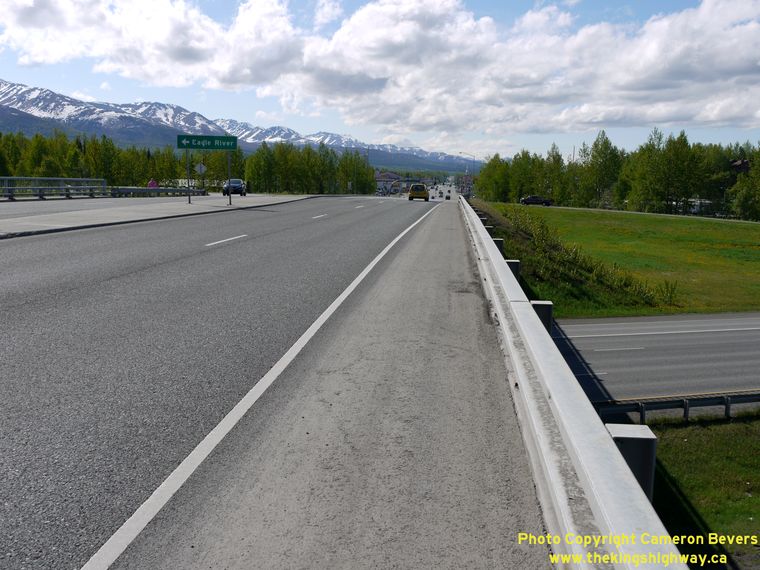
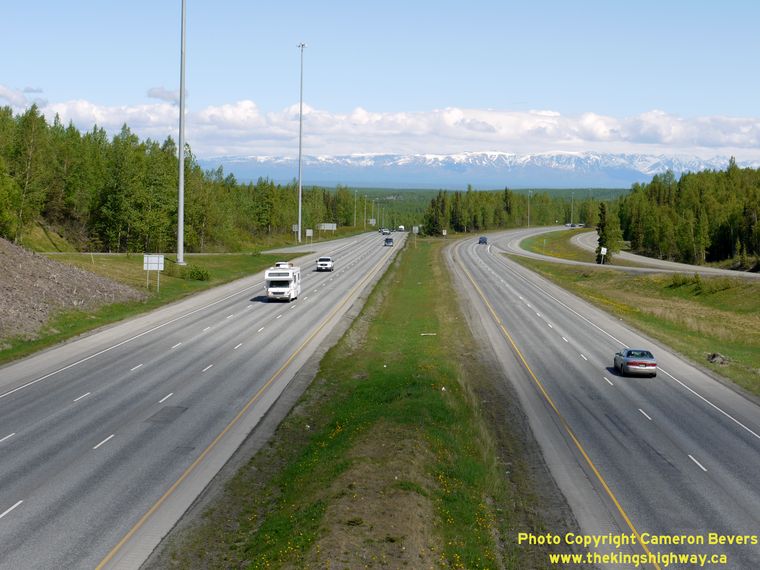
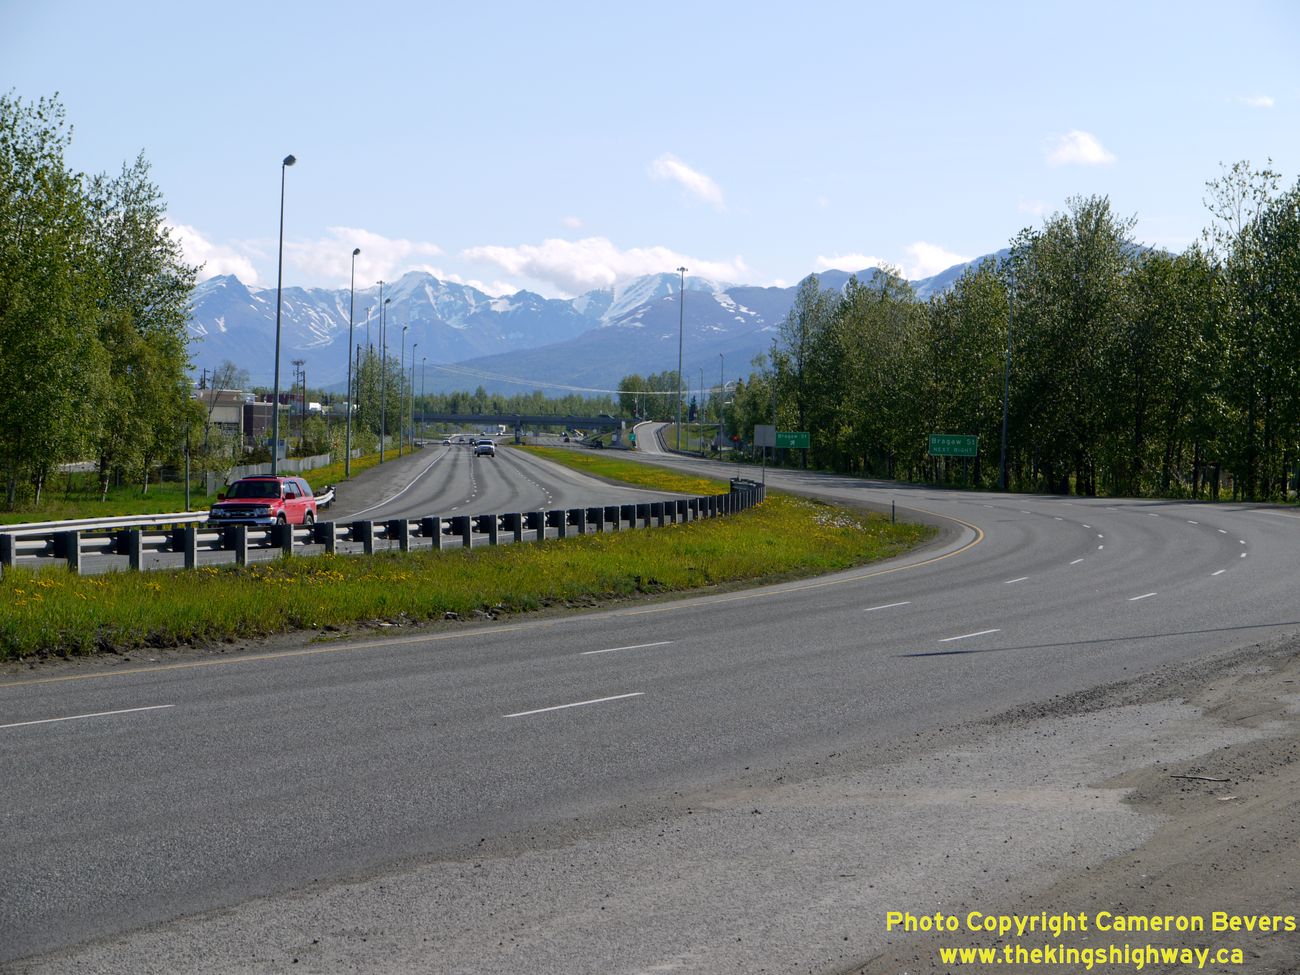
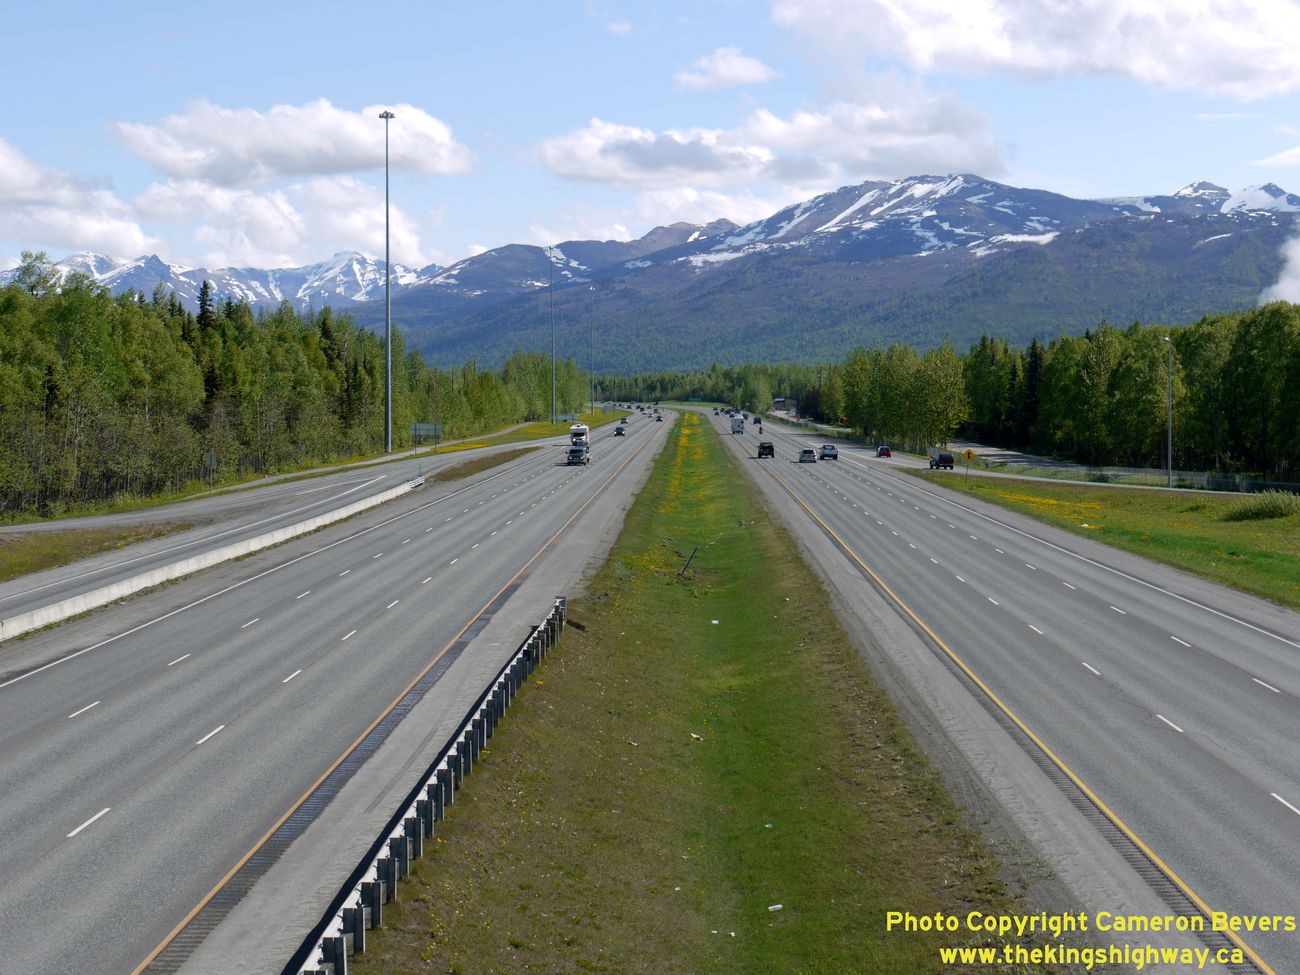
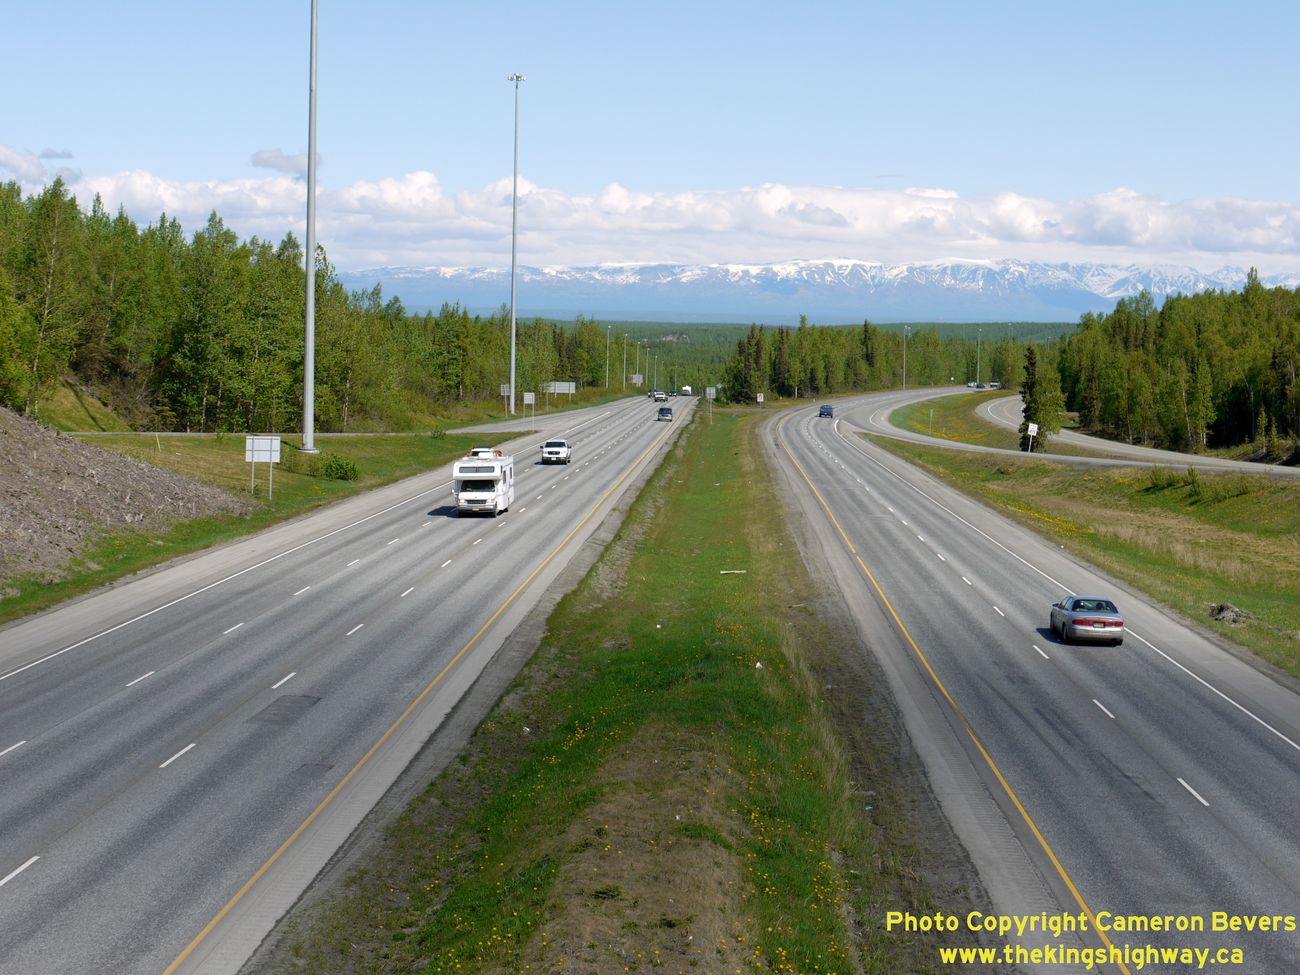
Left - A short sub-collector lane (at left) serves both of the Muldoon Road Exits on the Westbound Glenn Highway (Hwy 1). (Photograph taken on May 28, 2012 - © Cameron Bevers) Right - Facing east along the Glenn Highway (Hwy 1) towards Eagle River from the Muldoon Road Overpass. At this point, the Glenn Highway leaves the developed areas of Anchorage and turns northeasterly towards Eagle River. See an Enlarged Photo Here. (Photograph taken on May 28, 2012 - © Cameron Bevers) 
Left - The southbound sub-collector lane at Muldoon Road ends in a tight "B-configuration" loop ramp. (Photograph taken on May 28, 2012 - © Cameron Bevers) Right - Sub-collector lane on the Southbound Glenn Highway (Hwy 1) which serves both Muldoon Road Exits. (Photograph taken on May 28, 2012 - © Cameron Bevers) 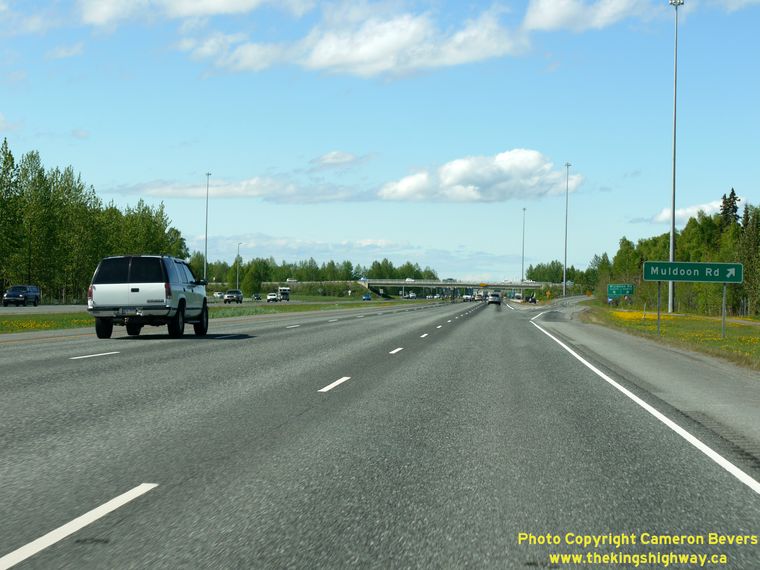
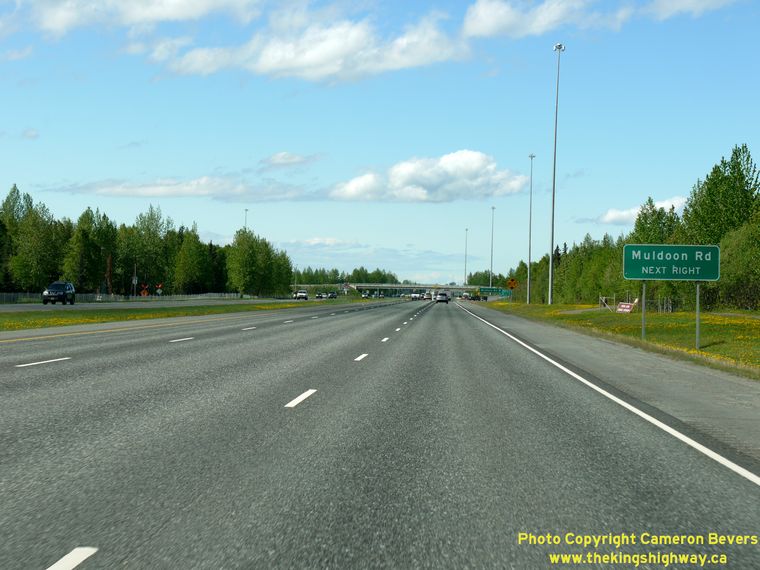
Left - Approaching the Muldoon Road Interchange on the Southbound Glenn Highway (Hwy 1) in Anchorage. (Photograph taken on May 28, 2012 - © Cameron Bevers) Right - Guide sign marking the upcoming exit to Muldoon Road on the Southbound Glenn Highway (Hwy 1). (Photograph taken on May 28, 2012 - © Cameron Bevers) 

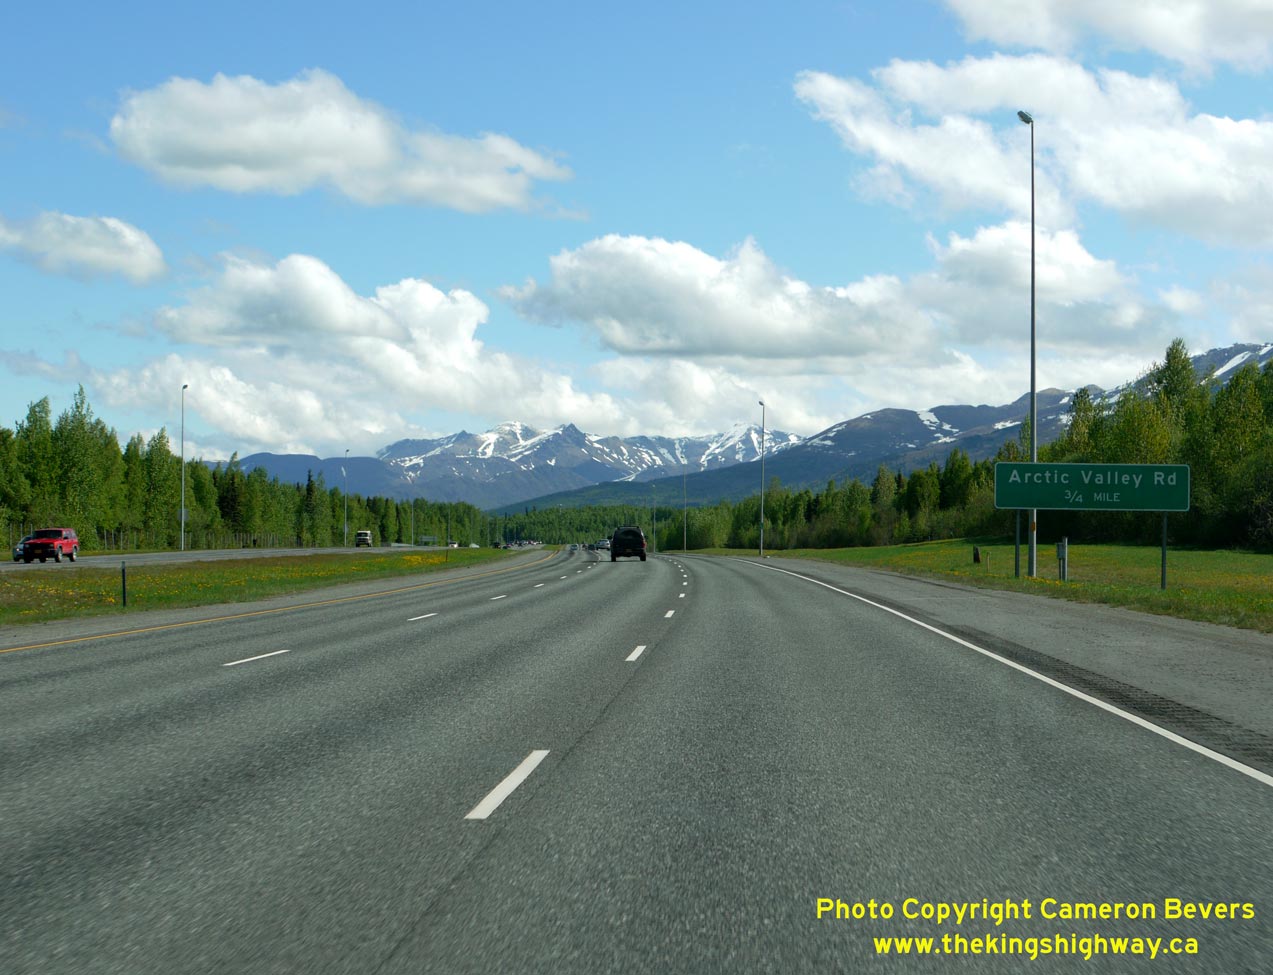
Left - Facing south along the Glenn Highway (Hwy 1) between the Arctic Valley Road Interchange and Muldoon Road. (Photograph taken on May 28, 2012 - © Cameron Bevers) Right - Guide sign for the Arctic Valley Road Interchange on the Northbound Glenn Highway (Hwy 1) between Anchorage and Eagle River. See an Enlarged Photo Here. (Photograph taken on May 28, 2012 - © Cameron Bevers) 

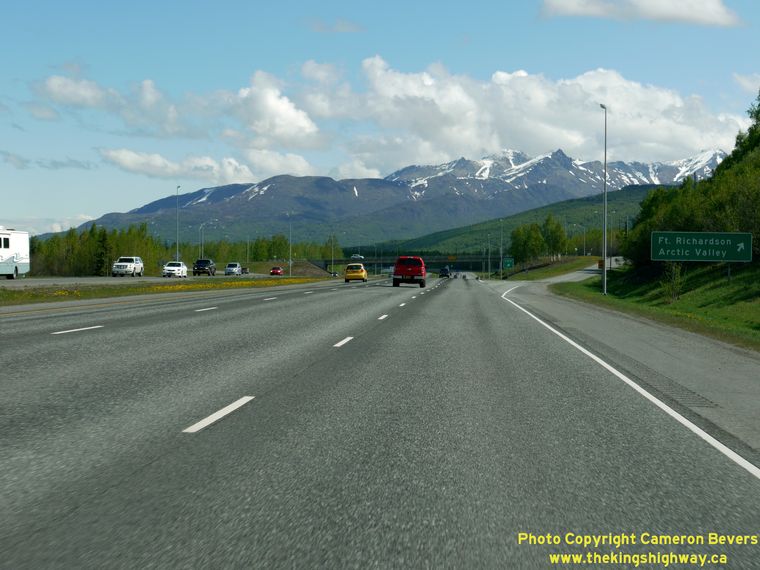
Left - Facing north along the Glenn Highway (Hwy 1) near Fort Richardson. (Photograph taken on May 28, 2012 - © Cameron Bevers) Right - Exit sign for the Arctic Valley Road Interchange on the Northbound Glenn Highway (Hwy 1) at Fort Richardson. (Photograph taken on May 28, 2012 - © Cameron Bevers) 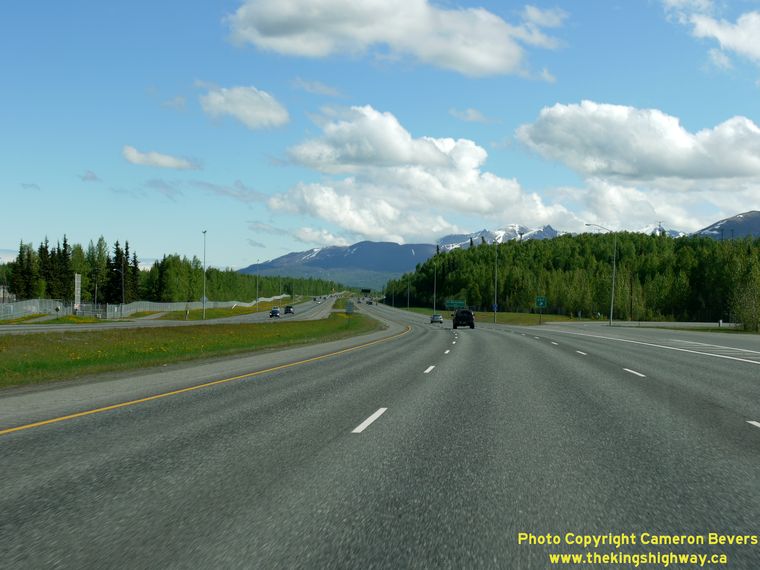

Left - Facing north from the Arctic Valley Road Interchange on the Glenn Highway (Hwy 1) near Fort Richardson. This is a partial interchange located between
Muldoon Road and D Street, with a off-ramp to Arctic Valley Road only and an on-ramp from Fort Richardson. There is no grade separation at the freeway. See an
Enlarged Photo Here. (Photograph taken on May 28, 2012 - © Cameron Bevers) Right - Glenn Highway (Hwy 1) near Fort Richardson, facing south from the Arctic Valley Road Interchange. (Photograph taken on May 28, 2012 - © Cameron Bevers) 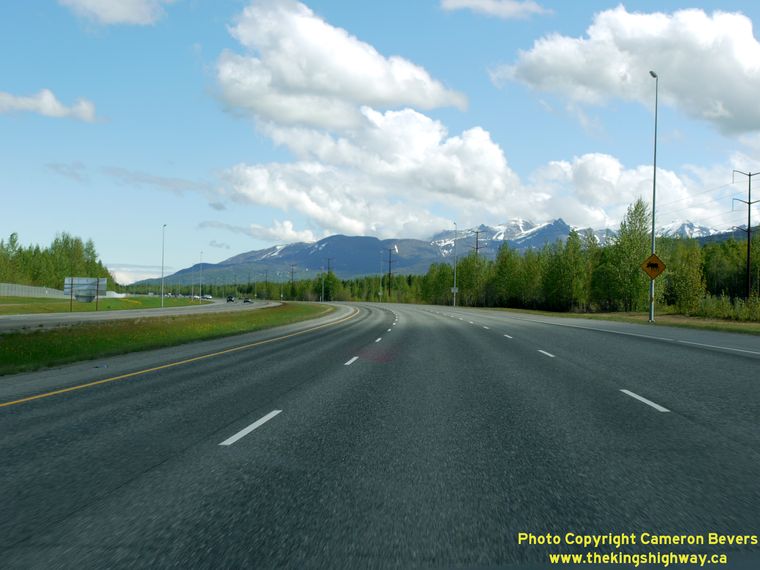

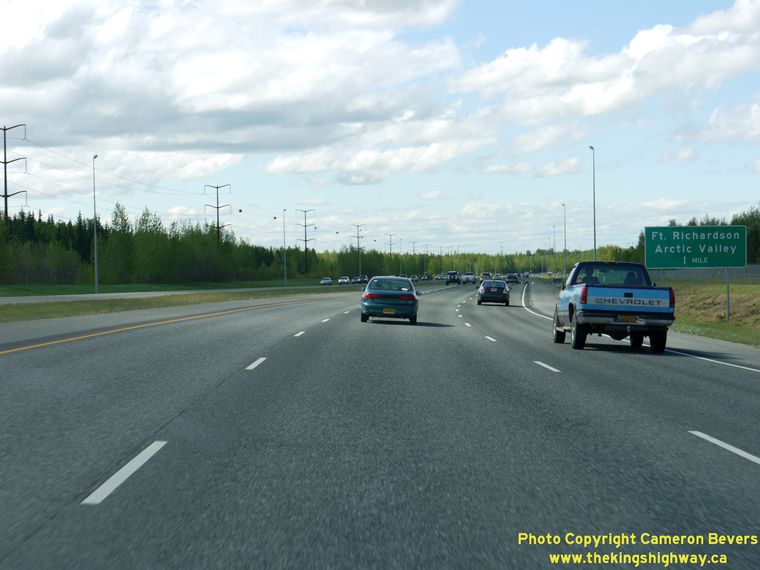
Left - Moose warning sign on the Northbound Glenn Highway (Hwy 1) at Fort Richardson. (Photograph taken on May 28, 2012 - © Cameron Bevers) Right - Guide sign marking the upcoming exit to Fort Richardson on the Northbound Glenn Highway (Hwy 1). (Photograph taken on May 28, 2012 - © Cameron Bevers) 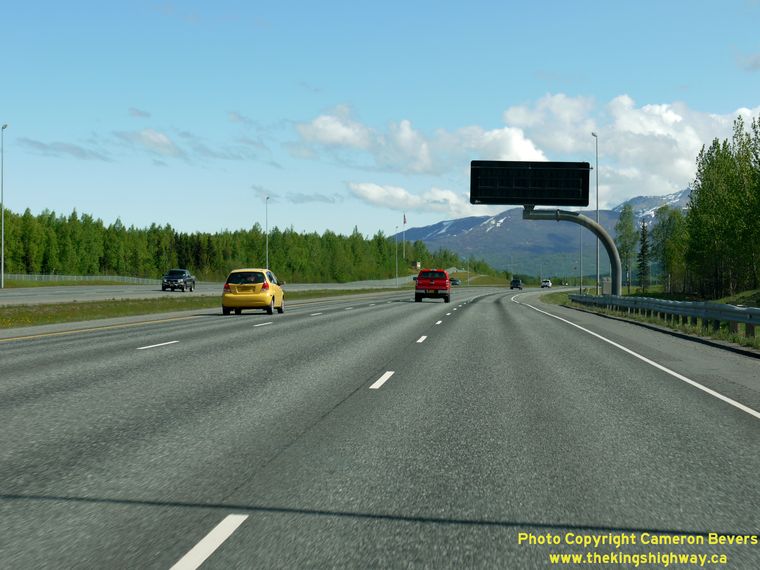
Left - Changeable message sign on the Northbound Glenn Highway (Hwy 1) at Fort Richardson. (Photograph taken on May 28, 2012 - © Cameron Bevers) Right - D Street Interchange on the Glenn Highway (Hwy 1) at Fort Richardson, facing north. (Photograph taken on May 28, 2012 - © Cameron Bevers) 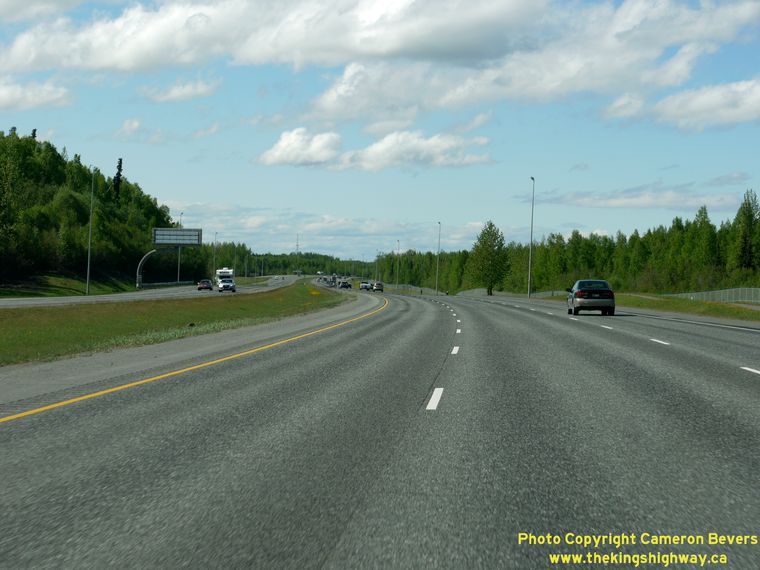
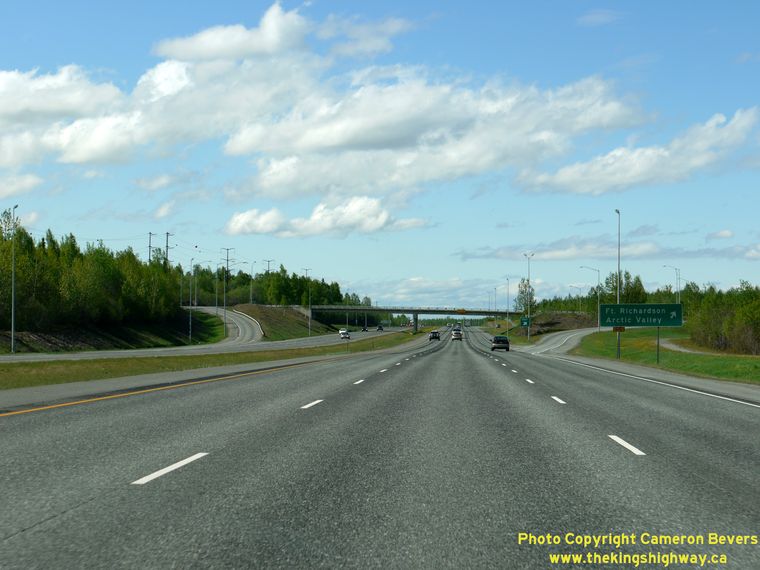
Left - Glenn Highway (Hwy 1) near the D Street Overpass at Fort Richardson, facing south towards Anchorage. See an
Enlarged Photo Here. (Photograph taken on May 28, 2012 - © Cameron Bevers) Right - Facing south along the Glenn Highway (Hwy 1) towards Anchorage from the D Street Overpass at Fort Richardson. (Photograph taken on May 28, 2012 - © Cameron Bevers) 
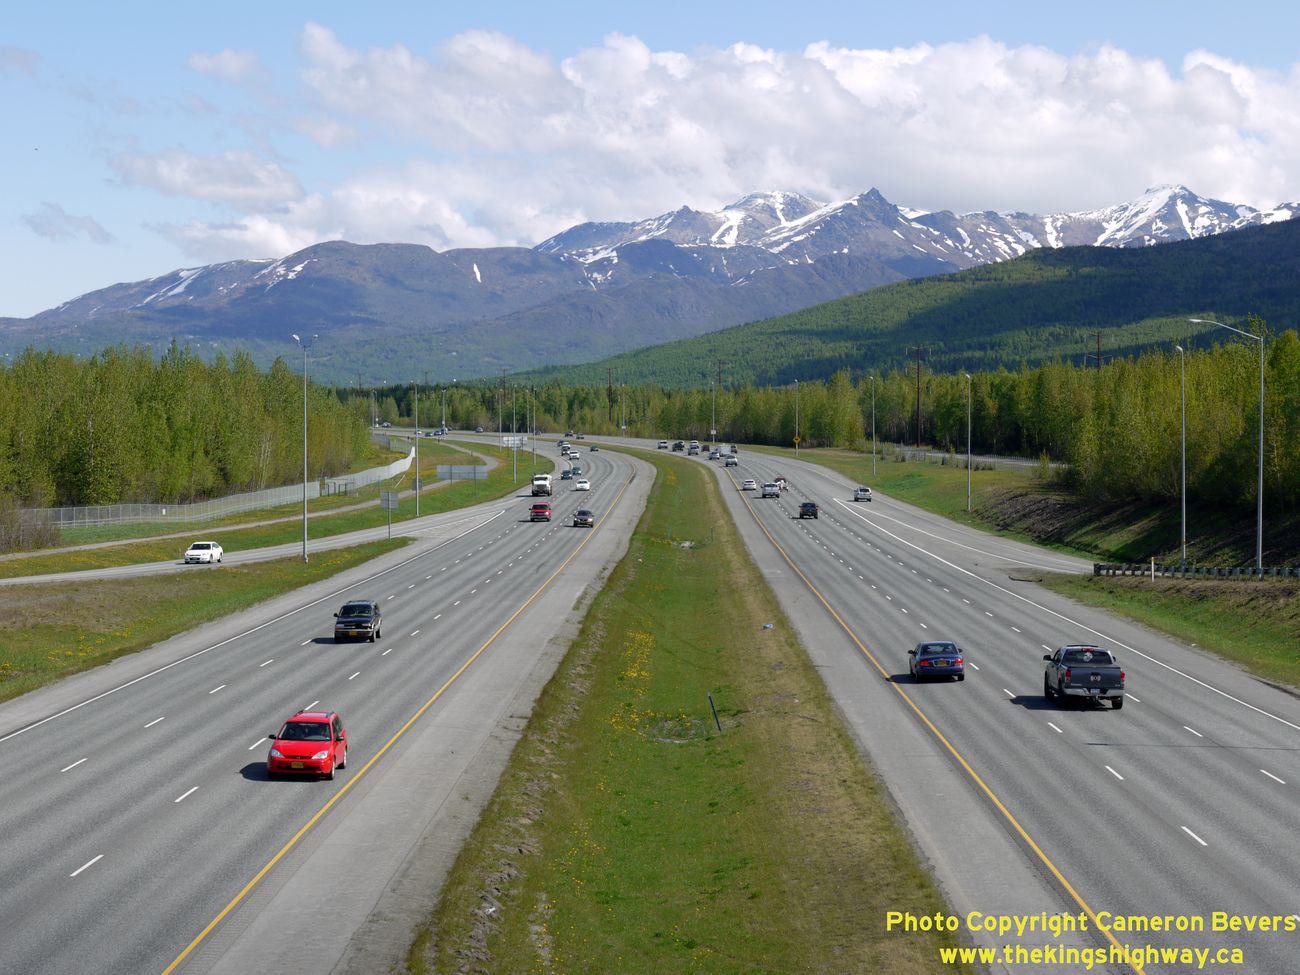
Left - Scenic view of the Glenn Highway (Hwy 1), facing north from the D Street Overpass at Fort Richardson. The aptly-named Mount Magnificent rises
triumphantly above the Glenn Highway. See an
Enlarged Photo Here. (Photograph taken on May 28, 2012 - © Cameron Bevers) Right - The D Street Interchange on the Glenn Highway (Hwy 1) at Fort Richardson is a diamond interchange. (Photograph taken on May 28, 2012 - © Cameron Bevers) 
Left - Approaching the D Street Interchange on the Southbound Glenn Highway (Hwy 1) at Fort Richardson. (Photograph taken on May 28, 2012 - © Cameron Bevers) Right - Guide sign marking the upcoming exit to Arctic Valley and Fort Richardson on the Southbound Glenn Highway (Hwy 1). (Photograph taken on May 28, 2012 - © Cameron Bevers) 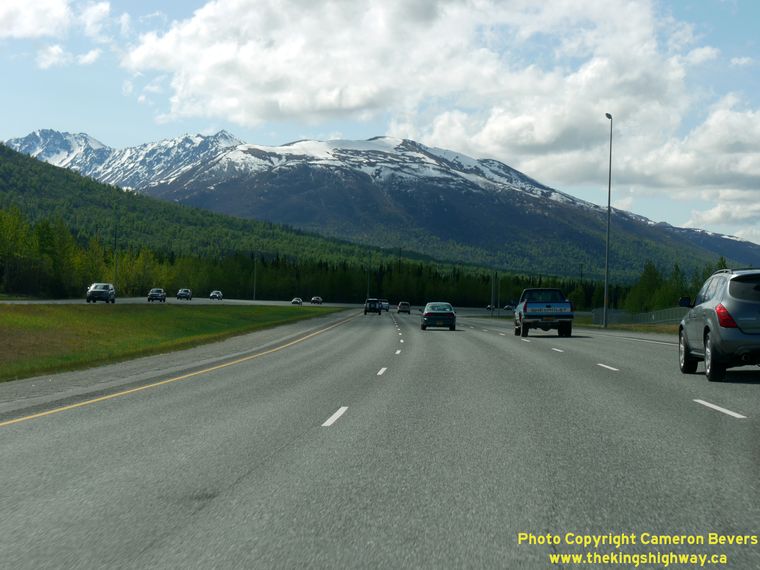

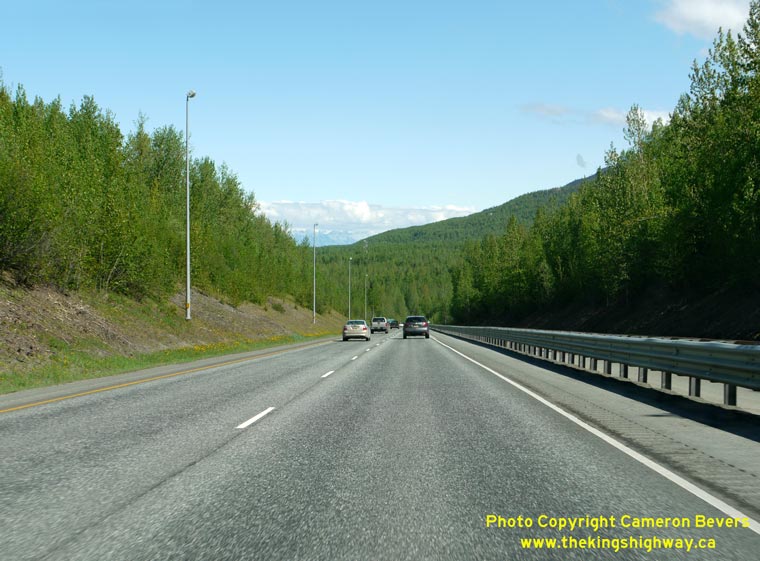
Left - View of Temptation Peak on the Southbound Glenn Highway (Hwy 1) approaching Fort Richardson. (Photograph taken on May 28, 2012 - © Cameron Bevers) Right - Facing south along the Glenn Highway (Hwy 1) towards Anchorage between Eagle River and Fort Richardson. (Photograph taken on May 28, 2012 - © Cameron Bevers) 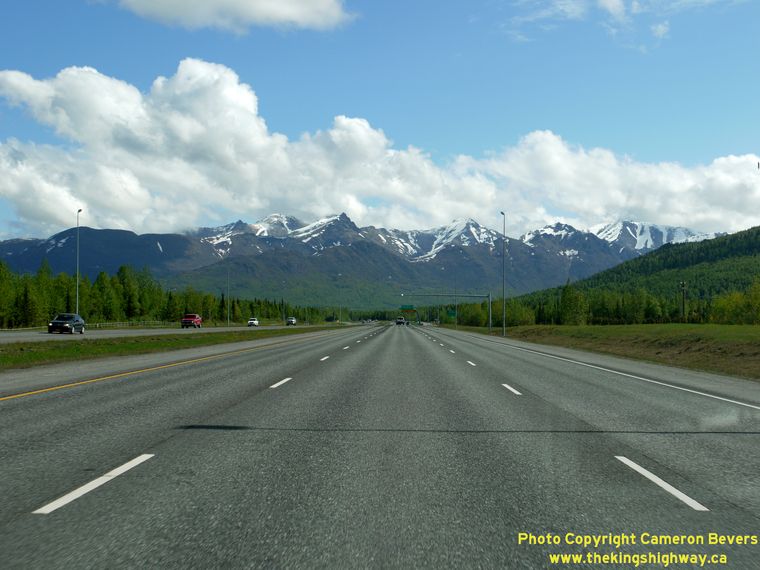

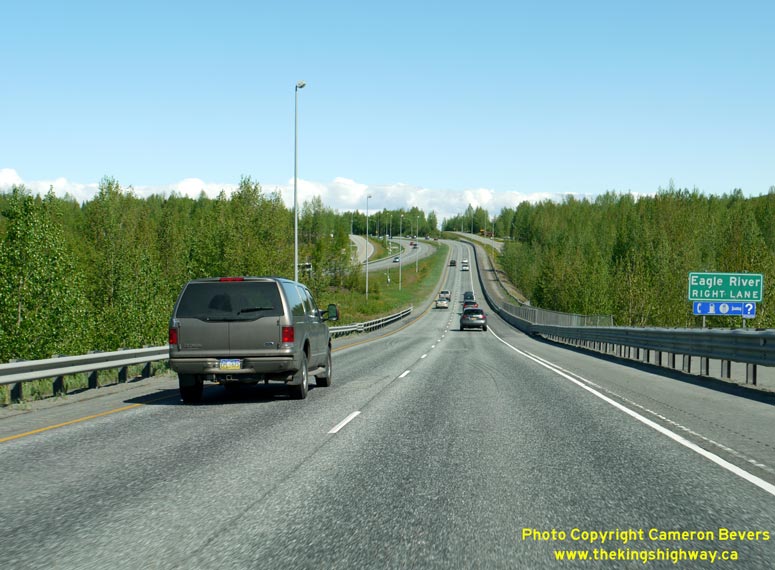
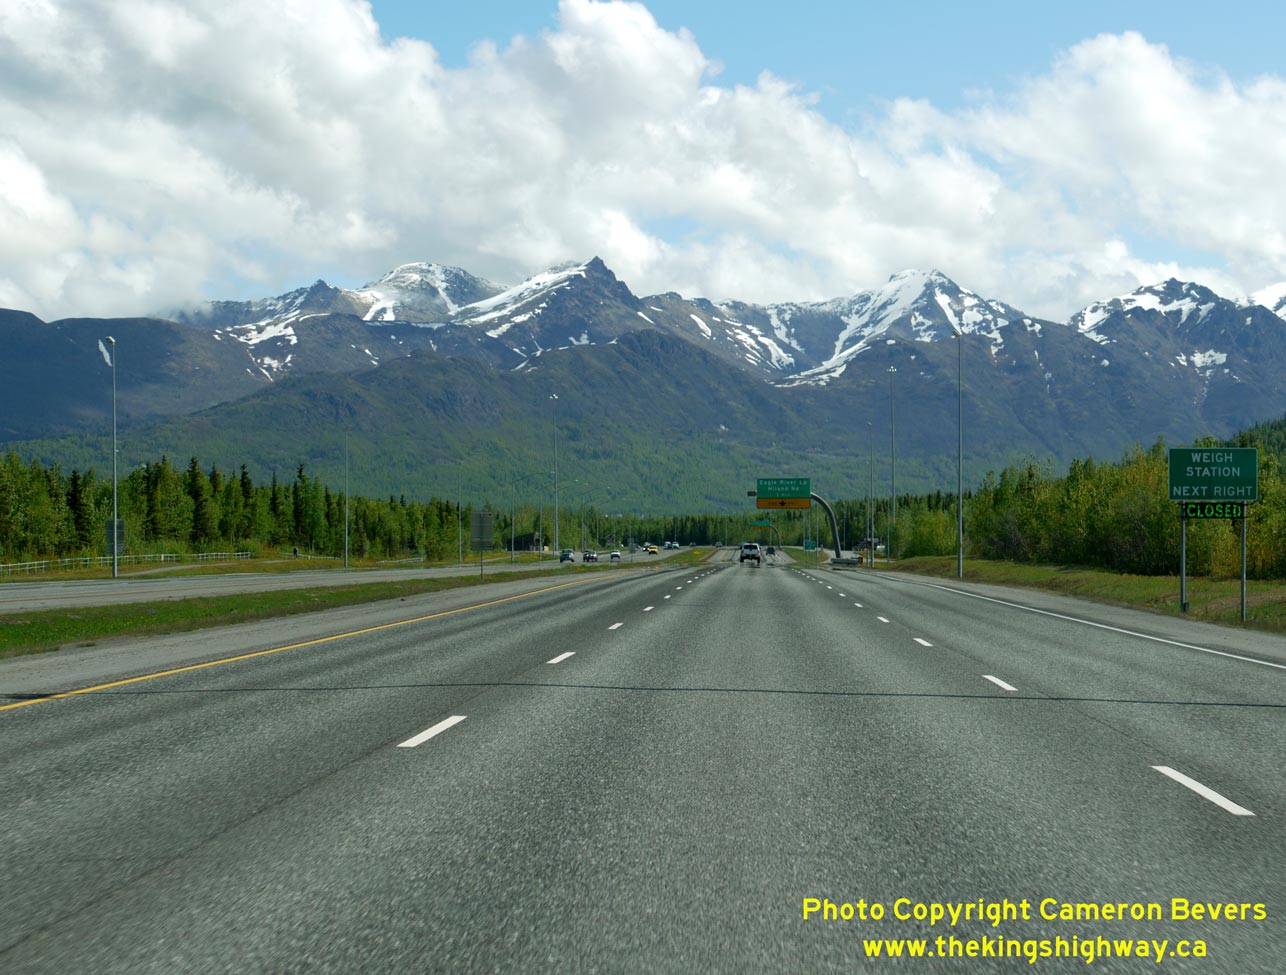
Left - View of Mount Magnificent on the Northbound Glenn Highway (Hwy 1) approaching Eagle River. (Photograph taken on May 28, 2012 - © Cameron Bevers) Right - Approaching the Eagle River Truck Scales on the Northbound Glenn Highway (Hwy 1). See an Enlarged Photo Here. (Photograph taken on May 28, 2012 - © Cameron Bevers) 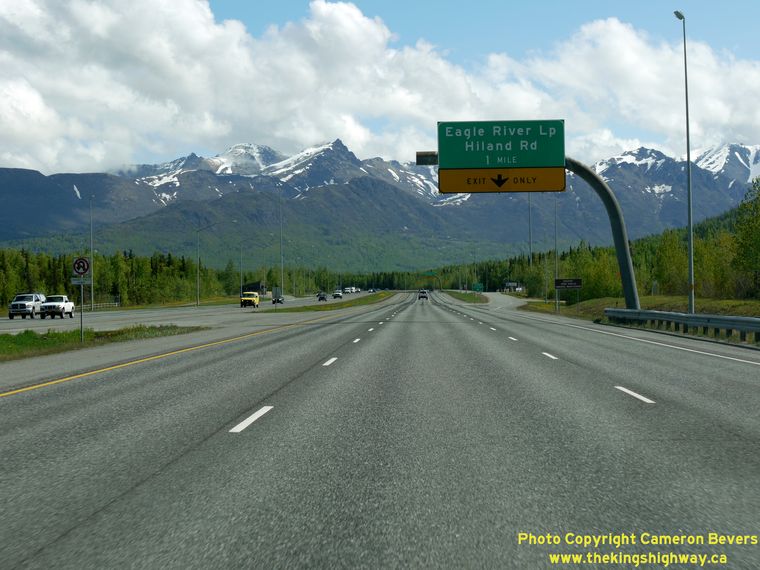
Left - Overhead sign marking the upcoming East Eagle River Loop Road and Hiland Drive Exit on the Northbound Glenn Highway (Hwy 1). (Photograph taken on May 28, 2012 - © Cameron Bevers) Right - The exit for the East Eagle River Loop Road and Hiland Drive is well-signed, as the third northbound lane becomes a force-off exit lane at this interchange. (Photograph taken on May 28, 2012 - © Cameron Bevers) 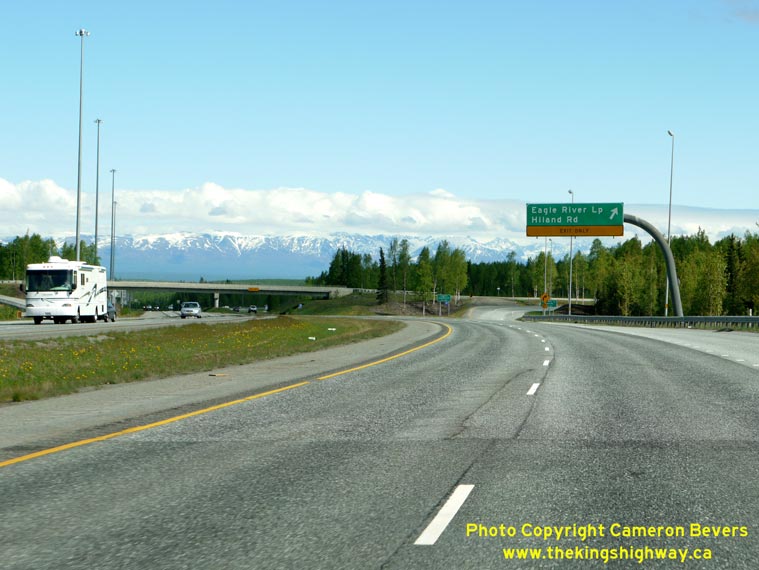
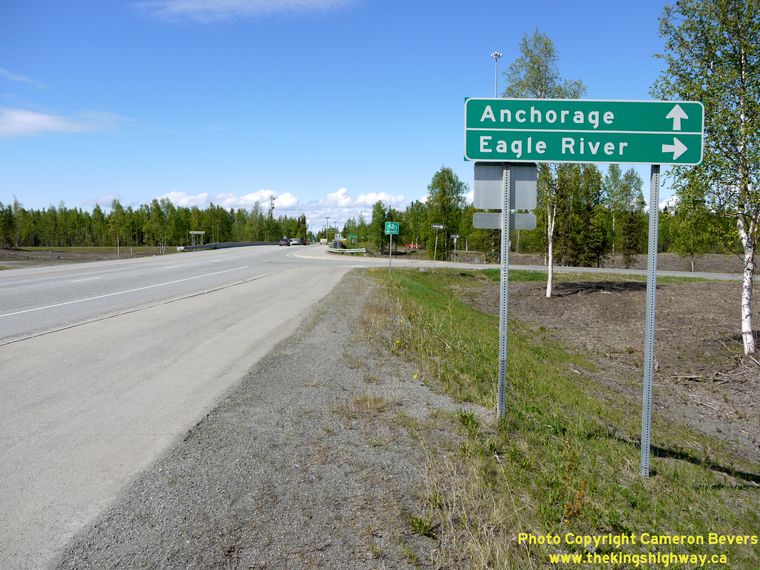
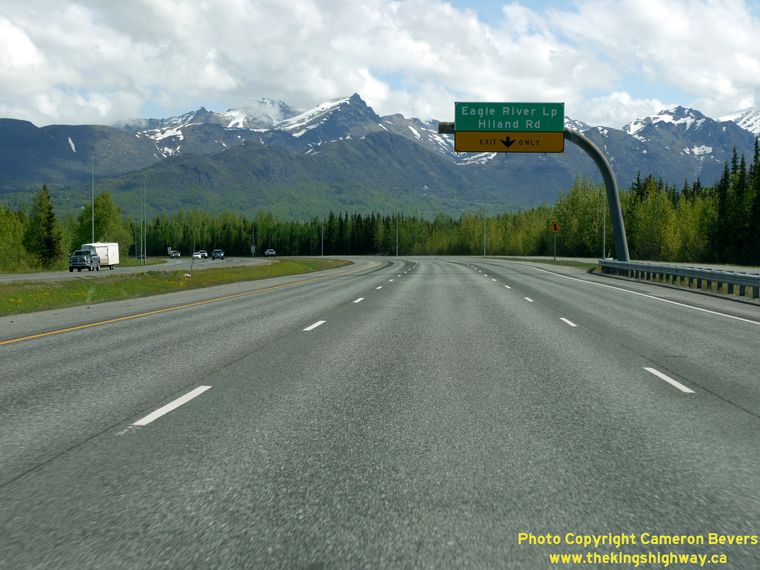
Left - Overhead sign marking the East Eagle River Loop Road and Hiland Drive Exit on the Northbound Glenn Highway (Hwy 1). (Photograph taken on May 28, 2012 - © Cameron Bevers) Right - Guide signs for the Glenn Highway at the end of the Eagle River Loop Road. (Photograph taken on May 28, 2012 - © Cameron Bevers) 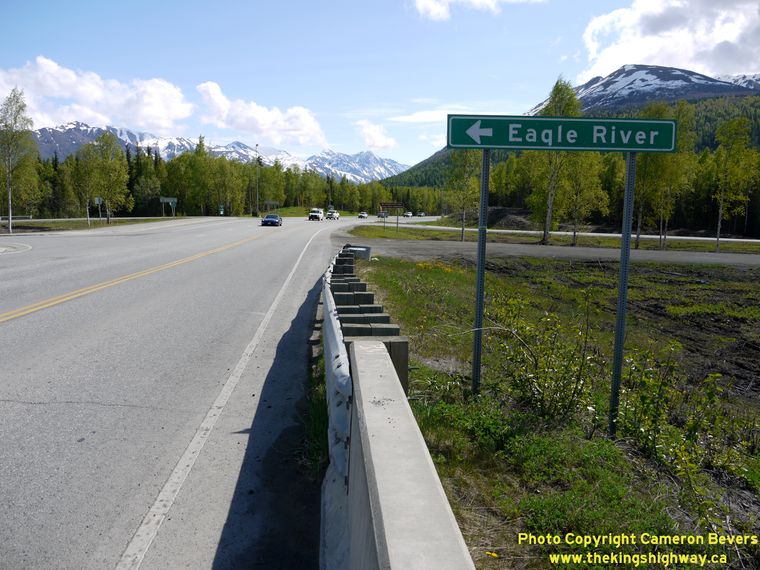
Left - A small sign points the way to Eagle River at the entrance ramp to the Glenn Highway (Hwy 1) on East Eagle River Loop Road. (Photograph taken on May 28, 2012 - © Cameron Bevers) Right - Facing south along the Glenn Highway (Hwy 1) towards Anchorage from the East Eagle River Loop Road Overpass. (Photograph taken on May 28, 2012 - © Cameron Bevers) 
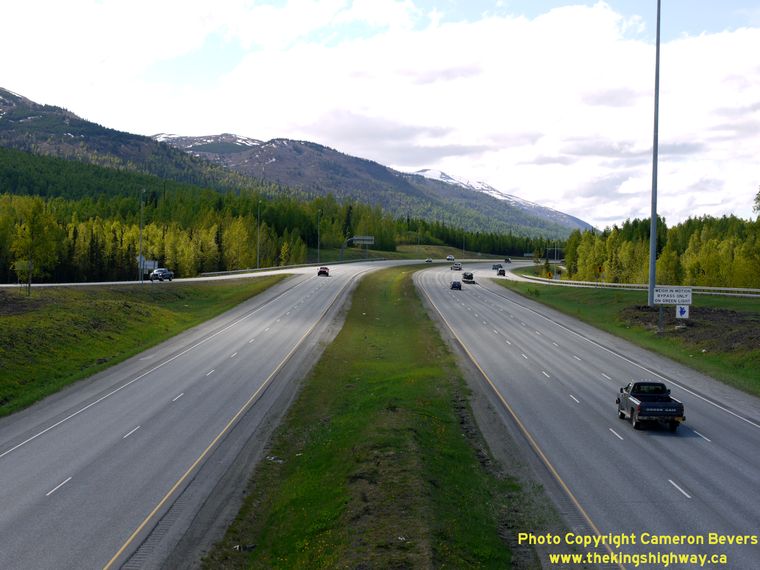
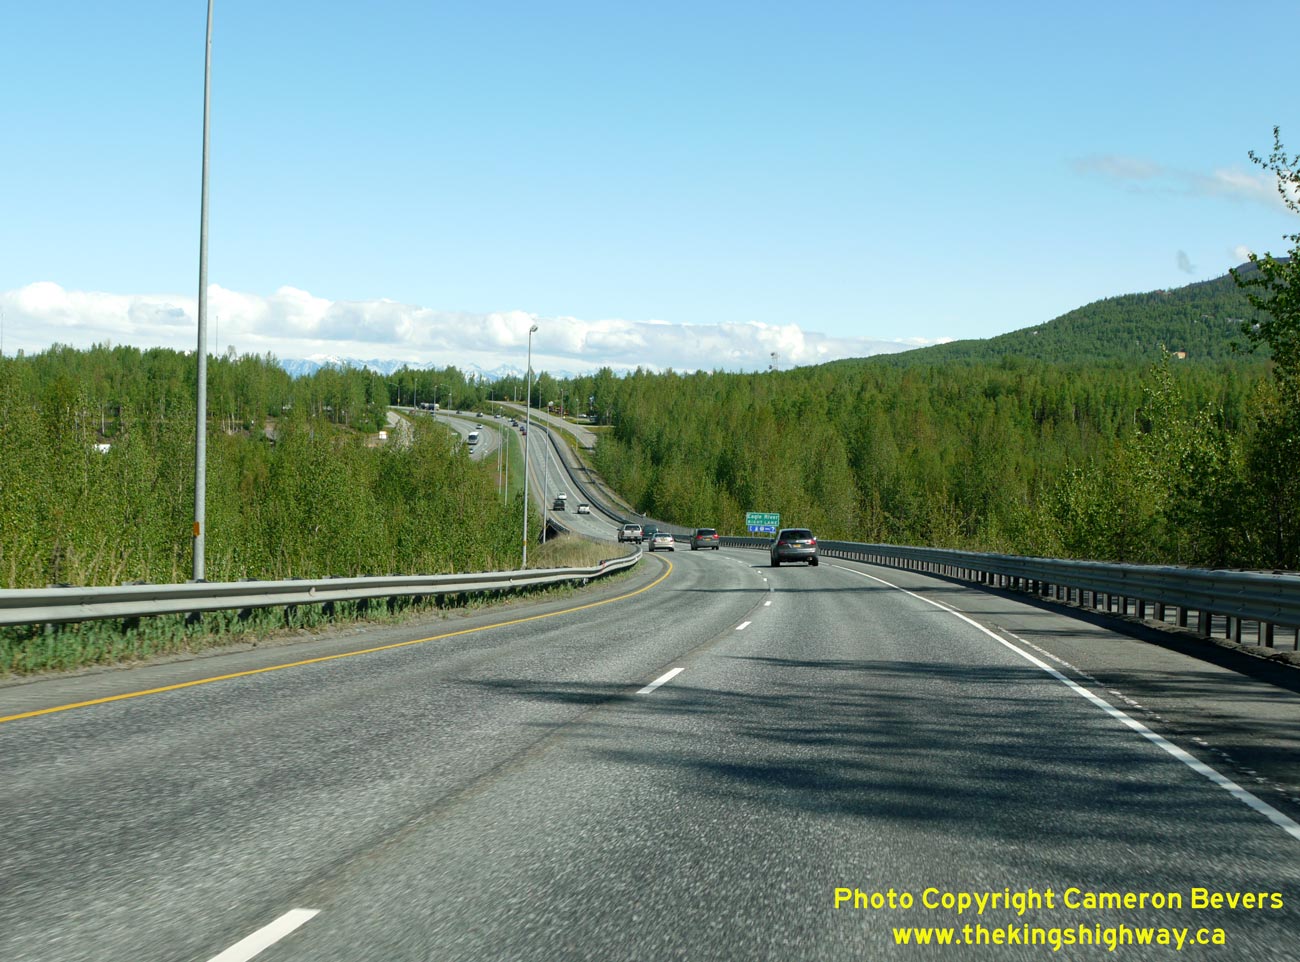
Left - Facing north along the Glenn Highway (Hwy 1) towards Eagle River from the East Eagle River Loop Road Overpass. (Photograph taken on May 28, 2012 - © Cameron Bevers) Right - North of the East Eagle River Loop Road Overpass, the two Glenn Highway carriageways diverge as they approach Eagle River. See an Enlarged Photo Here. (Photograph taken on May 28, 2012 - © Cameron Bevers) 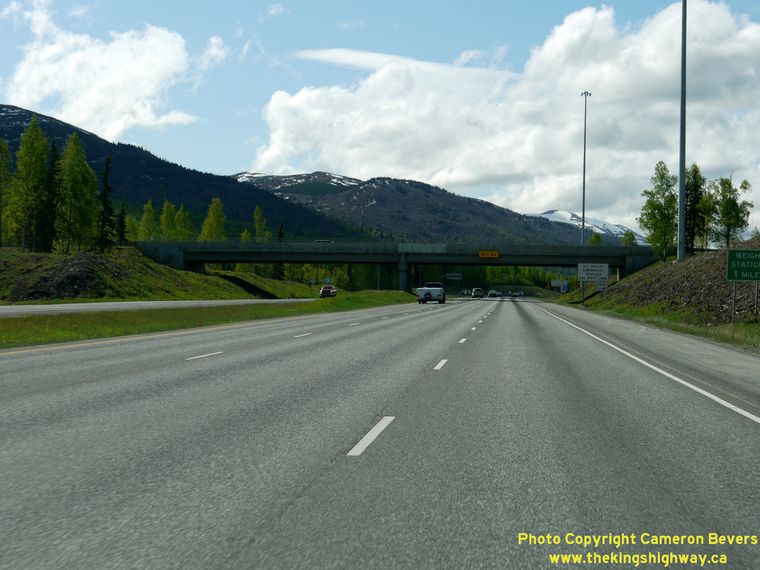

Left - East Eagle River Loop Road Overpass on the Glenn Highway, facing south towards Anchorage. (Photograph taken on May 28, 2012 - © Cameron Bevers) Right - The Northbound and Southbound Glenn Highway carriageways split apart approaching the Eagle River Bridge. (Photograph taken on May 28, 2012 - © Cameron Bevers) 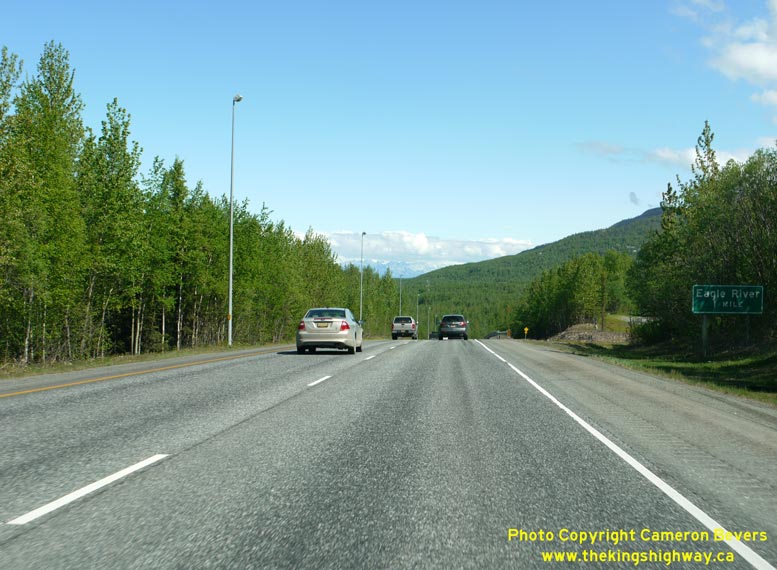
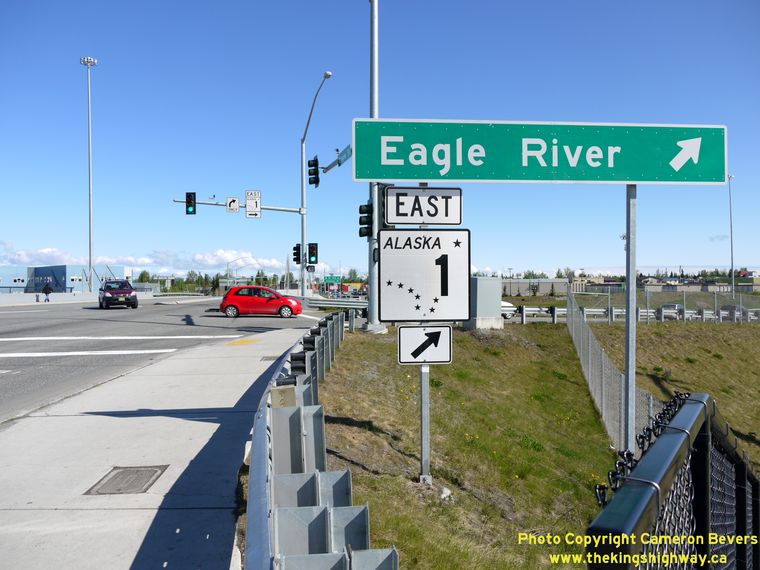
Left - Guide sign marking the upcoming exit to Eagle River on the Northbound Glenn Highway (Hwy 1). (Photograph taken on May 28, 2012 - © Cameron Bevers) Right - The Northbound Glenn Highway descends a steep grade approaching the Eagle River Bridge. (Photograph taken on May 28, 2012 - © Cameron Bevers) 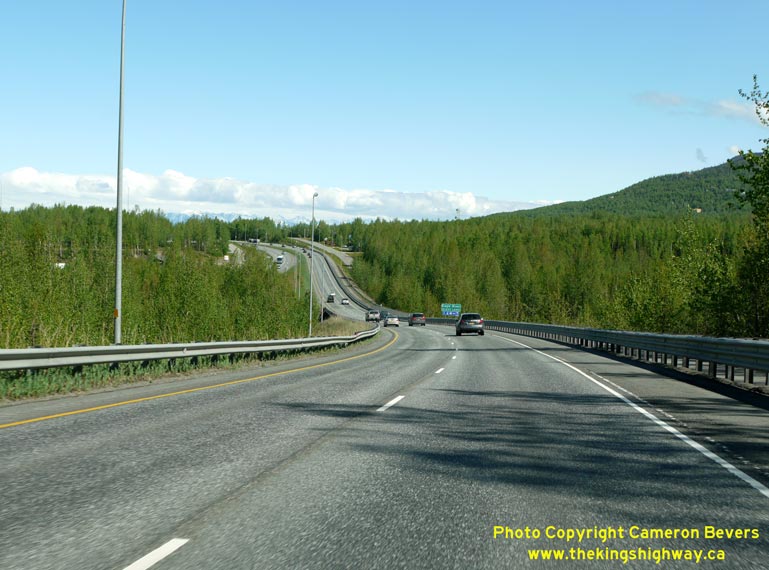
Left - Approaching the Eagle River Bridge on the Northbound Glenn Highway (Hwy 1). See an
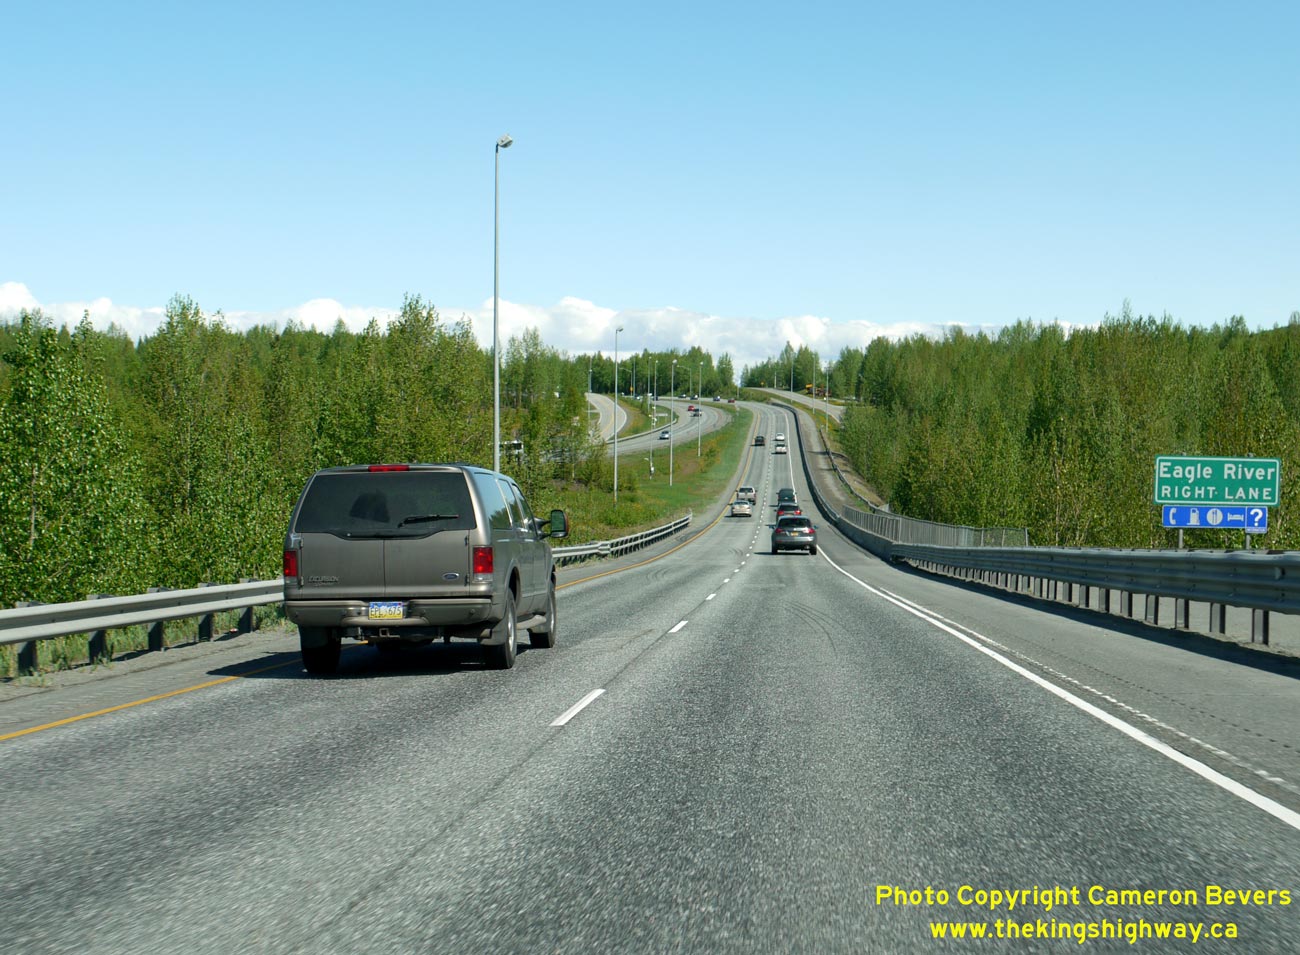
Enlarged Photo Here. (Photograph taken on May 28, 2012 - © Cameron Bevers) Right - Eagle River Bridge on the Northbound Glenn Highway (Hwy 1). Note the guide sign marking the upcoming exit to Eagle River, which is one of several towns situated along the Glenn Highway between Anchorage and the Mat-Su Valley Interchange near Palmer. See an Enlarged Photo Here. (Photograph taken on May 28, 2012 - © Cameron Bevers)
Continue north along the Glenn Highway (Hwy 1): Eagle River to Knik River |
|---|
Links to Other Ontario Highway History Website Sections:
Back to Alaska Highway 1 Photos /
Alaska Highways Photo Index /
On to Alaska Highway 2 Photos
Vacation Highway Photos - Main Menu / Ontario Highway History - Main Menu Website contents, photos & text © 2002-2026, Cameron
Bevers (Webmaster) - All Rights Reserved / Contact Me
|
|---|