
| 
| |
|
|
This page contains photographs of British Columbia's Highway 1 (Trans-Canada Highway), arranged by location from Cache Creek
southerly to Lytton. Please note, however, that this section of the Trans-Canada Highway is signed as an East-West highway. All photographs displayed on this page
were taken by the Webmaster (Cameron Bevers). To view photos of other British Columbia Highways, please select a highway number listed on the
British Columbia Photograph Index Page. Click on any thumbnail to see a larger image!
Please note that all photographs displayed on this website are protected by copyright. These photographs must not be
reproduced, published, electronically stored or copied, distributed, or posted onto other websites without my written permission. If you want to use photos from this
website, please email me first for permission. Thank-you!
|
|---|
|
Page 8: BC Highway 1 (Trans-Canada Highway) Photographs: Cache Creek to Lytton
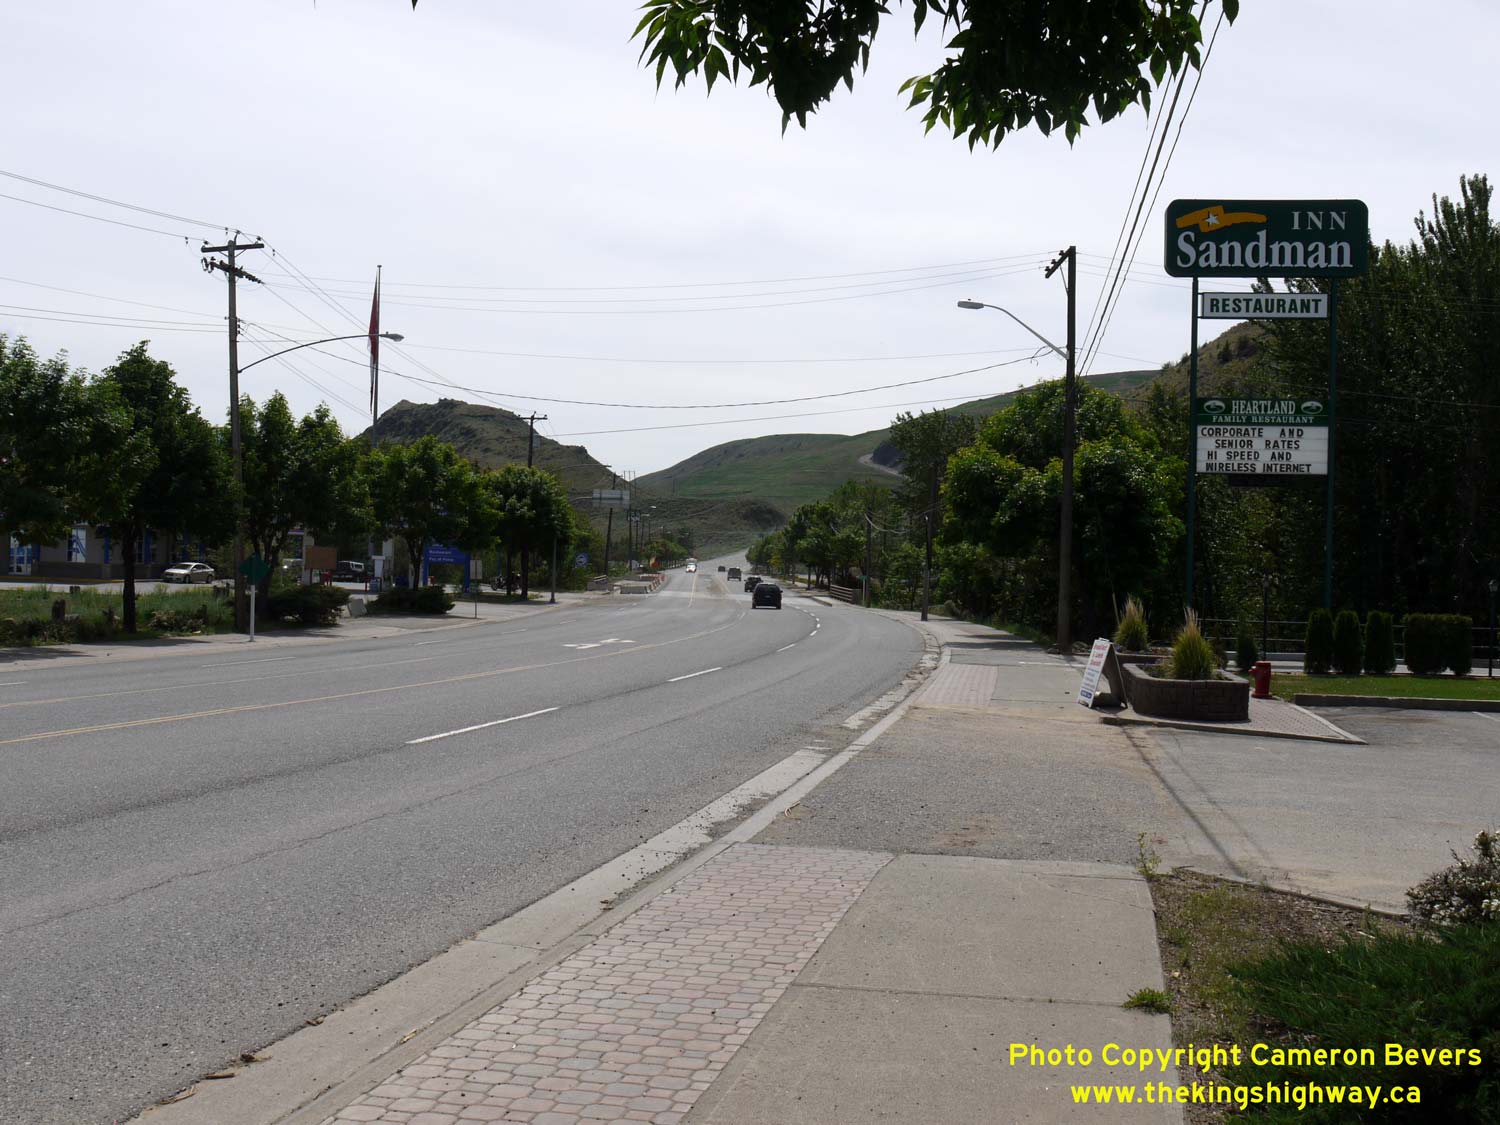
Left - Facing south along Hwy 1 & Hwy 97C in Cache Creek, just south of the Hwy 97 Junction. Although Hwy 1 is signed with "East" and "West" directional
sign tabs, the highway follows a mostly north-south alignment between Cache Creek and Hope. See an
Enlarged Photo Here. (Photograph taken on May 31, 2015 - © Cameron Bevers) Right - Compared to the dry, desert-like landscape surrounding the town, the main street of Cache Creek is comparatively green and well-treed. See an Enlarged Photo Here. (Photograph taken on May 31, 2015 - © Cameron Bevers) 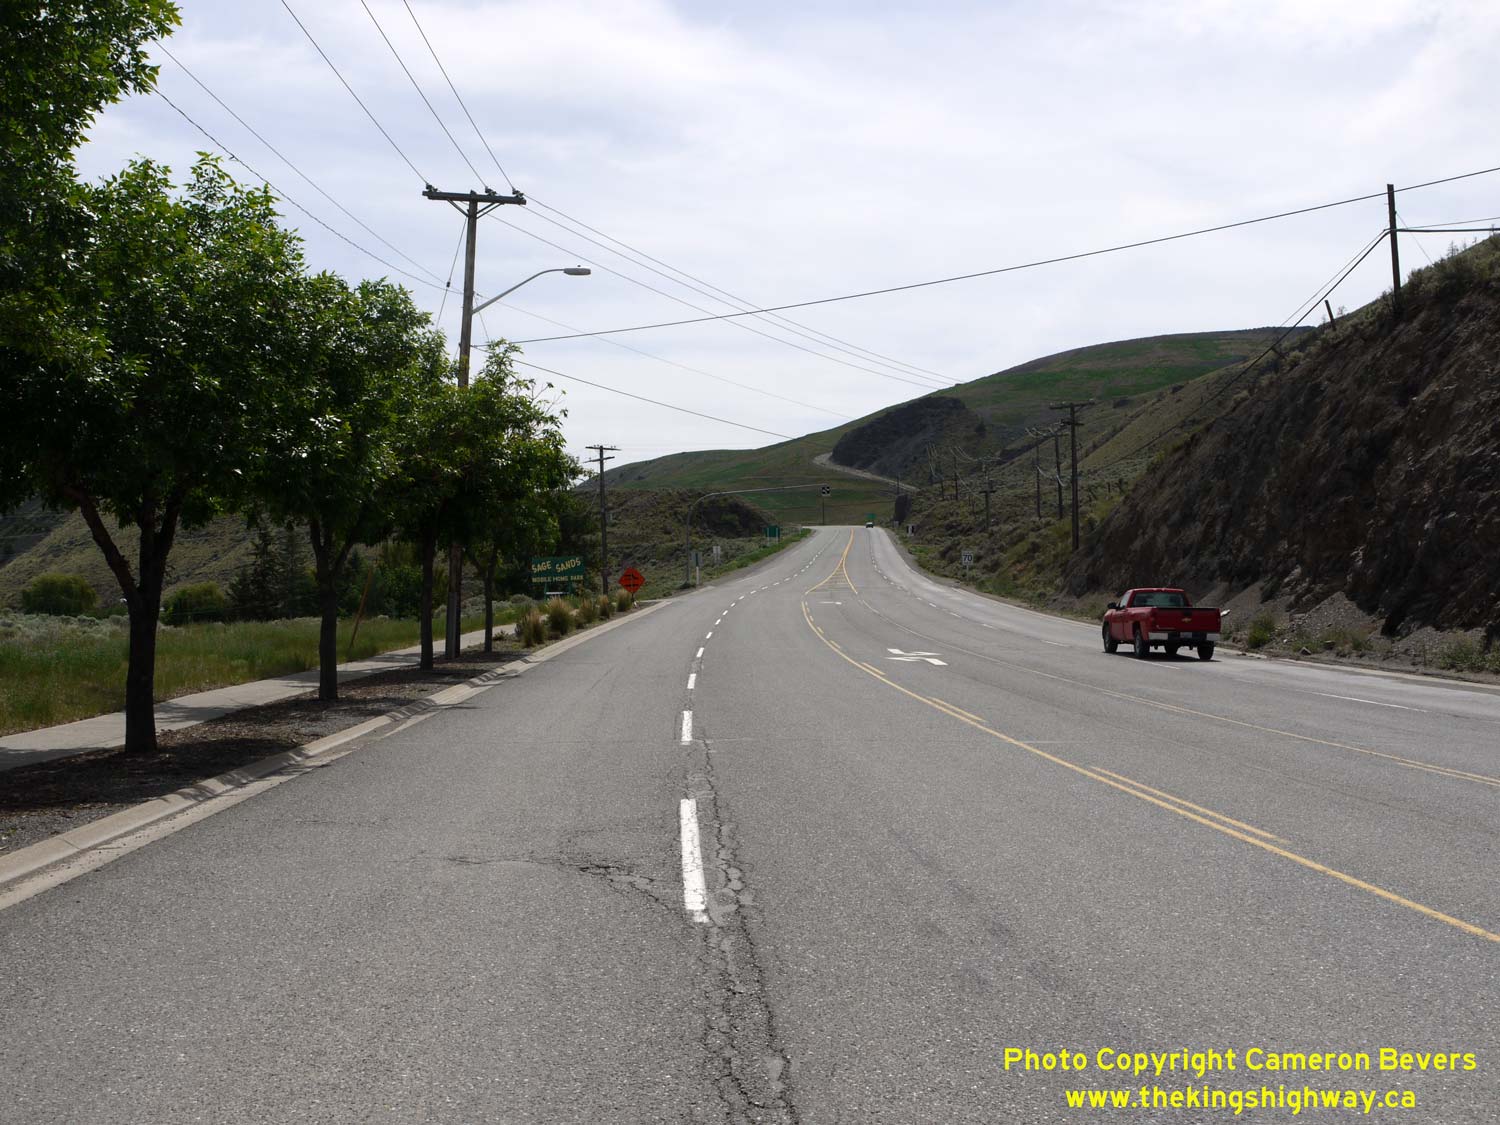

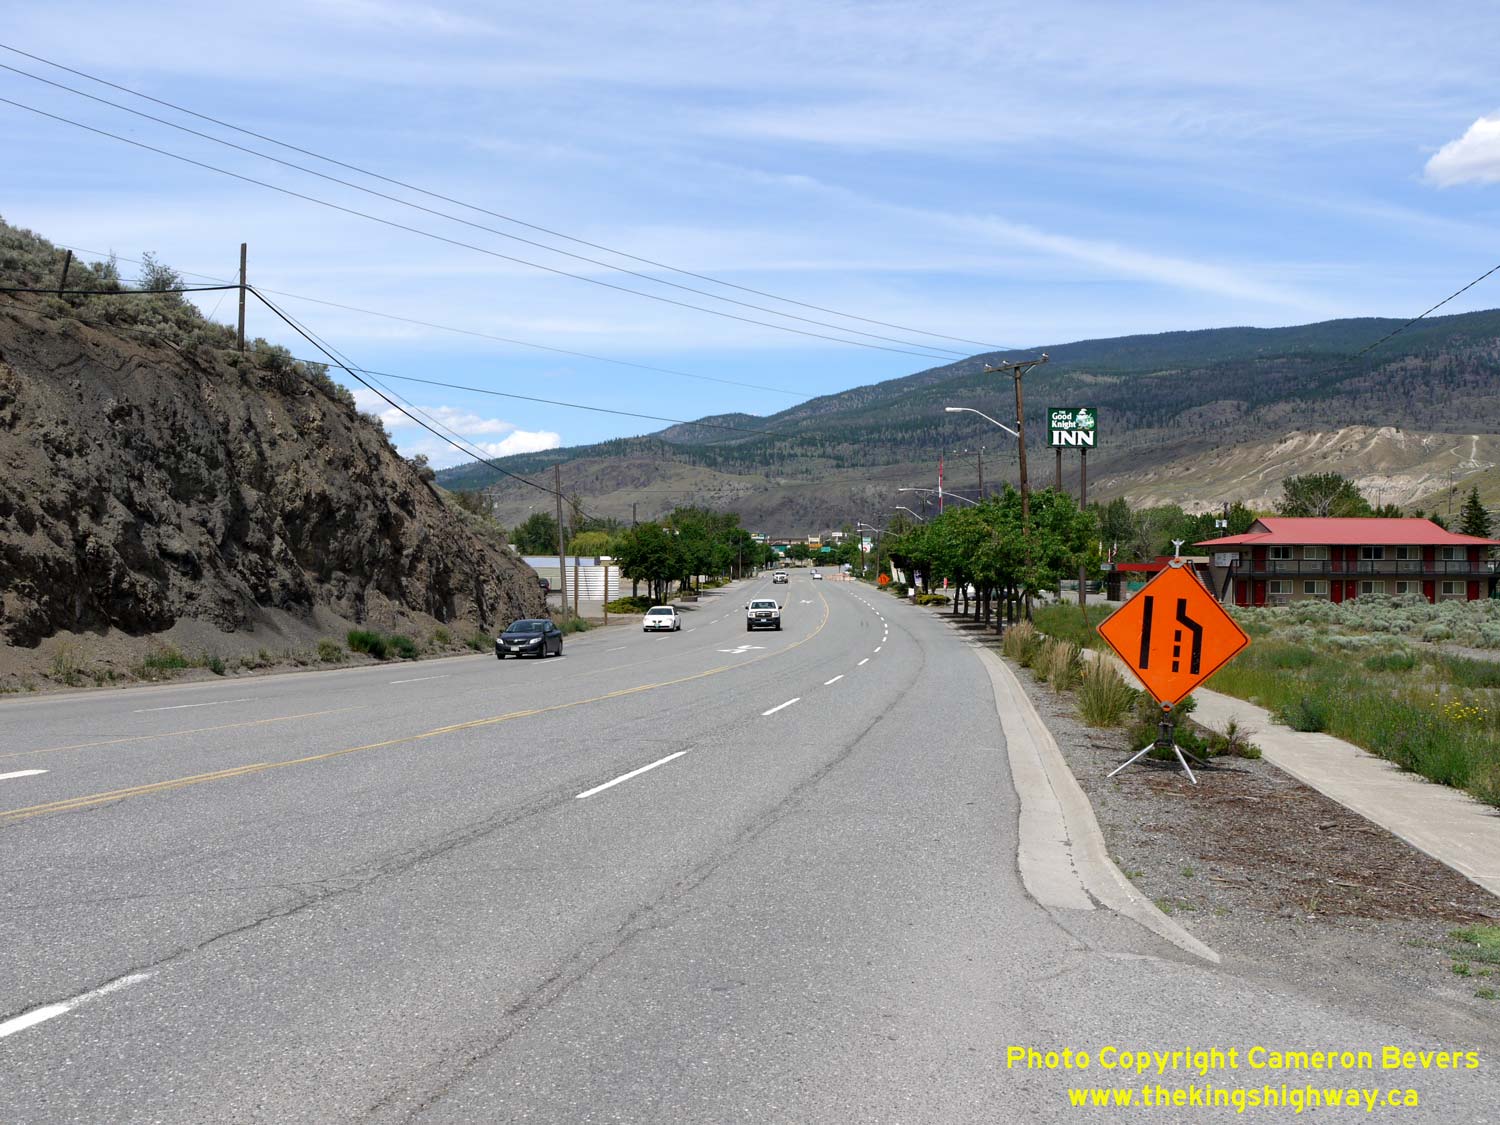
Left - Facing south along Hwy 1 & Hwy 97C departing Cache Creek. See an
Enlarged Photo Here. (Photograph taken on May 31, 2015 - © Cameron Bevers) Right - Approaching Cache Creek on Hwy 1 & Hwy 97C, facing north. See an Enlarged Photo Here. (Photograph taken on May 31, 2015 - © Cameron Bevers) 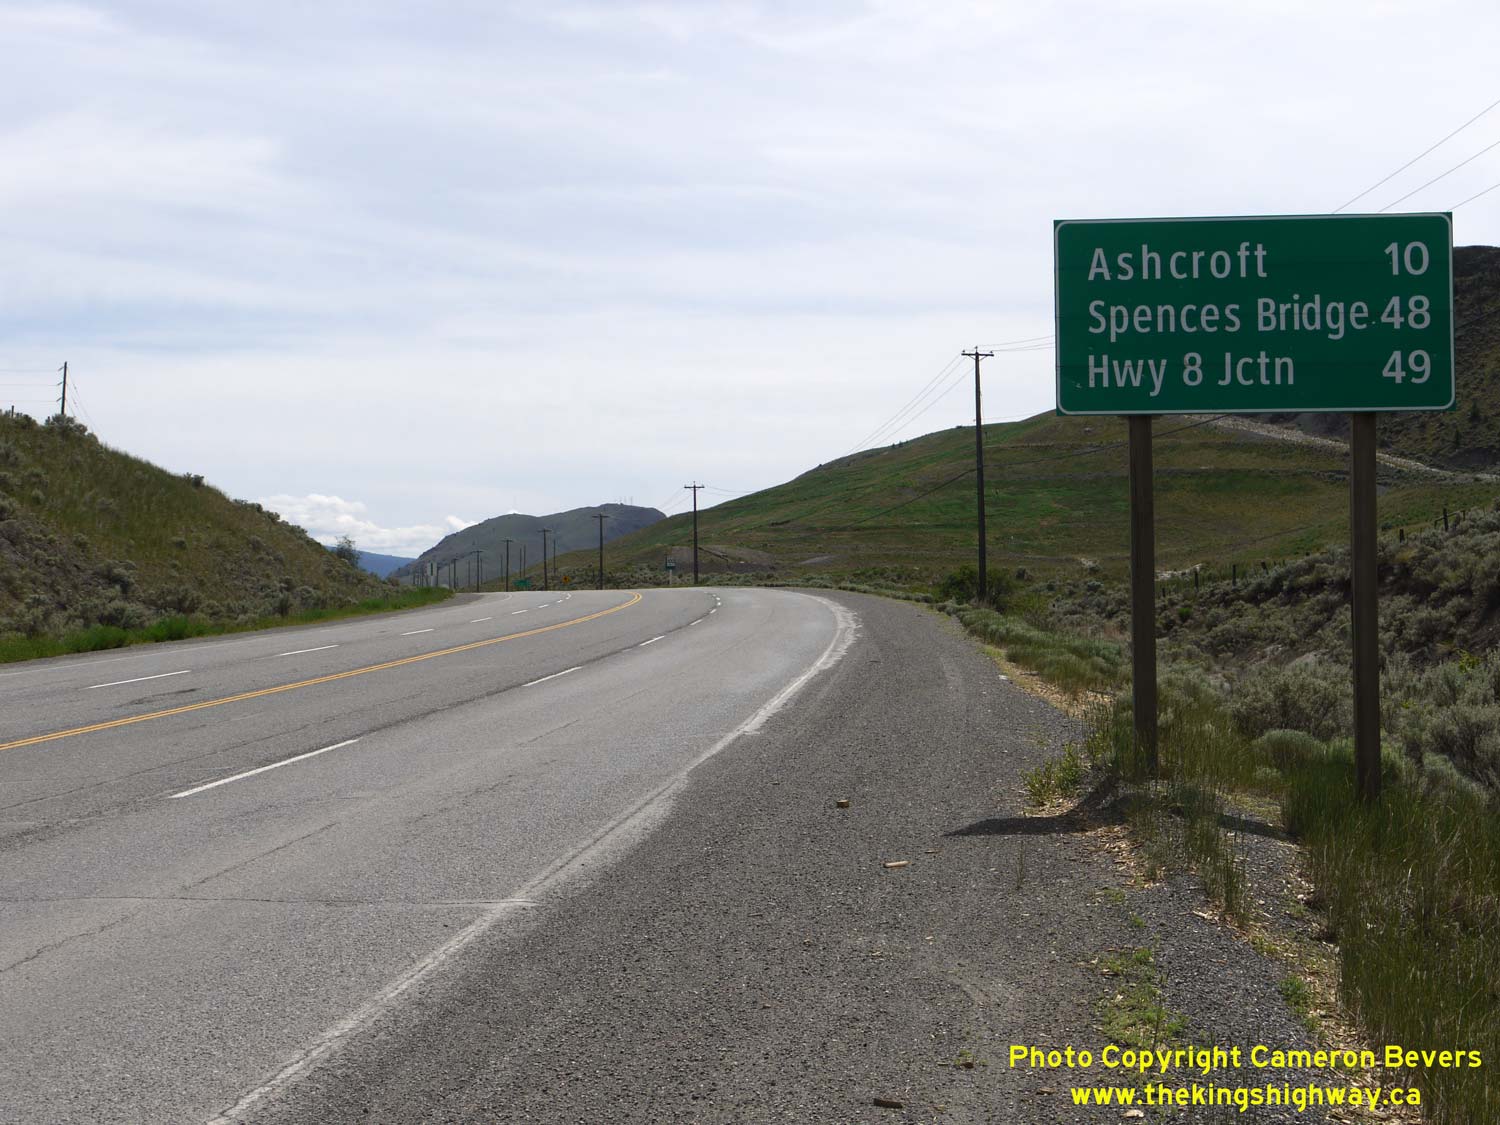

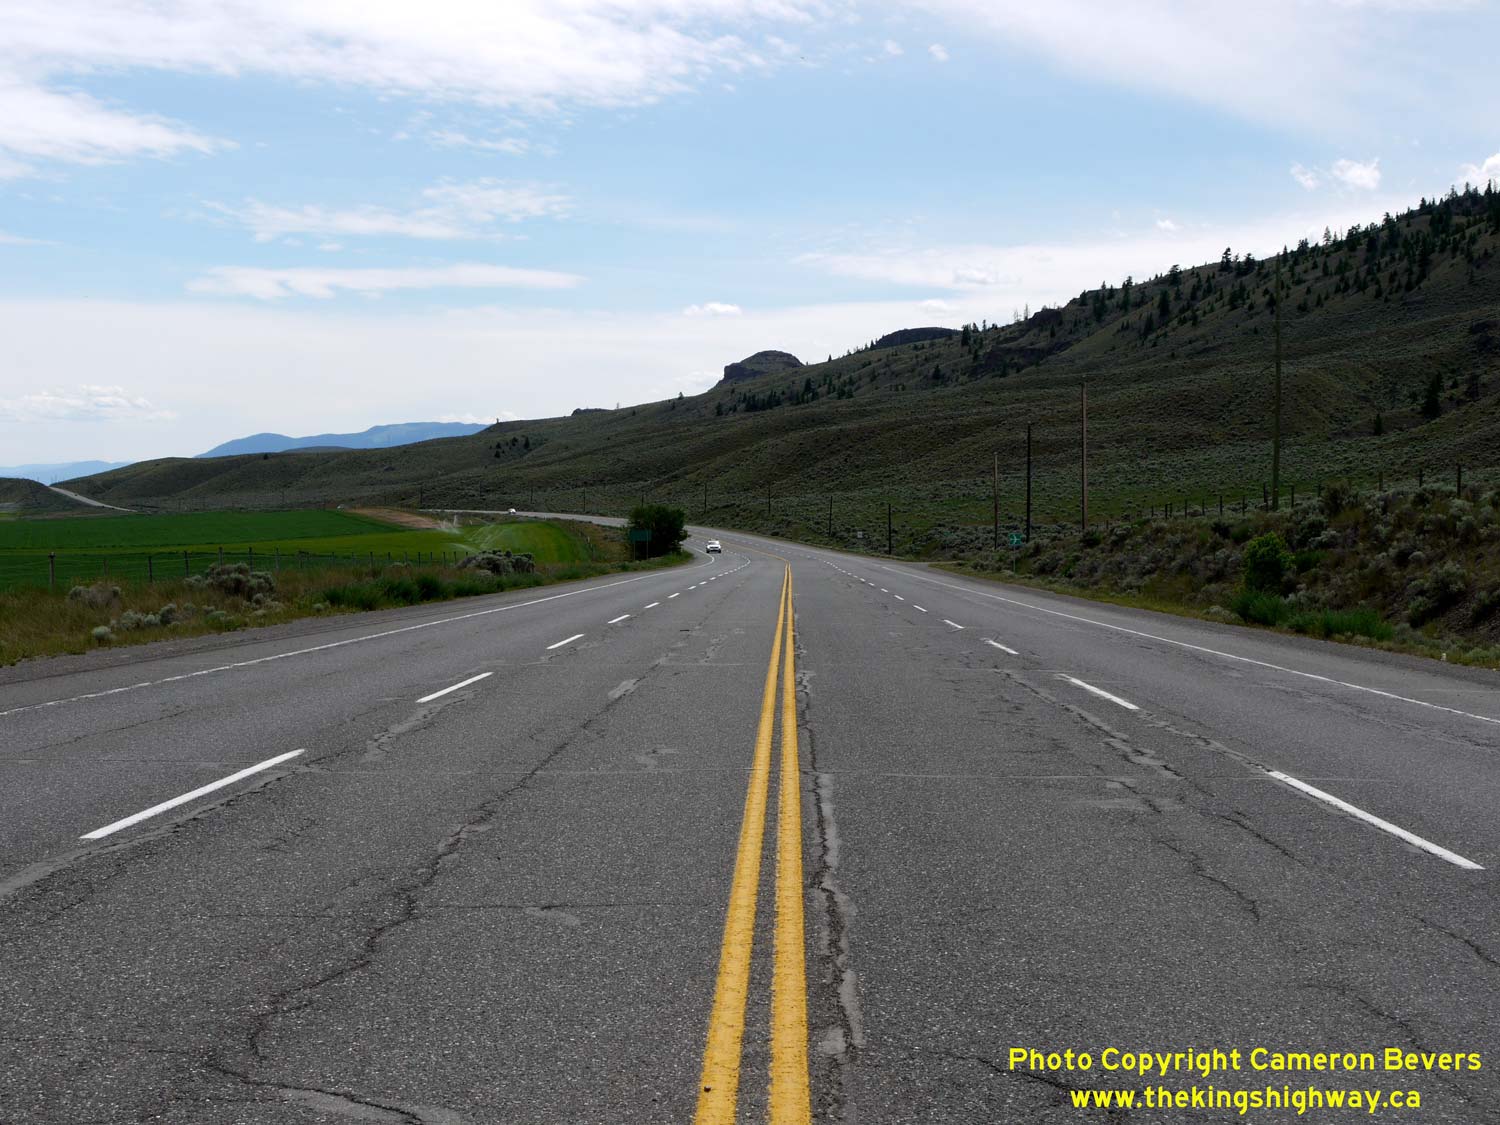
Left - Distance guide sign on southbound Hwy 1 & Hwy 97C departing Cache Creek, showing nearby destinations. See an
Enlarged Photo Here. (Photograph taken on May 31, 2015 - © Cameron Bevers) Right - Facing south along Hwy 1 & Hwy 97C, about 1 km west of Cache Creek. The Trans-Canada Highway briefly widens into a four-lane undivided highway for about 6 km south of Cache Creek, before it narrows down once again to a two-lane highway beyond the Hwy 97C turnoff to Ashcroft. See an Enlarged Photo Here. (Photograph taken on May 31, 2015 - © Cameron Bevers) 
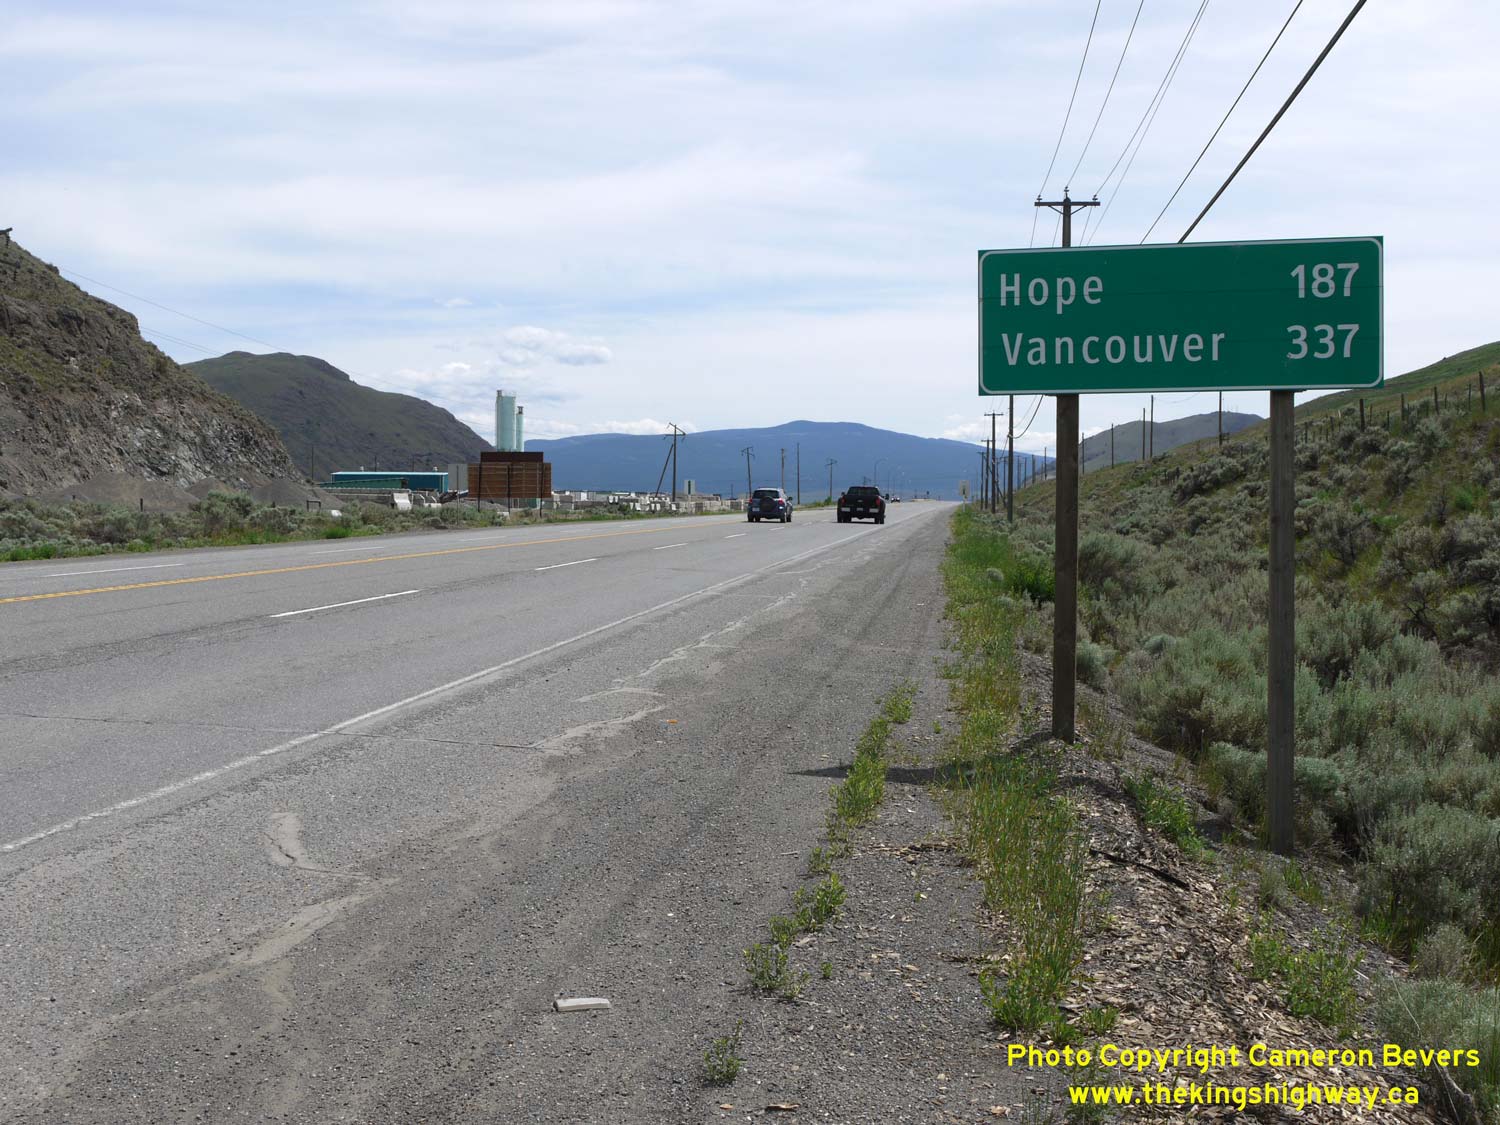
Left - Hwy 1 & Hwy 97C descends this grade on the south approach to Cache Creek. See an
Enlarged Photo Here. (Photograph taken on May 31, 2015 - © Cameron Bevers) Right - Distance guide sign on southbound Hwy 1 & Hwy 97C departing Cache Creek, showing the distances to Hope and Vancouver. See an Enlarged Photo Here. (Photograph taken on May 31, 2015 - © Cameron Bevers) 
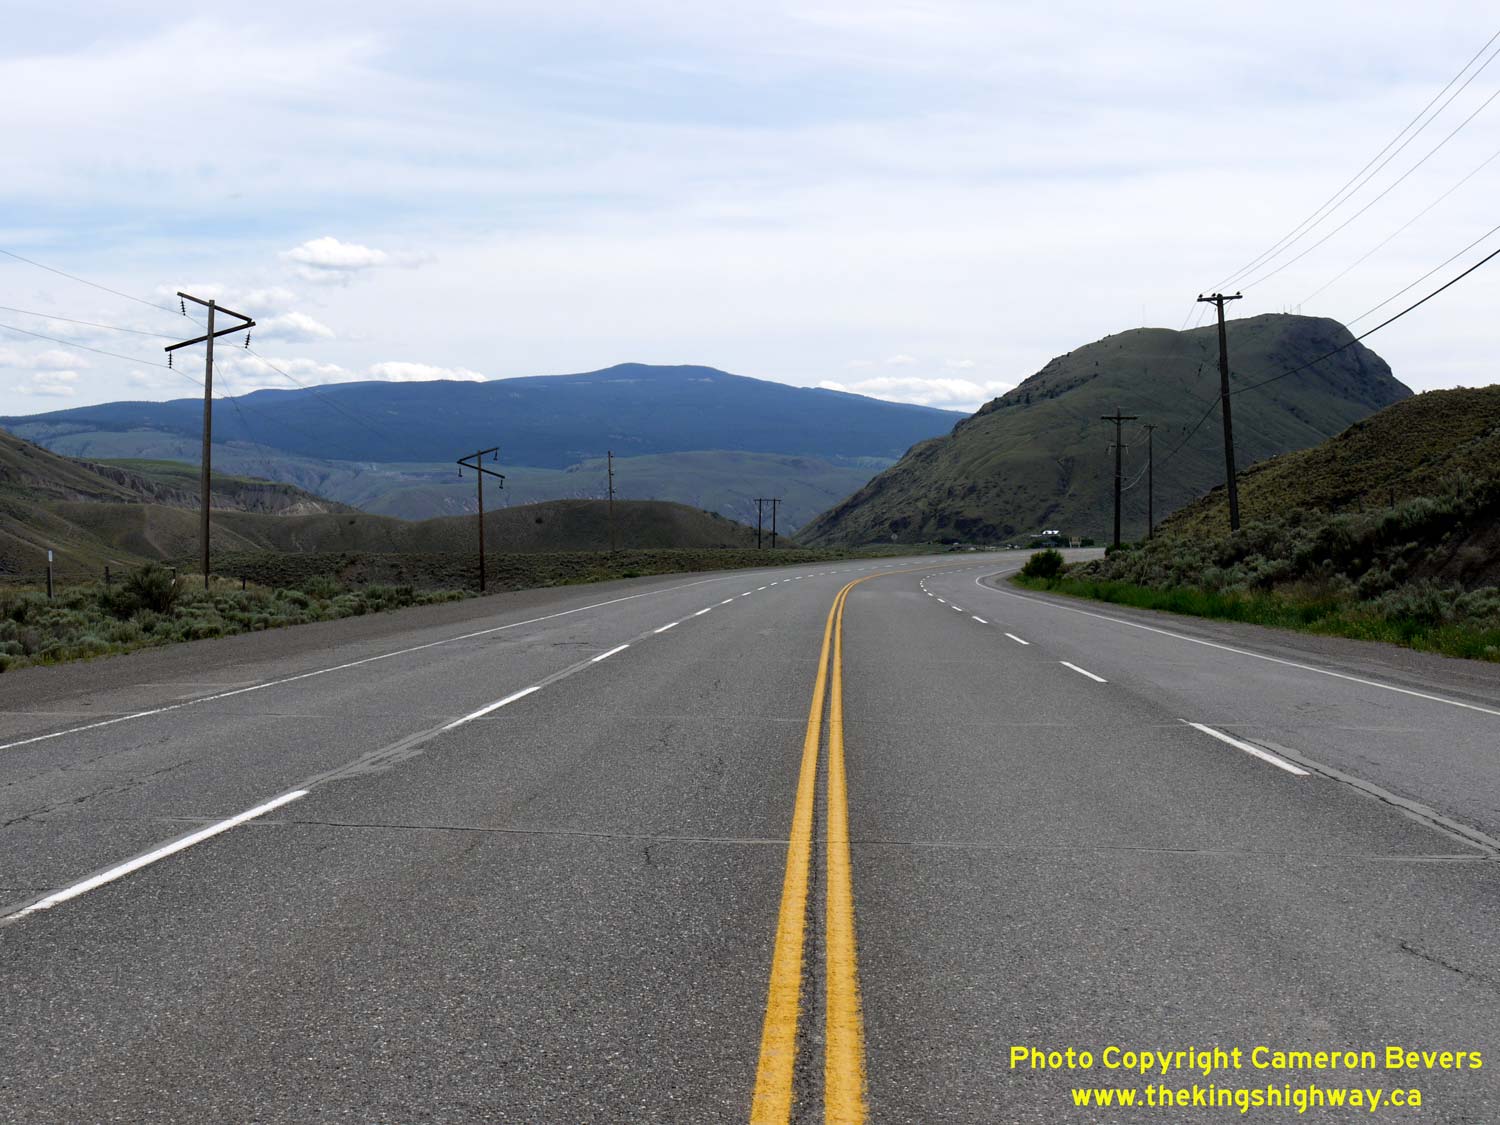
Left - Blue highway services sign on northbound Hwy 1 & Hwy 97C, advising motorists of services in nearby Cache Creek. See an
Enlarged Photo Here. (Photograph taken on May 31, 2015 - © Cameron Bevers) Right - This dry, desert scene appears along Hwy 1 & Hwy 97C about 2 km south of Cache Creek. See an Enlarged Photo Here. (Photograph taken on May 31, 2015 - © Cameron Bevers) 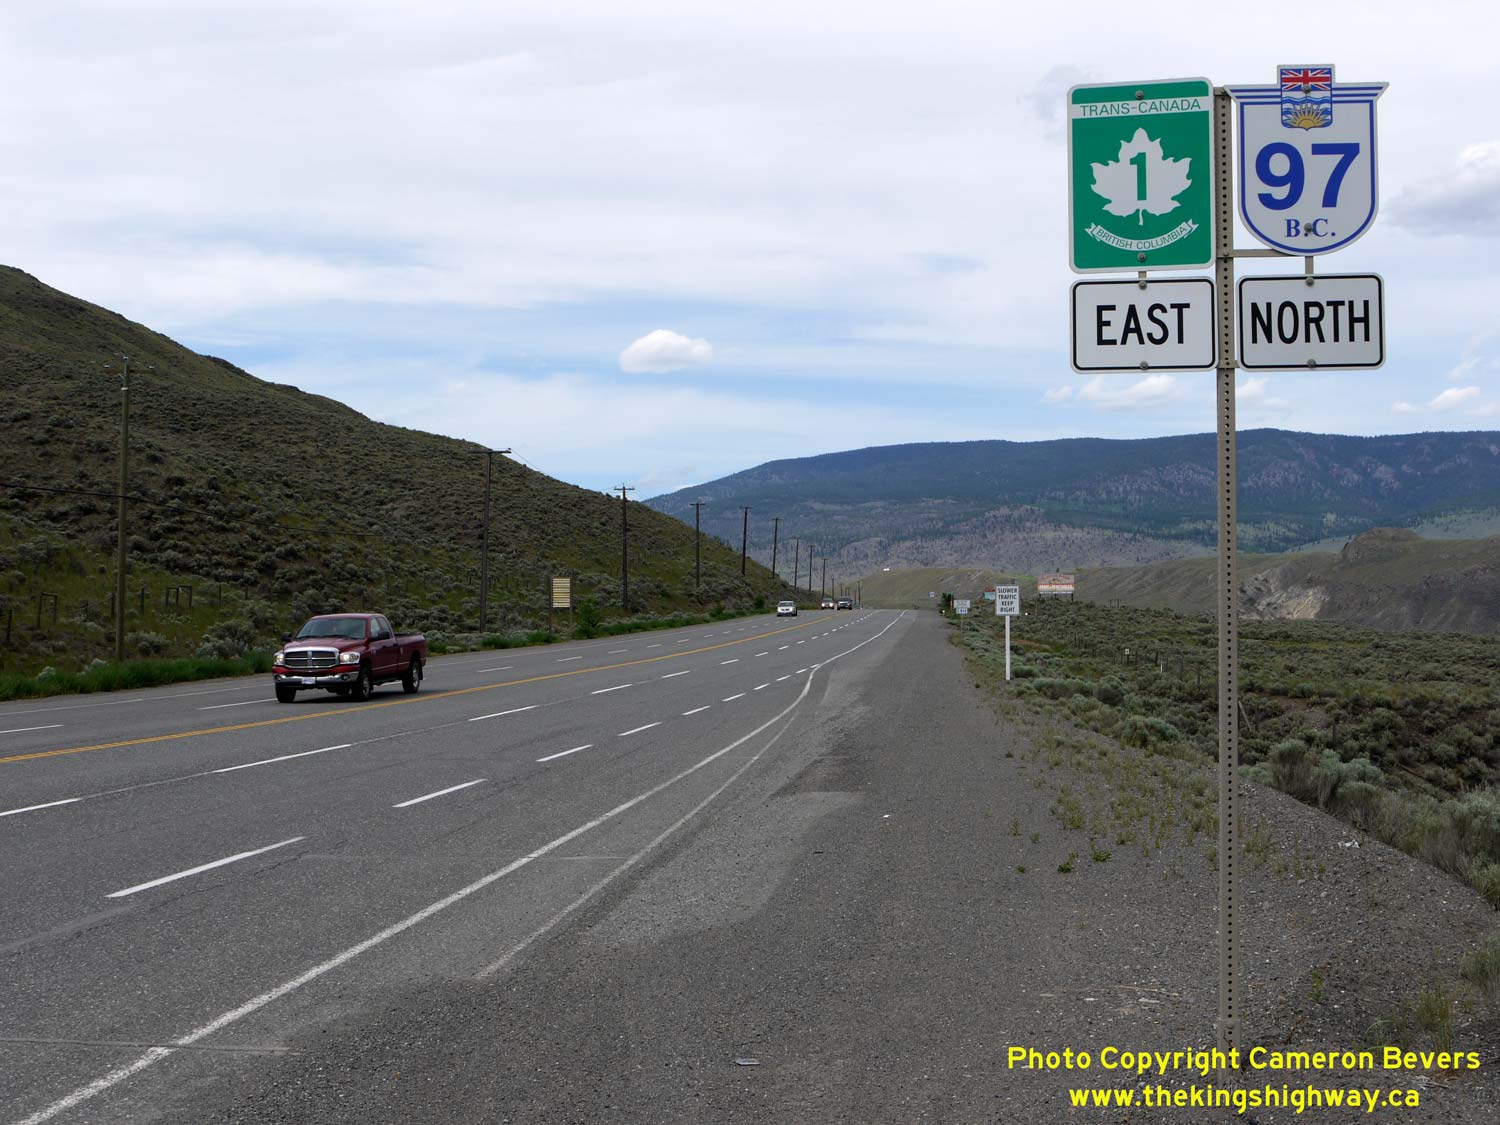
Left - Hwy 1 & Hwy 97 route markers heading northbound from the Hwy 97C Junction. The route marker at right is actually supposed to be a Hwy 97C route
marker. The route of Hwy 97C continues north from the highway junction near Ashcroft into Cache Creek, where Hwy 97C connects back to Hwy 97. It is little wonder that
there is so much confusion with Hwy 97 route numbers in BC. There are no fewer than five different British Columbia highway routes bearing the Hwy 97 route number
(Hwy 97, Hwy 97A, Hwy 97B, Hwy 97C & Hwy 97D). See an Enlarged Photo Here. (Photograph taken on May 31, 2015 - © Cameron Bevers) Right - Facing south along Hwy 1 towards the Hwy 97C turnoff near Ashcroft, south of Cache Creek. See an Enlarged Photo Here. (Photograph taken on May 31, 2015 - © Cameron Bevers) 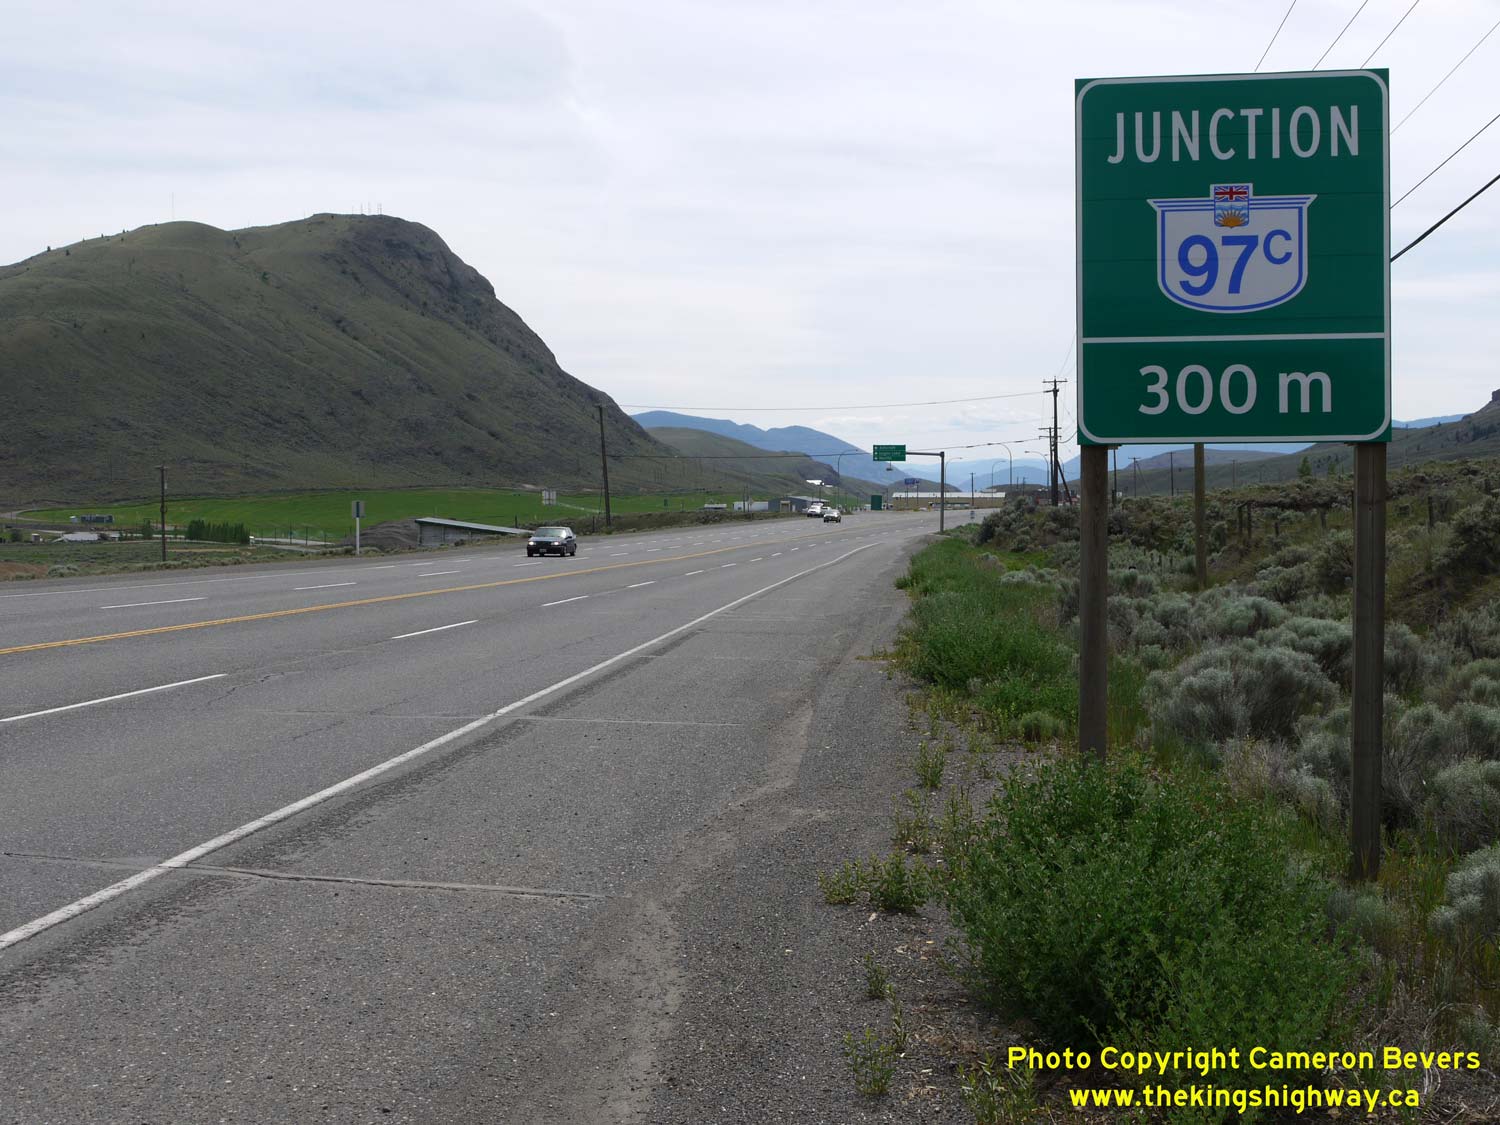
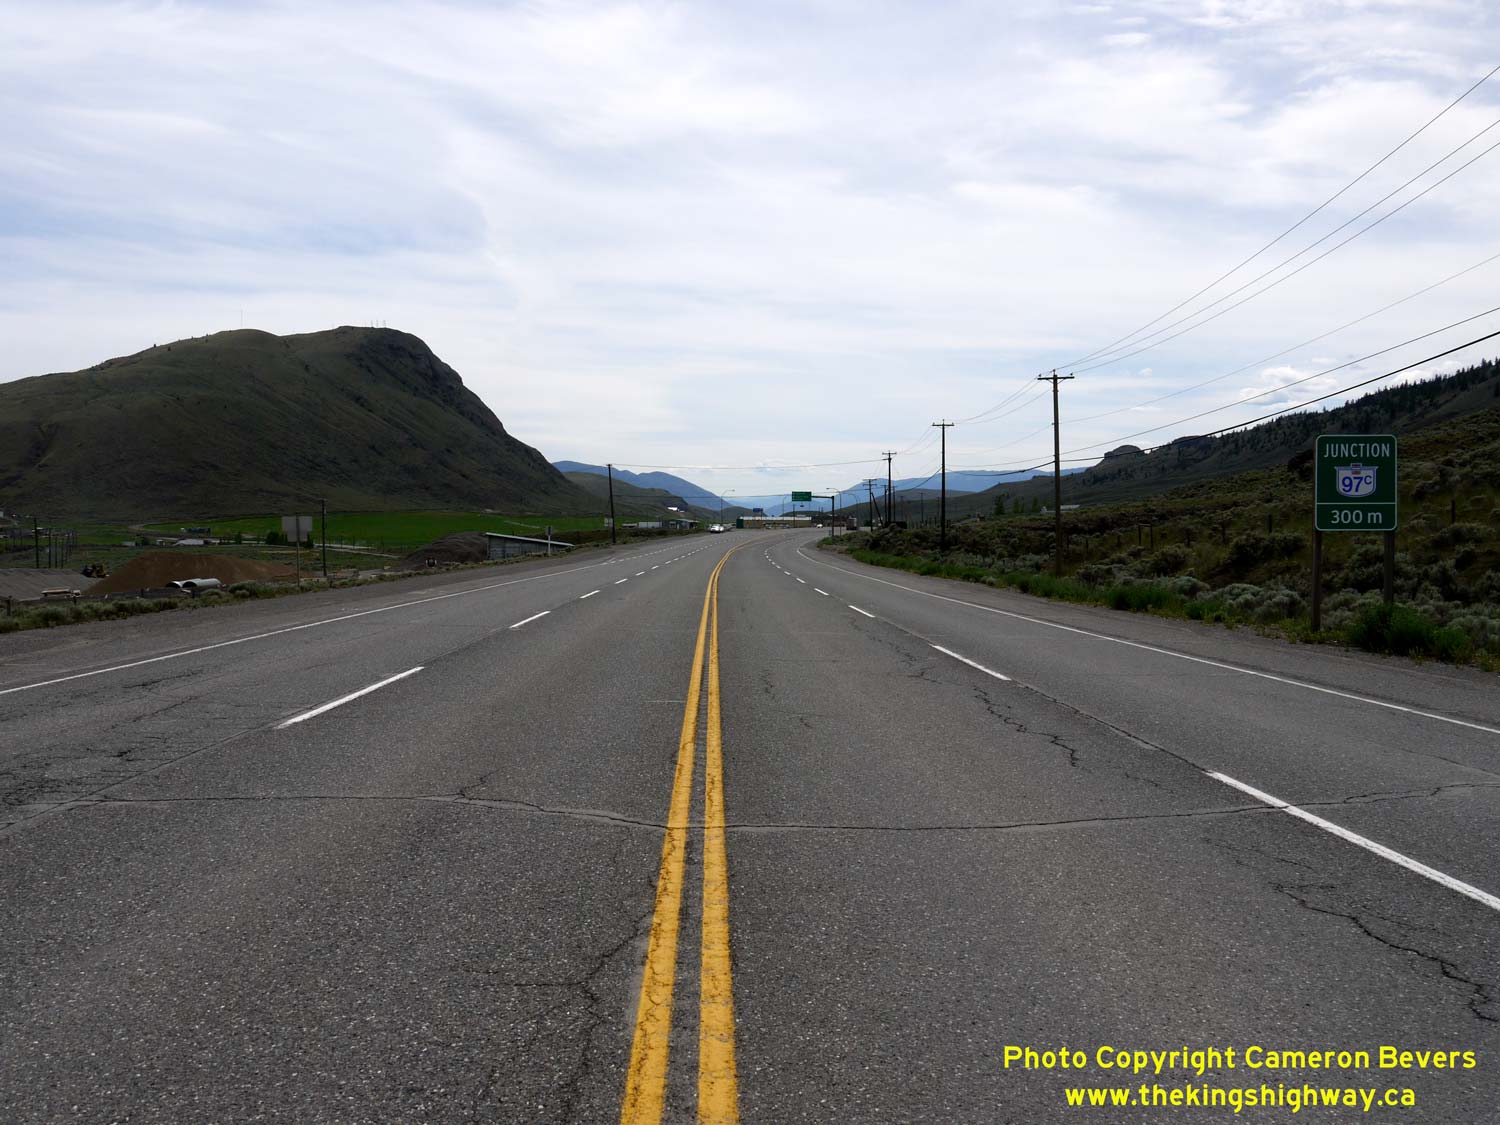
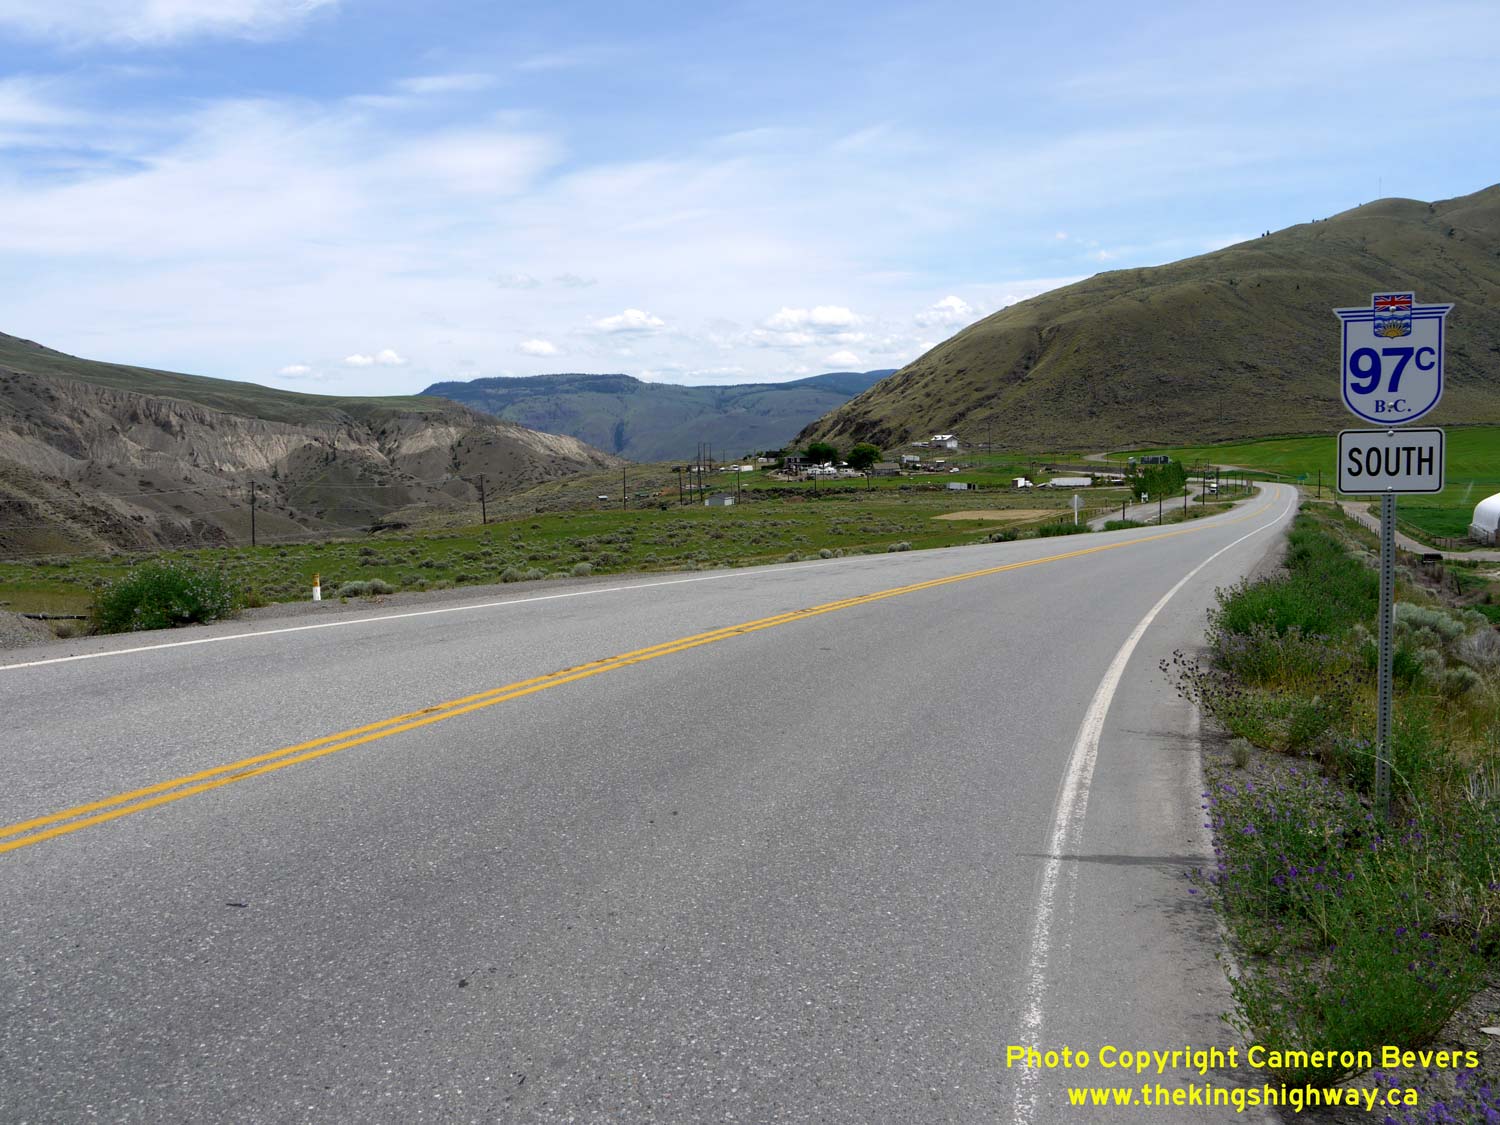
Left - Guide sign on southbound Hwy 1 marking the upcoming Hwy 97C Junction near Ashcroft. See an
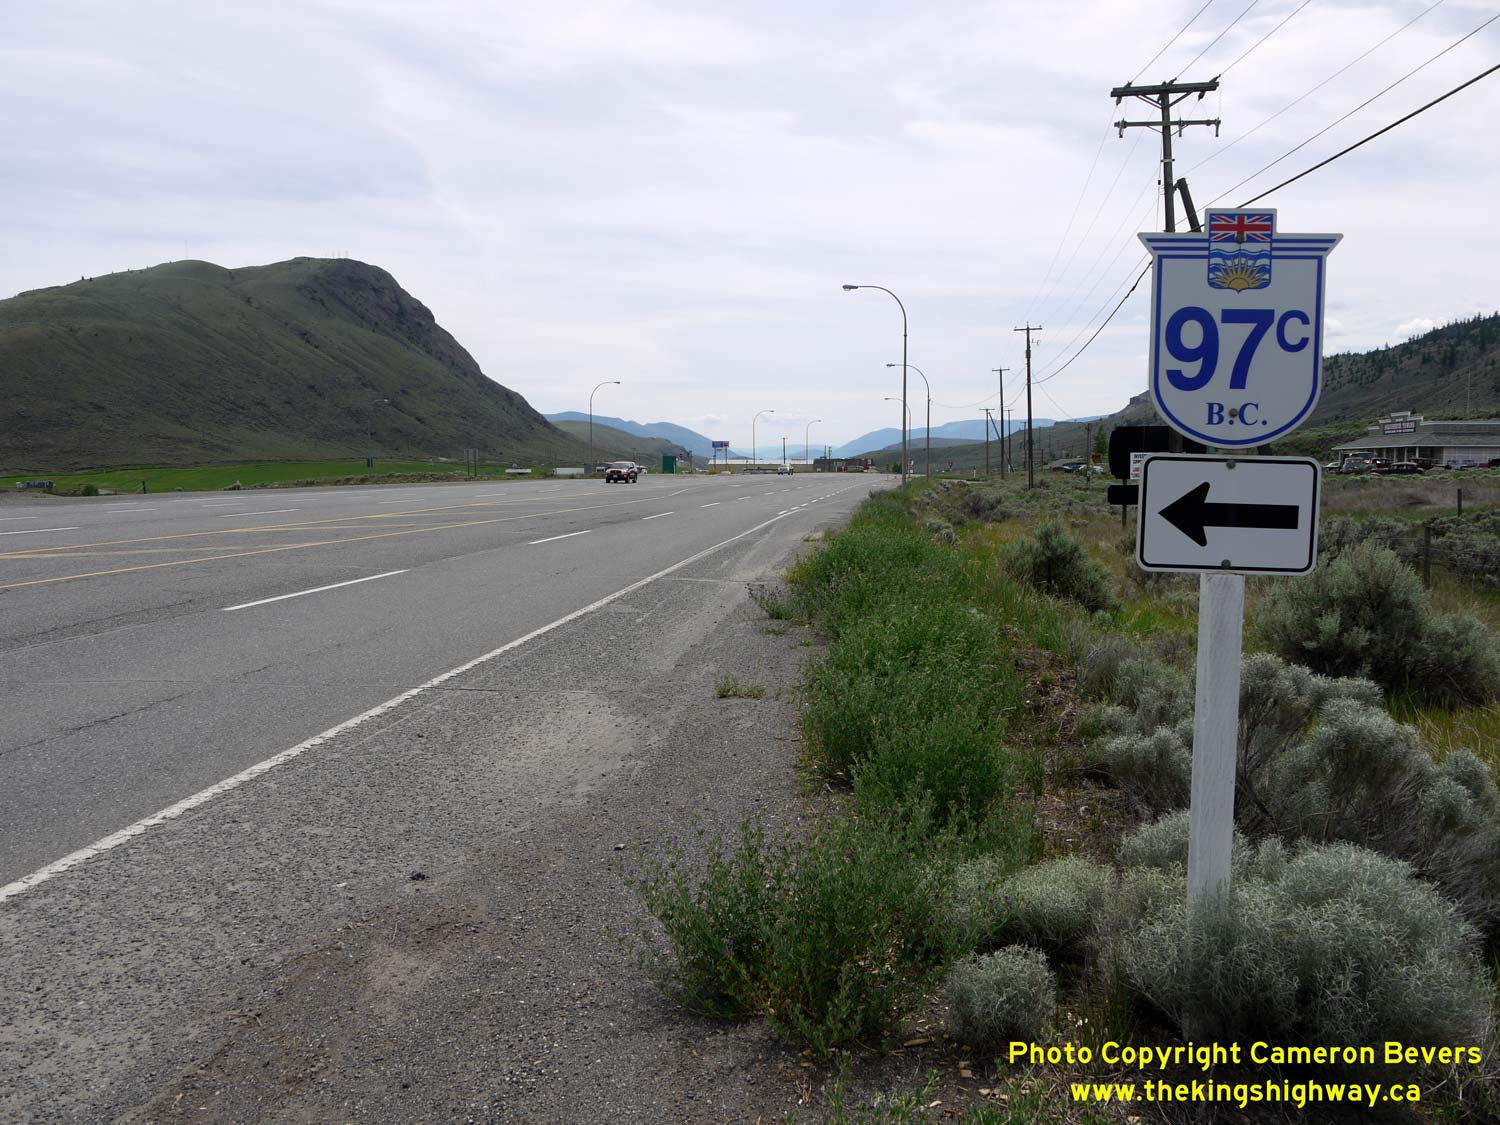
Enlarged Photo Here. (Photograph taken on May 31, 2015 - © Cameron Bevers) Right - This Hwy 97C route marker signpost on southbound Hwy 1 seems to be growing out of a sage bush beside the highway shoulder. See an Enlarged Photo Here. (Photograph taken on May 31, 2015 - © Cameron Bevers) 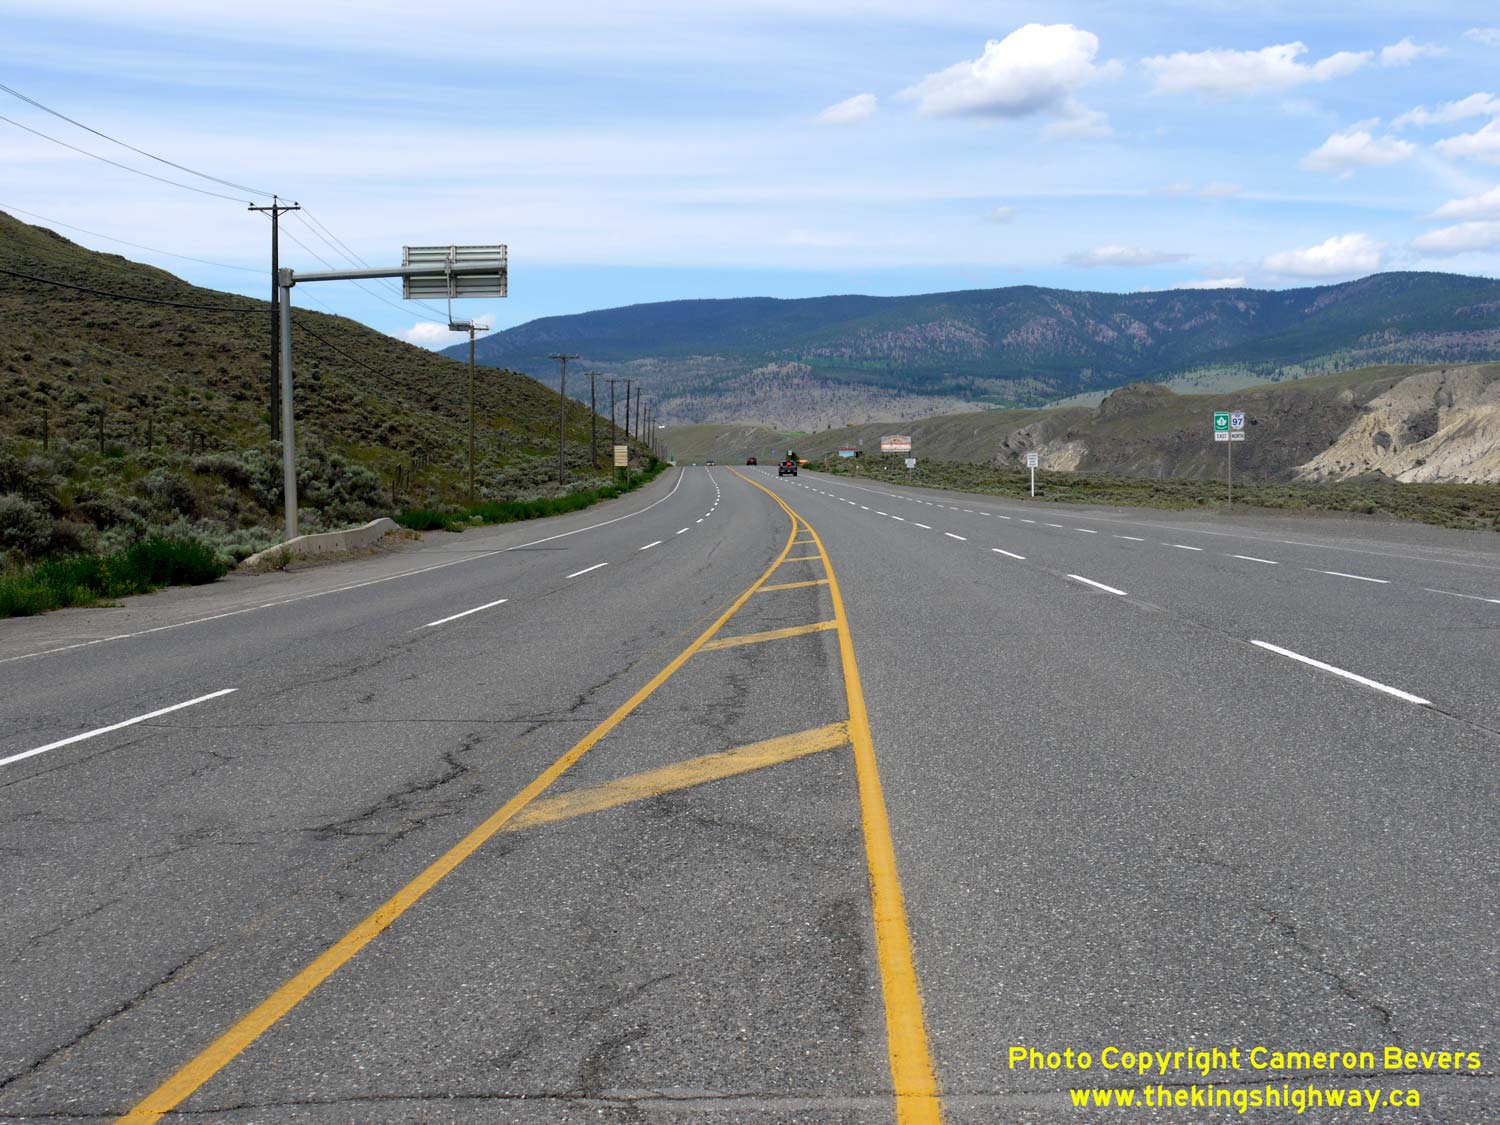

Left - Facing north along Hwy 1 & Hwy 97C towards Cache Creek from the Hwy 97C Junction near Ashcroft. See an
Enlarged Photo Here. (Photograph taken on May 31, 2015 - © Cameron Bevers) Right - Facing south along Hwy 1 from the Hwy 97C Junction near Ashcroft. See an Enlarged Photo Here. (Photograph taken on May 31, 2015 - © Cameron Bevers) 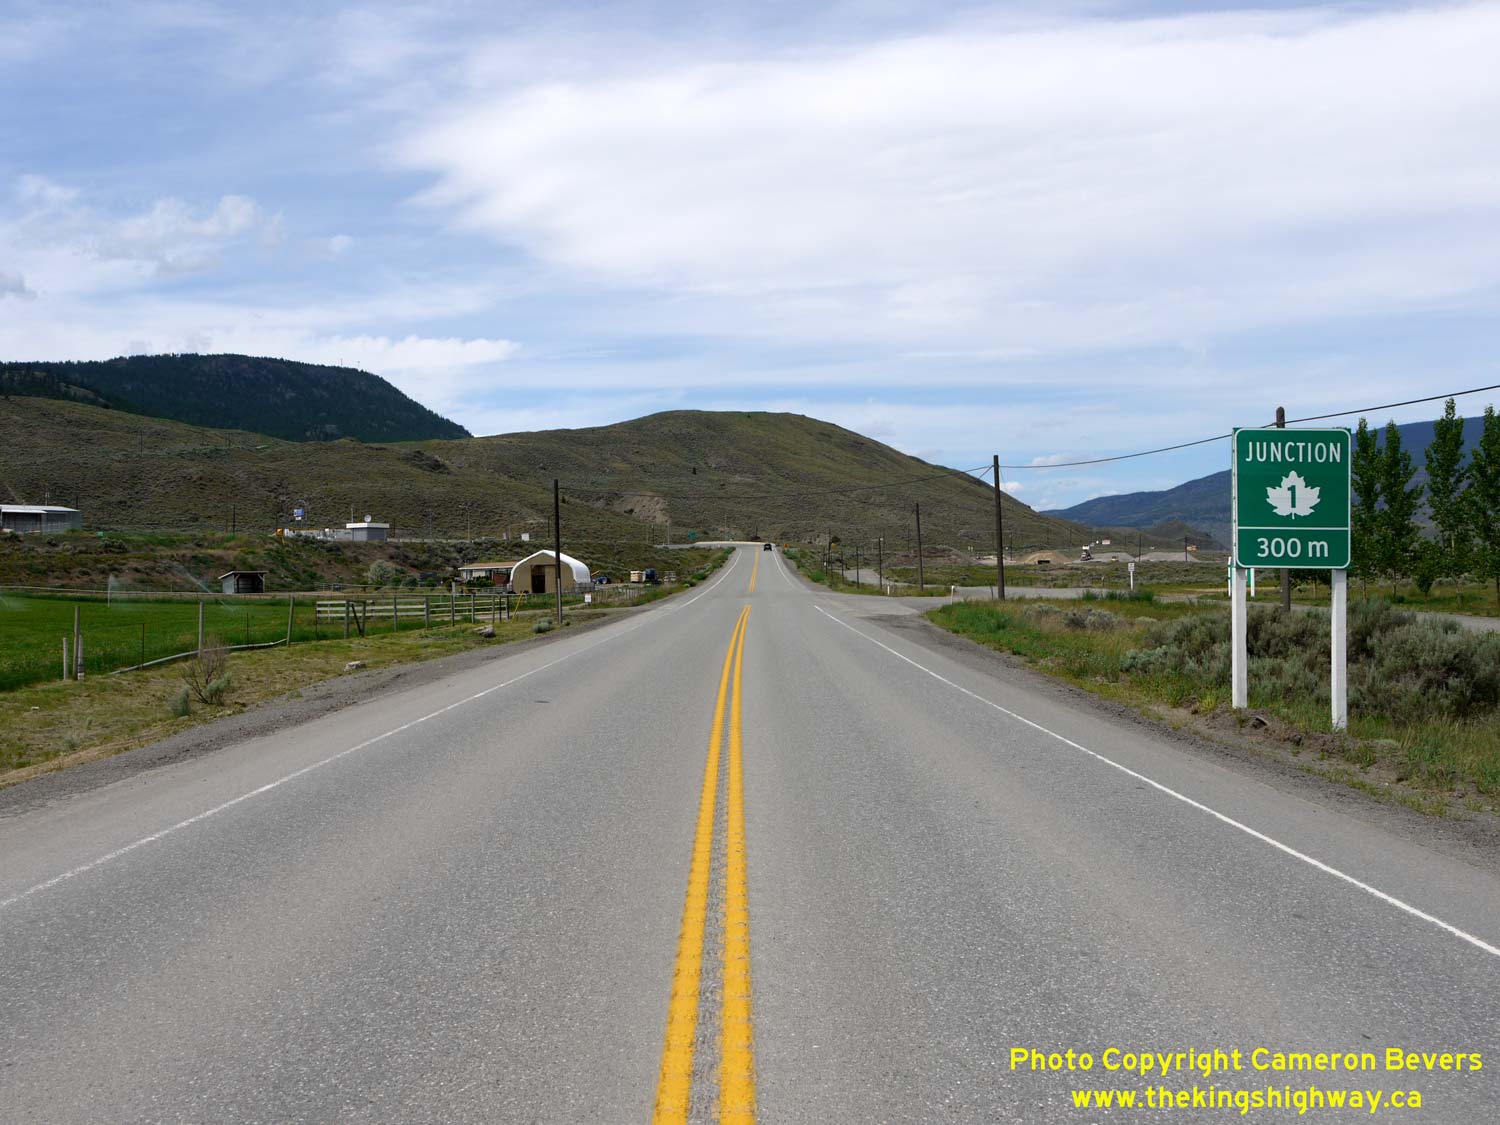
Left - Approaching the Hwy 1 Junction on northbound Hwy 97C north of Ashcroft. See an
Enlarged Photo Here. (Photograph taken on May 31, 2015 - © Cameron Bevers) Right - Facing south along Hwy 97C towards Ashcroft from the Hwy 1 Junction south of Cache Creek. See an Enlarged Photo Here. (Photograph taken on May 31, 2015 - © Cameron Bevers) 
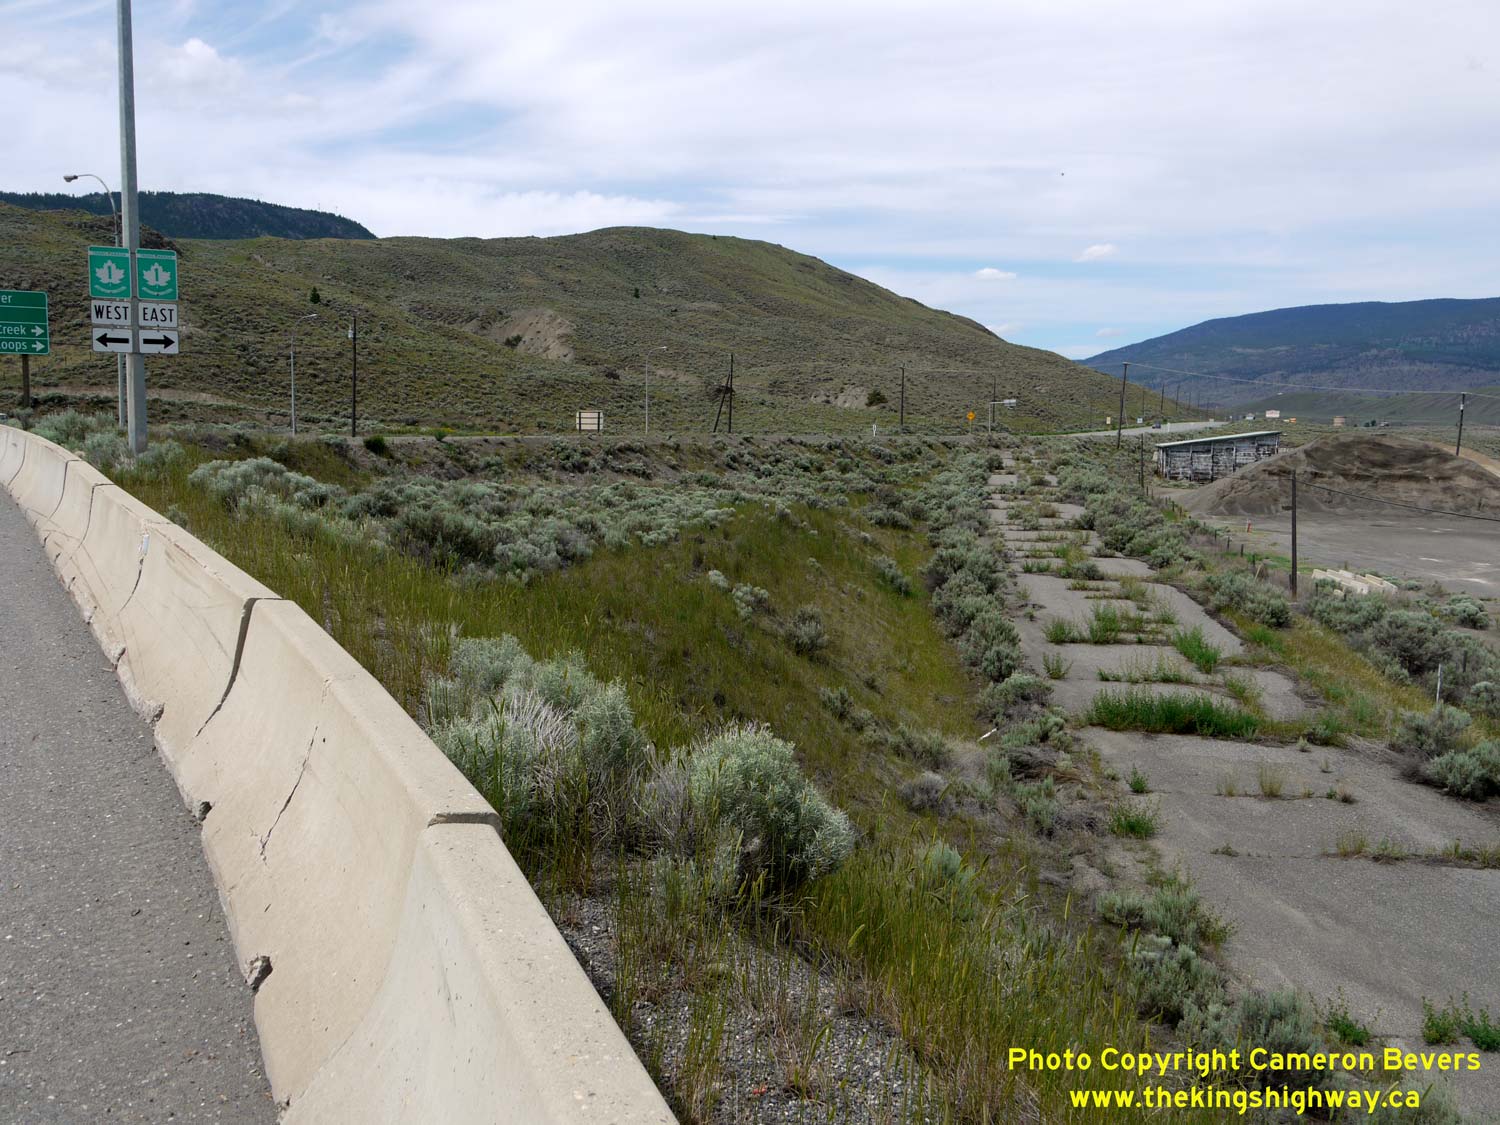
Left - Junction assembly on northbound Hwy 97C at the Hwy 1 Junction south of Cache Creek. At the intersection, Hwy 97C turns right and heads north into Cache
Creek concurrently with Hwy 1. Despite the "East" and "West" directional tabs, Hwy 1 follows a predominantly north-south alignment in this area. See an
Enlarged Photo Here. (Photograph taken on May 31, 2015 - © Cameron Bevers) Right - An abandoned alignment of Hwy 1 is still plainly visible underneath the present-day Hwy 97C. For many years, the Trans-Canada Highway passed through nearby Ashcroft. However, the highway approaches to Ashcroft had extremely steep grades, so a diversion was built to carry Hwy 1 traffic around the town. See an Enlarged Photo Here. (Photograph taken on May 31, 2015 - © Cameron Bevers) 

Left - Old guide sign at the Hwy 1 & Hwy 97C Junction, showing the British Columbia highway routes of the Cache Creek area. This guide sign likely dates
from the late 1980s or early 1990s, as the route of Hwy 99 between Pemberton and Lillooet is not marked on the map. The Duffey Lake Road was designated as Hwy 99
during the 1990s. See an Enlarged Photo Here. (Photograph taken on May 31, 2015 - © Cameron Bevers) Right - Facing north along Hwy 1 approaching the Hwy 97C Junction near Ashcroft. See an Enlarged Photo Here. (Photograph taken on May 31, 2015 - © Cameron Bevers) 
Left - Guide sign on northbound Hwy 1 marking the upcoming Hwy 97C Junction near Ashcroft. See an
Enlarged Photo Here. (Photograph taken on May 31, 2015 - © Cameron Bevers) Right - Facing south along Hwy 1 towards Spences Bridge from the Hwy 97C Junction near Ashcroft. See an Enlarged Photo Here. (Photograph taken on May 31, 2015 - © Cameron Bevers) 

Left - Facing south along Hwy 1 approaching the Hwy 12 Junction in Lytton. See an
Enlarged Photo Here. (Photograph taken on May 30, 2015 - © Cameron Bevers) Right - Trans-Canada Highway route marker on Hwy 1. The Trans-Canada Highway is one of several highways in British Columbia to have special route markers. The Crowsnest Highway (Hwy 3), the South Yellowhead Highway & Coquihalla Highway (Hwy 5) and the Yellowhead Highway (Hwy 16) all have non-standard highway markers. See an Enlarged Photo Here. (Photograph taken on May 30, 2015 - © Cameron Bevers) 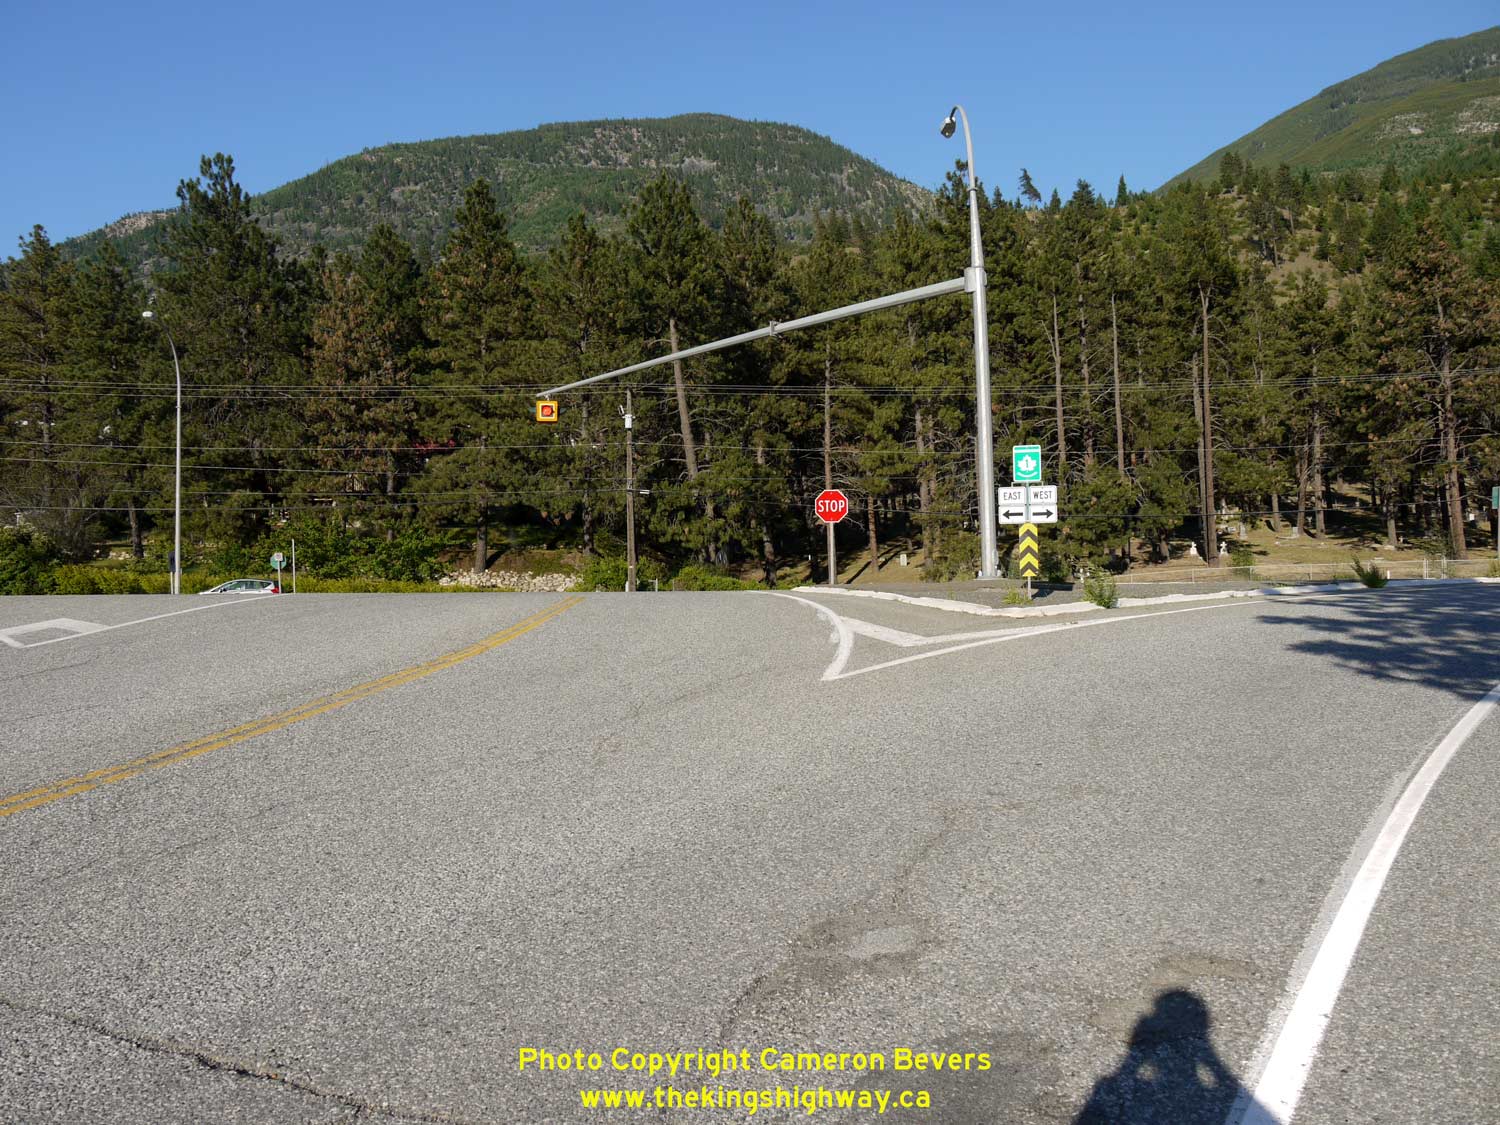

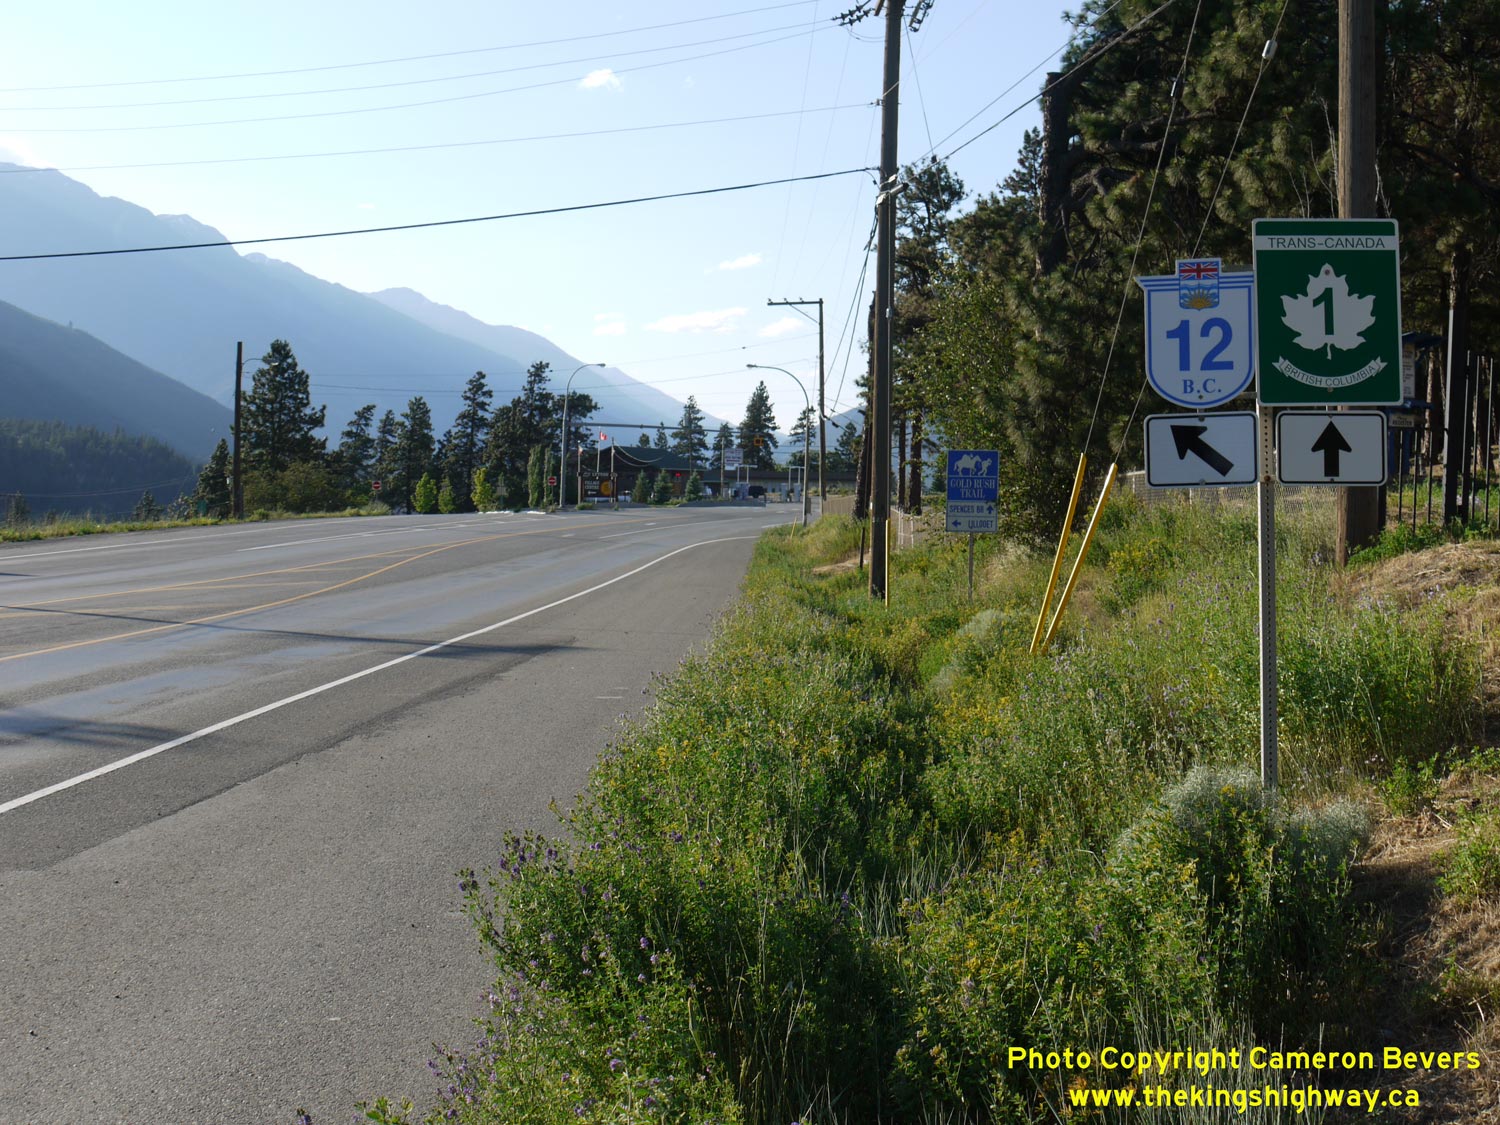
Left - Southern terminus of Hwy 12 at the Hwy 1 (Trans-Canada Highway) Junction in Lytton. From here, motorists can turn north towards Cache Creek and Kamloops
or south towards Hope and Vancouver. See an Enlarged Photo Here. (Photograph taken on May 30, 2015 - © Cameron Bevers) Right - Facing south along Hwy 1 towards Hope from the Hwy 12 Junction in Lytton. See an Enlarged Photo Here. (Photograph taken on May 30, 2015 - © Cameron Bevers) 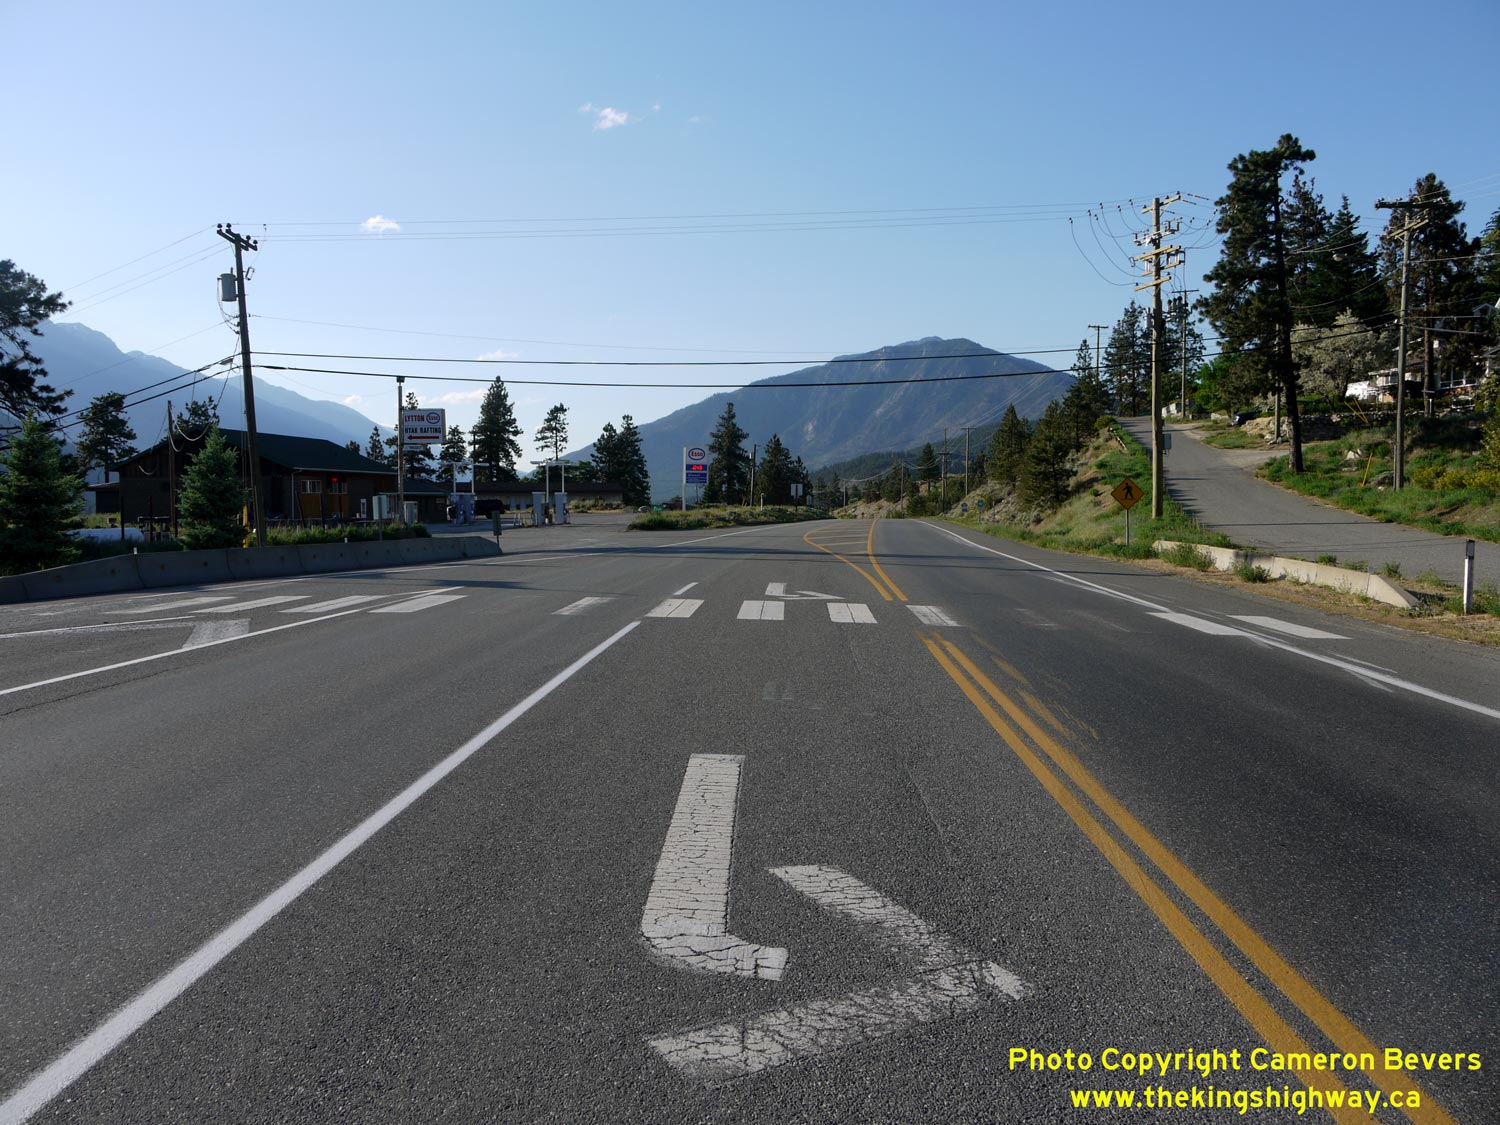
Left - Facing north along Hwy 1 towards Spences Bridge from the Hwy 12 Junction in Lytton. See an
Enlarged Photo Here. (Photograph taken on May 30, 2015 - © Cameron Bevers) Right - Junction assembly on northbound Hwy 1 approaching the Hwy 12 Junction in Lytton. Hwy 12 extends north from Lytton for about 65 km to Lillooet, where it connects to Hwy 99. See an Enlarged Photo Here. (Photograph taken on May 30, 2015 - © Cameron Bevers) 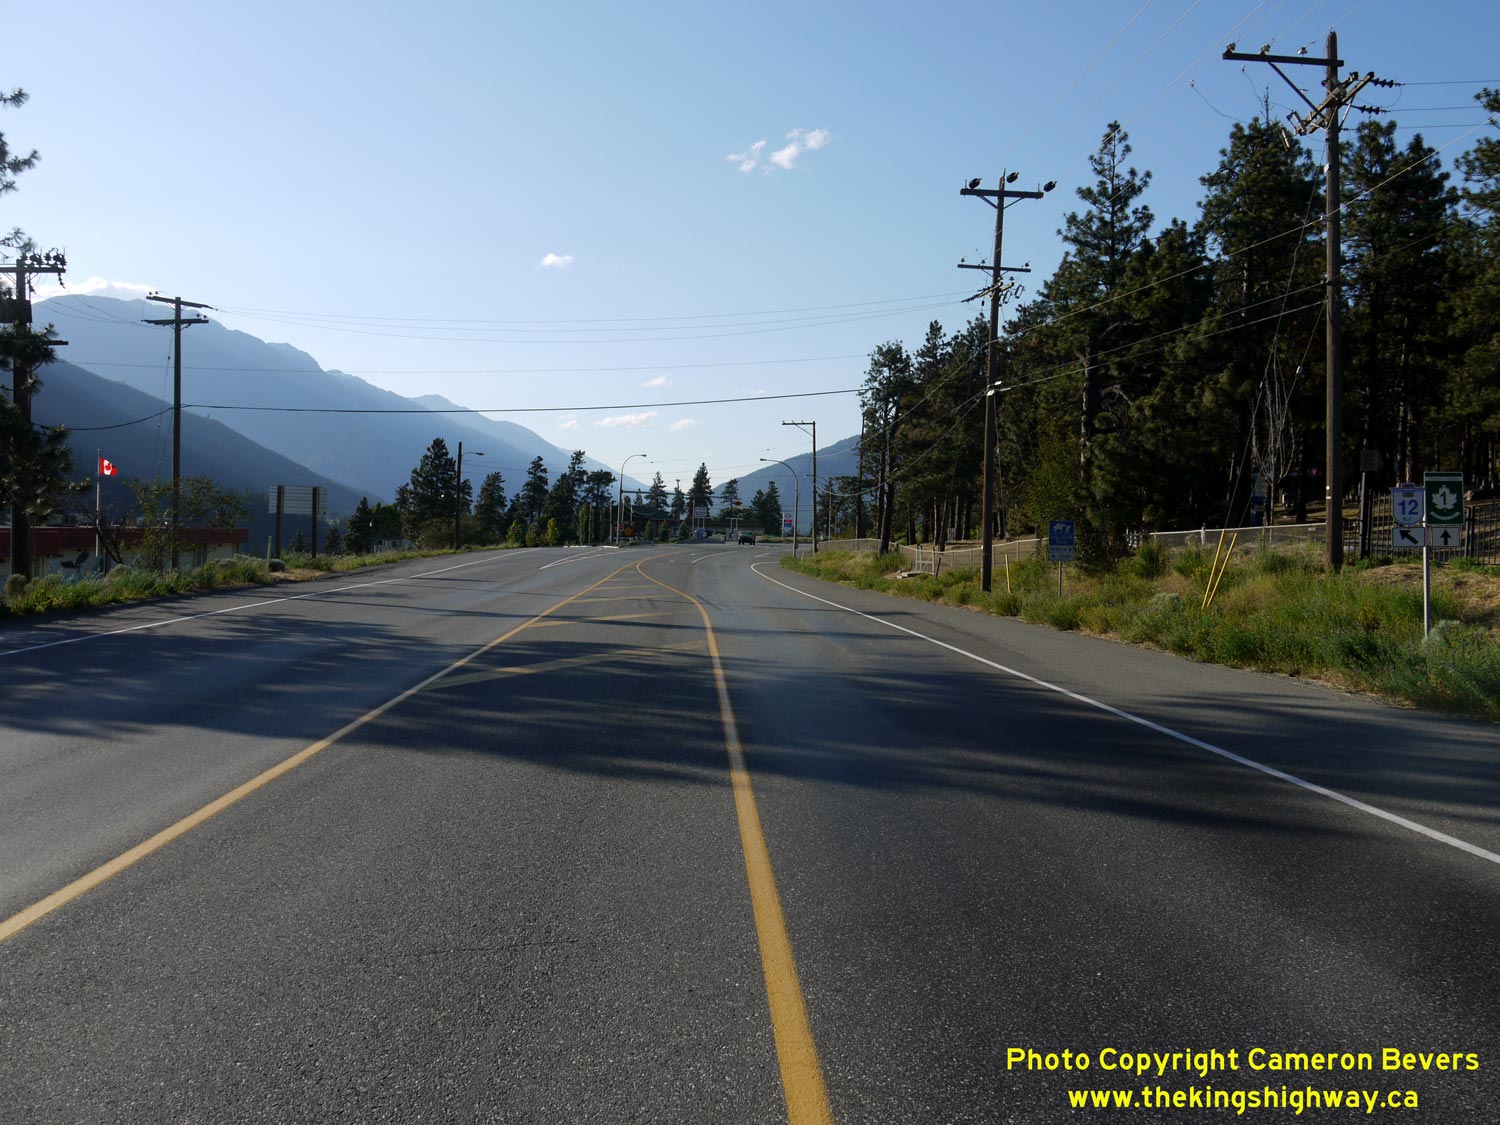

Left - Facing north along Hwy 1 approaching the Hwy 12 Junction in Lytton. See an
Enlarged Photo Here. (Photograph taken on May 30, 2015 - © Cameron Bevers) Right - A lone route marker advises northbound Hwy 1 motorists of the upcoming Hwy 12 Junction in Lytton. See an Enlarged Photo Here. (Photograph taken on May 30, 2015 - © Cameron Bevers) 
Above - Facing south along Hwy 1 towards Hope, departing Lytton. See an
Enlarged Photo Here. (Photograph taken on May 30, 2015 - © Cameron Bevers)
Continue west along BC Highway 1 from Lytton to Hope (Future Page) |
|---|
Links to Adjacent BC Highway Photograph Pages:
Back to BC Highway 395 Photos /
British Columbia Highways Photo Index /
On to BC Highway 3 Photos
Ontario Highway History - Main Menu / Vacation Highway Photos - Main Menu Website contents, photos & text © 2002-2026, Cameron
Bevers (Webmaster) - All Rights Reserved / Contact Me
|
|---|