
| 
| |
|
|
This page contains present day photos (Year 2000 to date) of Ontario's King's Highway 21, arranged by location from the
Highway 9 Junction in Kincardine northerly to Allenford. All photographs displayed on this page were taken by the Webmaster (Cameron Bevers), unless specifically
noted otherwise. Click on any thumbnail to see a larger image!
Please note that all photographs displayed on this
website are protected by copyright. These photographs must not be reproduced, published,
electronically stored or copied, distributed, or posted onto other websites without
my written permission. If you want to use photos from this website, please
email me first for permission. Thank-you!
|
|---|
|
Page 6: Present Day King's Highway 21 Photographs (Kincardine to Allenford)
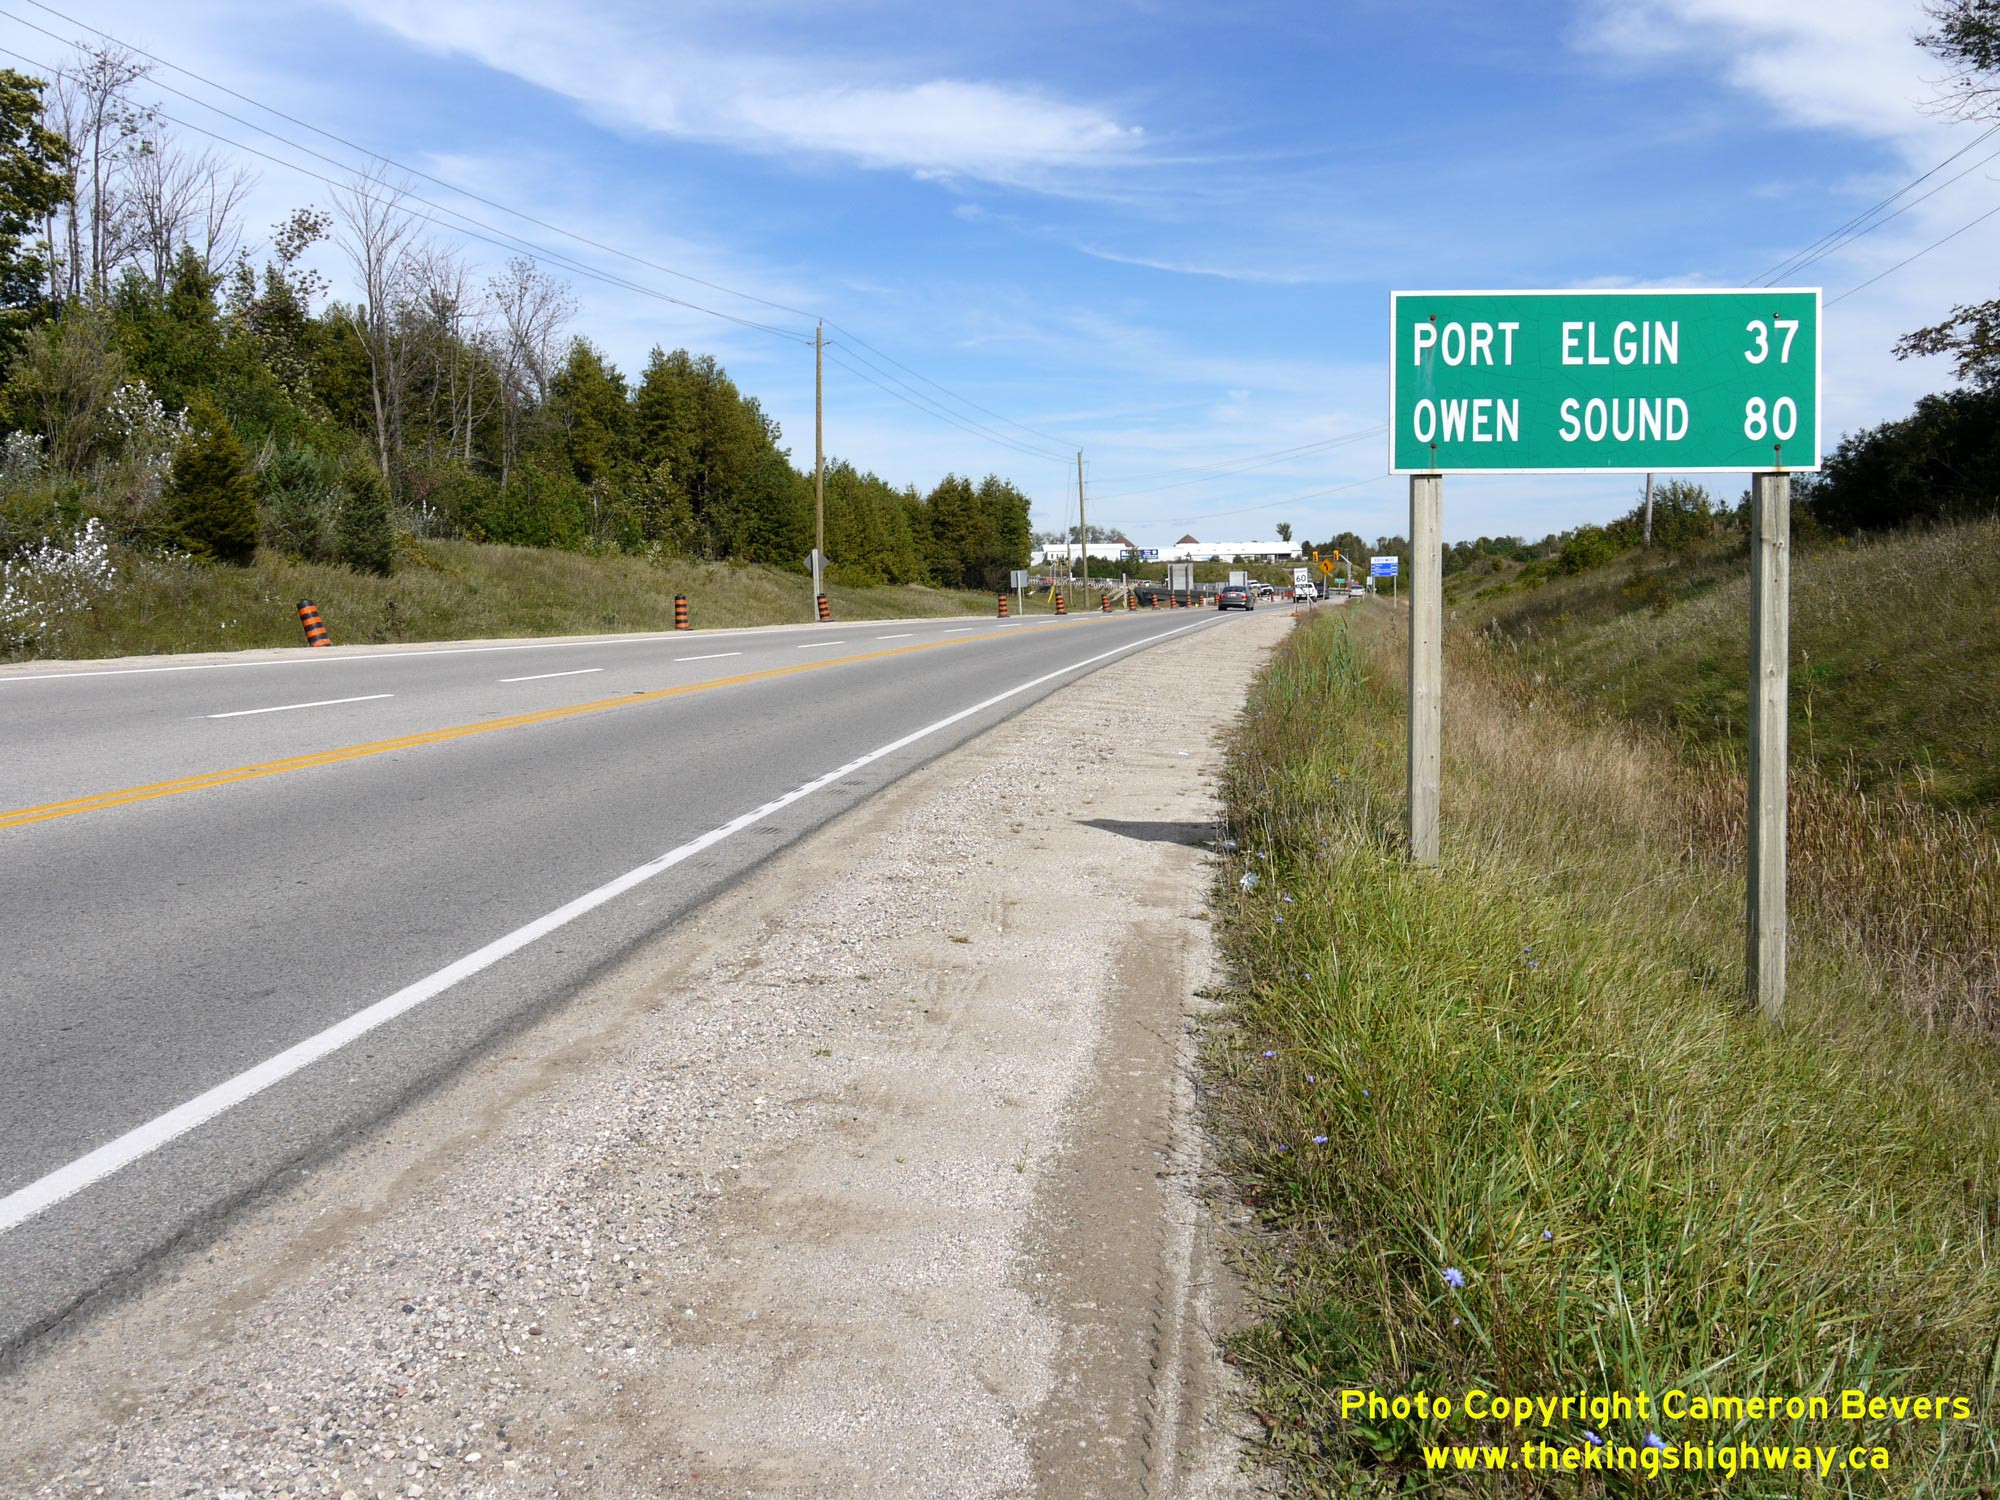
  Left - Distance guide sign on northbound Hwy 21 north of the Hwy 9 Junction in Kincardine. See an
Enlarged Photo Here. Left - Distance guide sign on northbound Hwy 21 north of the Hwy 9 Junction in Kincardine. See an
Enlarged Photo Here.(Photograph taken on September 27, 2018 - © Cameron Bevers) Right - Destination guide signs on southbound Hwy 21 approaching the Hwy 9 Junction in Kincardine. See an
Enlarged Photo Here.(Photograph taken on September 27, 2018 - © Cameron Bevers) 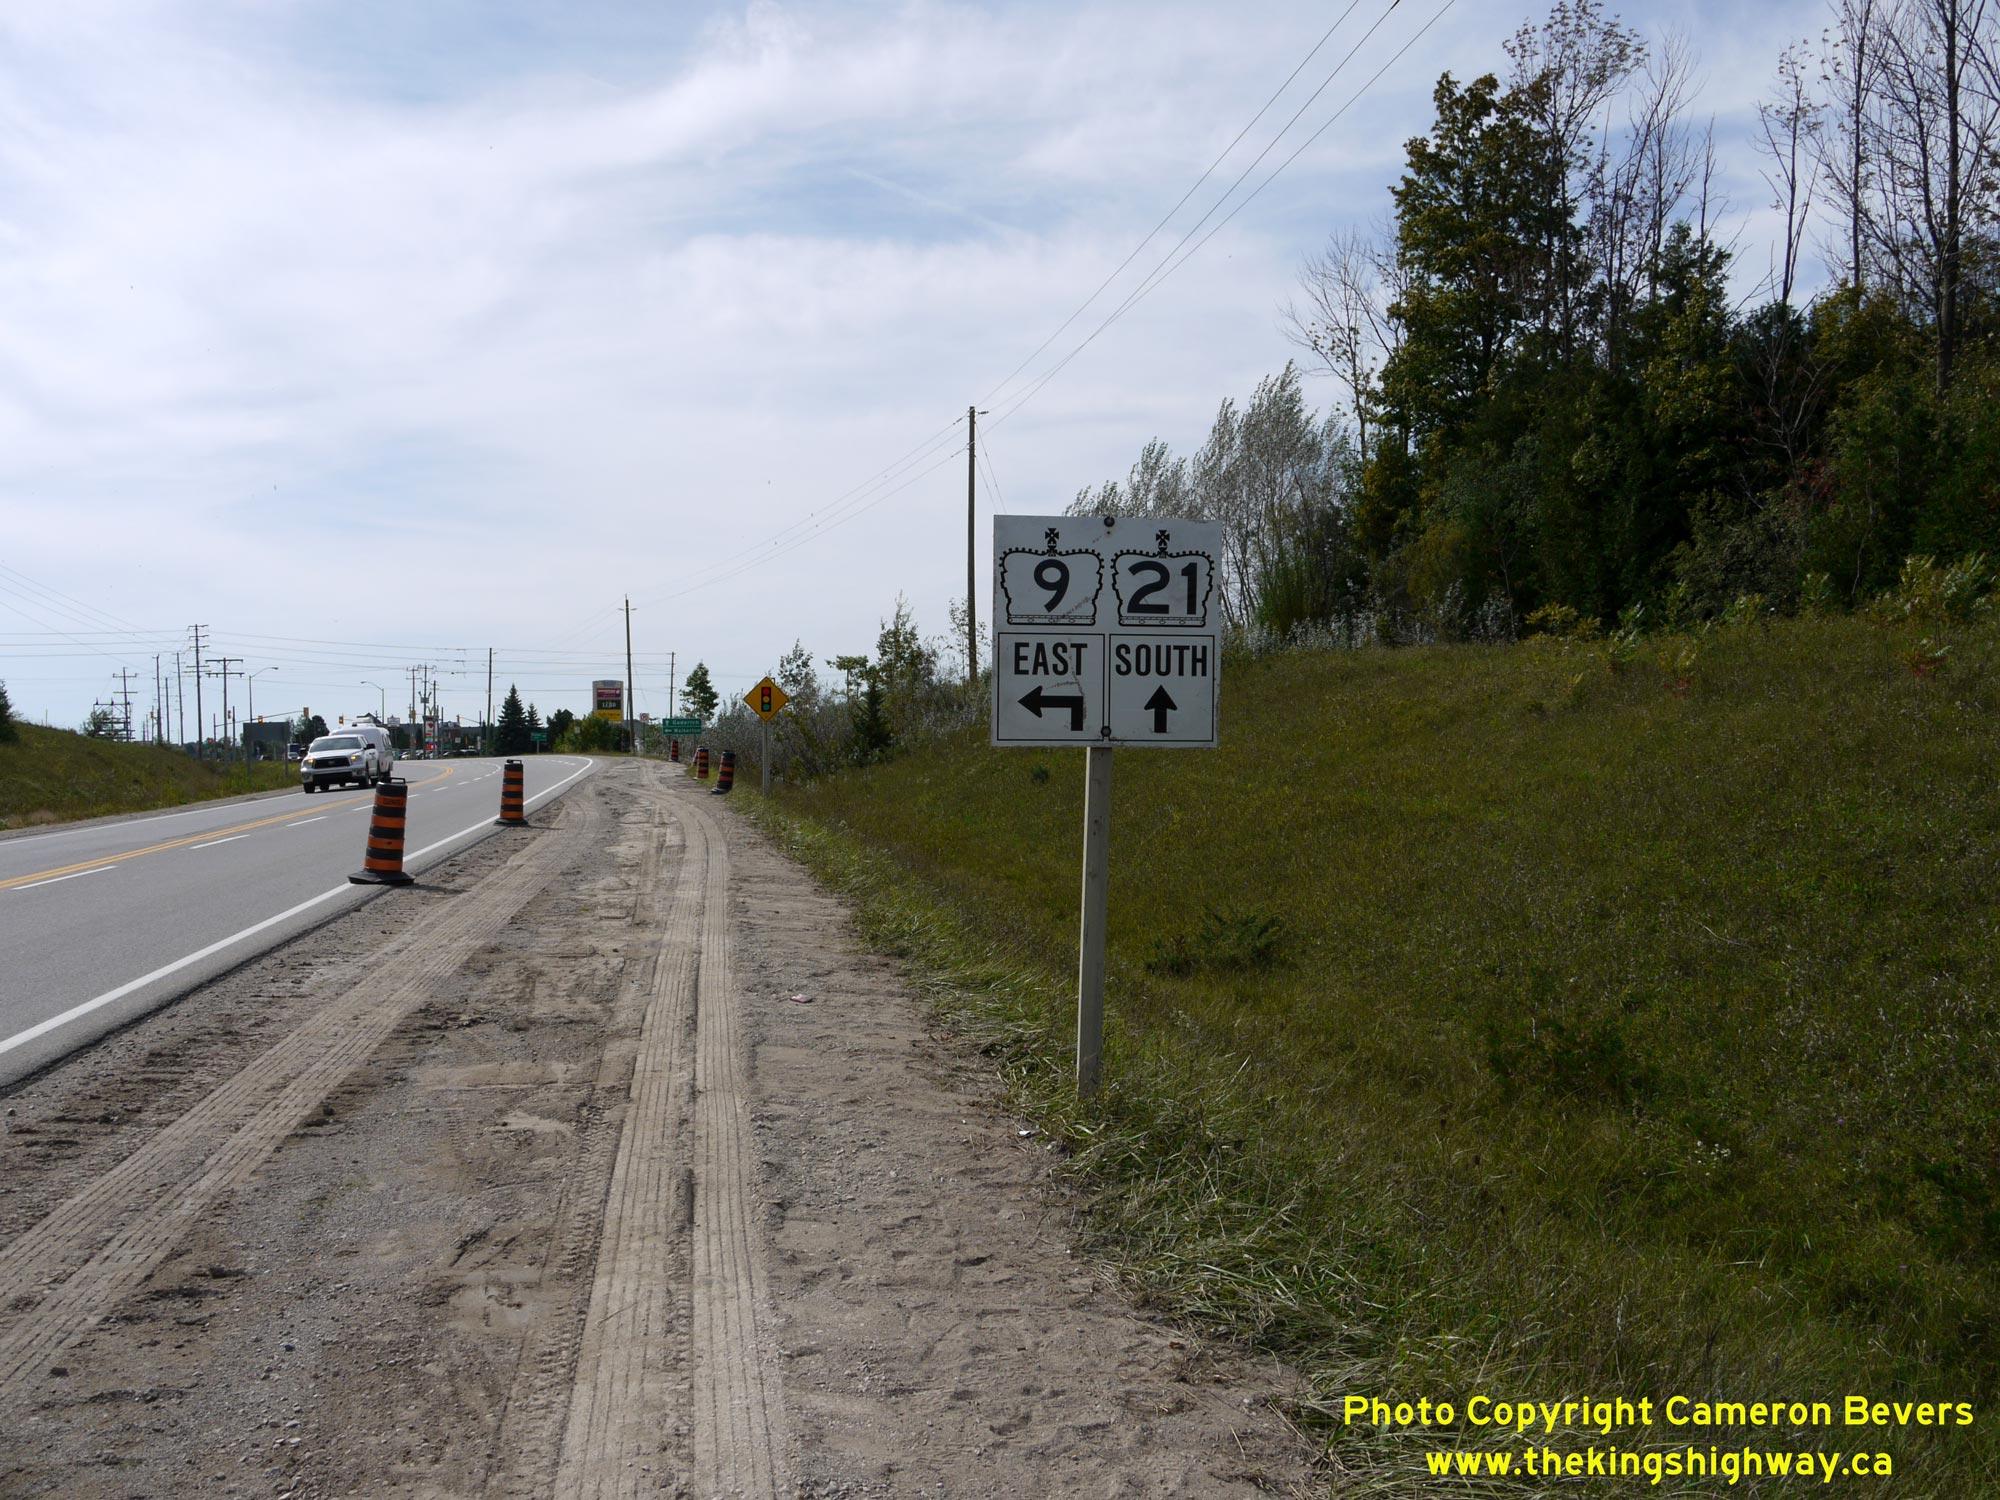
 Left - Junction sign assembly facing southbound Hwy 21 traffic in Kincardine approaching the Hwy 9 Junction. See an
Enlarged Photo Here. Left - Junction sign assembly facing southbound Hwy 21 traffic in Kincardine approaching the Hwy 9 Junction. See an
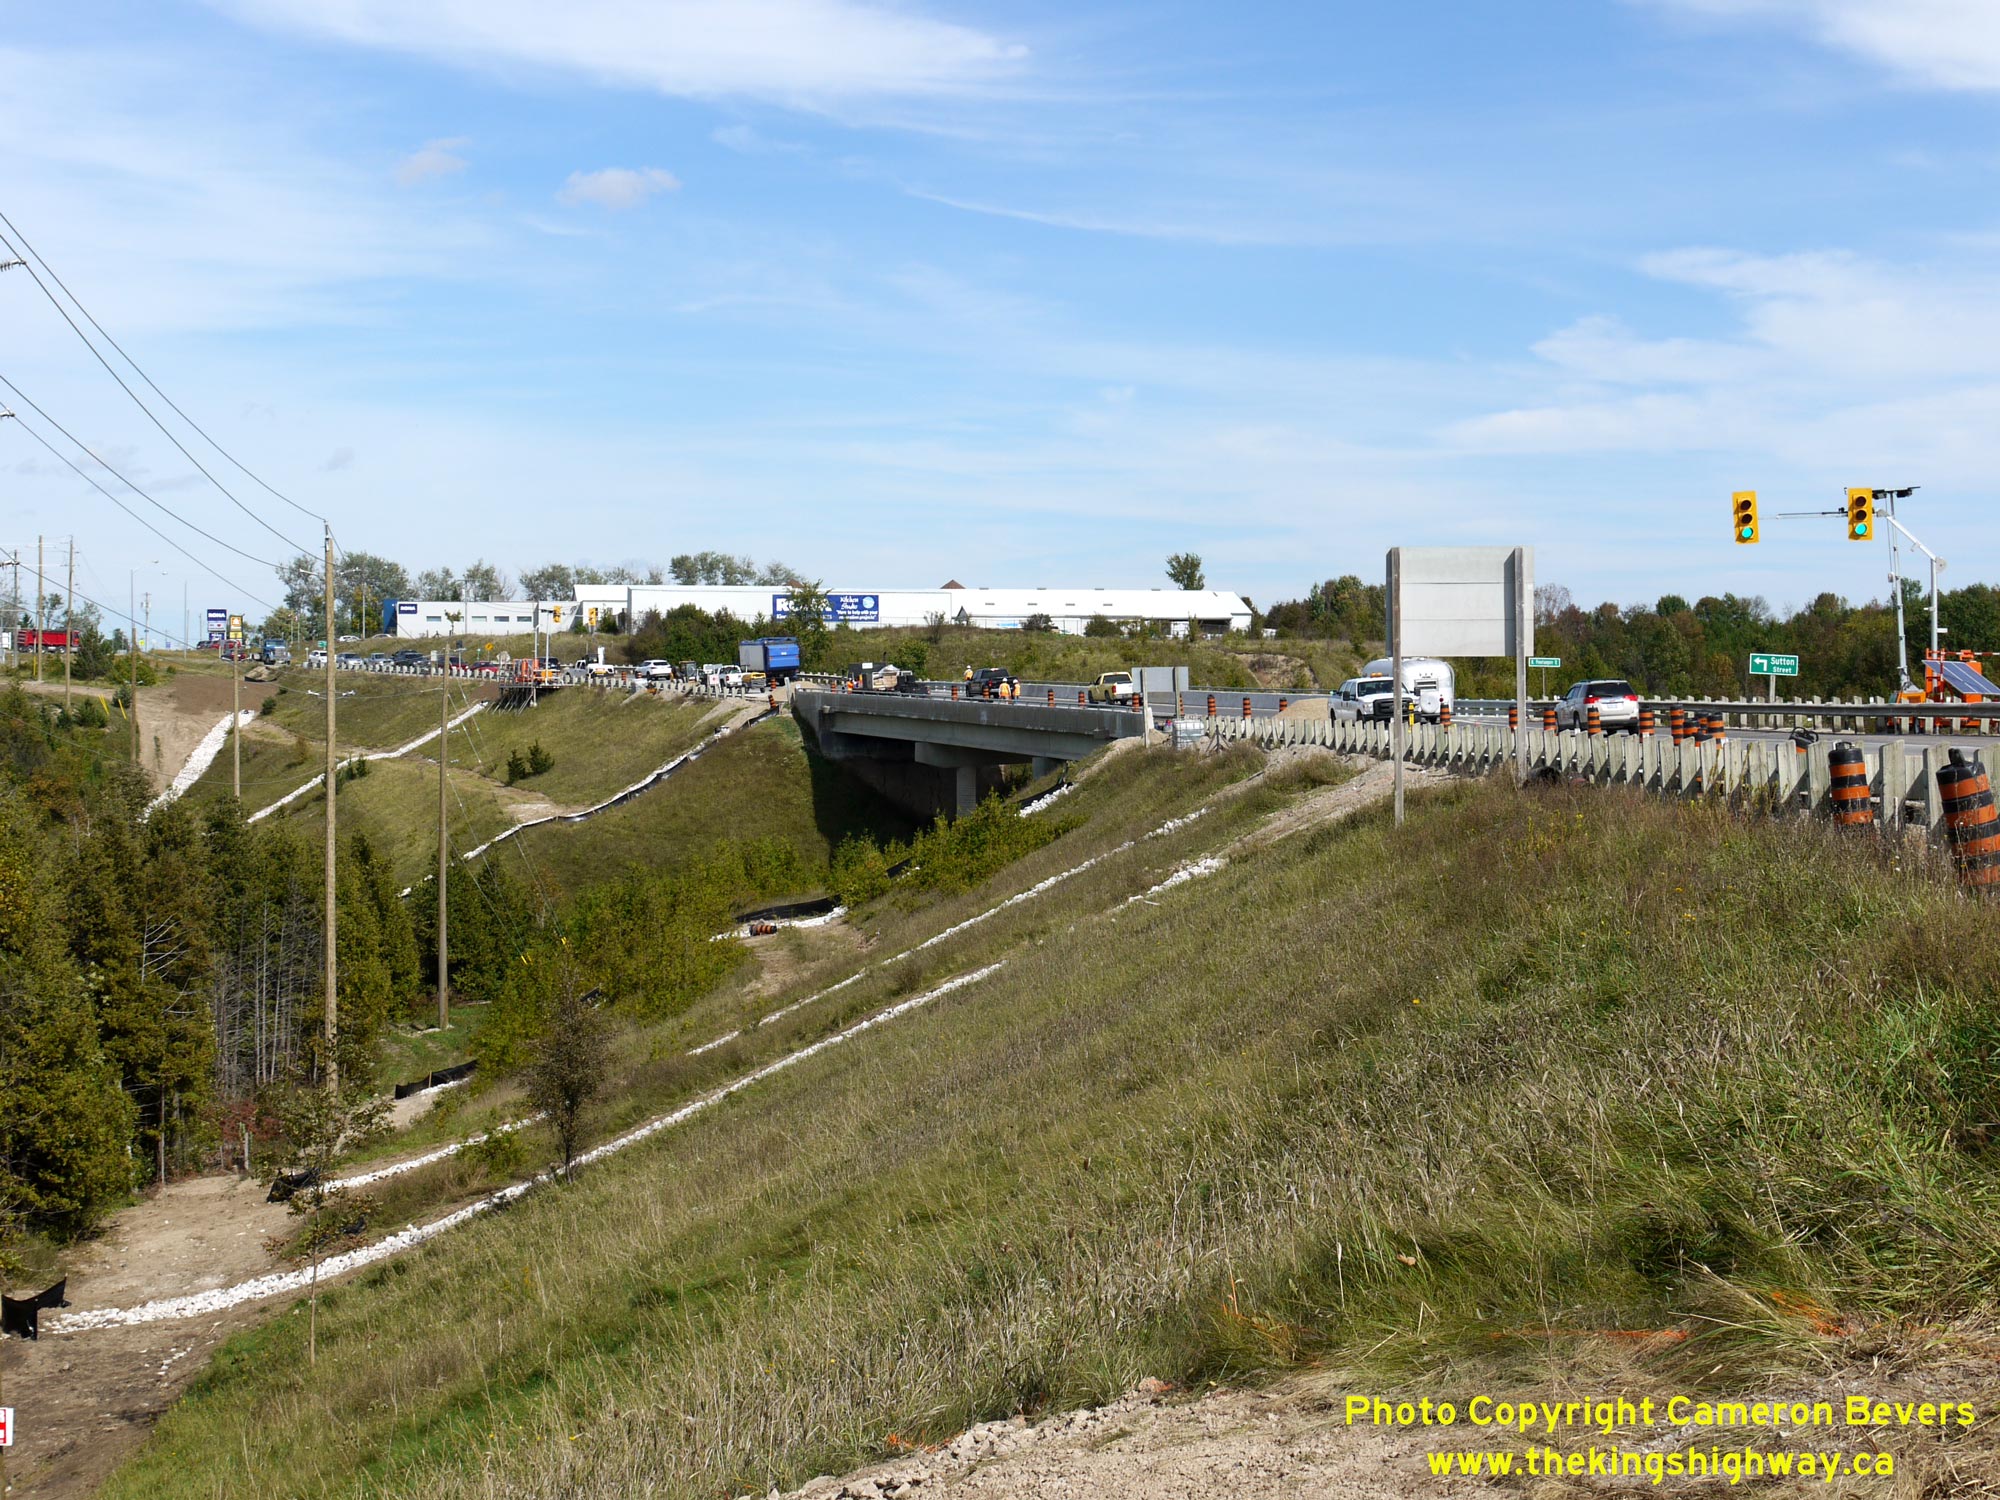
Enlarged Photo Here.(Photograph taken on September 27, 2018 - © Cameron Bevers) Right - View of the North Penetangore River Bridge (Site #2-404) on the Kincardine Bypass (Hwy 21). This three-span concrete girder structure was completed in
1980 and was a key design feature of the Hwy 21 Bypass around the eastern side of Kincardine. The bridge was originally constructed under Contract #1980-46. It was
being rehabilitated at the time this photo was taken in 2018, under Contract #2017-3018. As can be seen in this photo, the Hwy 21 Bypass was constructed on top of an
enormous earth fill. Although the northeastern leg of the Kincardine Bypass is scarcely 900 metres in length, this would have been an incredibly expensive highway to
construct, due to the amount of grading required to build up this earth fill from the valley floor. See an
Enlarged Photo Here.(Photograph taken on September 27, 2018 - © Cameron Bevers) 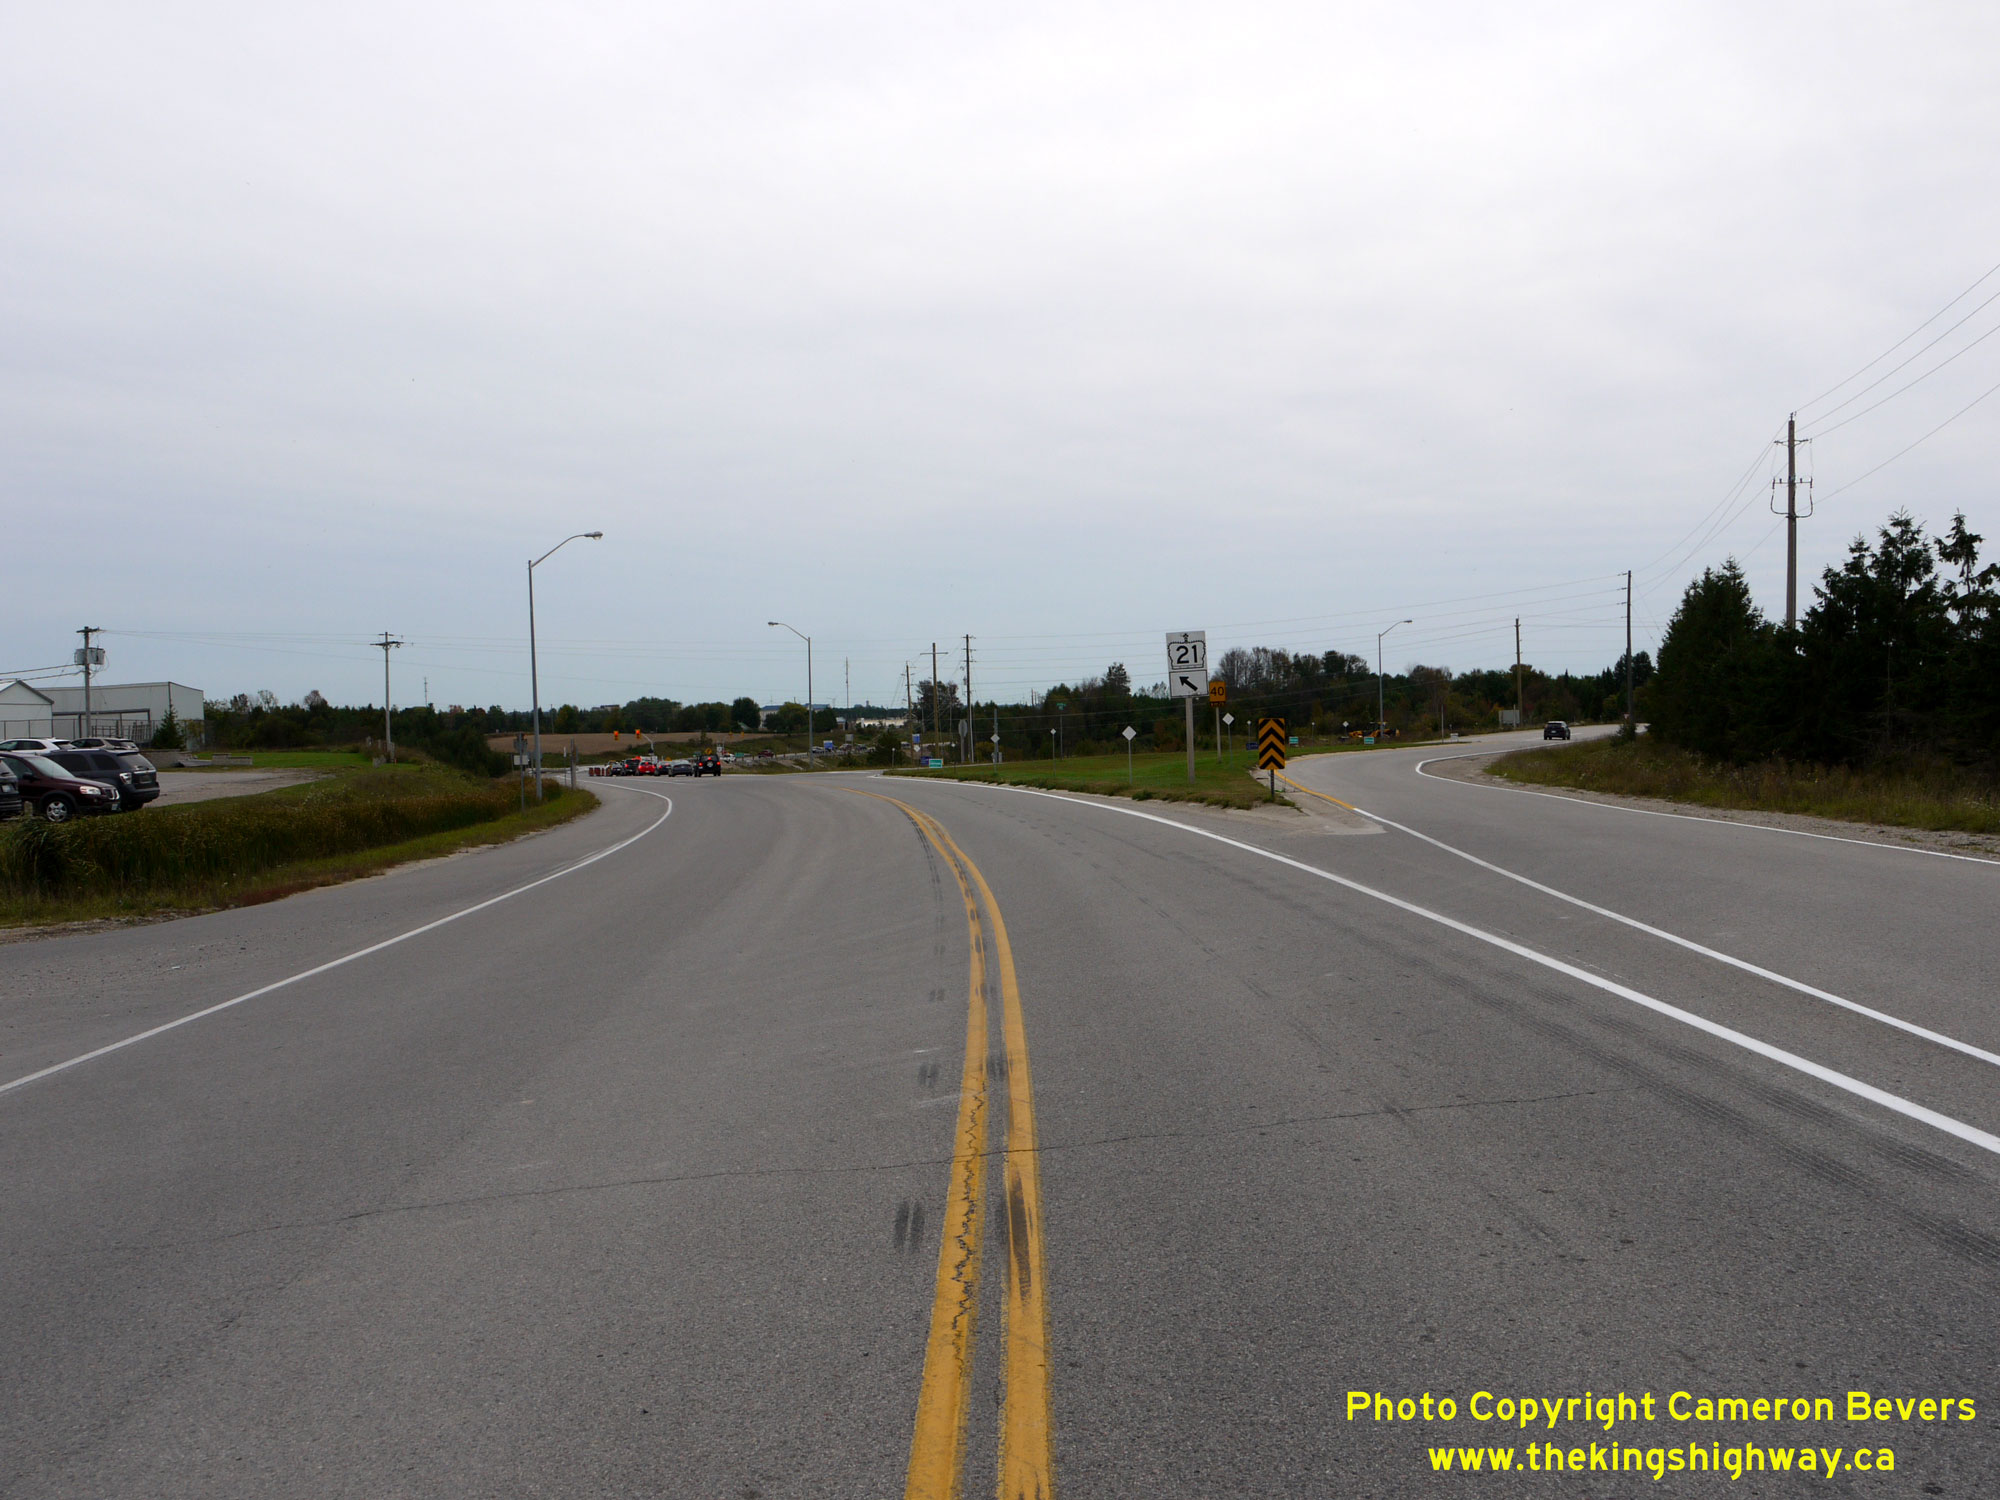
 Left - Facing south along Hwy 21 towards the start of the Kincardine Bypass. Here, the original route of Hwy 21 curves off to the right, while the Hwy 21
Bypass curves off to the left. This final phase of the Kincardine Bypass between Sutton Street (Old Hwy 21) and the Hwy 9 Junction was constructed under Contract
#1980-46 and was completed in 1981. The southeastern leg of the Kincardine Bypass from the Hwy 9 Junction southerly to Kincardine Avenue was completed in 1979. See an
Enlarged Photo Here. Left - Facing south along Hwy 21 towards the start of the Kincardine Bypass. Here, the original route of Hwy 21 curves off to the right, while the Hwy 21
Bypass curves off to the left. This final phase of the Kincardine Bypass between Sutton Street (Old Hwy 21) and the Hwy 9 Junction was constructed under Contract
#1980-46 and was completed in 1981. The southeastern leg of the Kincardine Bypass from the Hwy 9 Junction southerly to Kincardine Avenue was completed in 1979. See an
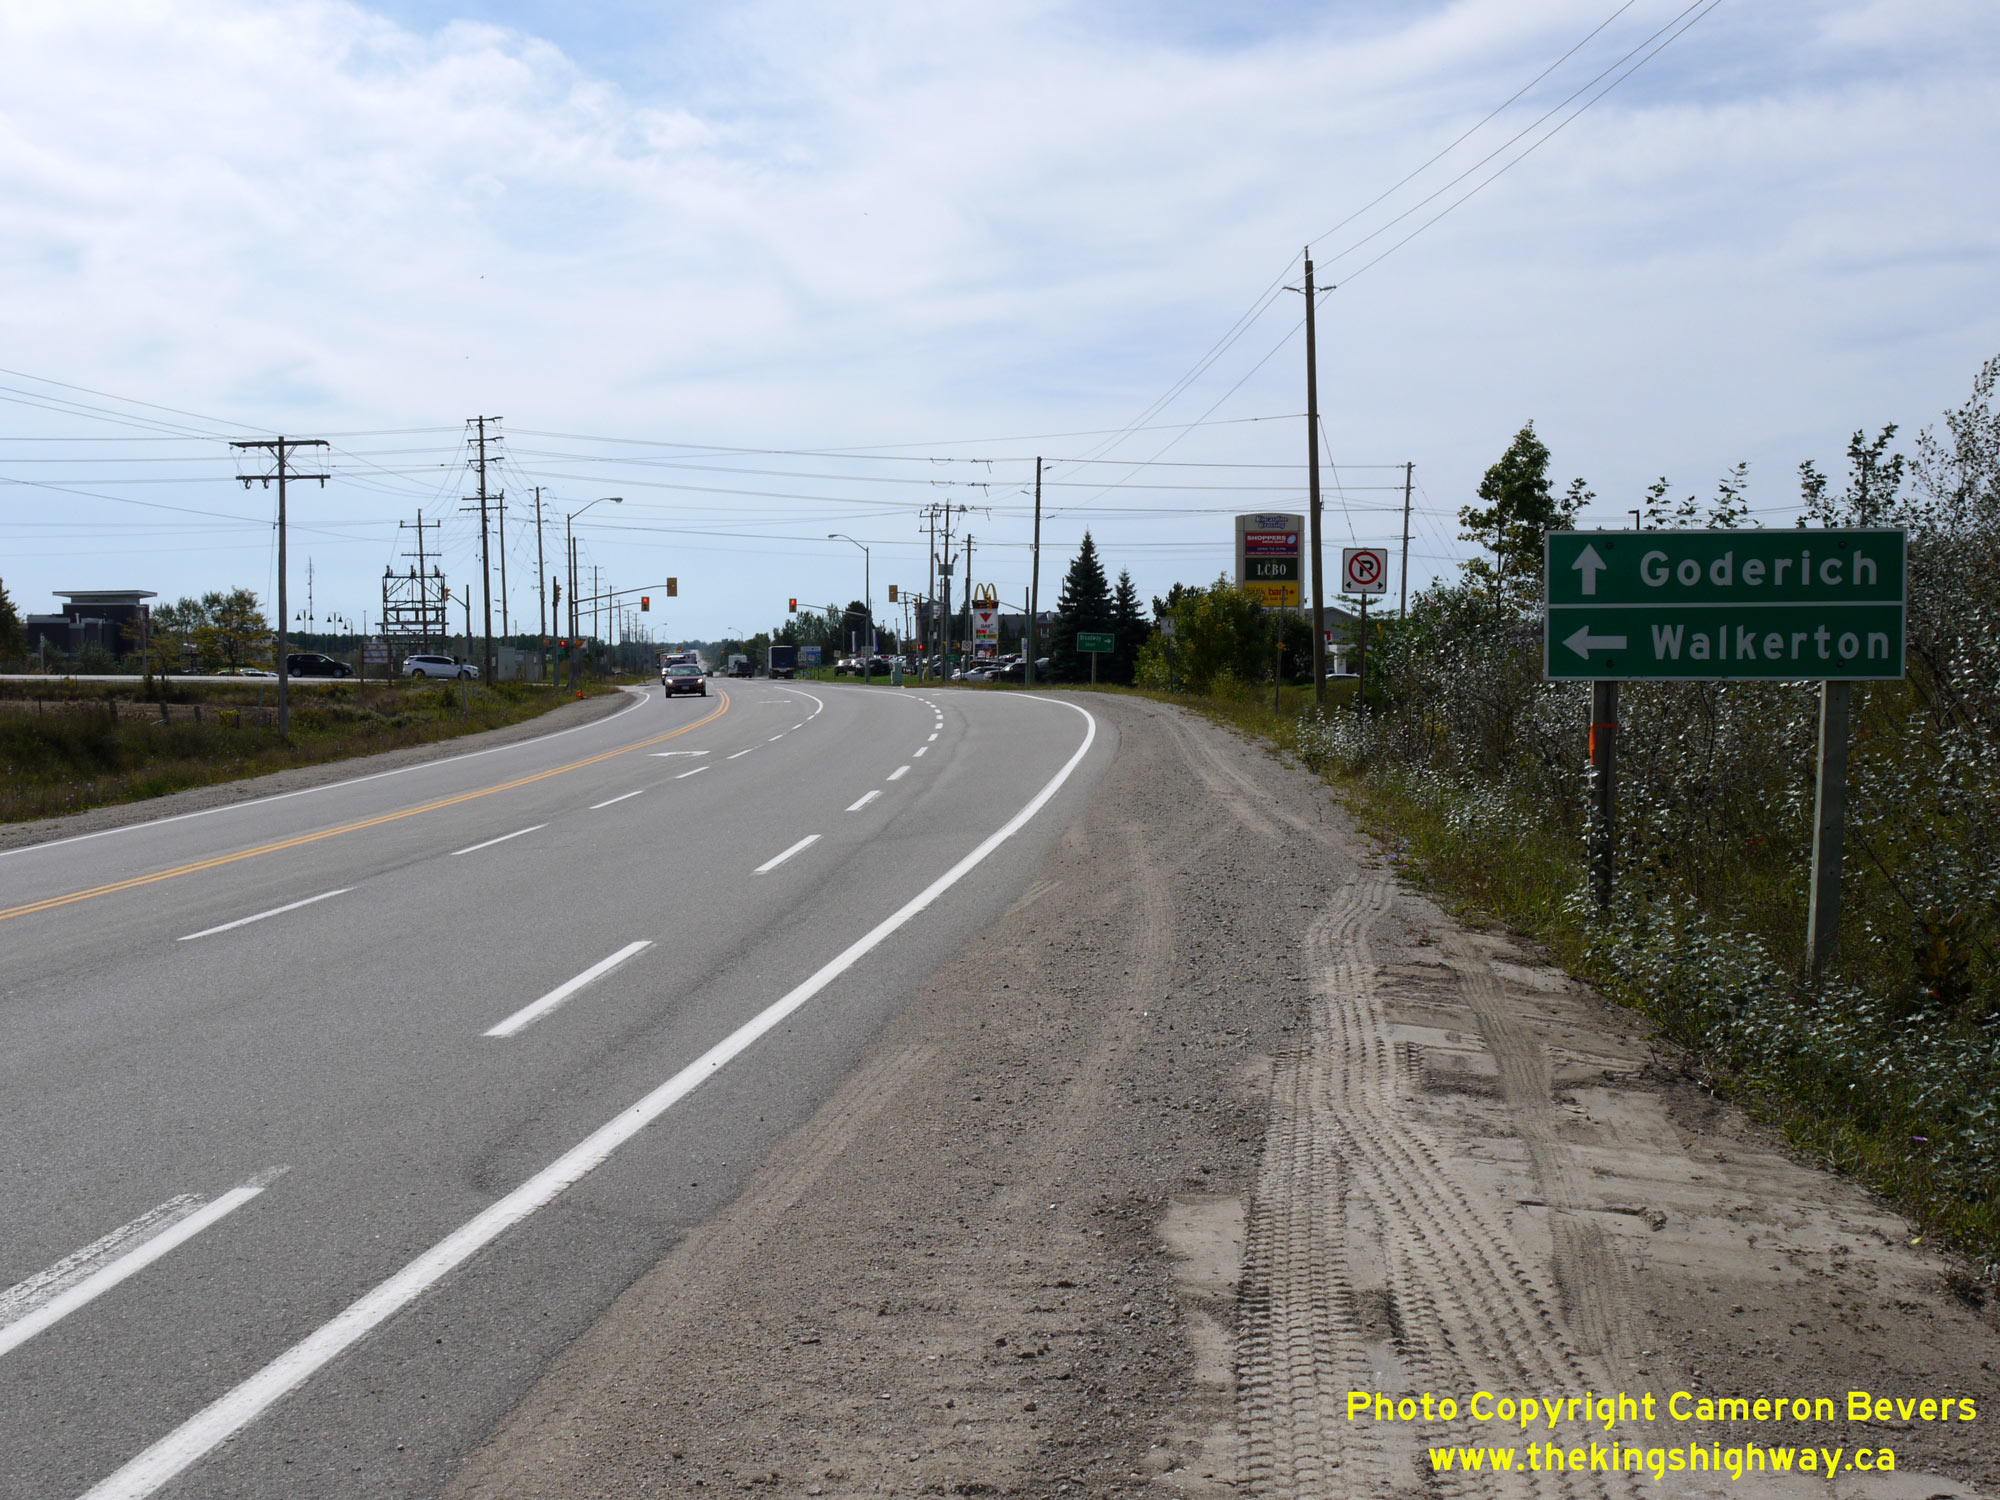
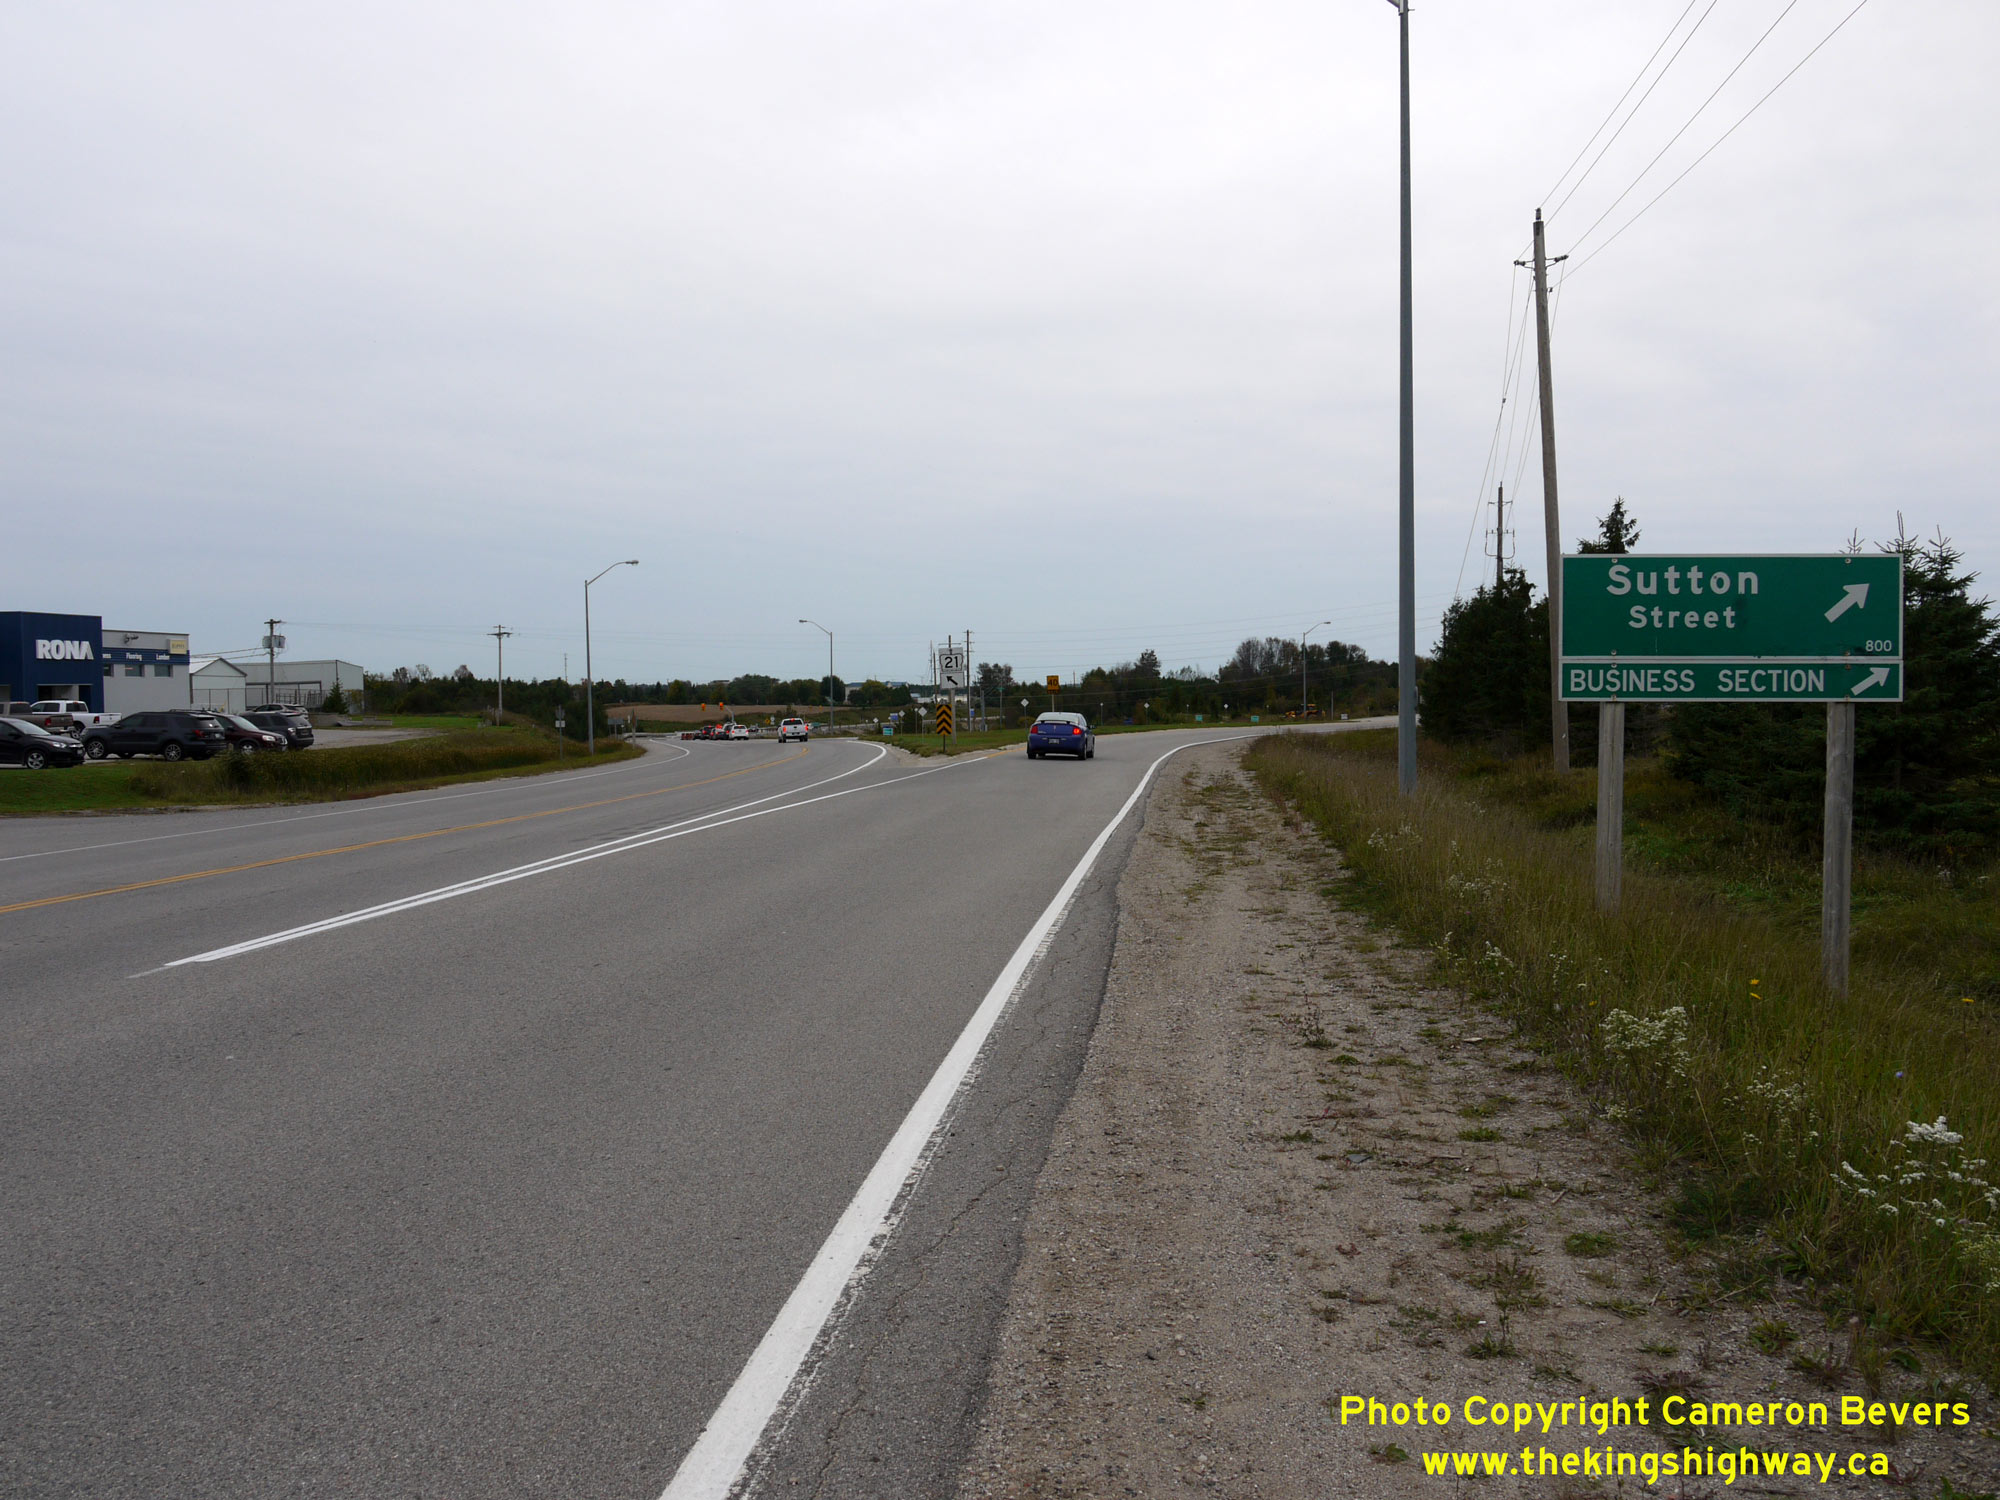
Enlarged Photo Here.(Photograph taken on September 27, 2018 - © Cameron Bevers) Right - Green guide sign for Sutton Street (Old Hwy 21) at the northern end of the Kincardine Bypass. Traffic destined for Kincardine's town centre is routed
into the urban area via Sutton Street, while through traffic follows the bypass. See an
Enlarged Photo Here.(Photograph taken on September 27, 2018 - © Cameron Bevers) 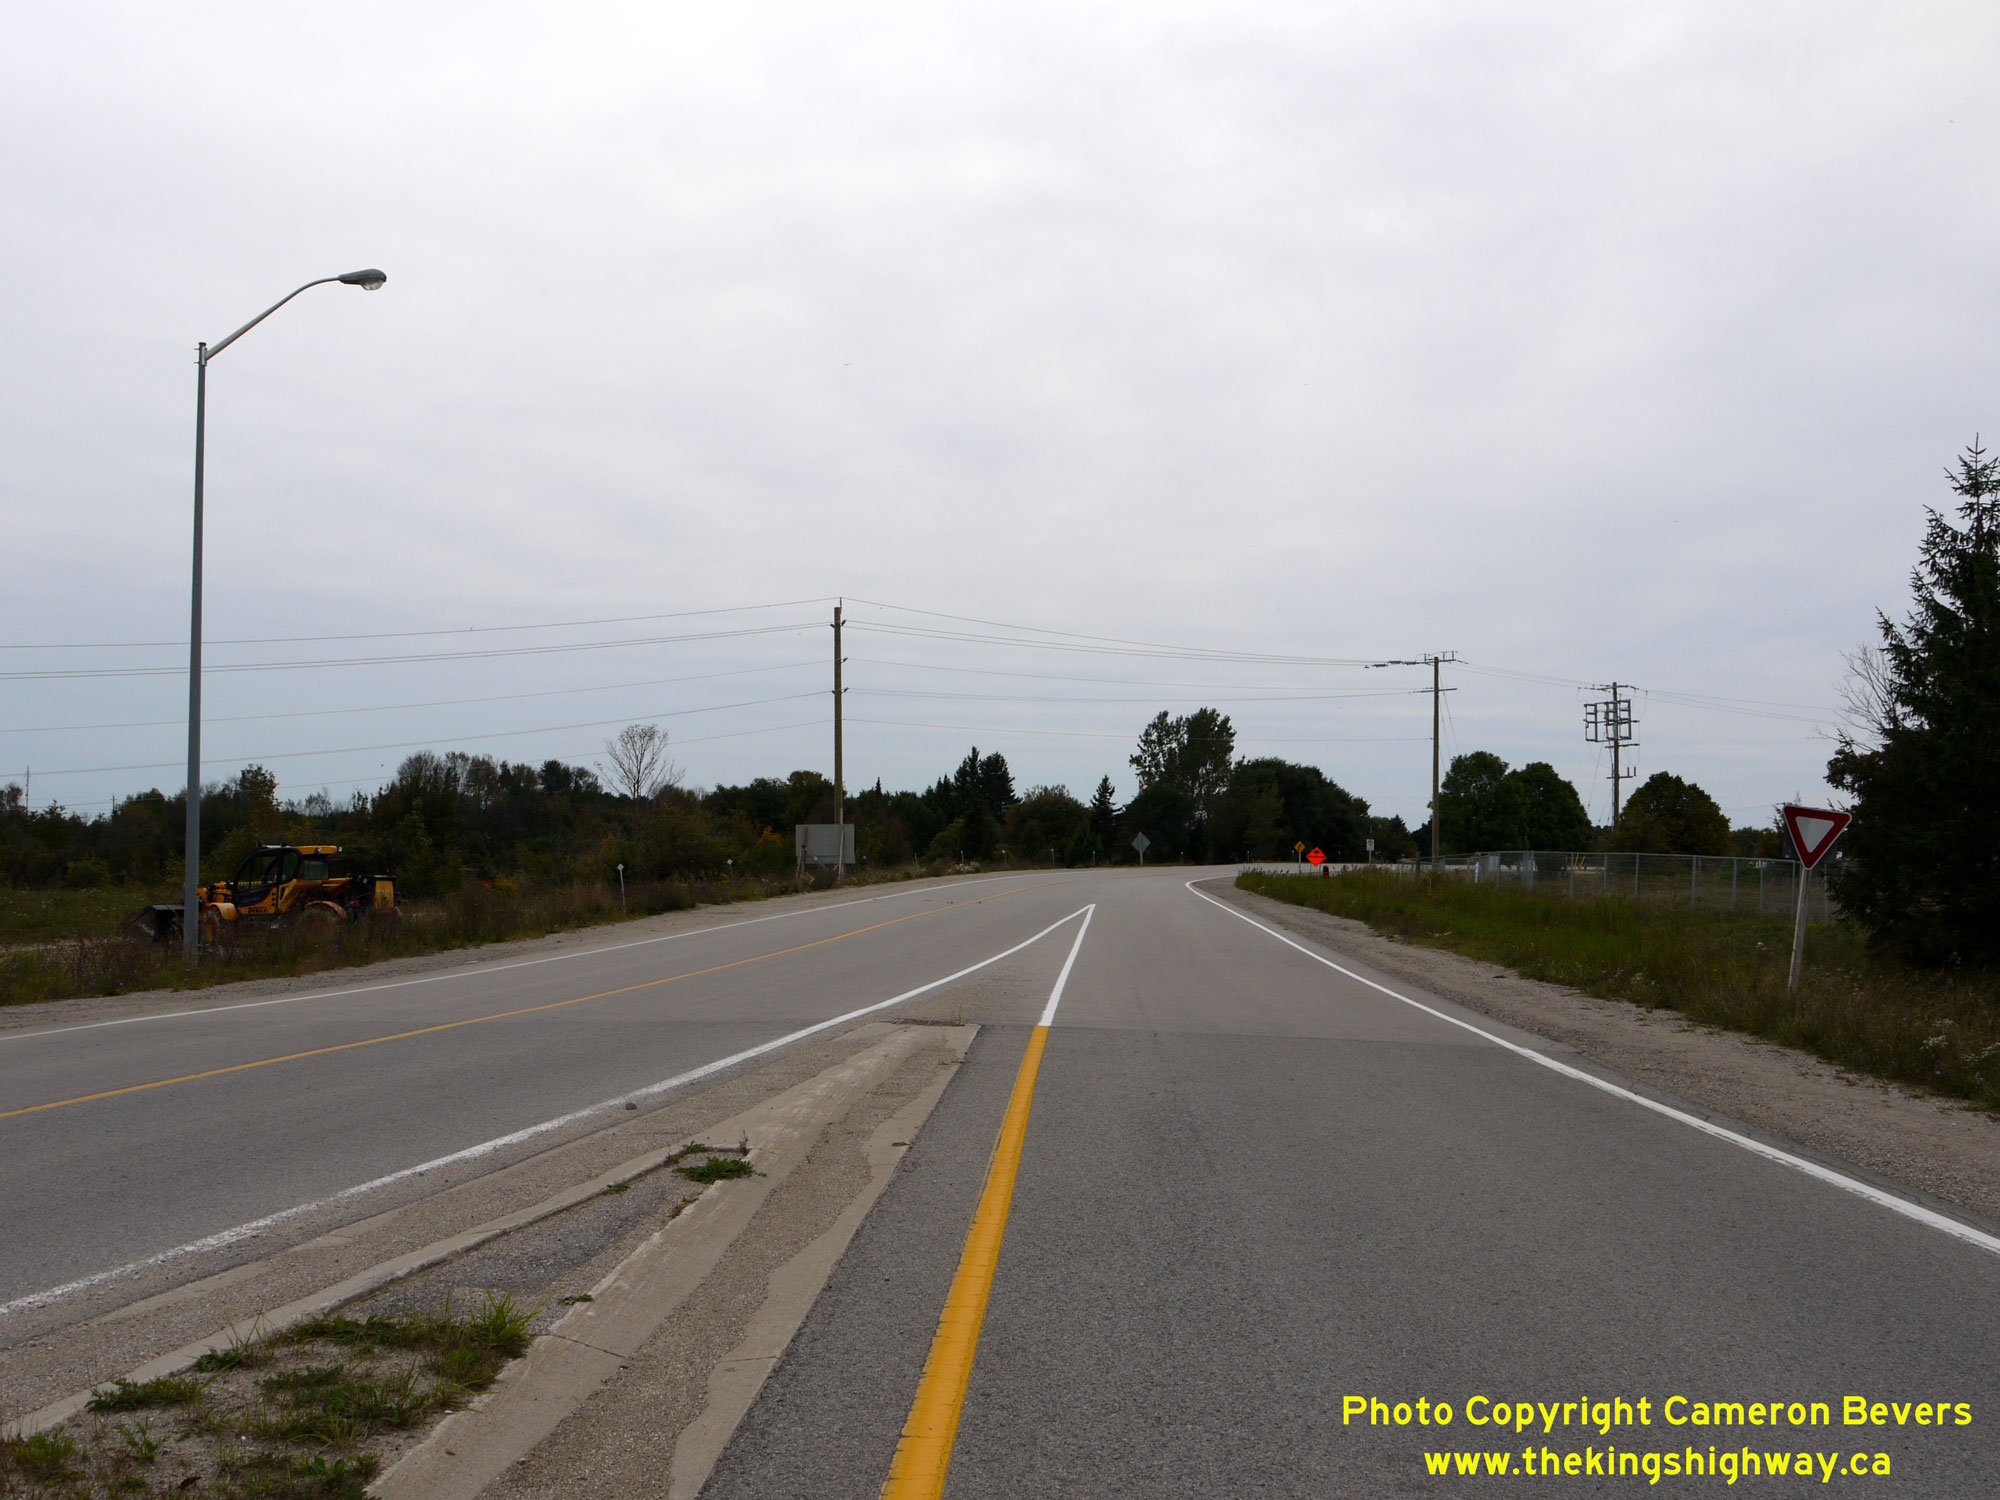
 Left - Facing south along Sutton Street (Old Hwy 21) from the Hwy 21 Bypass. Kincardine's town centre lies about 2 km ahead. See an
Enlarged Photo Here. Left - Facing south along Sutton Street (Old Hwy 21) from the Hwy 21 Bypass. Kincardine's town centre lies about 2 km ahead. See an
Enlarged Photo Here.(Photograph taken on September 27, 2018 - © Cameron Bevers) Right - Approaching the Kincardine Bypass (Hwy 21) Junction on Sutton Street (Old Hwy 21). Prior to the construction of the Kincardine Bypass, all traffic
curved gradually to the left as Hwy 21 departed from Kincardine. Today, a channelized right-turn ramp carrying southbound Hwy 21 traffic onto Sutton Street
approximates the original highway's alignment. See an Enlarged Photo Here.(Photograph taken on September 27, 2018 - © Cameron Bevers) 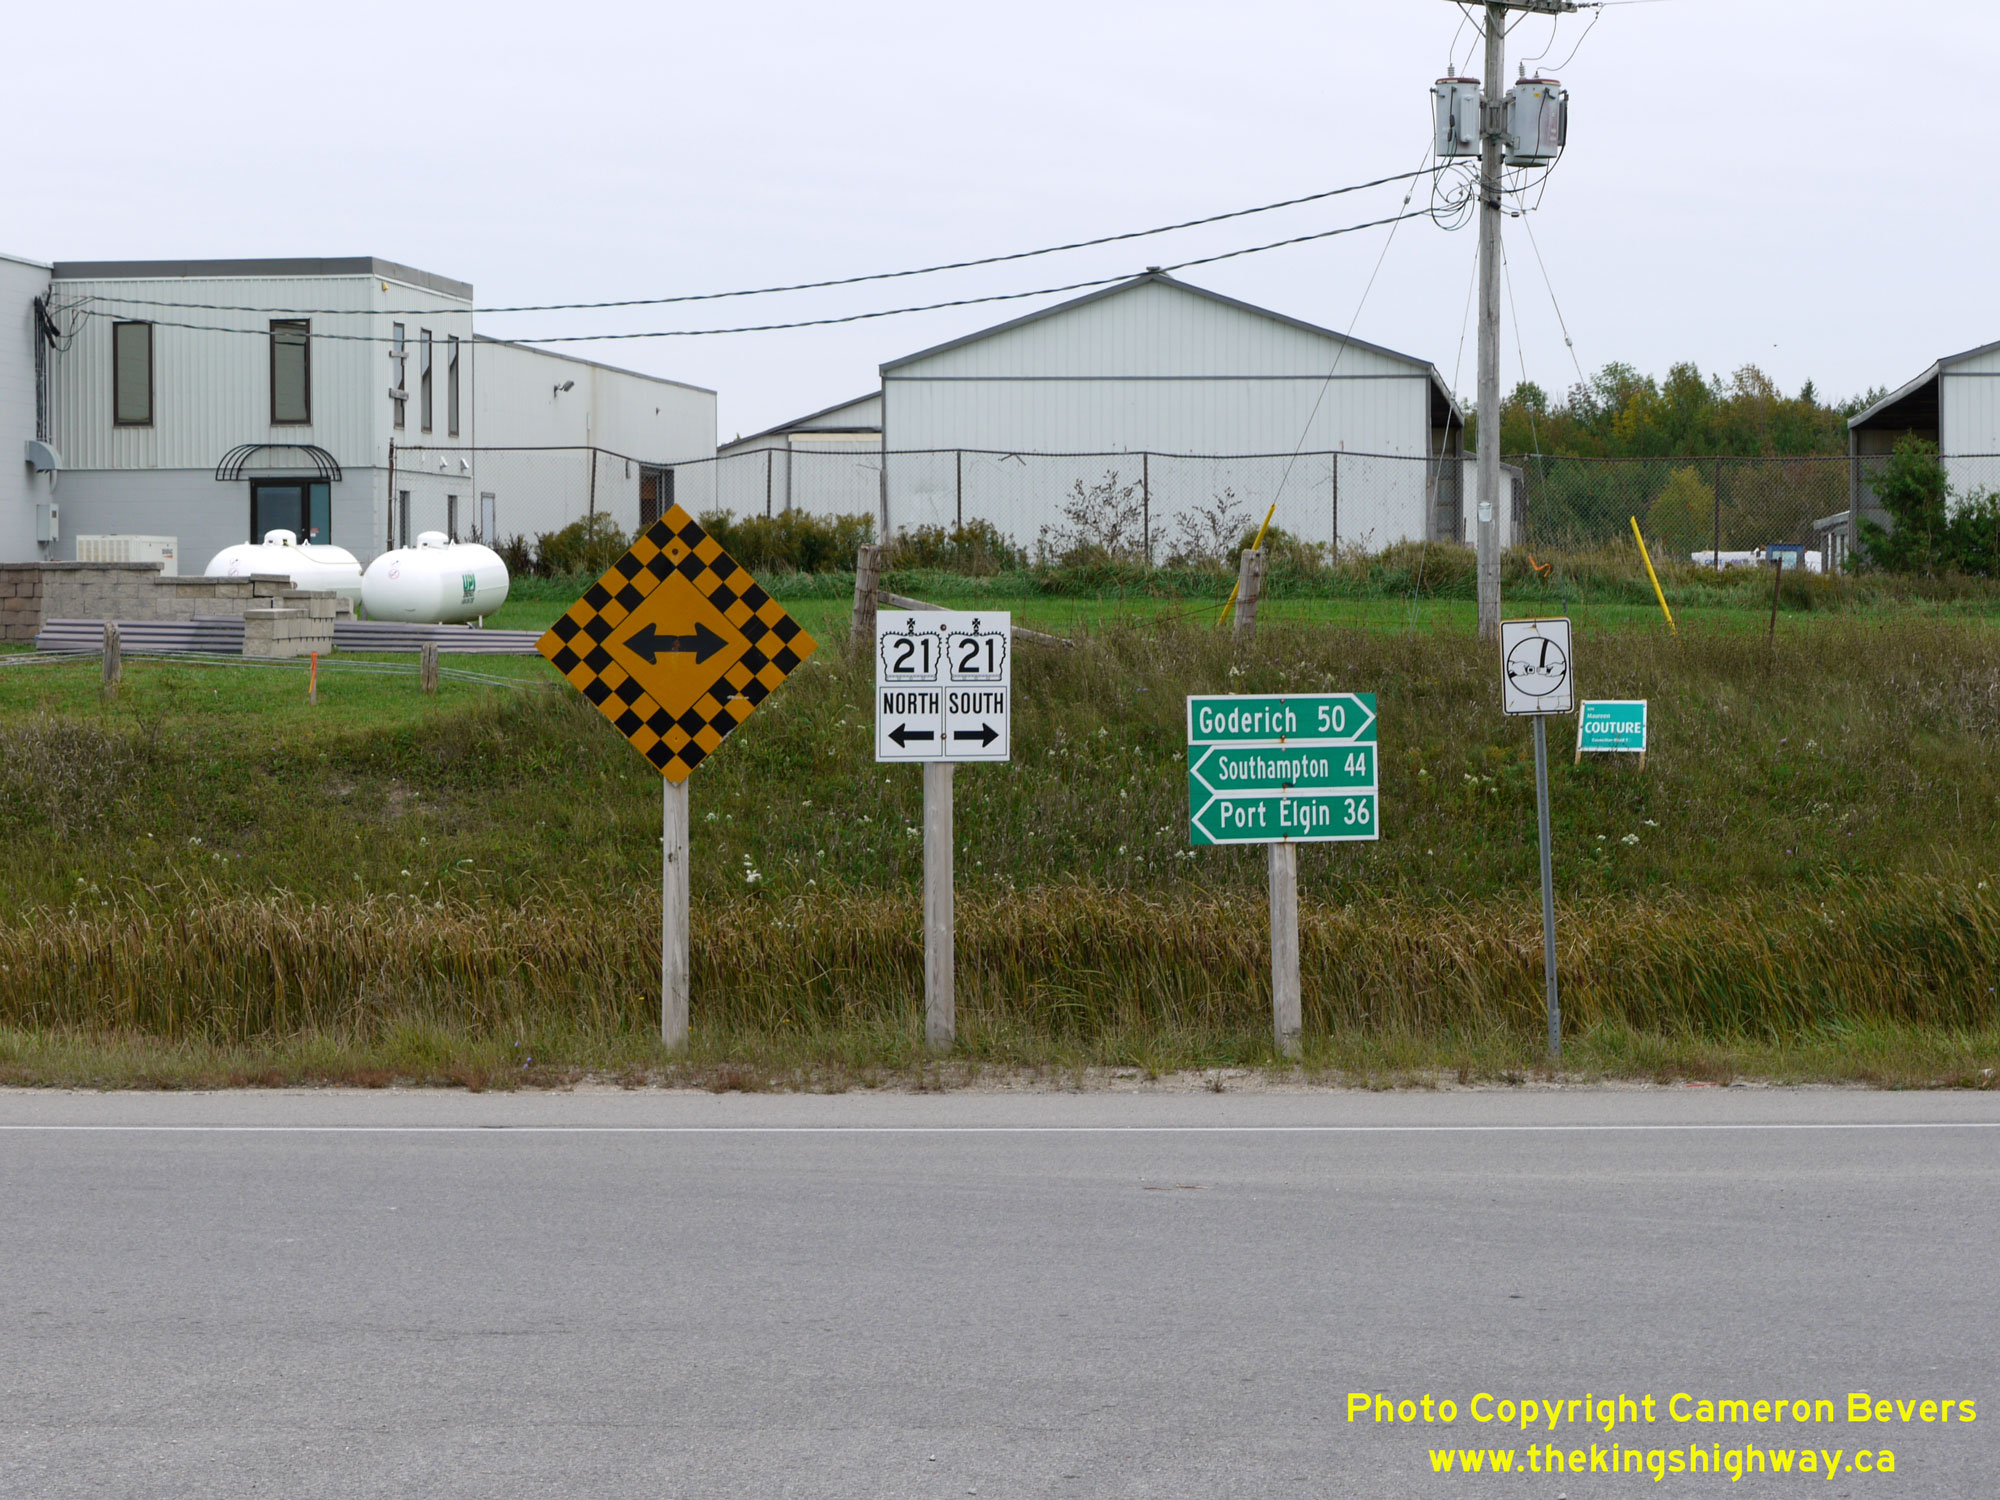
 Left - Junction sign assembly at the intersection of Sutton Street (Old Hwy 21) and the Hwy 21 Bypass at the northern entrance to Kincardine. See an
Enlarged Photo Here. Left - Junction sign assembly at the intersection of Sutton Street (Old Hwy 21) and the Hwy 21 Bypass at the northern entrance to Kincardine. See an
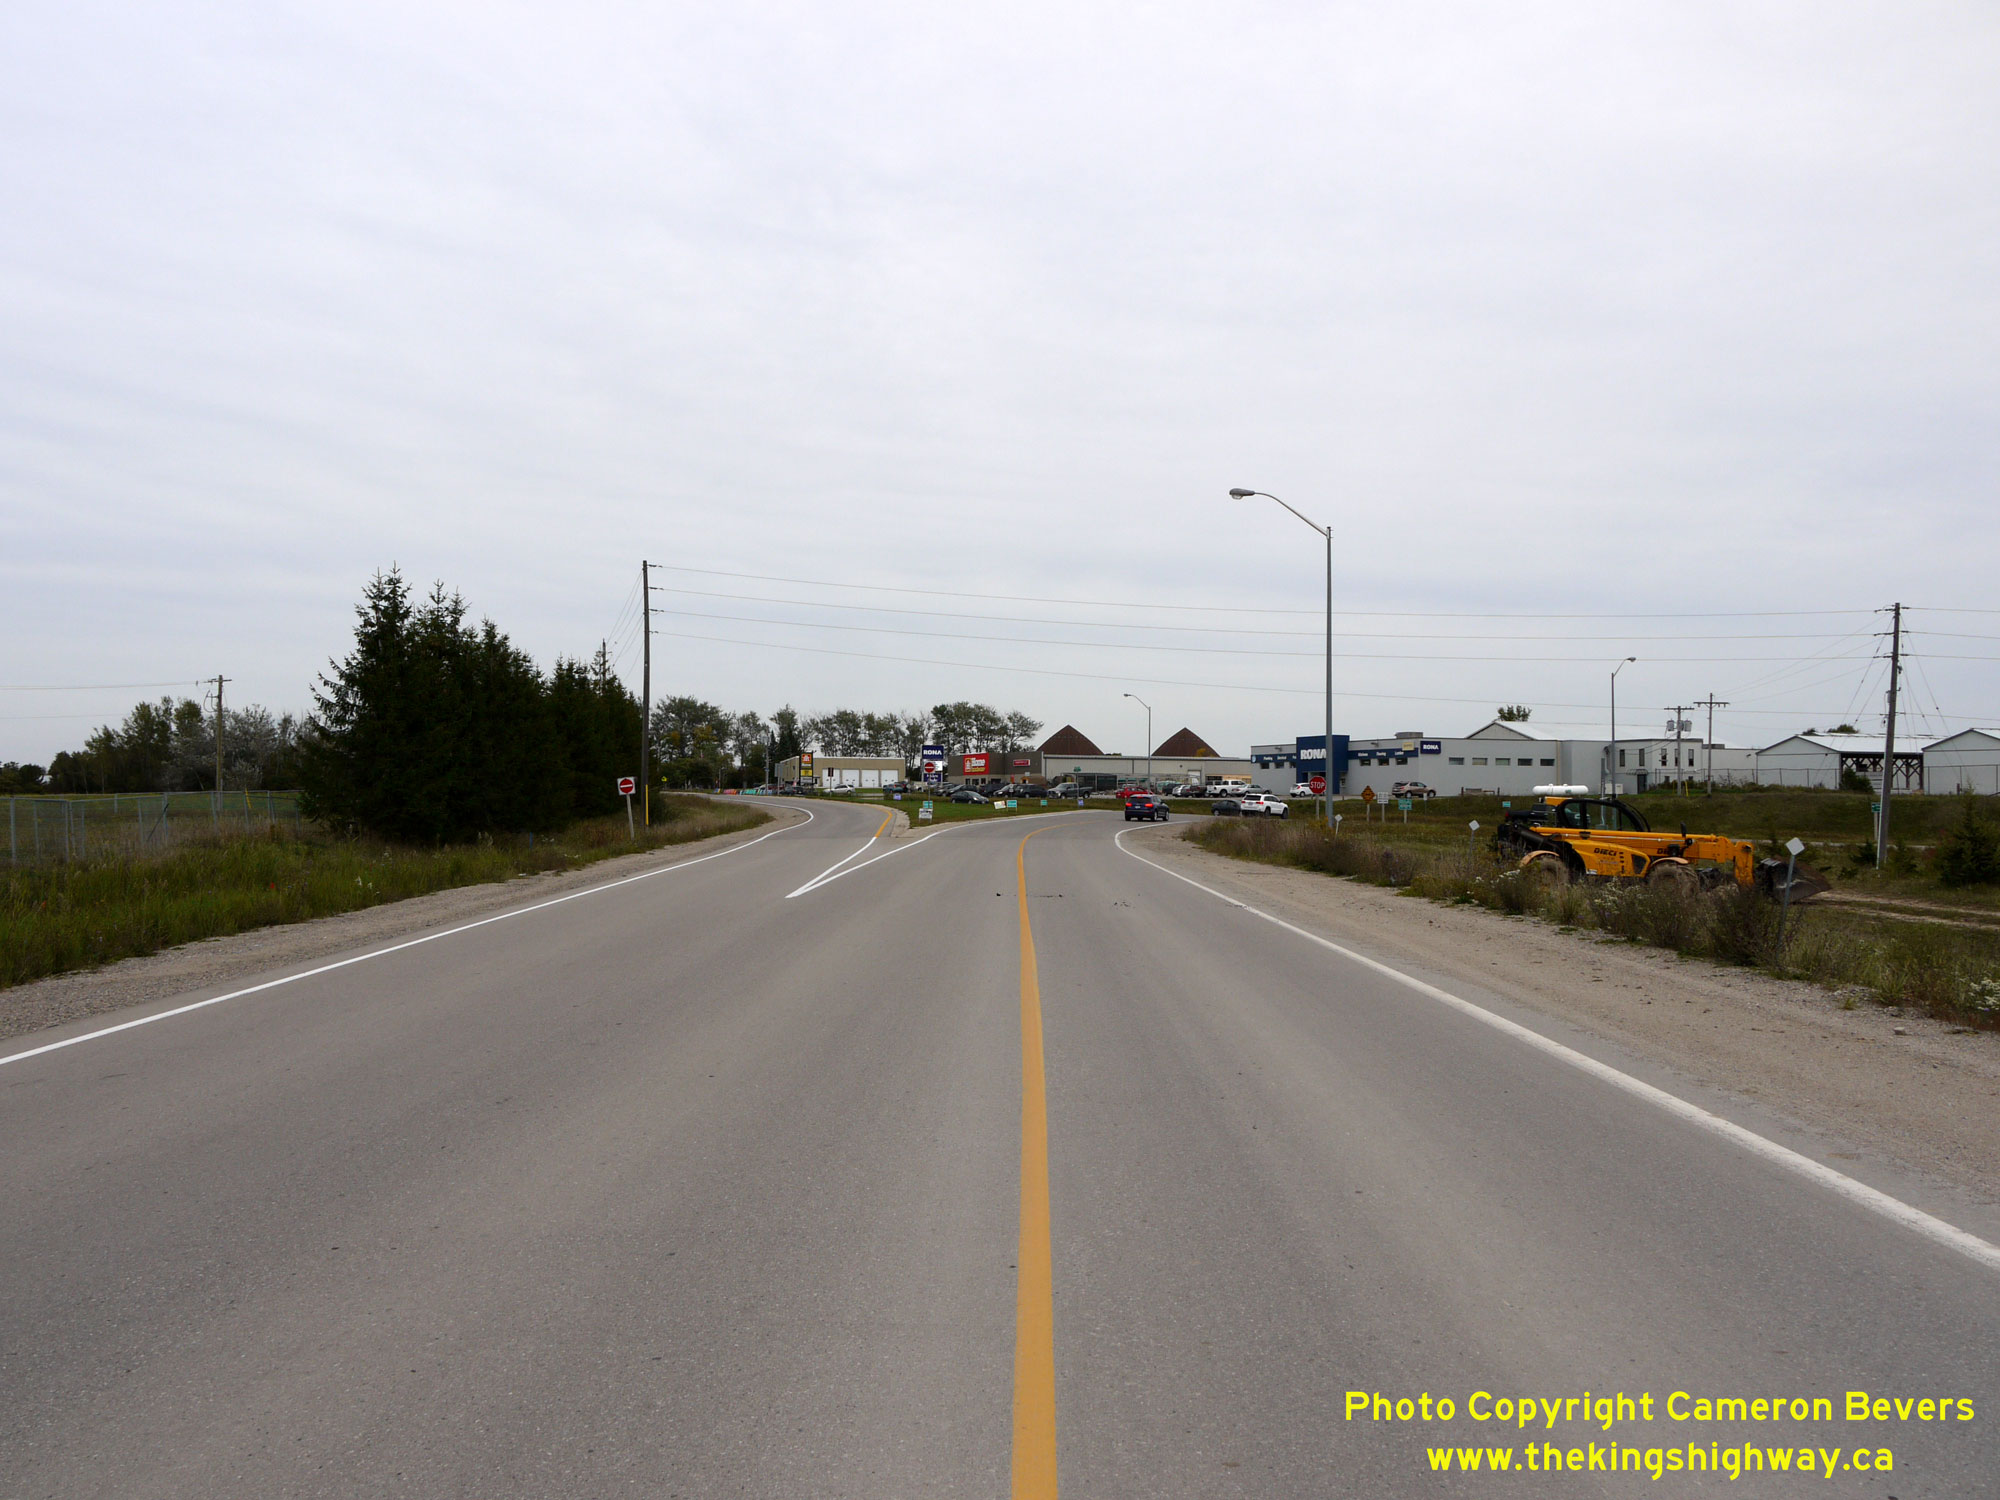
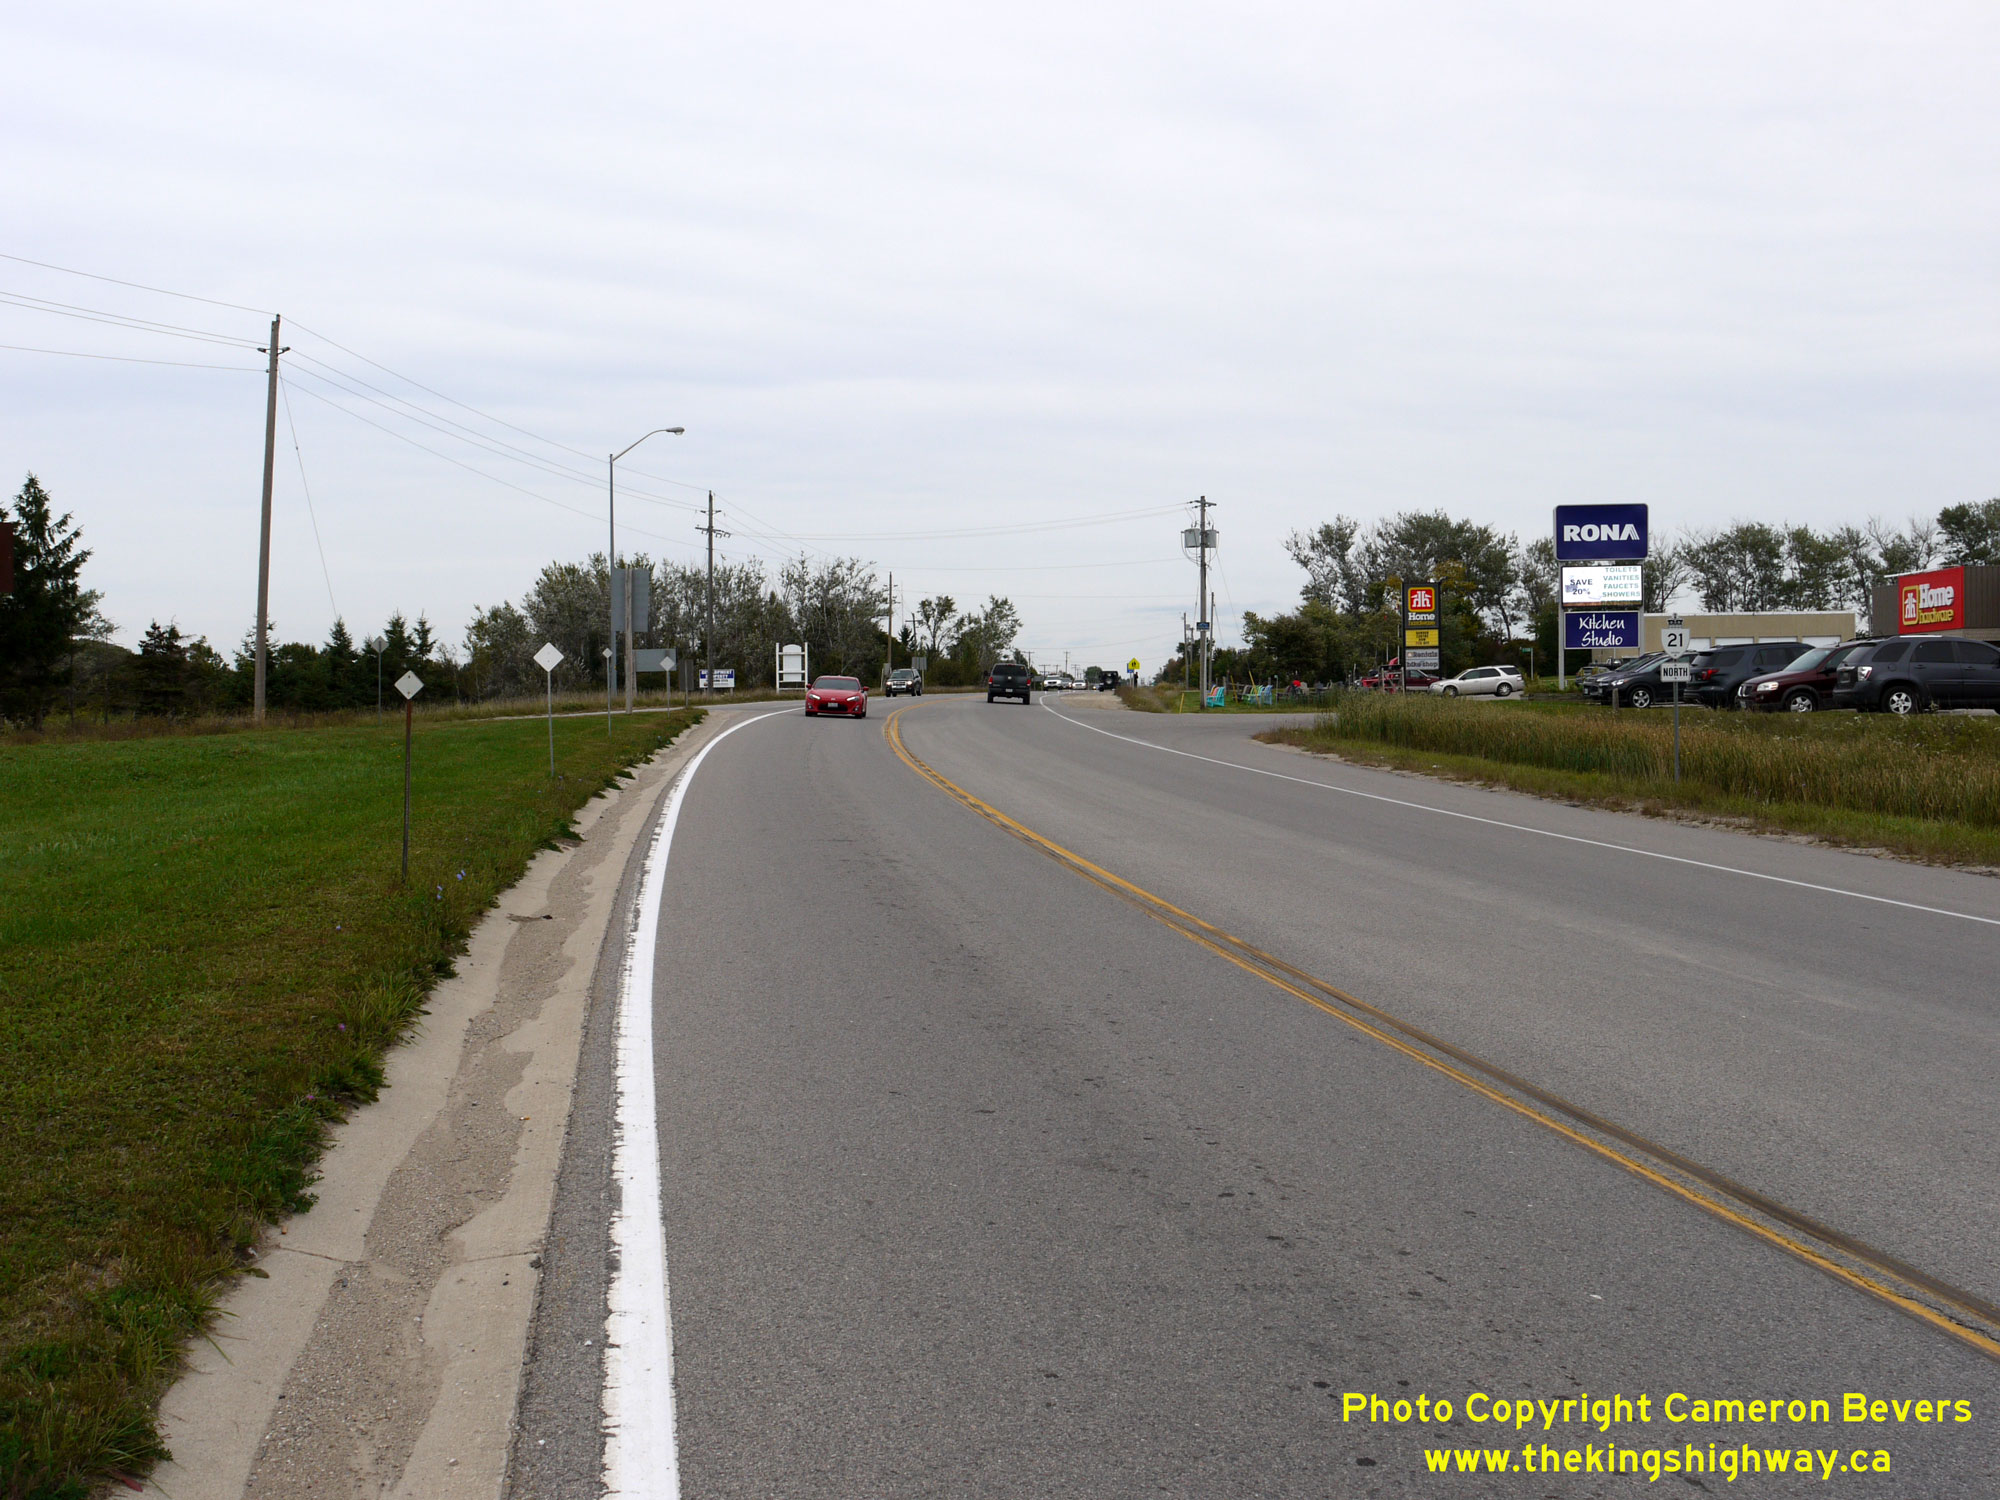
Enlarged Photo Here.(Photograph taken on September 27, 2018 - © Cameron Bevers) Right - Facing north along Hwy 21 towards Port Elgin from Sutton Street (Old Hwy 21) at the northern entrance to Kincardine. See an
Enlarged Photo Here.(Photograph taken on September 27, 2018 - © Cameron Bevers) 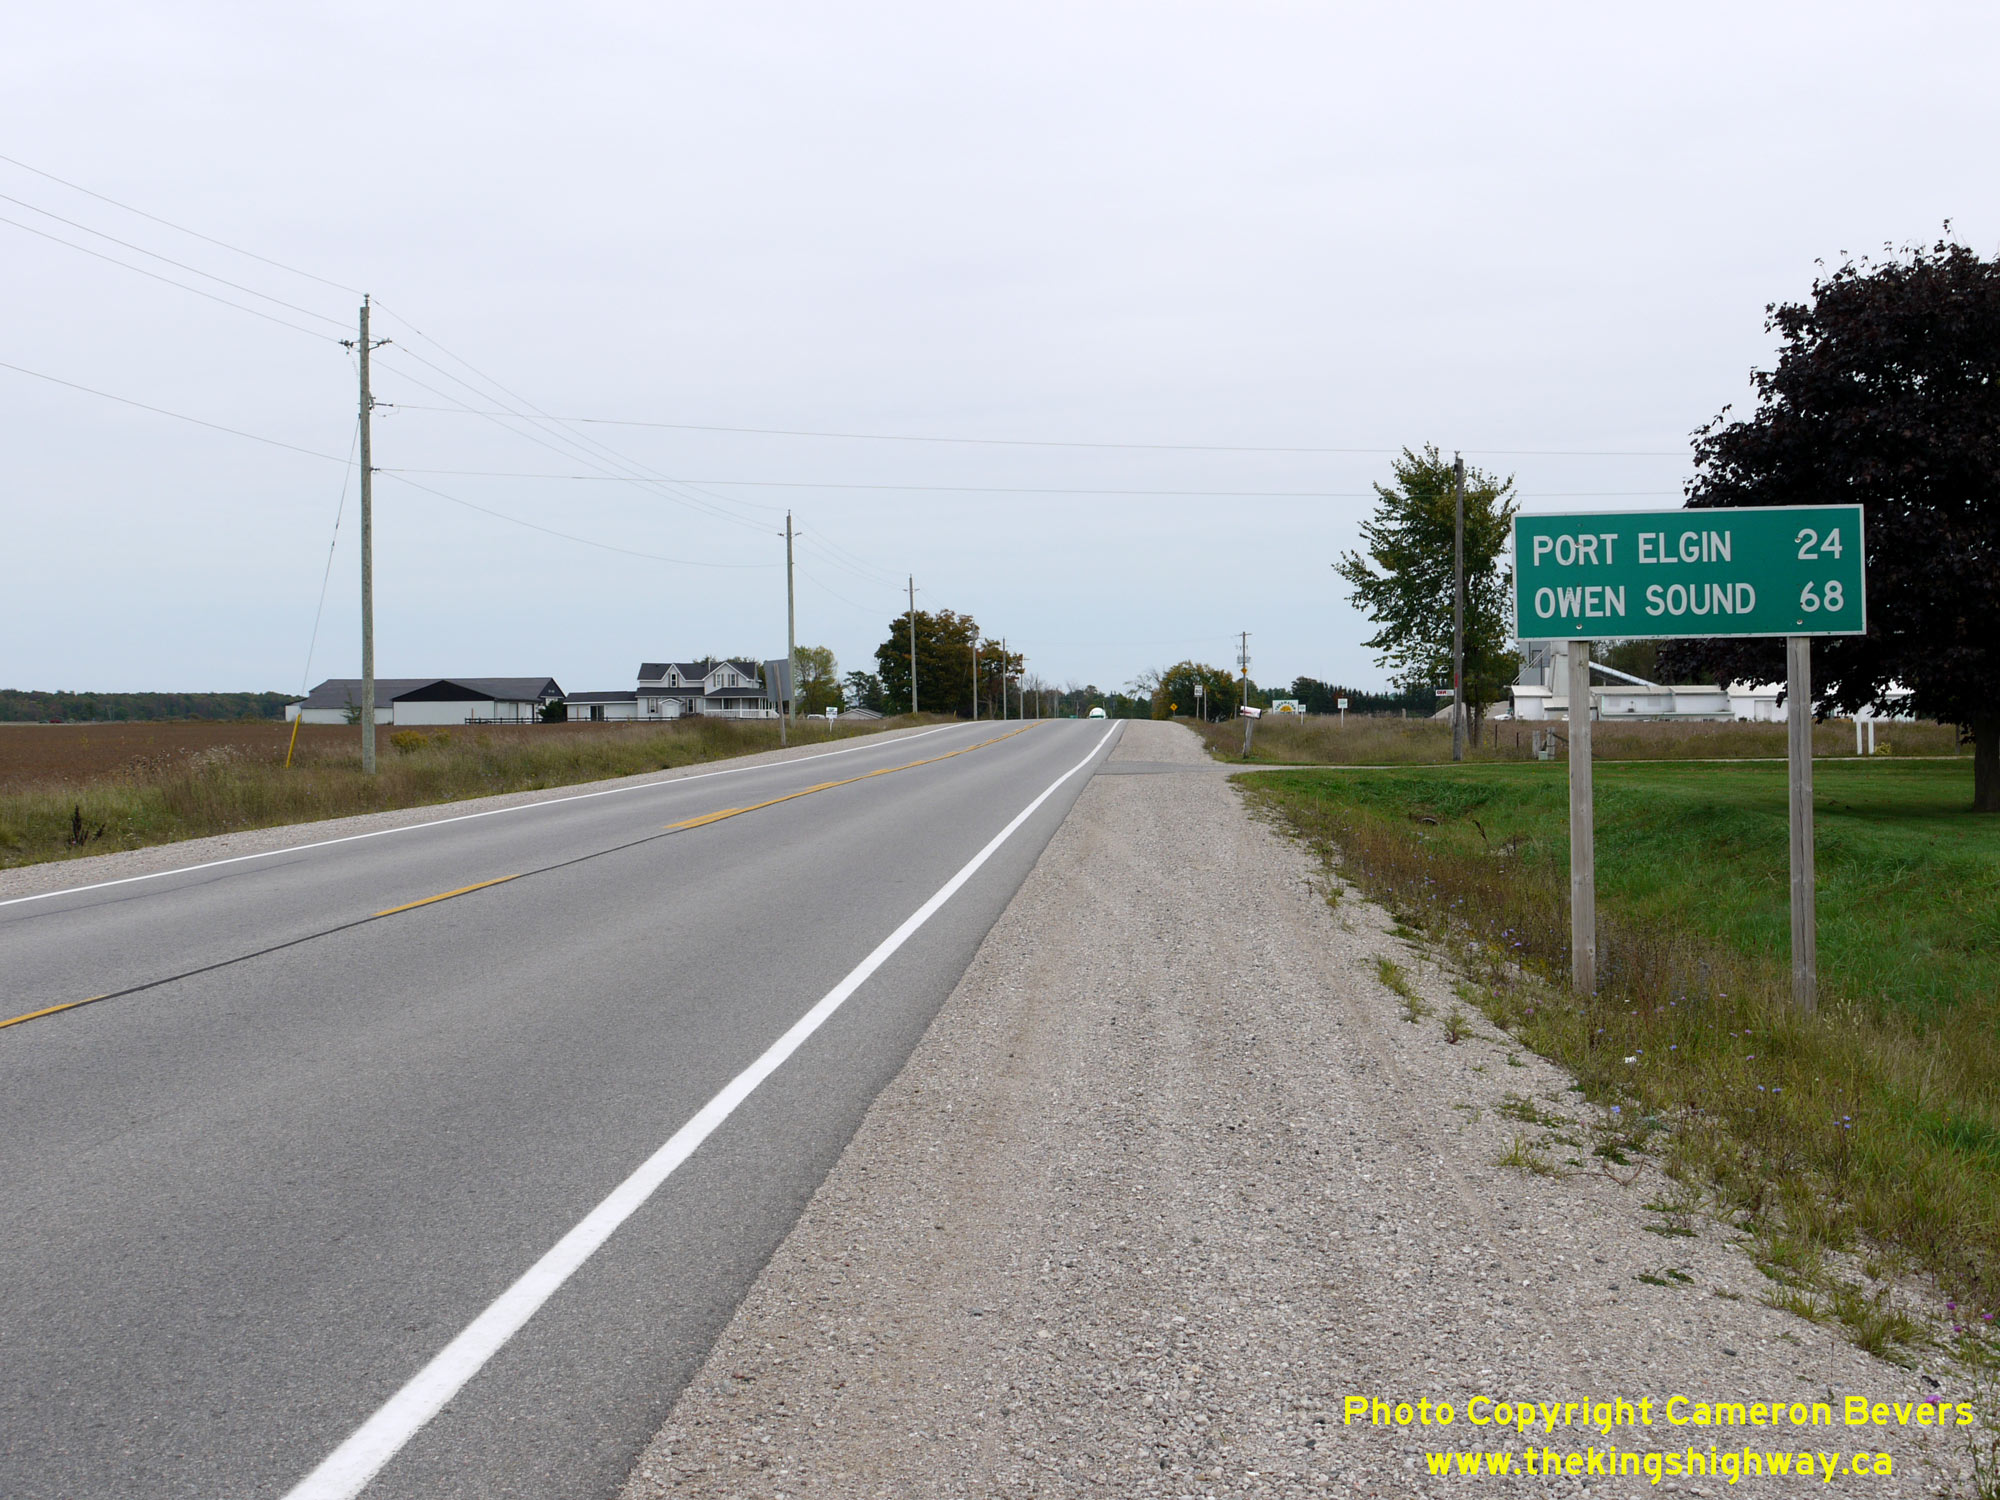
 Left - Distance guide sign on northbound Hwy 21 departing from Kincardine. See an
Enlarged Photo Here. Left - Distance guide sign on northbound Hwy 21 departing from Kincardine. See an
Enlarged Photo Here.(Photograph taken on September 27, 2018 - © Cameron Bevers) Right - Facing south along King Street (Hwy 21) from the Main Street intersection in Tiverton. See an Enlarged Photo Here. (Photograph taken on August 29, 2010 - © Cameron Bevers) 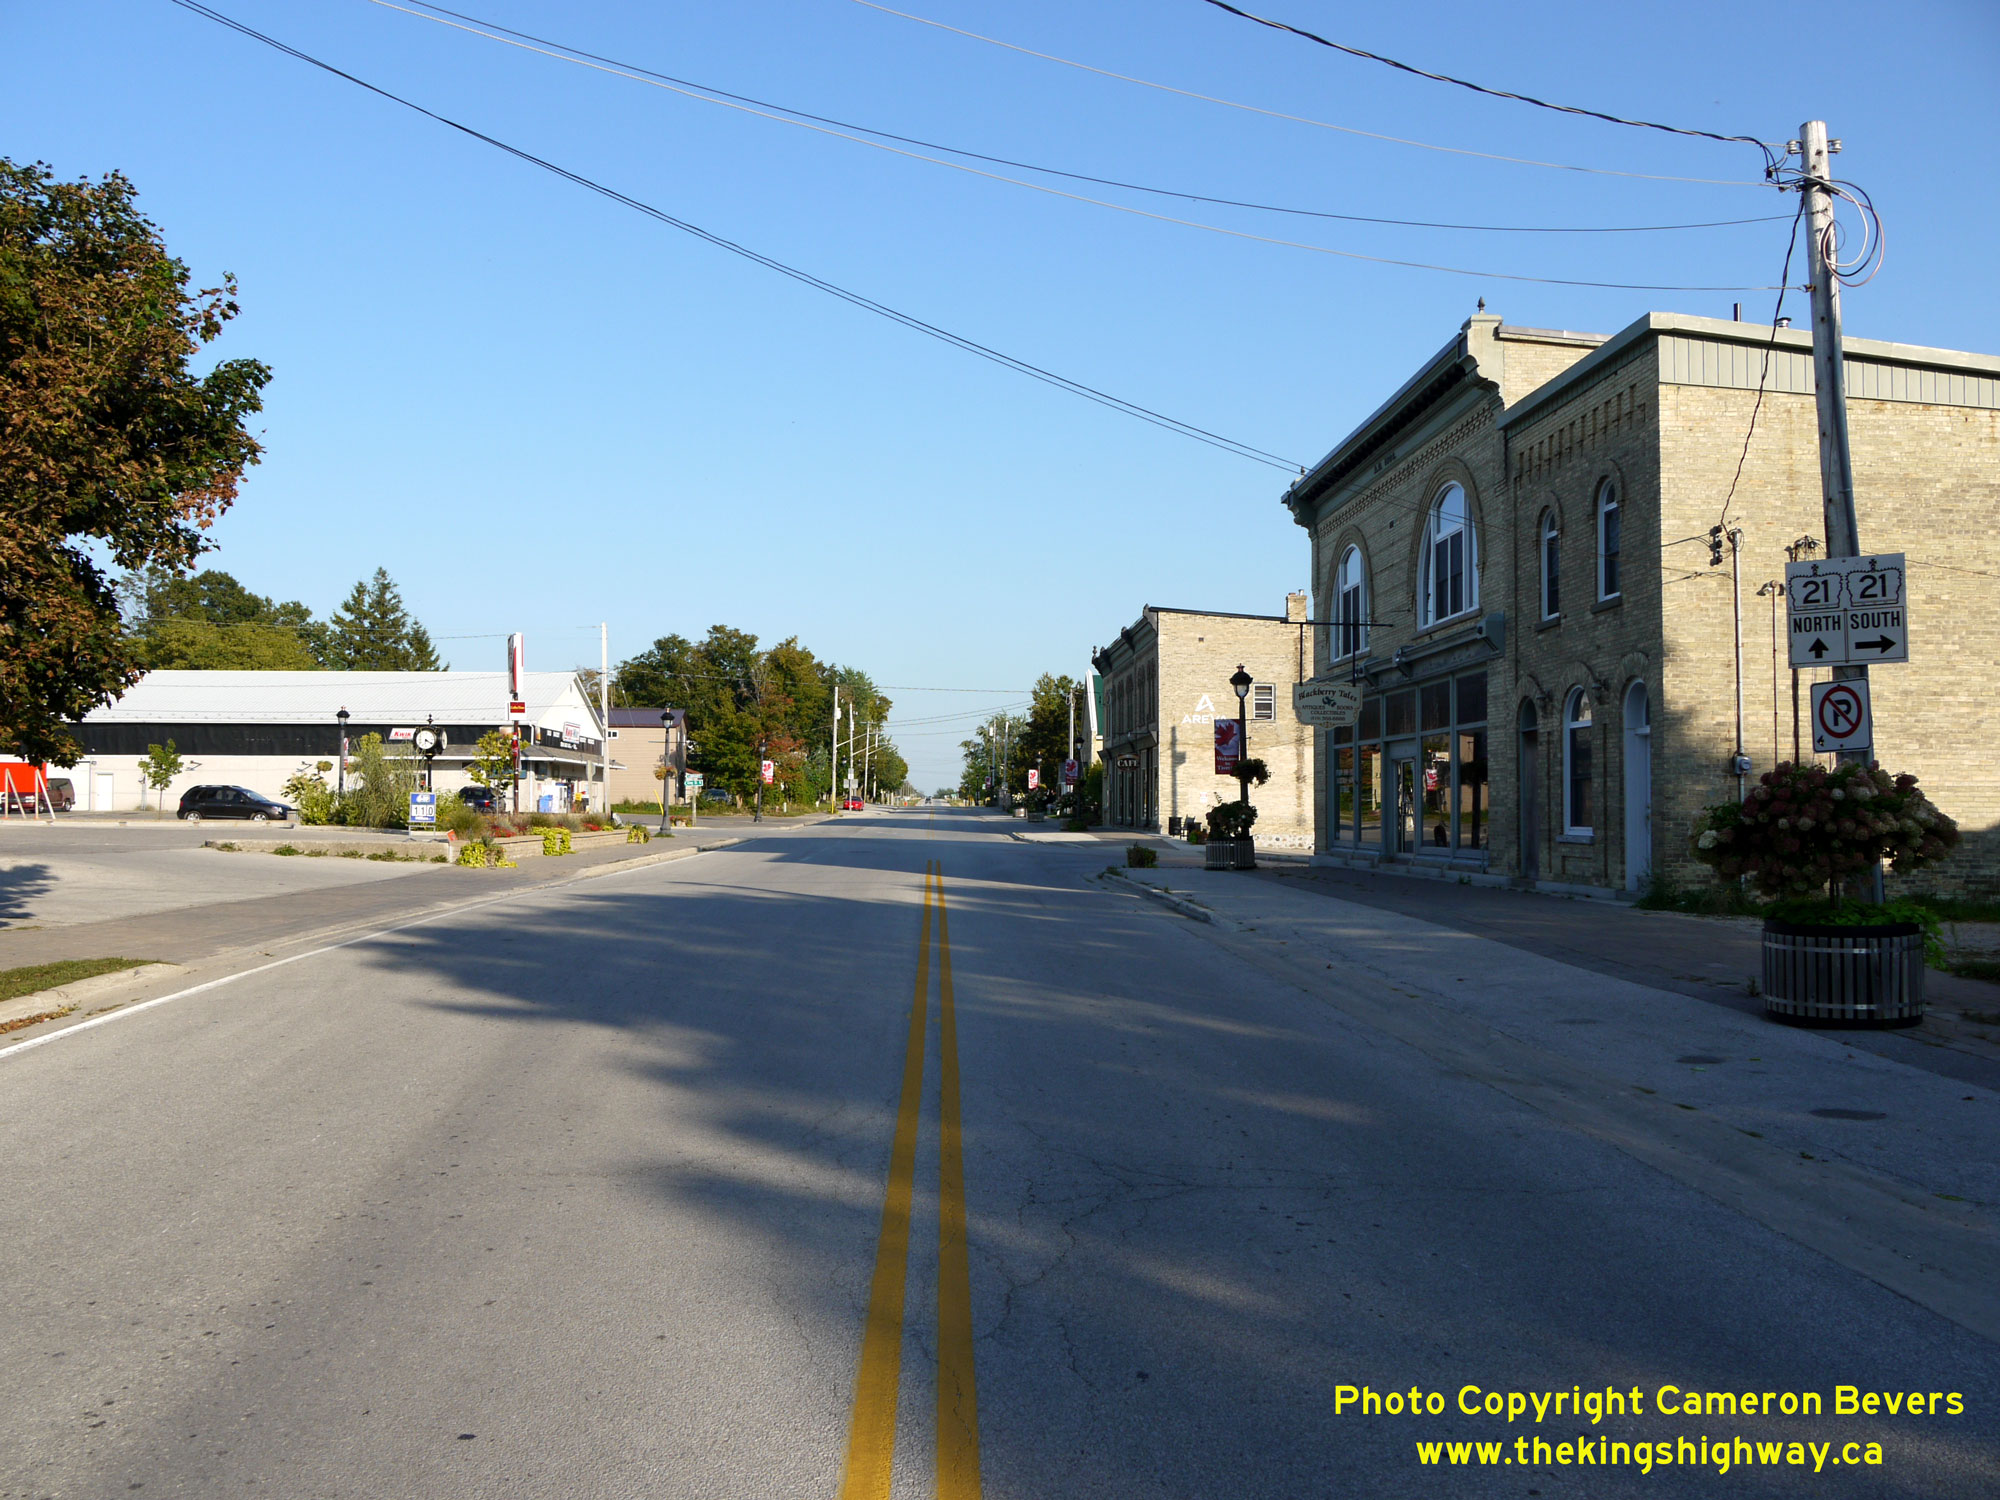
Left - Junction sign assembly marking the Hwy 21 Junction on Main Street approaching King Street in Tiverton. See an
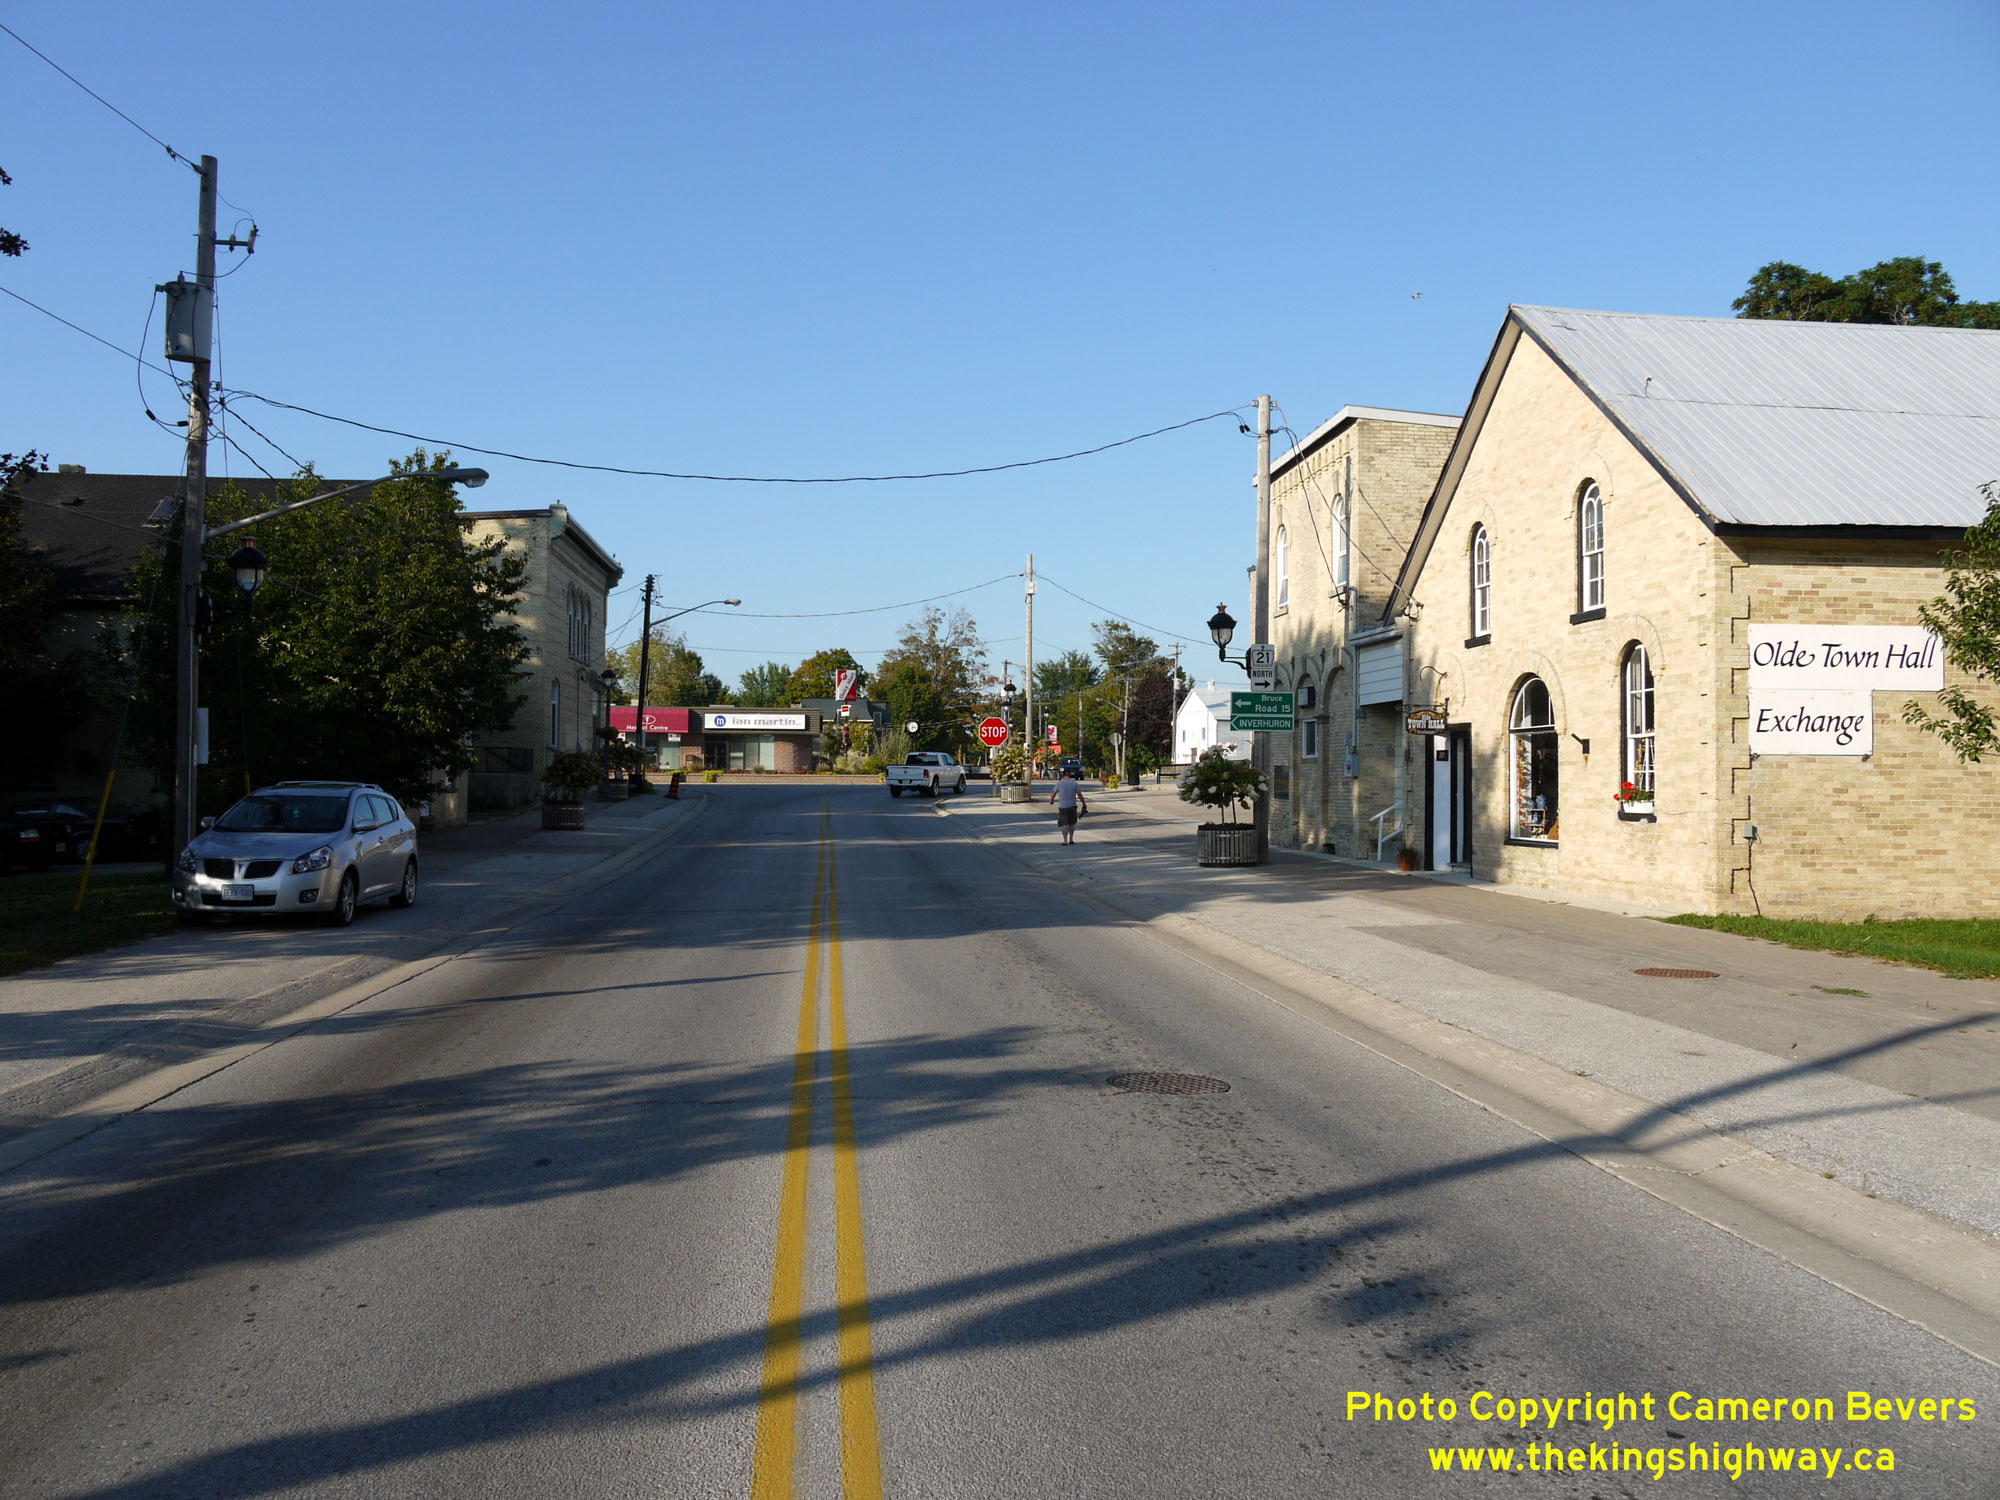
Enlarged Photo Here. (Photograph taken on August 29, 2010 - © Cameron Bevers) Right - Facing north along Hwy 21 (King Street) towards the Main Street intersection in Tiverton. At this intersection, Hwy 21 turns right on its route north towards Port Elgin. Northbound traffic on Hwy 21 (King Street) faces a Stop-controlled intersection at Main Street. See an Enlarged Photo Here. (Photograph taken on August 29, 2010 - © Cameron Bevers) 
Left - Junction sign marking the turn-off for Hwy 21 on King Street approaching Main Street in Tiverton. See an
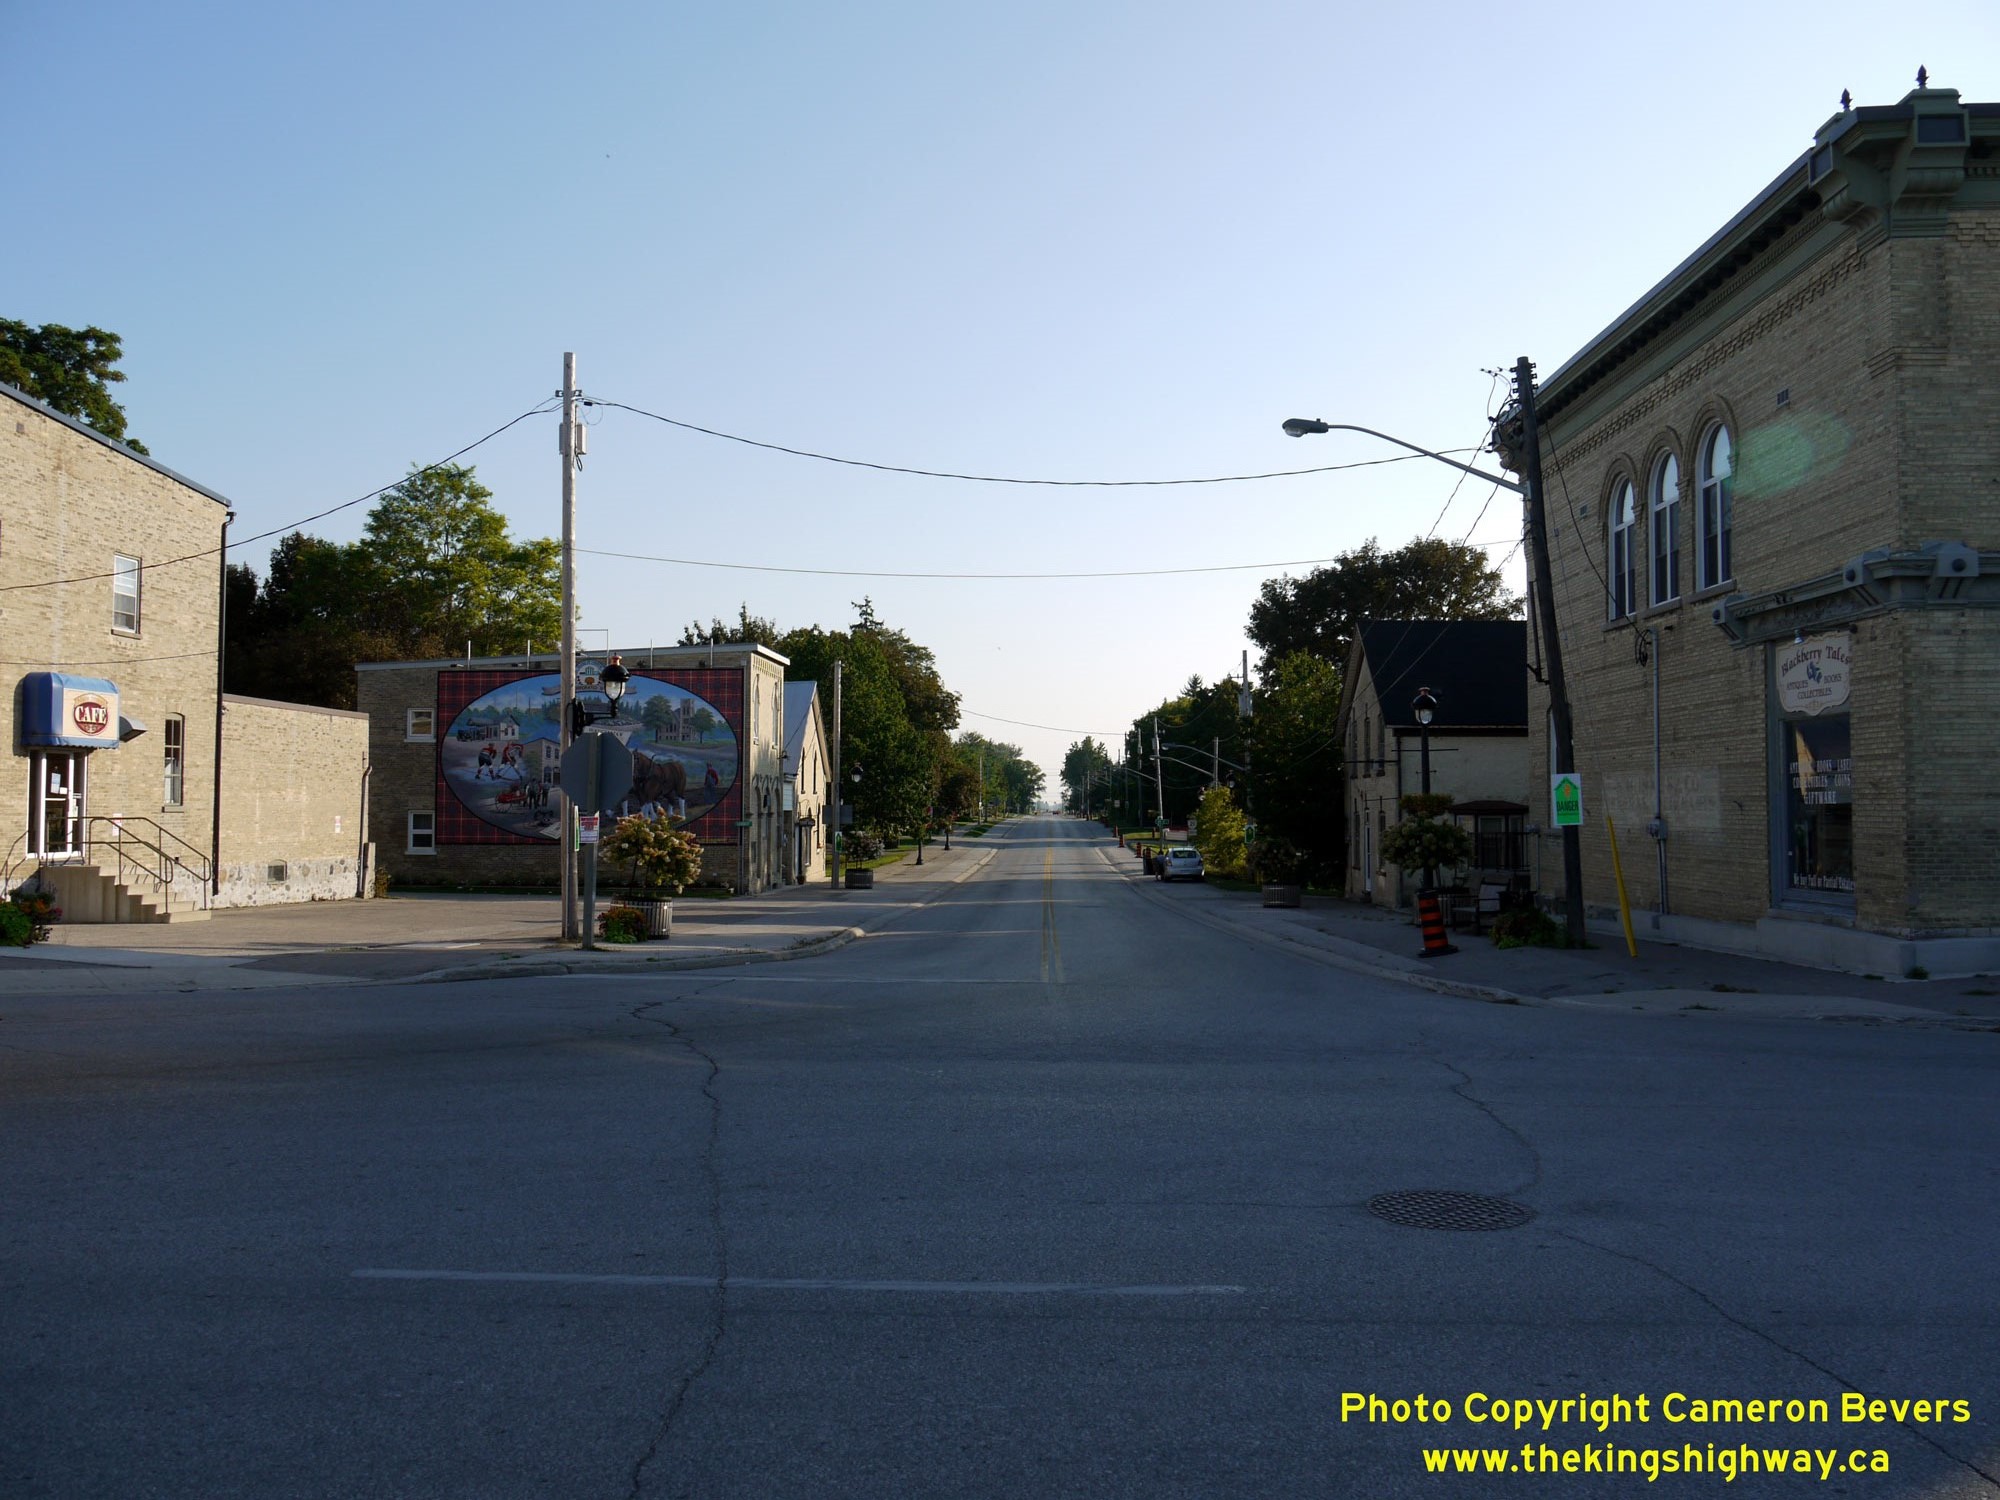
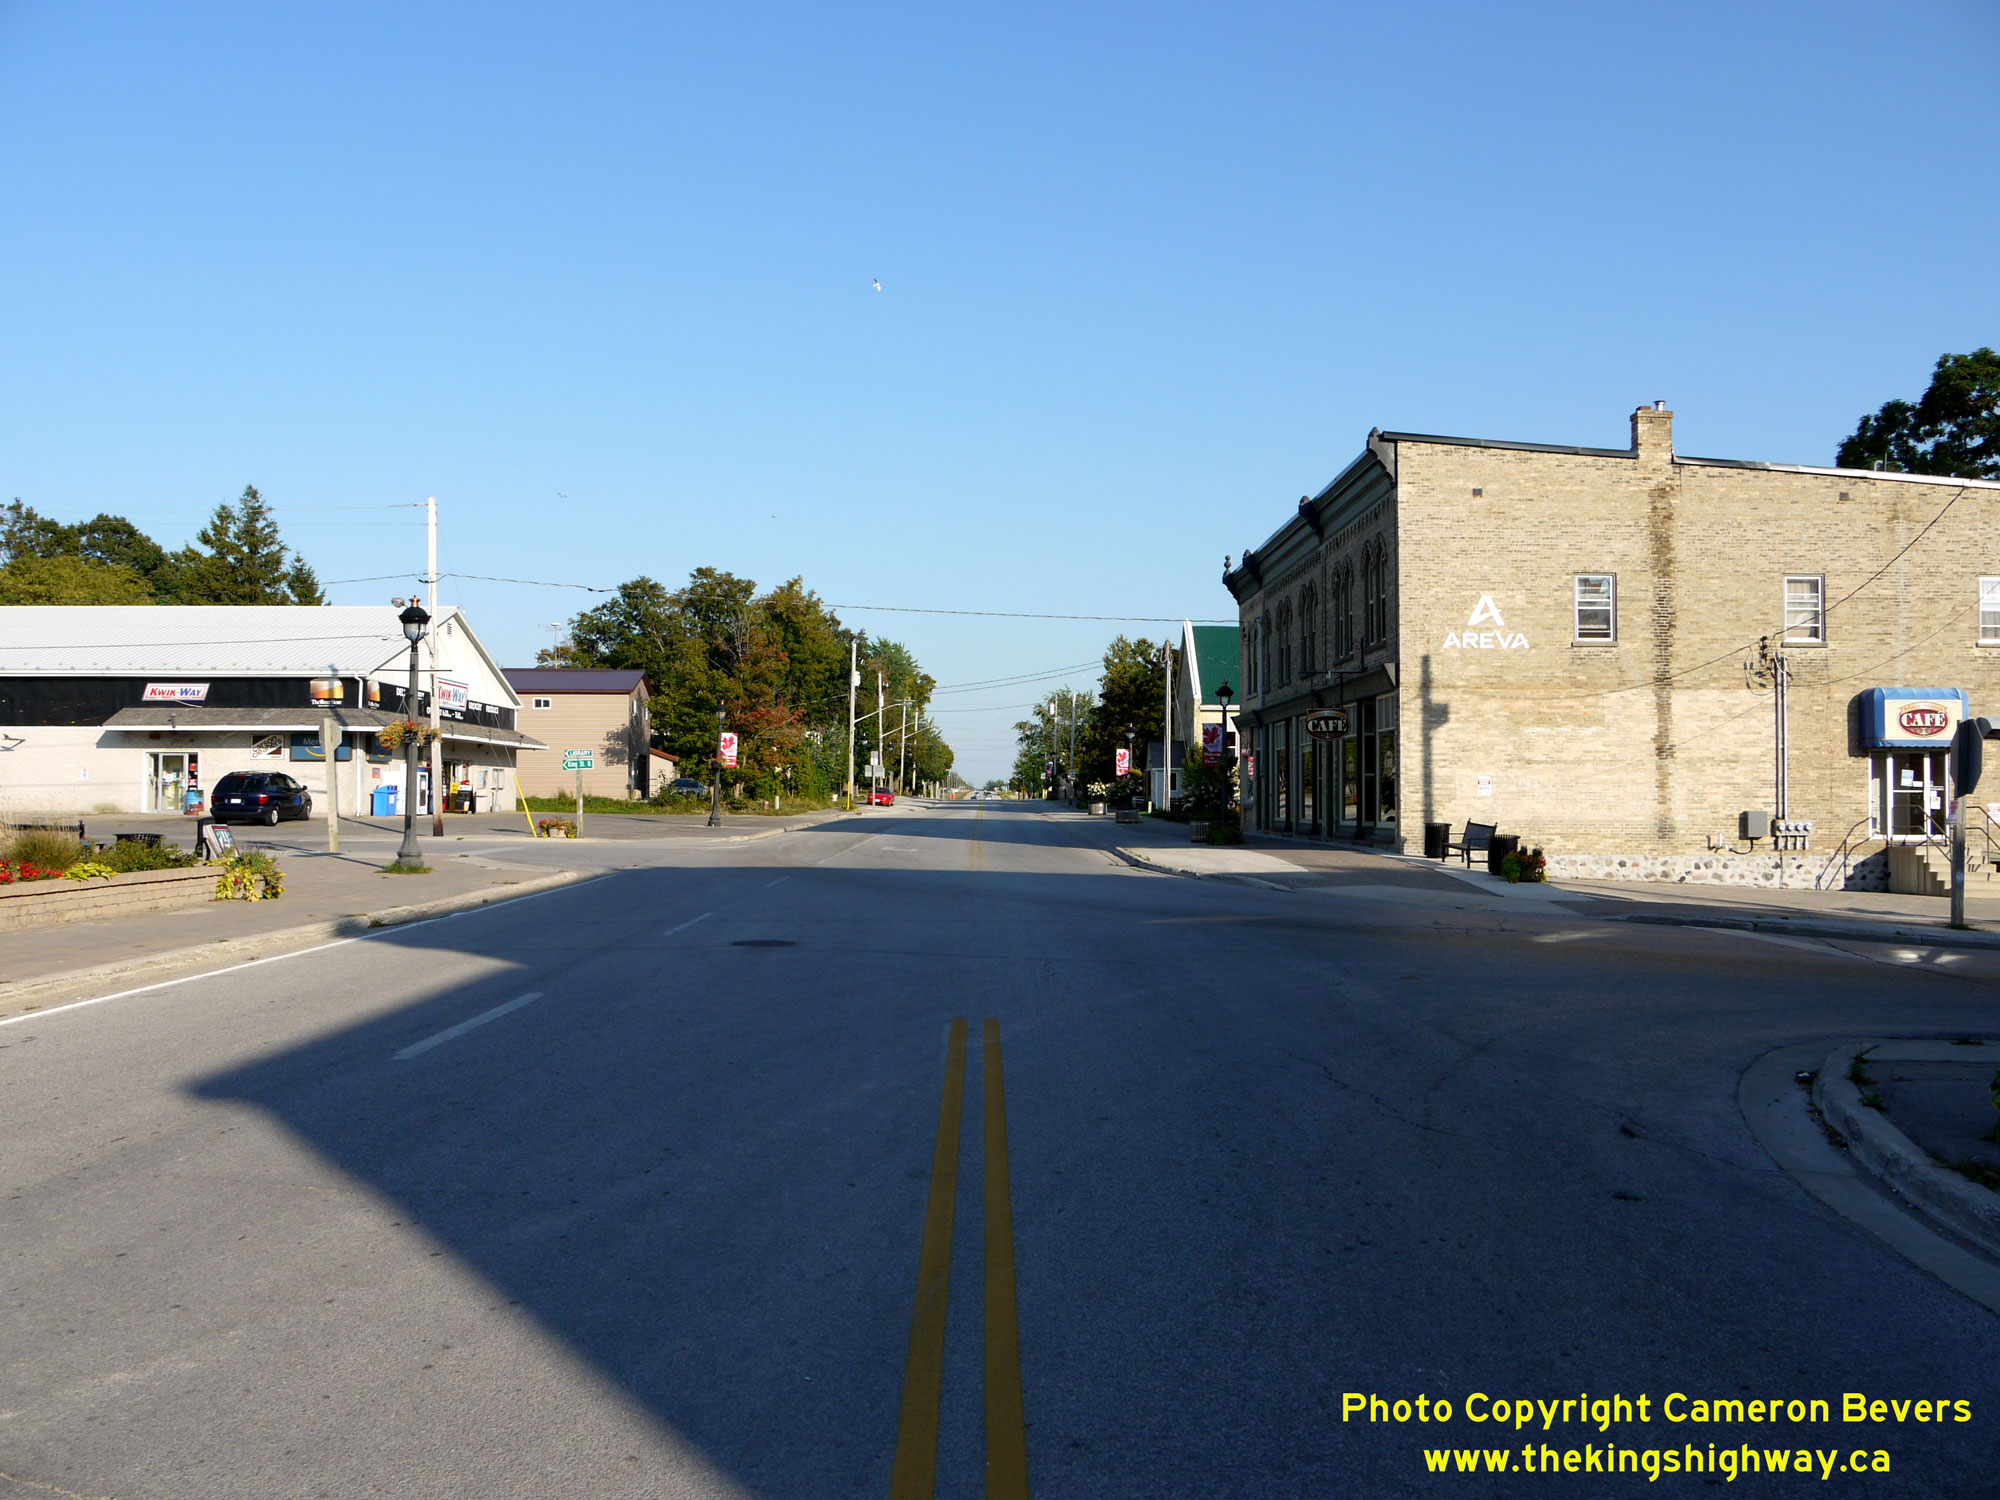
Enlarged Photo Here. (Photograph taken on August 29, 2010 - © Cameron Bevers) Right - Facing east along Main Street at the intersection of King Street in Tiverton's village centre. At this intersection, Hwy 21 joins into Main Street from
King Street at right. The route of Hwy 21 turns east through the village and briefly heads inland, before curving to the north again just east of Tiverton. Opposing
southbound traffic on Hwy 21 has to turn left from Main Street onto King Street in order to stay on Hwy 21 South to Kincardine. See an
Enlarged Photo Here.(Photograph taken on August 29, 2010 - © Cameron Bevers) 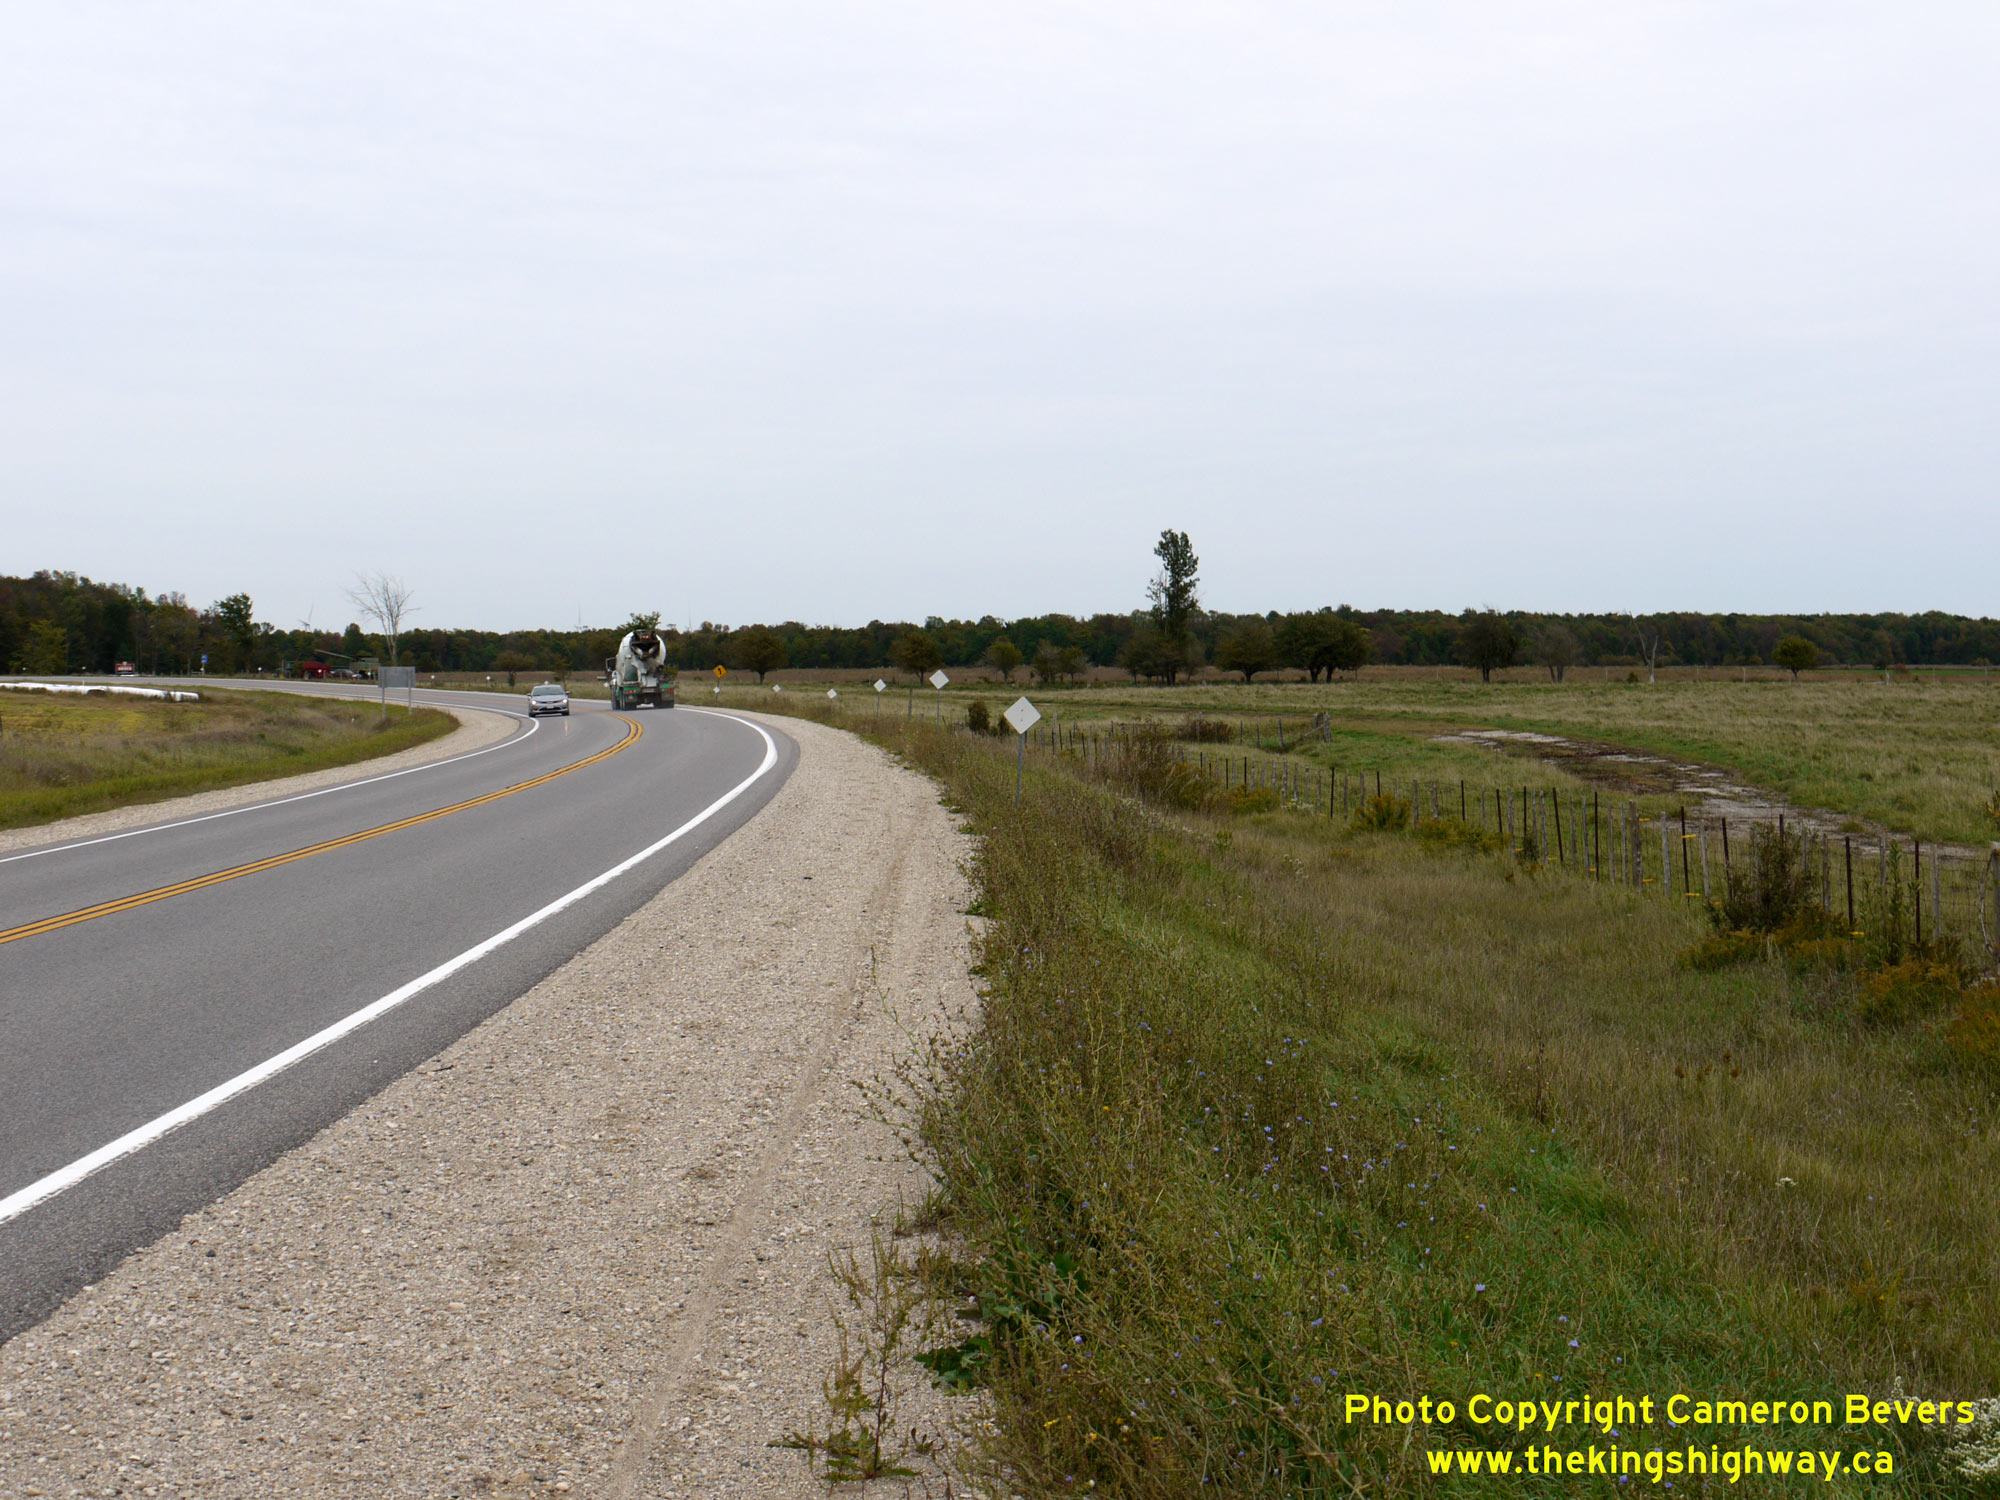
 Left - View of a long curve along Hwy 21 just east of Tiverton. At this curve, Hwy 21 resumes its route north towards Port Elgin. Note the abandoned highway
curve in the field at right. This old highway pavement was initially constructed in 1938, as part of a highway improvement project and curve diversion. For some
reason however, the highway diversion was originally designed and constructed as two separate circular curves connected by a short tangent section. When Hwy 21 was
reconstructed in the early 1950s, the old road with its complex curve system was abandoned altogether and replaced with a single highway curve with a constant radius,
seen here in use at left. See an Enlarged Photo Here. Left - View of a long curve along Hwy 21 just east of Tiverton. At this curve, Hwy 21 resumes its route north towards Port Elgin. Note the abandoned highway
curve in the field at right. This old highway pavement was initially constructed in 1938, as part of a highway improvement project and curve diversion. For some
reason however, the highway diversion was originally designed and constructed as two separate circular curves connected by a short tangent section. When Hwy 21 was
reconstructed in the early 1950s, the old road with its complex curve system was abandoned altogether and replaced with a single highway curve with a constant radius,
seen here in use at left. See an Enlarged Photo Here.(Photograph taken on September 27, 2018 - © Cameron Bevers) Right - View of the Tiverton Roadside Park along Hwy 21 about 2 km north of Tiverton. Unlike many of Ontario's roadside parks which were established in the
1930s and 1940s, the Tiverton Roadside Park is a relative newcomer to the park system. The park was established in 1963, as a convenient stopping point for motorists
using the Bluewater Highway (Hwy 21). This park features a number of picnic tables, parking, toilets and litter barrels. See an
Enlarged Photo Here.(Photograph taken on September 27, 2018 - © Cameron Bevers) 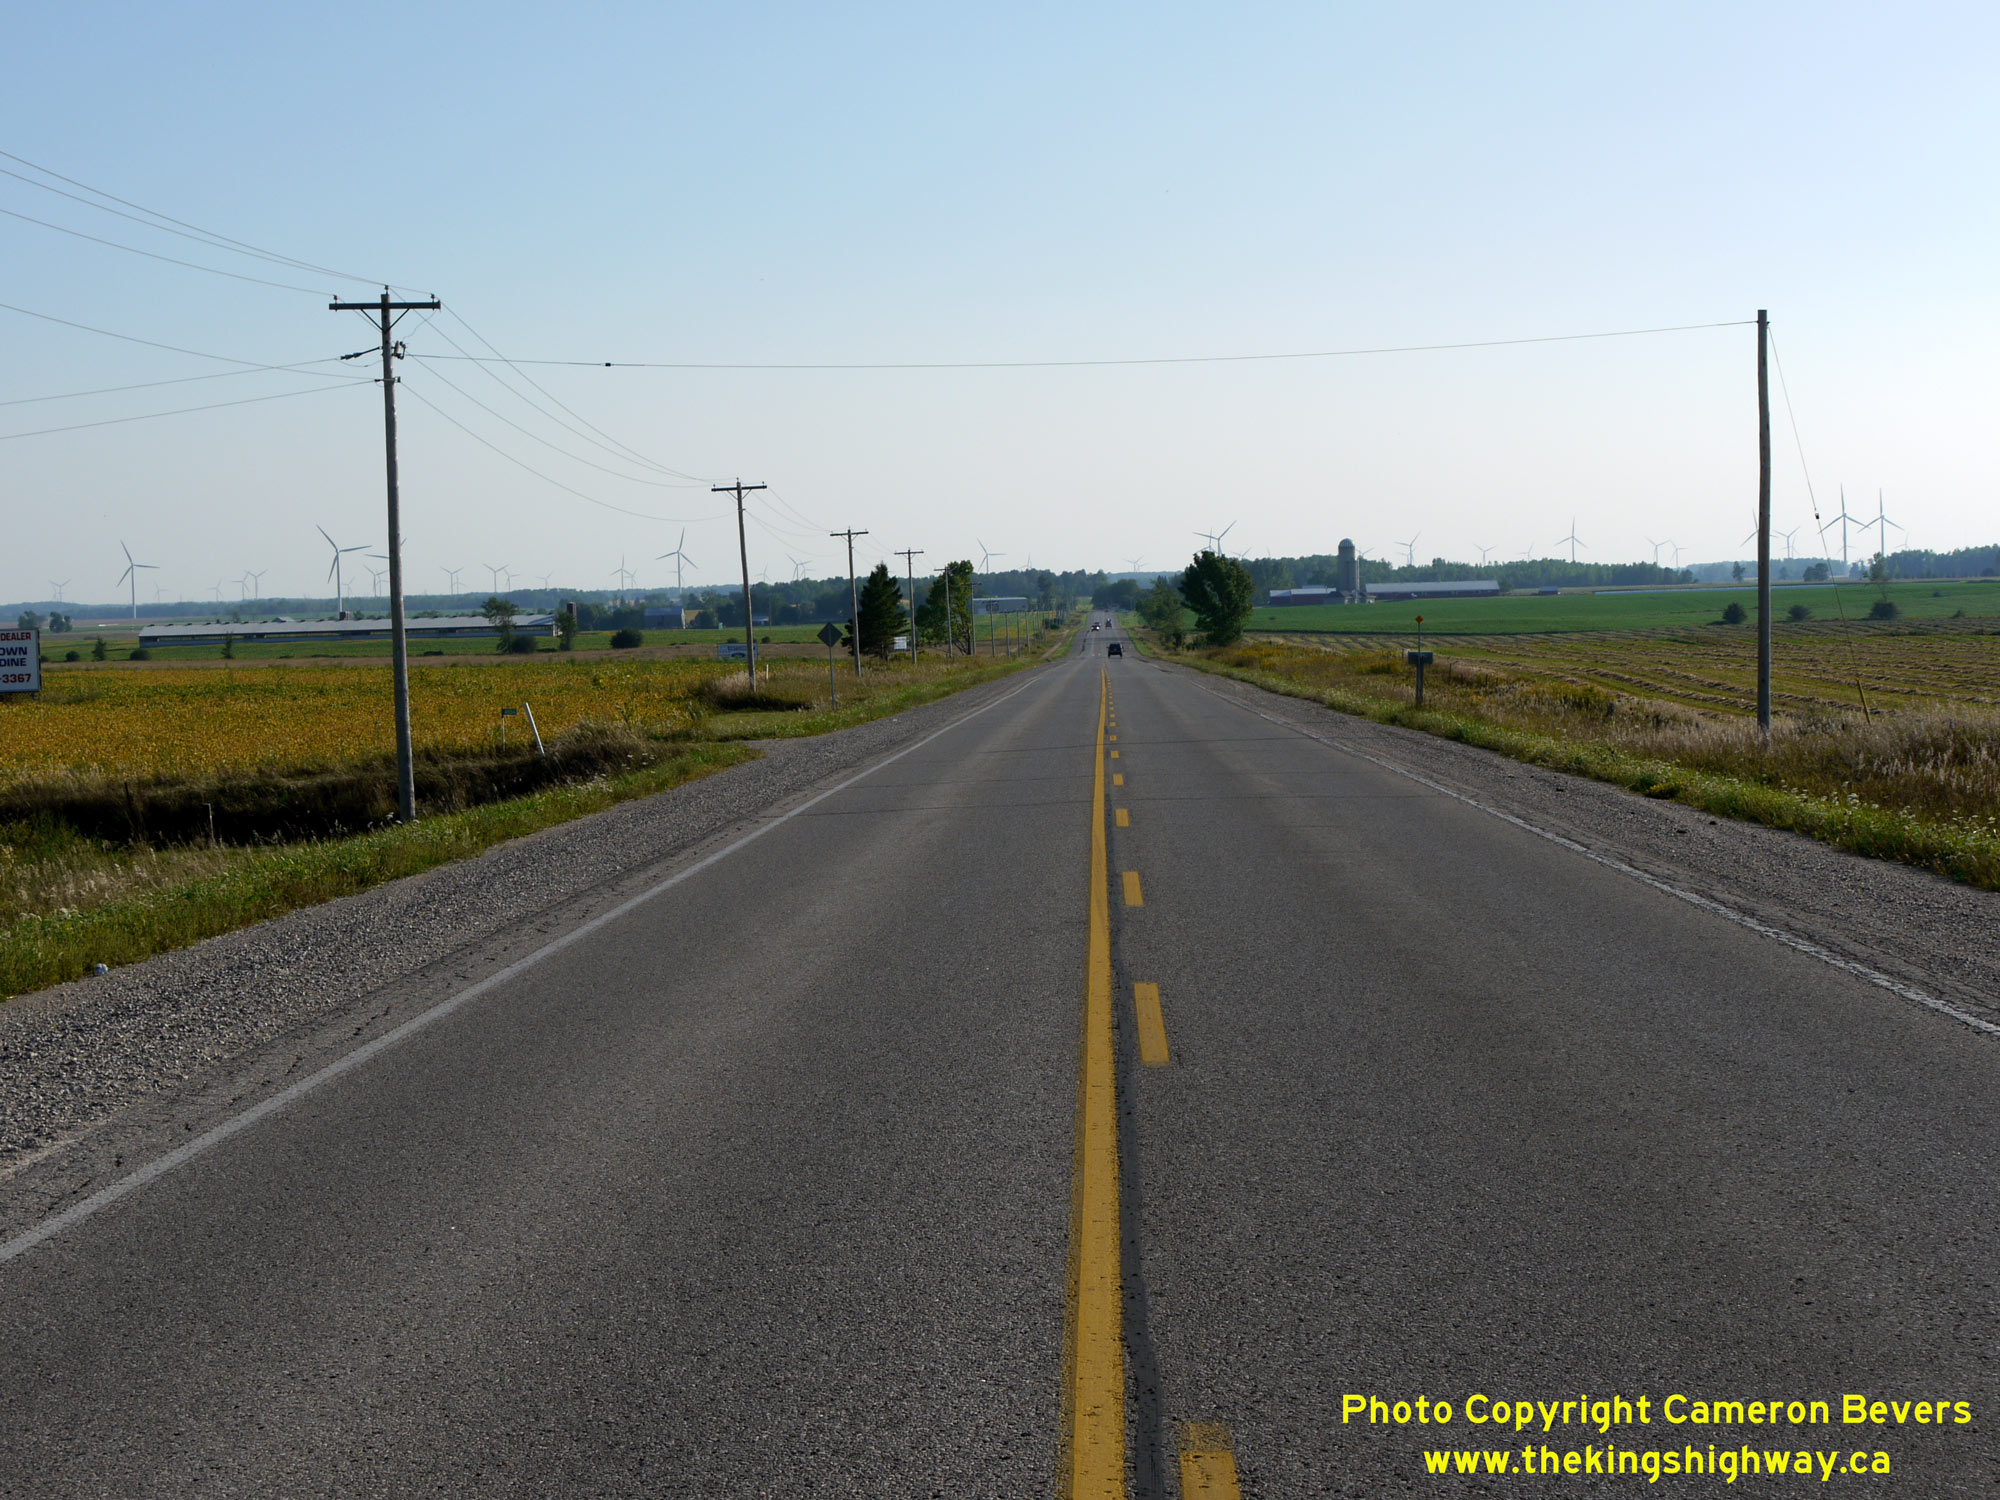
Left - Facing south along Hwy 21 about 4 km south of Port Elgin. The windmills in the background are part of a large wind farm that was established recently
along the shores of Lake Huron to generate electricity. This is one of many new wind farms that have sprung up in Ontario in recent years. While there are few who
would refute the fact that our society needs to explore more sustainable energy sources, the dramatic impact that these wind farms have on Ontario's pastoral
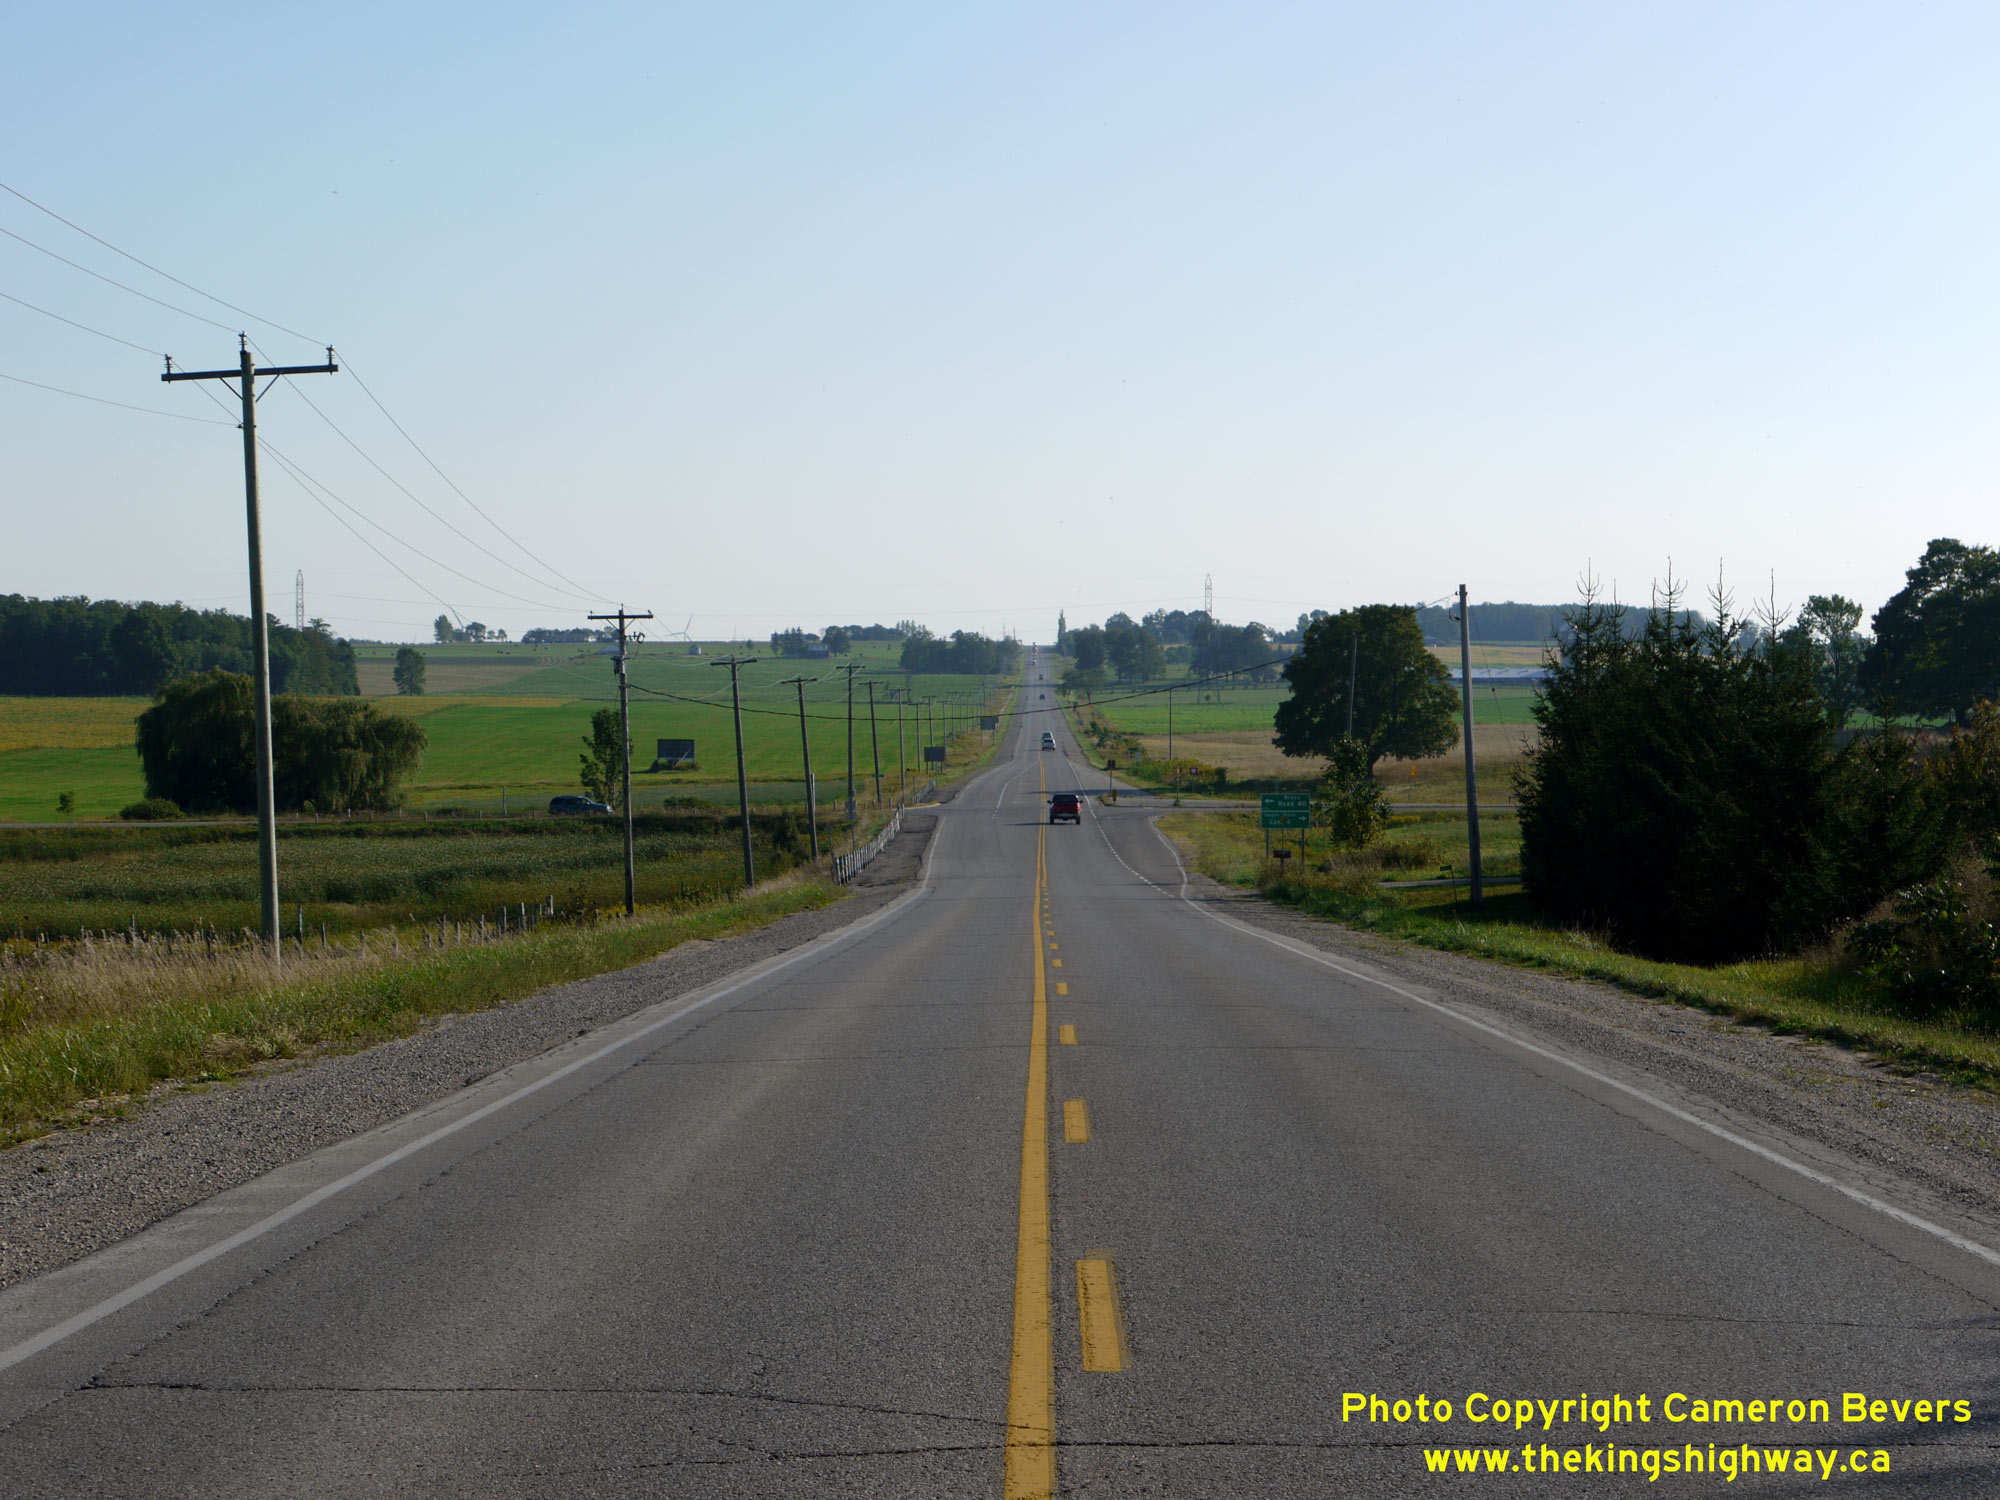
landscapes cannot be overlooked. See an Enlarged Photo Here. (Photograph taken on August 29, 2010 - © Cameron Bevers) Right - Facing south along Hwy 21 towards the Bruce County Road 40 Junction about 2 km south of Port Elgin. See an Enlarged Photo Here. (Photograph taken on August 29, 2010 - © Cameron Bevers) 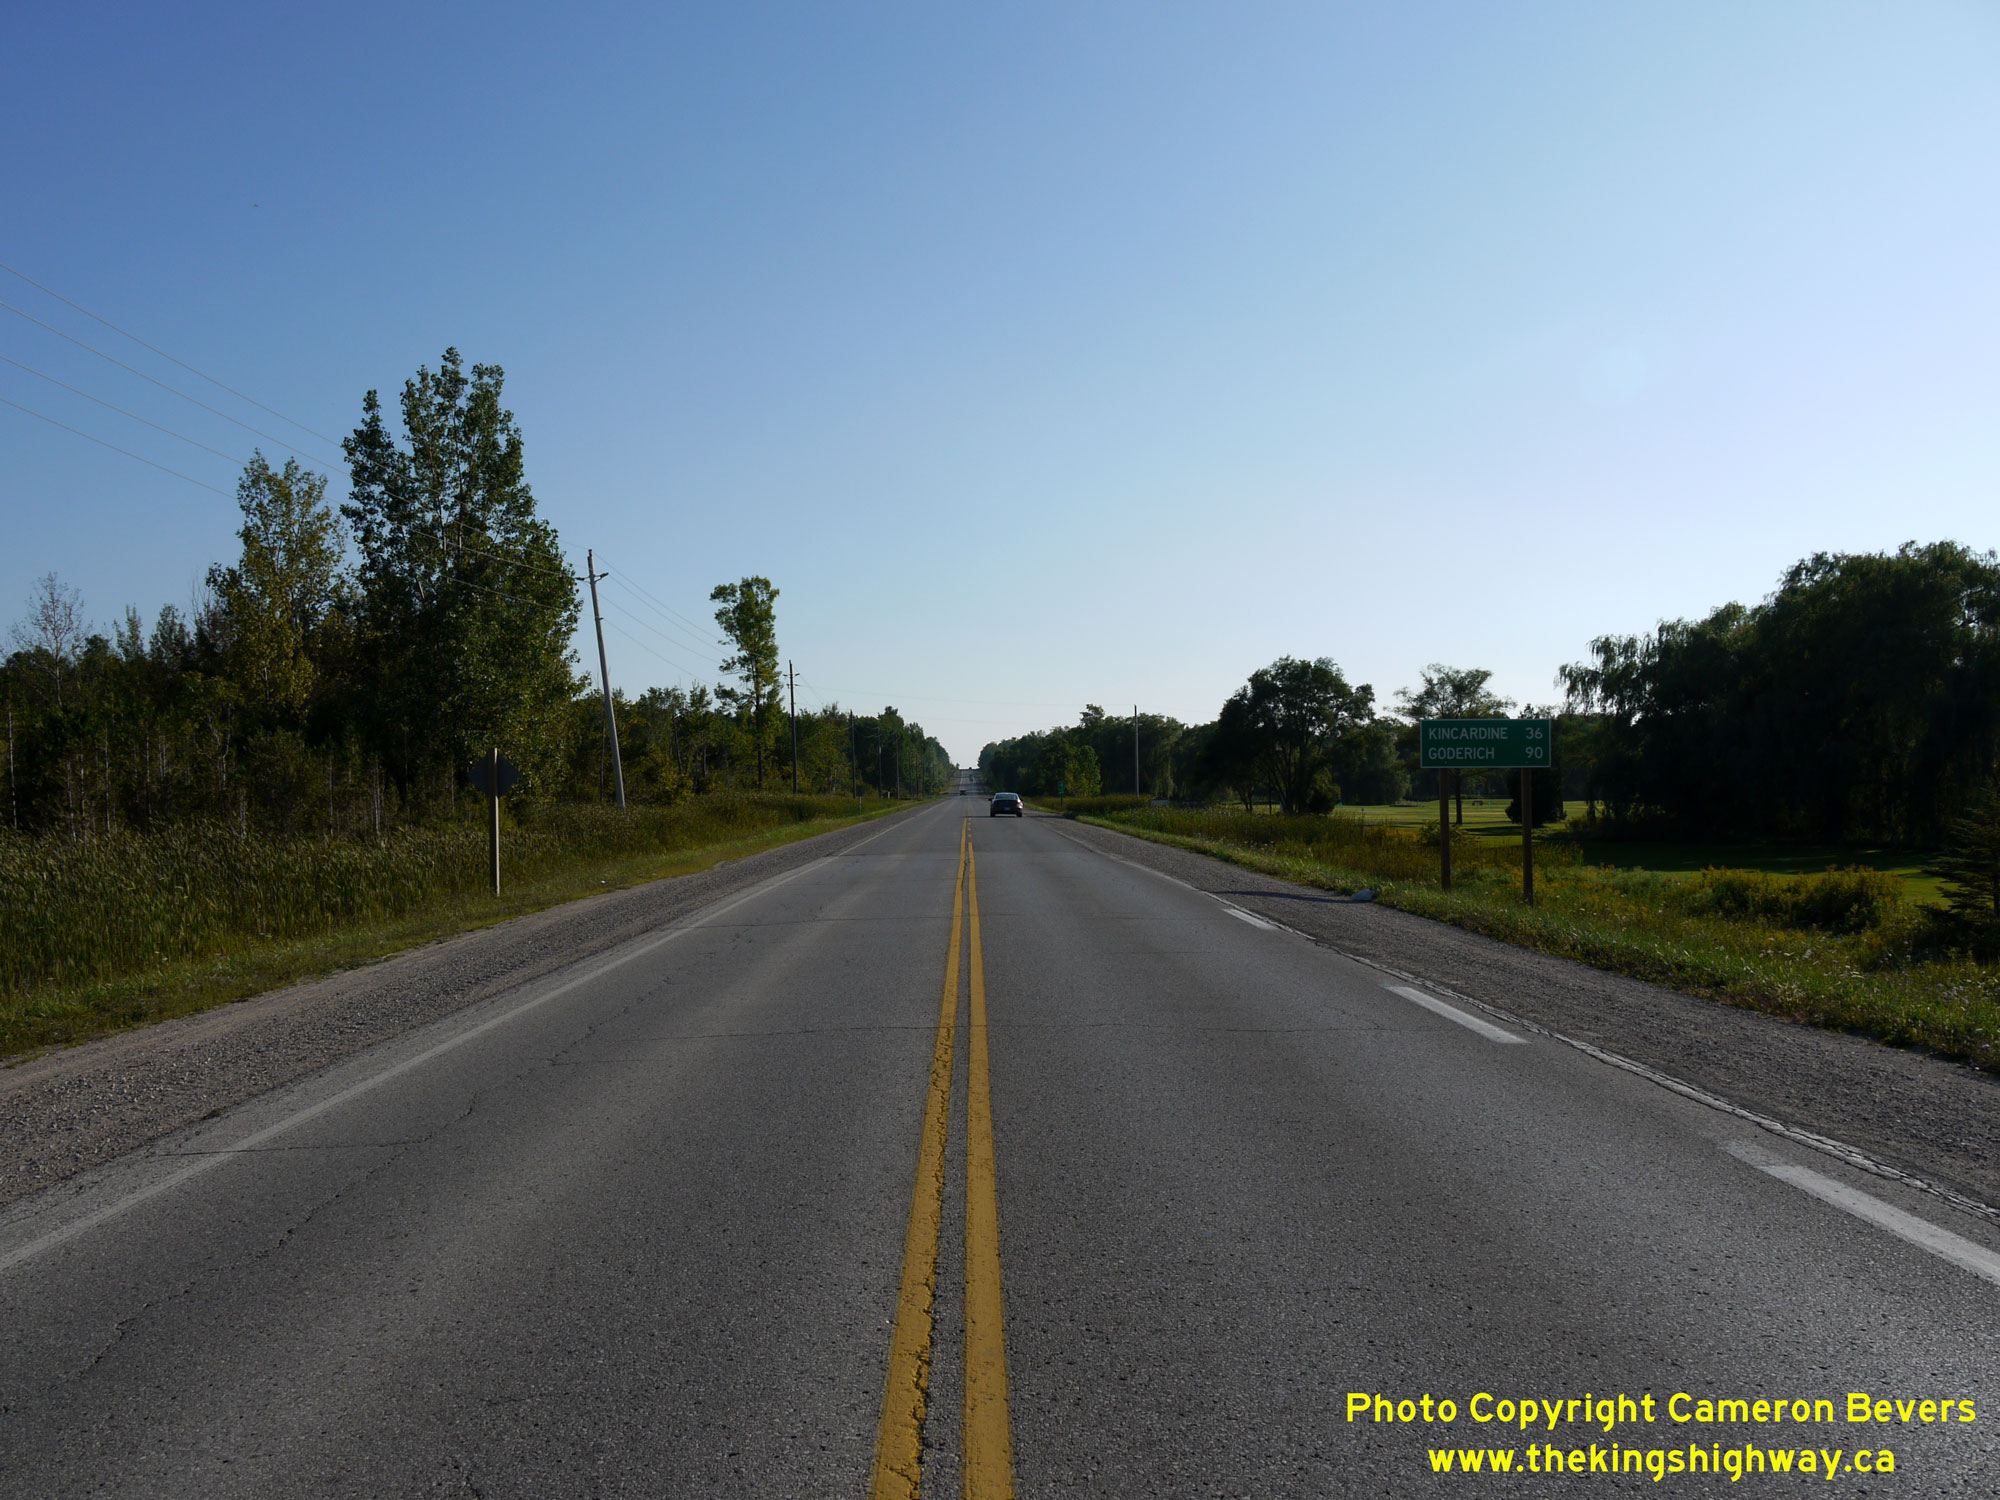
Left - Facing south along Hwy 21 towards Tiverton from the southern entrance to Port Elgin. See an
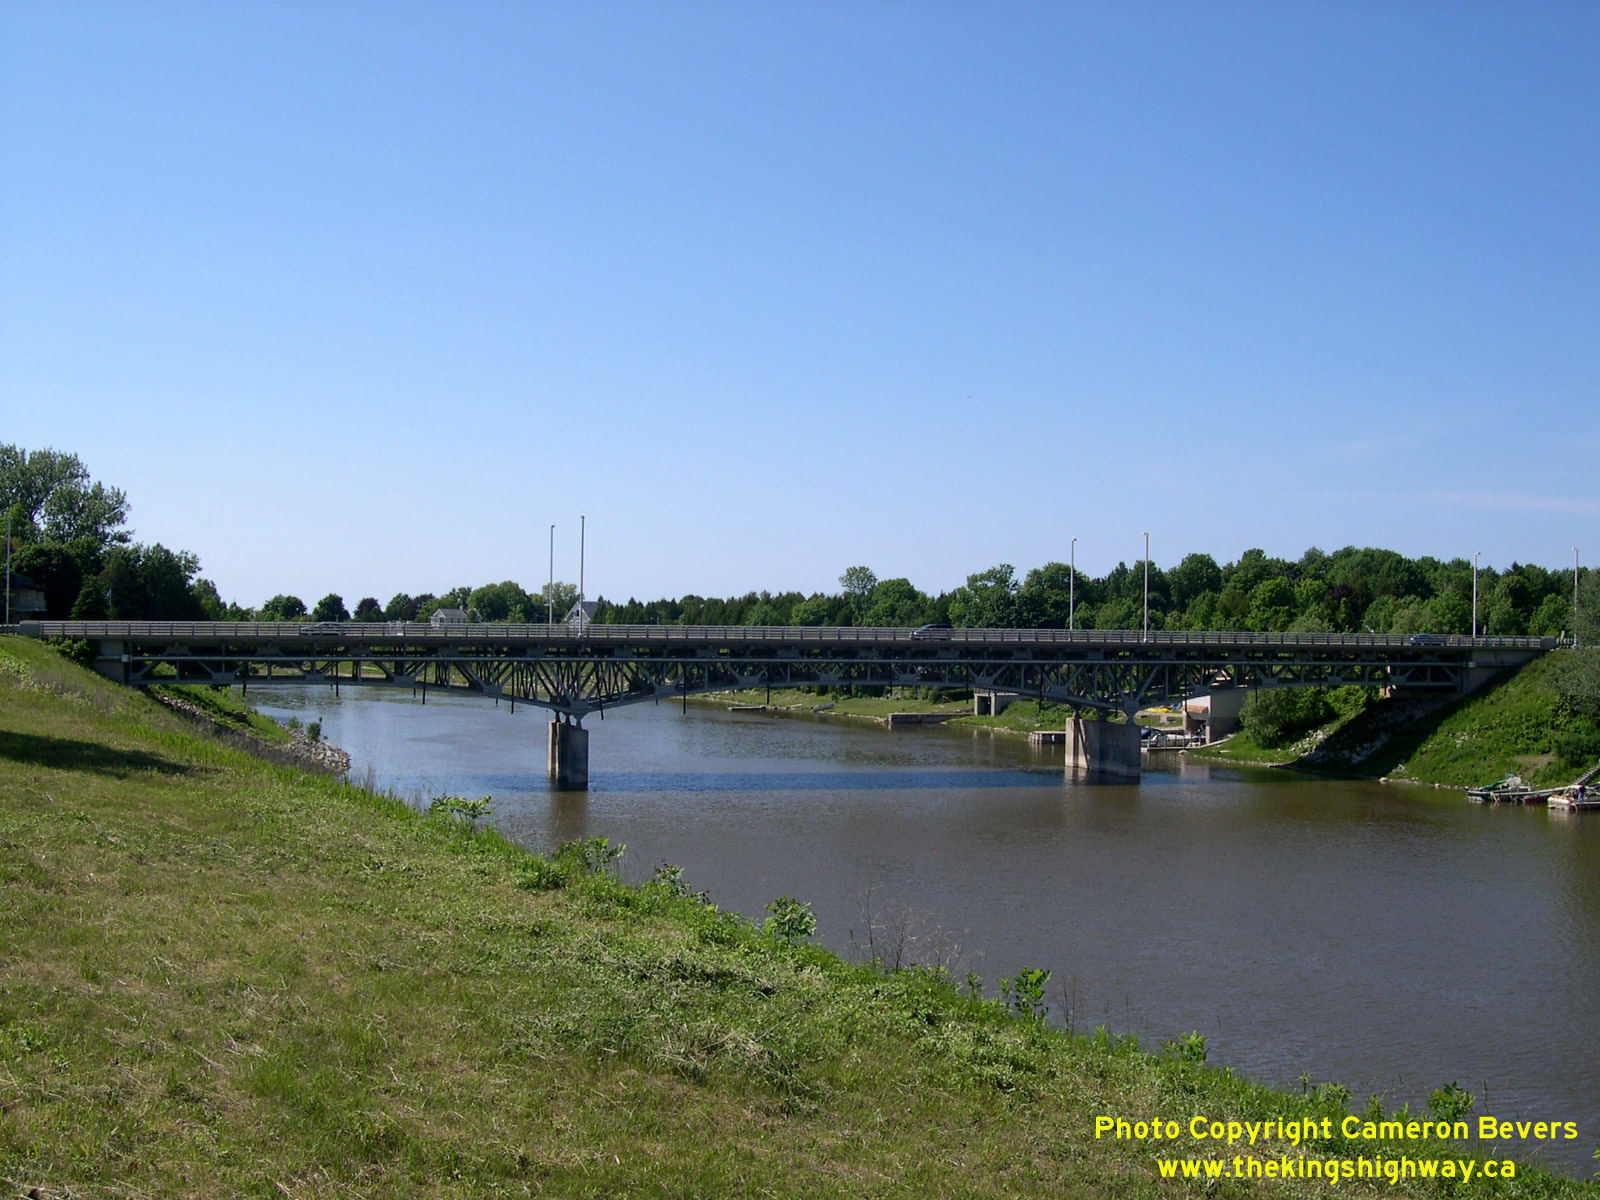
Enlarged Photo Here. (Photograph taken on August 29, 2010 - © Cameron Bevers) Right - Eastern side of the Saugeen River Bridge on Hwy 21 in Southampton. This three-span steel deck truss structure was completed in 1959. This bridge was actually built on a diversion of Hwy 21. Originally, Hwy 21 crossed the Saugeen River via a narrow through truss structure at the end of Victoria Street. The old bridge stood just upstream from the current highway bridge, roughly where this photo was taken. The old bridge was removed from service soon after the new highway bridge was completed. Demolition of the old bridge took place over the Winter of 1960-1961, under Contract #1960-284. The piers for the old Hwy 21 bridge were also removed so that they no longer created a navigation hazard for watercraft in Southampton's harbour. See an Enlarged Photo Here. (Photograph taken on June 19, 2005 - © Cameron Bevers) 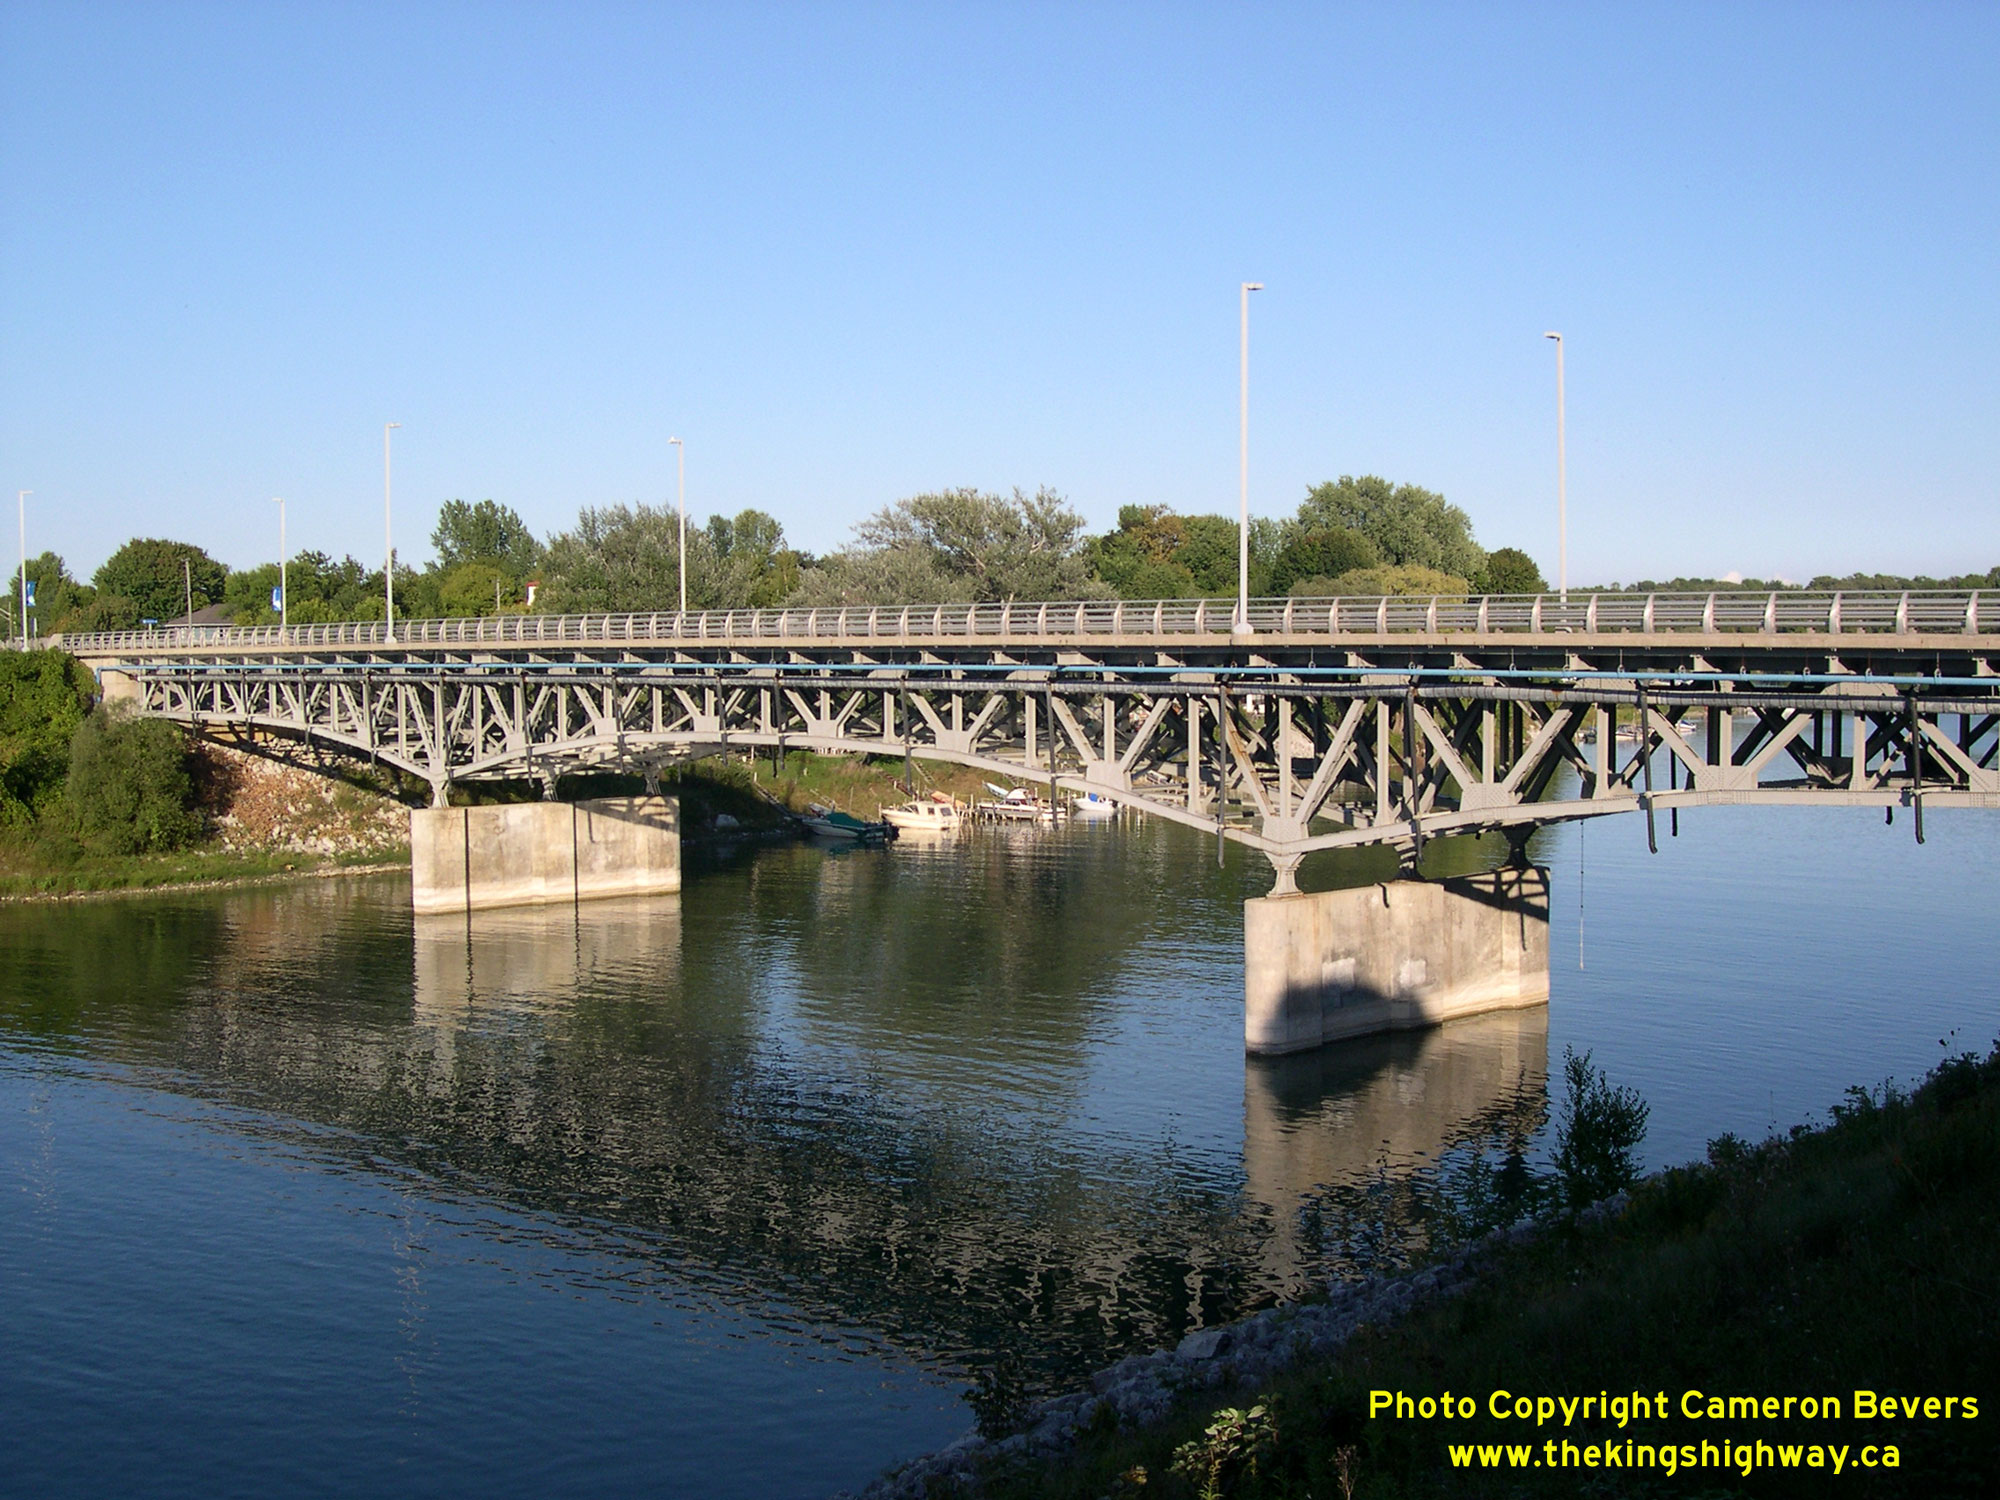
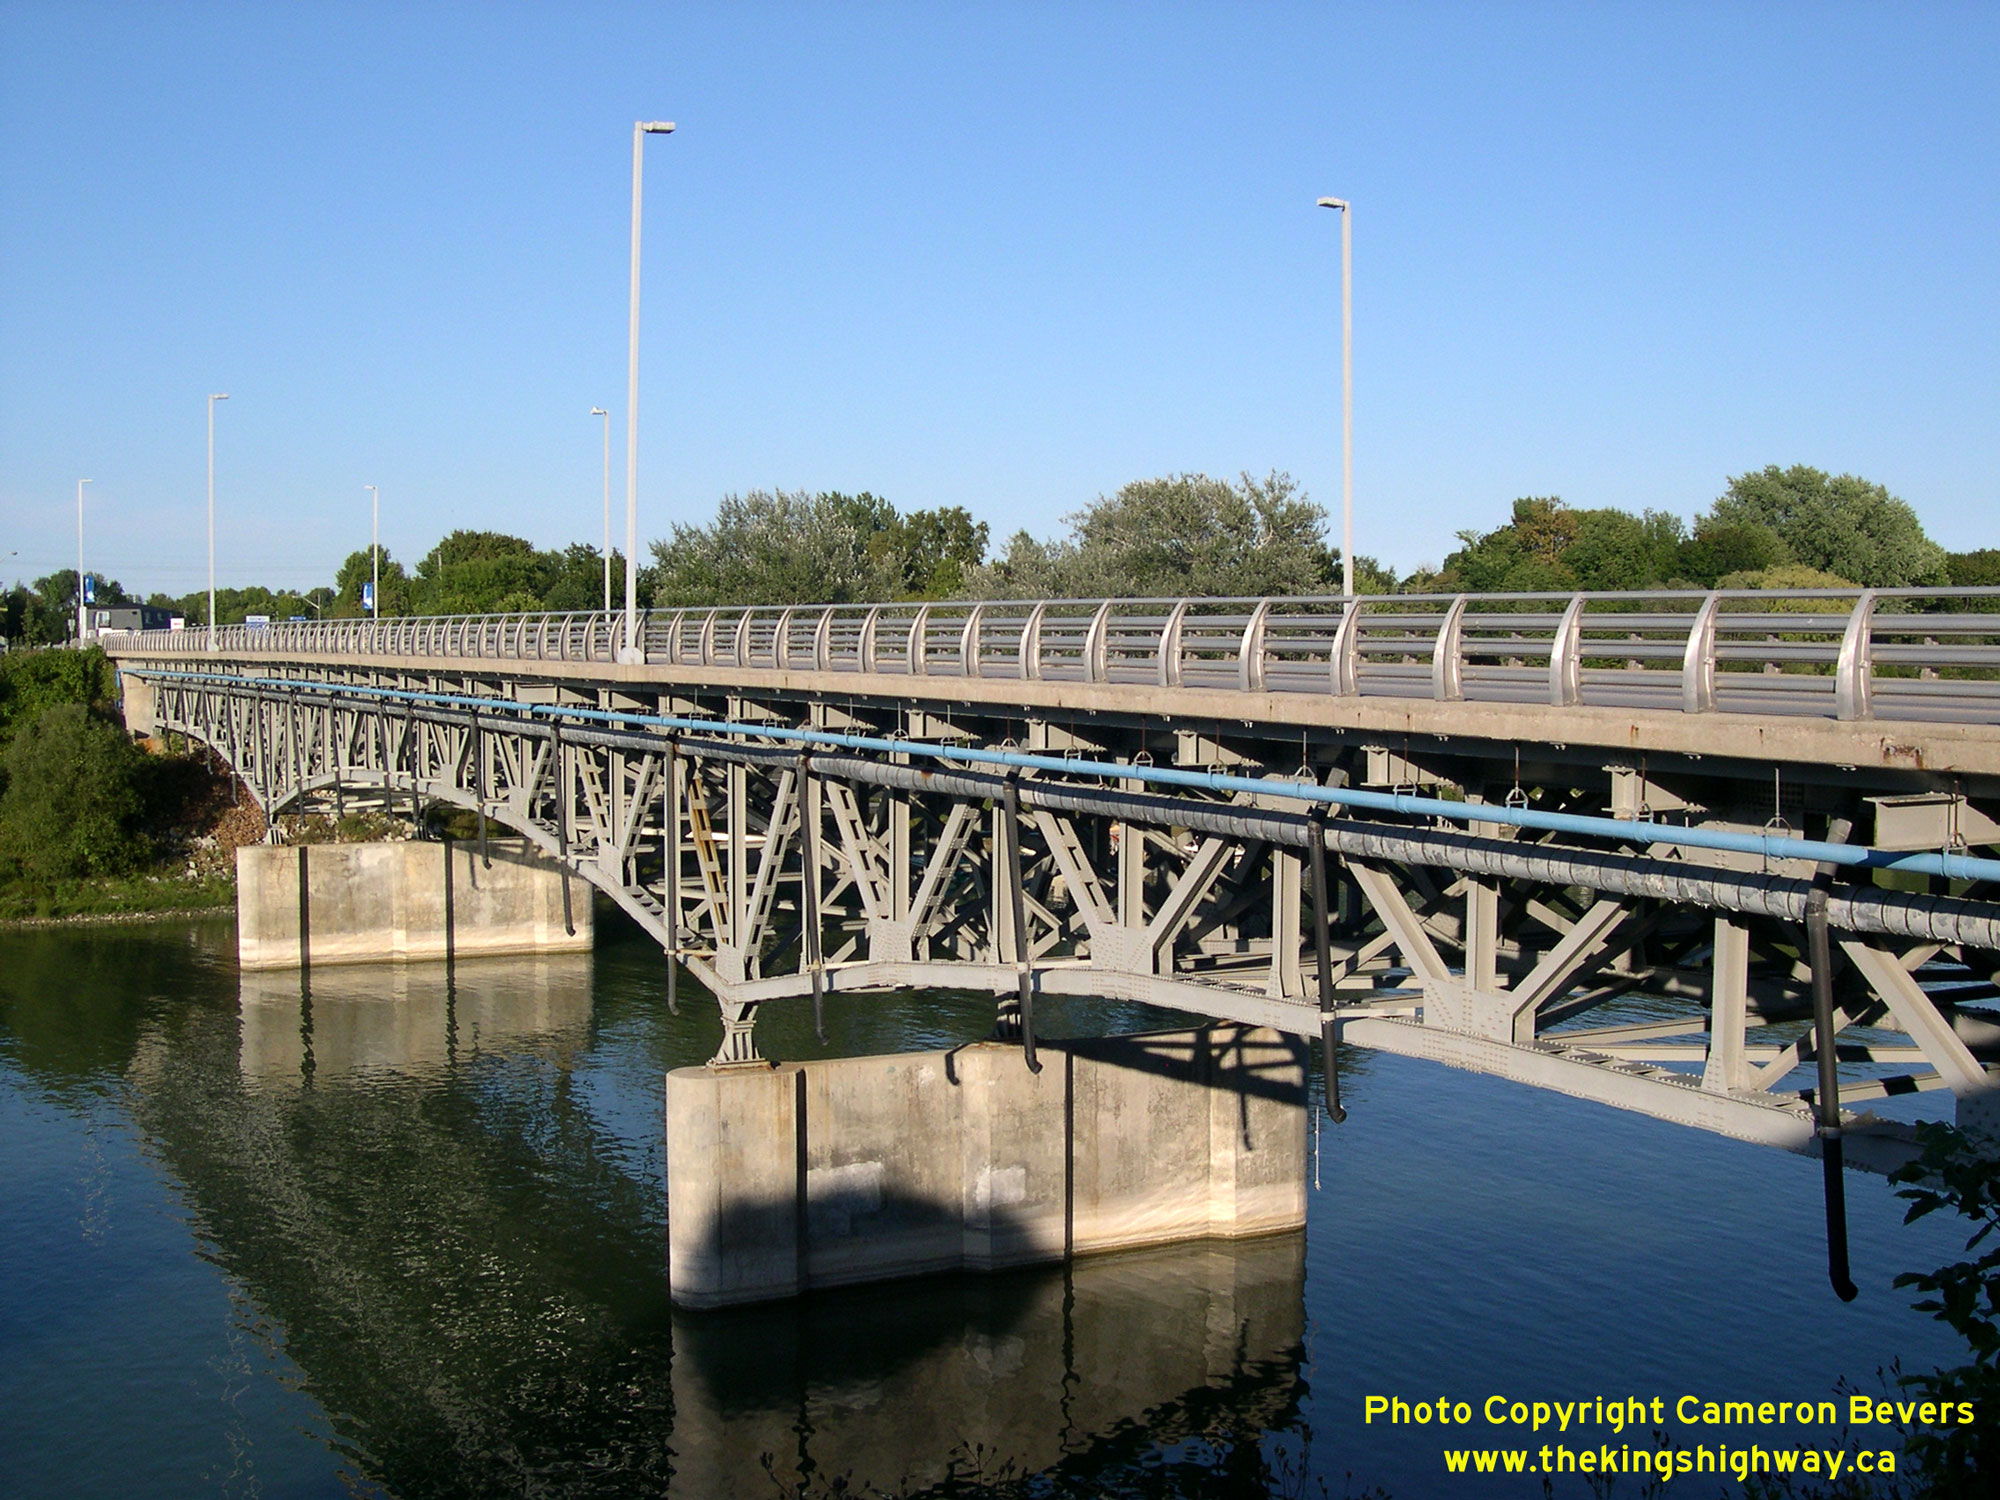
Left - Western side of the Saugeen River Bridge (Site #2-29) on Hwy 21 in Southampton. See an
Enlarged Photo Here. (Photograph taken on September 18, 2005 - © Cameron Bevers) Right - The Southampton Bridge on Hwy 21 is an Warren-type continuous deck truss structure placed atop concrete piers. The centre span has a length of 182 feet (55.5 metres), while the two approach spans each have a length of 130 feet (39.6 metres). There were relatively few deck truss bridges constructed by the Department of Highways of Ontario (DHO) in Southern Ontario, so this example is rather noteworthy. The new Southampton Bridge was constructed under Contract #1956-161 (structural steel) and Contract #1957-14 (concrete substructure and approaches). The new bridge was completed after two years of construction, and was officially opened to traffic by Southampton Mayor W.H. Rogers on September 9, 1959. See an Enlarged Photo Here. (Photograph taken on September 18, 2005 - © Cameron Bevers) 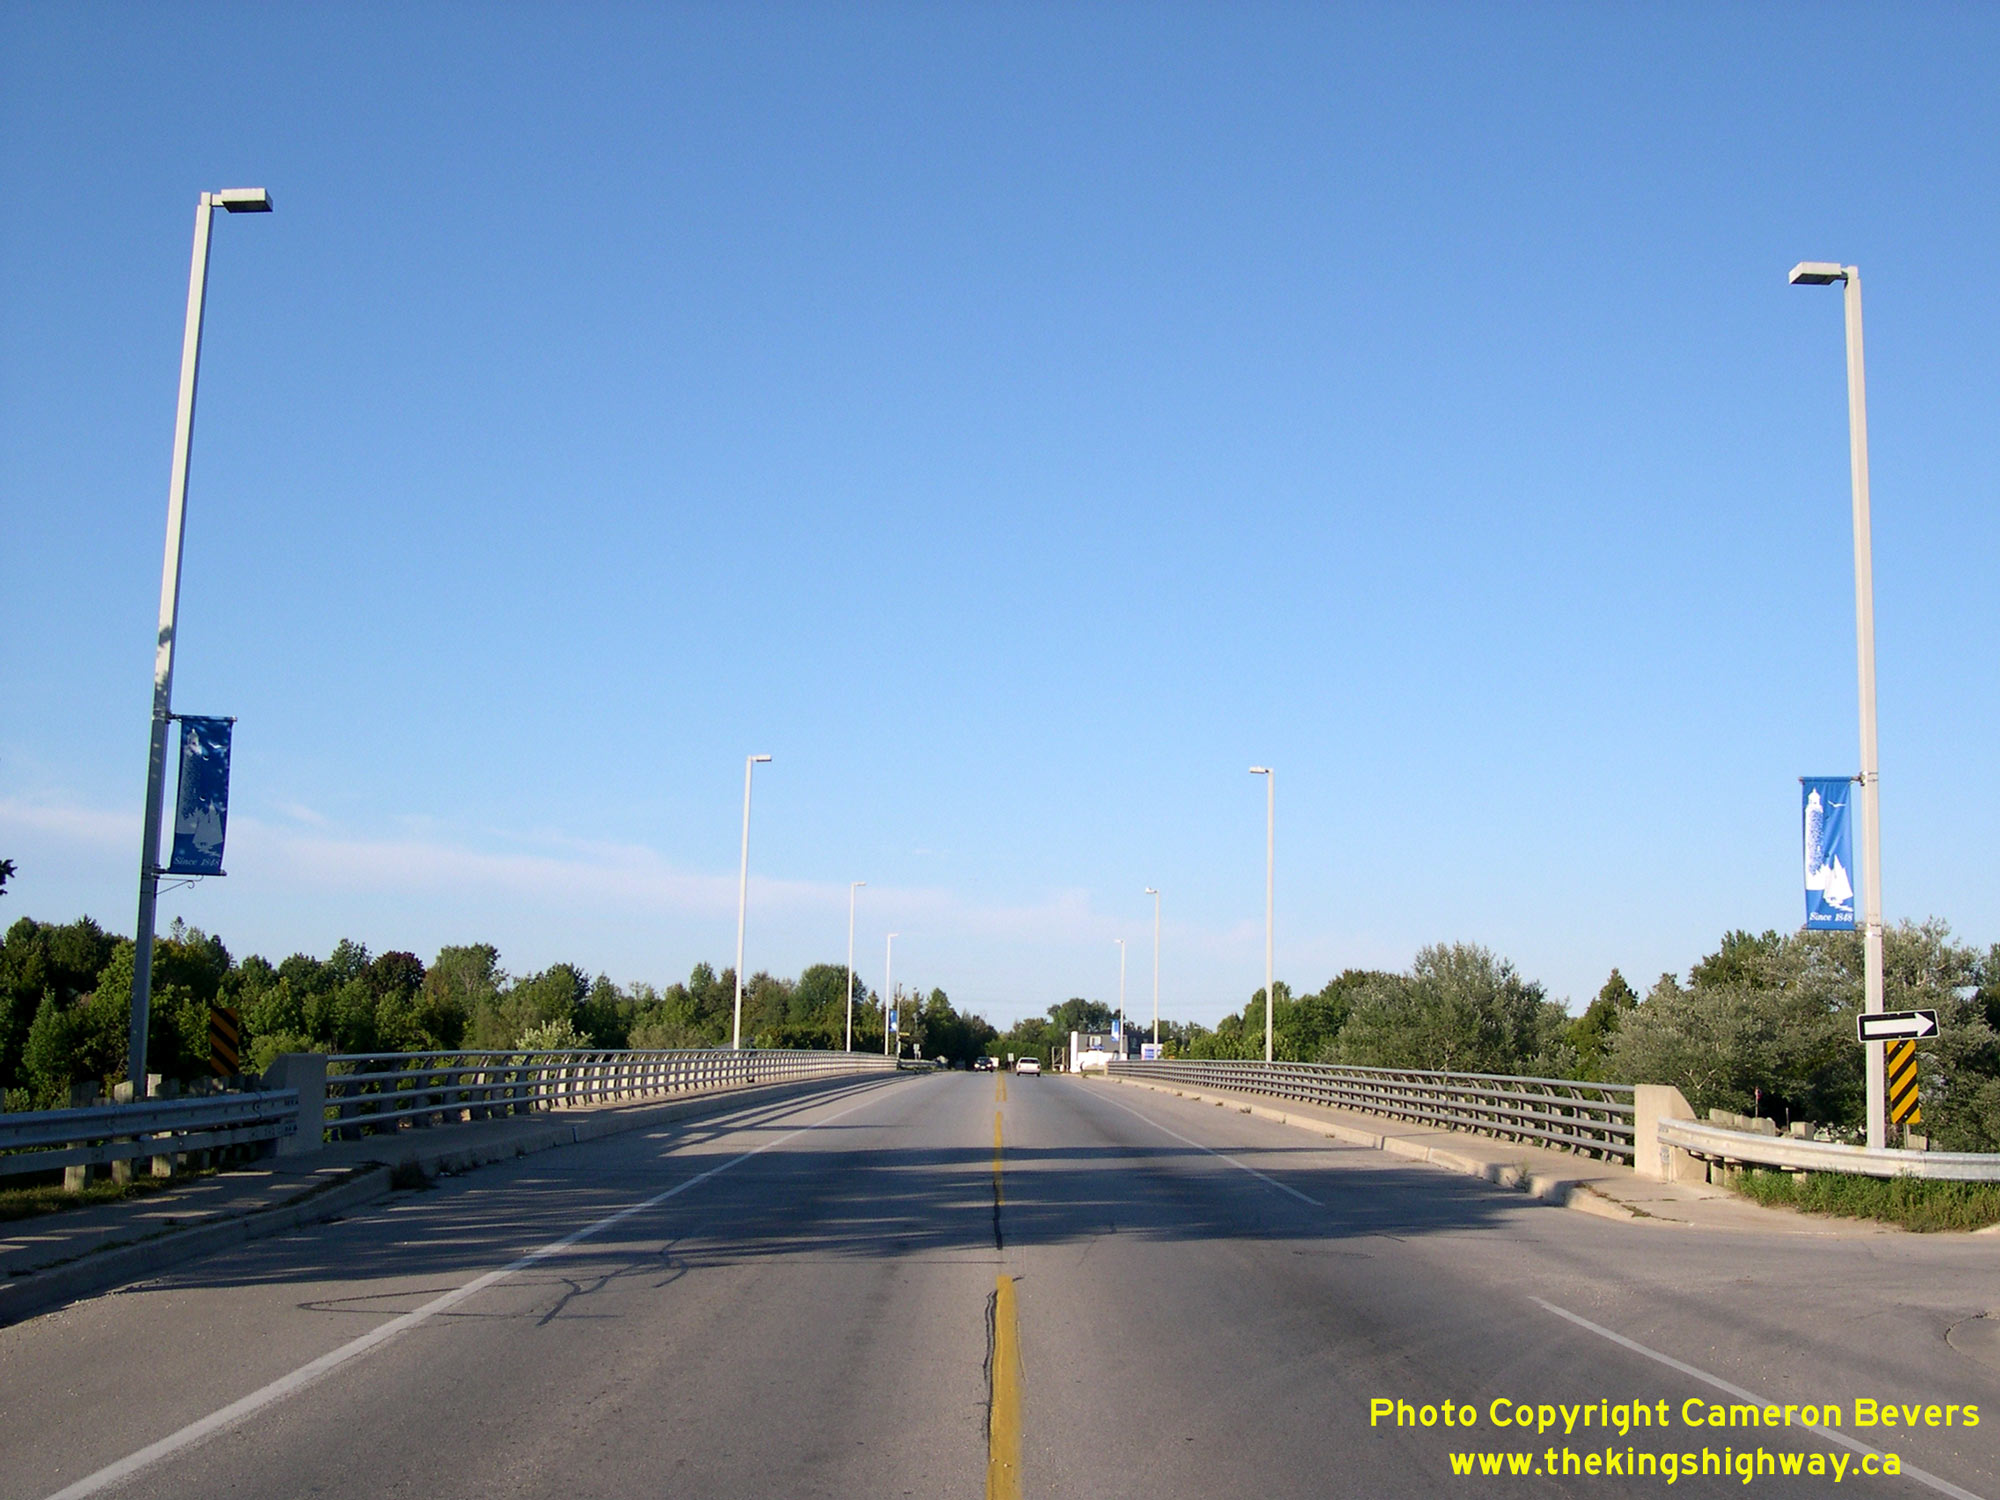
Left - Facing north along Hwy 21 across the Saugeen River Bridge in Southampton. See an
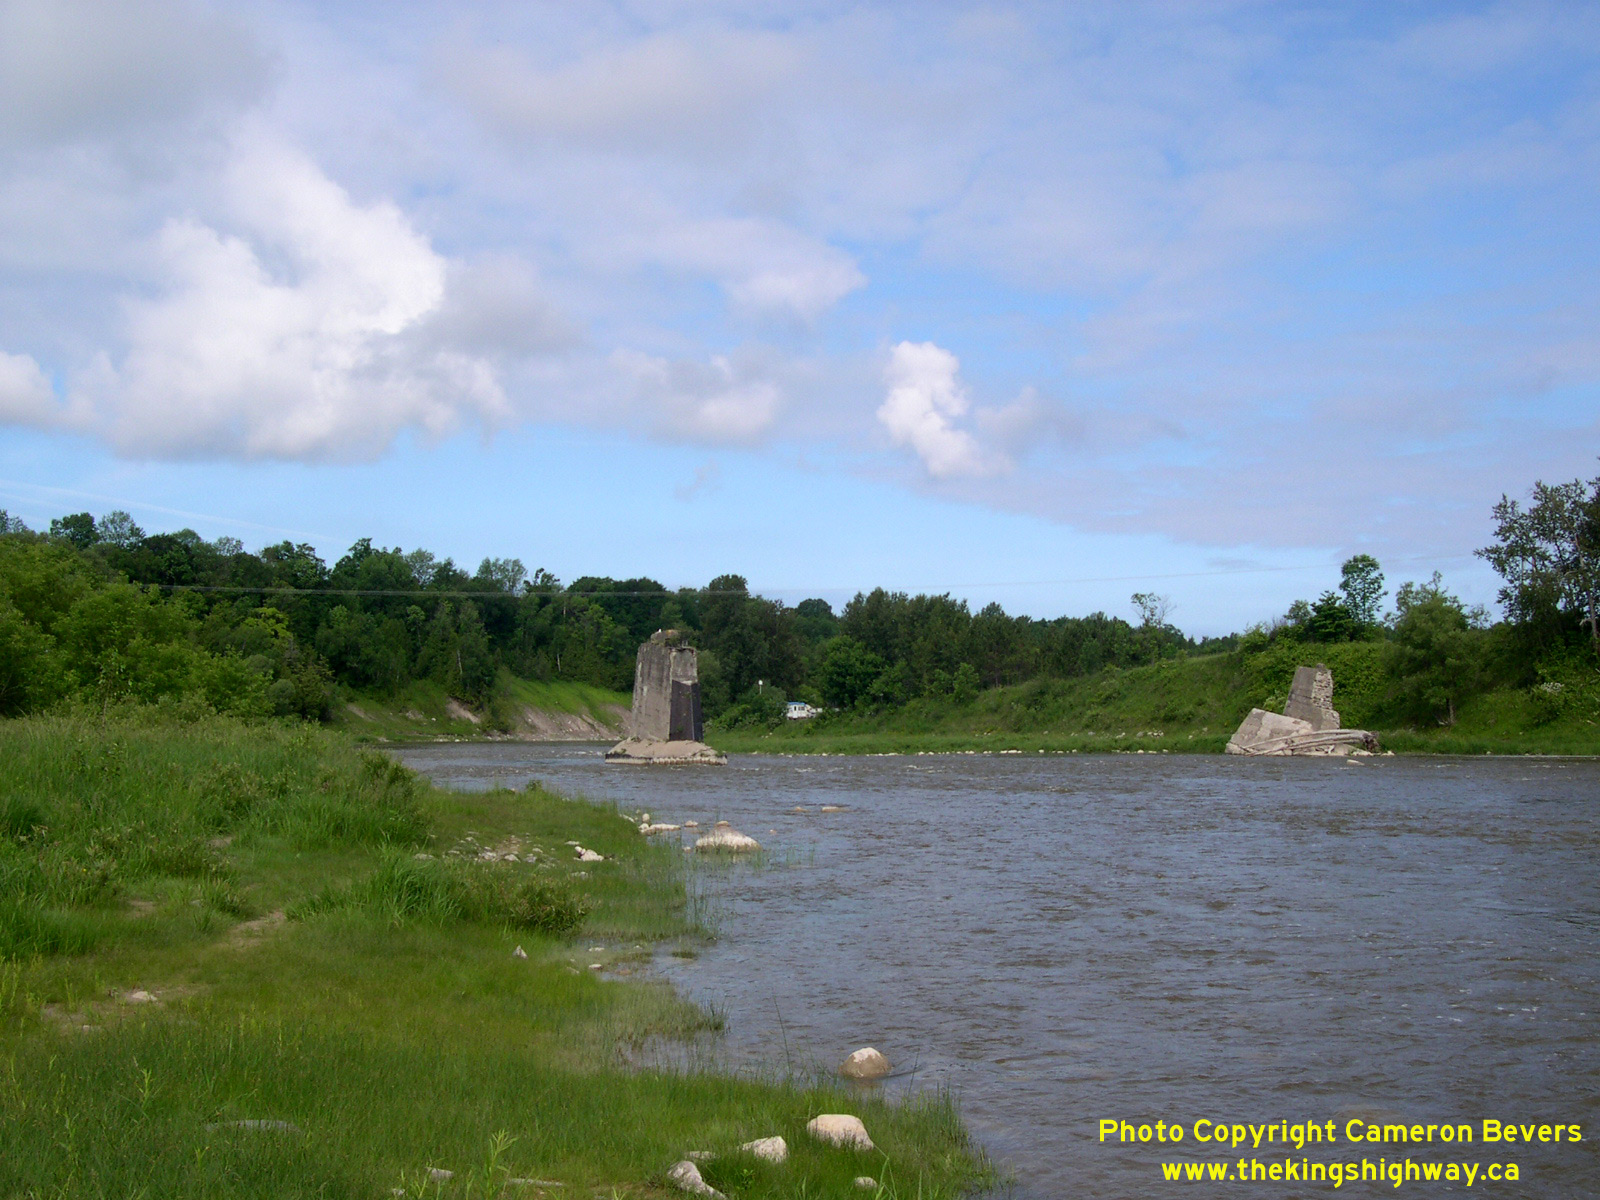
Enlarged Photo Here. (Photograph taken on September 18, 2005 - © Cameron Bevers) Right - Old piers and overgrown abutments mark the site of the original Southampton Cut-Off Bridge. The former bridge site is located at the end of Carlisle Street, about 3 km northeast of Downtown Southampton. Carlisle Street once formed a cut-off route for Hwy 21 traffic, which bypassed Southampton altogether. This bridge was badly damaged due to a severe flood in the 1940s and was permanently closed to traffic. Since 1947, all Hwy 21 traffic has passed through Downtown Southampton. See an Enlarged Photo Here. (Photograph taken on June 19, 2005 - © Cameron Bevers) 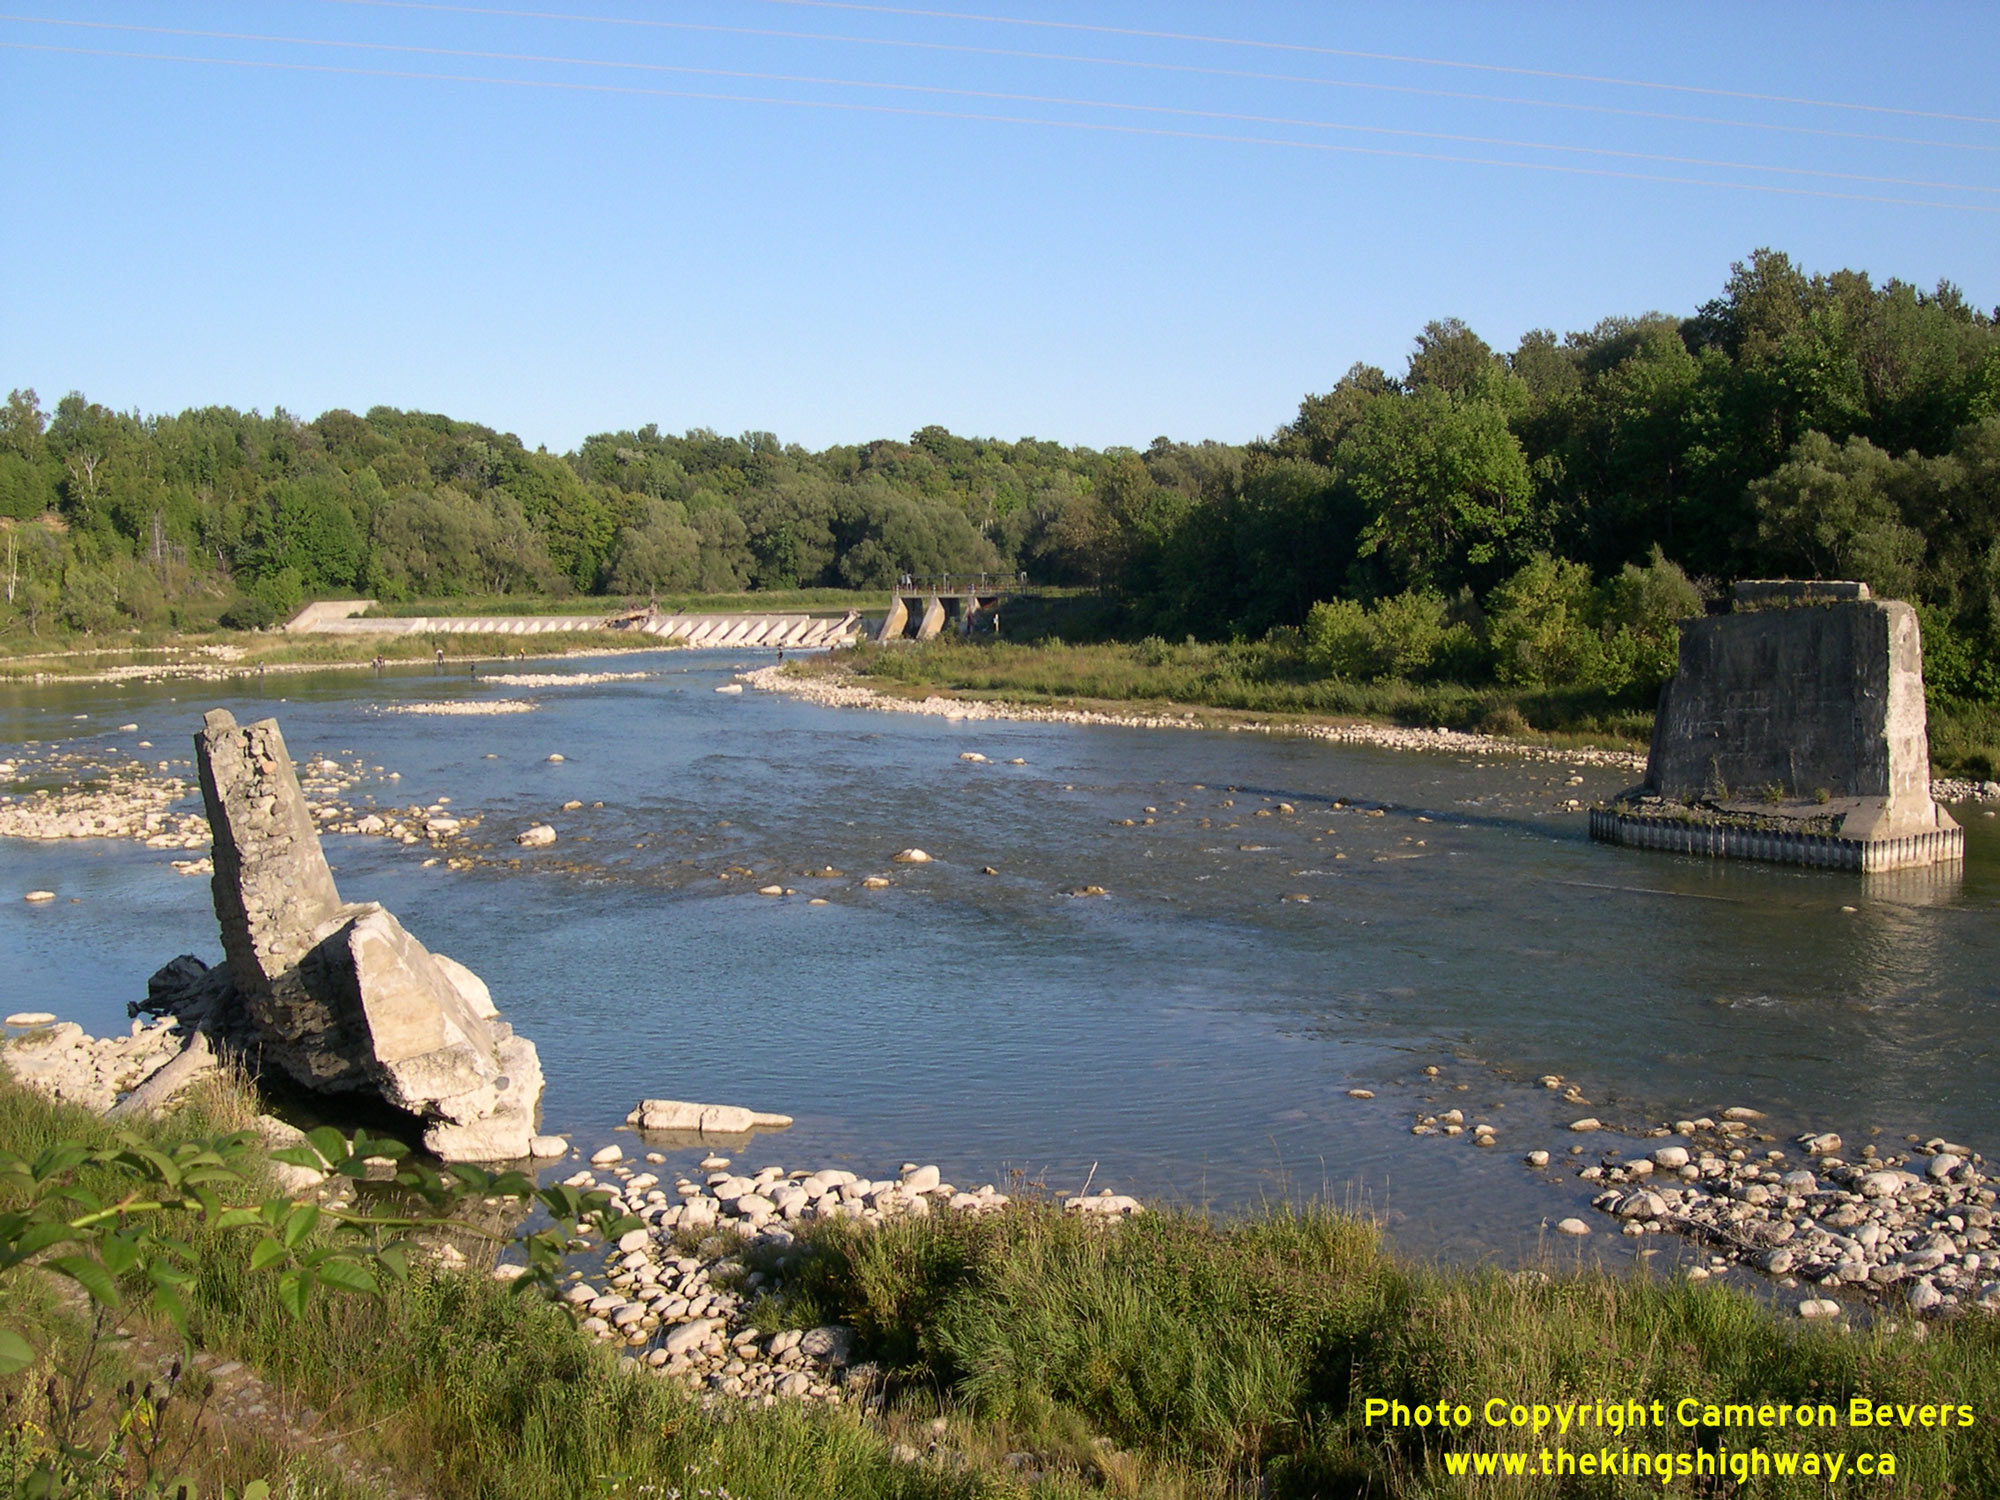
Left - The old Saugeen River Bridge on the Hwy 21 cut-off route was badly damaged by a severe flood in the Spring of 1947, and was immediately demolished. See
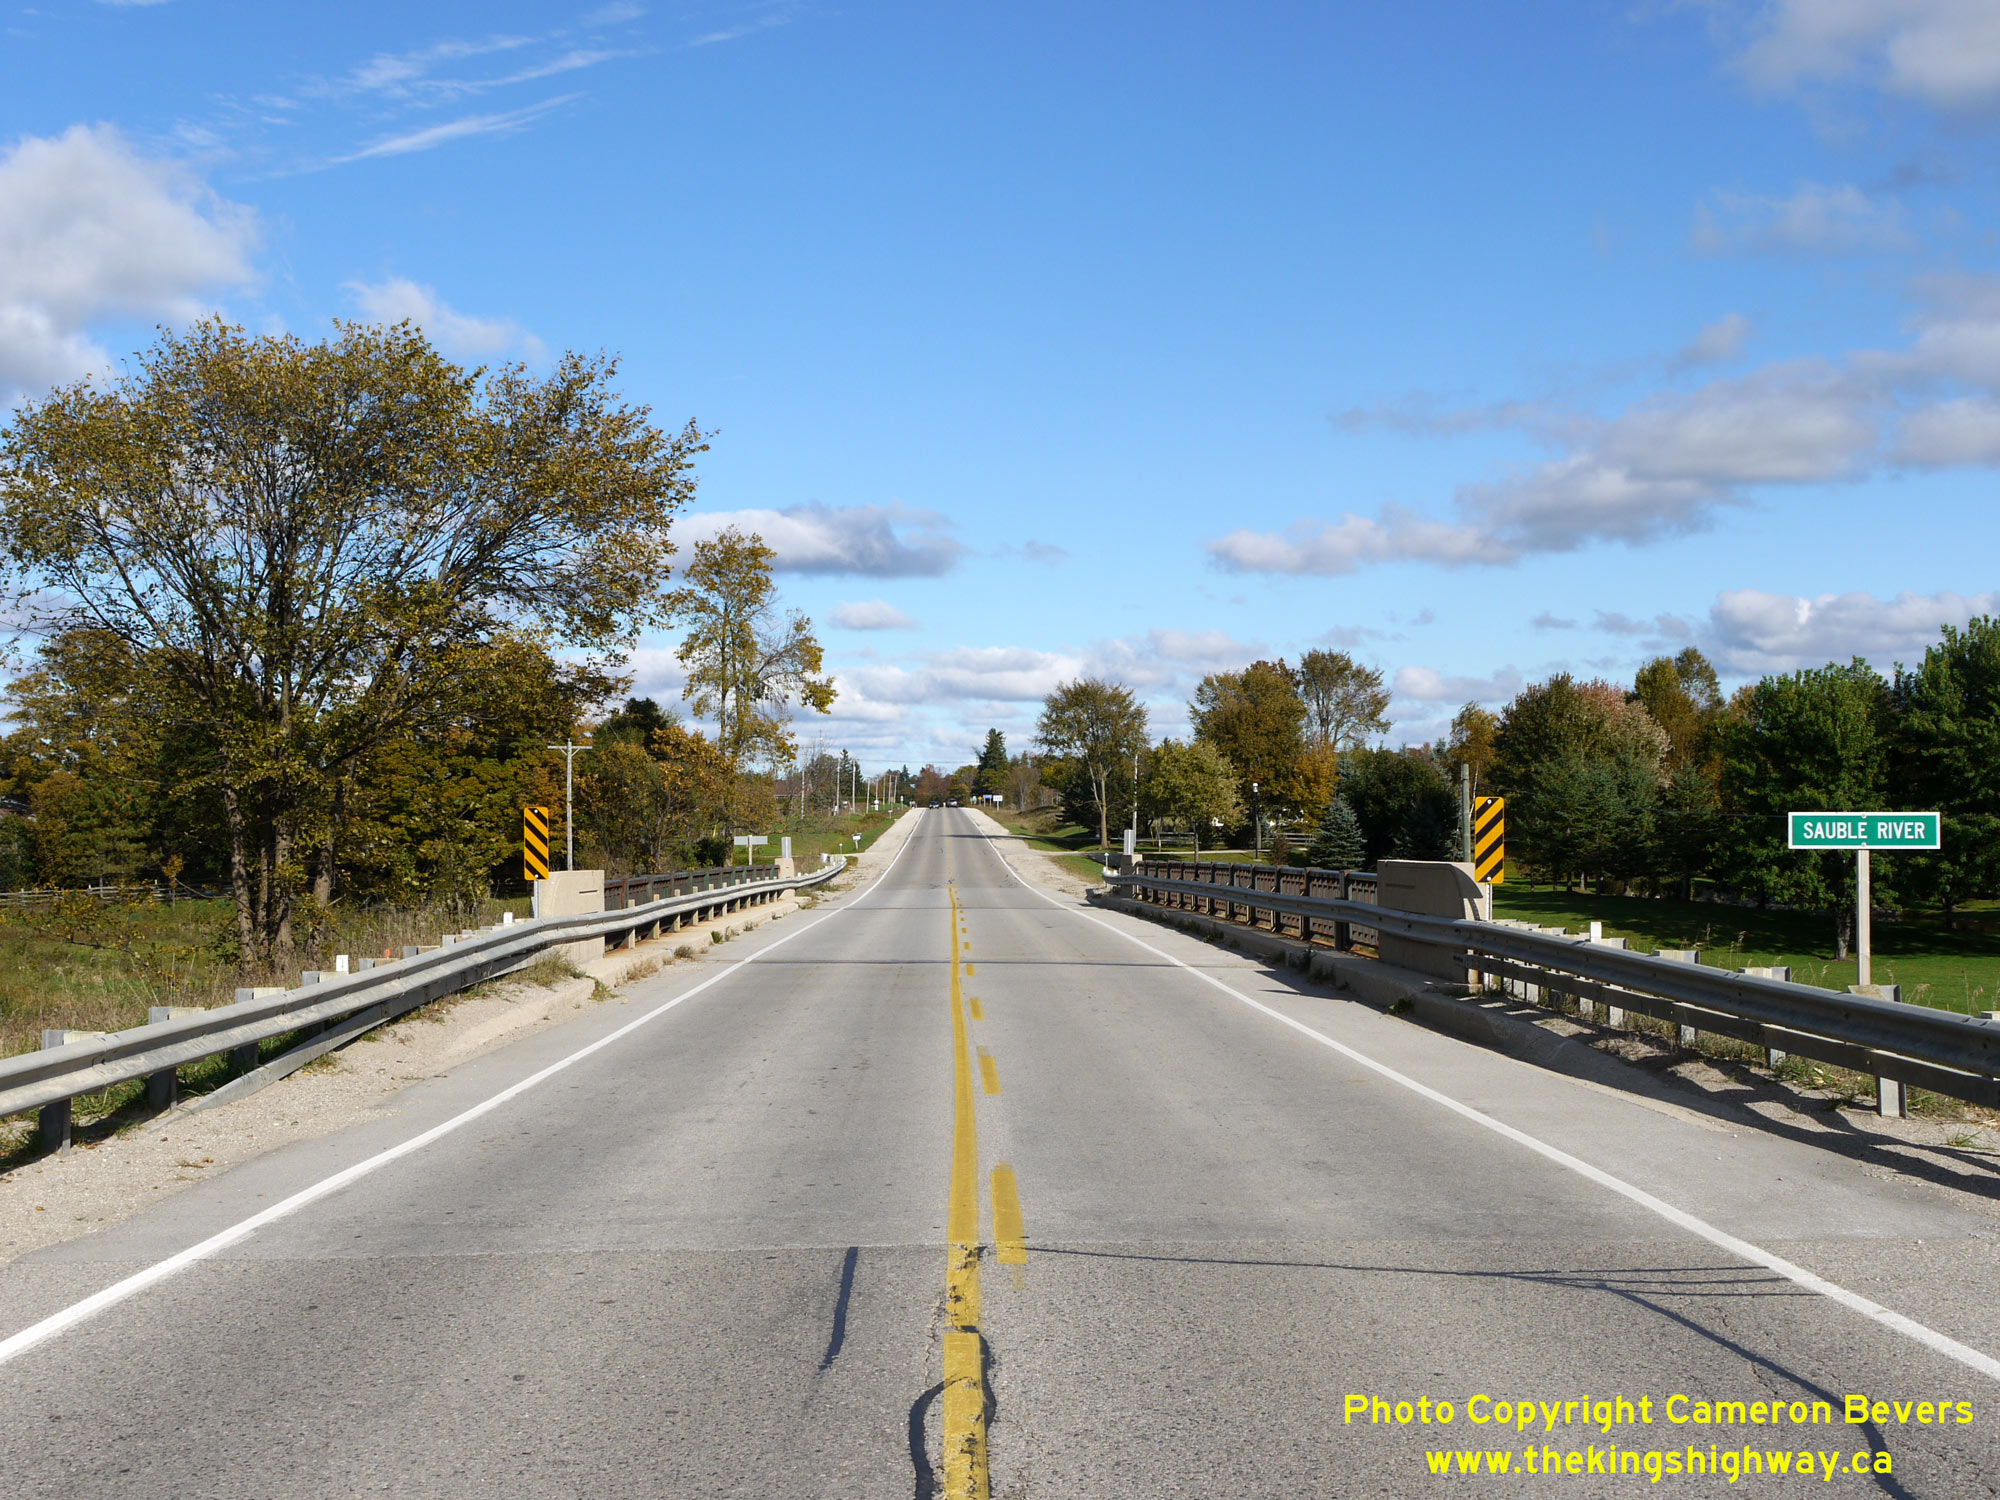
an Enlarged Photo Here. (Photograph taken on September 18, 2005 - © Cameron Bevers) Right - Facing north along Hwy 21 towards Owen Sound at the Sauble River Bridge (Site #2-30) near Allenford. See an Enlarged Photo Here. (Photograph taken on October 3, 2010 - © Cameron Bevers) 

Left - Sauble River Bridge on Hwy 21 near Allenford, located about 13 km north of Southampton. This single-span steel plate girder structure was built under
Contract #1961-215 (structural steel) and Contract #1961-225 (concrete substructure and approaches) and was completed in 1962. See an
Enlarged Photo Here. (Photograph taken on October 3, 2010 - © Cameron Bevers) Right - Facing south along Hwy 21 towards Southampton at the Sauble River Bridge on Hwy 21 near Allenford. See an Enlarged Photo Here. (Photograph taken on October 3, 2010 - © Cameron Bevers) 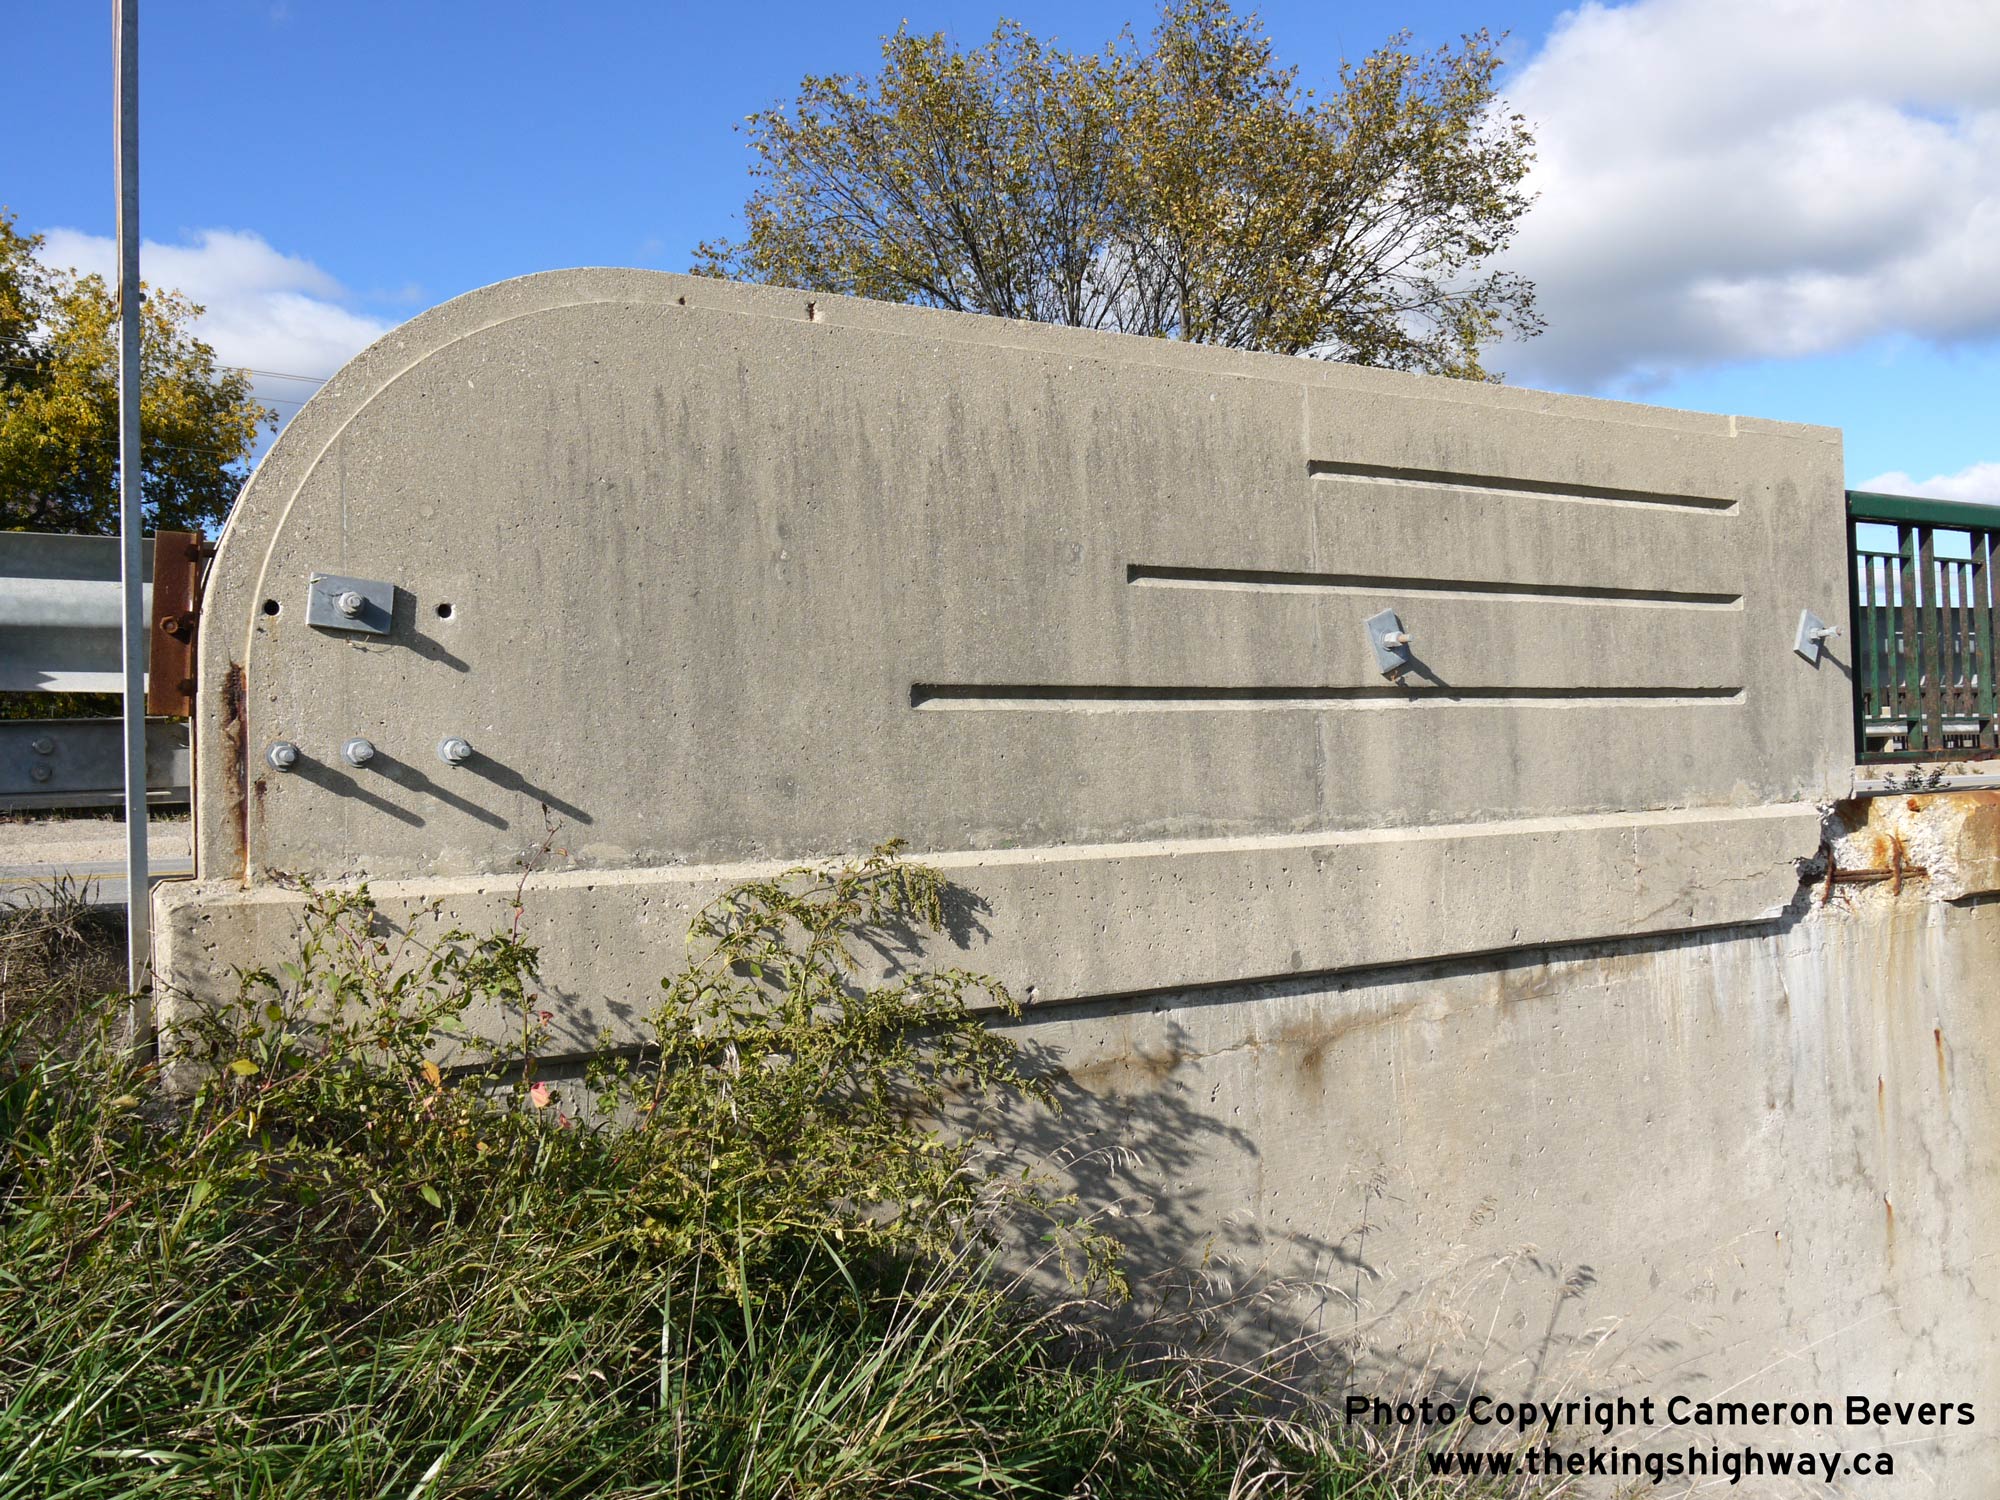
Above - Embossed decorative striping on the concrete handrail of the Sauble River Bridge on Hwy 21 near Allenford. See an
Enlarged Photo Here. (Photograph taken on October 3, 2010 - © Cameron Bevers)
Continue on to King's Highway 21 Photos: Allenford to Owen Sound
|
|---|
Links to Adjacent King's Highway Photograph Pages:
Back to King's Highway 20 Photos /
King's Highway 21 History /
On to King's Highway 22 Photos
Ontario Highway History - Main Menu / Back to List of Highways Website contents, photos & text © 2002-2026, Cameron
Bevers (Webmaster) - All Rights Reserved / Contact Me
|
|---|