
| 
| |
|
|
This page contains present day photos (Year 2000 to date) of Ontario's King's Highway 27, arranged by location from Schomberg
northerly to Barrie. All photographs displayed on this page were taken by the Webmaster (Cameron Bevers), unless specifically noted otherwise. Click
on any thumbnail to see a larger image!
Please note that all photographs displayed on this
website are protected by copyright. These photographs must not be reproduced, published,
electronically stored or copied, distributed, or posted onto other websites without
my written permission. If you want to use photos from this website, please
email me first for permission. Thank-you!
|
|---|
|
Page 5: Present Day King's Highway 27 Photographs (Schomberg to Barrie)


Left - Facing north along Hwy 27 towards the Hwy 9 Junction in Schomberg. See an
Enlarged Photo Here. (Photograph taken on July 14, 2010 - © Cameron Bevers) Right - Approaching the Hwy 9 Junction on Hwy 27, facing north towards Barrie. From this junction, motorists can continue north along Hwy 27 towards Barrie via Cookstown, turn left and follow Hwy 9 West to Orangeville, or turn right and follow Hwy 9 East towards Hwy 400 and Newmarket. See an Enlarged Photo Here. (Photograph taken on July 14, 2010 - © Cameron Bevers) 

Left - The junction of Hwy 9 & Hwy 27 features two large right-turn channels in the southeast and southwest intersection quadrants. At one time, Hwy 9 only
headed west from this junction. Hwy 27 curved to the right at this point and followed the present-day route of Hwy 9. During the 1960s, Hwy 27 was relocated onto a
new alignment north of Schomberg, and Hwy 9 was extended easterly along the old route of Hwy 27 towards Newmarket. See an
Enlarged Photo Here. (Photograph taken on July 14, 2010 - © Cameron Bevers) Right - Approaching the Hwy 27 Junction on Hwy 9, facing west towards Orangeville. See an Enlarged Photo Here. (Photograph taken on July 14, 2010 - © Cameron Bevers) 

Left - Signs marking the Hwy 27 Junction on westbound Hwy 9 in Schomberg. Up until the late 1990s, Hwy 27 was under the jurisdiction of the Ministry of
Transportation of Ontario (MTO). Jurisdiction over the entire route of Hwy 27 was transferred to the municipal tier in 1997-1998. Coincidentally, Hwy 9 marks the
boundary between the Regional Municipality of York and the County of Simcoe. Both municipalities now maintain Hwy 27 in this area. See an
Enlarged Photo Here. (Photograph taken on July 14, 2010 - © Cameron Bevers) Right - Facing south along Hwy 27 towards the Hwy 9 Junction in Schomberg. See an Enlarged Photo Here. (Photograph taken on July 4, 2015 - © Cameron Bevers) 

Left - Junction assembly on southbound Hwy 27 at the Hwy 9 Junction in Schomberg. After the transfer of Hwy 27 to York Region in 1998, the Hwy 27 crown which
once sat on the top of this junction assembly was removed. For some strange reason, the corresponding arrow tab was not. See an
Enlarged Photo Here. (Photograph taken on July 4, 2015 - © Cameron Bevers) Right - Facing north along Hwy 27 from the Hwy 9 Junction in Schomberg. This section of Hwy 27 was part of the Schomberg Diversion, which was completed in the late 1960s. The new highway bypassed about 3 km of the original route of Hwy 27. See an Enlarged Photo Here. (Photograph taken on July 4, 2015 - © Cameron Bevers) 

Left - Distance guide sign on northbound Hwy 27 at the Hwy 9 Junction in Schomberg. See an
Enlarged Photo Here. (Photograph taken on July 4, 2015 - © Cameron Bevers) Right - Holland River Bridge on Hwy 27 in Schomberg facing north. See an Enlarged Photo Here. (Photograph taken on July 4, 2015 - © Cameron Bevers) 

Left - Eastern side of the Holland River Bridge on Hwy 27. This three-span concrete girder structure was completed in 1967. See an
Enlarged Photo Here. (Photograph taken on July 4, 2015 - © Cameron Bevers) Right - Facing south towards Schomberg at the Holland River Bridge on Hwy 27. See an Enlarged Photo Here. (Photograph taken on July 4, 2015 - © Cameron Bevers) 

Left - Western side of the Holland River Bridge on Hwy 27. See an
Enlarged Photo Here. (Photograph taken on July 4, 2015 - © Cameron Bevers) Right - Destination guide sign on southbound Hwy 27 approaching the Hwy 9 Junction in Schomberg. See an Enlarged Photo Here. (Photograph taken on July 4, 2015 - © Cameron Bevers) 

Left - Motorcyclists out for a weekend cruise on the Schomberg Diversion (Hwy 27). The route of Hwy 27 parallels Hwy 400 between Toronto and Barrie, and forms
a scenic alternate route for those seeking more leisurely travel. See an
Enlarged Photo Here. (Photograph taken on July 4, 2015 - © Cameron Bevers) Right - Facing north along Hwy 27 about 2 km north of Schomberg. The Schomberg Diversion was built with long sweeping curves. The new highway bypassed a sharp curve on the old route of Hwy 27 which posed a hazard for unsuspecting motorists. See an Enlarged Photo Here. (Photograph taken on July 4, 2015 - © Cameron Bevers) 

Left - Facing south around one of the long sweeping curves on the Schomberg Diversion (Hwy 27). See an
Enlarged Photo Here. (Photograph taken on July 4, 2015 - © Cameron Bevers) Right - Facing north along Hwy 27 about 3 km north of Schomberg. The Schomberg Diversion ties back into the original alignment of Hwy 27 south of Bond Head. See an Enlarged Photo Here. (Photograph taken on July 4, 2015 - © Cameron Bevers) 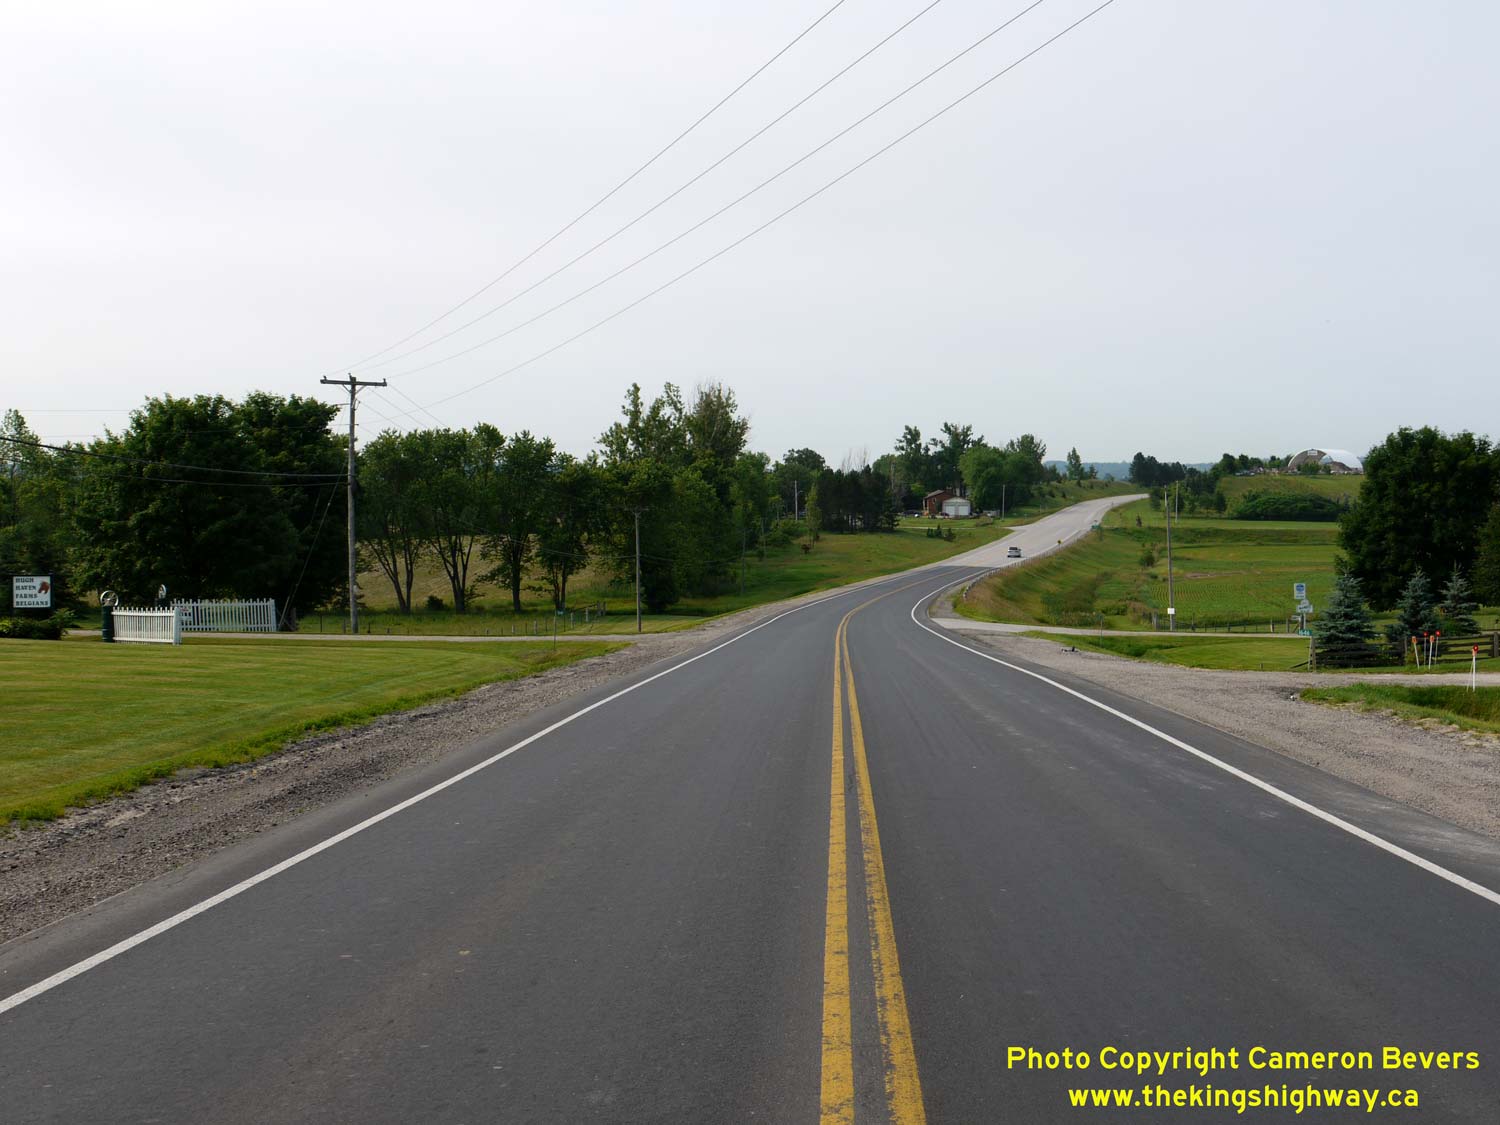

Left - Start of the Schomberg Diversion south of Bond Head, facing south. Up until 1967, Hwy 27 continued straight ahead and followed the hydro pole line.
Considerable effort was made to disguise the former highway alignment so that motorists didn't inadvertently drive off the road. Not only was the old road graded out,
but the stand of trees in the background was planted to further conceal the old route of Hwy 27. See an
Enlarged Photo Here. (Photograph taken on July 4, 2015 - © Cameron Bevers) Right - Holland River Bridge on a former alignment of Hwy 27 (Leonard Road) near Schomberg. See an Enlarged Photo Here. (Photograph taken on February 20, 2005 - © Cameron Bevers) 

Left - Facing south towards the Holland River Bridge along Old Hwy 27 (Leonard Road). See an
Enlarged Photo Here. (Photograph taken on February 20, 2005 - © Cameron Bevers) Right - The Holland River Bridge is a single-span concrete rigid frame bridge which was completed in 1934. See an Enlarged Photo Here. (Photograph taken on February 20, 2005 - © Cameron Bevers) 

Left - Facing north towards the Holland River Bridge along Old Hwy 27. See an
Enlarged Photo Here. (Photograph taken on February 20, 2005 - © Cameron Bevers) Right - Close-up view of the embossed concrete handrail on the Holland River Bridge. This design was commonly used on King's Highway bridges built in the mid-1930s. See an Enlarged Photo Here. (Photograph taken on February 20, 2005 - © Cameron Bevers) 

Left - Facing north along Hwy 27 about 5 km south of Bond Head. See an
Enlarged Photo Here. (Photograph taken on July 4, 2015 - © Cameron Bevers) Right - Facing east along Hwy 88 towards Bradford from the Hwy 27 Junction in Bond Head. (Photograph taken on August 2, 2007 - © Cameron Bevers) 
Above - Sign assembly at the Hwy 88 & Hwy 27 Junction in Bond Head. (Photograph taken on August 2, 2007 - © Cameron Bevers) 

Left - Western terminus of Hwy 88 at the Hwy 27 Junction in Bond Head. (Photograph taken on August 2, 2007 - © Cameron Bevers) Right - Innisfil Creek Bridge on Hwy 27 south of Cookstown. Structure completed in 1934. See an Enlarged Photo Here. (Photograph taken on June 4, 2004 - © Cameron Bevers) 

Left - Facing south along Hwy 27 towards the Innisfil Creek Bridge. See an
Enlarged Photo Here. (Photograph taken on June 4, 2004 - © Cameron Bevers) Right - Facing north along Hwy 27 towards the Innisfil Creek Bridge. See an Enlarged Photo Here. (Photograph taken on June 4, 2004 - © Cameron Bevers) 
Above - Western side of the Innisfil Creek Bridge on Hwy 27 south of Cookstown. While the majority of Ontario highway bridges from the 1930s and 1940s are
graced with creative and appealing design elements, the Innisfil Creek Bridge is exactly the opposite. It is in fact one of the ugliest bridges ever built by the
Department of Highways. While the Innisfil Creek Bridge is a historical bridge in terms of its age, the structure offers highway enthusiasts very little in terms of
design aesthetics. This bridge was replaced shortly after this photo was taken. See an
Enlarged Photo Here. (Photograph taken on June 4, 2004 - © Cameron Bevers) 
Above - Junction crown sign for Hwy 90 at the Hwy 11 & Hwy 27 Junction at Bradford Street and Dunlop Street in Downtown Barrie. See an
Enlarged Photo Here. (Photograph taken on June 30, 2007 - © Cameron Bevers) 
Above - Facing north along Bradford Street (Hwy 11 & Hwy 27) approaching the Hwy 90 Junction at Dunlop Street in Downtown Barrie. At this intersection,
Hwy 90 turns left and proceeds west towards Angus via Dunlop Street, while Hwy 11 & Hwy 27 turn right and follow Dunlop Street. See an
Enlarged Photo Here. (Photograph taken on June 30, 2007 - © Cameron Bevers)
Continue on to King's Highway 27 Photos: Barrie to Waverley
|
|---|
Links to Adjacent King's Highway Photograph Pages:
Back to King's Highway 26 Photos /
King's Highway 27 History /
On to King's Highway 28 Photos
Ontario Highway History - Main Menu / Back to List of Highways Website contents, photos & text © 2002-2026, Cameron
Bevers (Webmaster) - All Rights Reserved / Contact Me
|
|---|