
| 
| |
|
|
This page contains historical and present day photos of Ontario's King's Highway 45. All photographs displayed on this page
were taken by the Webmaster (Cameron Bevers), unless specifically noted otherwise. Historical photographs are arranged in approximate chronological order, while
present day photographs (Year 2000 to date) are arranged by location from south to north. Click on any thumbnail to see a larger image!
Please note that all photographs displayed on this
website are protected by copyright. These photographs must not be reproduced, published,
electronically stored or copied, distributed, or posted onto other websites without
my written permission. If you want to use photos from this website, please
email me first for permission. Thank-you!
|
|---|
|
Historical King's Highway 45 Photographs

Above - New grade on Hwy 45, 2 miles north of Baltimore. Photo taken on September 7, 1948. (Photo courtesy of Ontario Ministry of Transportation - © King's Printer for Ontario, 1948) 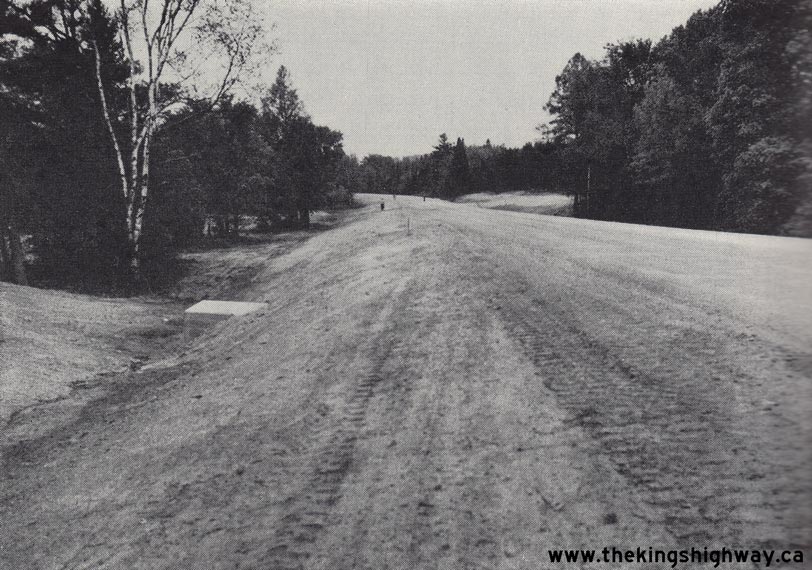
Above - Construction of a new grade on Hwy 45, 2 miles south of Fenella. Photo taken on June 13, 1950. (Photo courtesy of Ontario Ministry of Transportation - © King's Printer for Ontario, 1950) |
|---|
|
Present Day King's Highway 45 Photographs


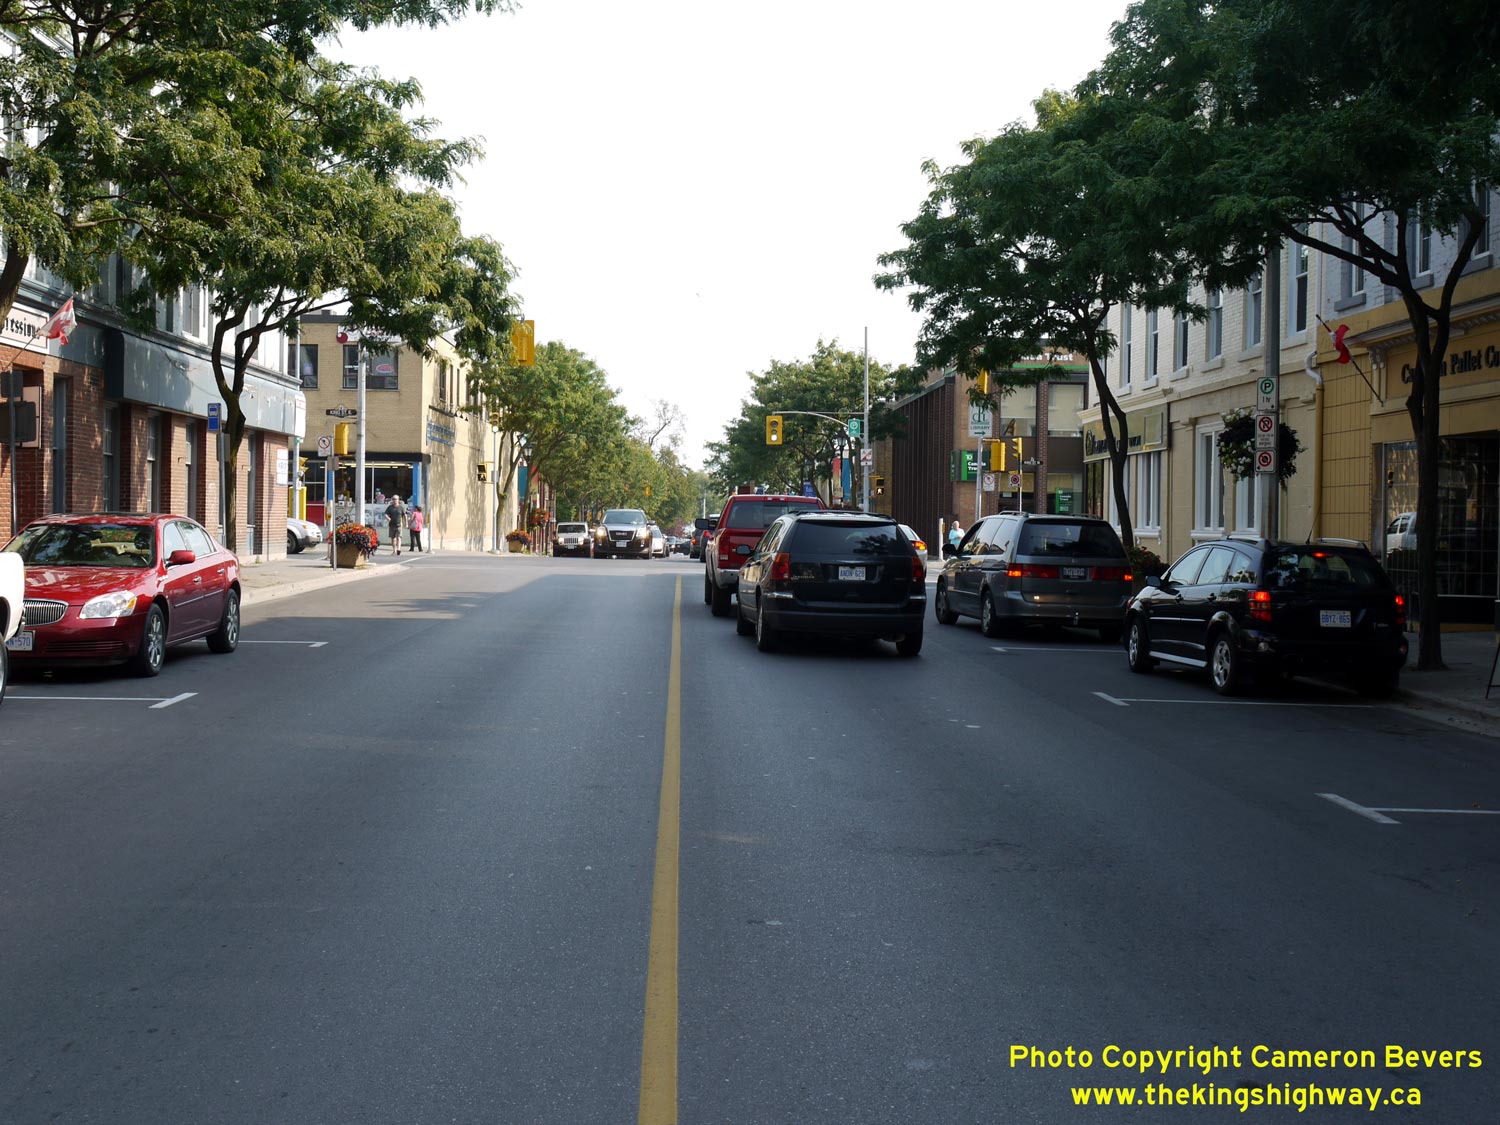
Left - Facing east along King Street (Hwy 2) towards Division Street (Hwy 45) in Downtown Cobourg. See an
Enlarged Photo here. (Photograph taken on August 31, 2012 - © Cameron Bevers) Right - Division Street (Hwy 45), facing north from King Street (Hwy 2). Hwy 45 was one of several new highways in Eastern Ontario assumed by the Department of Highways of Ontario (DHO) during the 1930s to connect Hwy 2 with the new Peterborough-Perth Highway (Hwy 7), which was completed in 1932. The entire route of Hwy 45 was transferred to Northumberland and Peterborough Counties during the mass Ontario Highway downloading spree of 1997-1998. See an Enlarged Photo here. (Photograph taken on August 31, 2012 - © Cameron Bevers) 

Left - Approaching the southern terminus of Hwy 45 at the Hwy 2 Junction in Downtown Cobourg, at the intersection of Division Street and King Street. See an
Enlarged Photo here. (Photograph taken on August 31, 2012 - © Cameron Bevers) Right - Facing west along Hwy 2 (King Street) from Hwy 45 (Division Street) in Downtown Cobourg. Like nearby Port Hope, Downtown Cobourg has a vibrant "main street" feel to it that is sadly lacking in many other Ontario towns and cities. See an Enlarged Photo here. (Photograph taken on August 31, 2012 - © Cameron Bevers) 

Left - Facing east along King Street (Hwy 2) from Division Street (Hwy 45) in Downtown Cobourg. See an
Enlarged Photo here. (Photograph taken on August 31, 2012 - © Cameron Bevers) Right - Junction of Hwy 2 & Hwy 45 in Downtown Cobourg, facing west. The cupola of Cobourg's truly grand Victoria Hall (completed in 1860) crowns the downtown skyline. This historic building now houses the Cobourg Municipal Offices, the Art Gallery of Northumberland and a concert hall. The building is a major focal point in Downtown Cobourg. See an Enlarged Photo here. (Photograph taken on August 31, 2012 - © Cameron Bevers) 

Left - Distance guide sign on Hwy 45 north of the Hwy 401 Interchange in Cobourg. (Photograph taken on May 29, 2010 - © Cameron Bevers) Right - An older advance guide sign marking the upcoming Hwy 45 Interchange on Eastbound Hwy 401 in Cobourg. See an Enlarged Photo Here. (Photograph taken on May 29, 2010 - © Cameron Bevers) 

Left - Approaching the Hwy 45 Interchange on Hwy 401 in Cobourg. (Photograph taken on May 29, 2010 - © Cameron Bevers) Right - Turn-off exit sign for the Hwy 45 Interchange on Hwy 401 in Cobourg. When Hwy 45 was transferred to Northumberland County in 1998, the King's Highway 45 crown marker on this sign was covered up with a municipal "flowerpot" marker. (Photograph taken on May 29, 2010 - © Cameron Bevers) 

Left - Western side of the Hwy 45 Overpass on Hwy 401 in Cobourg. Structure completed in 1960. (Photograph taken on May 29, 2010 - © Cameron Bevers) Right - Facing south along Hwy 45 towards Downtown Cobourg from the Hwy 401 Interchange. (Photograph taken on May 29, 2010 - © Cameron Bevers) 

Left - Facing west along Hwy 401 towards Toronto from the Hwy 45 Overpass in Cobourg. See an
Enlarged Photo Here. (Photograph taken on May 29, 2010 - © Cameron Bevers) Right - The ramps at the Hwy 45 Interchange are in a "Parclo B-2" configuration. A Parclo B-2 is a four-ramp freeway interchange, with ramps in two diagonally-opposing quadrants. This interchange type is characterized by traffic exiting from the freeway on a loop ramp on the far side of the grade separation. (Photograph taken on May 29, 2010 - © Cameron Bevers) 

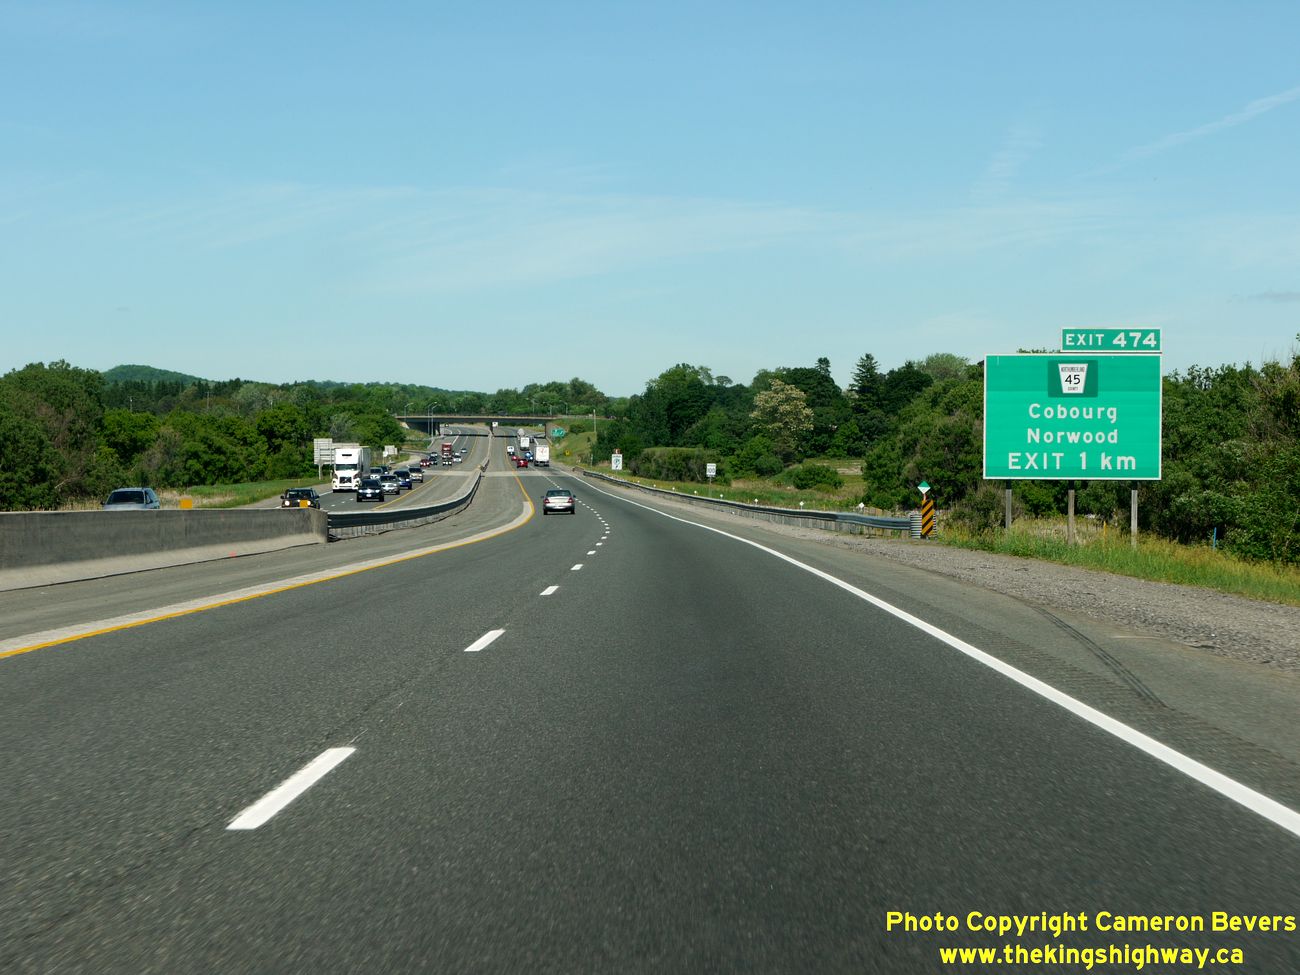
Left - Green guide sign for Hwy 401 East at the Hwy 45 Interchange in Cobourg. (Photograph taken on May 29, 2010 - © Cameron Bevers) Right - Approaching the Hwy 45 Overpass at Hwy 401, facing north towards Norwood. (Photograph taken on May 29, 2010 - © Cameron Bevers) 

Left - Facing north across the Hwy 45 Overpass on Hwy 401 in Cobourg. (Photograph taken on May 29, 2010 - © Cameron Bevers) Right - Hwy 401 passes through the Hwy 45 Interchange at a considerable skew. (Photograph taken on May 29, 2010 - © Cameron Bevers) 

Left - Facing east along Hwy 401 towards Trenton from the Hwy 45 Overpass in Cobourg. (Photograph taken on May 29, 2010 - © Cameron Bevers) Right - View of the uncommon "B-2 Parclo" interchange ramp configuration at Hwy 45 and Hwy 401. See an Enlarged Photo Here. (Photograph taken on May 29, 2010 - © Cameron Bevers) 

Left - Facing south across the Hwy 45 Overpass on Hwy 401 in Cobourg. (Photograph taken on May 29, 2010 - © Cameron Bevers) Right - Facing north along Hwy 45 from the Hwy 401 Overpass. Although it only has 4 ramps, the Hwy 45 Interchange has a surprisingly large footprint due to the skewed crossing of Hwy 401. See an Enlarged Photo Here. (Photograph taken on May 29, 2010 - © Cameron Bevers) 

Left - Emergency Detour Route (EDR) sign for Hwy 401 at the Hwy 45 Interchange. These signs are now in place in many municipalities across Ontario, to more
effectively guide traffic that has been diverted off the freeway during an emergency road closure. The EDR routes are designed to guide traffic back to the freeway at
a downstream exit, bypassing the closure point. (Photograph taken on May 29, 2010 - © Cameron Bevers) Right - An emergency ramp closure gate at the Hwy 45 Interchange in Cobourg. Ramp closure gates such as this one are becoming more common on Ontario's freeways. (Photograph taken on May 29, 2010 - © Cameron Bevers) 
Above - An oversized crown sign marking the entrance to Hwy 401 West. (Photograph taken on May 29, 2010 - © Cameron Bevers) 

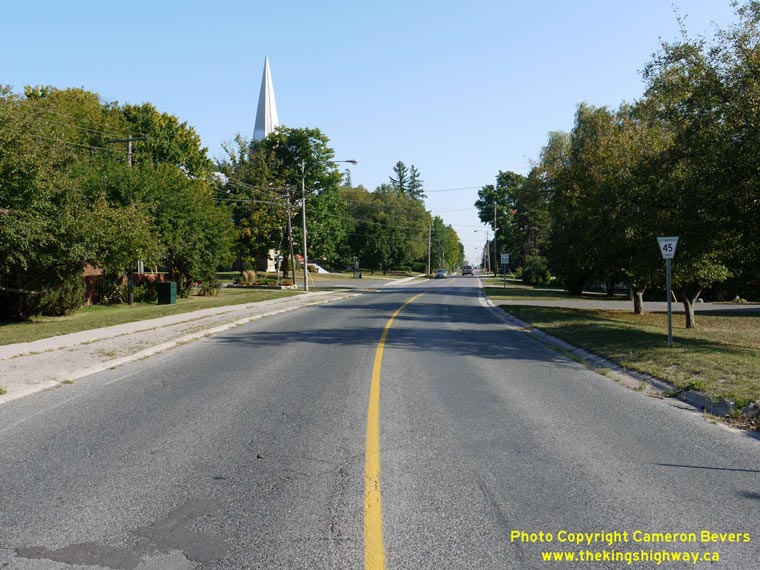
Left - Facing north along Hwy 45 towards Norwood from the Hwy 401 Interchange in Cobourg. (Photograph taken on May 29, 2010 - © Cameron Bevers) Right - The acceleration lane from the Eastbound Hwy 401 loop off-ramp ends just north of the Hwy 45 Interchange. (Photograph taken on May 29, 2010 - © Cameron Bevers) 

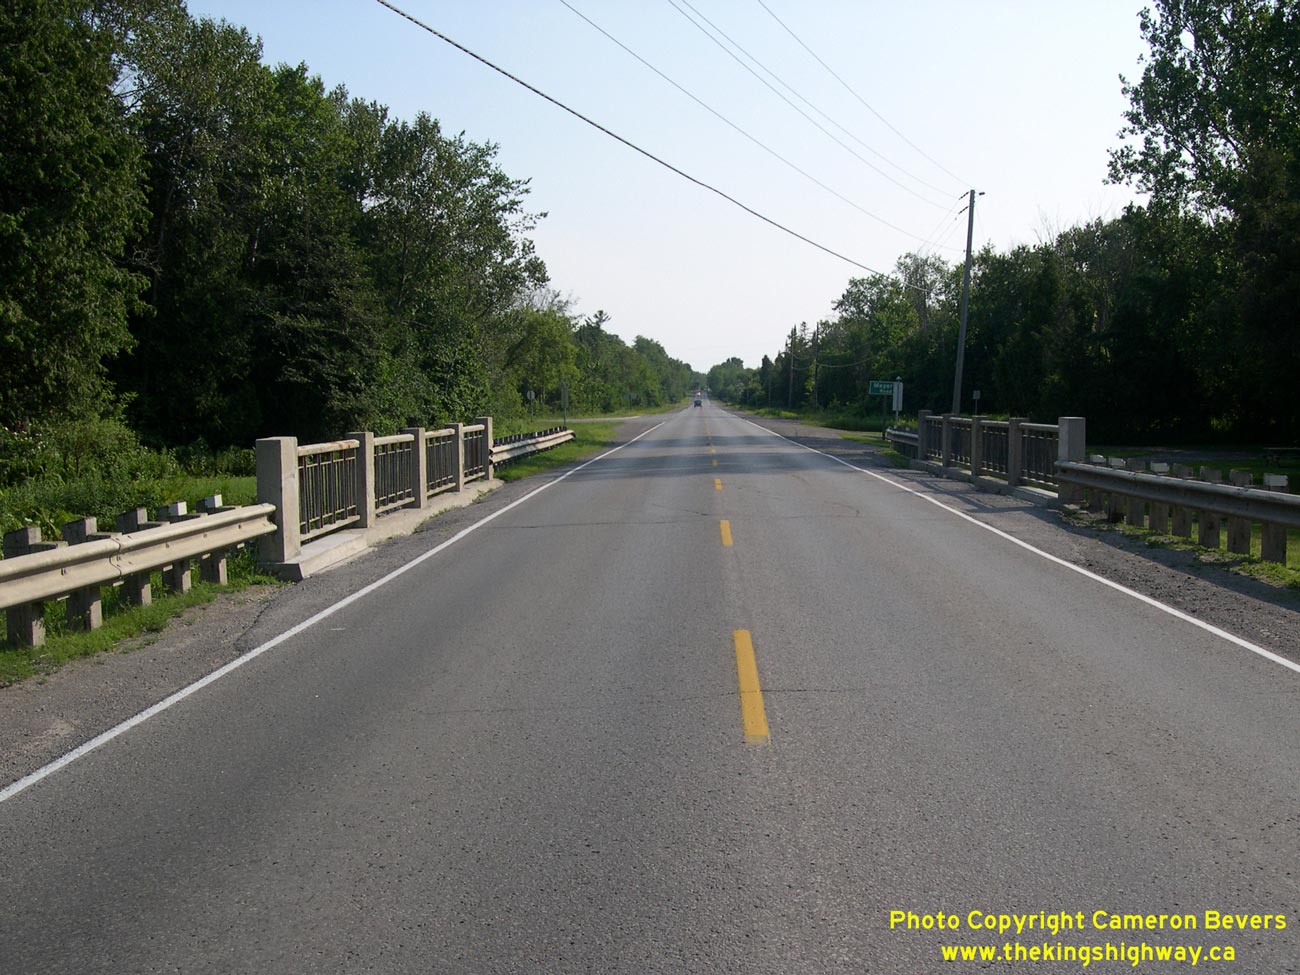
Left - Former alignment of Hwy 45 (McDougall Road) near Baltimore. See an
Enlarged Photo Here. (Photograph taken on July 9, 2006 - © Cameron Bevers) Right - Facing north along Hwy 45 towards Hastings at the Baltimore Creek Bridge. This new structure and highway diversion was completed in 1948, bypassing a narrow bridge on the original highway alignment. See an Enlarged Photo Here. (Photograph taken on July 9, 2006 - © Cameron Bevers) 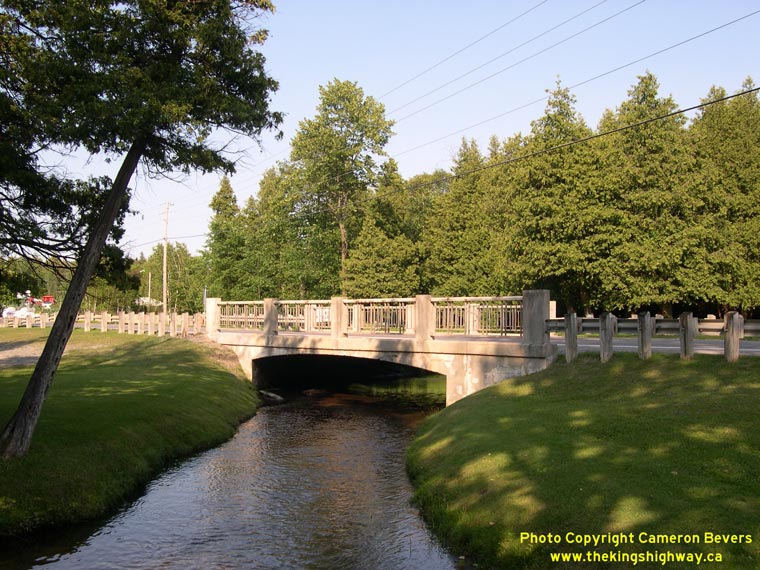
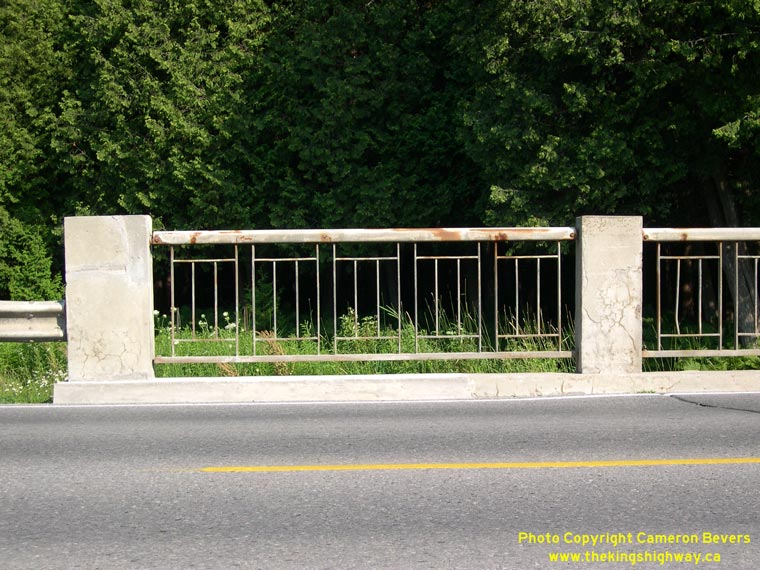
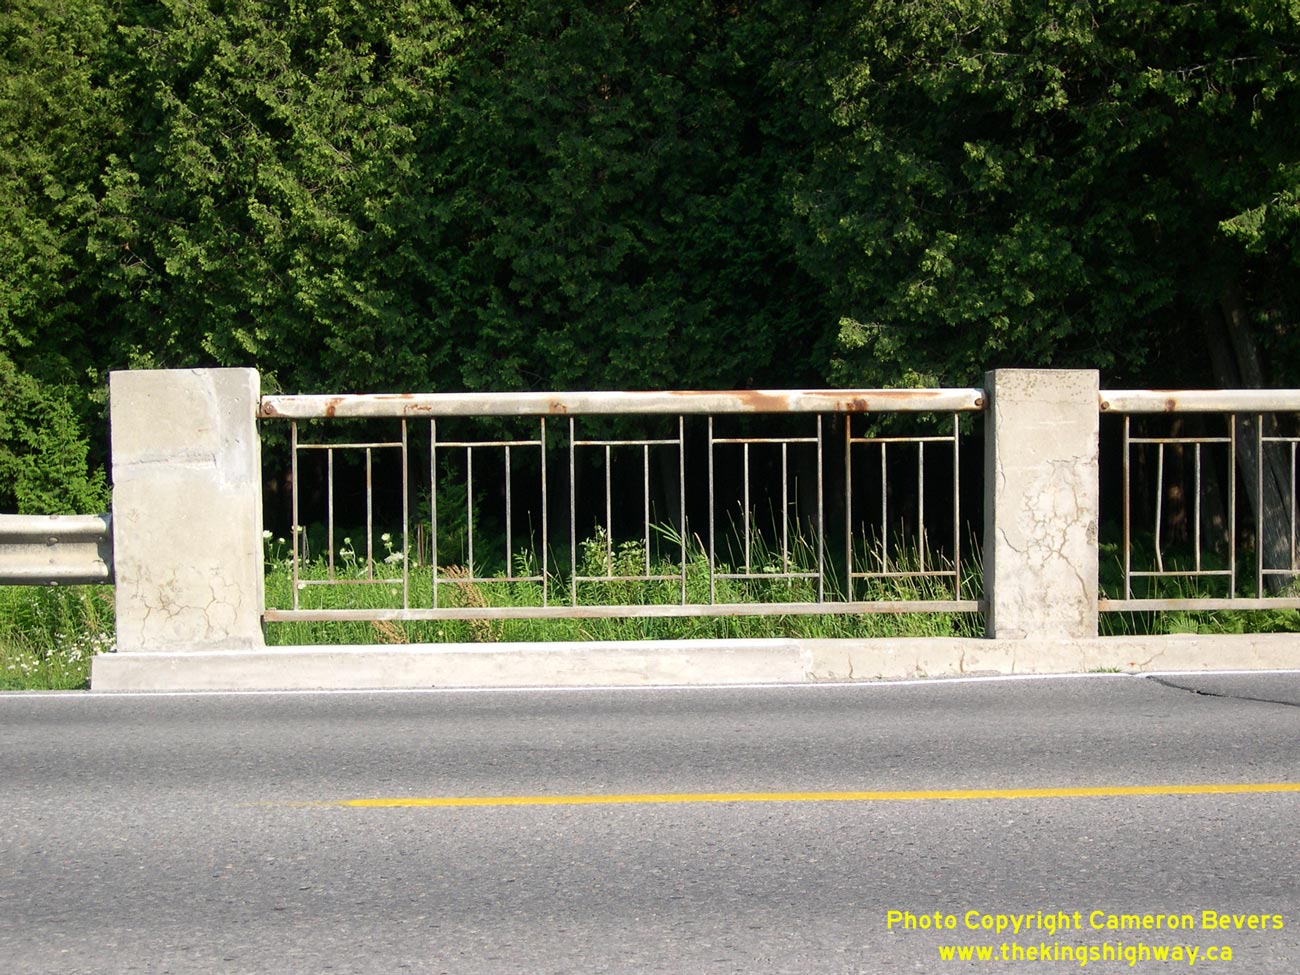
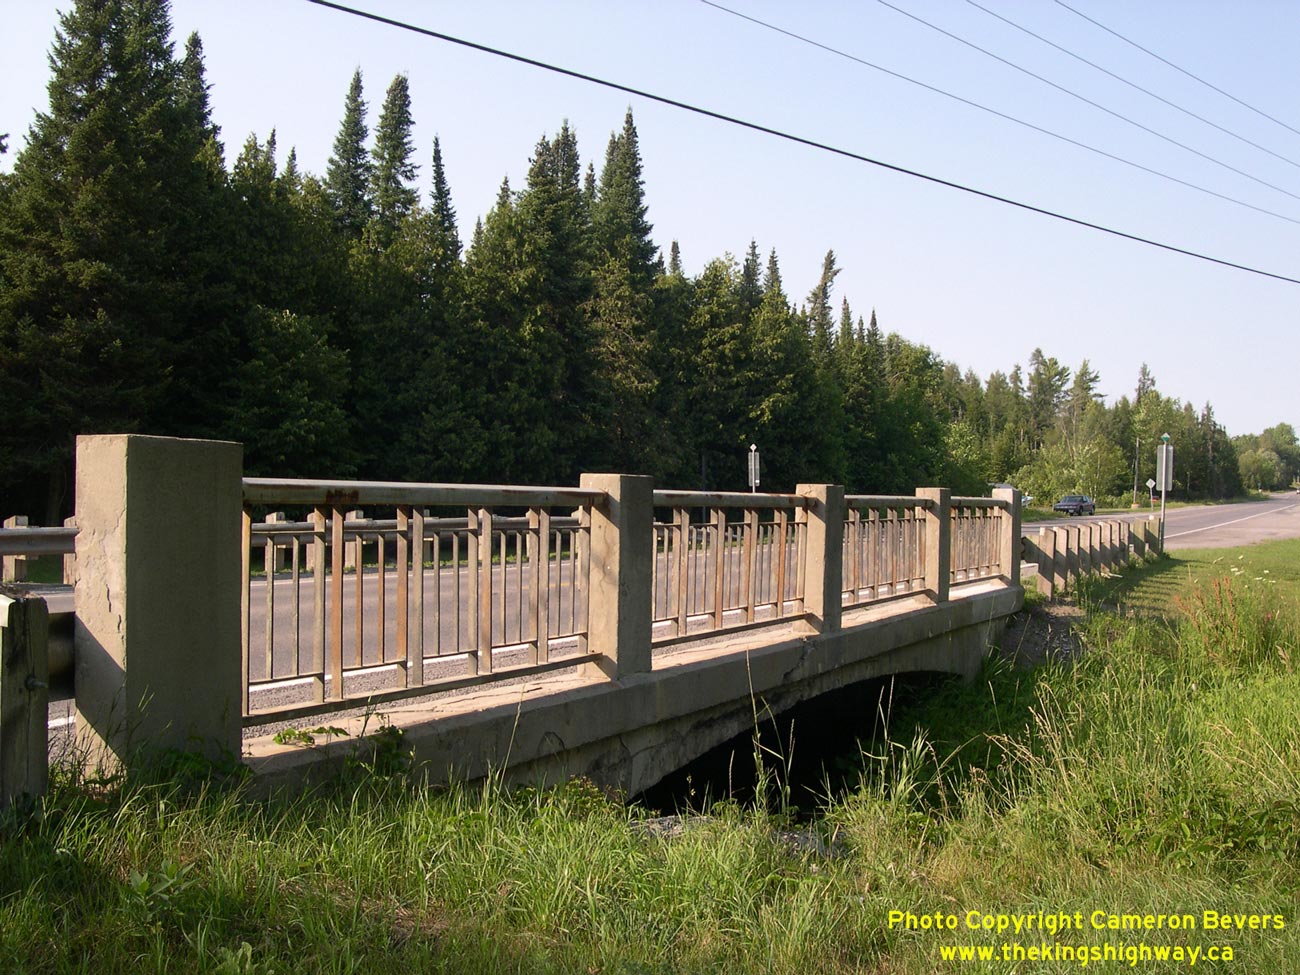
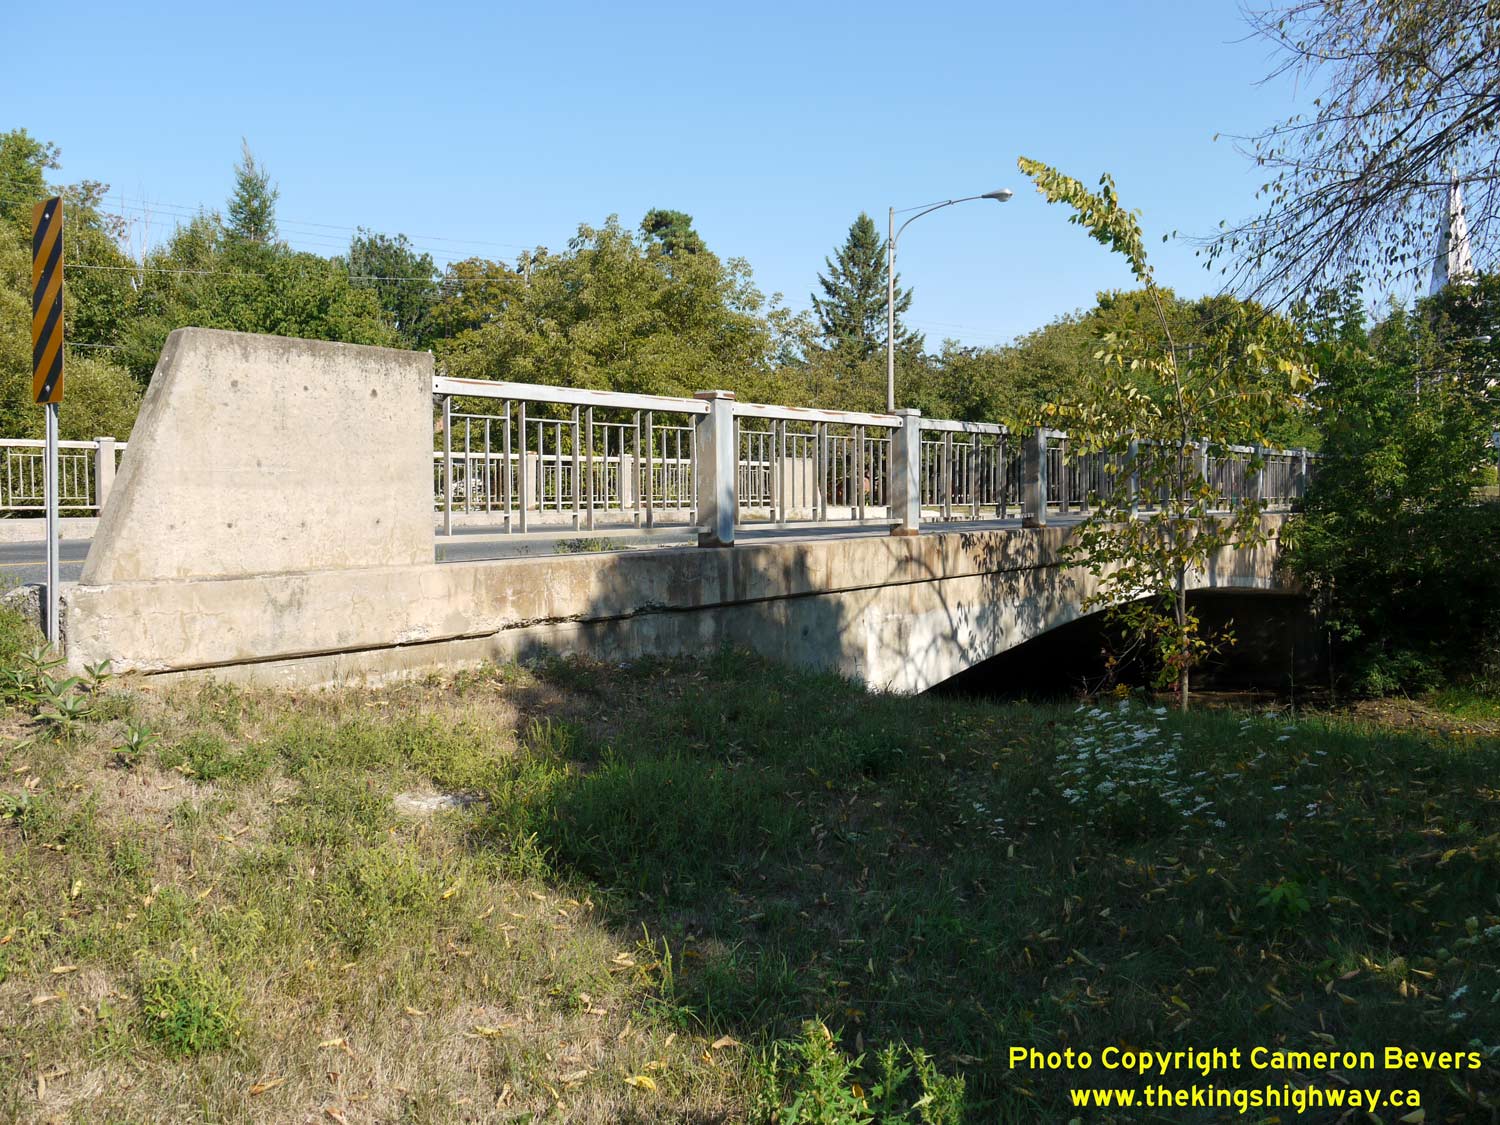
Left - Western side of the Baltimore Creek Bridge on Hwy 45 north of Cobourg. See an
Enlarged Photo Here. (Photograph taken on July 9, 2006 - © Cameron Bevers) Right - Concrete and steel handrail on the Baltimore Creek Bridge on Hwy 45. See an Enlarged Photo Here. (Photograph taken on July 9, 2006 - © Cameron Bevers) 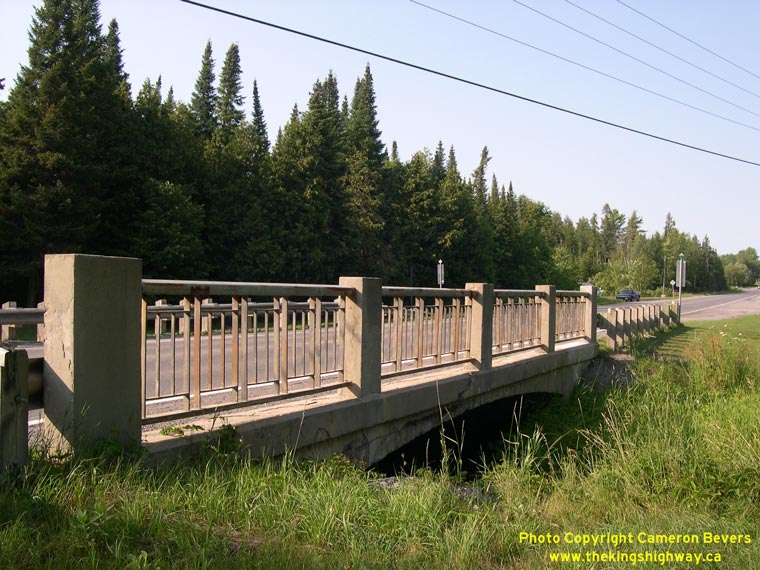
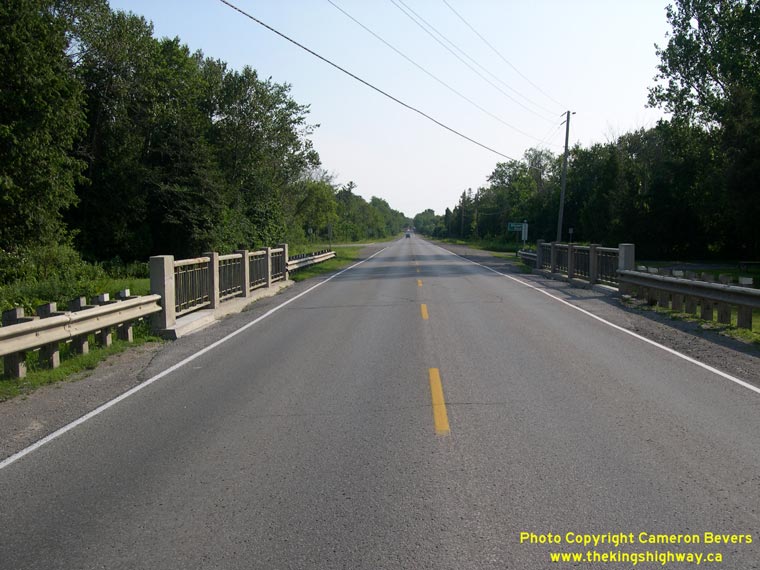
Left - Baltimore Creek Bridge on Hwy 45 north of Cobourg. This single span concrete rigid frame bridge was completed in 1948. See an
Enlarged Photo Here. (Photograph taken on July 9, 2006 - © Cameron Bevers) Right - Facing south along Hwy 45 towards Cobourg at the Baltimore Creek Bridge. See an Enlarged Photo Here. (Photograph taken on July 9, 2006 - © Cameron Bevers) 

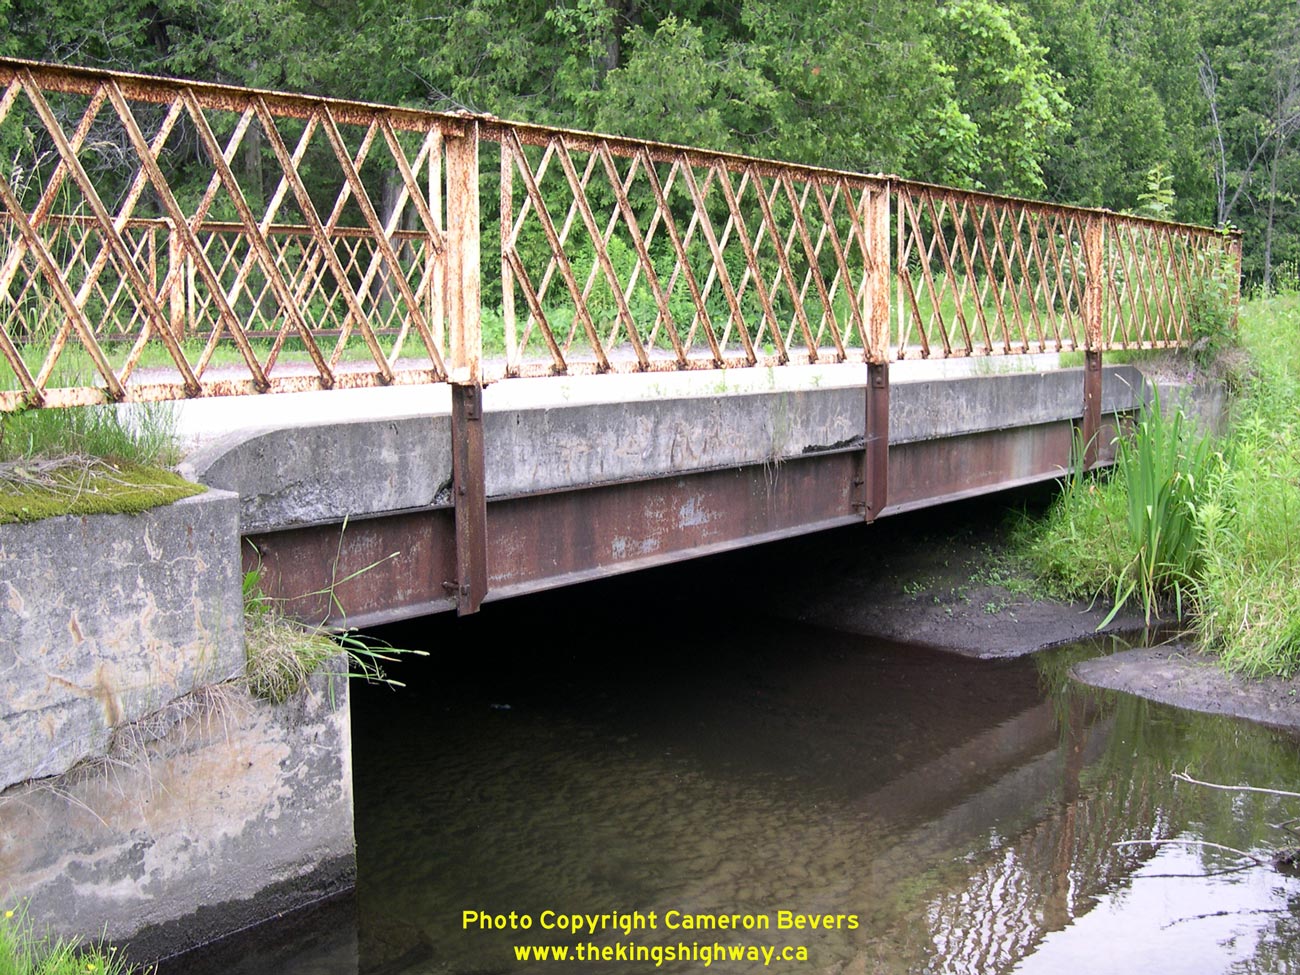
Left - Old steel bridge on a former Hwy 45 alignment north of Cobourg across Baltimore Creek. See an
Enlarged Photo Here. (Photograph taken on July 9, 2006 - © Cameron Bevers) Right - Facing north along the former Hwy 45 alignment at the Baltimore Creek Bridge. See an Enlarged Photo Here. (Photograph taken on July 9, 2006 - © Cameron Bevers) 
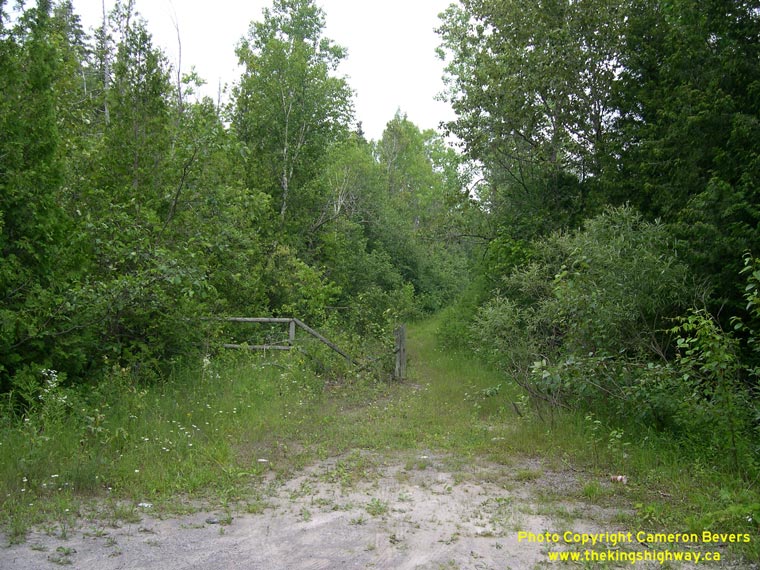
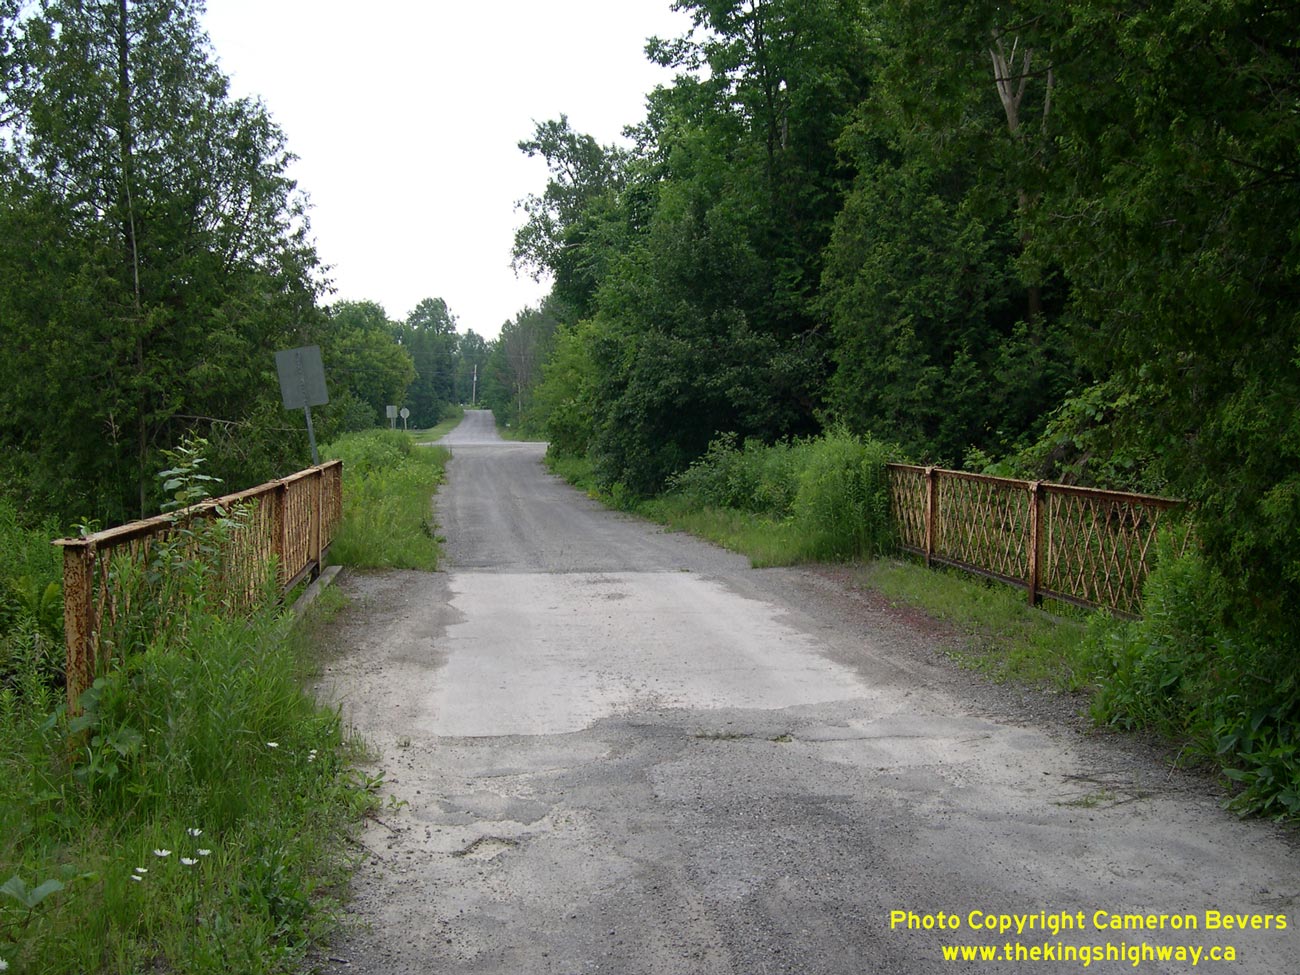
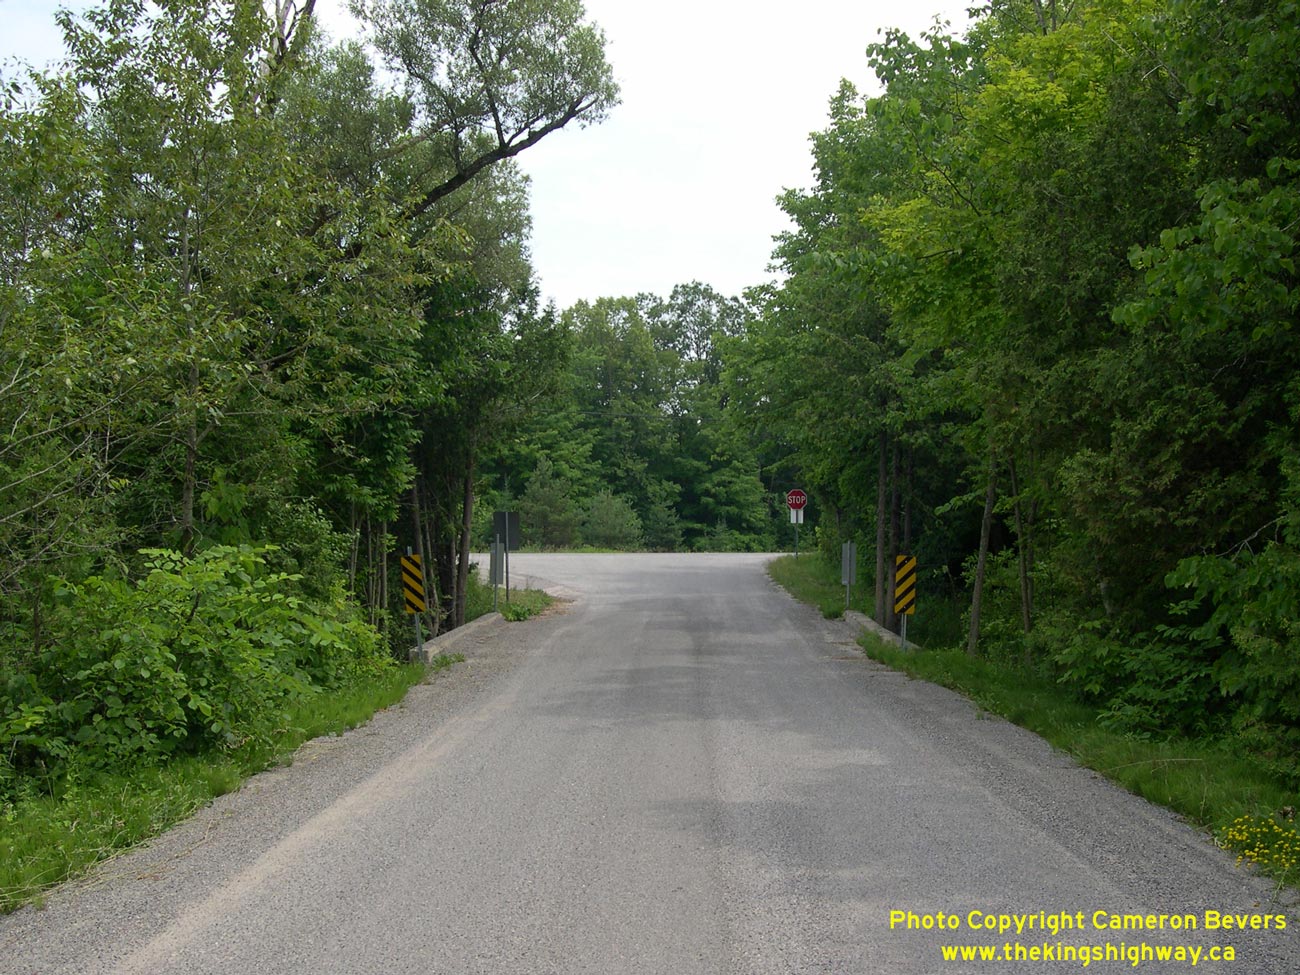
Left - Facing south along the former Hwy 45 alignment at the Baltimore Creek Bridge. See an
Enlarged Photo Here. (Photograph taken on July 9, 2006 - © Cameron Bevers) Right - This abandoned Hwy 45 alignment north of Cobourg is quickly being reclaimed by the forest. This section of the highway was realigned in 1948, when a new structure was constructed across Baltimore Creek. See an Enlarged Photo Here. (Photograph taken on July 9, 2006 - © Cameron Bevers) 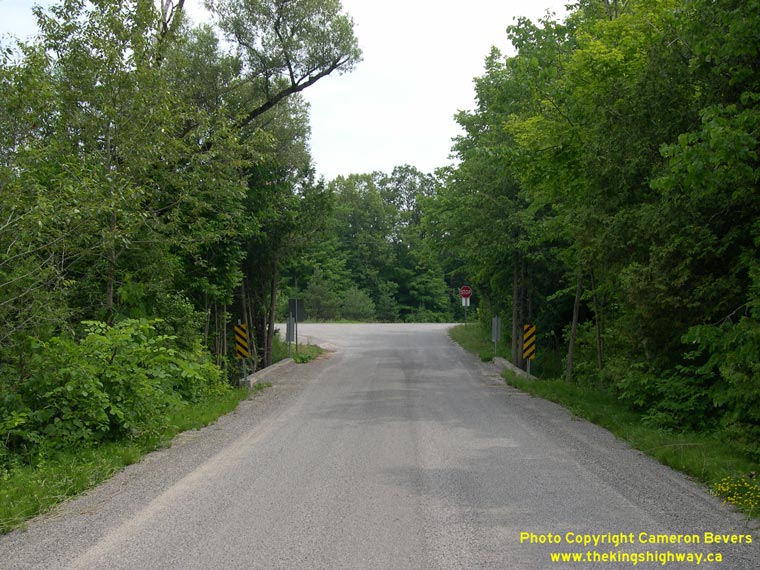
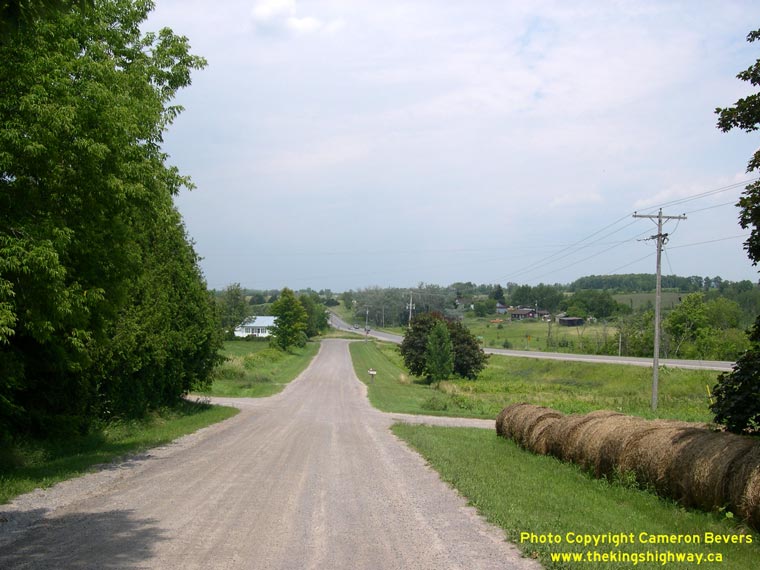
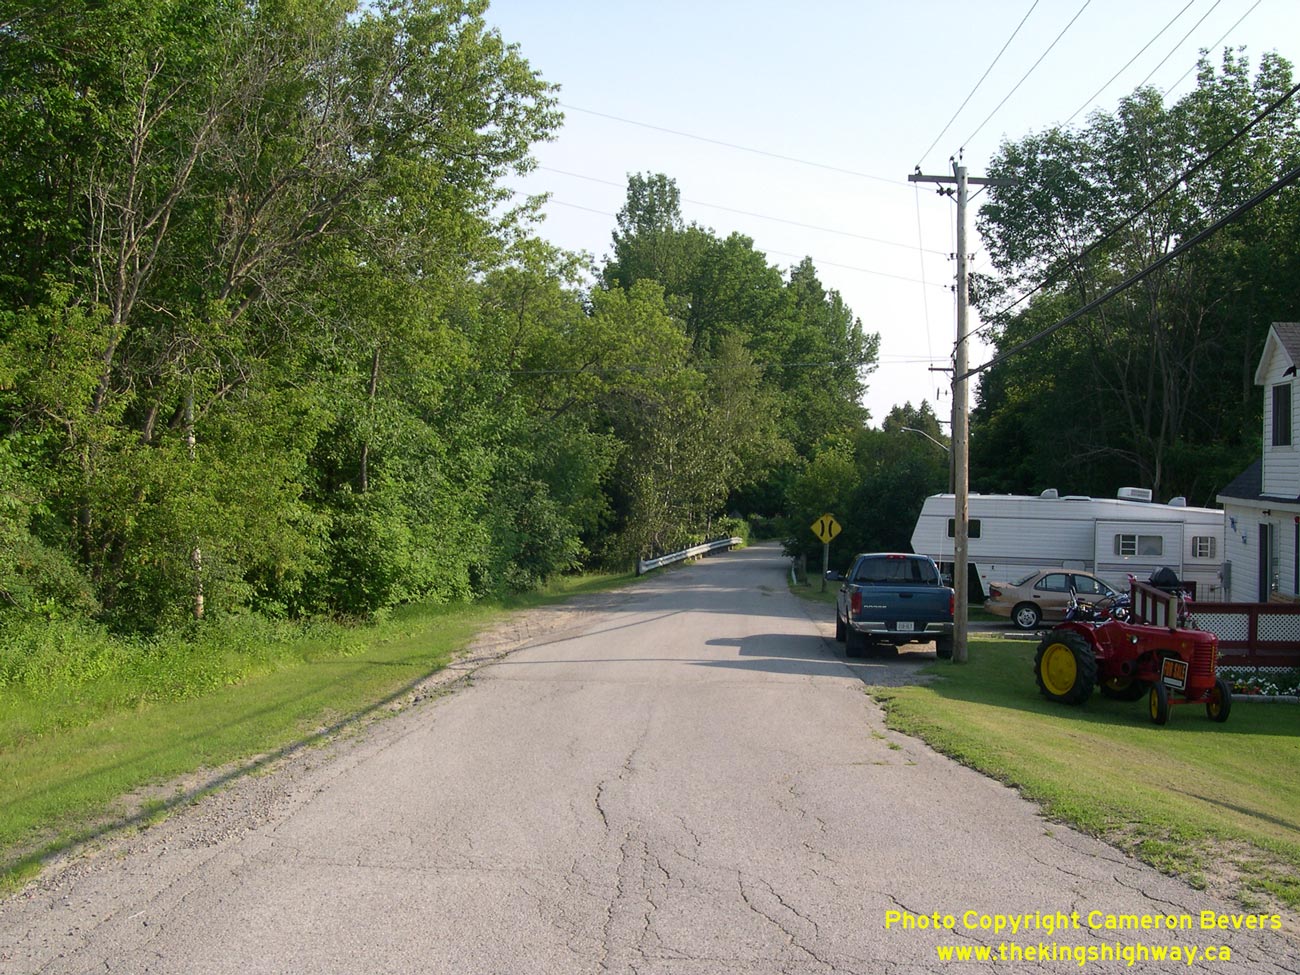
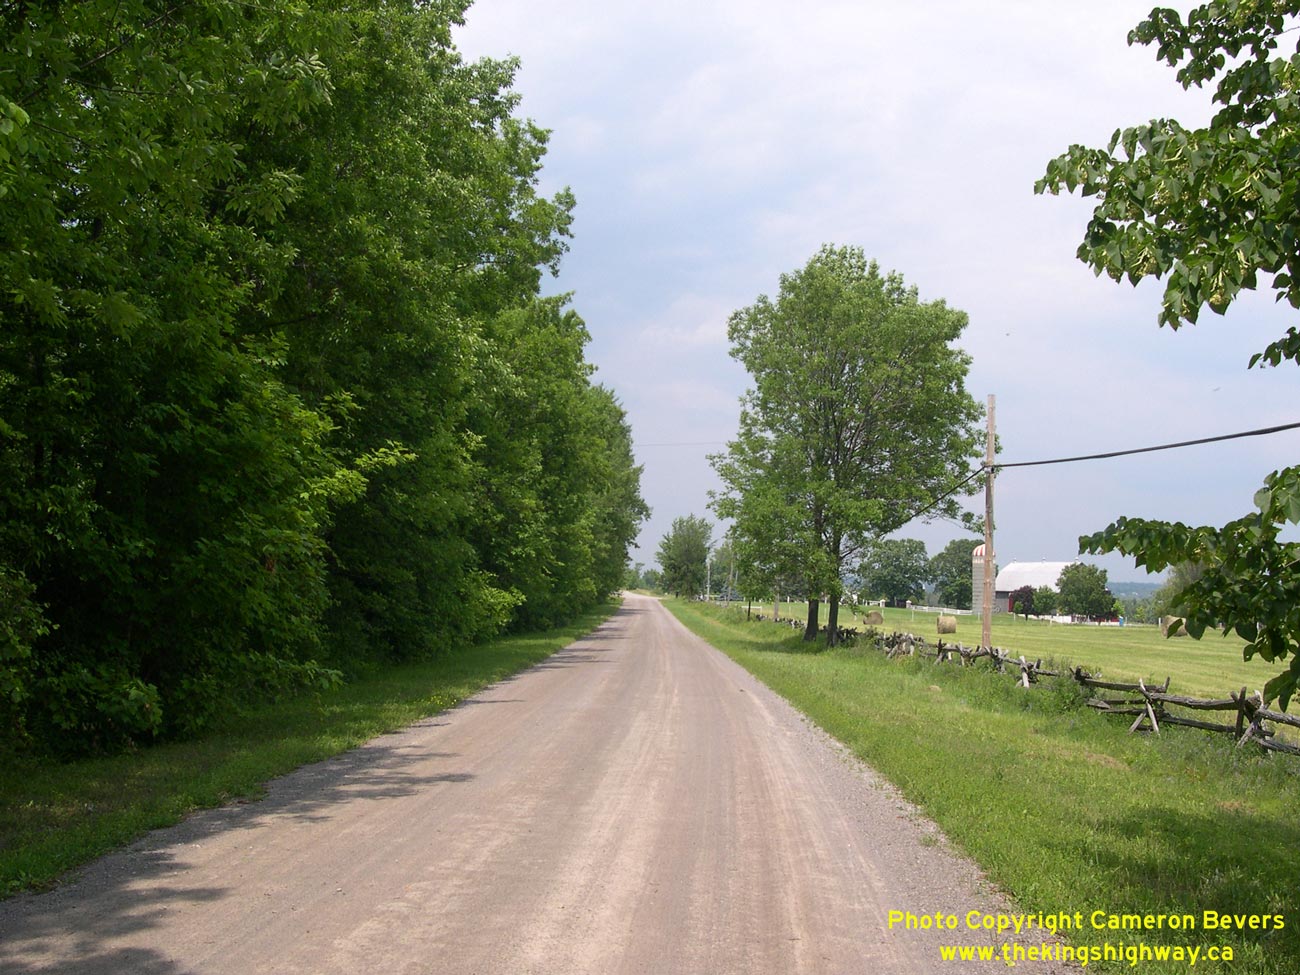
Left - Another former Hwy 45 alignment south of Fenella. See an
Enlarged Photo Here. (Photograph taken on July 9, 2006 - © Cameron Bevers) Right - Most of the original Hwy 45 alignment was bypassed in the late 1940s and early 1950s in order to reduce the steep grades across the Great Pine Ridge. A newer highway diversion can be seen here forking right, while the original highway intersects at left. See an Enlarged Photo Here. (Photograph taken on July 9, 2006 - © Cameron Bevers) 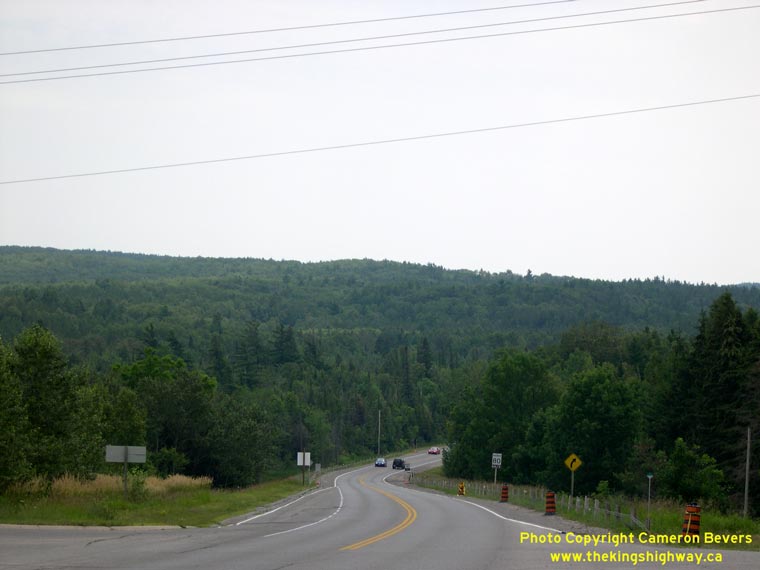
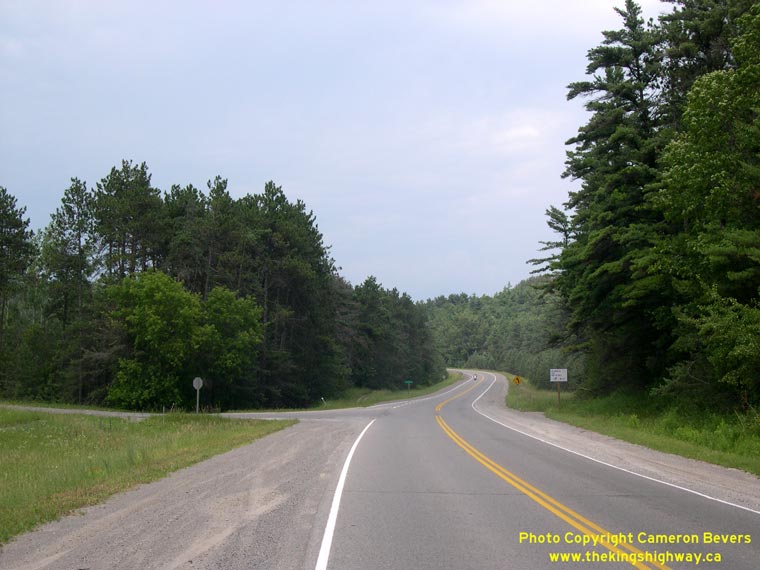
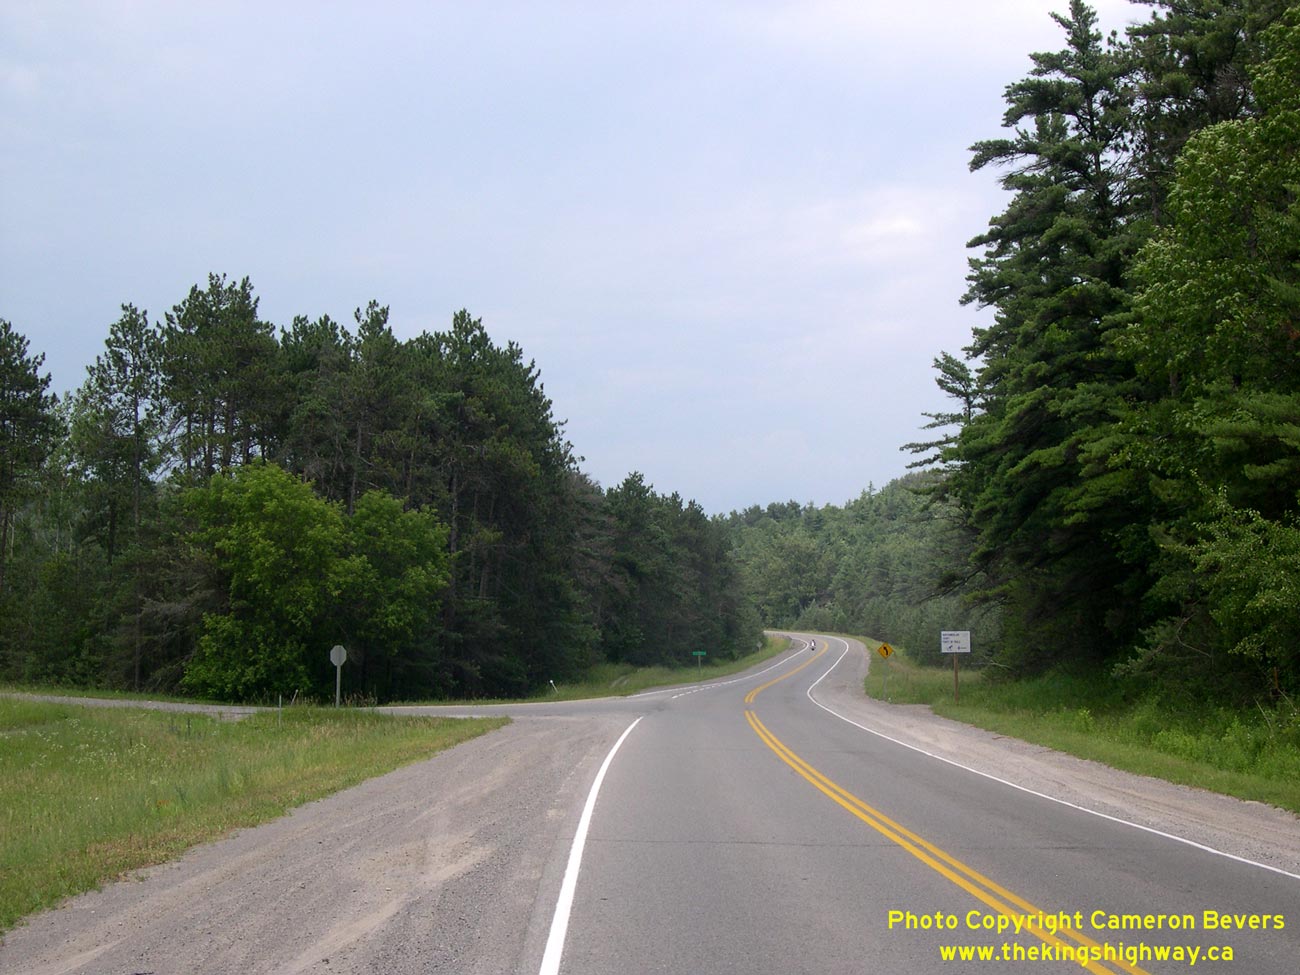
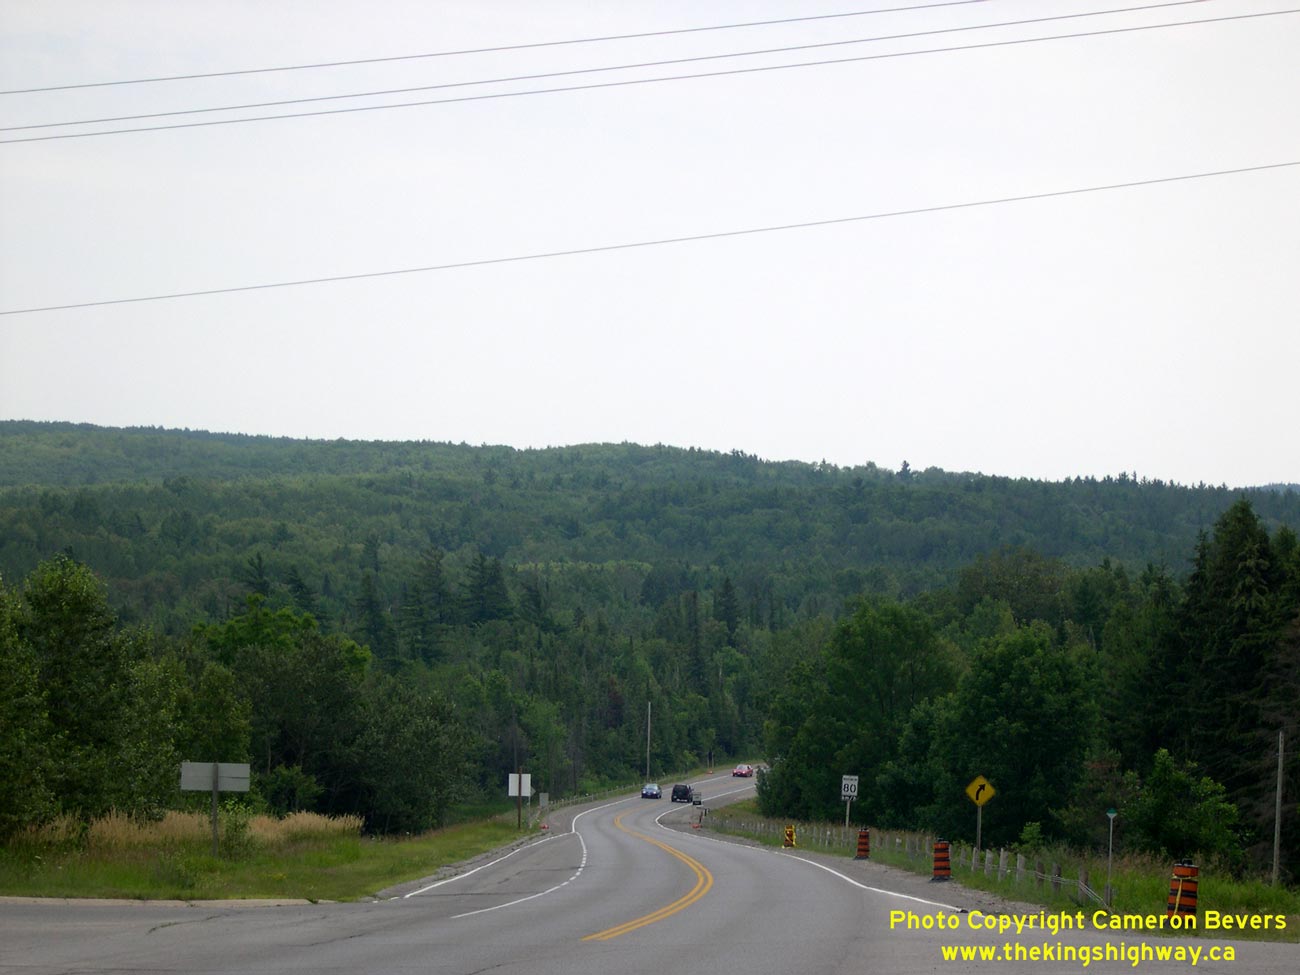
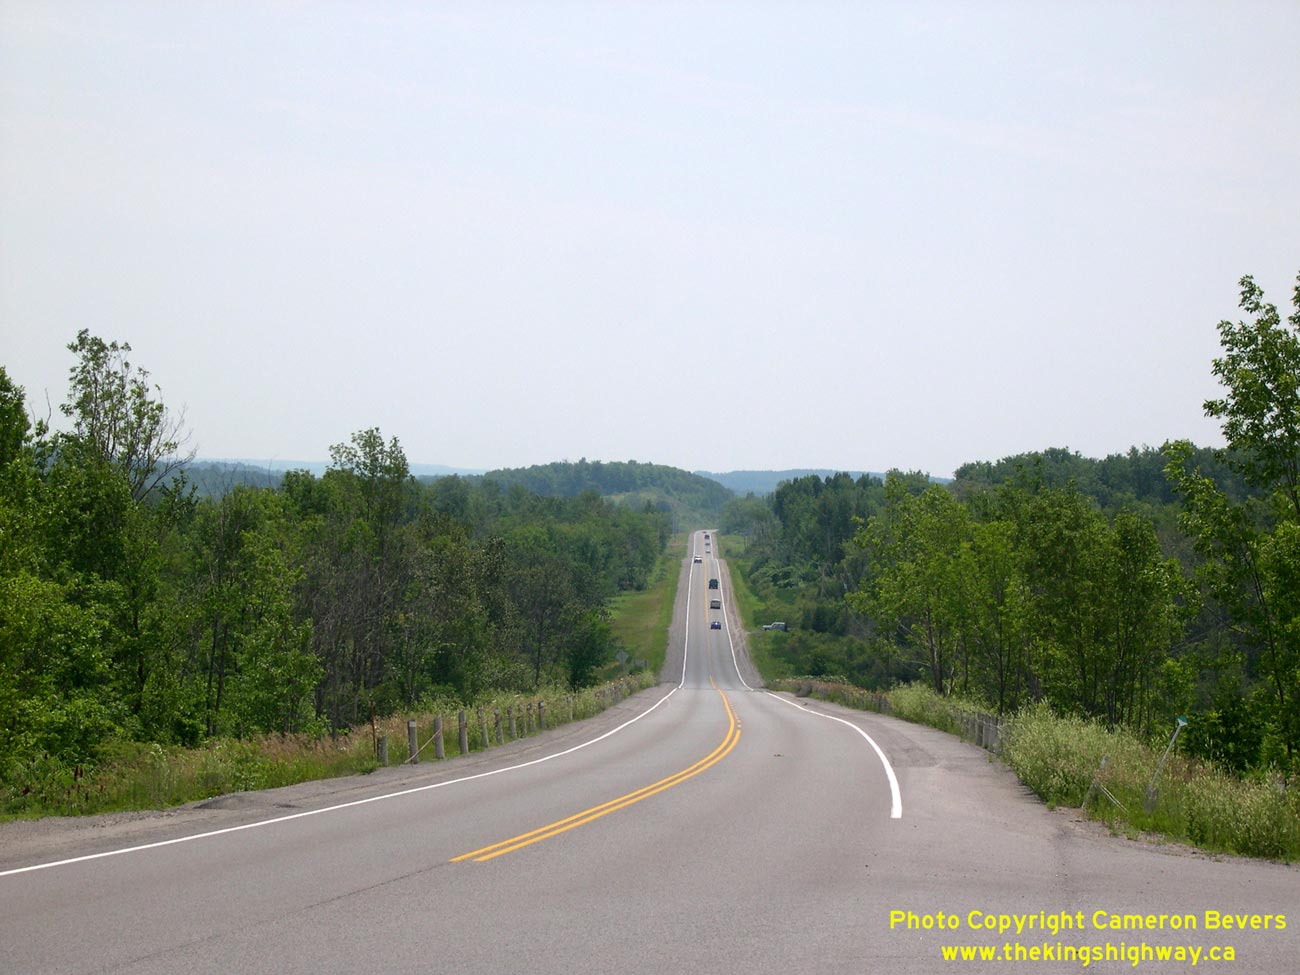
Left - South of Fenella, Hwy 45 traverses the Great Pine Ridge. These densely-forested highlands can be seen in the background of this photo, providing for
some great scenery along this interesting highway. Most of the highway was realigned across the highlands in the 1940s and 1950s, resulting in numerous bypassed
alignments. See an Enlarged Photo Here. (Photograph taken on July 9, 2006 - © Cameron Bevers) Right - A former Hwy 45 alignment rejoins the current highway north of Alderville. See an Enlarged Photo Here. (Photograph taken on July 9, 2006 - © Cameron Bevers) 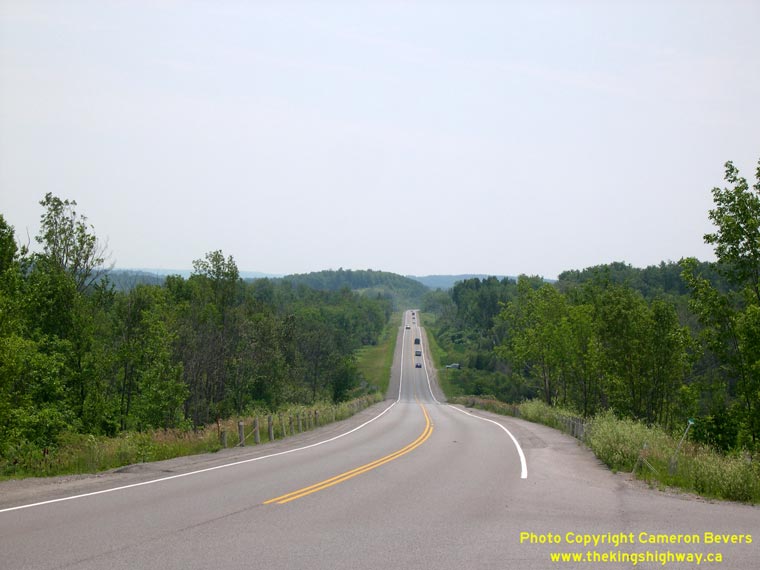
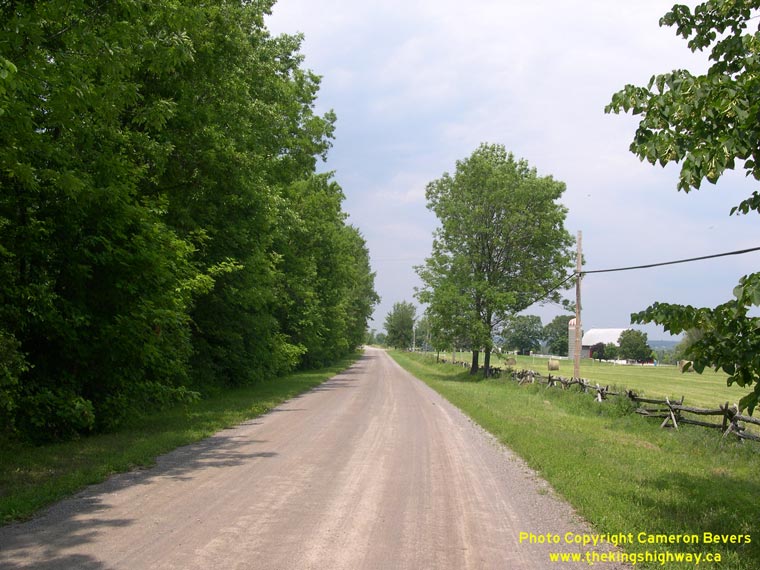
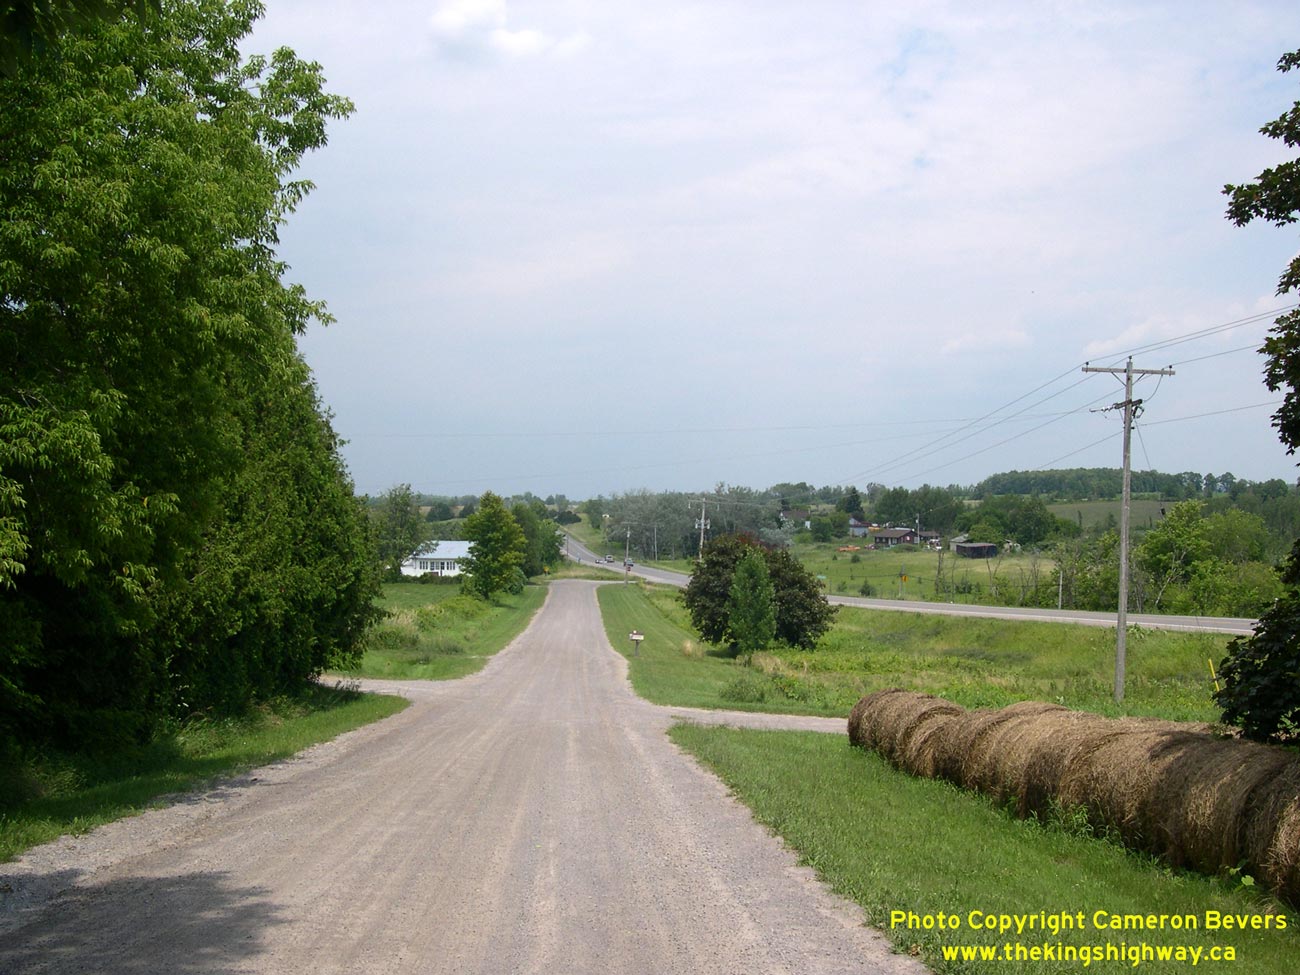
Left - Facing south towards Alderville along Hwy 45 south of Hastings. See an
Enlarged Photo Here. (Photograph taken on July 9, 2006 - © Cameron Bevers) Right - This former Hwy 45 alignment south of Hastings passes through a pristine rural setting. See an Enlarged Photo Here. (Photograph taken on July 9, 2006 - © Cameron Bevers) 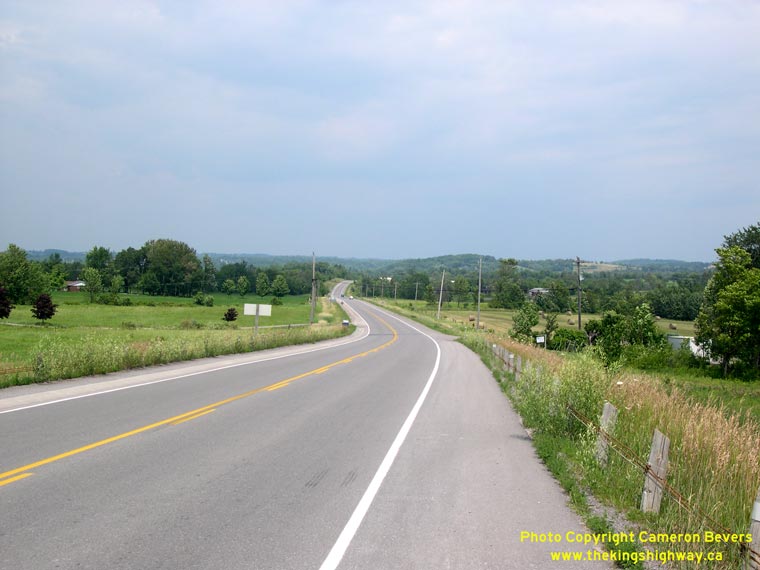
Left - Facing north towards Hastings along Hwy 45 north of Alderville. See an
Enlarged Photo Here. (Photograph taken on July 9, 2006 - © Cameron Bevers) Right - Facing north along Hwy 45 at the Trent River Bridge in Hastings. See an Enlarged Photo Here. (Photograph taken on July 9, 2006 - © Cameron Bevers) 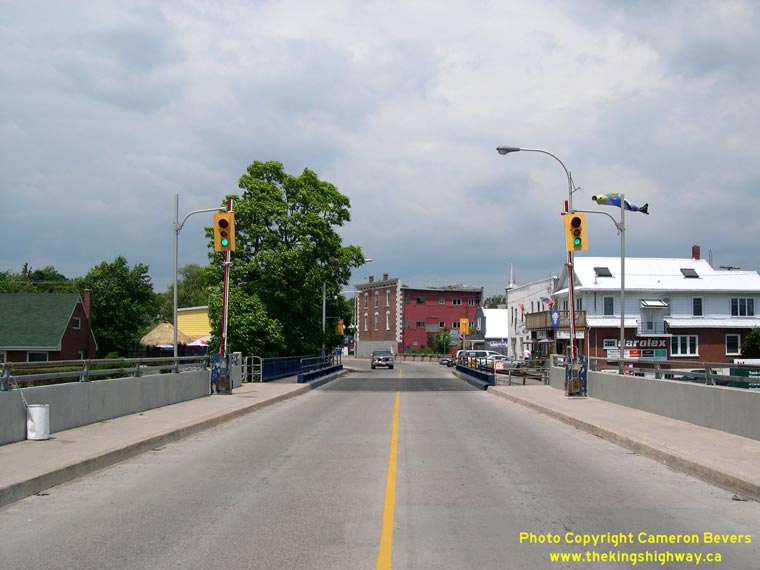
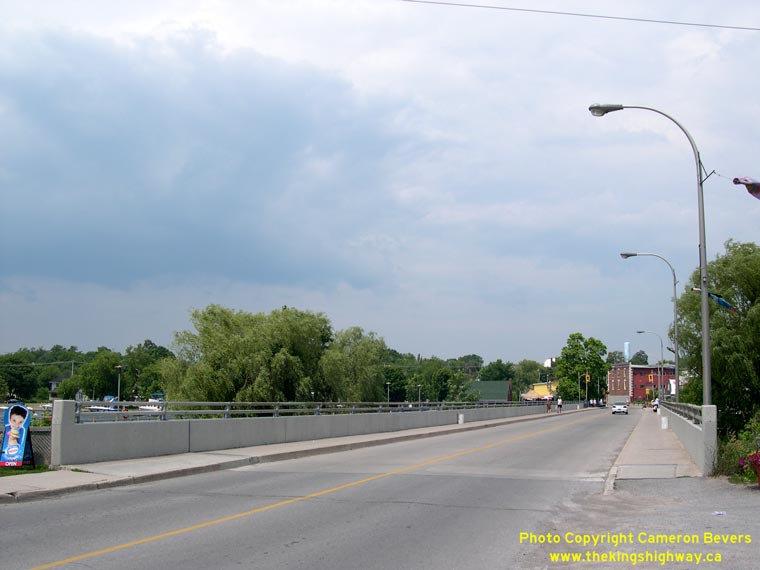
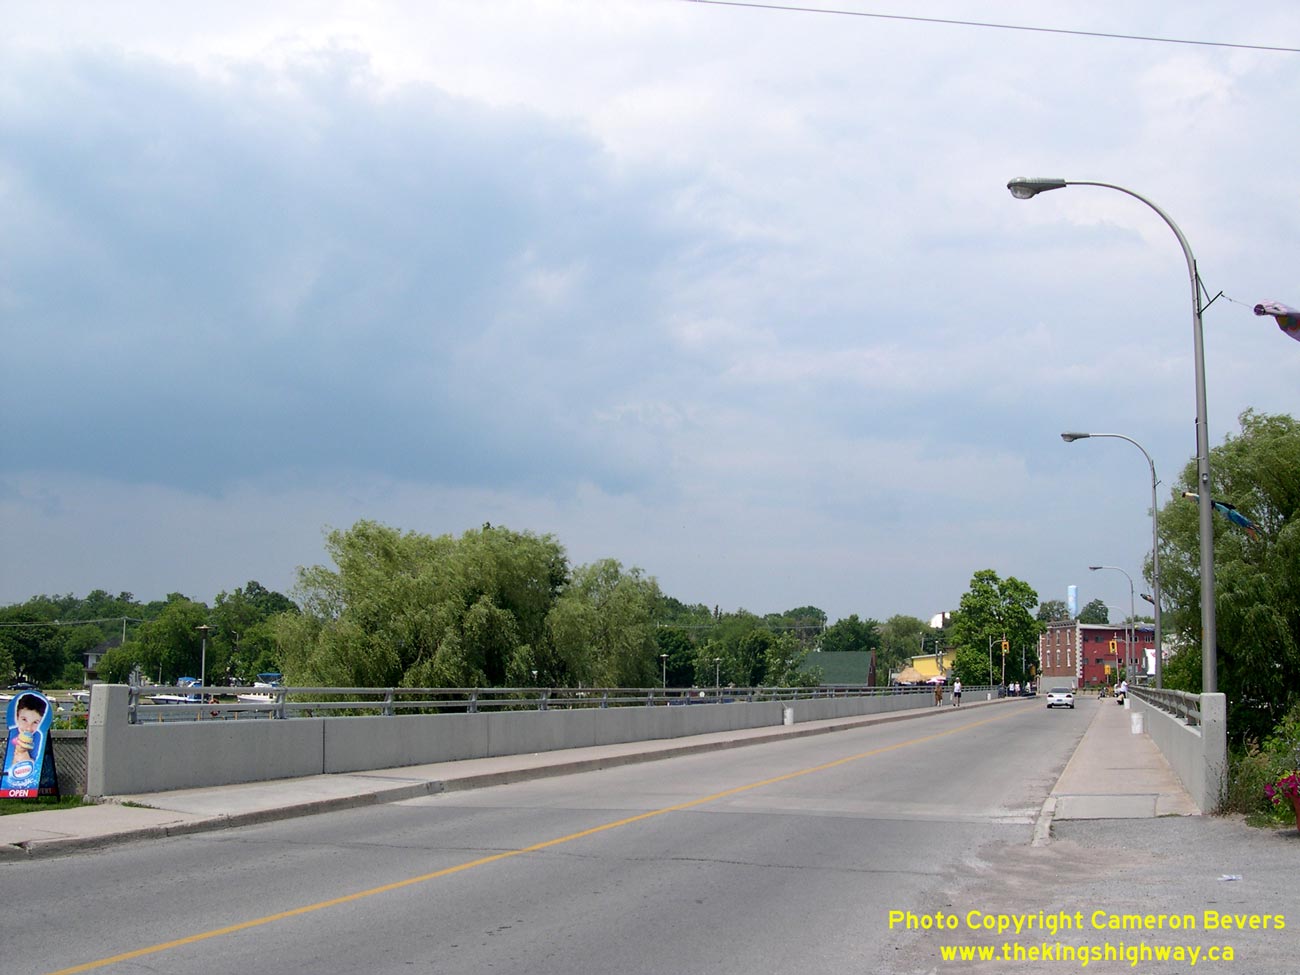
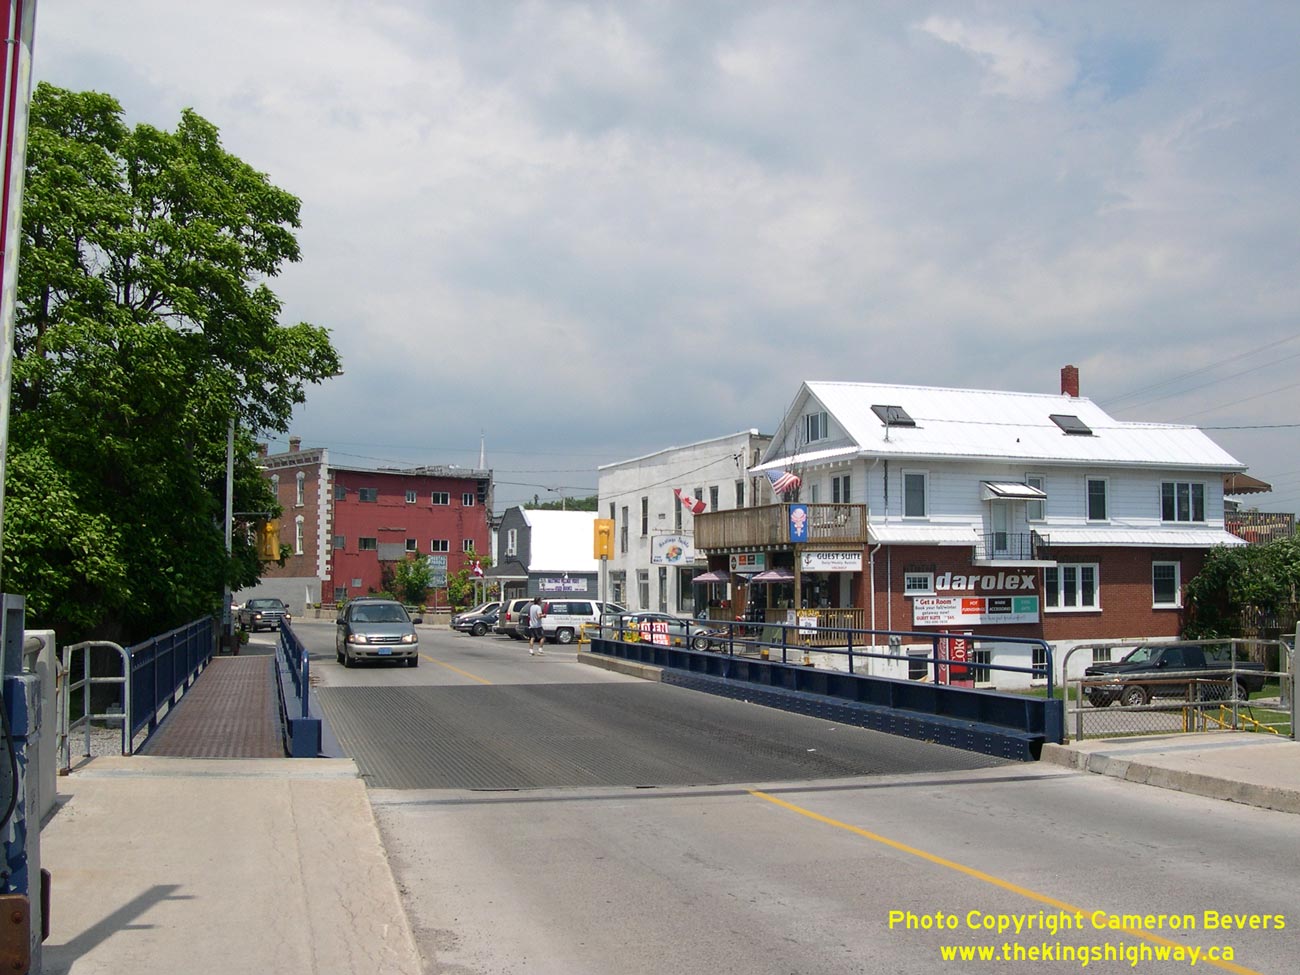
Left - The Trent-Severn Waterway passes through Hastings. The Trent River Bridge has an opening span to allow boats to pass through. See an
Enlarged Photo Here. (Photograph taken on July 9, 2006 - © Cameron Bevers) Right - The Hastings Swing Bridge on Hwy 45, facing north. See an Enlarged Photo Here. (Photograph taken on July 9, 2006 - © Cameron Bevers) 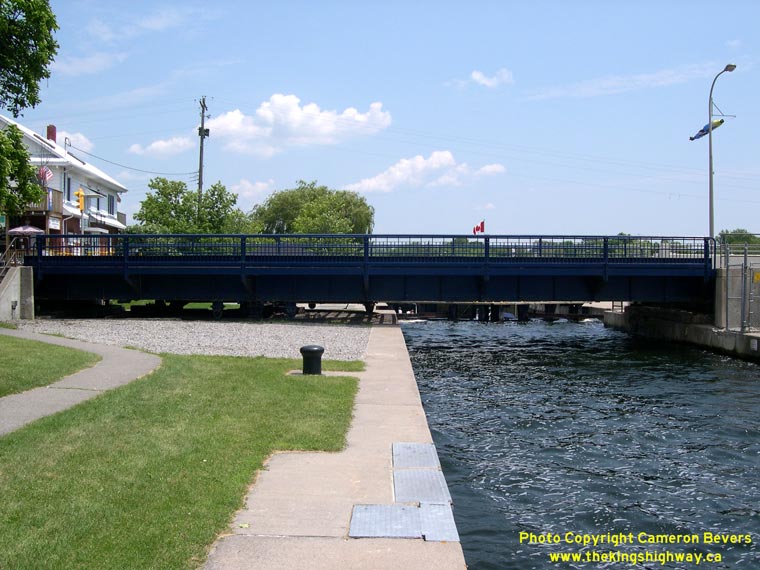
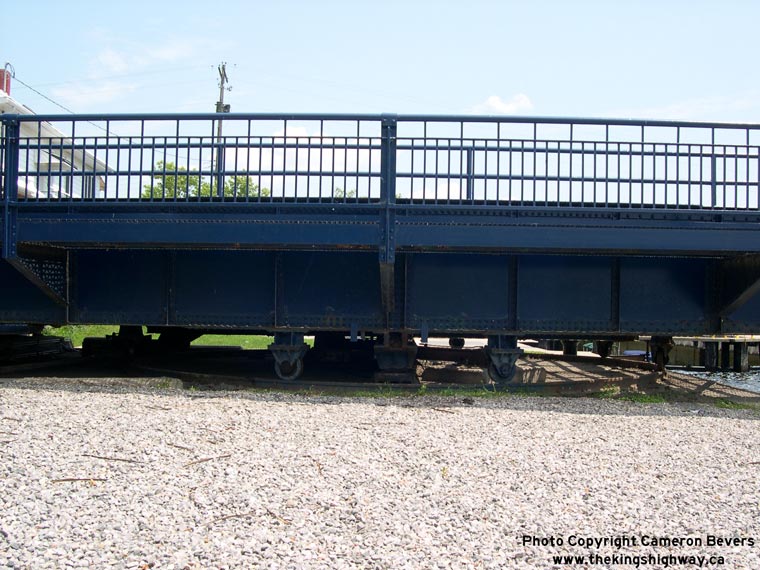
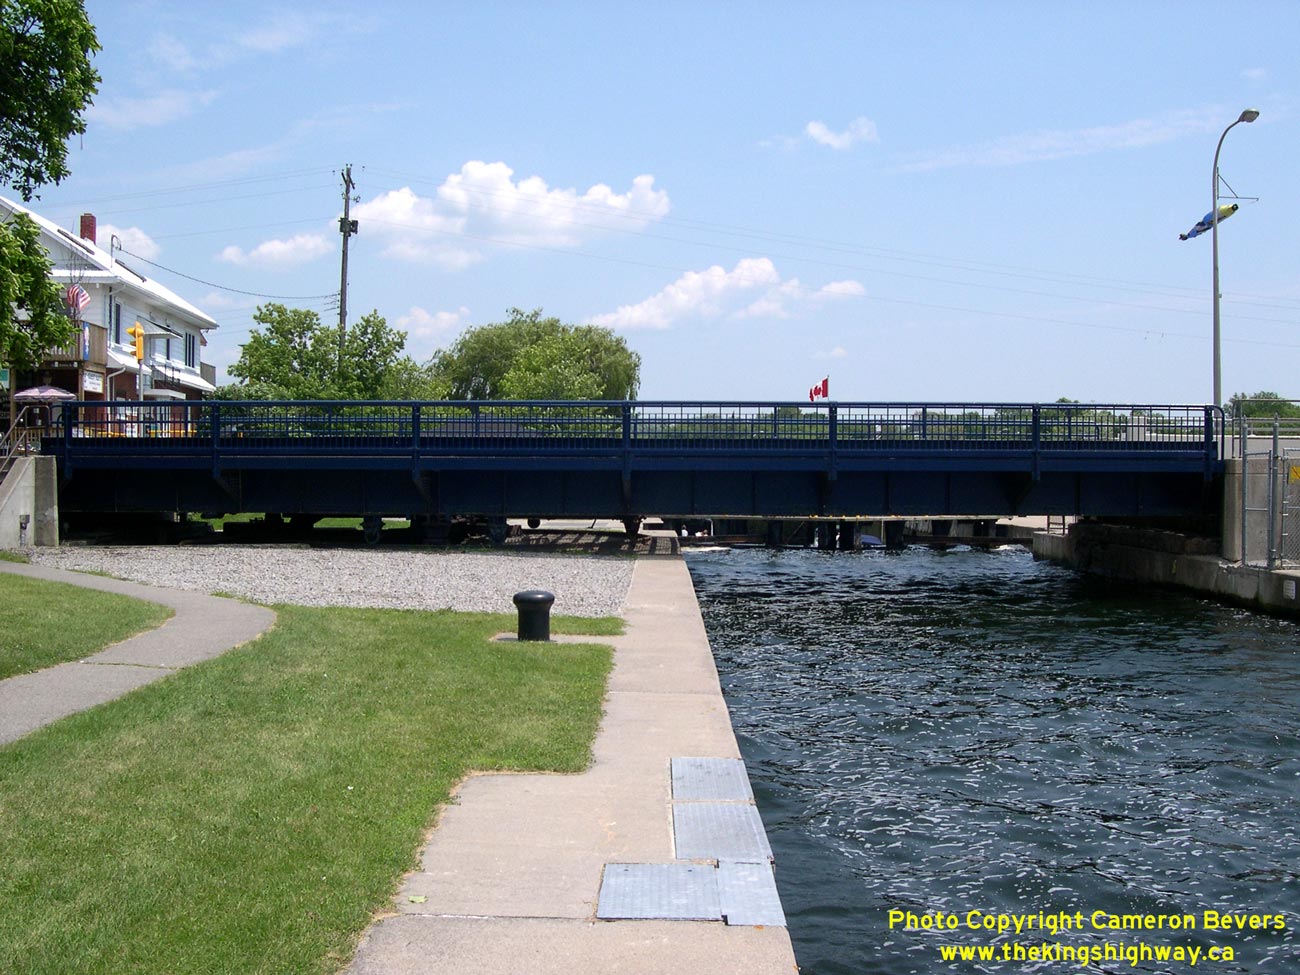
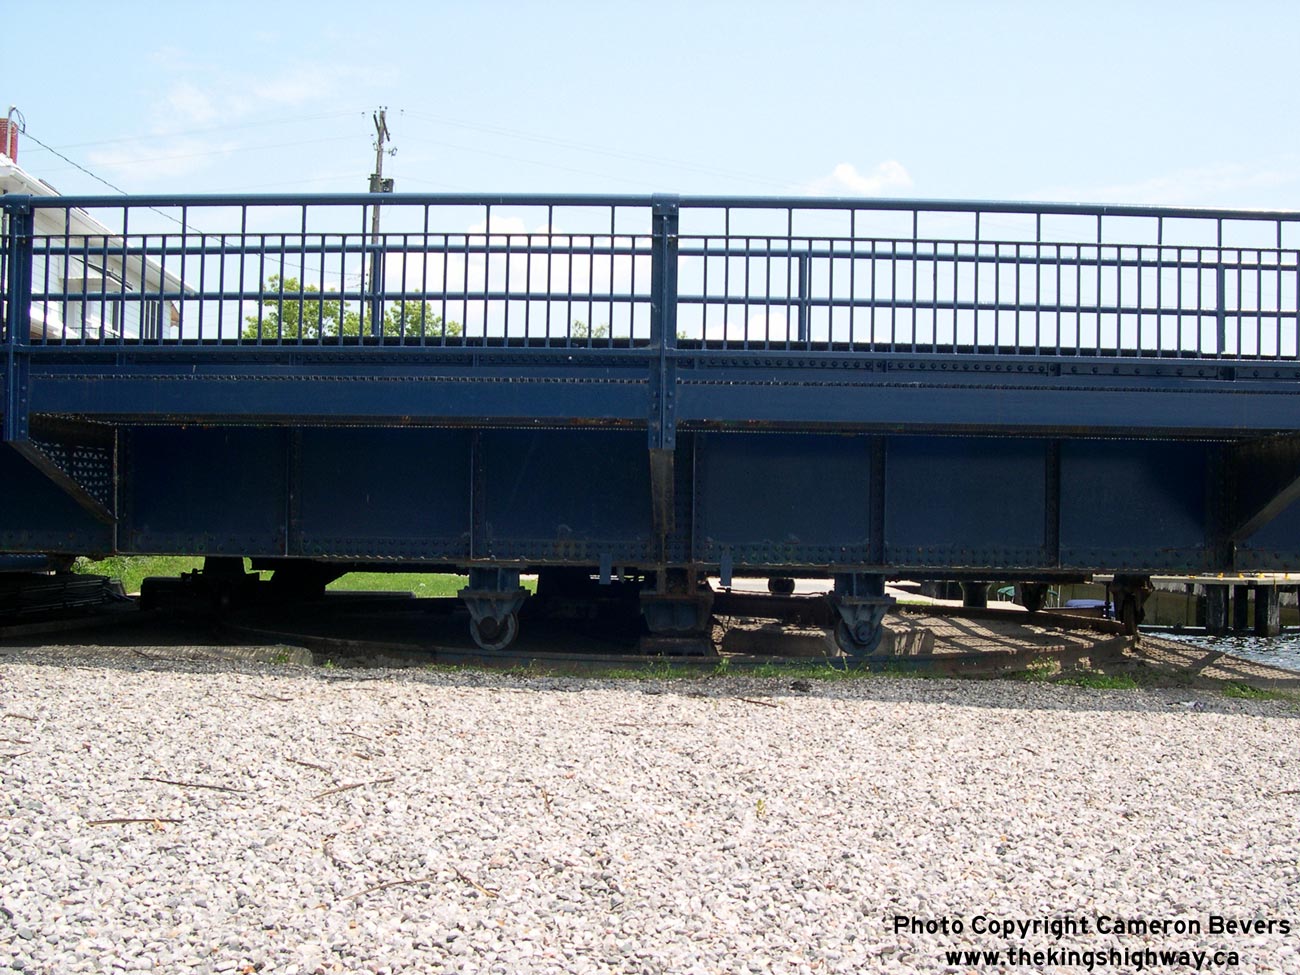
Left - Western side of the Hastings Swing Bridge on Hwy 45. See an
Enlarged Photo Here. (Photograph taken on July 9, 2006 - © Cameron Bevers) Right - Close-up of the swing mechanism on the Hastings Swing Bridge. See an Enlarged Photo Here. (Photograph taken on July 9, 2006 - © Cameron Bevers) 
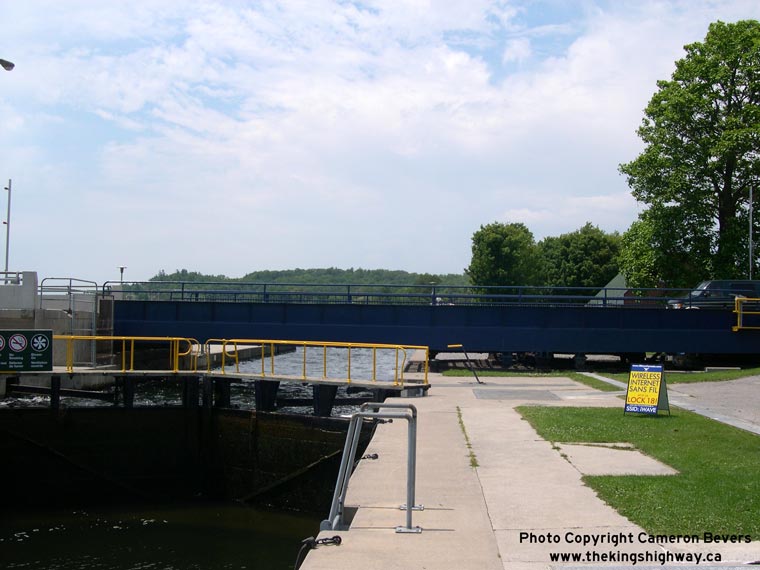
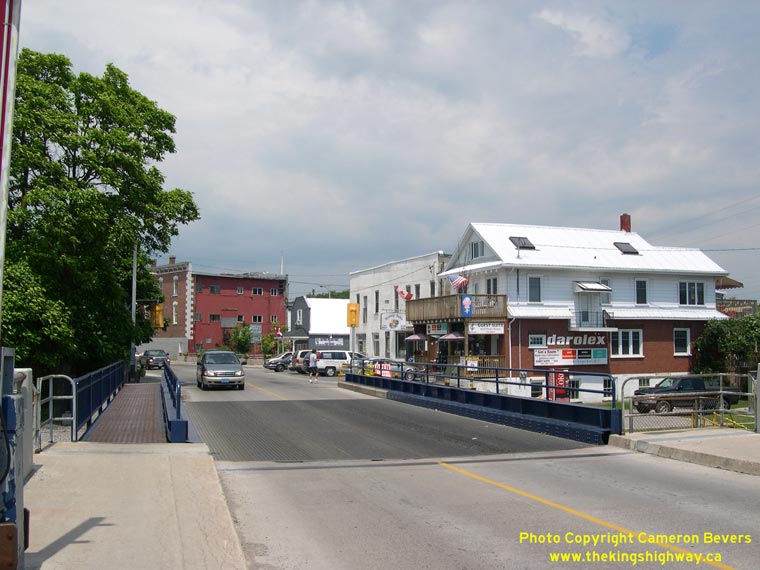
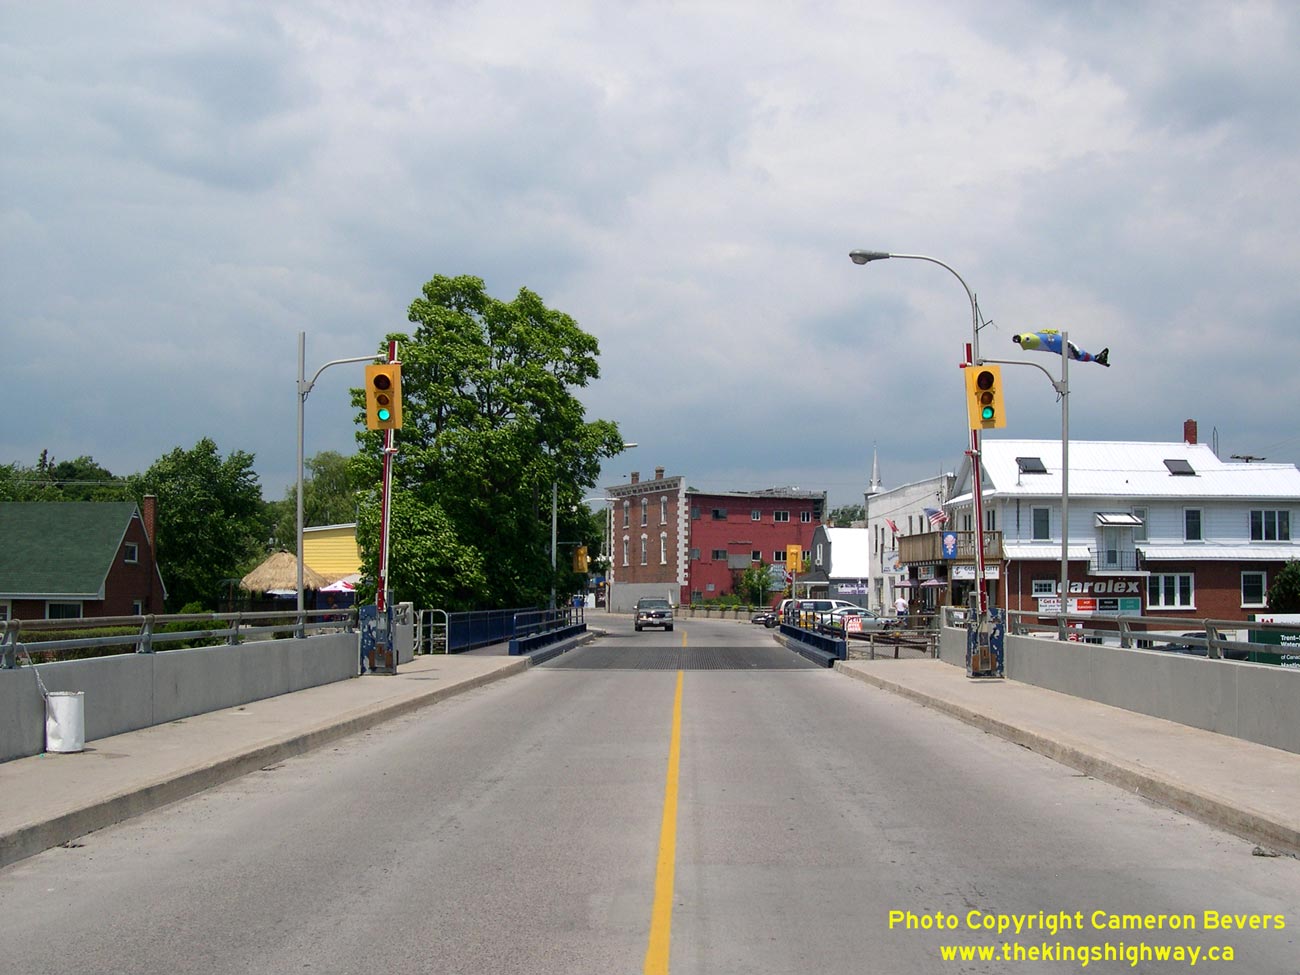
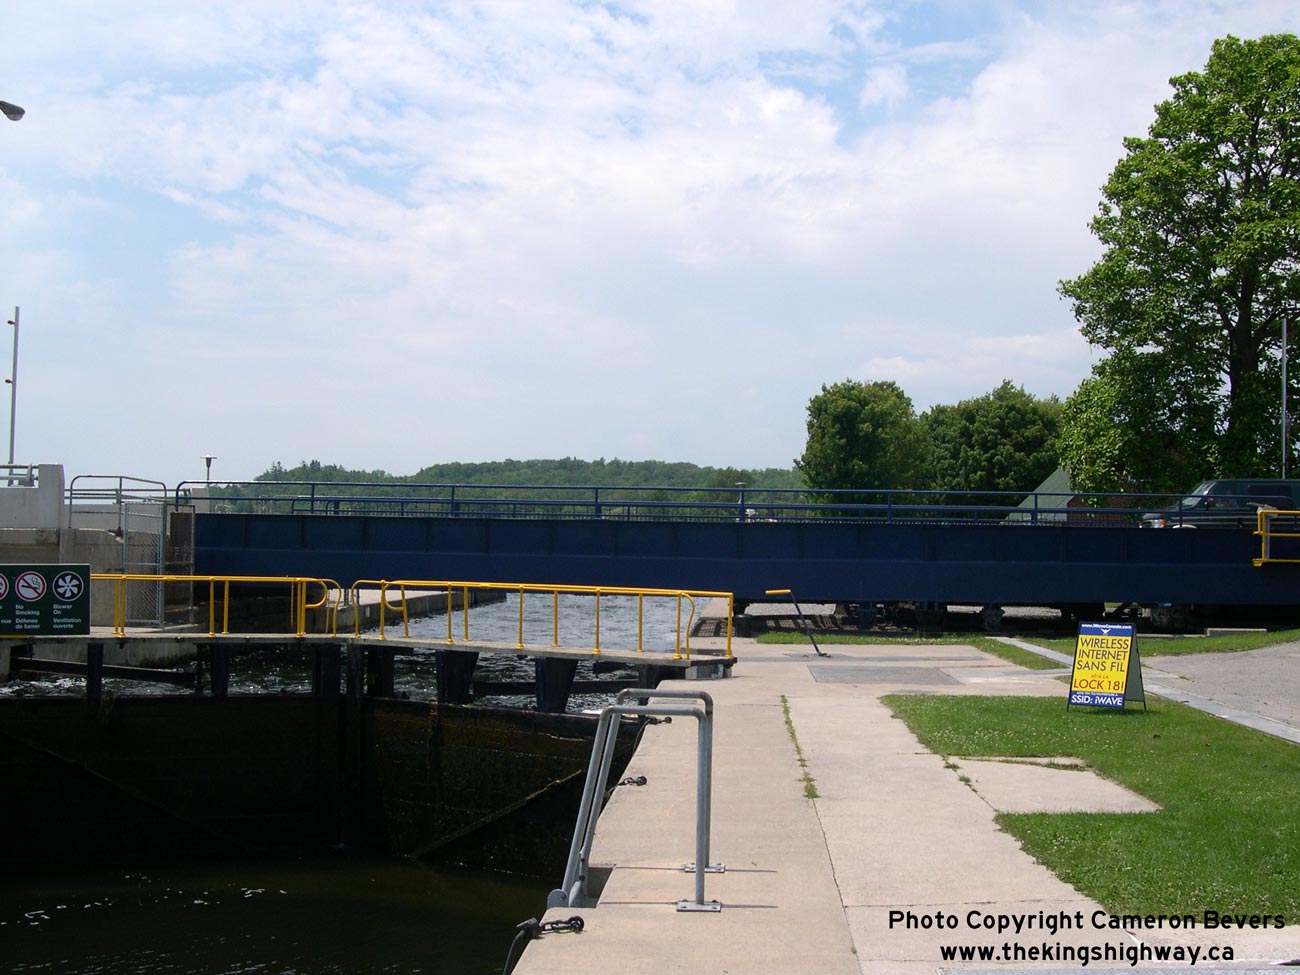
Left - Facing south along Hwy 45 at the Trent River Bridge in Hastings. See an
Enlarged Photo Here. (Photograph taken on July 9, 2006 - © Cameron Bevers) Right - Eastern side of the Hastings Swing Bridge on Hwy 45. See an Enlarged Photo Here. (Photograph taken on July 9, 2006 - © Cameron Bevers) 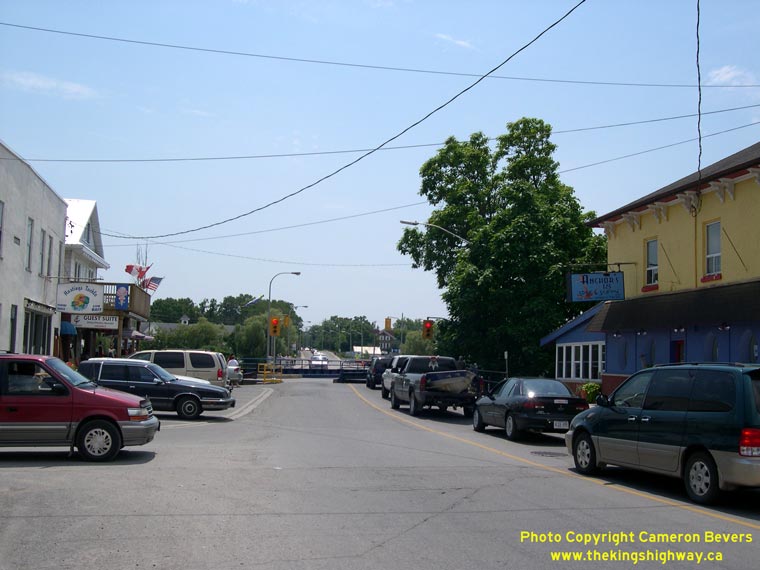
Left - Traffic on Hwy 45 is briefly halted to allow a boat to pass through the adjacent Hastings Lock on the Trent-Severn Waterway. See an
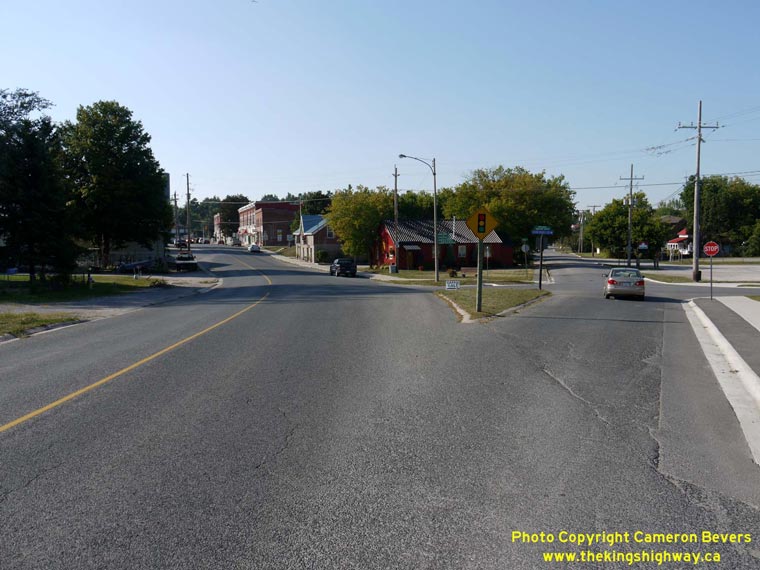
Enlarged Photo Here. (Photograph taken on July 9, 2006 - © Cameron Bevers) Right - Facing south along Hwy 45 towards Hastings from the Ouse River Bridge in Norwood. Since the mass highway downloading spree of 1998, the entire route of Hwy 45 has been under municipal jurisdiction. The section of Hwy 45 from Norwood to Hastings is now officially known as Peterborough County Road 45. See an Enlarged Photo Here. (Photograph taken on August 25, 2012 - © Cameron Bevers) 

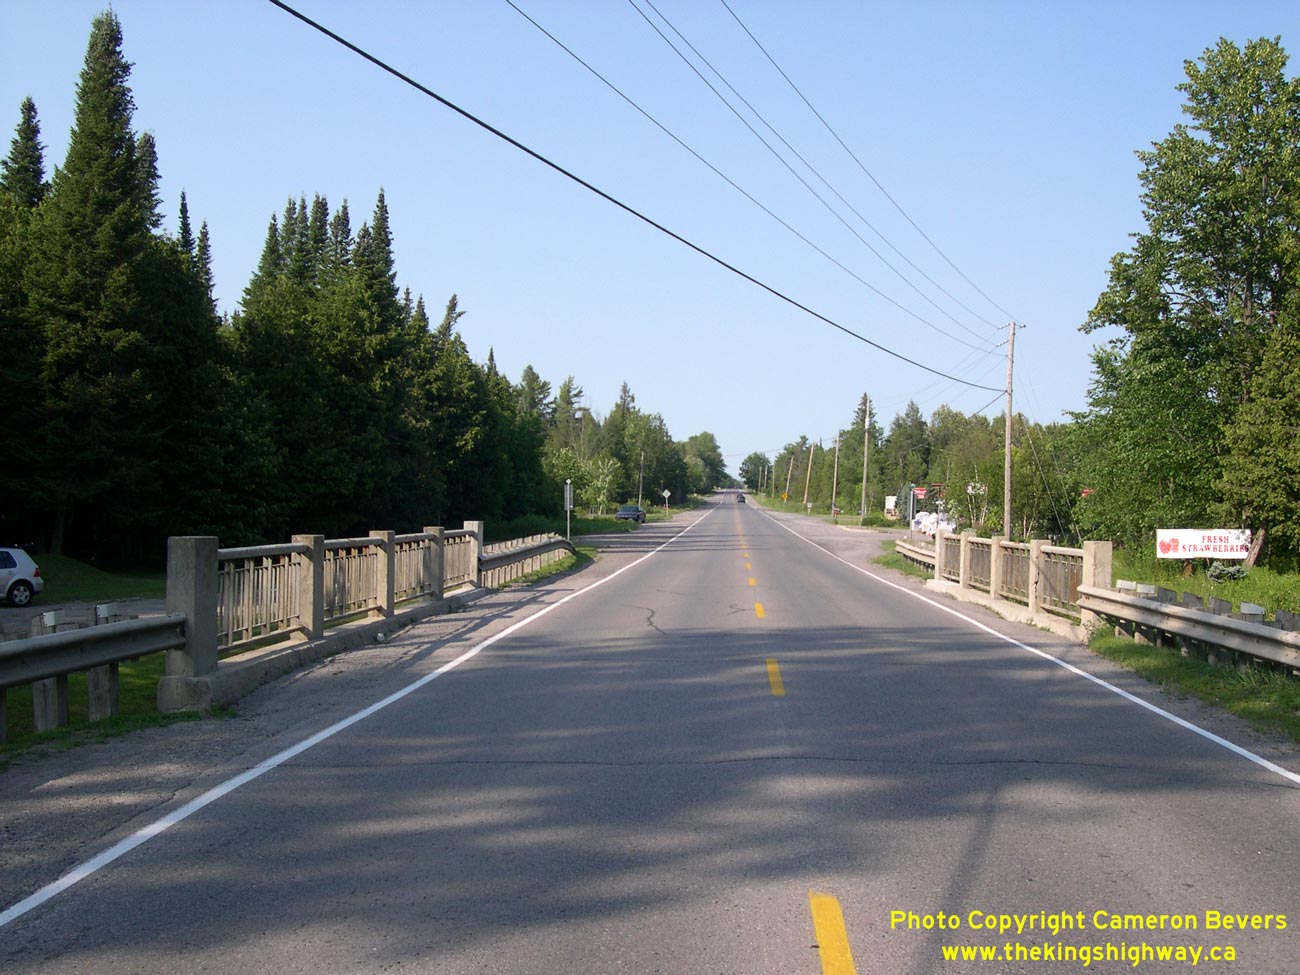
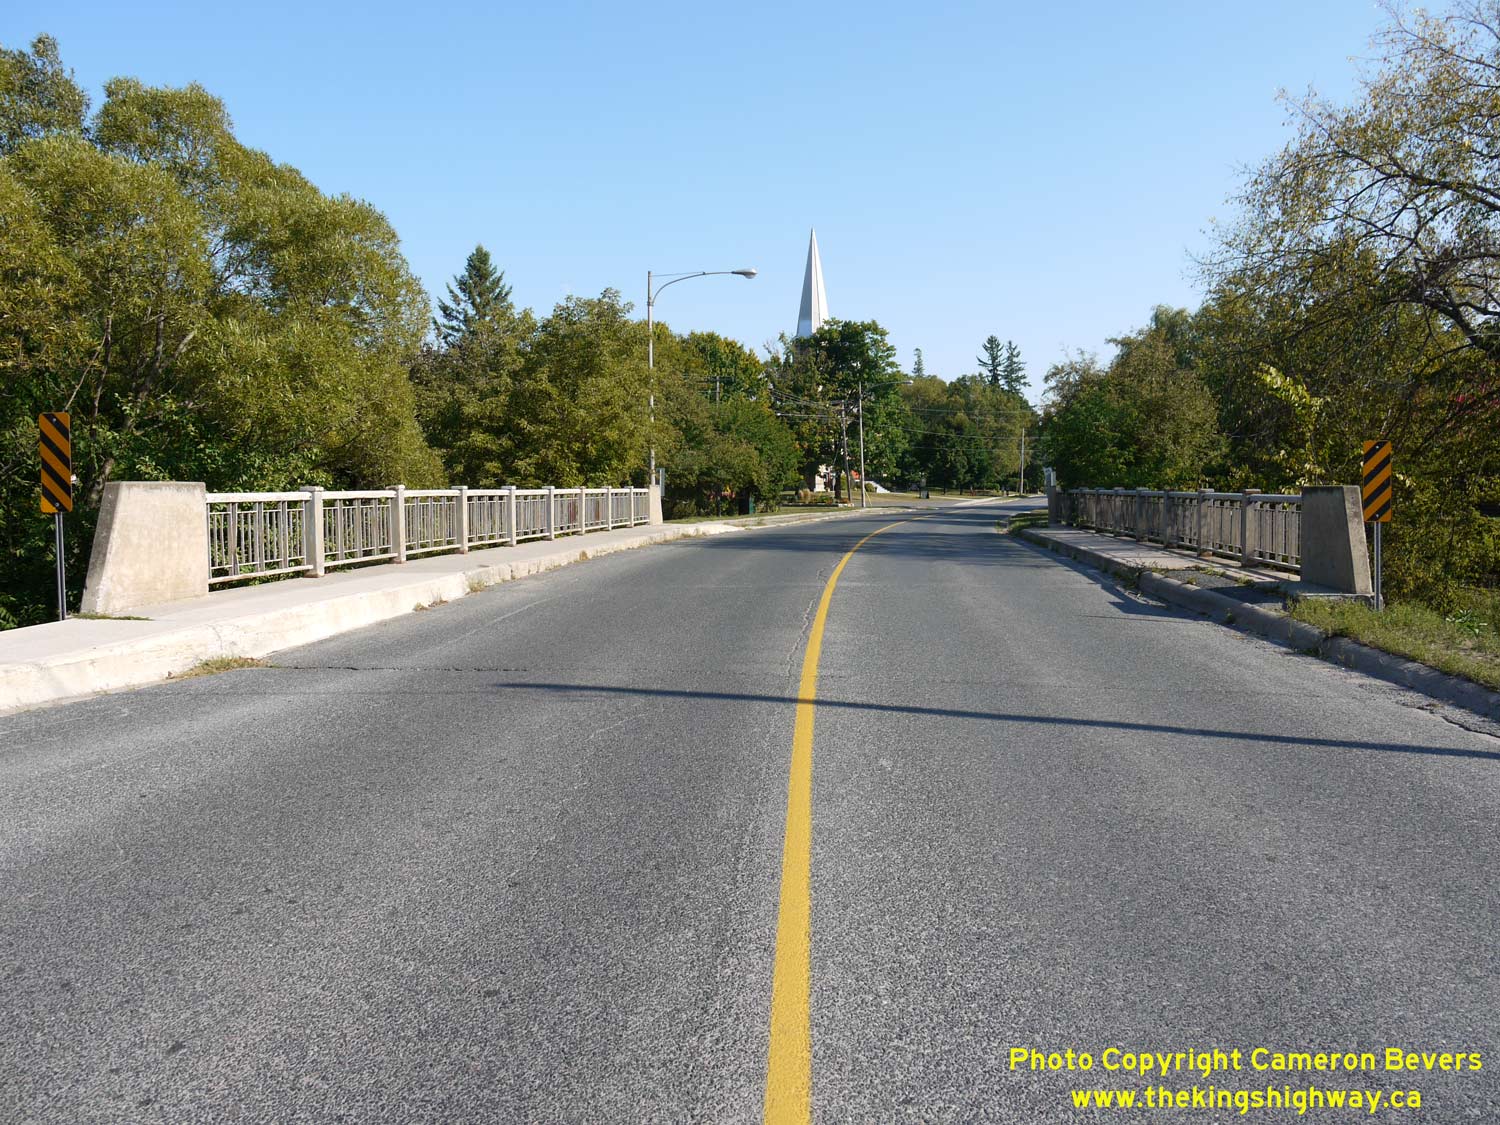
Left - Western side of the Ouse River Bridge on Hwy 45 in Norwood. This single span concrete rigid frame structure was completed in 1959. See an
Enlarged Photo Here. (Photograph taken on August 25, 2012 - © Cameron Bevers) Right - Ouse River Bridge on Hwy 45 in Norwood, facing south. See an Enlarged Photo Here. (Photograph taken on August 25, 2012 - © Cameron Bevers) 
Left - Ouse River Bridge on Hwy 45 in Norwood, facing north. See an
Enlarged Photo Here. (Photograph taken on August 25, 2012 - © Cameron Bevers) Right - At Victoria Street, Hwy 45 curves to the left and approaches its northern terminus at Hwy 7 through Downtown Norwood. Northbound Hwy 45 traffic bound for Hwy 7 East can short-cut via Victoria Street at right, since it is marginally shorter than the route through downtown. Many years ago, the route of Hwy 45 followed Victoria Street out to Hwy 7. The old Hwy 45 route via Victoria Street was apparently discontinued once construction on the new Ouse River Bridge began in 1958. See an Enlarged Photo Here. (Photograph taken on August 25, 2012 - © Cameron Bevers) 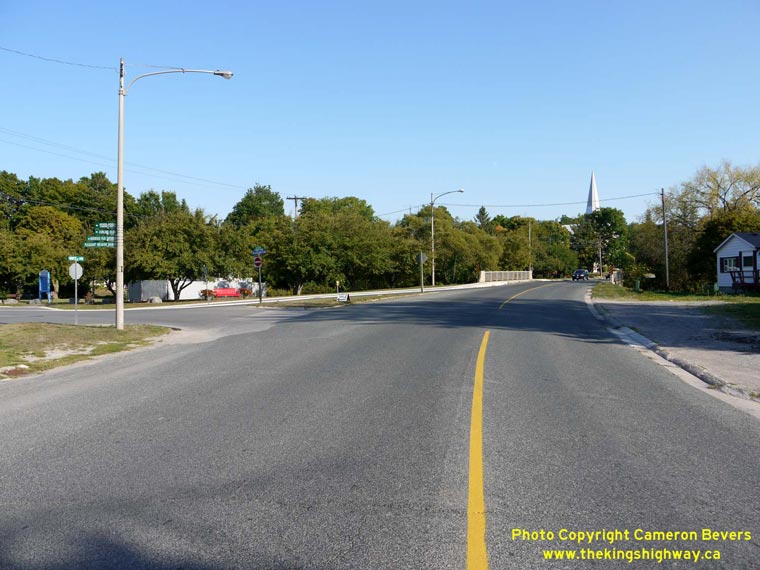

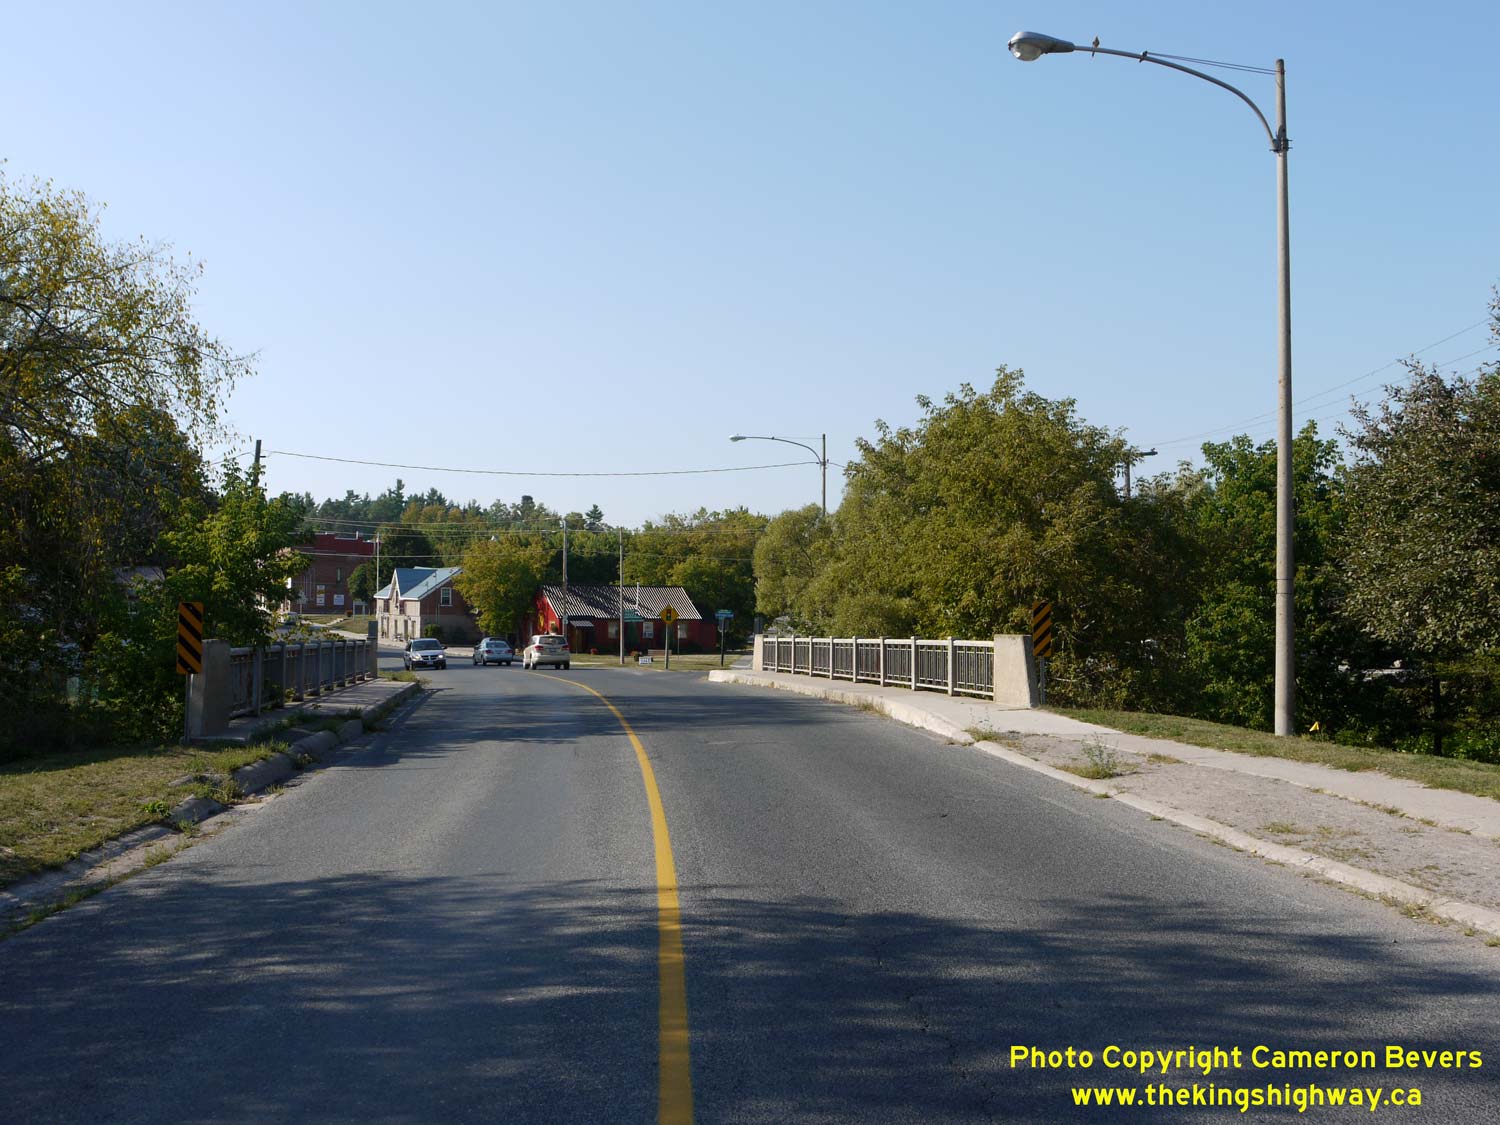
Left - Facing south along Hwy 45 from Victoria Street in Norwood towards the Ouse River
Bridge. A series of 1950s-era Department of Highways luminaires on the bridge approaches just adds to the vintage feel of this section of Hwy 45. See an
Enlarged Photo Here. (Photograph taken on August 25, 2012 - © Cameron Bevers) Right - Facing north along Hwy 45 approaching the Hwy 7 Junction in Norwood. Like many other King's Highways in Central Ontario, the route of Hwy 45 comes to an end at Hwy 7. Other area routes such as Hwy 30, Hwy 14 and Hwy 37 also reach their northern terminus at Hwy 7. The area lying to the north of Hwy 7 is sparsely populated and comparatively remote. Bancroft is the only major centre in the area north of Hwy 7, and it is well-served from the south by two other King's Highways (Hwy 28 and Hwy 62). See an Enlarged Photo Here. (Photograph taken on August 25, 2012 - © Cameron Bevers) 

Left - Northern terminus of Hwy 45 at the Hwy 7 Junction in Downtown Norwood. From here, traffic can turn left onto Hwy 7 and head west towards Peterborough or turn
right and follow Hwy 7 east towards Havelock. Straight ahead, Peterborough County Road 40 continues north from Norwood towards Crowes Landing on Upper Stony Lake. See an
Enlarged Photo Here. (Photograph taken on August 25, 2012 - © Cameron Bevers) Right - Facing east along Hwy 7 towards Havelock from the Hwy 45 Junction in Norwood. See an Enlarged Photo Here. (Photograph taken on August 25, 2012 - © Cameron Bevers) 

Left - Hwy 45 Junction on Hwy 7 in Norwood, facing west. See an
Enlarged Photo Here. (Photograph taken on August 25, 2012 - © Cameron Bevers) Right - Facing south along Hwy 45 towards Hastings from the Hwy 7 Junction in Downtown Norwood. See an Enlarged Photo Here. (Photograph taken on August 25, 2012 - © Cameron Bevers) 

Left - Facing west along Hwy 7 towards Peterborough from the Hwy 45 Junction in Norwood. See an
Enlarged Photo Here. (Photograph taken on August 25, 2012 - © Cameron Bevers) Right - Facing east along Hwy 7 approaching the Hwy 45 Junction in Norwood. See an Enlarged Photo Here. (Photograph taken on August 25, 2012 - © Cameron Bevers)
More King's Highway 45 Photographs Coming Soon!
|
|---|
Links to Adjacent King's Highway Photograph Pages:
Back to King's Highway 44 Photos /
King's Highway 45 History /
On to King's Highway 46 Photos
Ontario Highway History - Main Menu / Back to List of Highways Website contents, photos & text © 2002-2026, Cameron
Bevers (Webmaster) - All Rights Reserved / Contact Me
|
|---|