
| 
| |
|
|
This page contains historical photos of Ontario's King's Highway 69 dating from 1980 to 1999. All photographs displayed on
this page were taken by the Ontario Ministry of Transportation, unless specifically noted otherwise. Historical photographs are arranged in approximate chronological
order. Click on any thumbnail to see a larger image!
Please note that all photographs displayed on this
website are protected by copyright. These photographs must not be reproduced, published,
electronically stored or copied, distributed, or posted onto other websites without
my written permission. If you want to use photos from this website, please
email me first for permission. Thank-you!
|
|---|
|
Page 3: Historical King's Highway 69 Photographs (1980-1999)

Above - Eastern side of the Waubaushene CNR Railway Overhead on Hwy 69 (today's Hwy 400). Photo taken in July 1982. (Photo courtesy of Ontario Ministry of Transportation - © King's Printer for Ontario, 2012) 

Left - Facing south along Hwy 69 (today's Hwy 400) towards the Hwy 12 Interchange in Waubaushene. Photo taken in July 1982. (Photo courtesy of Ontario Ministry of Transportation - © King's Printer for Ontario, 2012) Right - Western side of the Waubaushene CNR Railway Overhead on Hwy 69 (today's Hwy 400). Photo taken in June 1984. (Photo courtesy of Ontario Ministry of Transportation - © King's Printer for Ontario, 2012) 
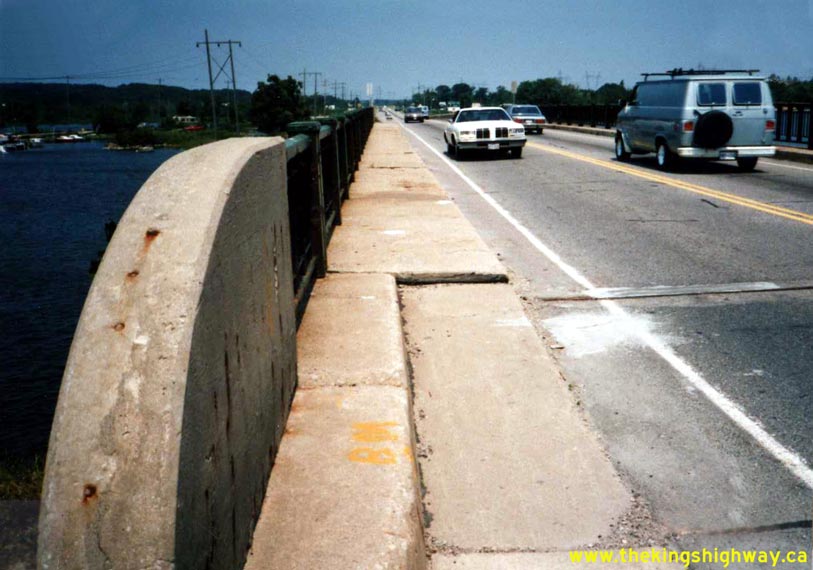
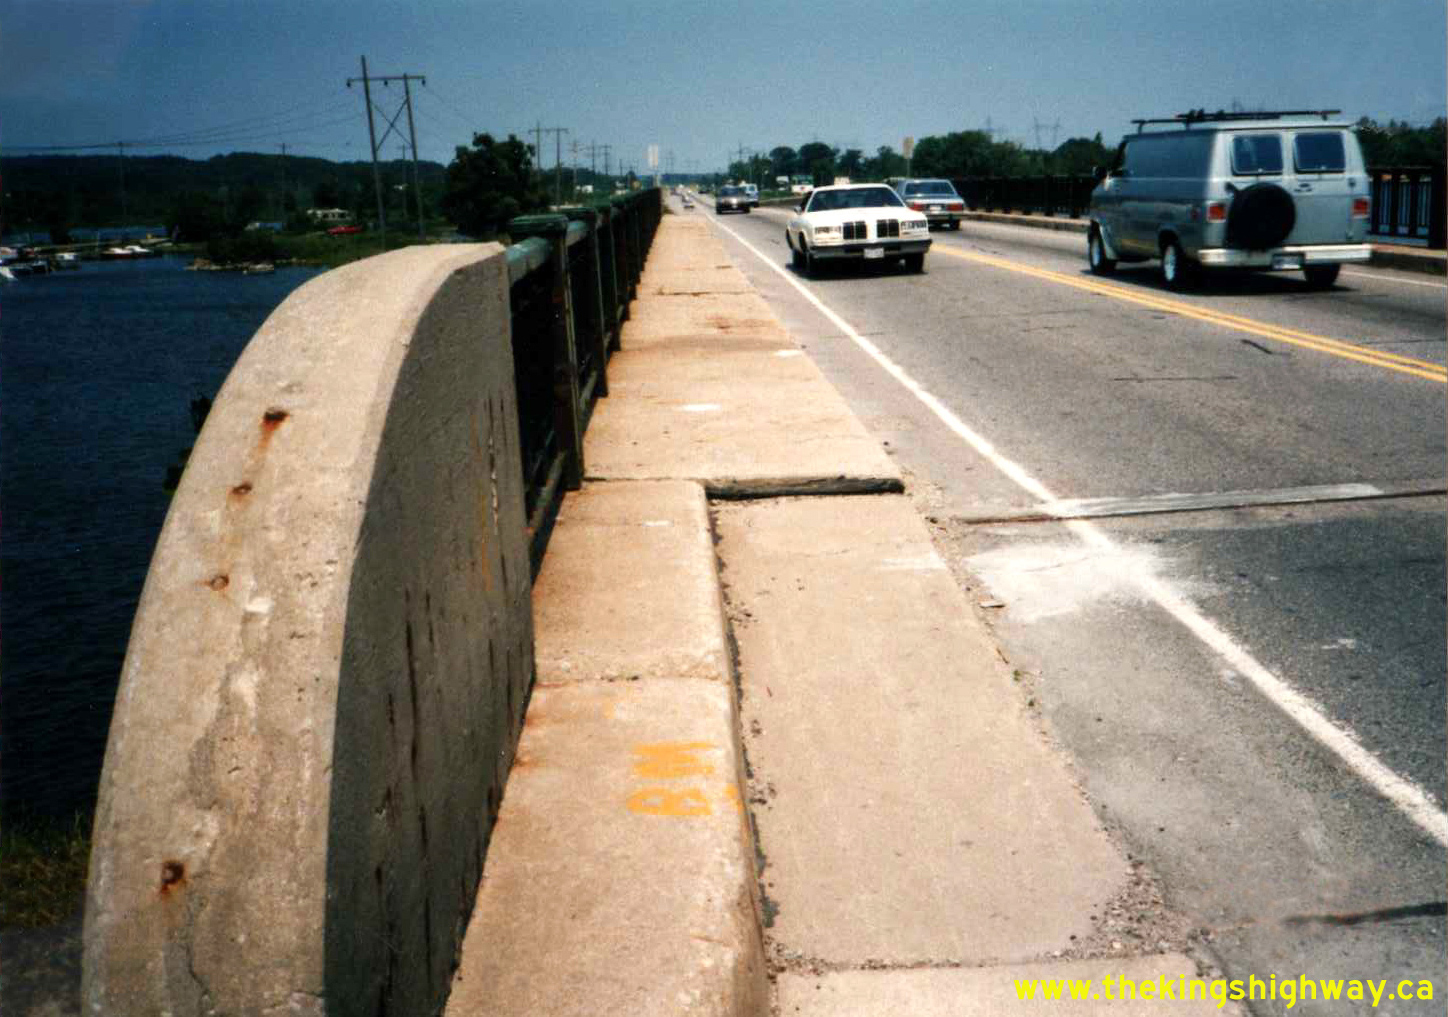
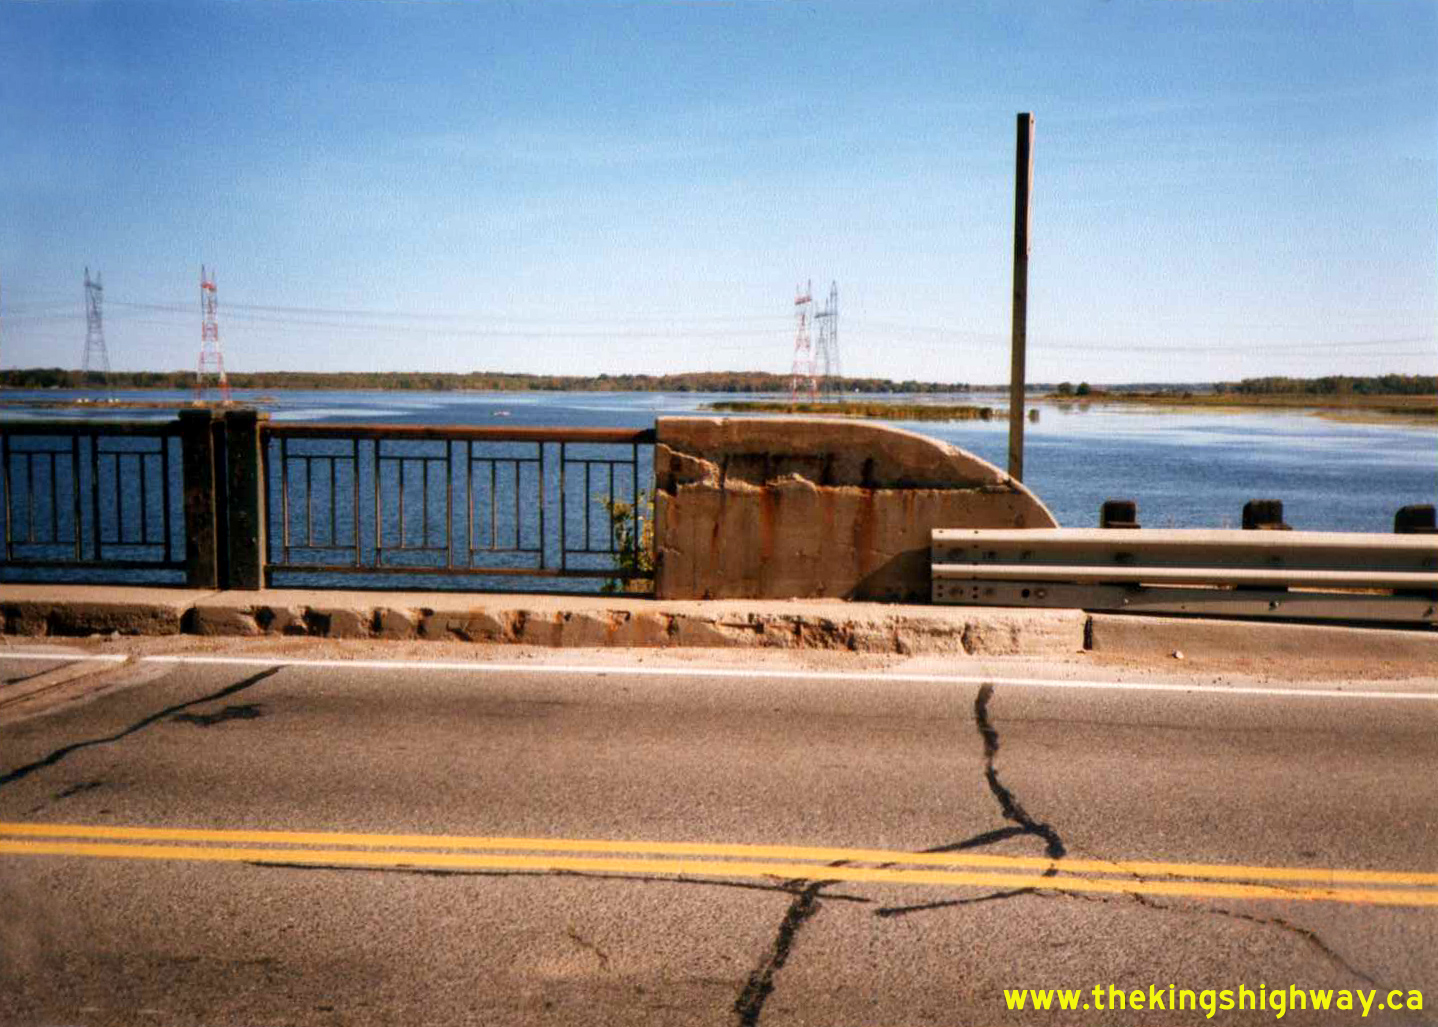
Left - Matchedash Bay Bridge on Hwy 69 (later Hwy 400) in Waubaushene. Photo taken in June 1984. (Photo courtesy of Ontario Ministry of Transportation - © King's Printer for Ontario, 2012) Right - Facing north along Hwy 69 (today's Hwy 400) towards Port Severn from the Matchedash Bay Bridge in Waubaushene in 1987. Heavy summer traffic volumes along Hwy 69 between Waubaushene and Port Severn prompted MTO to begin expansion of the highway from two to four lanes. Construction began on the highway widening at Waubaushene during 1987, but it took several years to complete due to the complex construction staging and sequencing of operations required to build the expanded highway. See an Enlarged Photo Here. Photo taken on June 25, 1987. (Photo courtesy of Ontario Ministry of Transportation - © King's Printer for Ontario, 2012) 

Left - Pier construction for the new southbound Hwy 69 & Hwy 400 structure at the Hwy 12 Interchange in Waubaushene, Contract #1987-04. This twin structure
was built beside an existing bridge which was constructed at this interchange in 1978. The original structure carried both directions of traffic on Hwy 69 &
Hwy 400 for many years. It was converted to carry northbound traffic only after the new southbound carriageway was opened to traffic in the early 1990s. See an
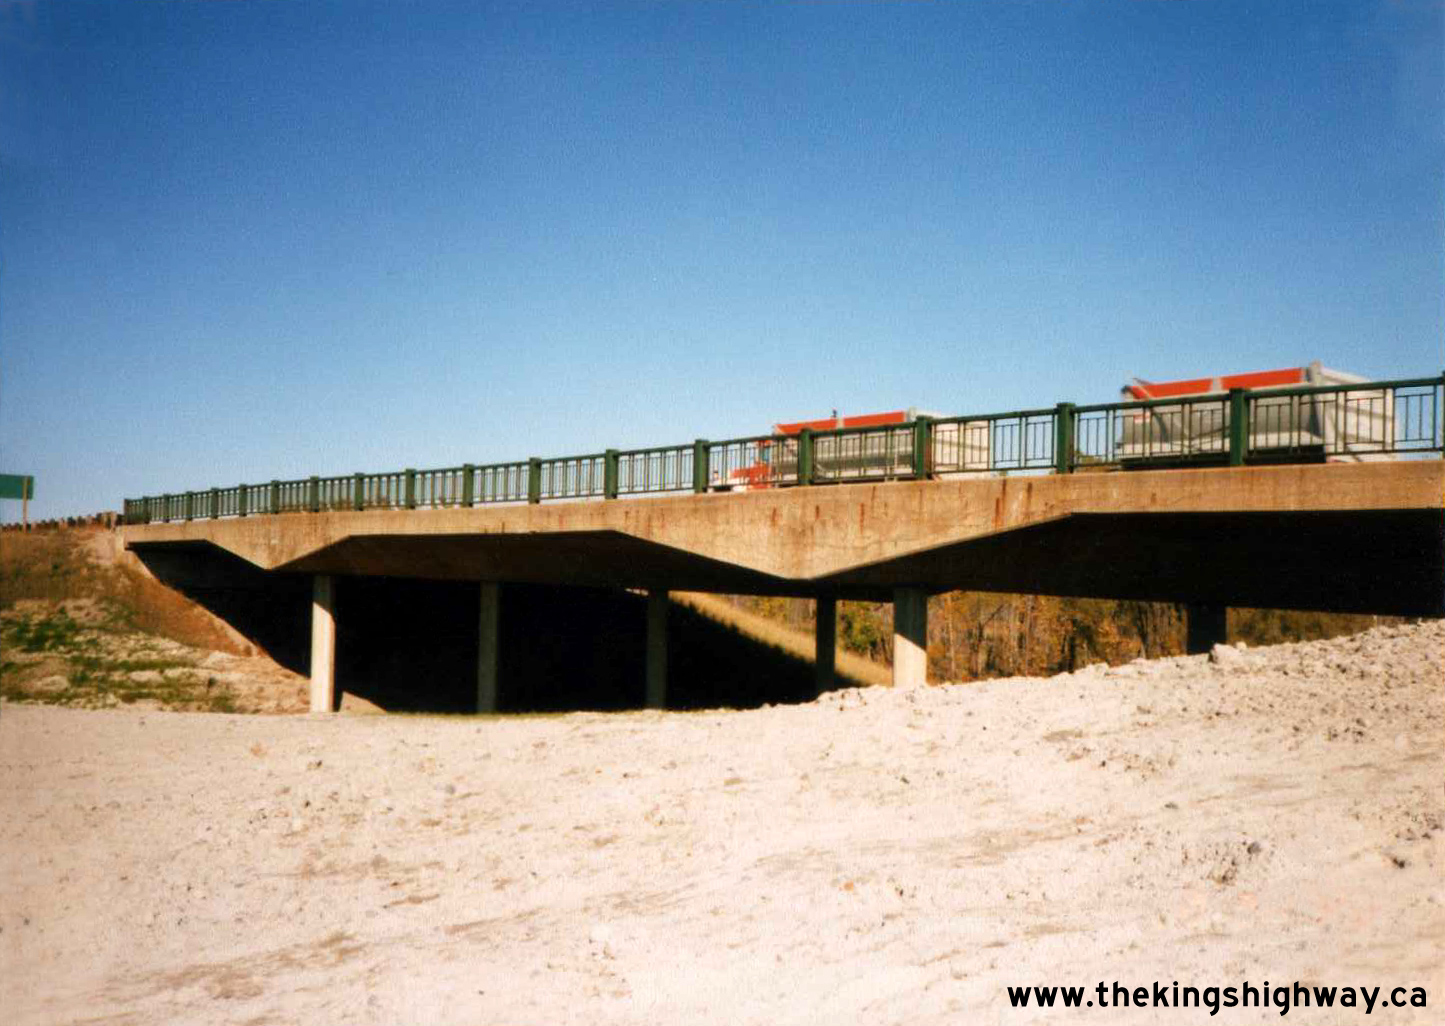
Enlarged Photo Here. Photo taken on May 11, 1988. (Photo courtesy of Ontario Ministry of Transportation - © King's Printer for Ontario, 2012) Right - New underpass construction at the Hwy 12 Interchange on Hwy 69 & Hwy 400 in Waubaushene, Contract #1987-04. See an Enlarged Photo Here. Photo taken on May 11, 1988. (Photo courtesy of Ontario Ministry of Transportation - © King's Printer for Ontario, 2012) 

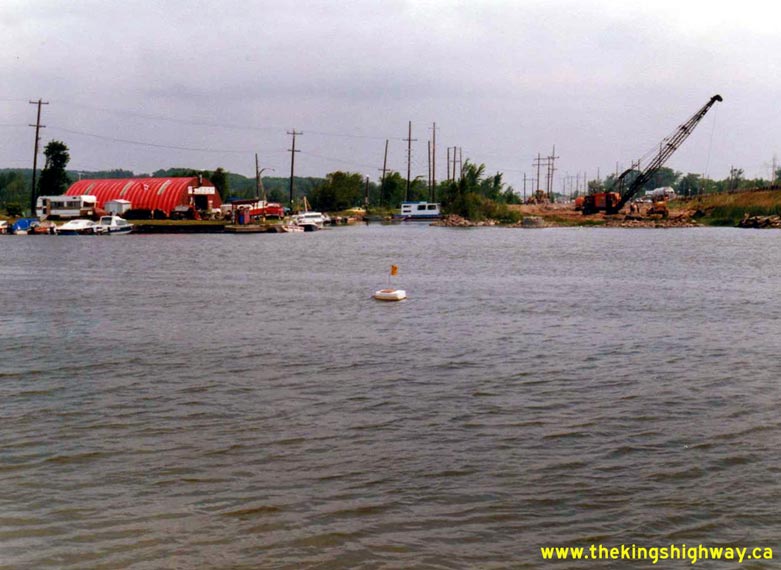
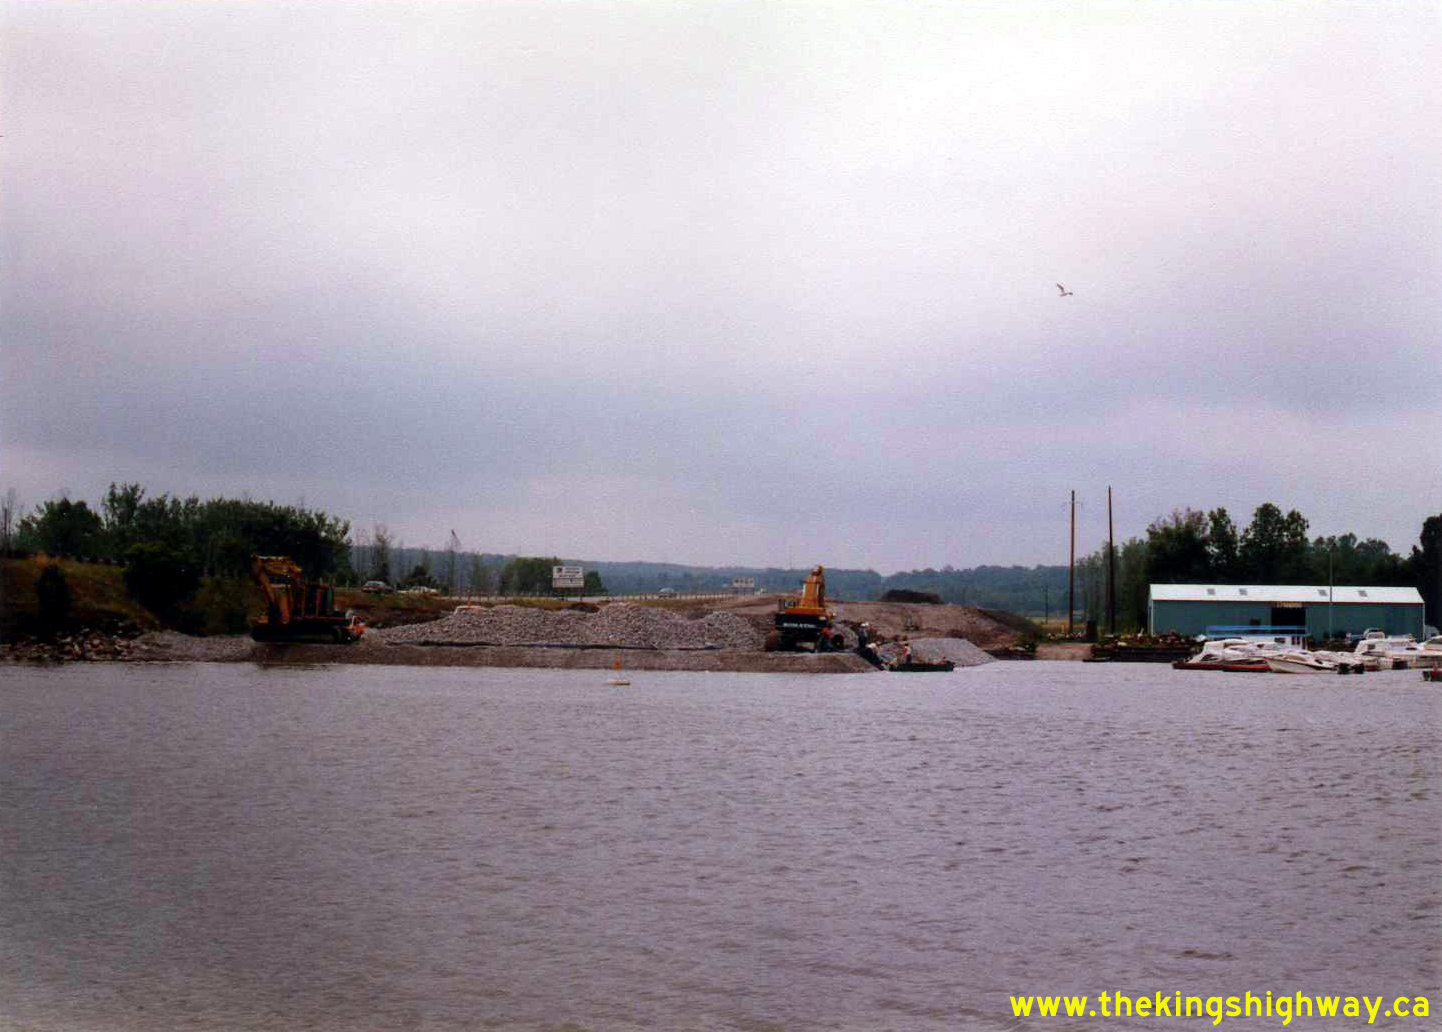
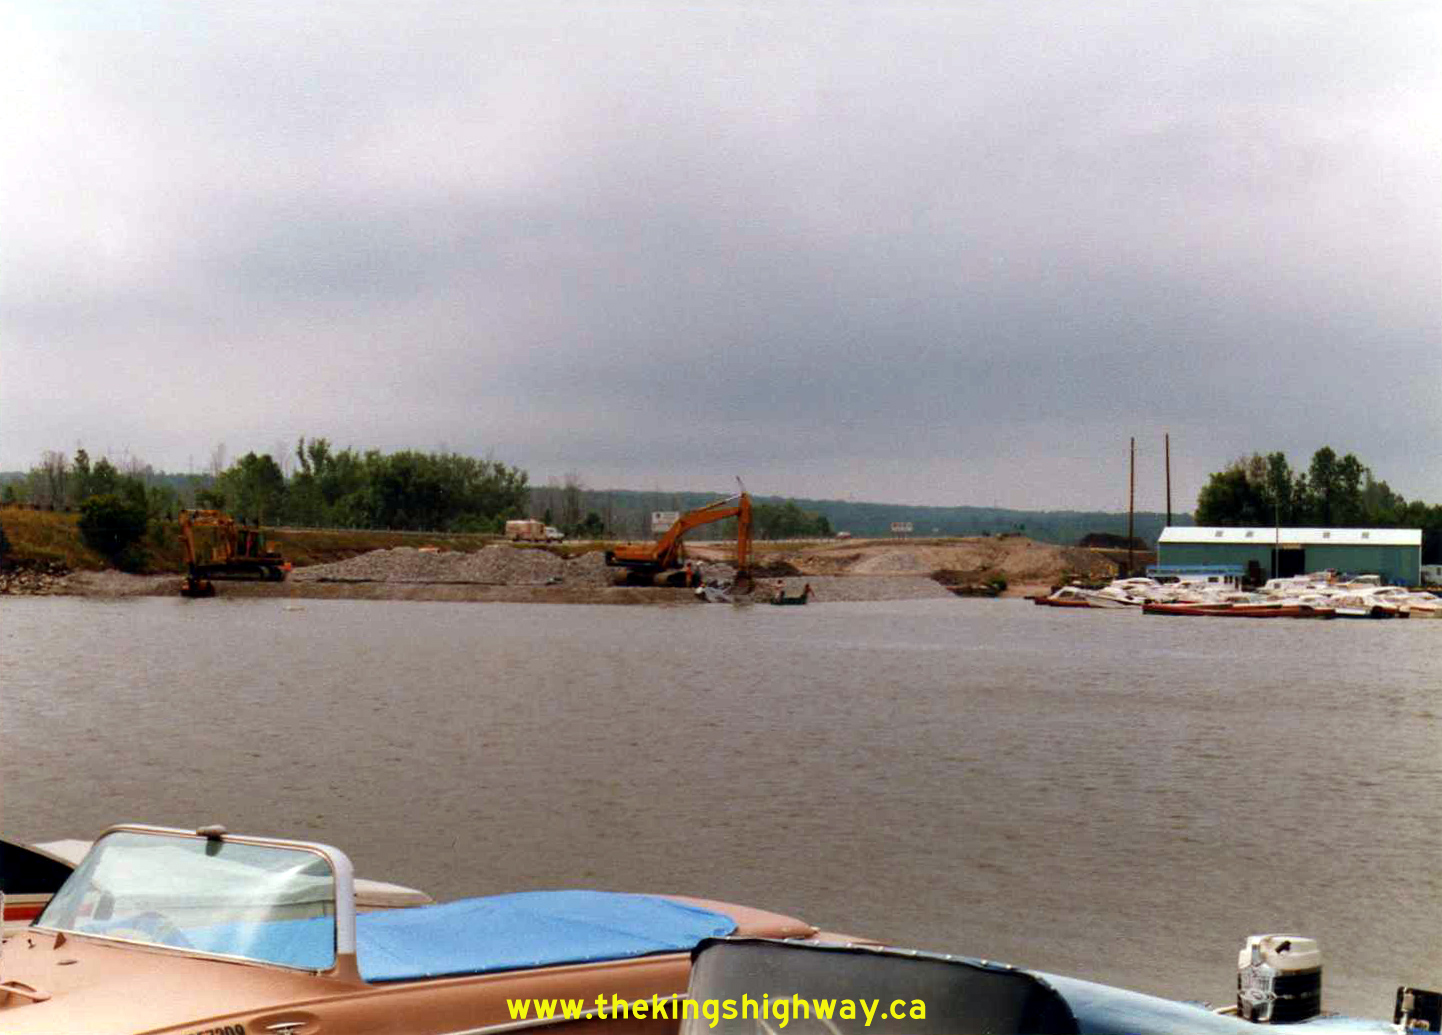
Left - Advance grading under Contract #1987-04 for the twin southbound Matchedash Bay Bridge on Hwy 69 (today's Hwy 400) in Waubaushene in 1988. Some of the
earth removed from the Waubaushene Hill Cut to the south was placed as fill for the twinned highway section from the Hwy 12 Interchange northerly to a point just
south of Quarry Road under this contract. Due to local soil conditions, geotechnical engineers determined that it would be necessary to let this fill settle for some
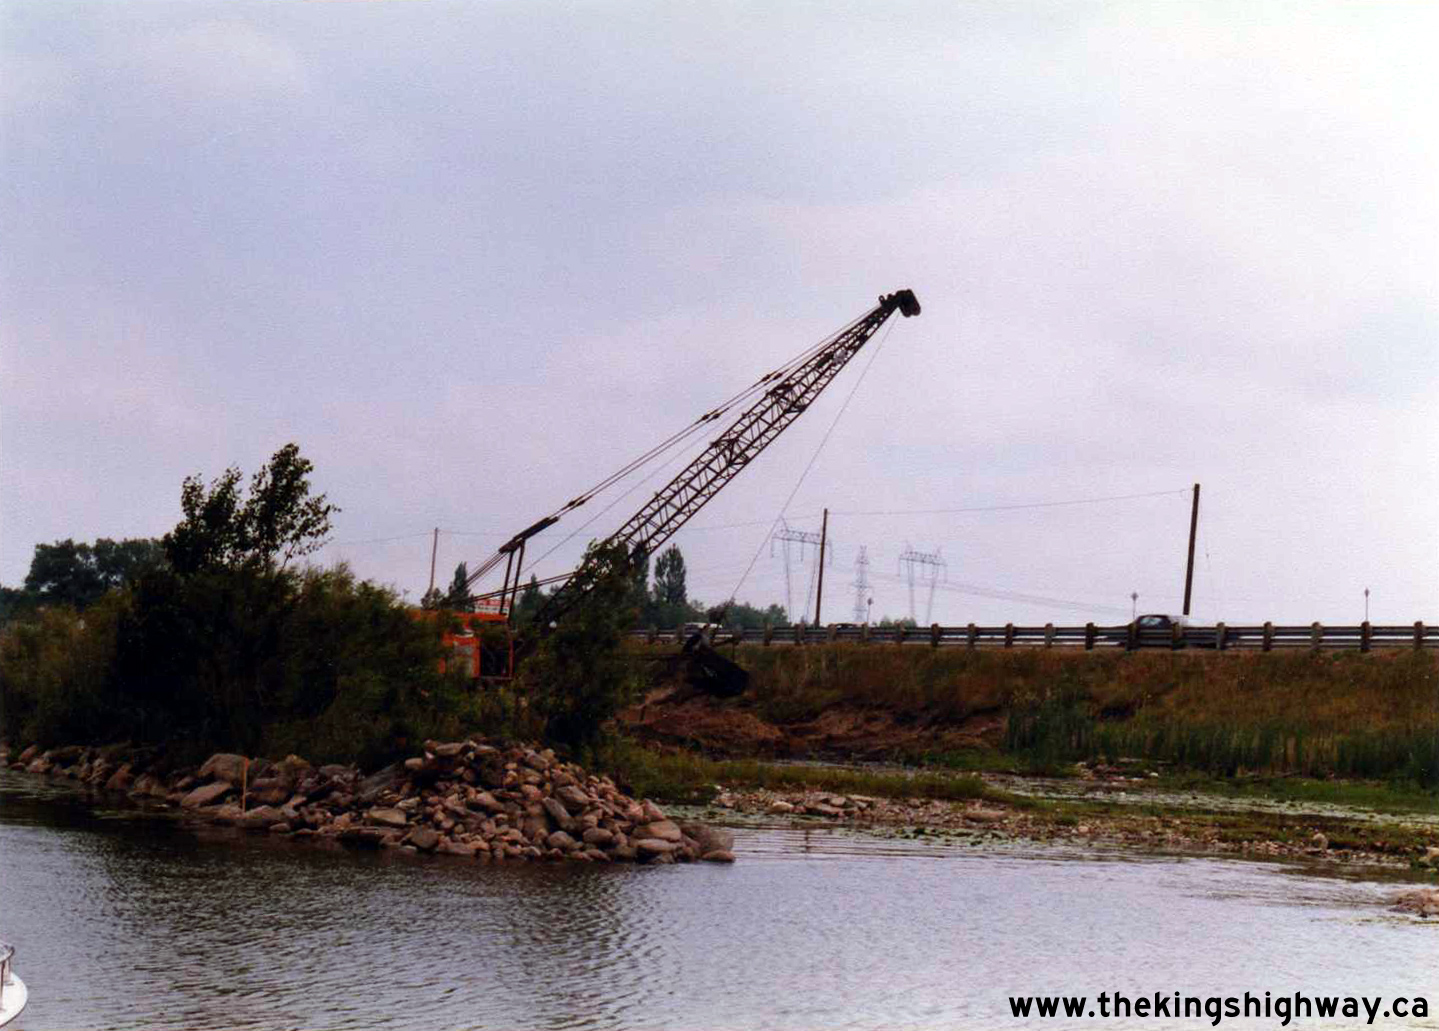
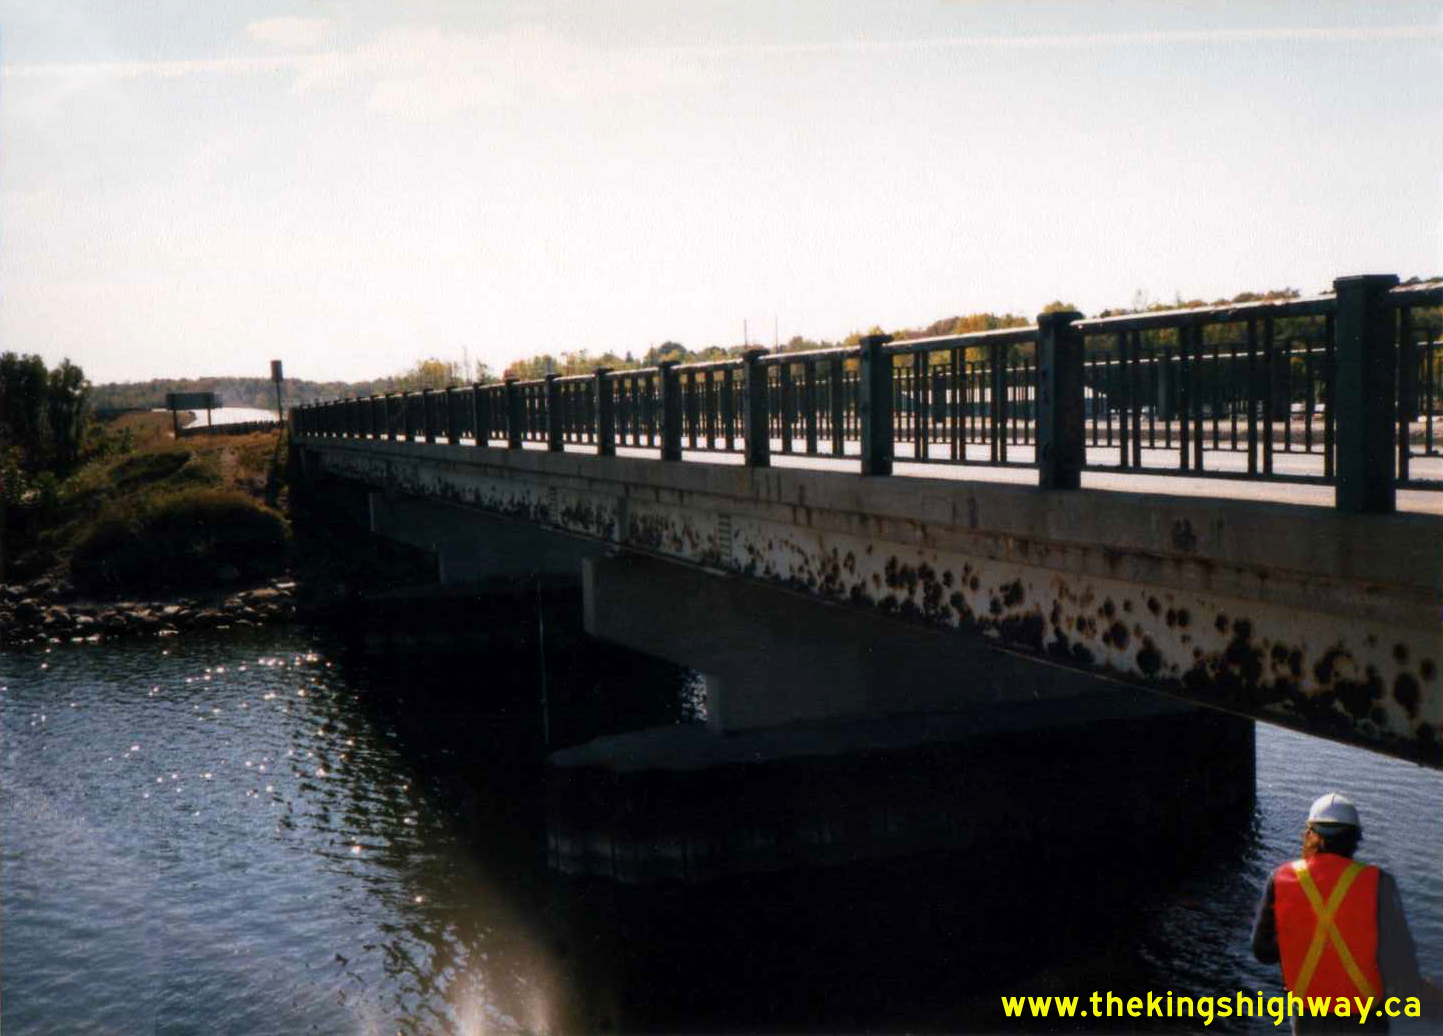
time before the highway was built on top of it. See an Enlarged Photo Here. Photo taken in 1988. (Photo courtesy of Ontario Ministry of Transportation - © King's Printer for Ontario, 2012) Right - Clearing and grubbing operations under Contract #1987-04 for the future southbound Hwy 400 structure over Matchedash Bay in Waubaushene in 1988. In the background, Hwy 69 traffic is still using the existing Matchedash Bay Bridge, which now forms today's northbound lanes of Hwy 400. Construction began on the southbound structure over Matchedash Bay under Contract #1989-58, just over a year after this photo was taken. See an Enlarged Photo Here. Photo taken in 1988. (Photo courtesy of Ontario Ministry of Transportation - © King's Printer for Ontario, 2012) 
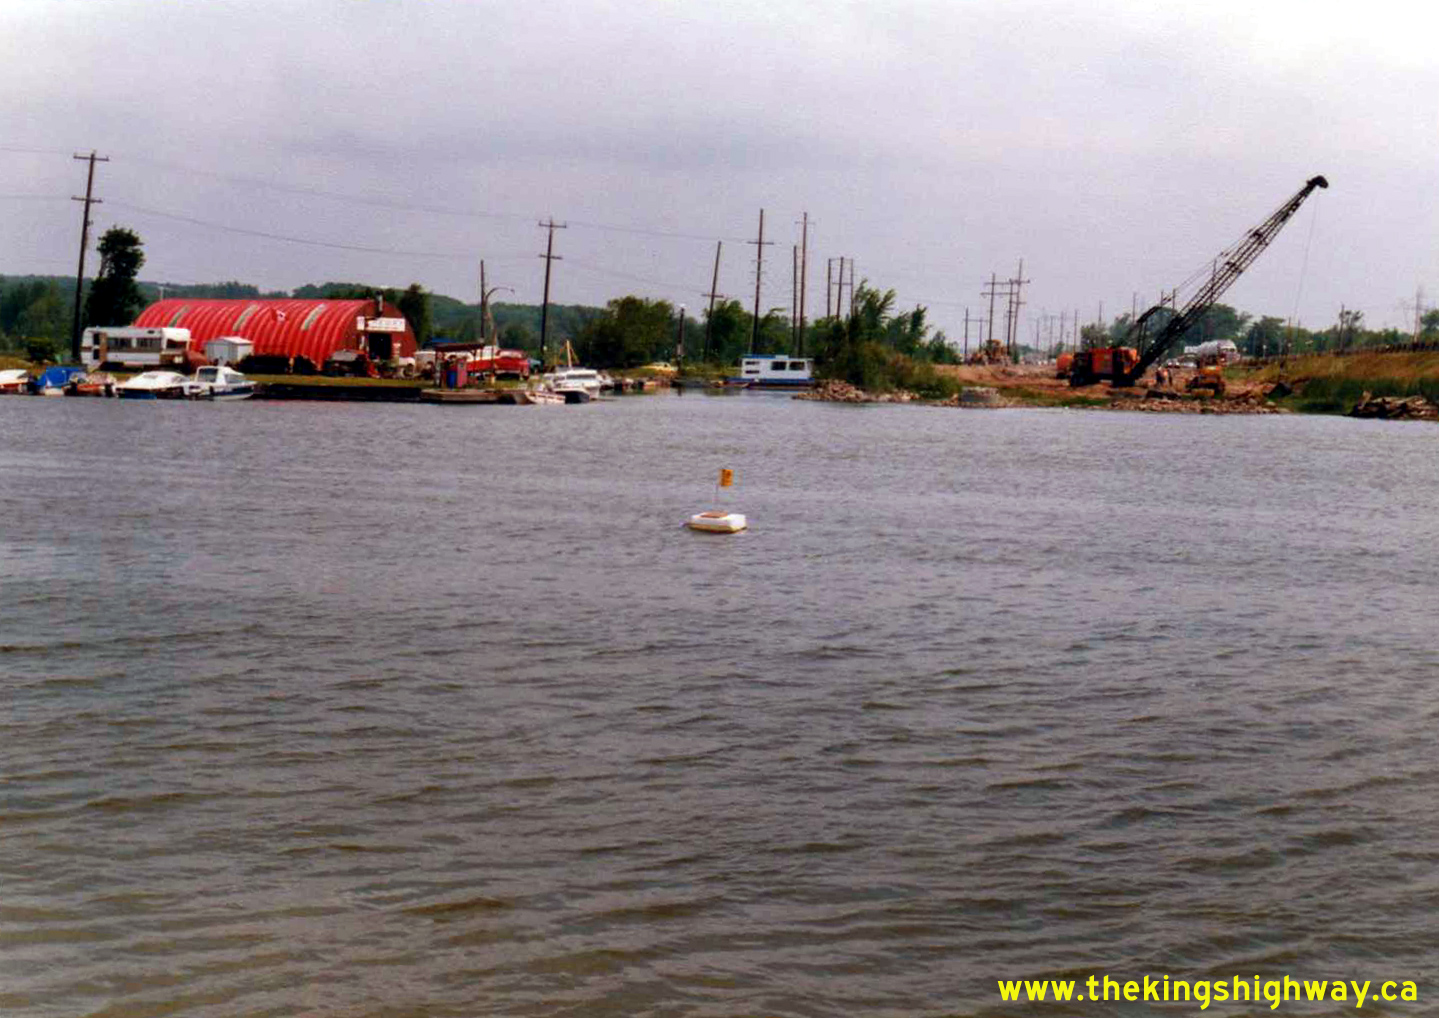
Left - Advance grading for the proposed southbound structure over Matchedash Bay on Hwy 69 (today's Hwy 400) in Waubaushene in 1988. Following placement of the
approach fill to the bridge site, the fill was allowed to settle for about a year before any work commenced on the structure itself. See an
Enlarged Photo Here. Photo taken in 1988. (Photo courtesy of Ontario Ministry of Transportation - © King's Printer for Ontario, 2012) Right - Preparatory work and utility pole relocations for the future construction of the southbound Hwy 400 Matchedash Bay Bridge. See an Enlarged Photo Here. Photo taken in 1988. (Photo courtesy of Ontario Ministry of Transportation - © King's Printer for Ontario, 2012) 

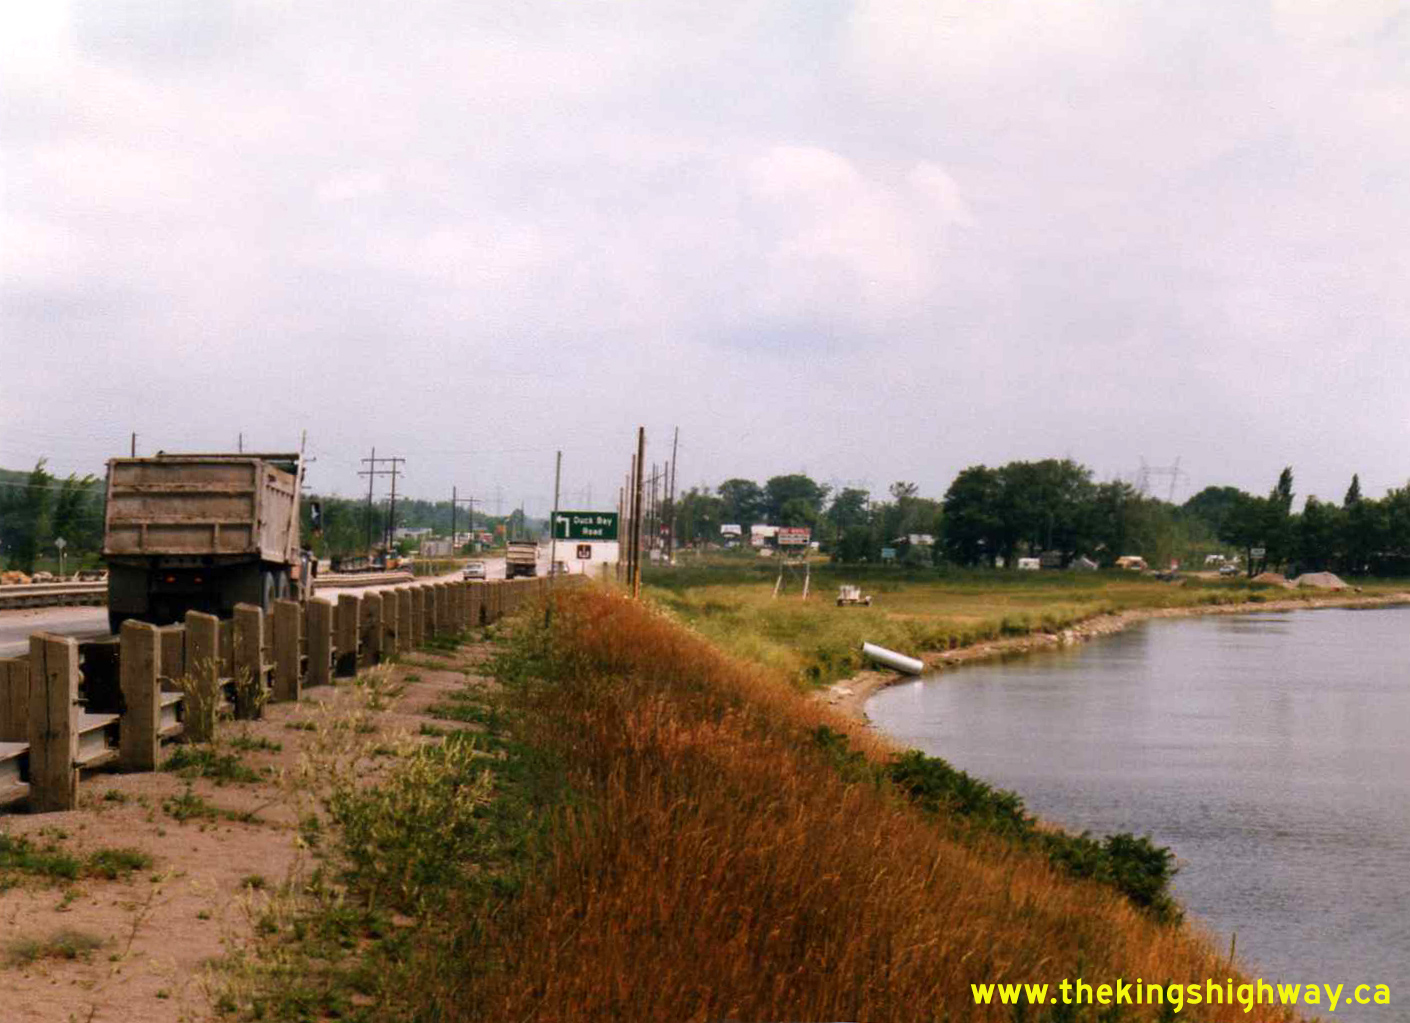
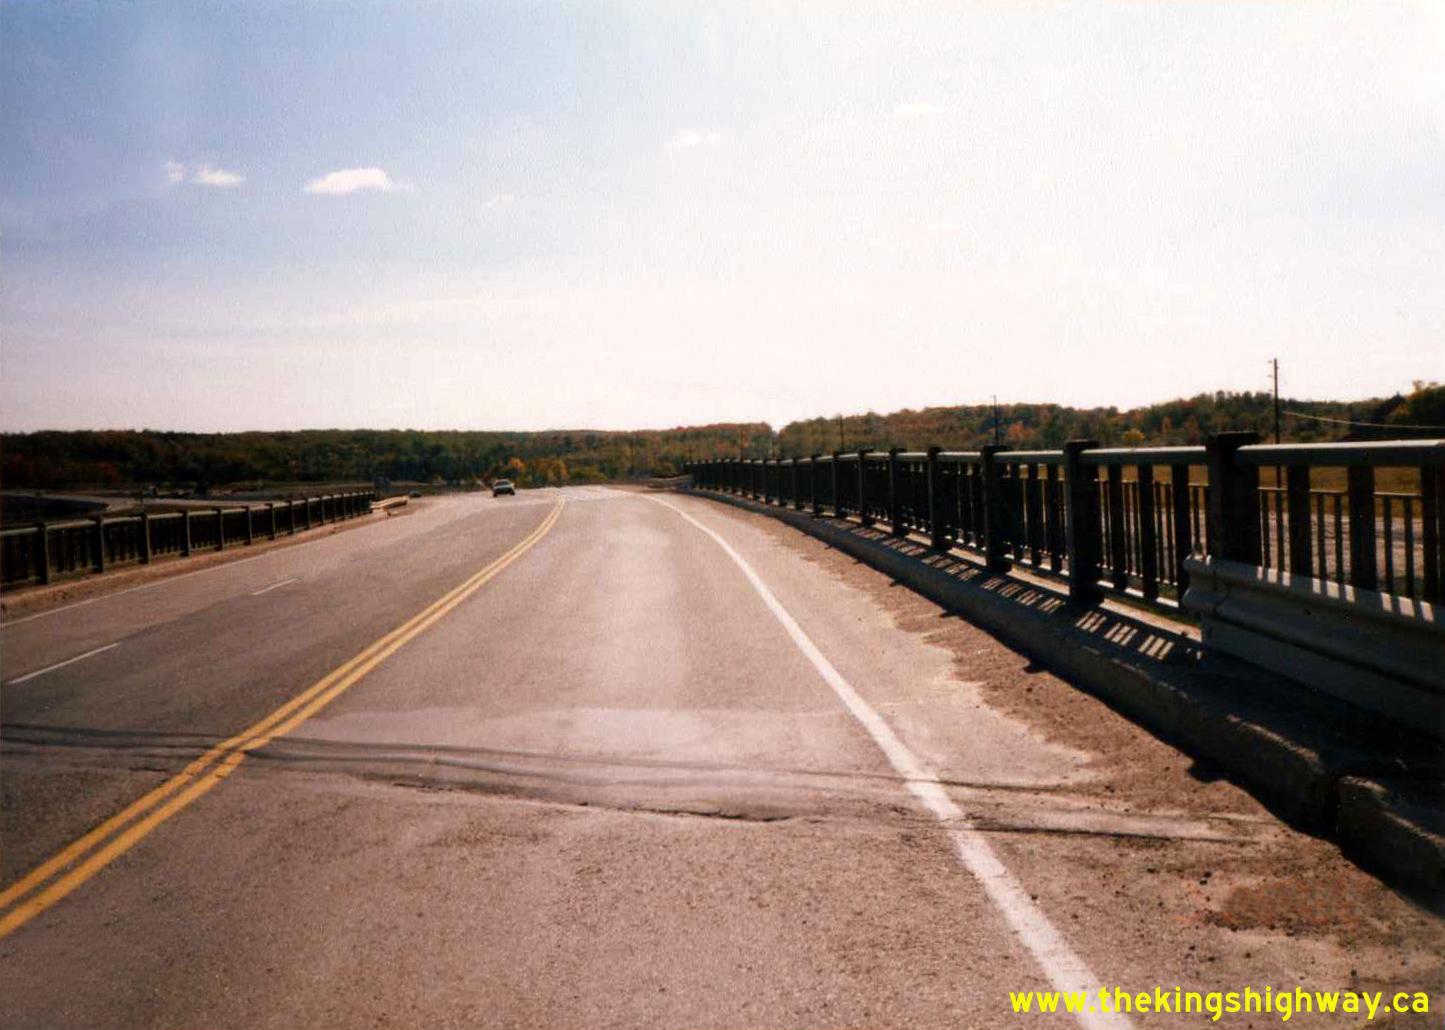
Left - Facing north along Hwy 69 (today's Hwy 400) towards Port Severn from the Matchedash Bay Bridge in Waubaushene in 1988. The existing two-lane highway was
twinned through Waubaushene in the early 1990s. The resulting four-lane Hwy 69 was renumbered as Hwy 400, effective April 1, 1997. Note the advance guide sign in the
background for Duck Bay Road. Prior to the twinning of Hwy 69, there was a connector road between Hwy 69 and adjacent Duck Bay Road. This connector road was closed in
the early 1990s, with local traffic diverted through a new interchange at Quarry Road located about 1 km to the north. Interestingly, Duck Bay Road was the original
route of the Waubaushene-Port Severn Highway (Hwy 103) prior to the construction of the relocated Trans-Canada Highway route in the late 1950s. See an
Enlarged Photo Here. Photo taken in 1988. (Photo courtesy of Ontario Ministry of Transportation - © King's Printer for Ontario, 2012) Right - View of Matchedash Bay from Hwy 69 (today's Hwy 400) in Waubaushene. See an Enlarged Photo Here. Photo taken on September 29, 1988. (Photo courtesy of Ontario Ministry of Transportation - © King's Printer for Ontario, 2012) 

Left - Facing north along Hwy 69 (today's Hwy 400) towards Port Severn at the Matchedash Bay Bridge in Waubaushene. See an
Enlarged Photo Here. Photo taken on September 29, 1988. (Photo courtesy of Ontario Ministry of Transportation - © King's Printer for Ontario, 2012) Right - Eastern side of the Matchedash Bay Bridge on Hwy 69 (today's Hwy 400) at Waubaushene in 1988. As part of the twinning of Hwy 69 between Waubaushene and Port Severn in the early 1990s, the entire superstructure of this bridge had to be replaced. This was due to a required crown shift on the highway pavement and a vertical alignment change necessitated by the vertical clearance requirements of the new northbound Waubaushene CNR Overhead located a short distance to the south. As a result, all Hwy 69 traffic had to be temporarily moved off of this structure and onto the newly-built twin southbound structure across Matchedash Bay, which was completed under Contract #1989-58. However, this temporary diversion of traffic onto the southbound Matchedash Bay structure couldn't take place until the new southbound Waubaushene CNR Overhead was completed. Once the superstructure of the existing Matchedash Bay Bridge had been replaced under Contract #1993-63, the bridge was reopened to carry northbound traffic only, while southbound traffic was left on the new twin southbound structure. The sequencing of construction operations along this section of Hwy 69 & Hwy 400 near Waubaushene was unbelievably complicated! See an Enlarged Photo Here. Photo taken on September 29, 1988. (Photo courtesy of Ontario Ministry of Transportation - © King's Printer for Ontario, 2012) 

Left - Facing south across the Waubaushene CNR Overhead on Hwy 69 (today's Hwy 400) towards the Hwy 12 Interchange. See an
Enlarged Photo Here. Photo taken on September 29, 1988. (Photo courtesy of Ontario Ministry of Transportation - © King's Printer for Ontario, 2012) Right - Western side of the Waubaushene CNR Overhead on Hwy 69 (today's Hwy 400) in 1988, before the highway was twinned. Note the graded fill for the proposed new southbound structure in the foreground. This advance fill placement took place under Contract #1987-04 and was allowed to settle for several years before the southbound carriageway was constructed on top of it. The southbound Waubaushene CNR Overhead was constructed four years later, under Contract #1992-15. Once all traffic had been shifted onto the new southbound structure, the old railway overhead seen here was demolished and replaced with a new structure. Following the completion of the new northbound structure under Contract #1993-63, all four lanes of the highway were opened to traffic between the Hwy 12 Interchange and a point just south of Quarry Road. See an Enlarged Photo Here. Photo taken on September 29, 1988. (Photo courtesy of Ontario Ministry of Transportation - © King's Printer for Ontario, 2012) 

Left - Facing north along Hwy 69 towards Port Severn from the Hwy 12 Interchange in Waubaushene in 1990. Note the construction of the new structure
at left, that will carry the future southbound lanes of the highway. This point marked the southern terminus of Hwy 69 for almost 20 years. The Hwy 12
Interchange also marked the northern terminus of Hwy 400 up until 1997, when Hwy 400 was extended along the completed four-lane section of Hwy 69 from
Waubaushene to the McDonald River, north of Port Severn. See an
Enlarged Photo Here. Photo taken in May 1990. (Photo courtesy of Ontario Ministry of Transportation - © King's Printer for Ontario, 2012) Right - Facing west along Hwy 12 at the Hwy 69 & Hwy 400 Interchange at Waubaushene. Photo taken in May 1990. (Photo courtesy of Ontario Ministry of Transportation - © King's Printer for Ontario, 2012) 

Left - Facing north across the Waubaushene CN Railway Overhead on Hwy 69. Photo taken on June 21, 1990. (Photo courtesy of Ontario Ministry of Transportation - © King's Printer for Ontario, 2012) Right - Old and new Matchedash Bay Bridges on Hwy 69 at Waubaushene. Photo taken on June 21, 1990. (Photo courtesy of Ontario Ministry of Transportation - © King's Printer for Ontario, 2012) 

Left - Facing south along the future southbound lanes of Hwy 69 & Hwy 400 from the Hwy 12 Interchange in Waubaushene. Photo taken on October 17, 1990. (Photo courtesy of Ontario Ministry of Transportation - © King's Printer for Ontario, 2012) Right - Dual structures on Hwy 69 & Hwy 400 at the Hwy 12 Interchange in Waubaushene. Photo taken on October 17, 1990. (Photo courtesy of Ontario Ministry of Transportation - © King's Printer for Ontario, 2012) 

Left - Completed southbound Hwy 69 & Hwy 400 Overpass at the Hwy 12 Interchange in Waubaushene. Photo taken on October 17, 1990. (Photo courtesy of Ontario Ministry of Transportation - © King's Printer for Ontario, 2012) Right - Future southbound lanes of Hwy 69 & Hwy 400, facing north from the Hwy 12 Interchange in Waubaushene. See an Enlarged Photo Here. Photo taken on October 17, 1990. (Photo courtesy of Ontario Ministry of Transportation - © King's Printer for Ontario, 2012) 

Left - Facing east along Hwy 12 towards the completed Hwy 69 & Hwy 400 Interchange in Waubaushene. Photo taken on August 17, 1992. (Photo courtesy of Ontario Ministry of Transportation - © King's Printer for Ontario, 2012) Right - Facing south along the new southbound lanes of Hwy 69 & Hwy 400 approaching the Hwy 12 Interchange in Waubaushene. Photo taken on August 17, 1992. (Photo courtesy of Ontario Ministry of Transportation - © King's Printer for Ontario, 2012)
Continue on to Present Day King's Highway 69 Photos: Waubaushene to Hwy 169
|
|---|
Links to Adjacent King's Highway Photograph Pages:
Back to Hwy 69 Historical Photos (1960-1979)
Hwy 69 Photo Index
On to Hwy 69 - Waubaushene to Hwy 169
Back to King's Highway 68 Photos /
King's Highway 69 History /
On to King's Highway 70 Photos
Ontario Highway History - Main Menu / Back to List of Highways Website contents, photos & text © 2002-2026, Cameron
Bevers (Webmaster) - All Rights Reserved / Contact Me
|
|---|