
| 
| |
|
|
This page contains present day photos (Year 2000 to date) of Ontario's King's Highway 6, arranged by location from Caledonia
northerly to Hamilton. All photographs displayed on this page were taken by the Webmaster (Cameron Bevers), unless specifically noted otherwise. Click on any
thumbnail to see a larger image!
Please note that all photographs displayed on this
website are protected by copyright. These photographs must not be reproduced, published,
electronically stored or copied, distributed, or posted onto other websites without
my written permission. If you want to use photos from this website, please
email me first for permission. Thank-you!
|
|---|
|
Page 6: Present Day King's Highway 6 Photographs (Caledonia to Hamilton)


Left - Inscription on culvert north of Caledonia - "ONTARIO PROVINCIAL HIGHWAY 1922". See an
Enlarged Photo Here. (Photograph taken on May 7, 2005 - © Cameron Bevers) Right - Start of Hwy 6 (New) at the existing route of Hwy 6 south of Mount Hope. This January 2004 photograph shows the graded Hwy 6 alignment nearing completion, about 10 months prior to the opening of the new route of Hwy 6 through Hamilton. See an Enlarged Photo Here. (Photograph taken on January 25, 2004 - © Cameron Bevers) 

Left - Hwy 6 (New) facing south from White Church Road. See an
Enlarged Photo Here. (Photograph taken on January 25, 2004 - © Cameron Bevers) Right - Facing south along Hwy 6 (New) from the completed White Church Road Overpass. See an Enlarged Photo Here. (Photograph taken on September 19, 2004 - © Cameron Bevers) 

Left - White Church Road Overpass on Hwy 6 (New) under construction in early 2004. See an
Enlarged Photo Here. (Photograph taken on January 25, 2004 - © Cameron Bevers) Right - Facing north along Hwy 6 (New) at the future White Church Road Overpass. See an Enlarged Photo Here. (Photograph taken on January 25, 2004 - © Cameron Bevers) 

Left - Hwy 6 (New) facing north from the completed White Church Road Overpass. See an
Enlarged Photo Here. (Photograph taken on September 19, 2004 - © Cameron Bevers) Right - Graded right-of-way for Hwy 6 (New) as seen from the Glancaster Road Overpass. See an Enlarged Photo Here. (Photograph taken on January 25, 2004 - © Cameron Bevers) 

Left - Facing south along Hwy 6 (New) from the Glancaster Road Overpass in September 2004, showing the completed paving operations roughly two months prior to
the highway's opening. See an Enlarged Photo Here. (Photograph taken on September 19, 2004 - © Cameron Bevers) Right - Facing north from the Glancaster Road Overpass, showing the graded right-of-way of Hwy 6 (New). See an Enlarged Photo Here. (Photograph taken on January 25, 2004 - © Cameron Bevers) 

Left - Hwy 6 (New) facing north from the Glancaster Road Overpass, showing the completed pavement. See an
Enlarged Photo Here. (Photograph taken on September 19, 2004 - © Cameron Bevers) Right - Facing west along Book Road at the future junction of Hwy 6 (New). See an Enlarged Photo Here. (Photograph taken on January 25, 2004 - © Cameron Bevers) 
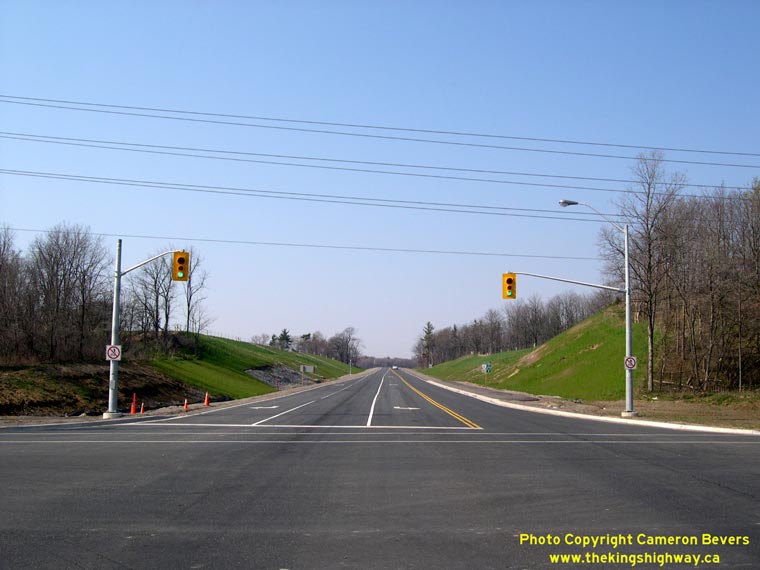
Left - Facing north along the future route of Hwy 6 (New) from Book Road south of Ancaster. See an
Enlarged Photo Here. (Photograph taken on January 25, 2004 - © Cameron Bevers) Right - Hwy 6 (New) facing north from Book Road in 2005, showing the completed highway. This is the only signalized intersection along Hwy 6 (New), apart from the traffic signals at Upper James Street at the southern end of the new highway diversion. See an Enlarged Photo Here. (Photograph taken on May 7, 2005 - © Cameron Bevers) 

Left - Facing south towards Book Road along the future route of Hwy 6 (New). See an
Enlarged Photo Here. (Photograph taken on January 25, 2004 - © Cameron Bevers) Right - Hwy 6 (New) facing south from Book Road in 2005, showing the completed highway. See an Enlarged Photo Here. (Photograph taken on May 7, 2005 - © Cameron Bevers) 

Left - Facing south along a divided portion of Hwy 6 (New) near Garner Road (Former Hwy 53). See an
Enlarged Photo Here. (Photograph taken on September 19, 2004 - © Cameron Bevers) Right - Dual underpasses at Garner Road (Former Hwy 53), facing south along Hwy 6 (New) towards Hamilton Airport. See an Enlarged Photo Here. (Photograph taken on September 19, 2004 - © Cameron Bevers) 

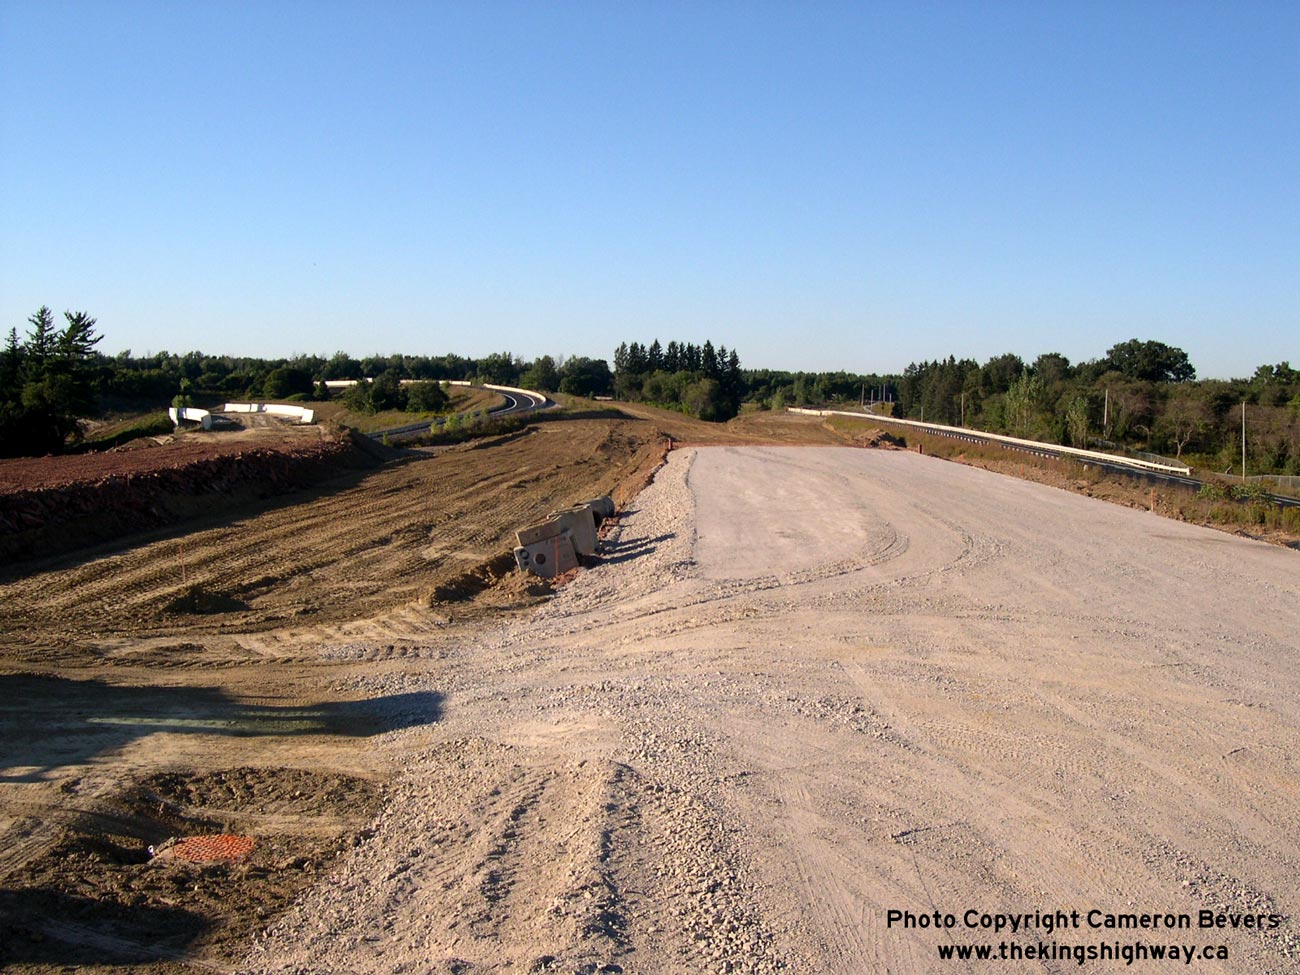
Left - Future northbound lanes of Hwy 6 (New) facing north from Garner Road (Former Hwy 53). See an
Enlarged Photo Here. (Photograph taken on September 19, 2004 - © Cameron Bevers) Right - Southbound lanes of Hwy 6 (New) under construction north of Garner Road (Former Hwy 53). See an Enlarged Photo Here. (Photograph taken on September 19, 2004 - © Cameron Bevers) 
Above - Hwy 6 (New) facing north towards Hwy 403 from the Garner Road (Former Hwy 53) Underpass. See an
Enlarged Photo Here. (Photograph taken on September 19, 2004 - © Cameron Bevers)
Continue on to King's Highway 6 Photos: Hamilton to Freelton
|
|---|
Links to Adjacent King's Highway Photograph Pages:
Back to King's Highway 5 Photos /
King's Highway 6 History /
On to King's Highway 7 Photos
Ontario Highway History - Main Menu / Back to List of Highways Website contents, photos & text © 2002-2026, Cameron
Bevers (Webmaster) - All Rights Reserved / Contact Me
|
|---|