
| 
| |
|
|
This page contains present day photos (Year 2000 to date) of Ontario's King's Highway 89, arranged by location from Shelburne
easterly to Hwy 11. All photographs displayed on this page were taken by the Webmaster (Cameron Bevers), unless specifically noted otherwise. Click on any
thumbnail to see a larger image!
Please note that all photographs displayed on this
website are protected by copyright. These photographs must not be reproduced, published,
electronically stored or copied, distributed, or posted onto other websites without
my written permission. If you want to use photos from this website, please
email me first for permission. Thank-you!
|
|---|
|
Page 4: Present Day King's Highway 89 Photographs (Shelburne to Hwy 11)
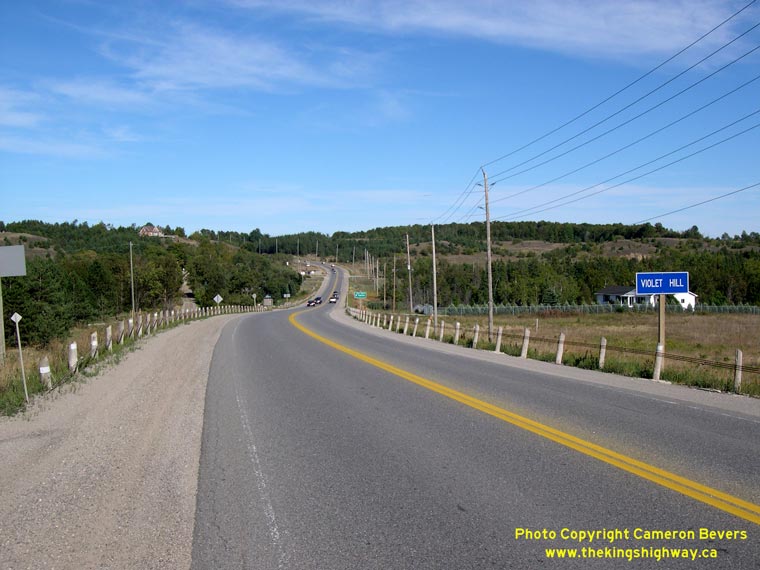
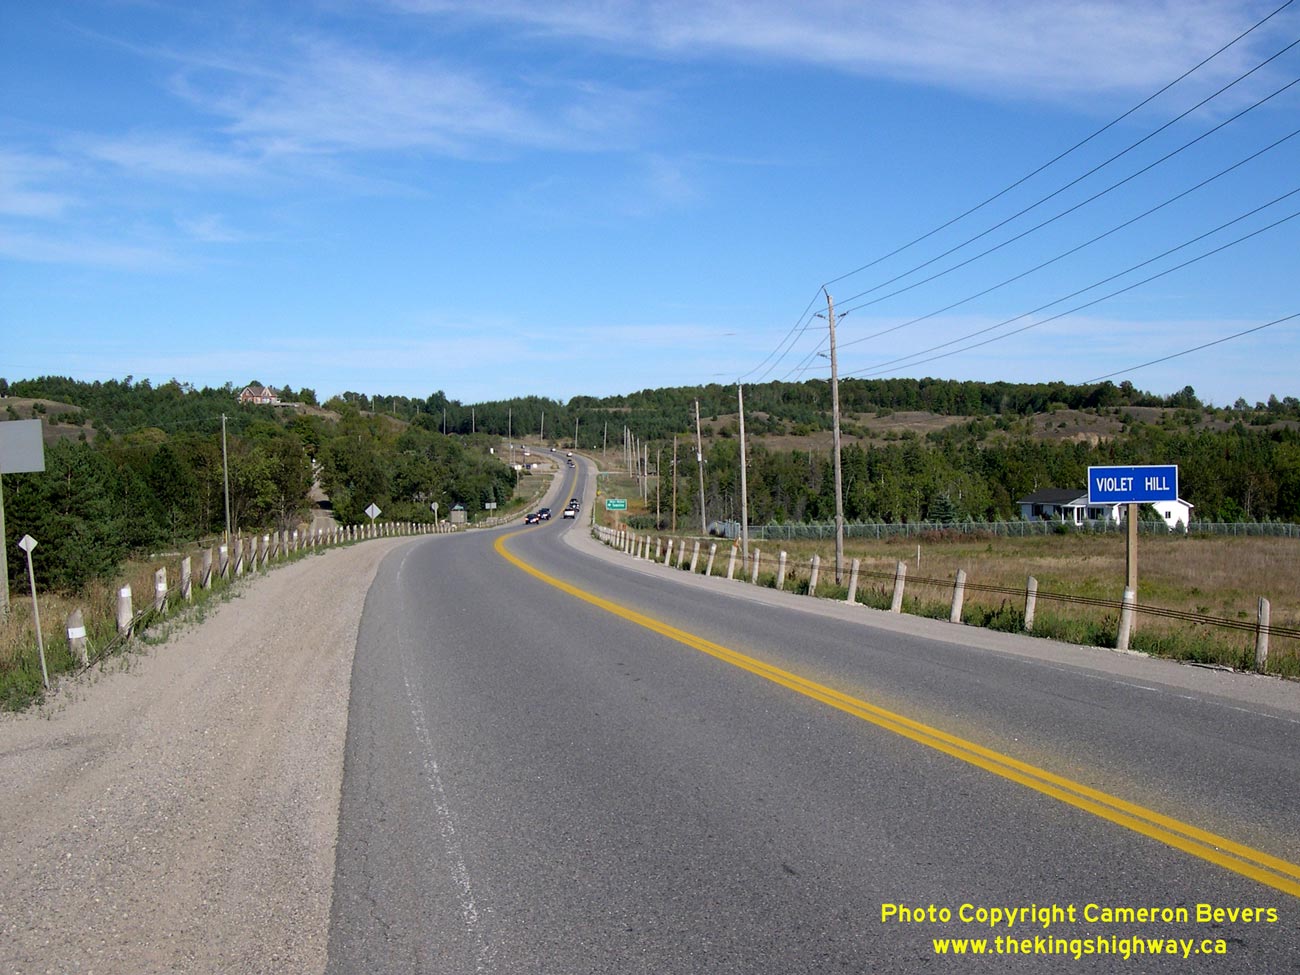
Left - Facing east along Hwy 89 approaching Violet Hill. See an Enlarged Photo here. (Photograph taken on September 8, 2007 - © Cameron Bevers) Right - Former alignment of Hwy 89 through Violet Hill. Several original sections of Hwy 89 such as this one were bypassed during highway improvement projects in the 1940s and 1950s between Primrose and Alliston. The current route of Hwy 89 can be seen off to the right. (Photograph taken on September 8, 2007 - © Cameron Bevers) 
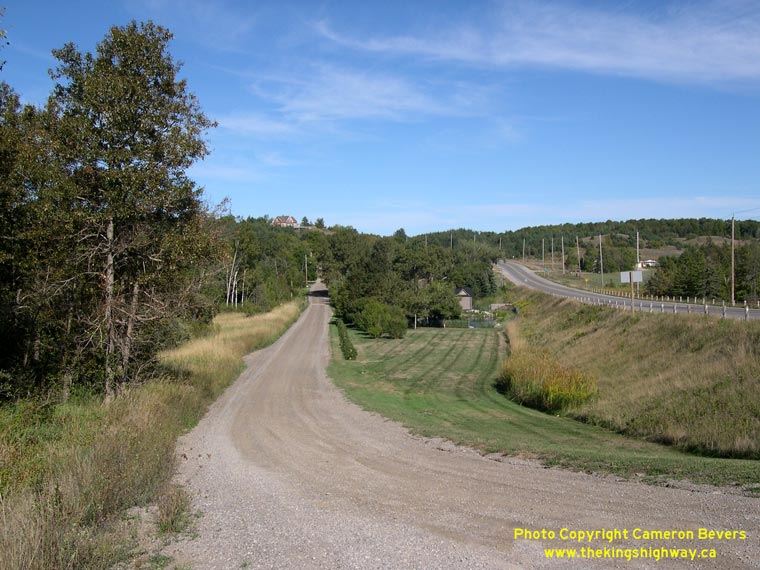
Left - Facing east along a former alignment of Hwy 89 between Violet Hill and Airport Road. (Photograph taken on September 8, 2007 - © Cameron Bevers) Right - The former alignment of Hwy 89 joins back up with the current route of Hwy 89 near Airport Road. The current route of Hwy 89 bypasses a steep hill on the original road. The old route of Hwy 89 now serves as an access road to a roadside picnic area. (Photograph taken on September 8, 2007 - © Cameron Bevers) 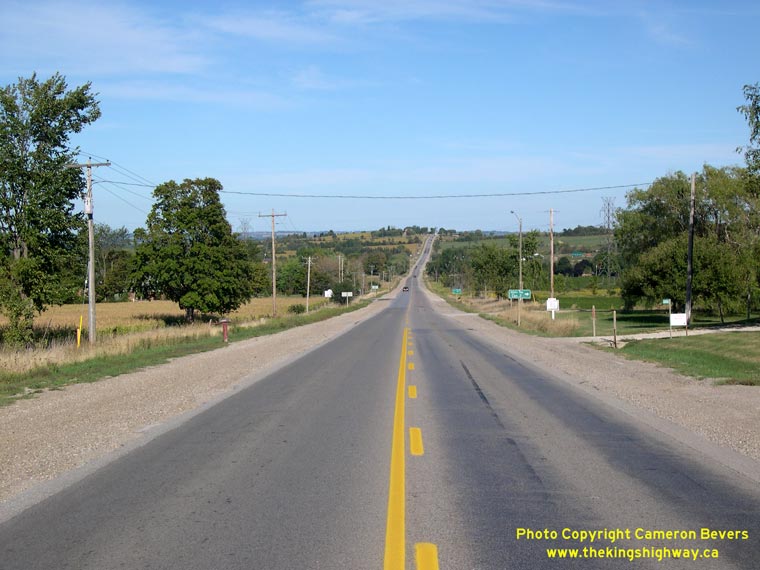
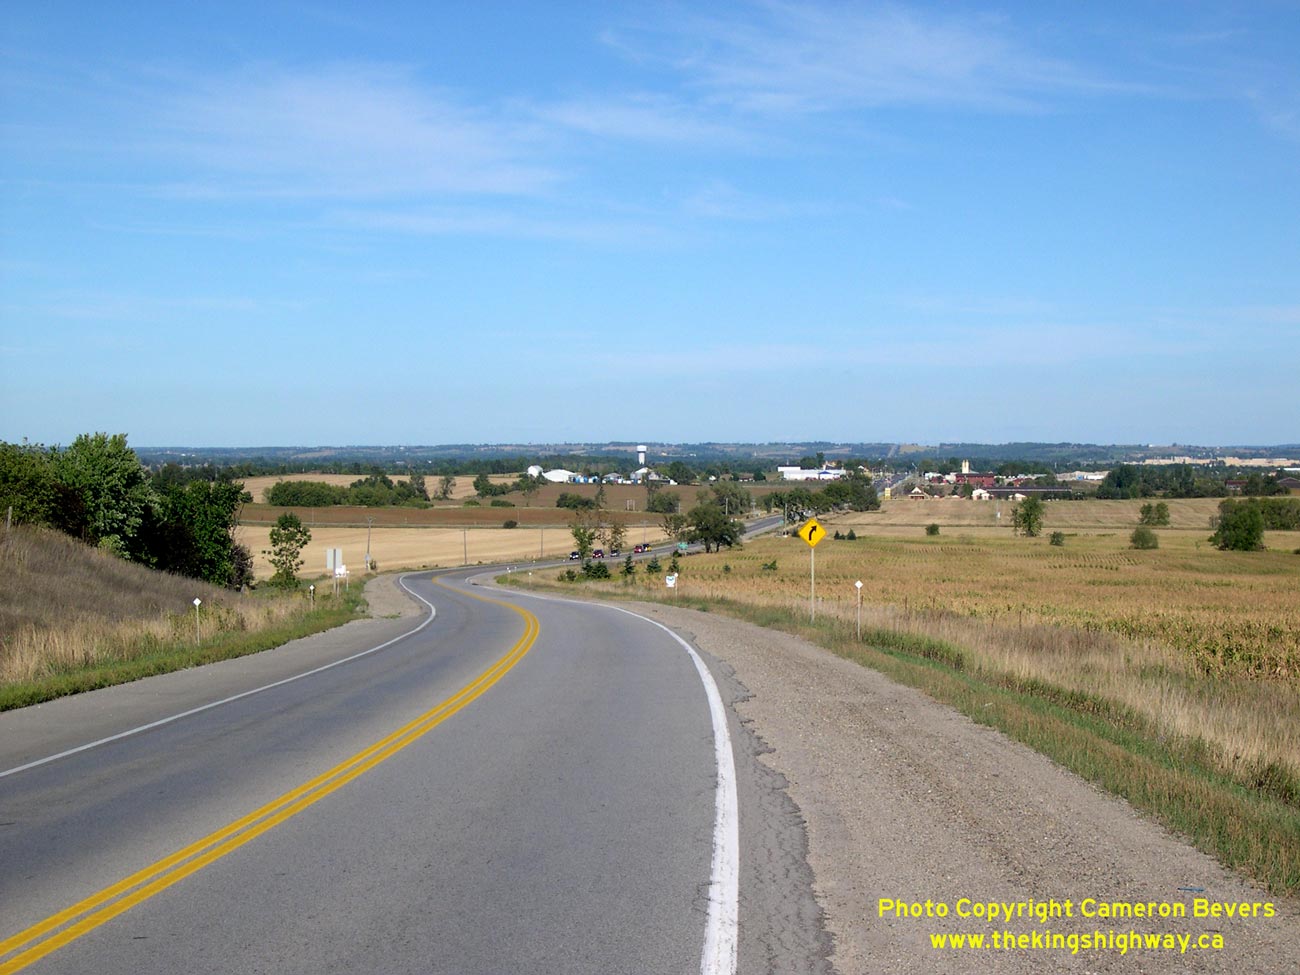
Left - Facing east along Hwy 89 towards Alliston from Rosemount. There are many dramatic vistas such as this one on Hwy 89 between Primrose and
Cookstown. This section of Hwy 89 is one of Southern Ontario's most scenic highways. See an
Enlarged Photo here. (Photograph taken on September 8, 2007 - © Cameron Bevers) Right - Old alignment of Hwy 89 west of Alliston at Church Hill. (Photograph taken on December 28, 2003 - © Cameron Bevers) 

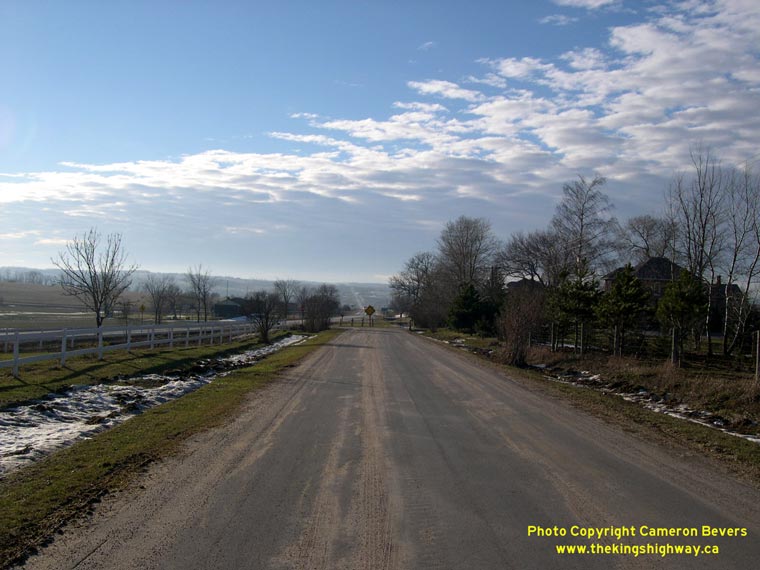
Left - Descending Church Hill on Hwy 89 west of Alliston. See an
Enlarged Photo here. (Photograph taken on September 8, 2007 - © Cameron Bevers) Right - Facing east along Hwy 89 from Church Hill towards the Hwy 50 Junction near Alliston. See an Enlarged Photo here. (Photograph taken on September 8, 2007 - © Cameron Bevers) 
Above - Junction assembly at the Hwy 89 and Simcoe Road 50 (Former Hwy 50) Junction near Alliston. (Photograph taken on September 8, 2007 - © Cameron Bevers) 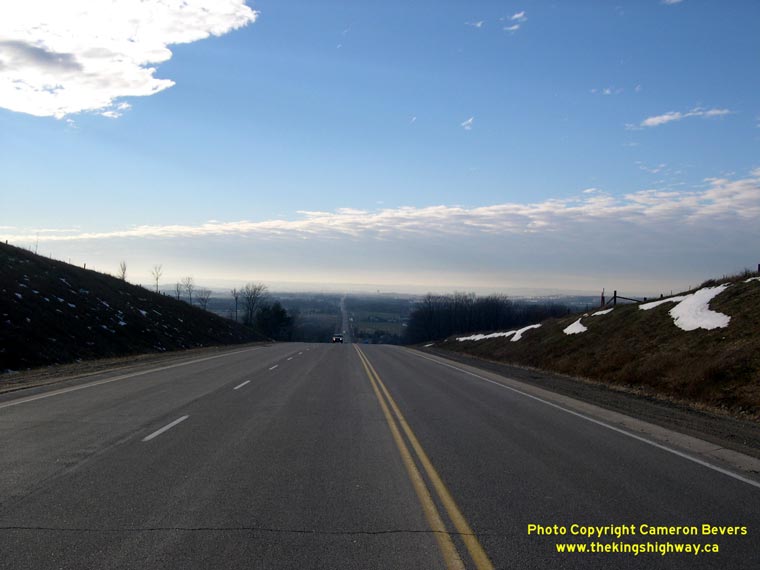
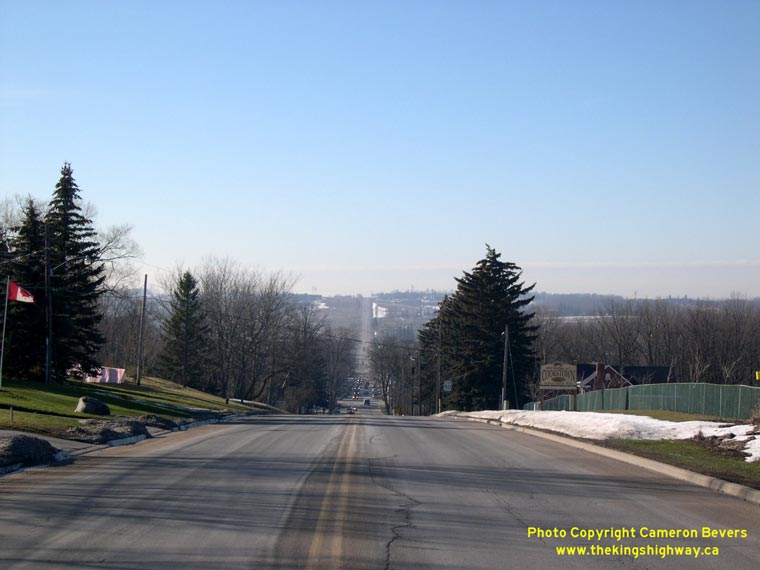
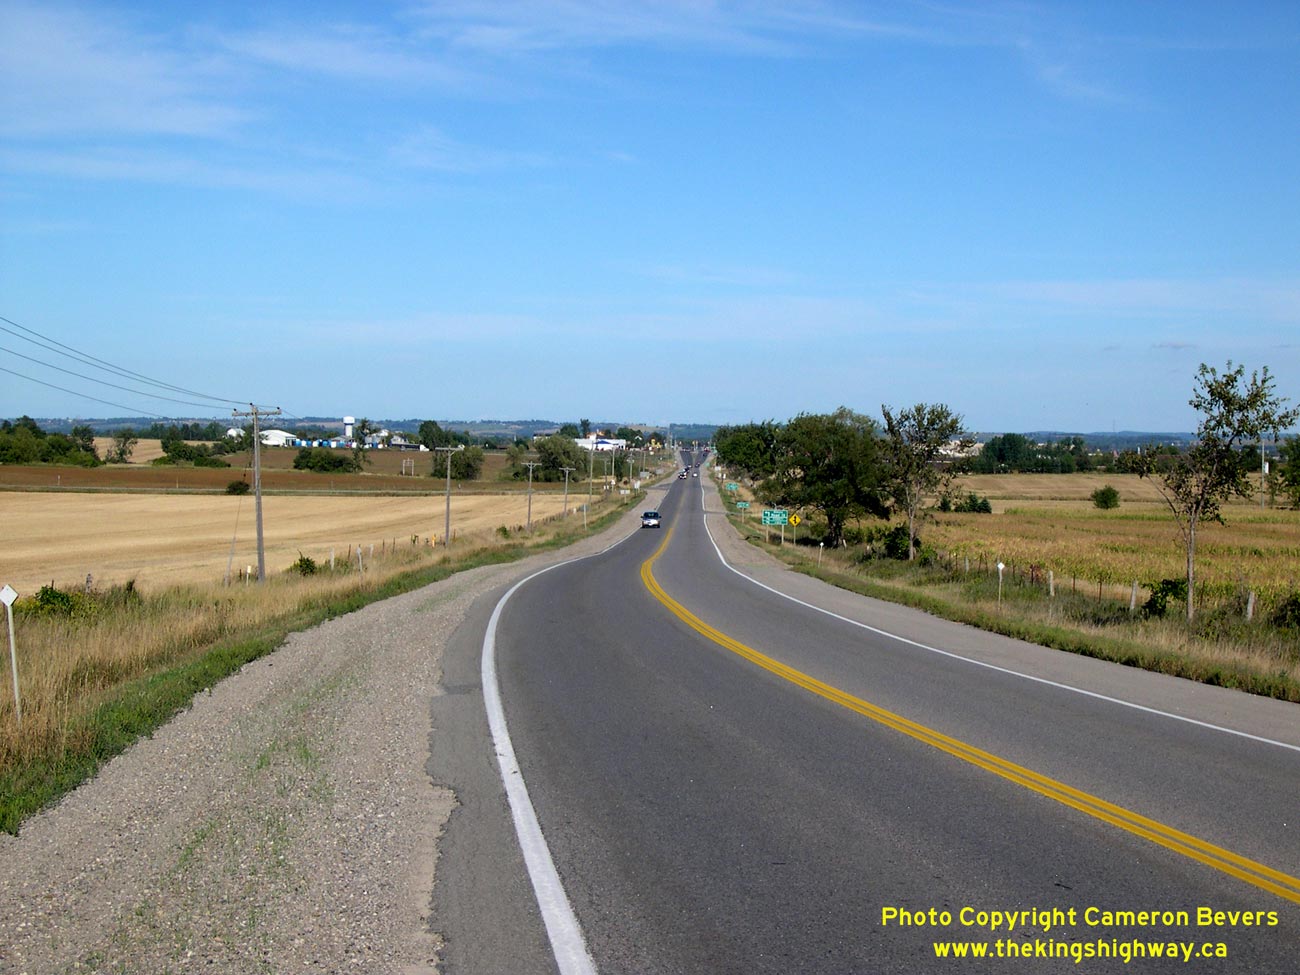
Left - Facing west along Hwy 89 towards Alliston, west of Cookstown. (Photograph taken on December 28, 2003 - © Cameron Bevers) Right - Entering Cookstown on Hwy 89, facing west towards the Hwy 27. (Photograph taken on December 28, 2003 - © Cameron Bevers) 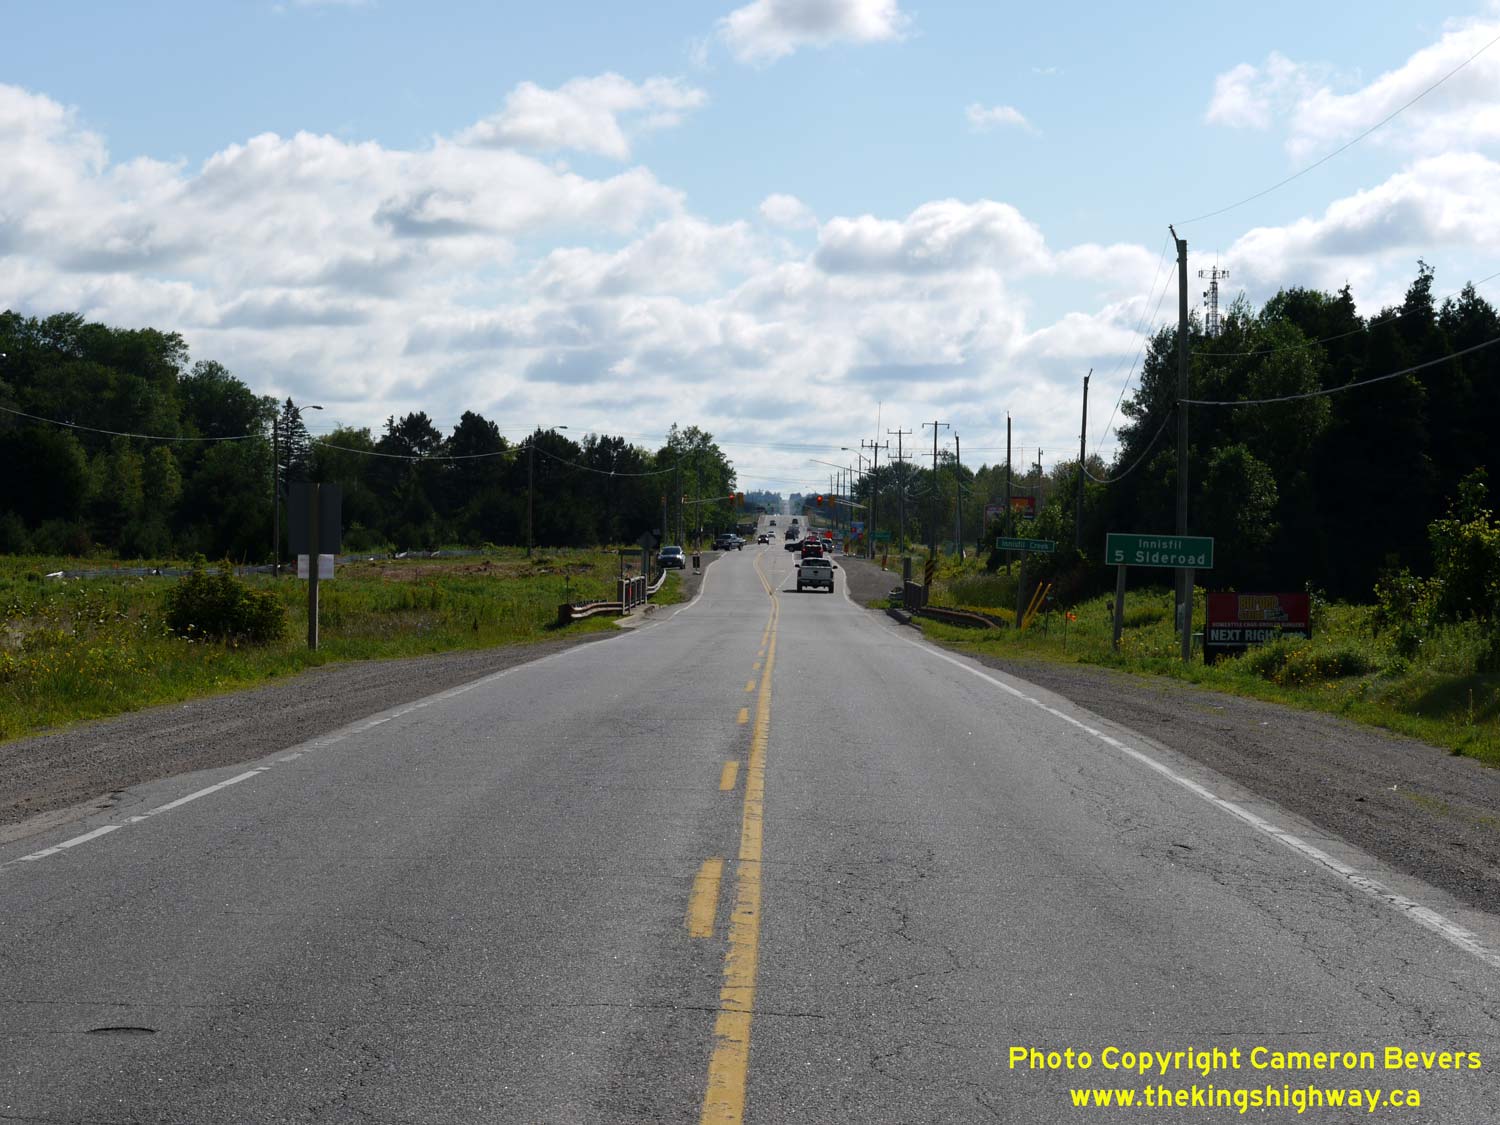
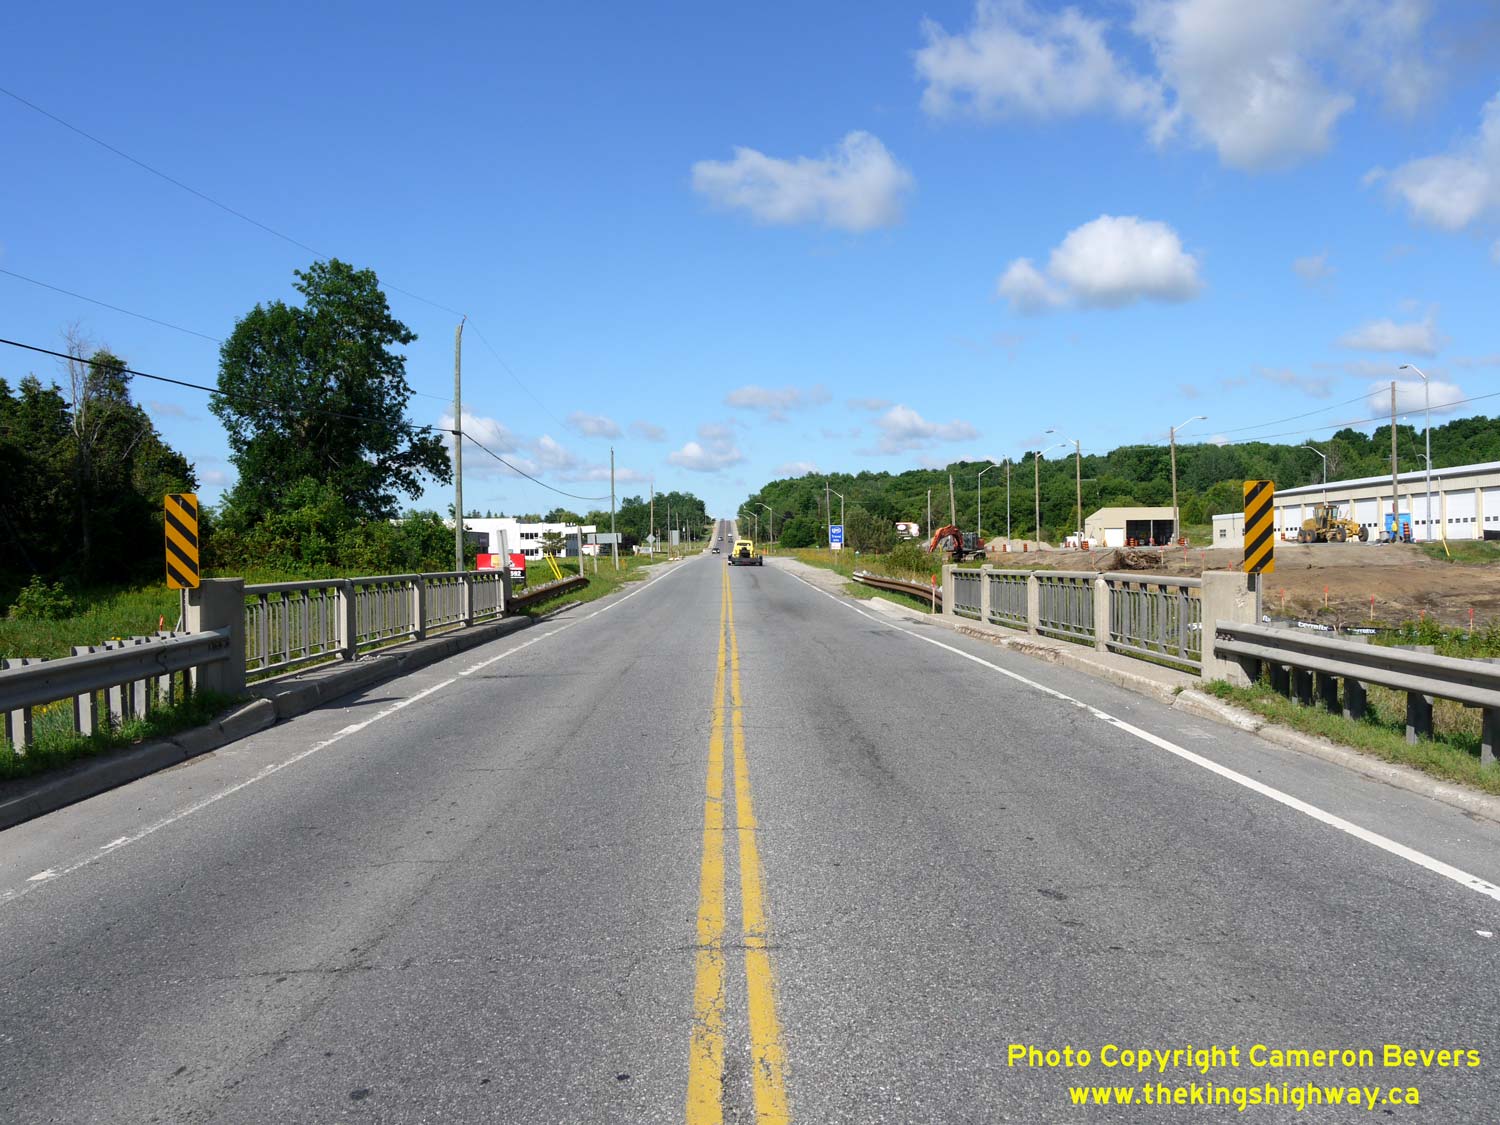
Left - Facing east along Hwy 89 towards the Innisfil Creek Bridge (Glass' Bridge), located about 2 km east of Cookstown. See an
Enlarged Photo here. (Photograph taken on August 1, 2015 - © Cameron Bevers) Right - Northern side of the Innisfil Creek Bridge (Glass' Bridge) on Hwy 89. Note the steel sheet piling installed in the northwest corner to prevent erosion. See an Enlarged Photo here. (Photograph taken on August 1, 2015 - © Cameron Bevers) 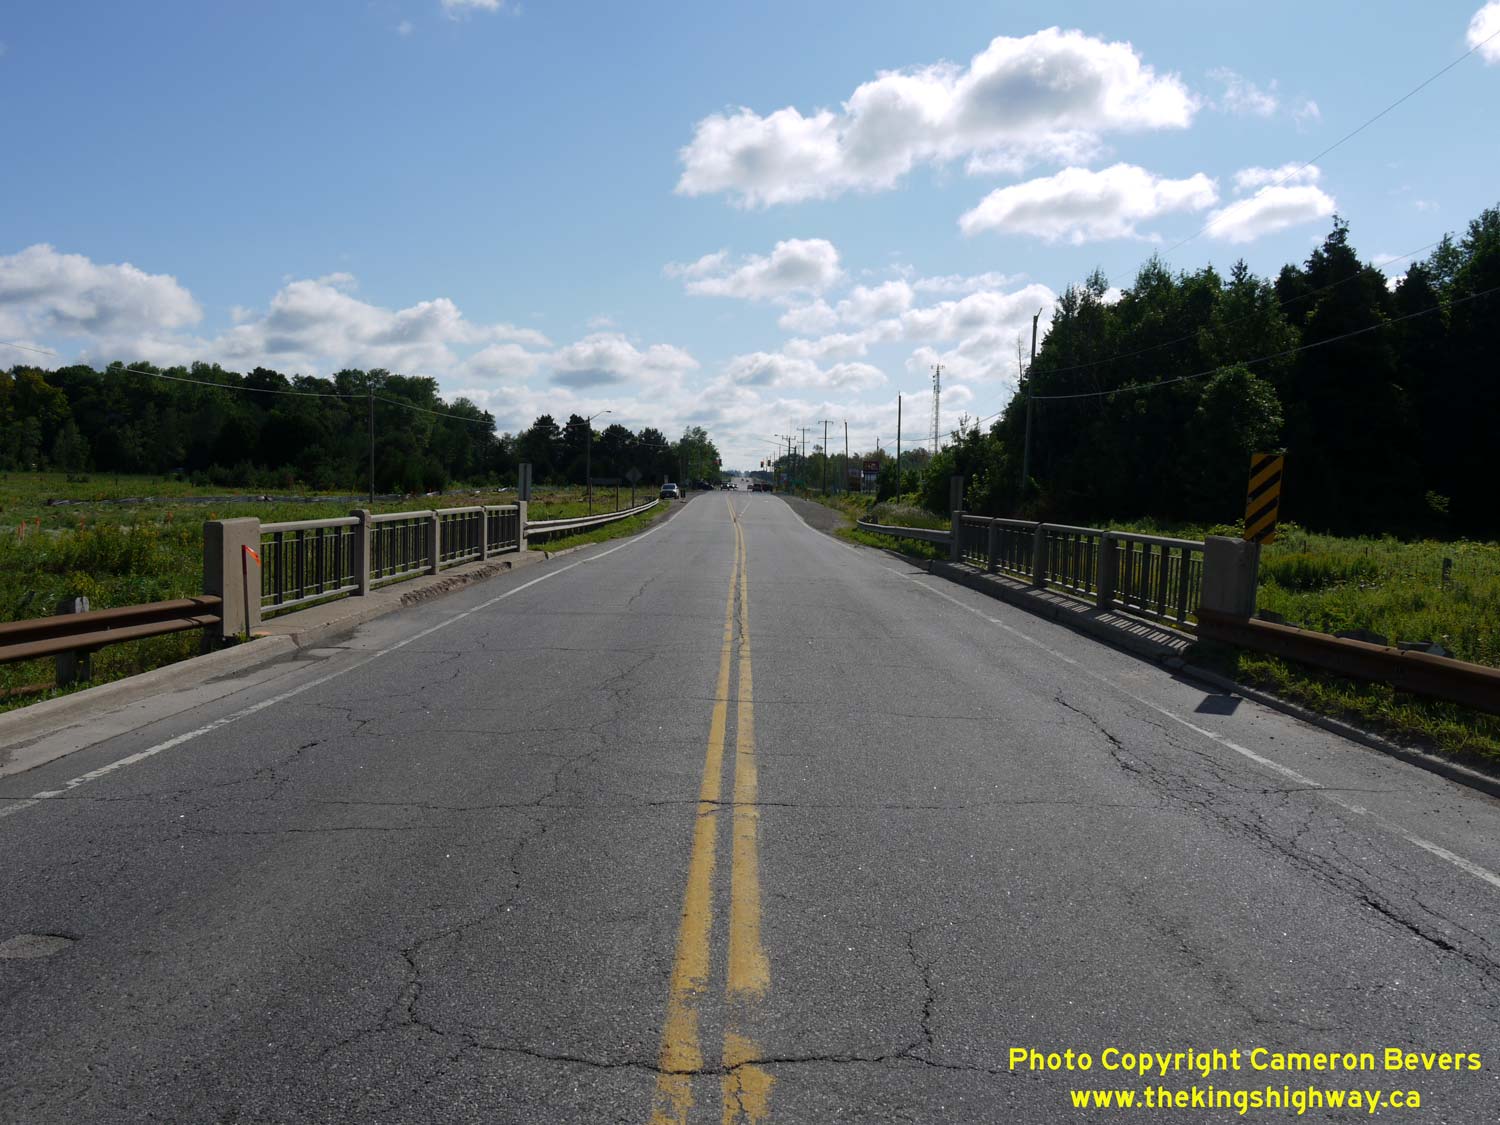
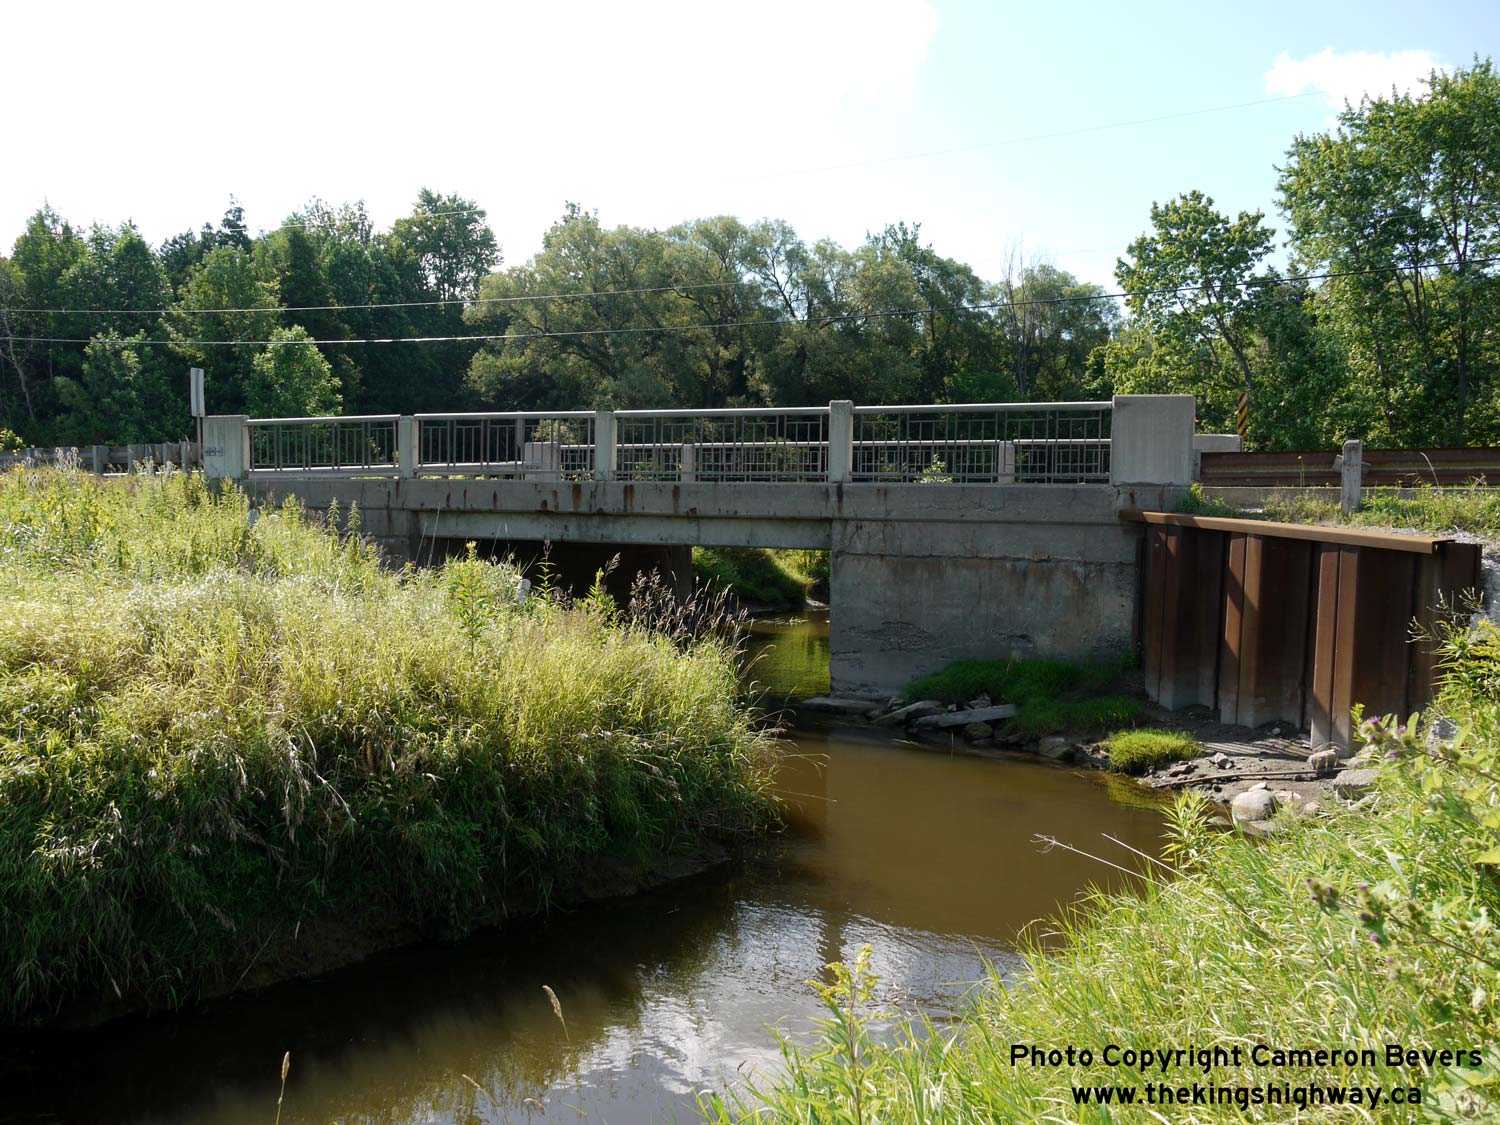
Left - Facing east along Hwy 89 across the Innisfil Creek Bridge (Glass' Bridge). This bridge was actually not constructed by the Department of Highways of
Ontario (DHO), as the bridge was built long before the province assumed ownership of the Cookstown Road as an extension of Hwy 89 in 1963. Glass' Bridge was initially
a township road bridge but was later widened by the County of Simcoe during a road improvement project carried out in the 1950s. See an
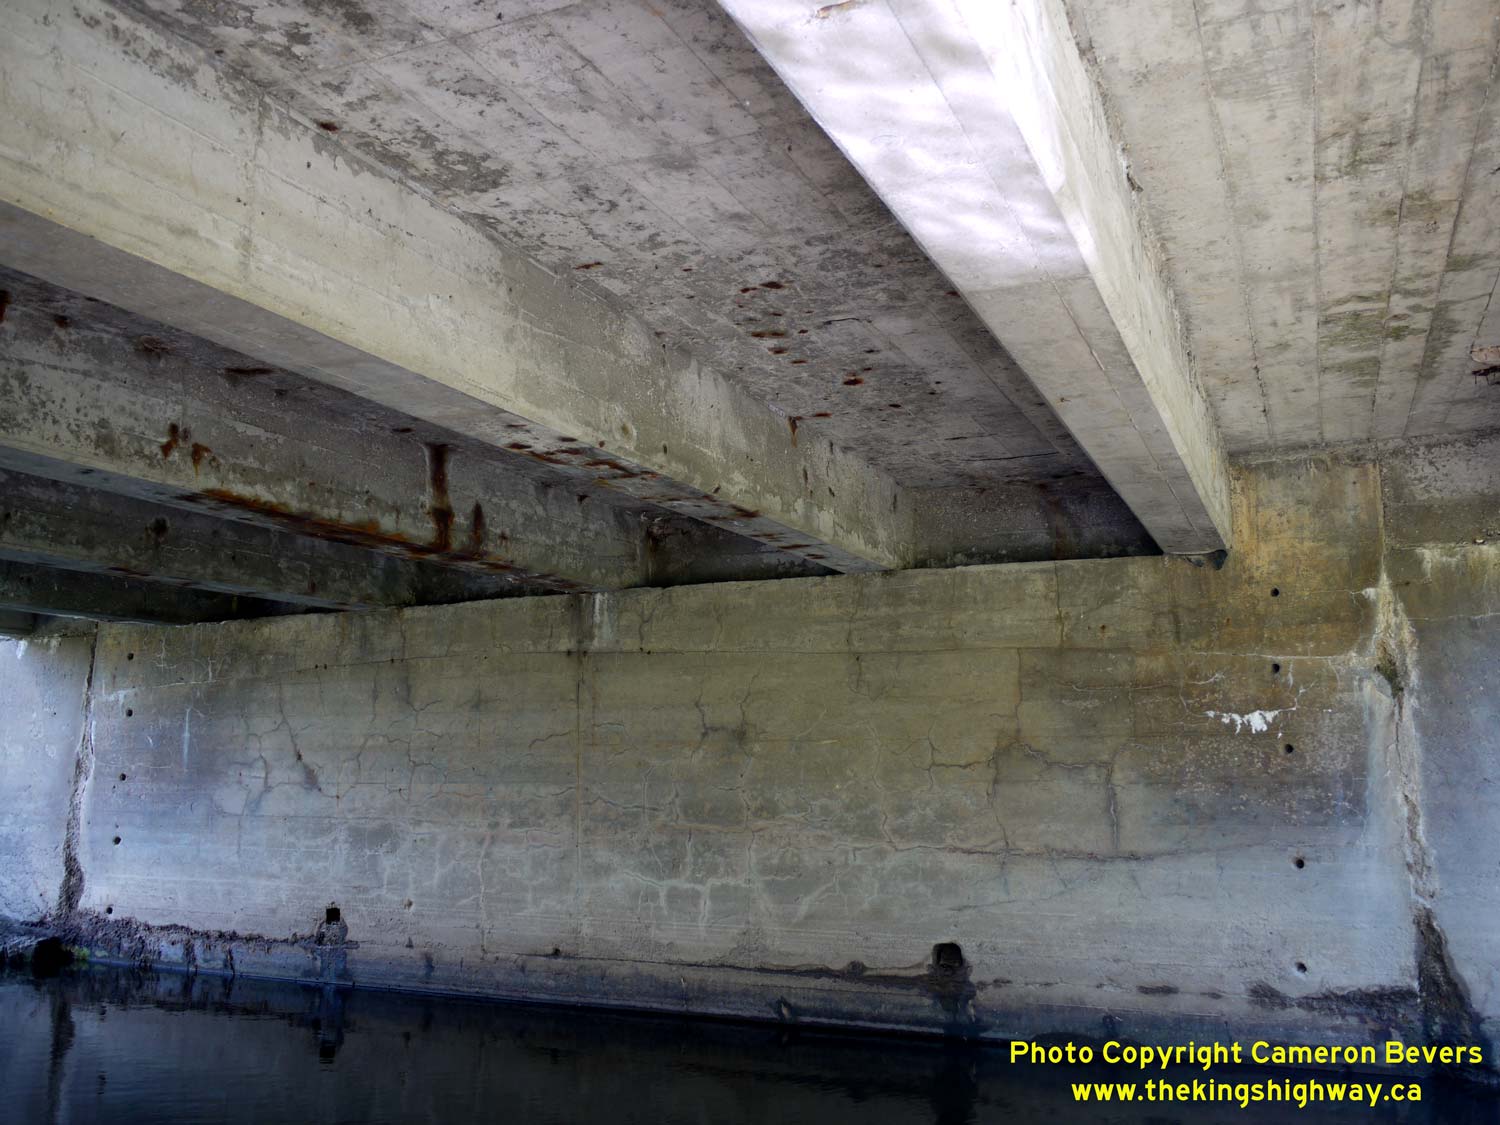
Enlarged Photo here. (Photograph taken on August 1, 2015 - © Cameron Bevers) Right - View of the concrete "T" beam superstructure of the Innisfil Creek Bridge (Glass' Bridge) on Hwy 89 east of Cookstown. The original centre part of Glass' Bridge was constructed in 1913. Extensions were built on both sides of the original bridge in 1957 by the County of Simcoe. See an Enlarged Photo here. (Photograph taken on August 1, 2015 - © Cameron Bevers) 
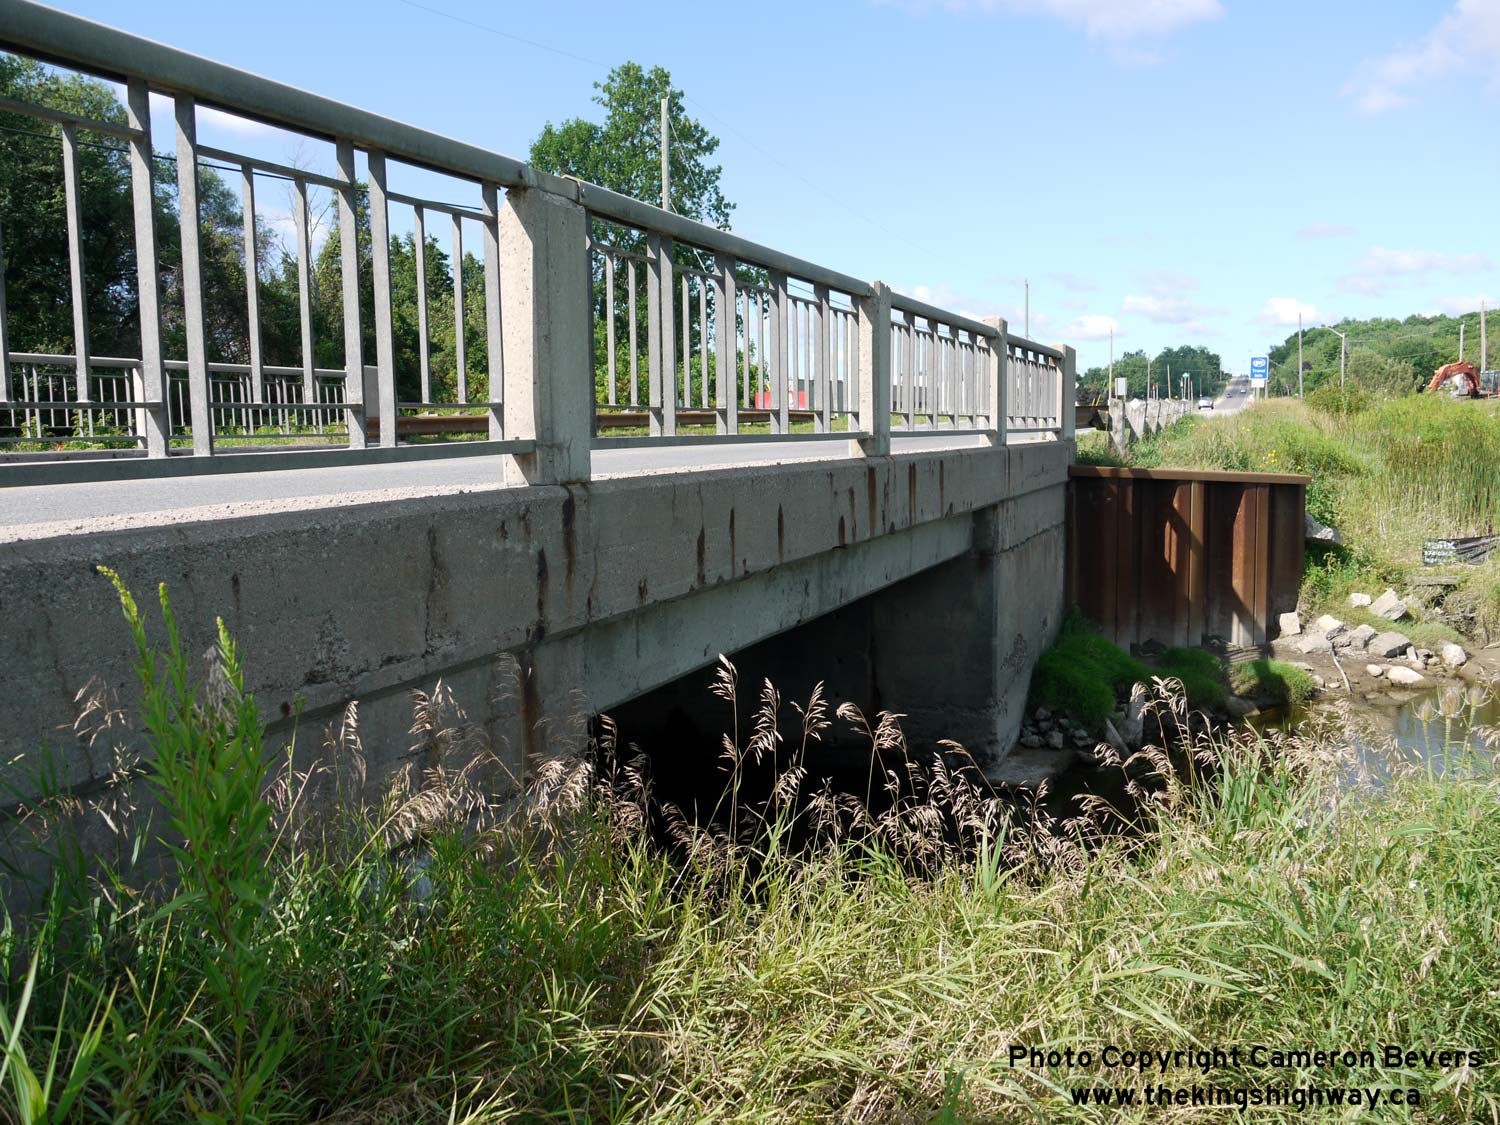
Left - Although the bridge was widened by Simcoe County, the concrete and steel handrail used on the Innisfil Creek Bridge (Glass' Bridge) is consistent with
DHO bridge design standards used in the late 1950s. The DHO took over ownership of this bridge when the Cookstown Road was designated as Hwy 89 in the early 1960s.
See an Enlarged Photo here. (Photograph taken on August 1, 2015 - © Cameron Bevers) Right - Another view of the northern side of the Innisfil Creek Bridge (Glass' Bridge) on Hwy 89 east of Cookstown. See an Enlarged Photo here. (Photograph taken on August 1, 2015 - © Cameron Bevers) 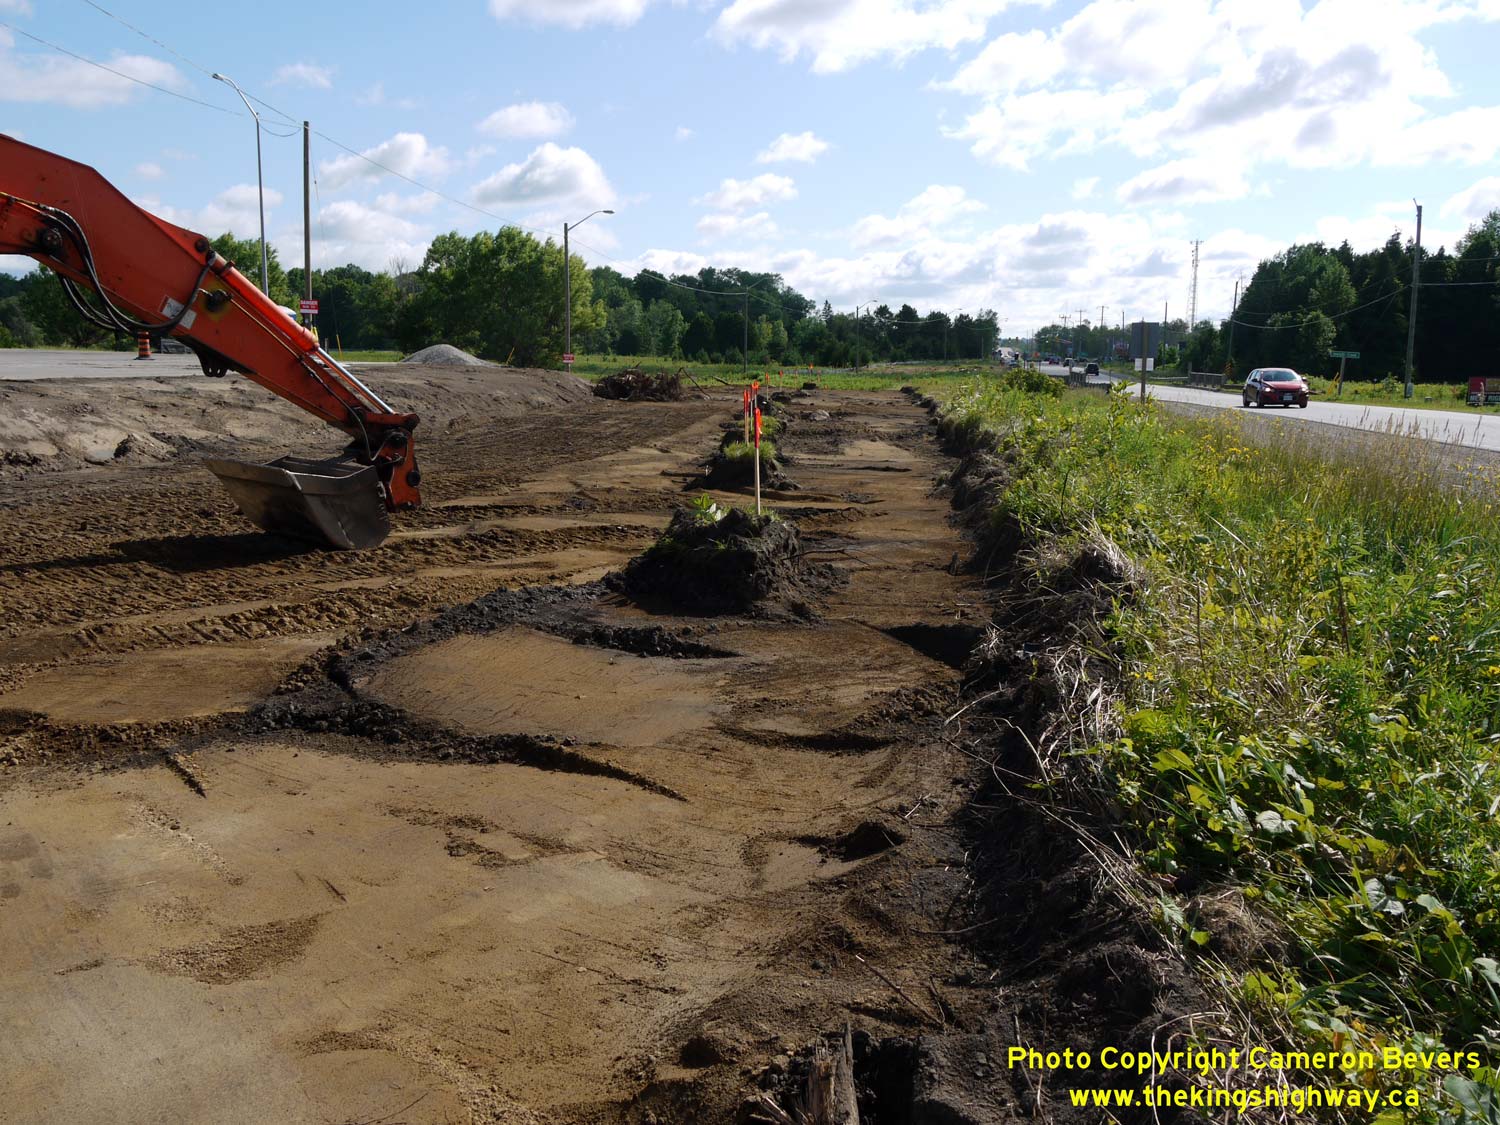
Left - A roadside diversion was built for Hwy 89 in 2015 to allow for the replacement of the Innisfil Creek Bridge on the existing highway alignment. Traffic
was accommodated on a temporary two-lane modular bridge throughout the reconstruction project. See an
Enlarged Photo here. (Photograph taken on August 1, 2015 - © Cameron Bevers) Right - Southern side of the Innisfil Creek Bridge (Glass' Bridge) on Hwy 89 east of Cookstown. This single-span concrete structure was completed in 1913 and widened to its current width in 1957. The bridge was replaced in 2015-2016 after more than a century of service. See an Enlarged Photo here. (Photograph taken on August 1, 2015 - © Cameron Bevers) 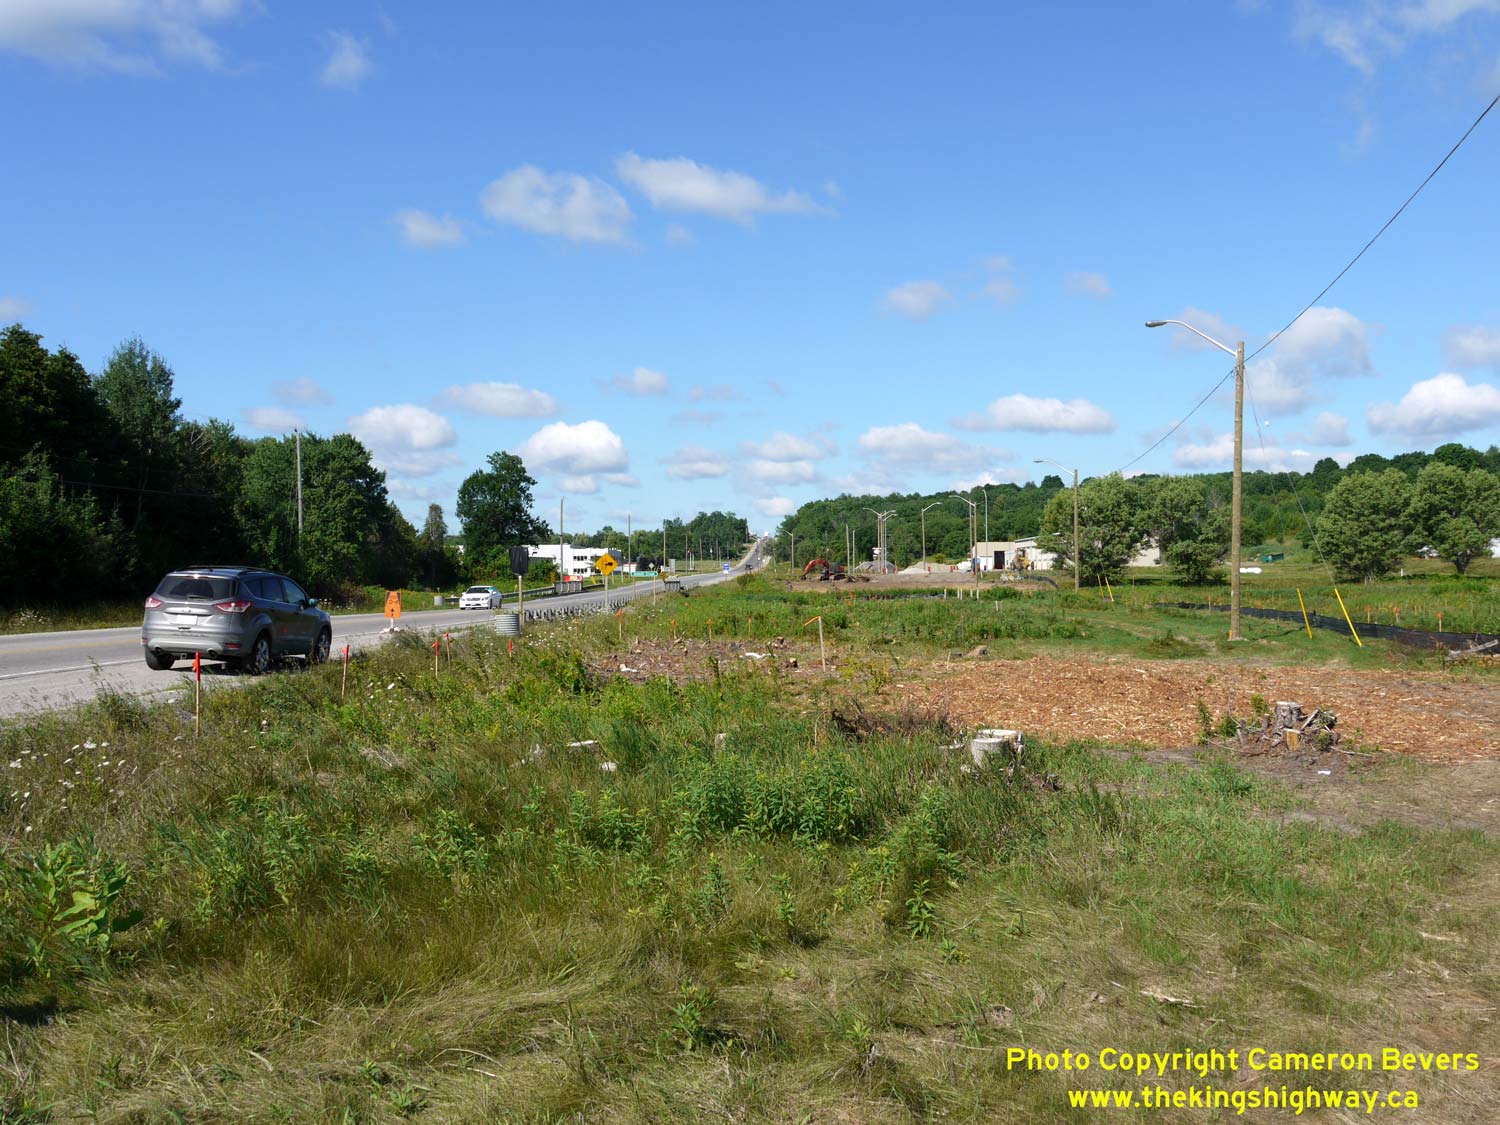
Left - Facing west along the proposed route of the roadside diversion for Hwy 89. The diverted highway will follow the temporary wood luminaire pole line. See
an Enlarged Photo here. (Photograph taken on August 1, 2015 - © Cameron Bevers) Right - Innisfil Creek Bridge (Glass' Bridge) on Hwy 89, facing west towards Cookstown. See an Enlarged Photo here. (Photograph taken on August 1, 2015 - © Cameron Bevers) 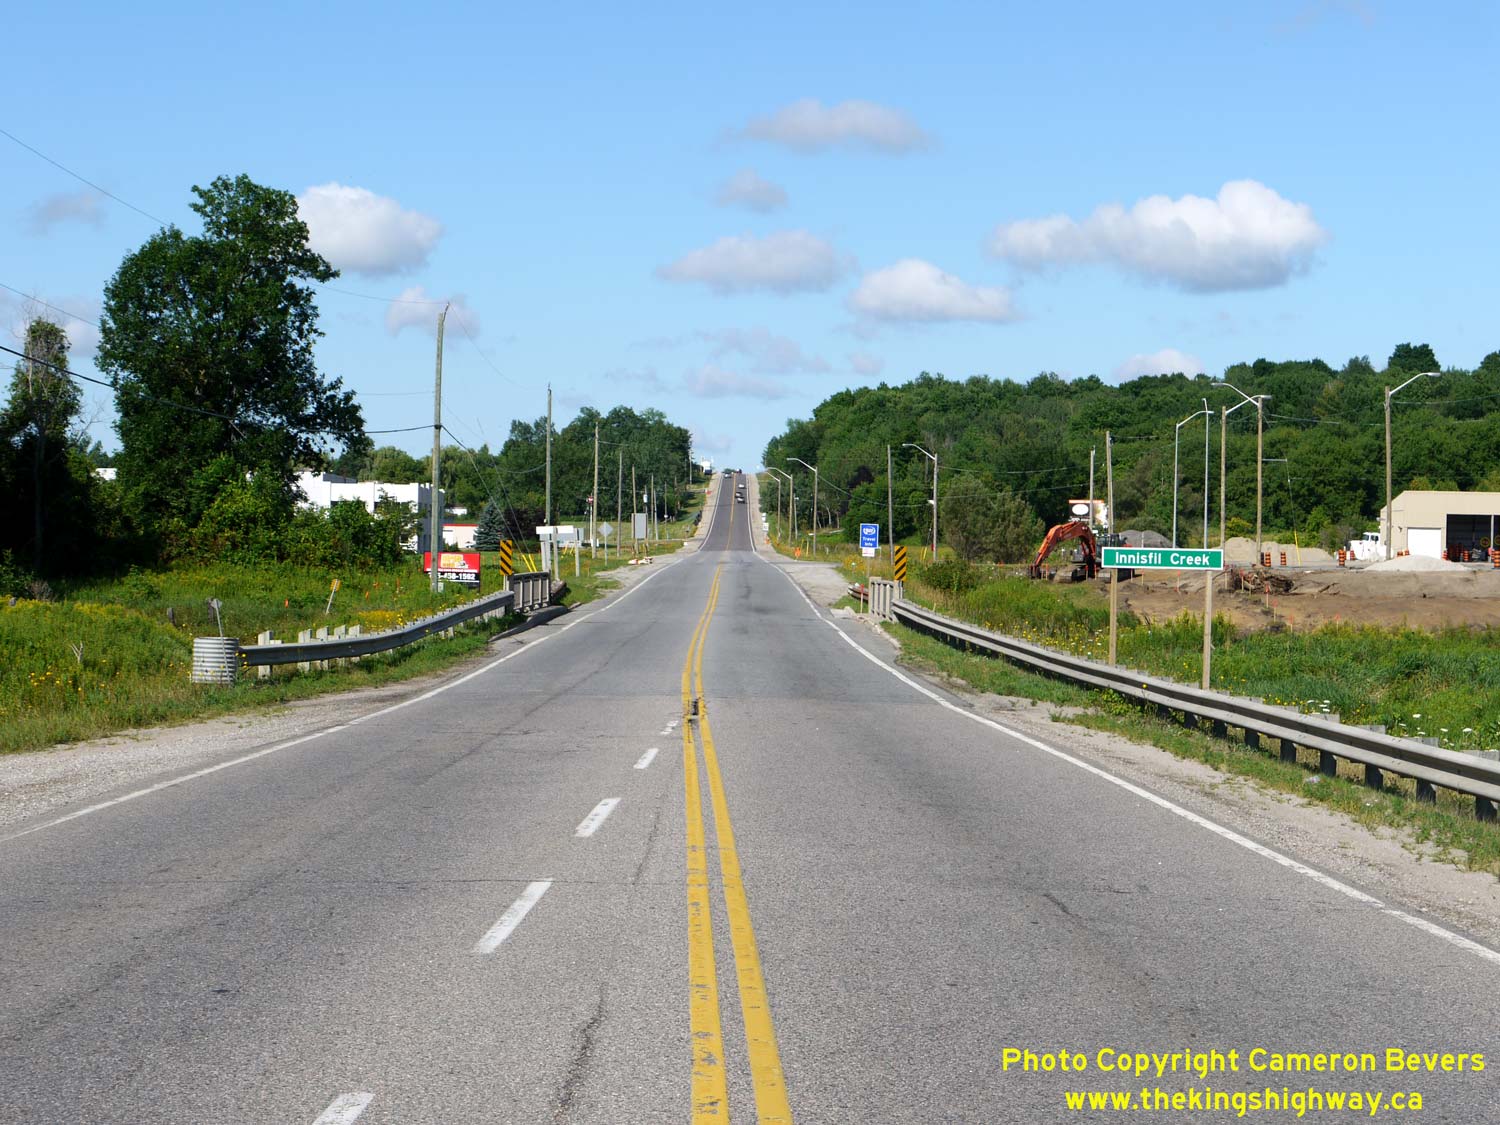

Left - Facing west along Hwy 89 from Simcoe County Road 53 towards Cookstown and the Innisfil Creek Bridge. See an
Enlarged Photo here. (Photograph taken on August 1, 2015 - © Cameron Bevers) Right - Eastern approach to the Hwy 89 Overpass at Hwy 400, facing west towards Cookstown. See an Enlarged Photo here. (Photograph taken on December 28, 2003 - © Cameron Bevers) 

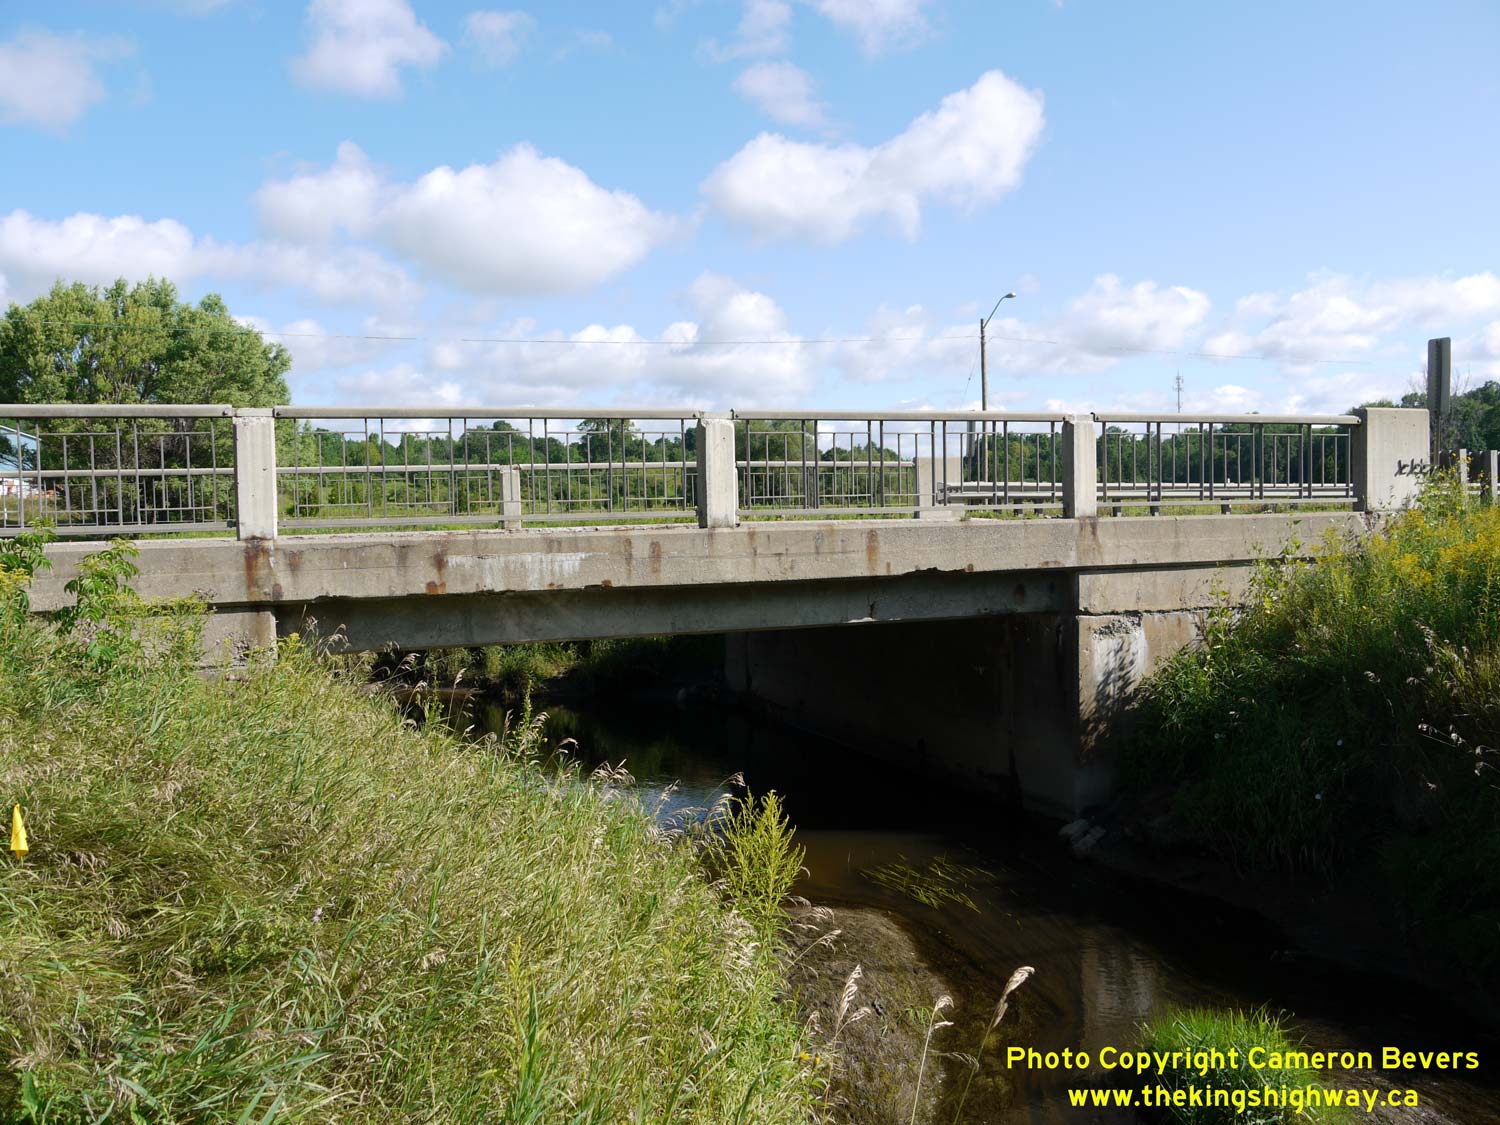
Left - Facing north along Hwy 400 towards Barrie from the Hwy 89 Overpass east of Cookstown. See an
Enlarged Photo here. (Photograph taken on December 28, 2003 - © Cameron Bevers) Right - Southern side of the Hwy 89 Overpass on Hwy 400 near Cookstown. See an Enlarged Photo here. (Photograph taken on April 14, 2005 - © Cameron Bevers) 

Left - Western approach to the Hwy 89 Overpass on Hwy 400, facing east towards Fennell. See an
Enlarged Photo here. (Photograph taken on December 28, 2003 - © Cameron Bevers) Right - Northern side of the Hwy 89 Overpass on Hwy 400 near Cookstown. This single-span concrete rigid frame structure was completed in 1949. See an Enlarged Photo here. (Photograph taken on December 28, 2003 - © Cameron Bevers) 

Left - Facing west along Hwy 89 towards Cookstown from the Hwy 400 Interchange. See an
Enlarged Photo here. (Photograph taken on December 28, 2003 - © Cameron Bevers) Right - Facing east along Hwy 89 towards Fennell from the Hwy 400 Interchange. See an Enlarged Photo here. (Photograph taken on December 28, 2003 - © Cameron Bevers) 
Above - Facing south along Hwy 400 towards Toronto from the Hwy 89 Overpass. See an
Enlarged Photo here. (Photograph taken on December 28, 2003 - © Cameron Bevers) 

Left - Facing south along Hwy 11 from the Hwy 89 Junction at Fennell. See an
Enlarged Photo Here. (Photograph taken on August 8, 2020 - © Cameron Bevers) Right - Distance guide sign on southbound Hwy 11 near the Hwy 89 Junction at Fennell. See an Enlarged Photo Here. (Photograph taken on August 8, 2020 - © Cameron Bevers) 

Left - Facing north along Hwy 11 at Fennell approaching the Hwy 89 Junction. See an
Enlarged Photo Here. (Photograph taken on August 8, 2020 - © Cameron Bevers) Right - Green guide sign on Hwy 11 at Fennell, marking the Former Hwy 89 (now Simcoe County Road 89) Junction. It may be of interest to note that Simcoe County Road 3, which currently extends from Fennell easterly to Gilford, also continued west from Fennell to Cookstown at one time. Beginning in 1963, the province started to assume jurisdiction over sections of Simcoe County Road 3 east of Cookstown, as this county road provided a very strategic link to both Hwy 400 and Hwy 11. As these various sections of the county road were assumed by the province in the 1960s and 1970s, they were designated as part of King's Highway 89. See an Enlarged Photo Here. (Photograph taken on August 8, 2020 - © Cameron Bevers) 

Left - An older green MTO destination guide sign still stands at the Hwy 11 & Hwy 89 Junction at Fennell. See an
Enlarged Photo Here. (Photograph taken on August 8, 2020 - © Cameron Bevers) Right - Approaching the former eastern terminus of Hwy 89 at the Hwy 11 Junction at Fennell. Back in the 1970s, there was a proposal to extend Hwy 89 even further to the east, but it was never carried forward and the concept was eventually abandoned. Had this highway extension been carried out, Hwy 89 would have turned to the right and briefly headed south concurrently with Hwy 11 to the Coulsons Hill area north of Bradford. At that point, Hwy 89 would have turned left and continued east to connect with Hwy 7 & Hwy 12 in the Sunderland area. See an Enlarged Photo Here. (Photograph taken on August 8, 2020 - © Cameron Bevers) 

Left - Facing west along Hwy 89 towards Cookstown from Fennell. As a result of the mass highway downloading of 1997-1998, jurisdiction over a 5 km section of
Hwy 89 immediately west of Fennell was transferred from the province to the County of Simcoe. This section of Former Hwy 89 is officially known as Simcoe County Road
89 today. Provincial jurisdiction over Hwy 89 now begins at the Hwy 400 Interchange near Cookstown. See an
Enlarged Photo Here. (Photograph taken on August 8, 2020 - © Cameron Bevers) Right - Facing south along Hwy 11 towards the Hwy 89 Junction at Fennell. See an Enlarged Photo Here. (Photograph taken on August 8, 2020 - © Cameron Bevers) 
Above - Green guide signs at the Hwy 11 (Simcoe County Road 4) and Hwy 89 Junction at Fennell. See an
Enlarged Photo Here. (Photograph taken on August 8, 2020 - © Cameron Bevers) 

Left - Facing north along Hwy 11 towards Barrie from the Hwy 89 Junction at Fennell. The highway seen here is actually a 1930s-era diversion of the original
route of Hwy 11. The Fennell Diversion was completed and opened to traffic in 1937. The new highway bypassed an old section of Hwy 11, which had several hazardous
curves on it. See an Enlarged Photo Here. (Photograph taken on August 8, 2020 - © Cameron Bevers) Right - View of the old route of Hwy 11 at Fennell, facing north towards Barrie. Since 1937, traffic has used the new route for Hwy 11, which can be seen at left. See an Enlarged Photo Here. (Photograph taken on August 8, 2020 - © Cameron Bevers)
More King's Highway 89 Photographs Coming Soon!
|
|---|
Links to Adjacent King's Highway Photograph Pages:
Back to King's Highway 88 Photos /
King's Highway 89 History /
On to King's Highway 90 Photos
Ontario Highway History - Main Menu / Back to List of Highways Website contents, photos & text © 2002-2026, Cameron
Bevers (Webmaster) - All Rights Reserved / Contact Me
|
|---|