
| 
| |
|
|
Back to Hwy 144 - Historical Photos (1950-1999)
Hwy 144 Photo Index
On to Hwy 144 - Cartier to Timmins (Future Page)
|
|---|
|
This page contains present day photos (Year 2000 to date) of Ontario's King's Highway 144, arranged by location from Sudbury
northerly to Cartier. All photographs displayed on this page were taken by the Webmaster (Cameron Bevers), unless specifically noted otherwise. Click on any
thumbnail to see a larger image!
Please note that all photographs displayed on this
website are protected by copyright. These photographs must not be reproduced, published,
electronically stored or copied, distributed, or posted onto other websites without
my written permission. If you want to use photos from this website, please
email me first for permission. Thank-you!
|
|---|
|
Page 2: Present Day King's Highway 144 Photographs (Sudbury to Cartier)


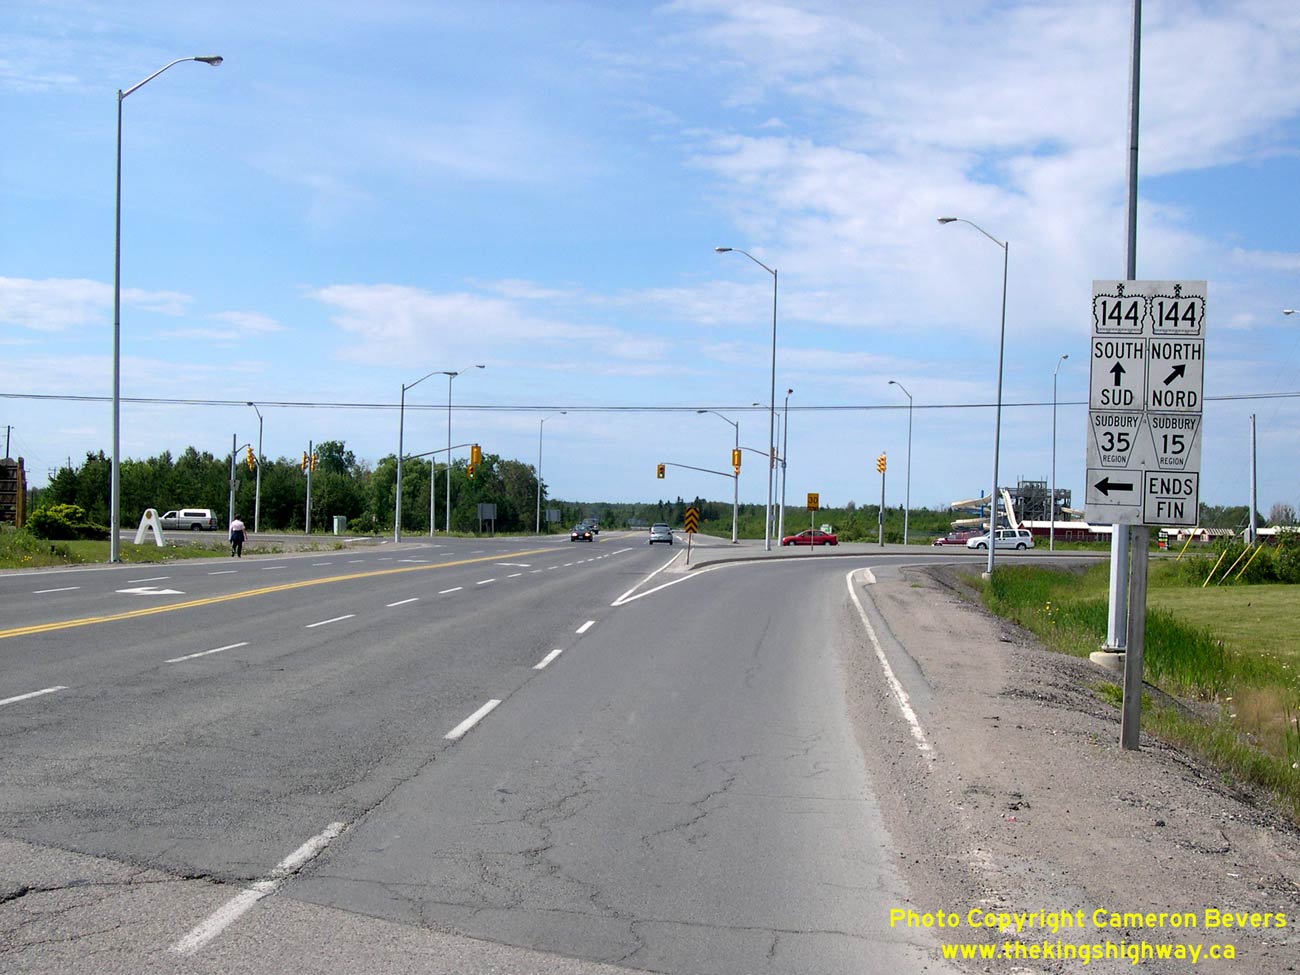
Left - Signs marking the southern terminus of Hwy 144 at the Hwy 17 Interchange near Lively. See an
Enlarged Photo Here. (Photograph taken on July 2, 2007 - © Cameron Bevers) Right - Exit sign for Hwy 144 on the Hwy 17 Bypass. It is a very lonely 300 km drive north along Hwy 144 to Timmins from the Hwy 17 Interchange. Hwy 144 follows the Sudbury Northwest Bypass for 18 km to the community of Chelmsford. From there, Hwy 144 turns west briefly towards Dowling and Onaping, before the highway resumes its long journey north towards Timmins. See an Enlarged Photo Here. (Photograph taken on July 3, 2007 - © Cameron Bevers) 

Left - Hwy 144 Overpass on the Hwy 17 Bypass near Lively. This two-span post-tensioned concrete structure was completed in 1986. See an
Enlarged Photo Here. (Photograph taken on July 3, 2007 - © Cameron Bevers) Right - Facing north across the Hwy 144 Overpass on the Hwy 17 Bypass near Lively. See an Enlarged Photo Here. (Photograph taken on July 2, 2007 - © Cameron Bevers) 

Left - Facing south across the Hwy 144 Overpass over Hwy 17 near Lively. See an
Enlarged Photo Here. (Photograph taken on July 2, 2007 - © Cameron Bevers) Right - Structure identification number and date stamp (1986) on the Hwy 144 Overpass near Lively. See an Enlarged Photo Here. (Photograph taken on July 2, 2007 - © Cameron Bevers) 

Left - Facing east towards Sudbury along the eastbound lanes of Hwy 17 from the Hwy 144 Overpass. Note the bilingual "Exit-Sortie" sign at right. See an
Enlarged Photo Here. (Photograph taken on July 2, 2007 - © Cameron Bevers) Right - Facing west along the eastbound lanes of the Hwy 17 Freeway from the Hwy 144 Overpass. With the exception of the Sudbury Road 55 Interchange in Sudbury, the Hwy 144 Junction is the only highway interchange along the 20 km freeway between Sudbury and Whitefish. See an Enlarged Photo Here. (Photograph taken on July 2, 2007 - © Cameron Bevers) 

Left - Approaching the Hwy 17 Interchange on Hwy 144 near Lively, facing south. See an
Enlarged Photo Here. (Photograph taken on July 3, 2007 - © Cameron Bevers) Right - Facing north along Hwy 144 towards Chelmsford from the Hwy 17 Interchange. See an Enlarged Photo Here. (Photograph taken on July 3, 2007 - © Cameron Bevers) 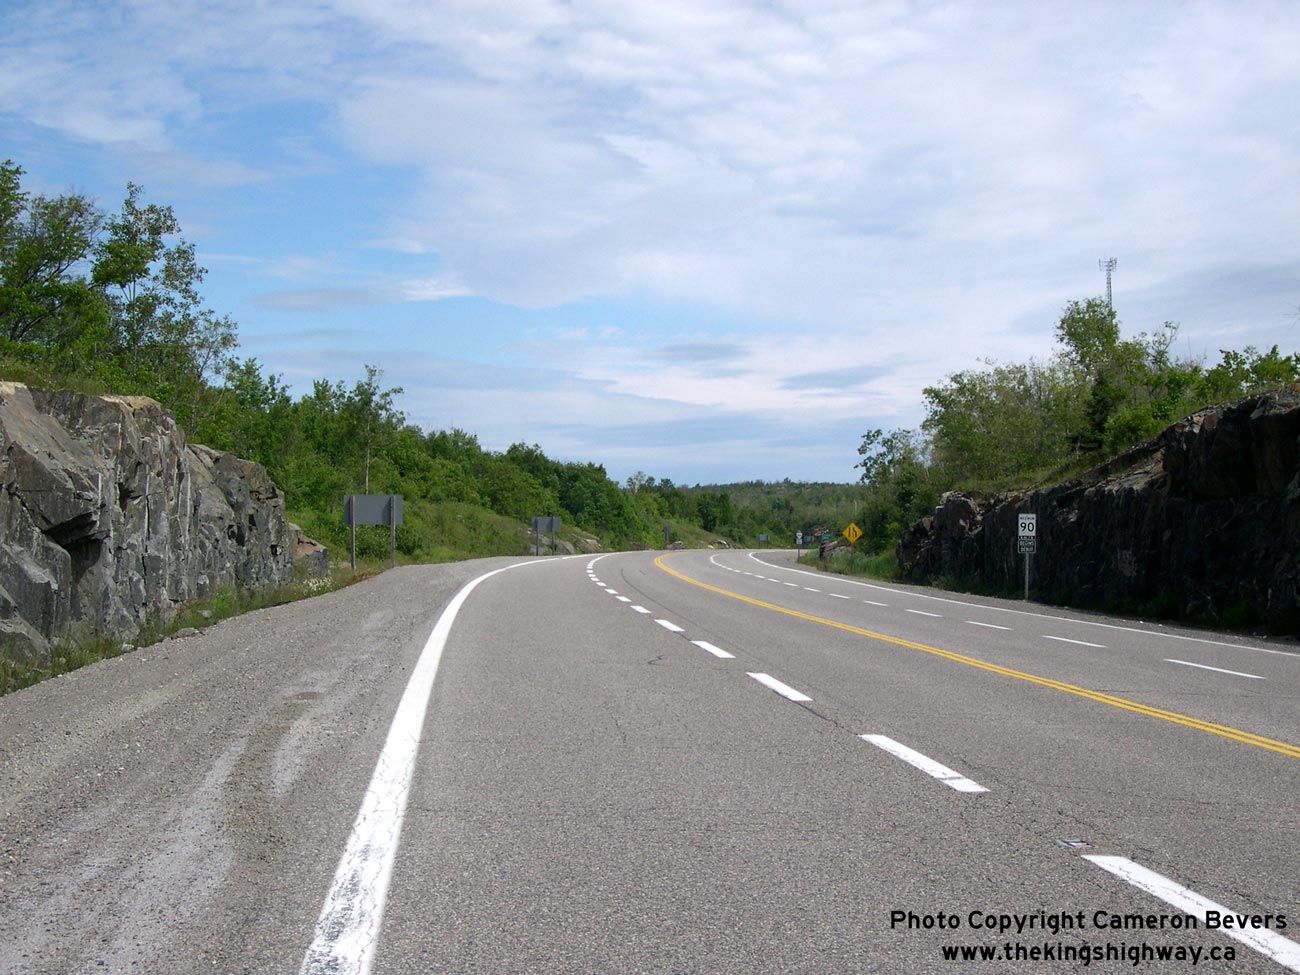
Left - Facing north towards Chelmsford along the Northwest Sudbury Bypass (Hwy 144) near the Hwy 17 Interchange. The Northwest Sudbury Bypass was a new
highway which was built during the 1980s. The new highway was built to very high design standards and has a posted speed limit of 90 km/h. It is the only section of
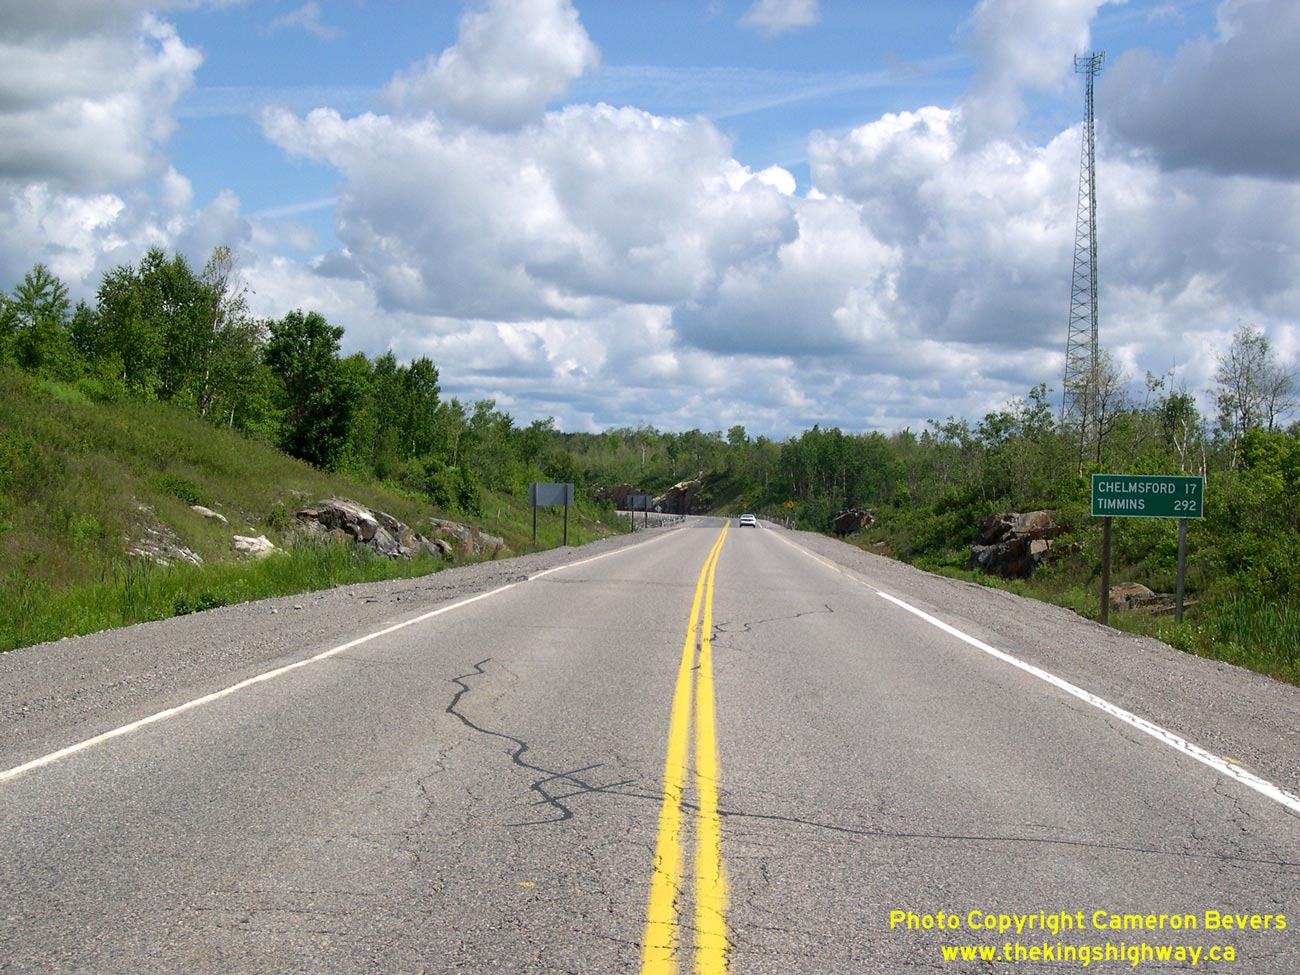
Hwy 144 to have a 90 km/h limit. See an Enlarged Photo Here. (Photograph taken on July 3, 2007 - © Cameron Bevers) Right - Distance guide sign on northbound Hwy 144 near the Hwy 17 Interchange. See an Enlarged Photo Here. (Photograph taken on July 2, 2007 - © Cameron Bevers) 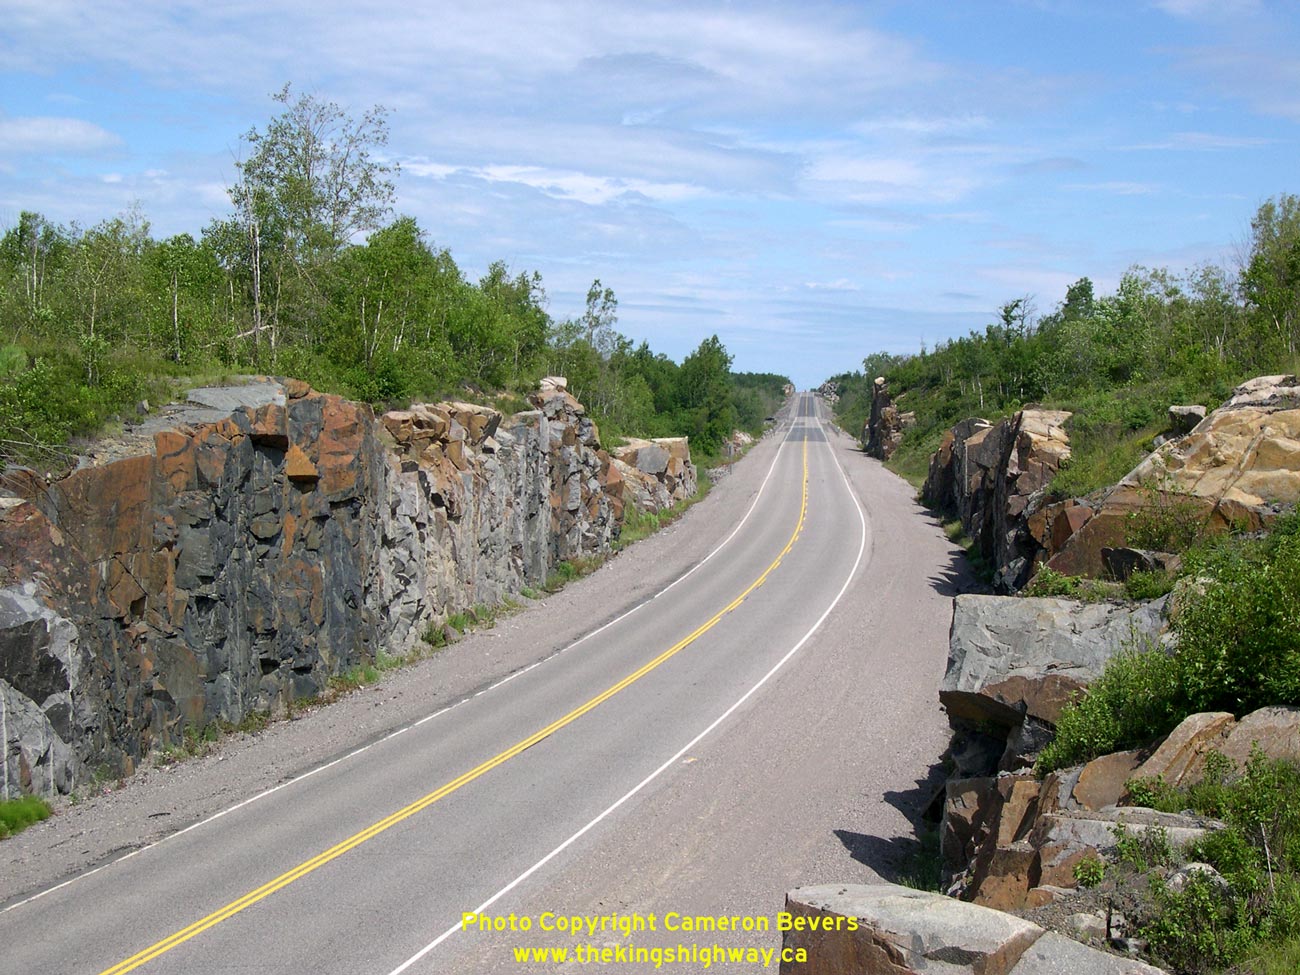
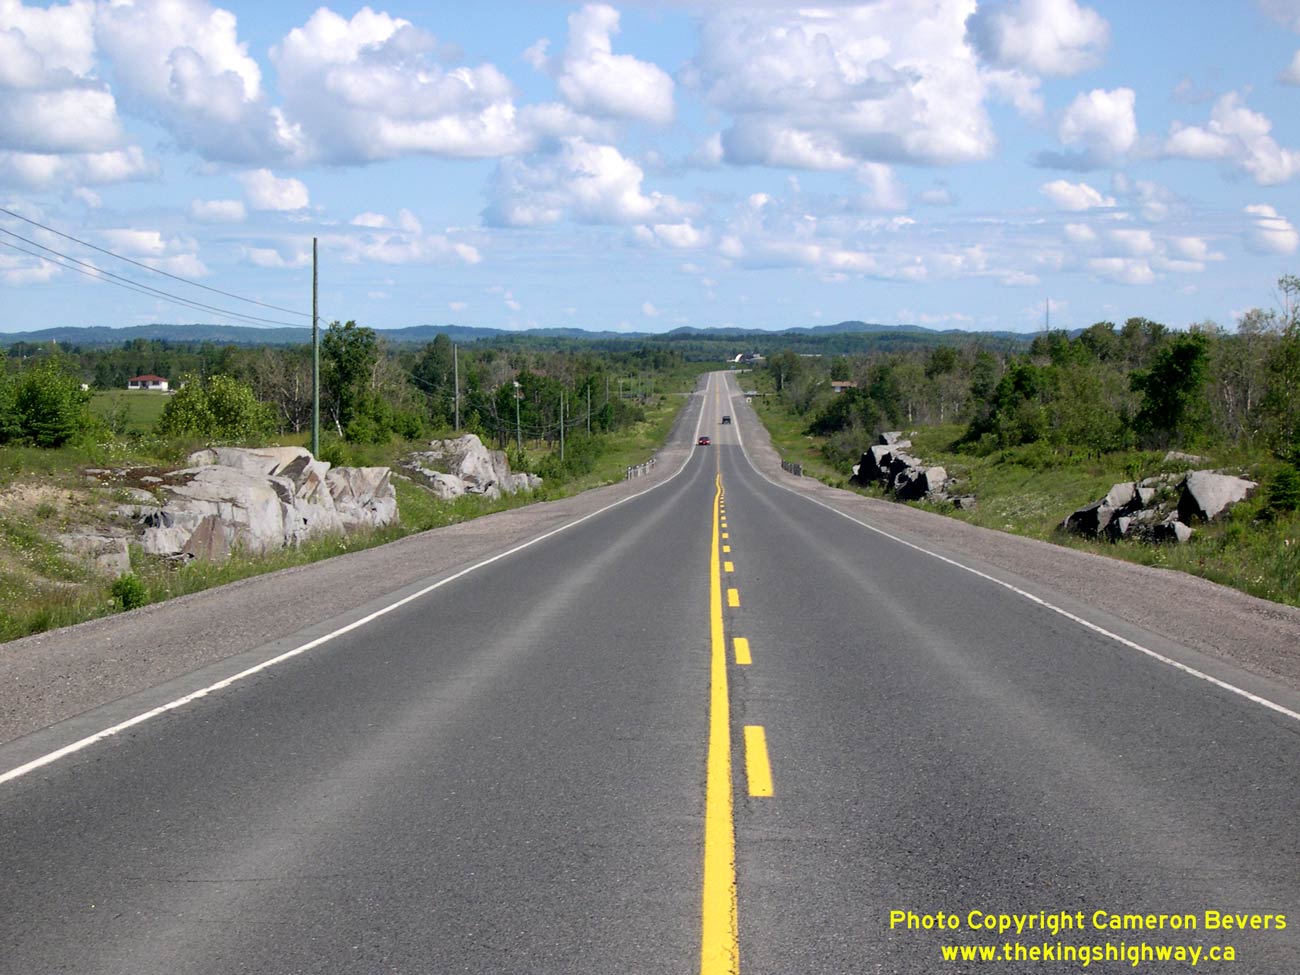
Left - Rock cuts on Hwy 144 about 1 km north of the Hwy 17 Interchange, facing north towards Chelmsford. The Northwest Sudbury Bypass was designed in such a way
that it can be upgraded to a four-lane divided facility at a later date, should traffic conditions warrant such improvements in the future. See an
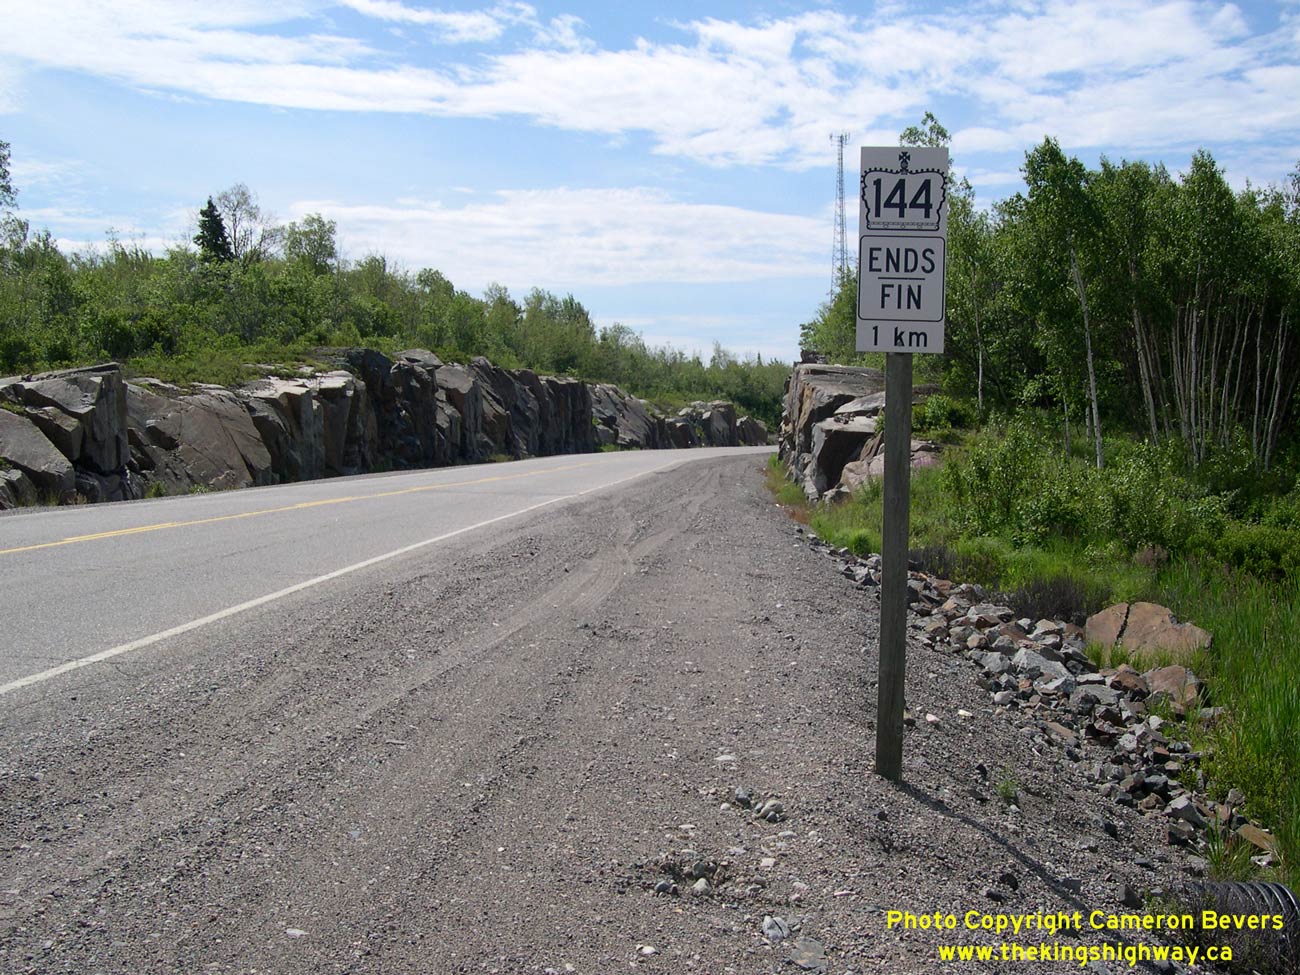
Enlarged Photo Here. (Photograph taken on July 3, 2007 - © Cameron Bevers) Right - Unusual "Hwy 144 Ends 1 km" marker on southbound Hwy 144 approaching the Hwy 17 Interchange. See an Enlarged Photo Here. (Photograph taken on July 3, 2007 - © Cameron Bevers) 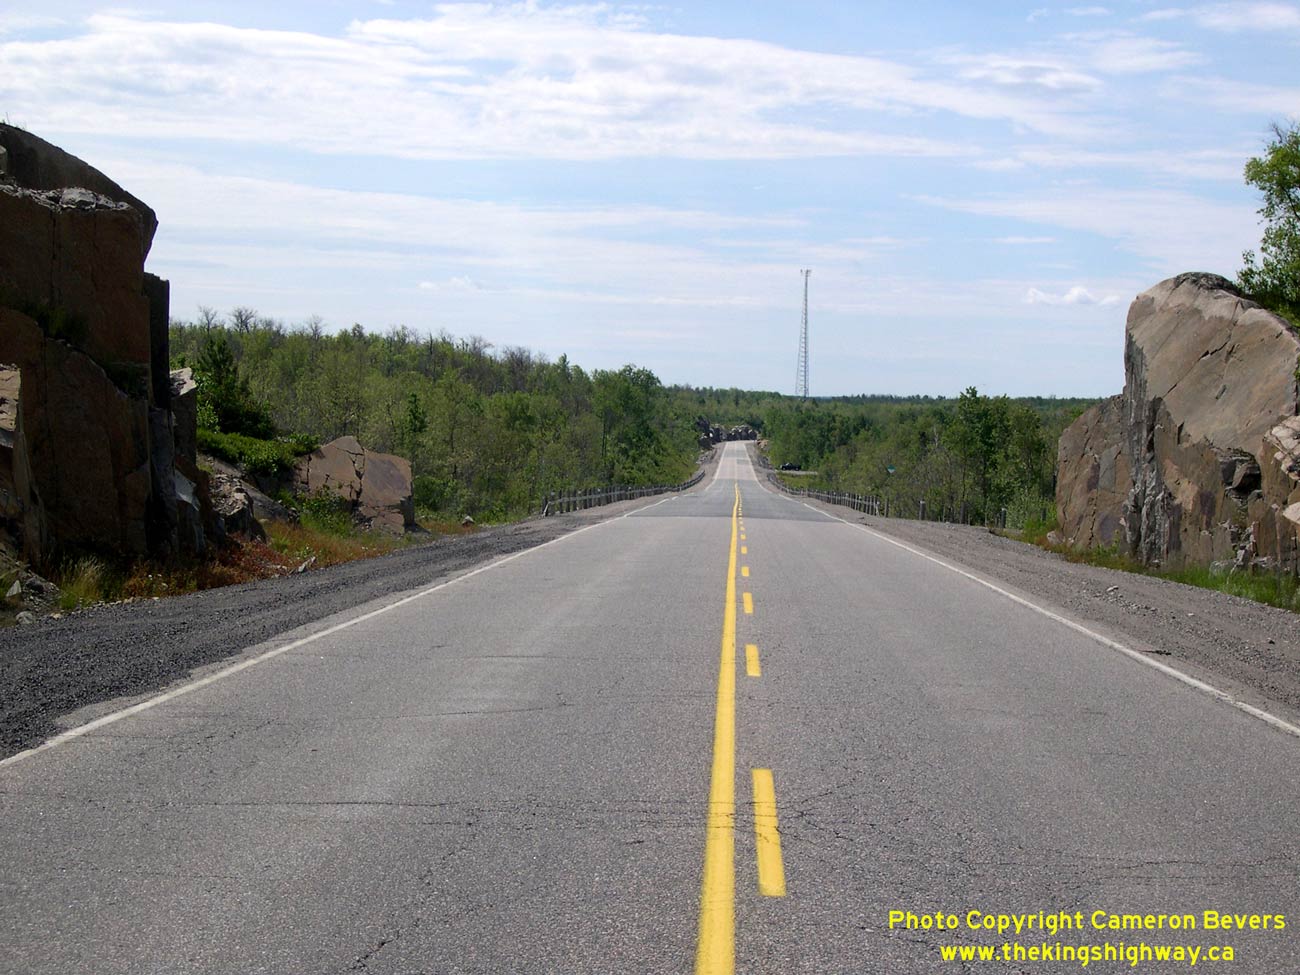
Left - Facing south along Hwy 144 about 2 km north of the Hwy 17 Interchange. See an
Enlarged Photo Here. (Photograph taken on July 3, 2007 - © Cameron Bevers) Right - Facing south along Hwy 144 at the INCO Pumphouse Road Underpass. Immediately south of the bridge, Sudbury Road 24 connects to Lively and the now-abandoned company town of Creighton Mine. It is the only major intersection along the Northwest Sudbury Bypass. See an Enlarged Photo Here. (Photograph taken on July 3, 2007 - © Cameron Bevers) 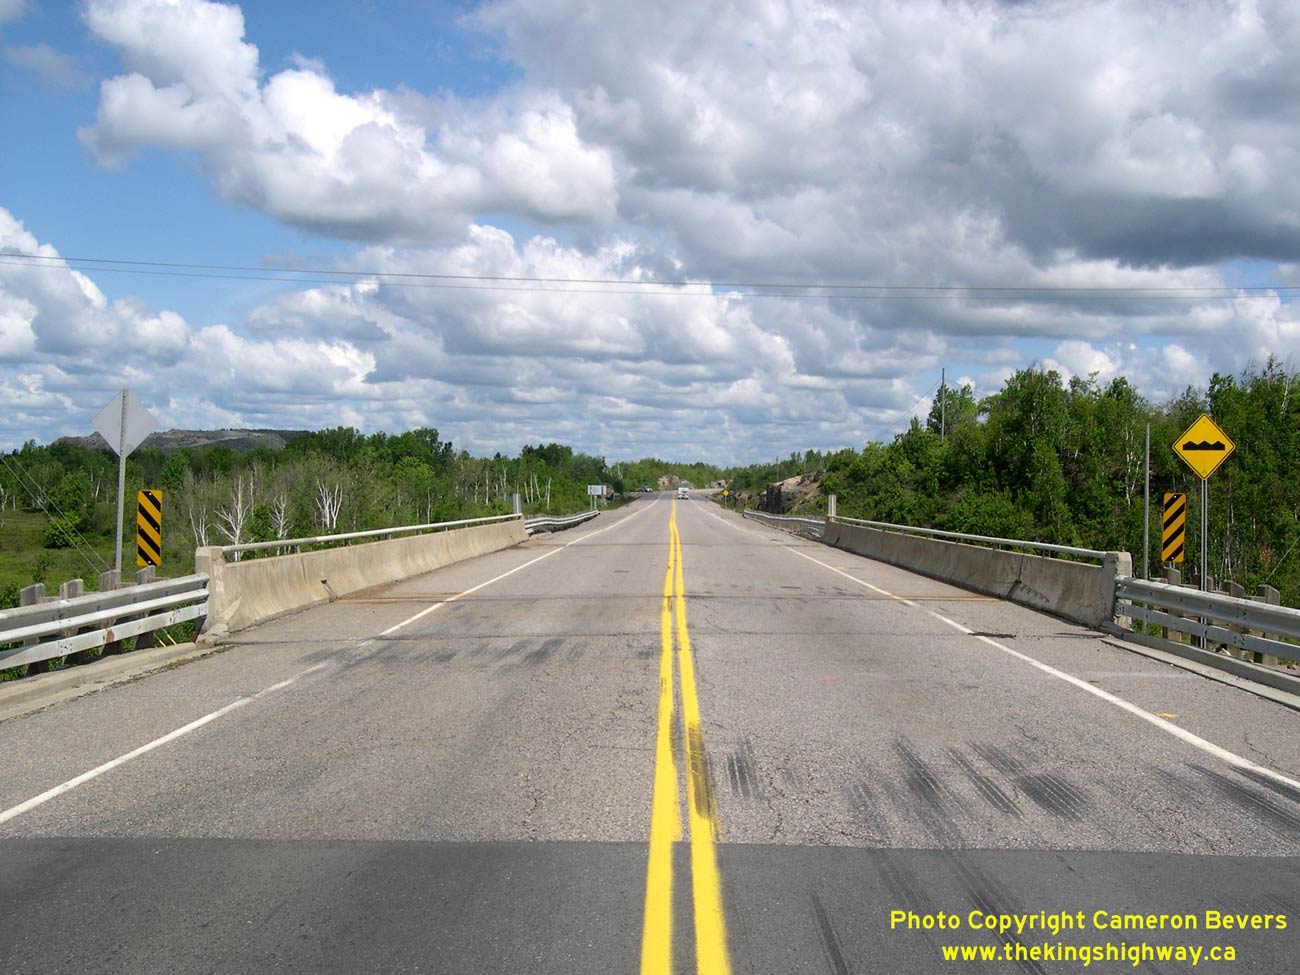
Left - Facing north along Hwy 144 towards Chelmsford at the INCO Pumphouse Road Underpass. See an
Enlarged Photo Here. (Photograph taken on July 2, 2007 - © Cameron Bevers) Right - INCO Pumphouse Road Underpass on Hwy 144 near Creighton Mine. This single span steel beam structure was completed in 1985. See an Enlarged Photo Here. (Photograph taken on July 2, 2007 - © Cameron Bevers) 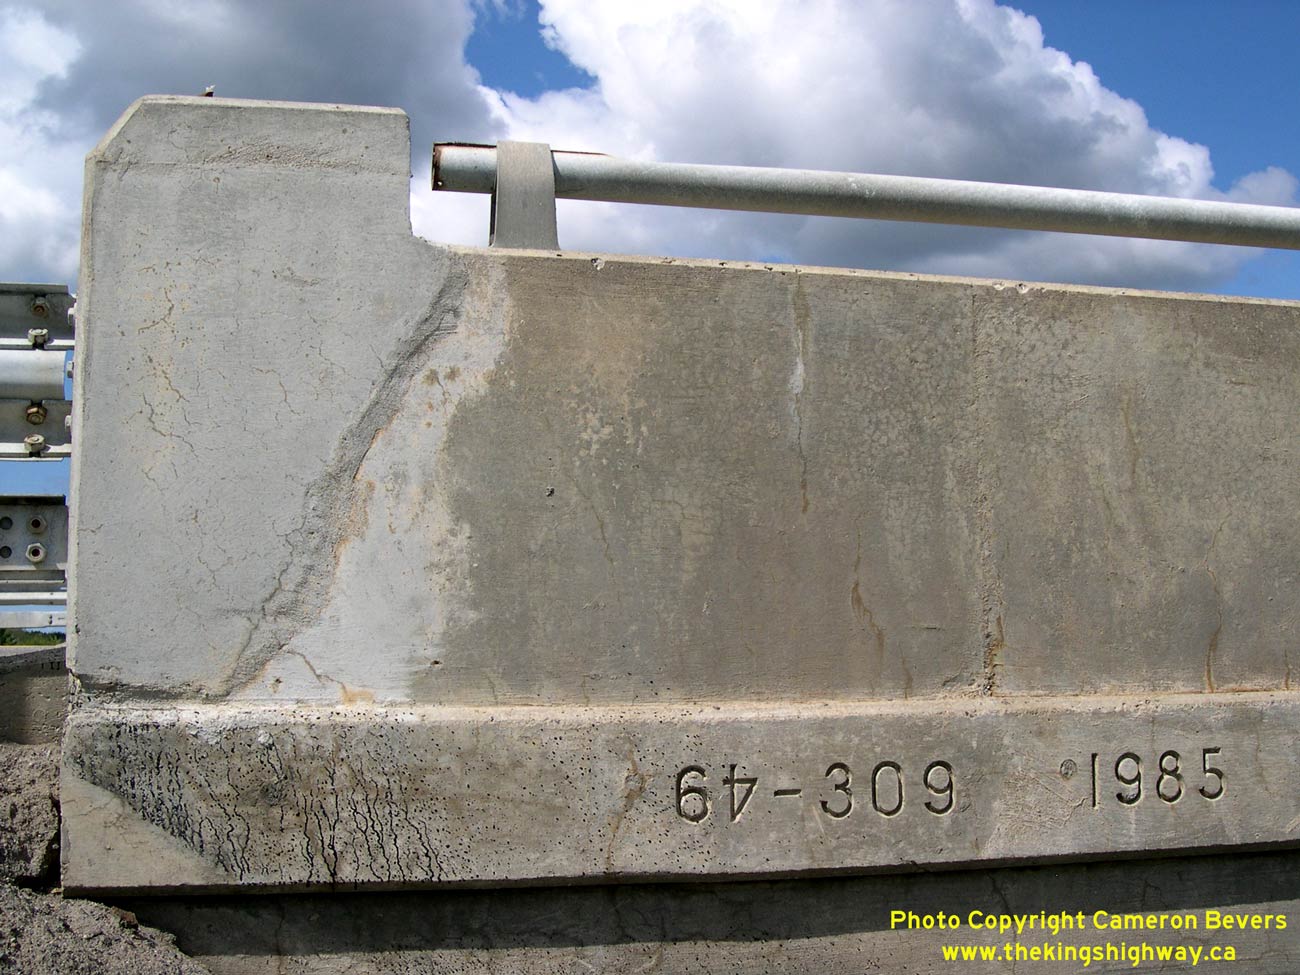
Left - Structure identification number and date stamp (1985) on the INCO Pumphouse Road Underpass on Hwy 144. See an
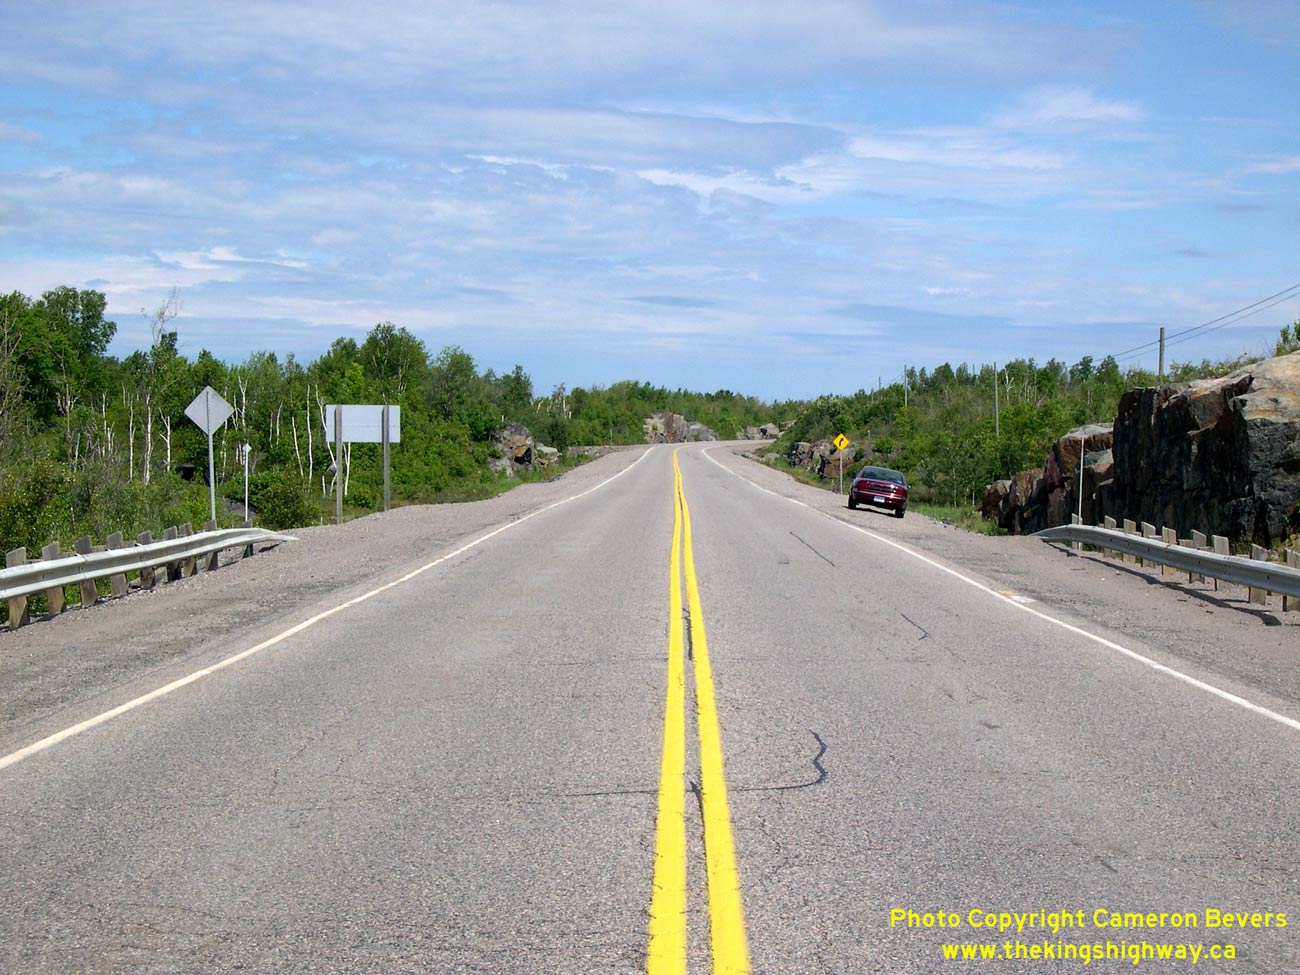
Enlarged Photo Here. (Photograph taken on July 2, 2007 - © Cameron Bevers) Right - Facing north along Hwy 144 towards Chelmsford from the INCO Pumphouse Road Underpass near Creighton Mine. See an Enlarged Photo Here. (Photograph taken on July 3, 2007 - © Cameron Bevers) 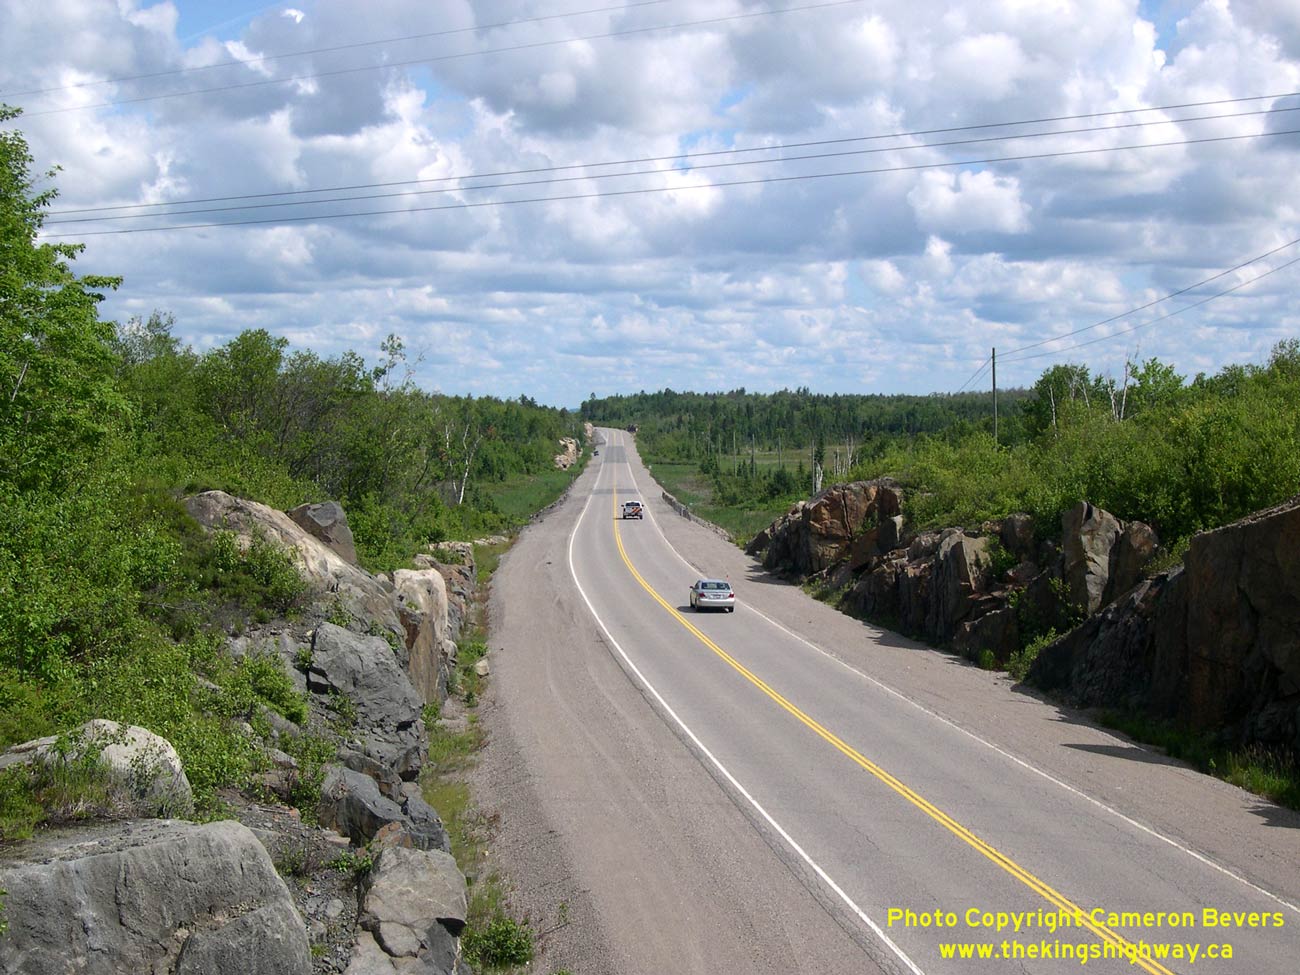

Left - Facing north along Hwy 144, about 9 km south of Chelmsford. Construction of the Northwest Sudbury Bypass took 5 years to complete. The first
construction contract was awarded in 1982, and work progressed southerly from Chelmsford to Hwy 17 over the next several years. The Northwest Sudbury Bypass was
completed and officially opened to traffic in 1987. See an Enlarged Photo Here. (Photograph taken on July 2, 2007 - © Cameron Bevers) Right - Passing lane on Hwy 144, about 6 km south of Chelmsford. See an Enlarged Photo Here. (Photograph taken on July 2, 2007 - © Cameron Bevers) 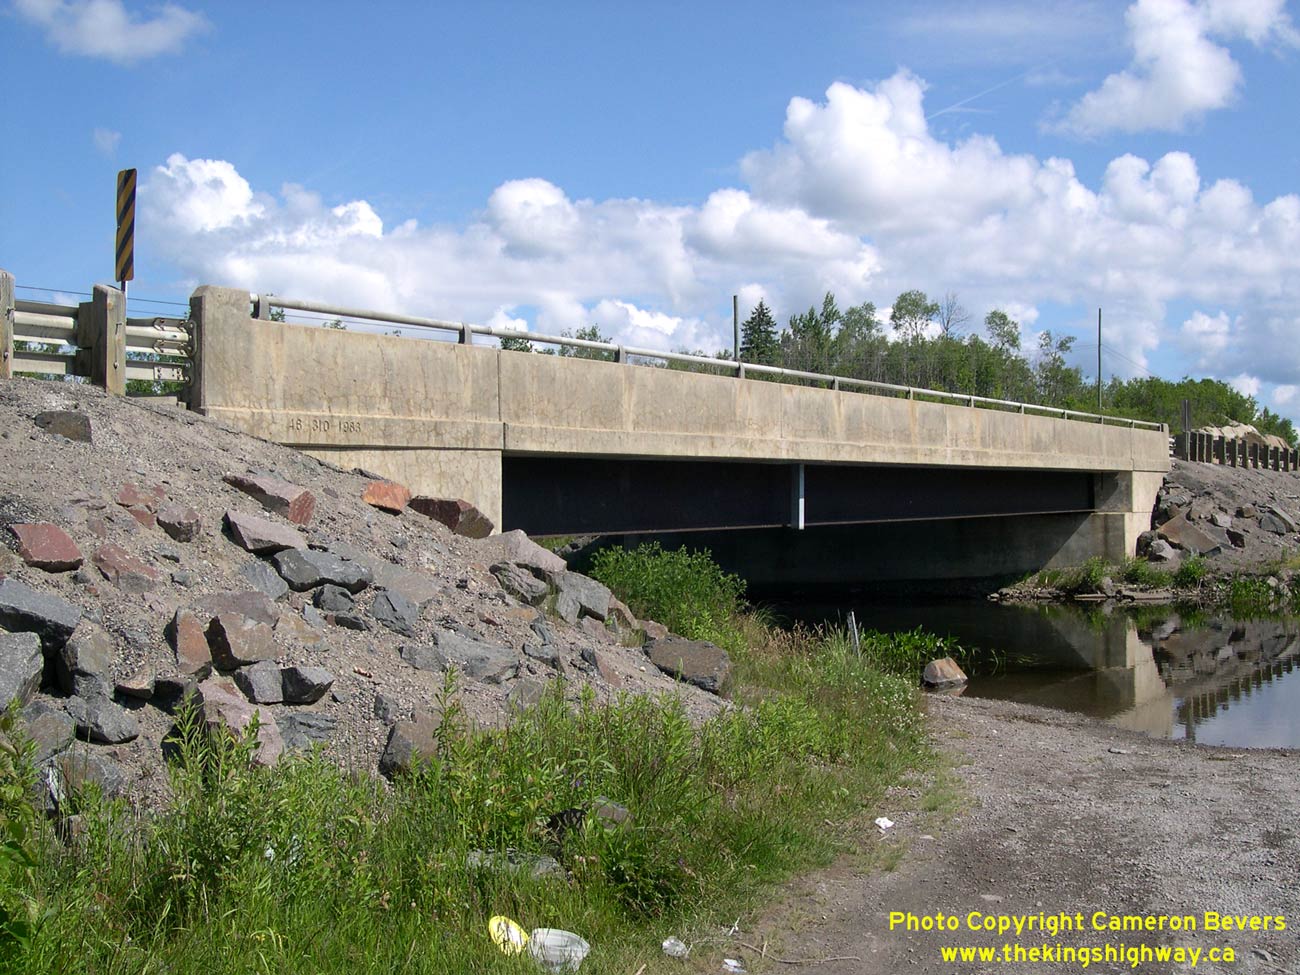
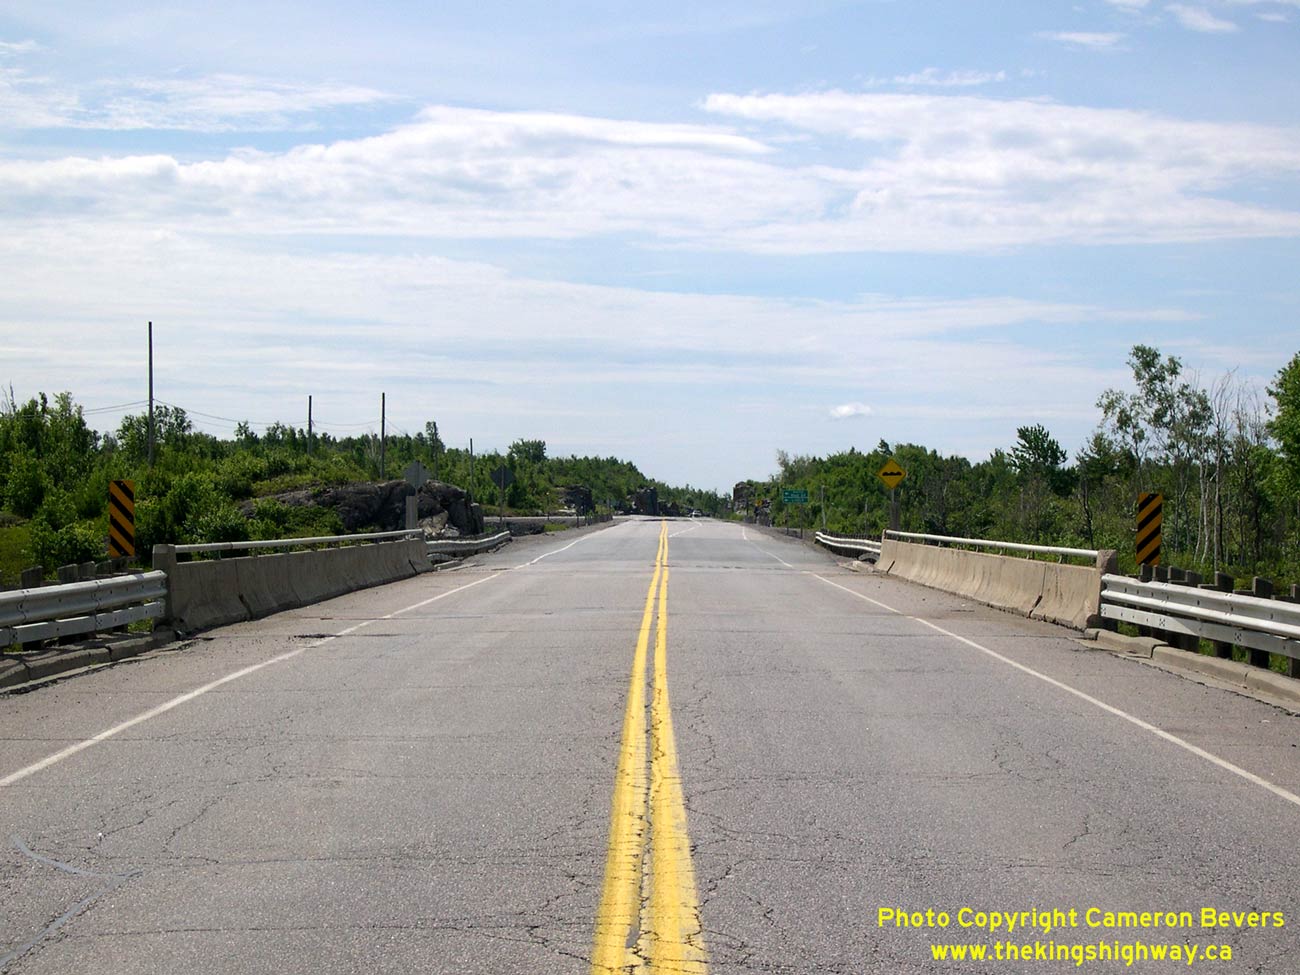
Left - Eastern side of the Levey Creek Bridge on Hwy 144, about 5 km south of Chelmsford. This single span steel beam structure was completed in 1983. See an
Enlarged Photo Here. (Photograph taken on July 2, 2007 - © Cameron Bevers) Right - Facing south along Hwy 144 towards Creighton Mine at the Levey Creek Bridge. See an Enlarged Photo Here. (Photograph taken on July 2, 2007 - © Cameron Bevers) 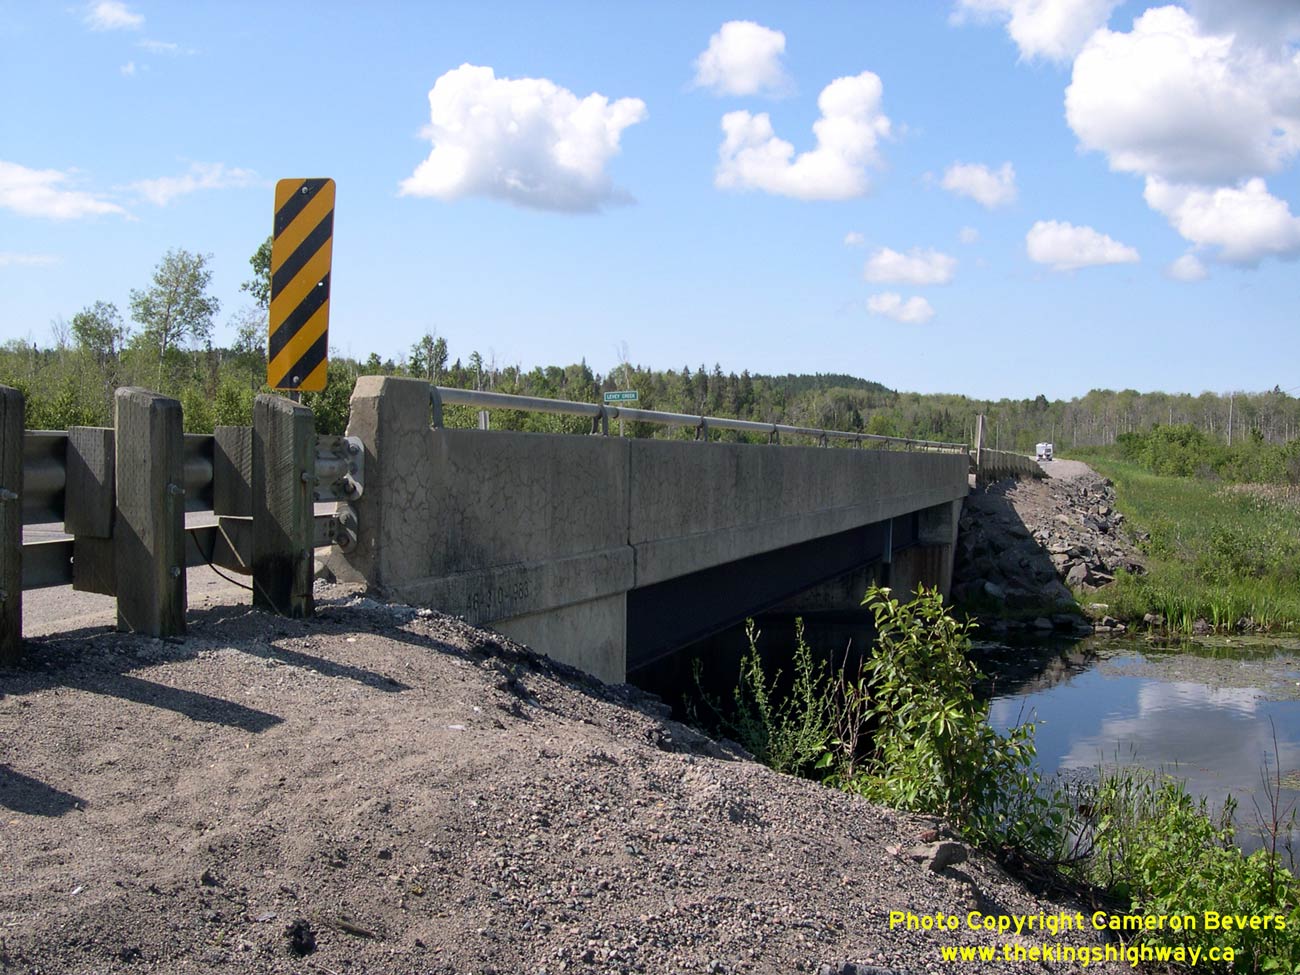
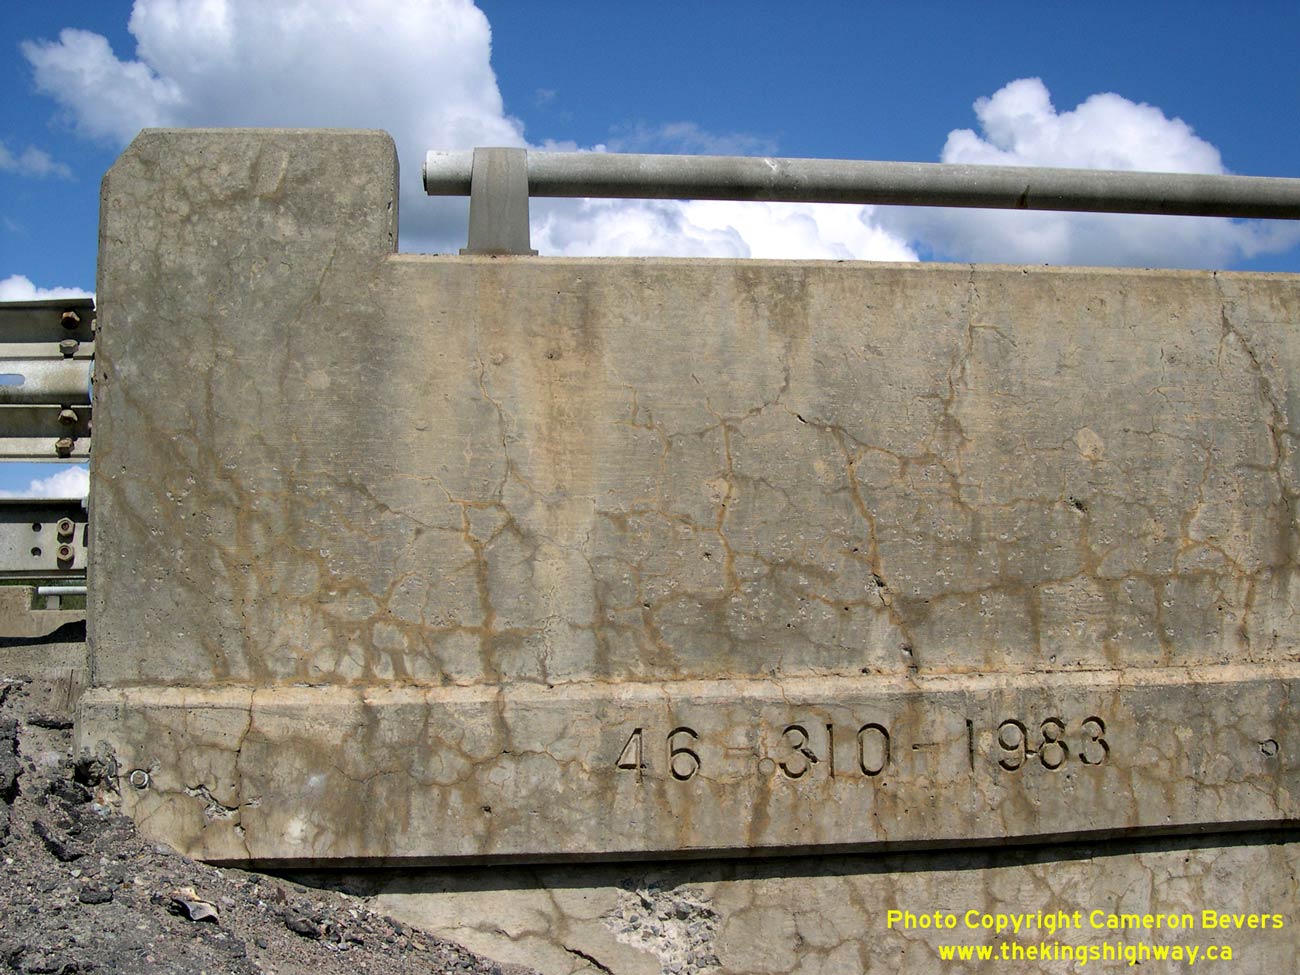
Left - Western side of the Levey Creek Bridge on Hwy 144, about 5 km south of Chelmsford. See an
Enlarged Photo Here. (Photograph taken on July 2, 2007 - © Cameron Bevers) Right - Structure identification number and date stamp (1983) on the Levey Creek Bridge on Hwy 144. See an Enlarged Photo Here. (Photograph taken on July 2, 2007 - © Cameron Bevers) 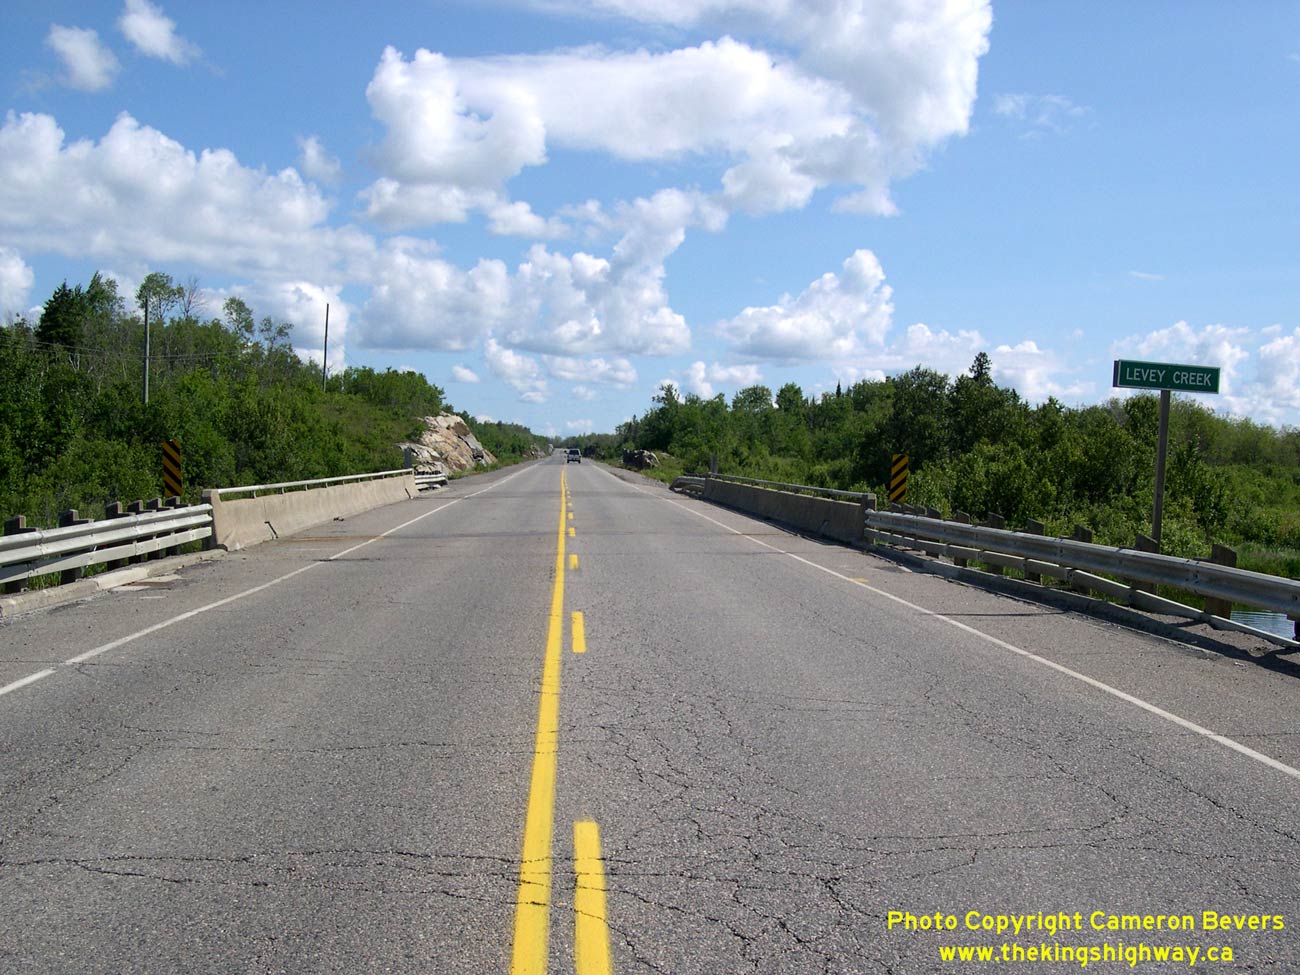
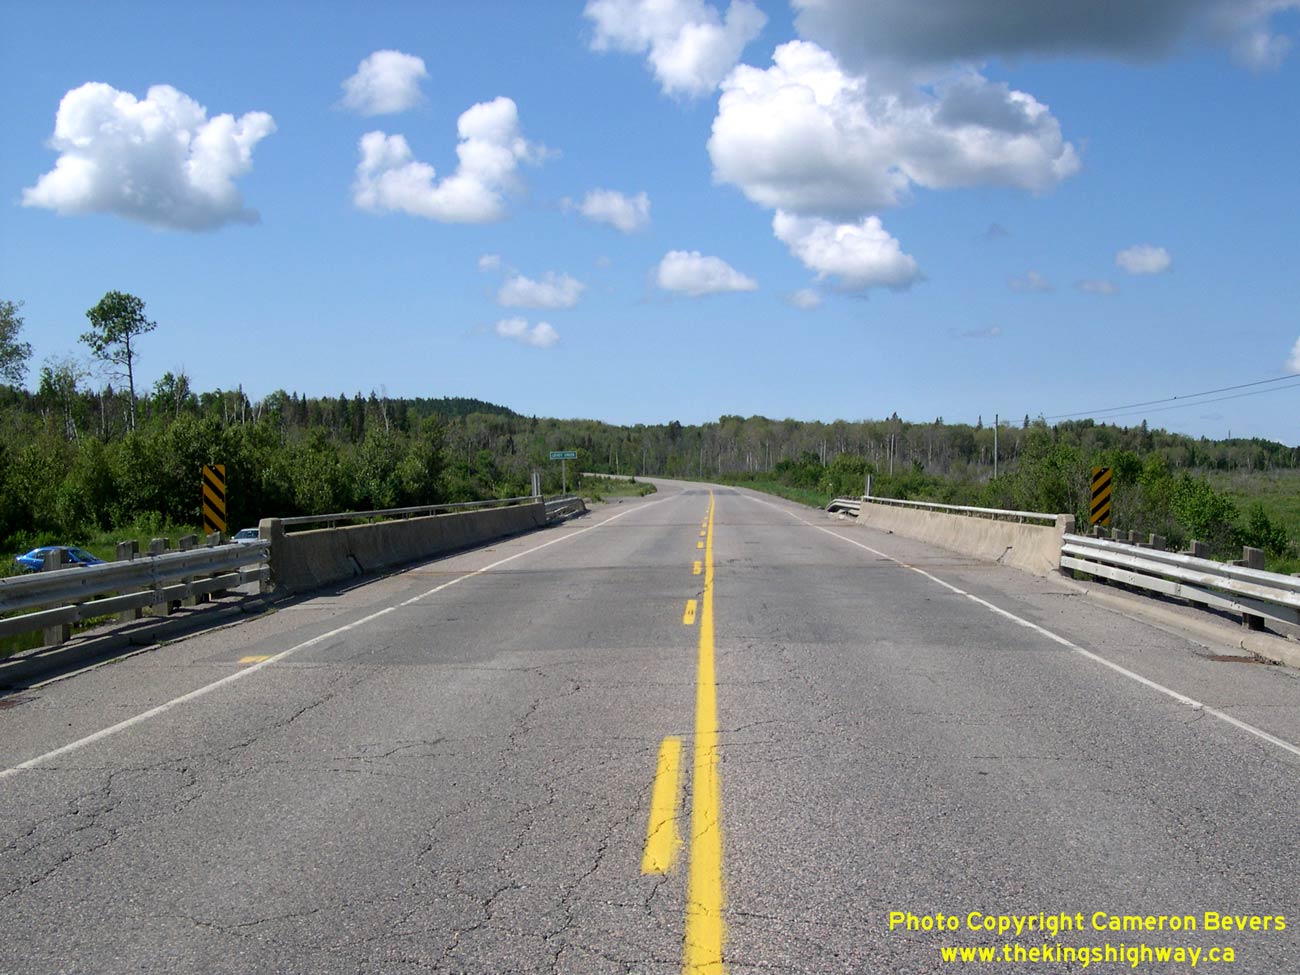
Left - Facing north along Hwy 144 towards Chelmsford at the Levey Creek Bridge. See an
Enlarged Photo Here. (Photograph taken on July 2, 2007 - © Cameron Bevers) Right - Facing north along Hwy 144 about 3 km south of Chelmsford. After travelling through a particularly rocky highland area west of Sudbury, the Northwest Sudbury Bypass (Hwy 144) descends into a fairly flat valley in the Chelmsford area. Given the rugged terrain south of here, it's little wonder that a road wasn't punched through this area until the 1980s. Early highway builders seemed to be quite deliberate in avoiding these highlands in decades past. See an Enlarged Photo Here. (Photograph taken on July 2, 2007 - © Cameron Bevers) 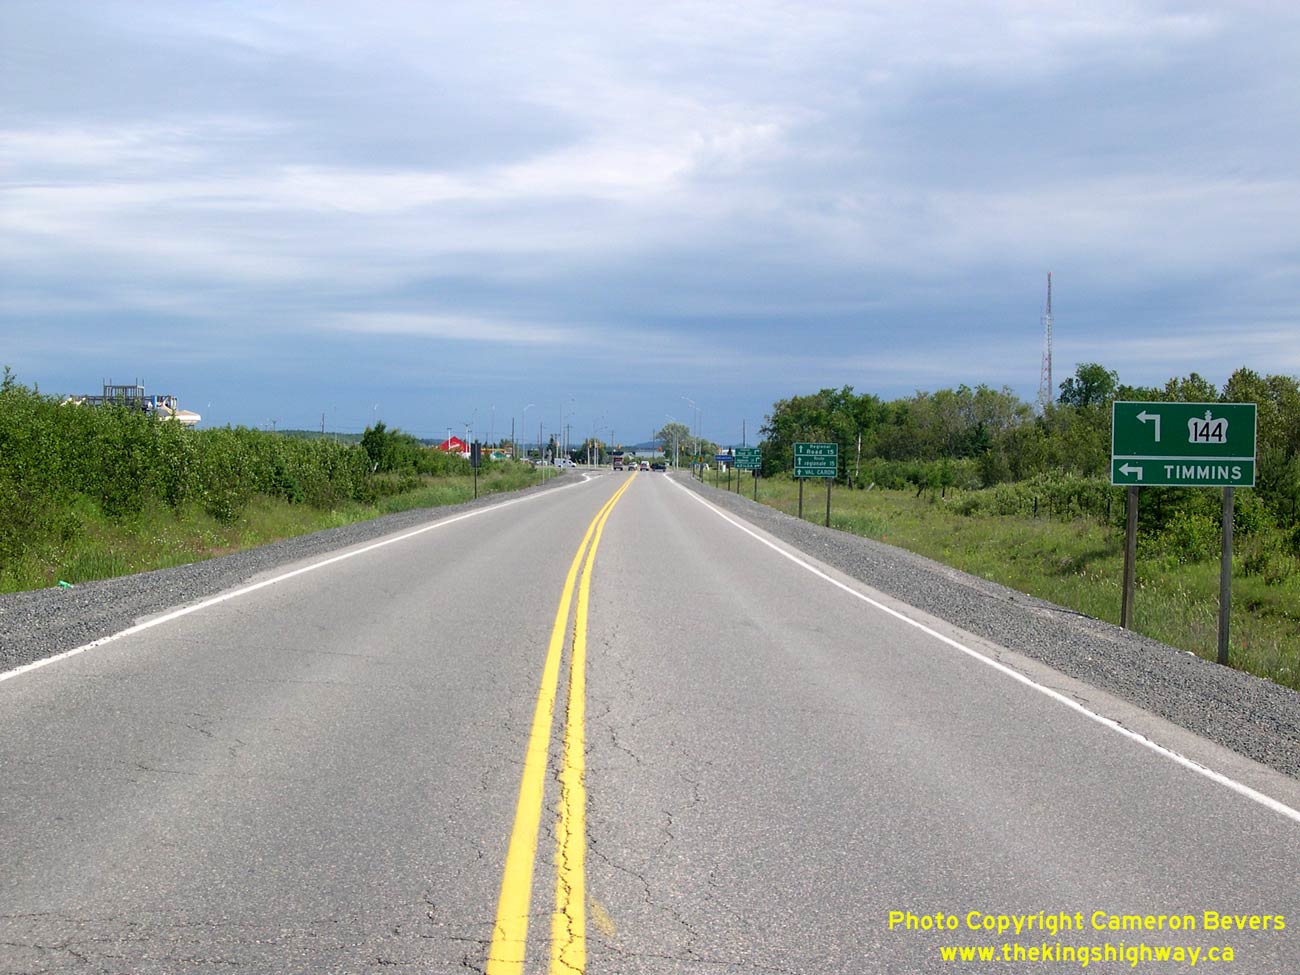
Left - Approaching Chelmsford on Hwy 144, facing north. Hwy 144 turns left at the traffic signals and passes through Chelmsford before continuing north
towards Dowling, Onaping, Cartier and Timmins. See an Enlarged Photo Here. (Photograph taken on July 3, 2007 - © Cameron Bevers) Right - Junction assembly at the Hwy 144 Junction in Chelmsford, facing south. It is interesting to note that at one time or another, all four legs of this intersection were provincial highways. The present-day route of Hwy 144 is as marked on the signs (both through and right). At left, Sudbury Road 35 is the former route of Hwy 144 which existed before the completion of the Northwest Sudbury Bypass (Hwy 144 New) in 1987. Sudbury Road 15 is a long-lost Ontario Secondary Highway (Hwy 634), which existed up until the creation of the Regional Municipality of Sudbury during the 1970s. See an Enlarged Photo Here. (Photograph taken on July 3, 2007 - © Cameron Bevers) 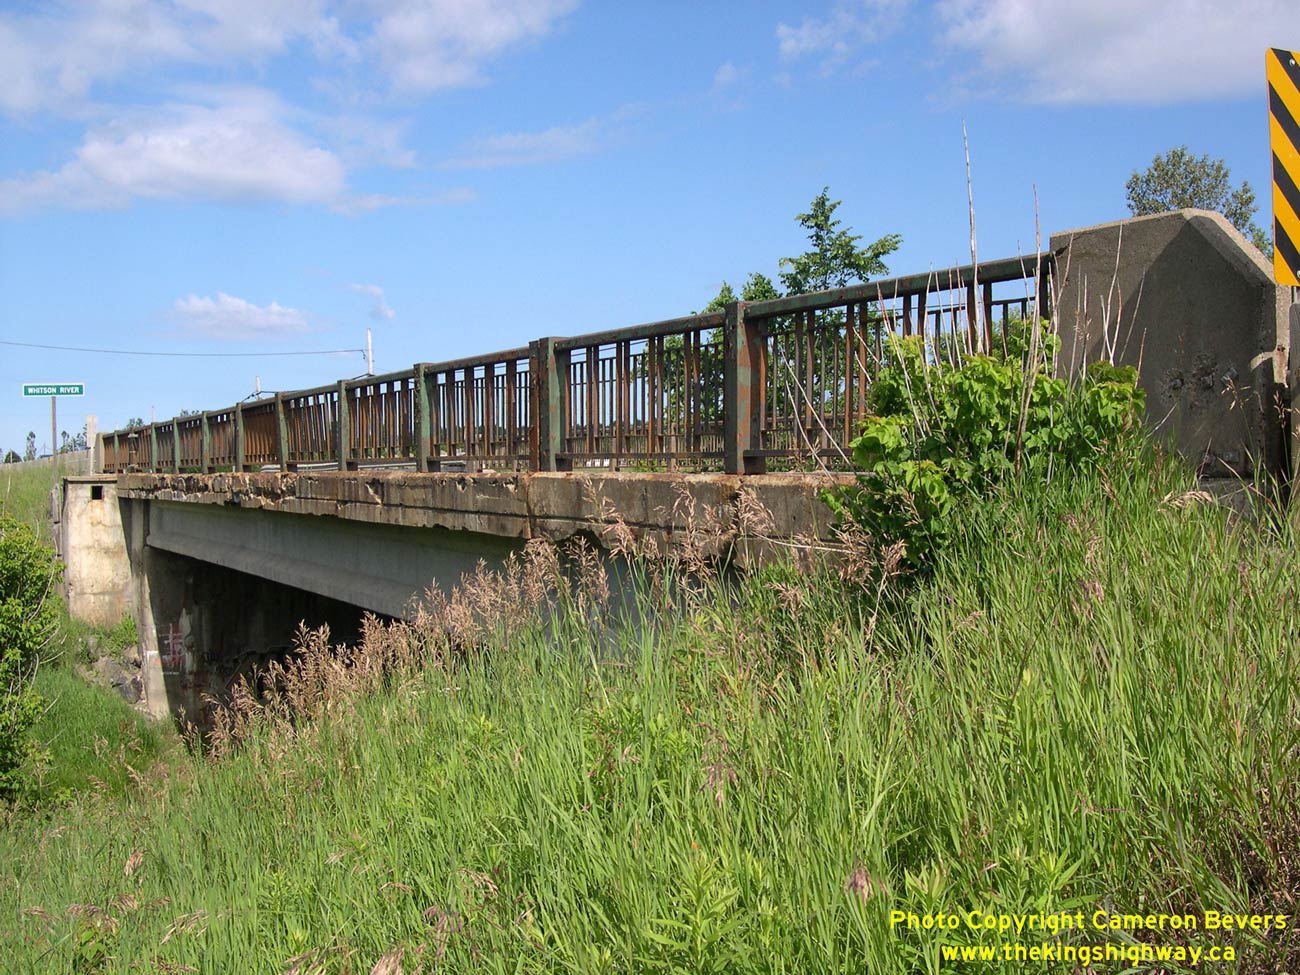
Left - Western side of the Whitson River Bridge on Hwy 144 in Chelmsford. This single span concrete girder structure was completed in 1961. See an
Enlarged Photo Here. (Photograph taken on July 2, 2007 - © Cameron Bevers) Right - Facing north along Hwy 144 towards Dowling at the Whitson River Bridge in Chelmsford. See an Enlarged Photo Here. (Photograph taken on July 2, 2007 - © Cameron Bevers) 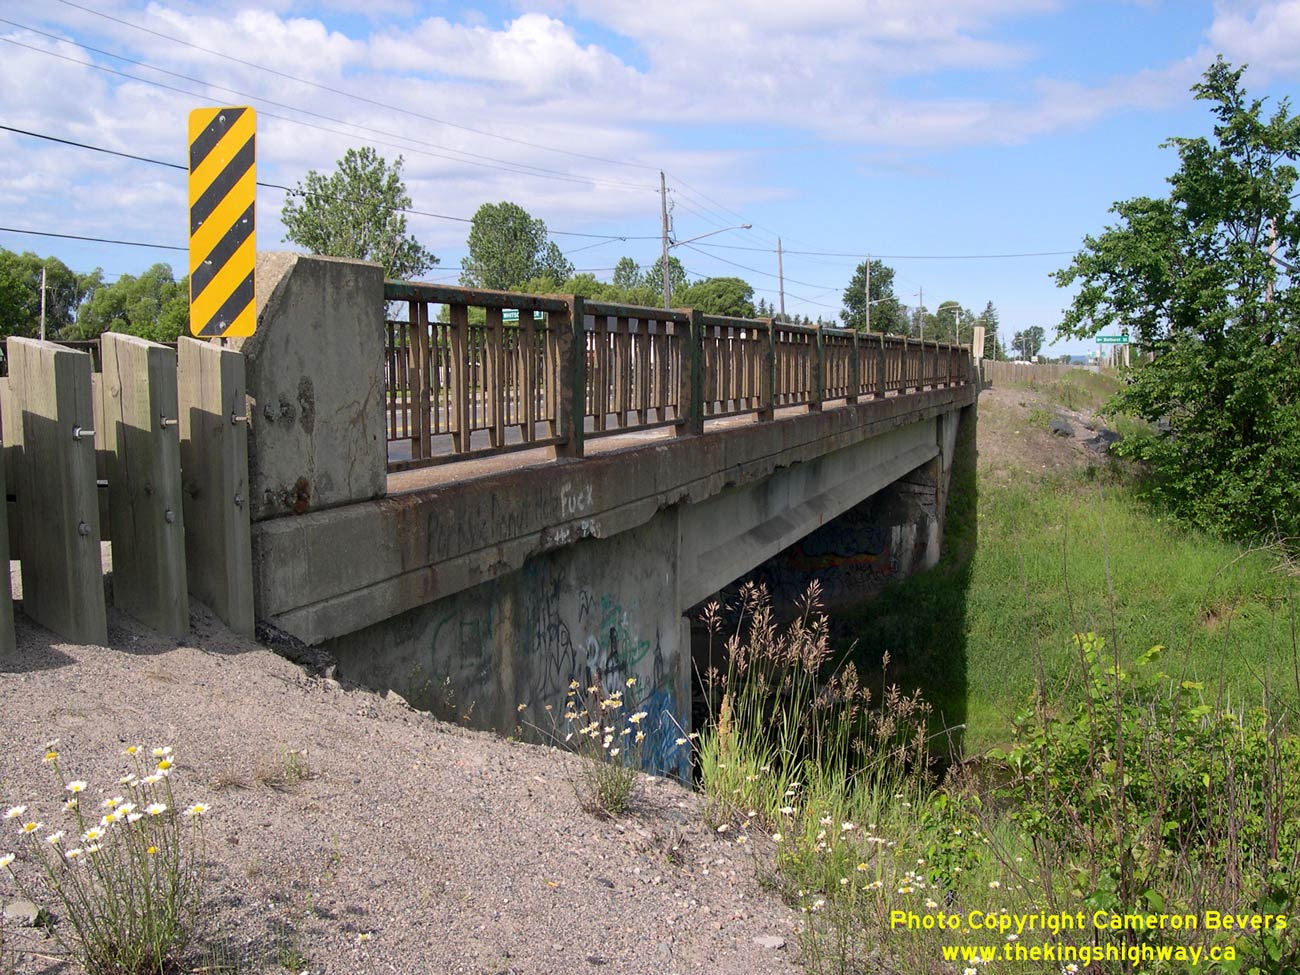
Left - Eastern side of the Whitson River Bridge on Hwy 144 in Chelmsford. See an
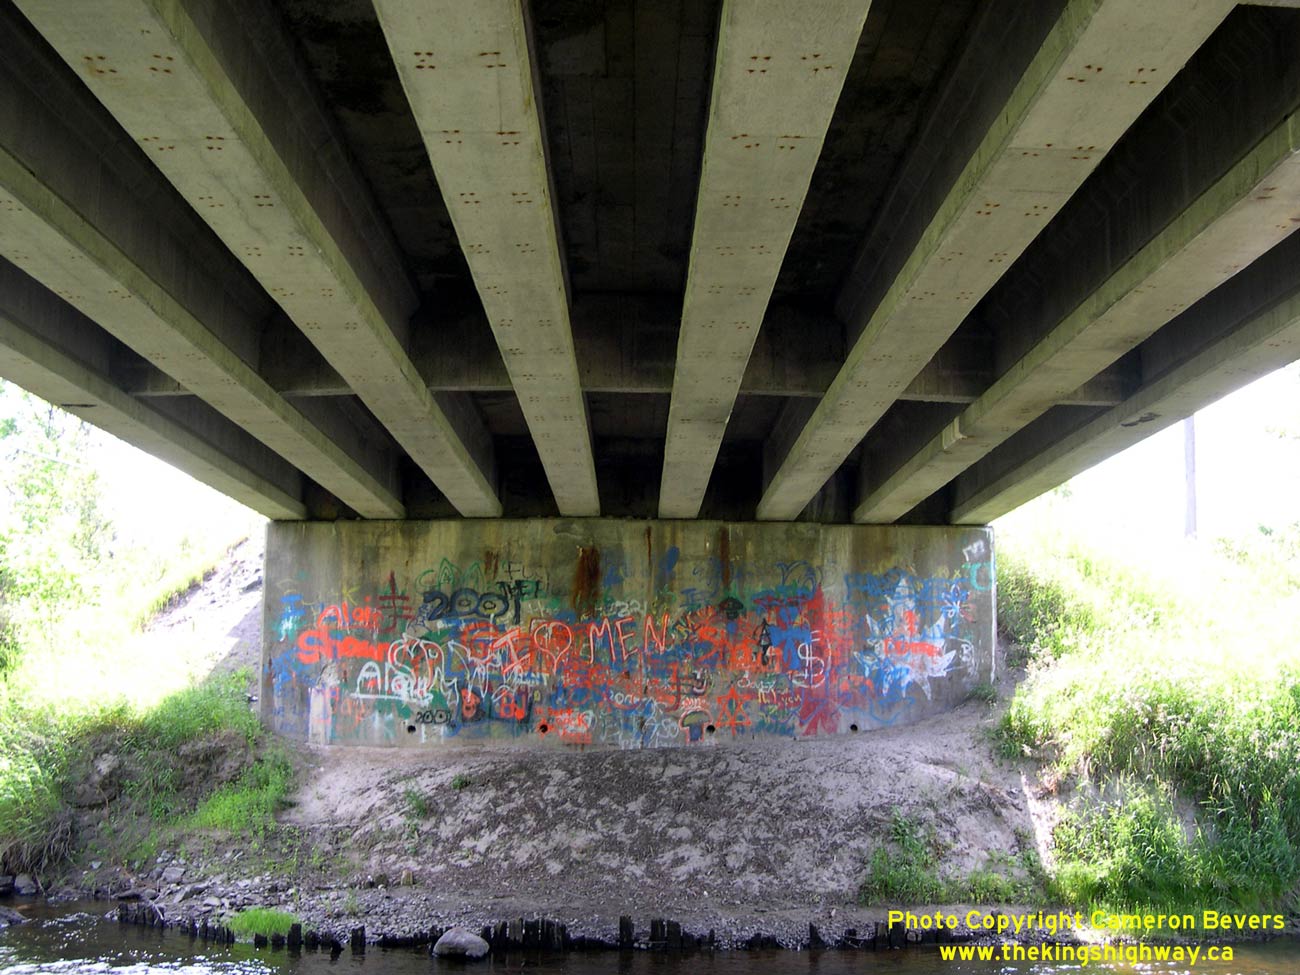
Enlarged Photo Here. (Photograph taken on July 2, 2007 - © Cameron Bevers) Right - Concrete girder superstructure of the Whitson River Bridge on Hwy 144. See an Enlarged Photo Here. (Photograph taken on July 2, 2007 - © Cameron Bevers) 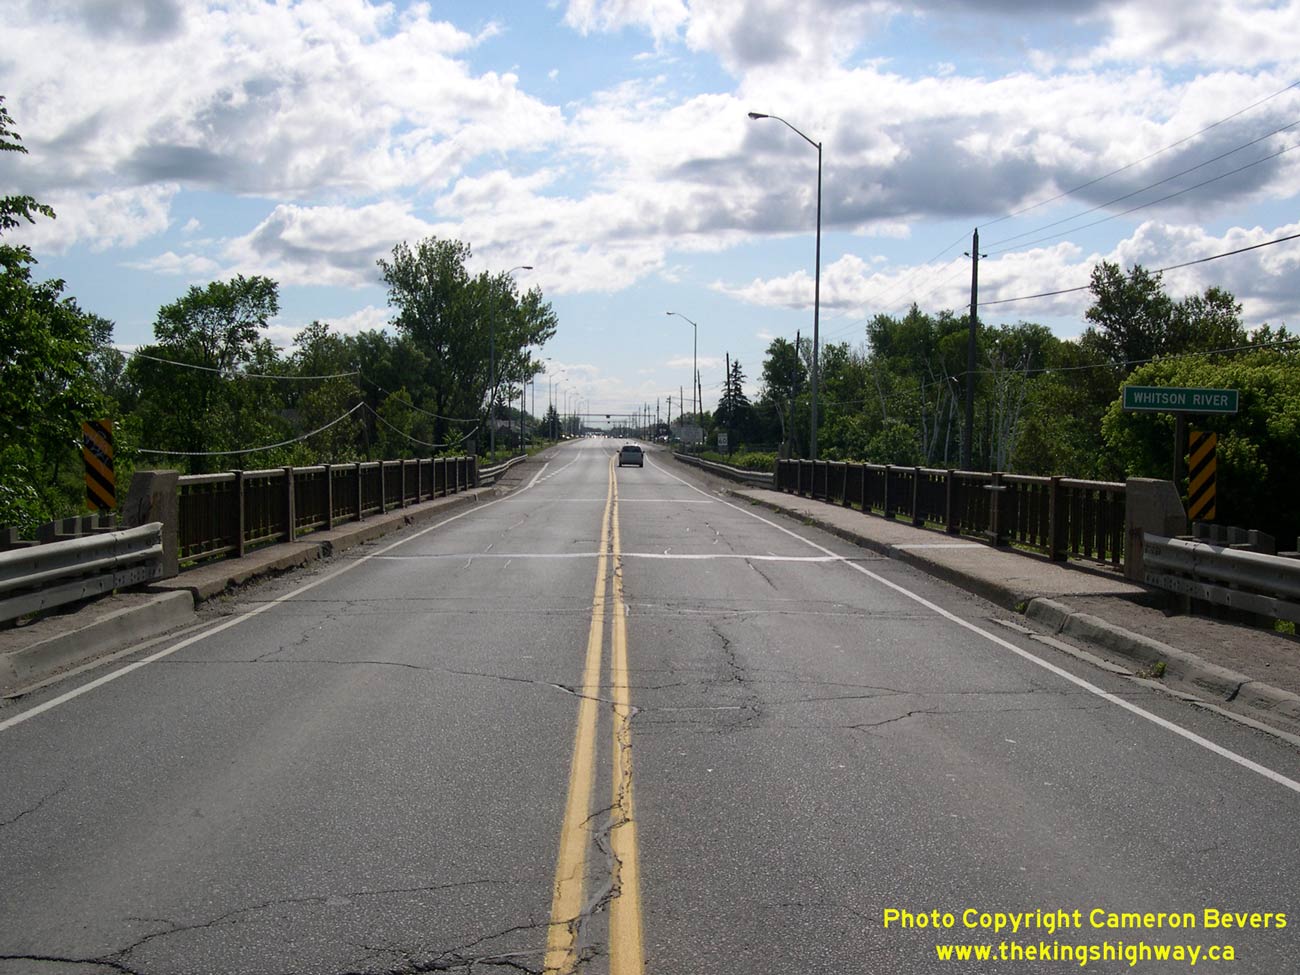
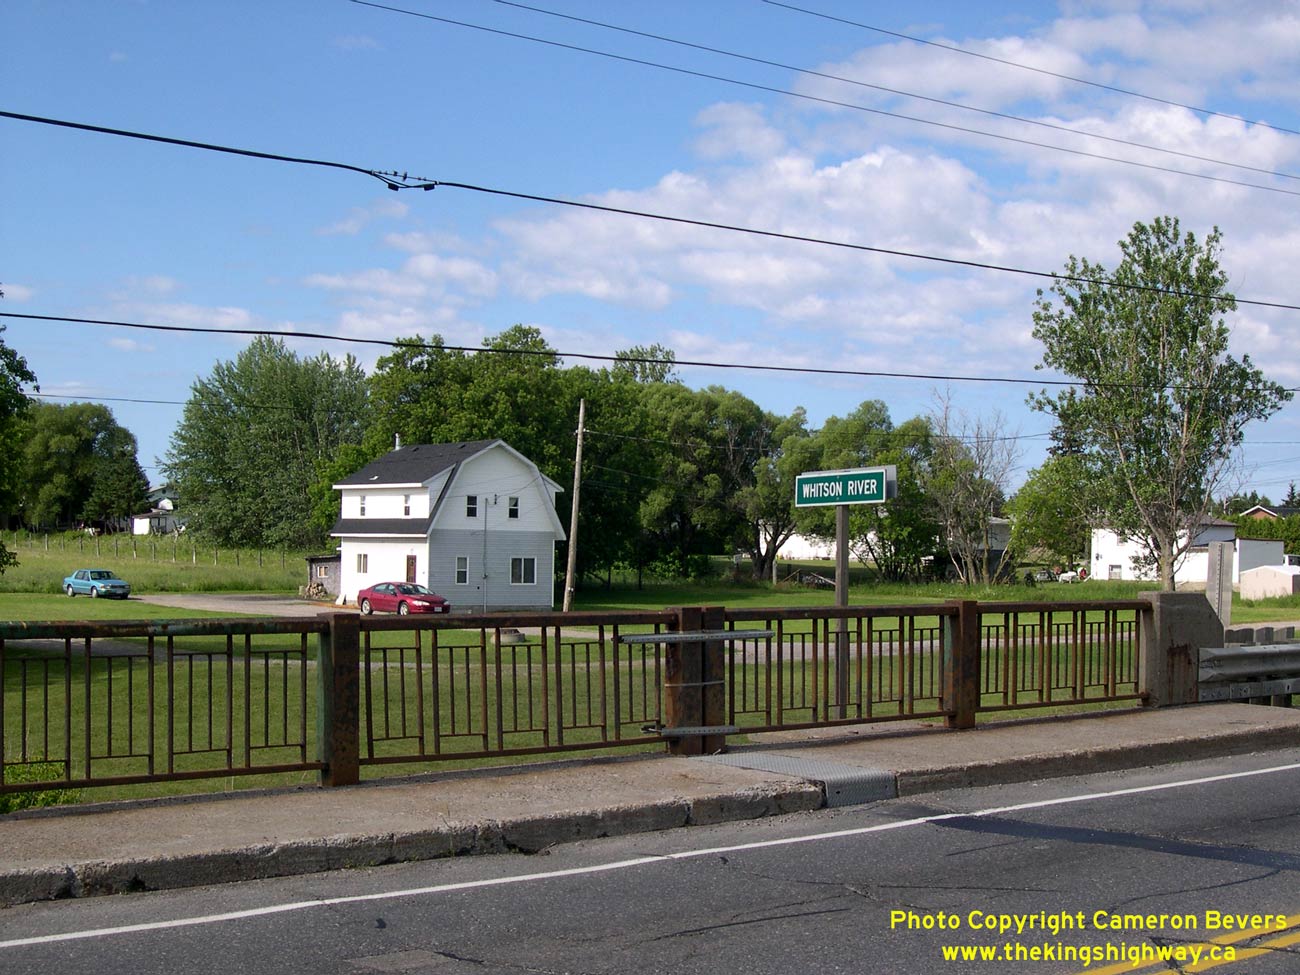
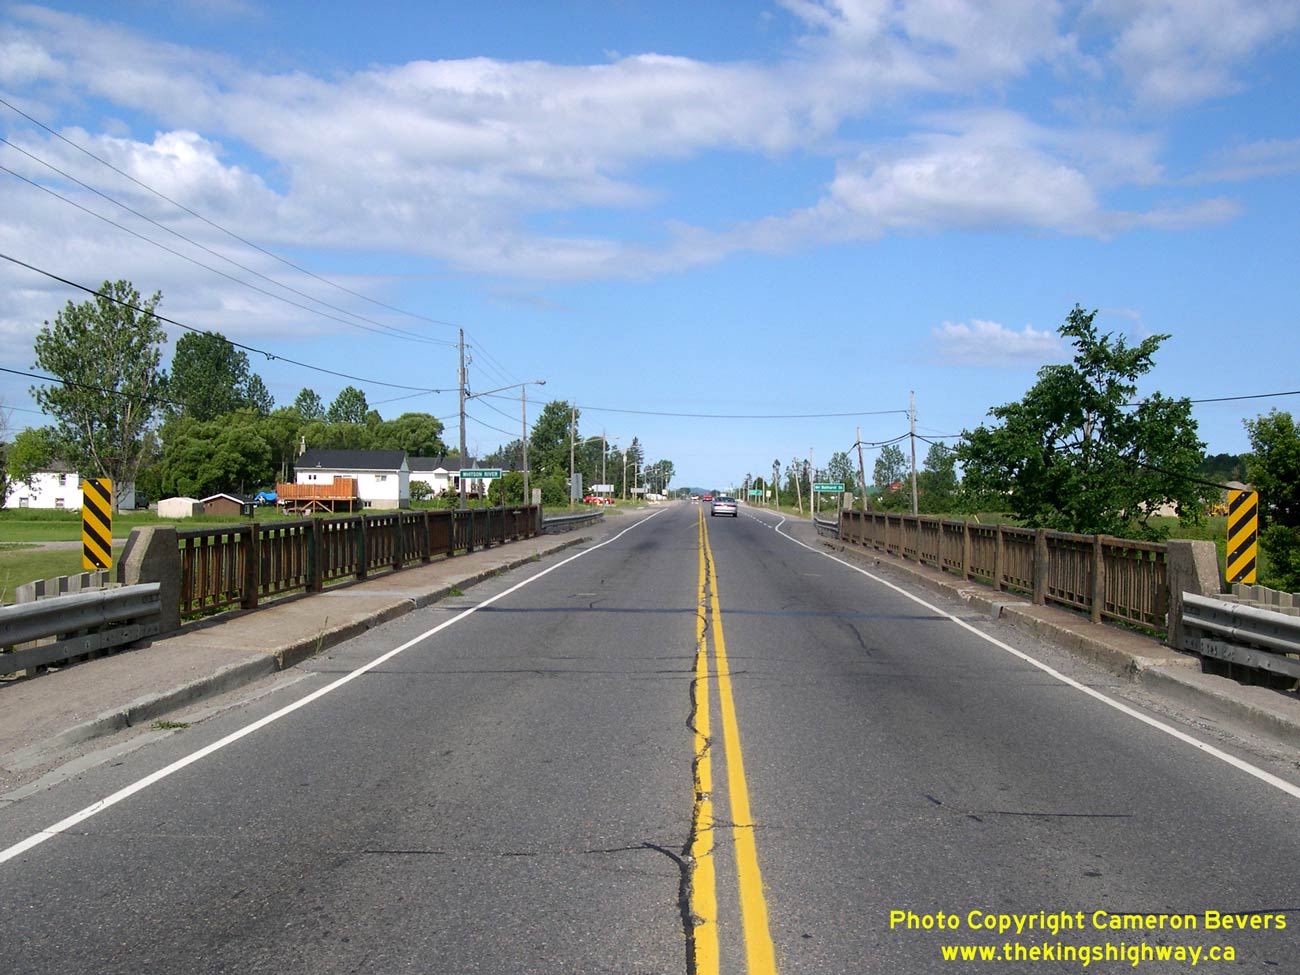
Left - Facing south along Hwy 144 at the Whitson River Bridge in Chelmsford. The highway widens from two lanes to a 5-lane urban cross section beyond the
bridge, which continues through Chelmsford's main commercial district. See an
Enlarged Photo Here. (Photograph taken on July 2, 2007 - © Cameron Bevers) Right - Close-up view of the steel handrail design on the Whitson River Bridge. This handrail design was typical for provincial highway bridges built between 1934 and the early 1960s. See an Enlarged Photo Here. (Photograph taken on July 2, 2007 - © Cameron Bevers) 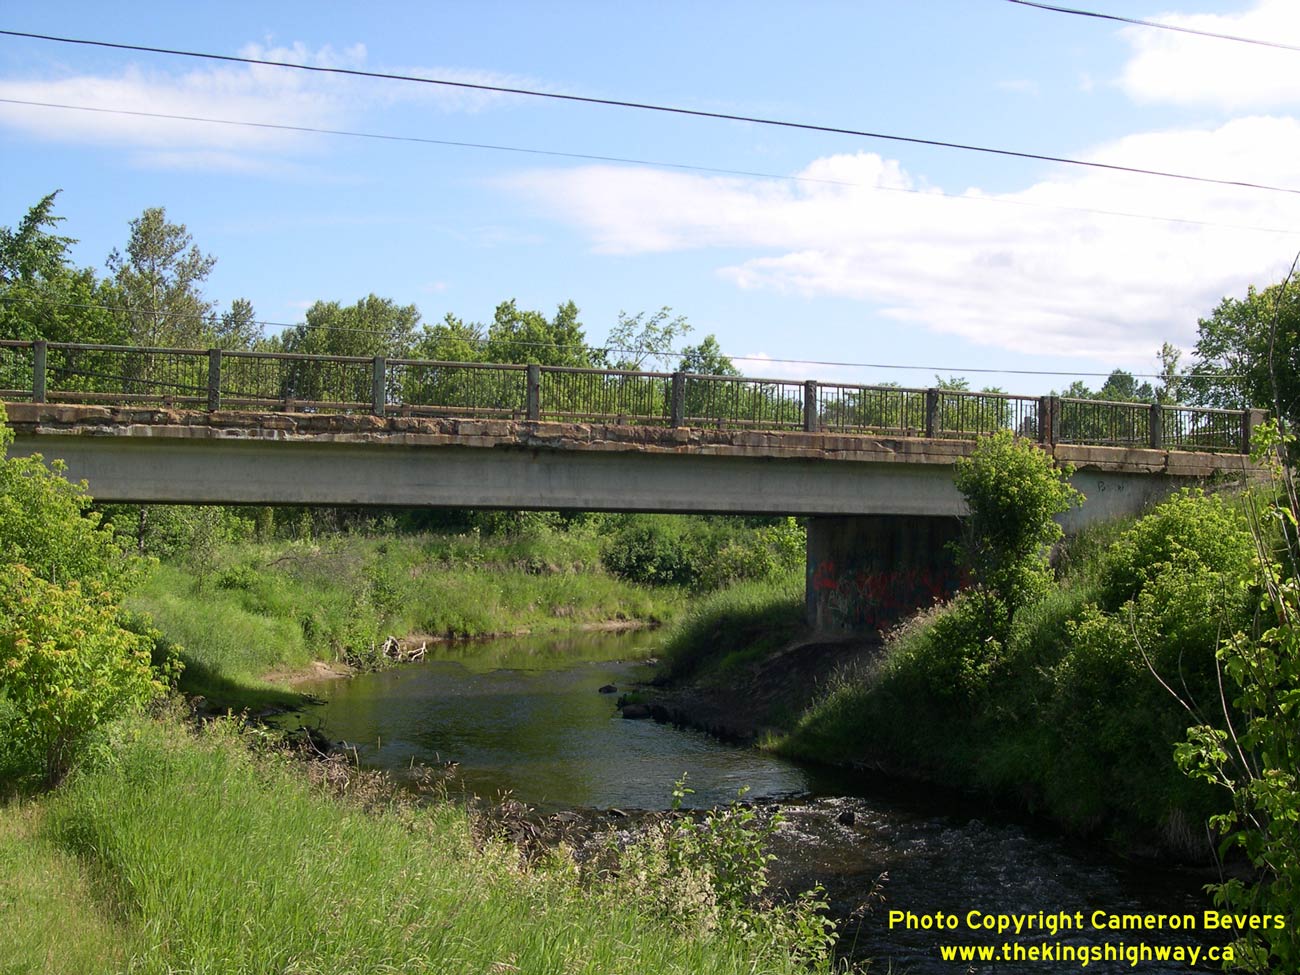
Above - The Whitson River Bridge on Hwy 144 in Chelmsford is actually the oldest bridge structure along the entire route of Hwy 144. See
an Enlarged Photo Here. (Photograph taken on July 2, 2007 - © Cameron Bevers) 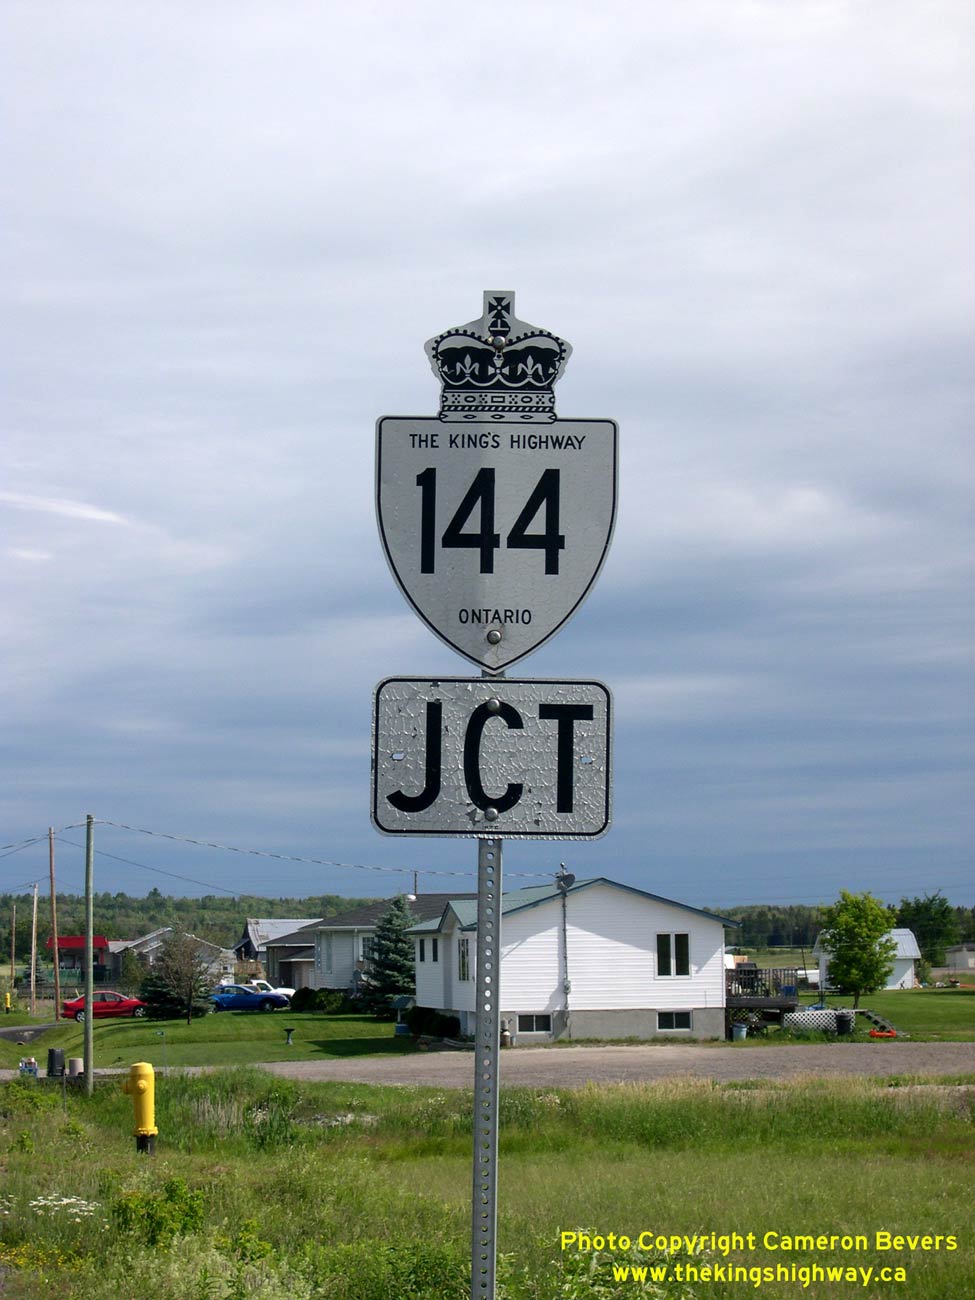
Above - An older King's Highway 144 Junction signpost with "JCT" tab near Chelmsford. See
an Enlarged Photo Here. (Photograph taken on July 2, 2007 - © Cameron Bevers) 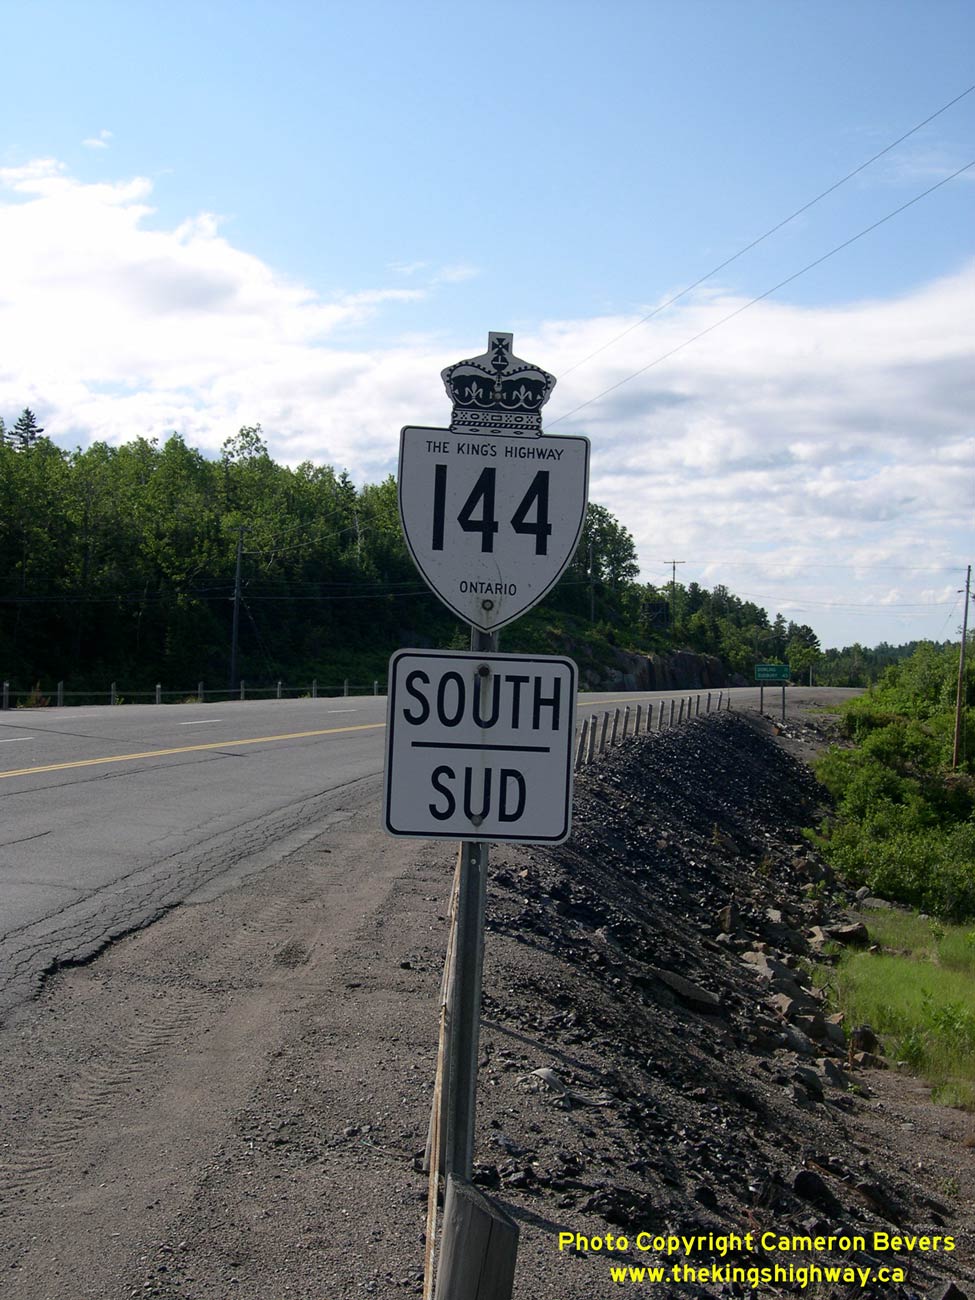
Above - An older King's Highway 144 route marker sign near Onaping. See
an Enlarged Photo Here. (Photograph taken on July 2, 2007 - © Cameron Bevers) 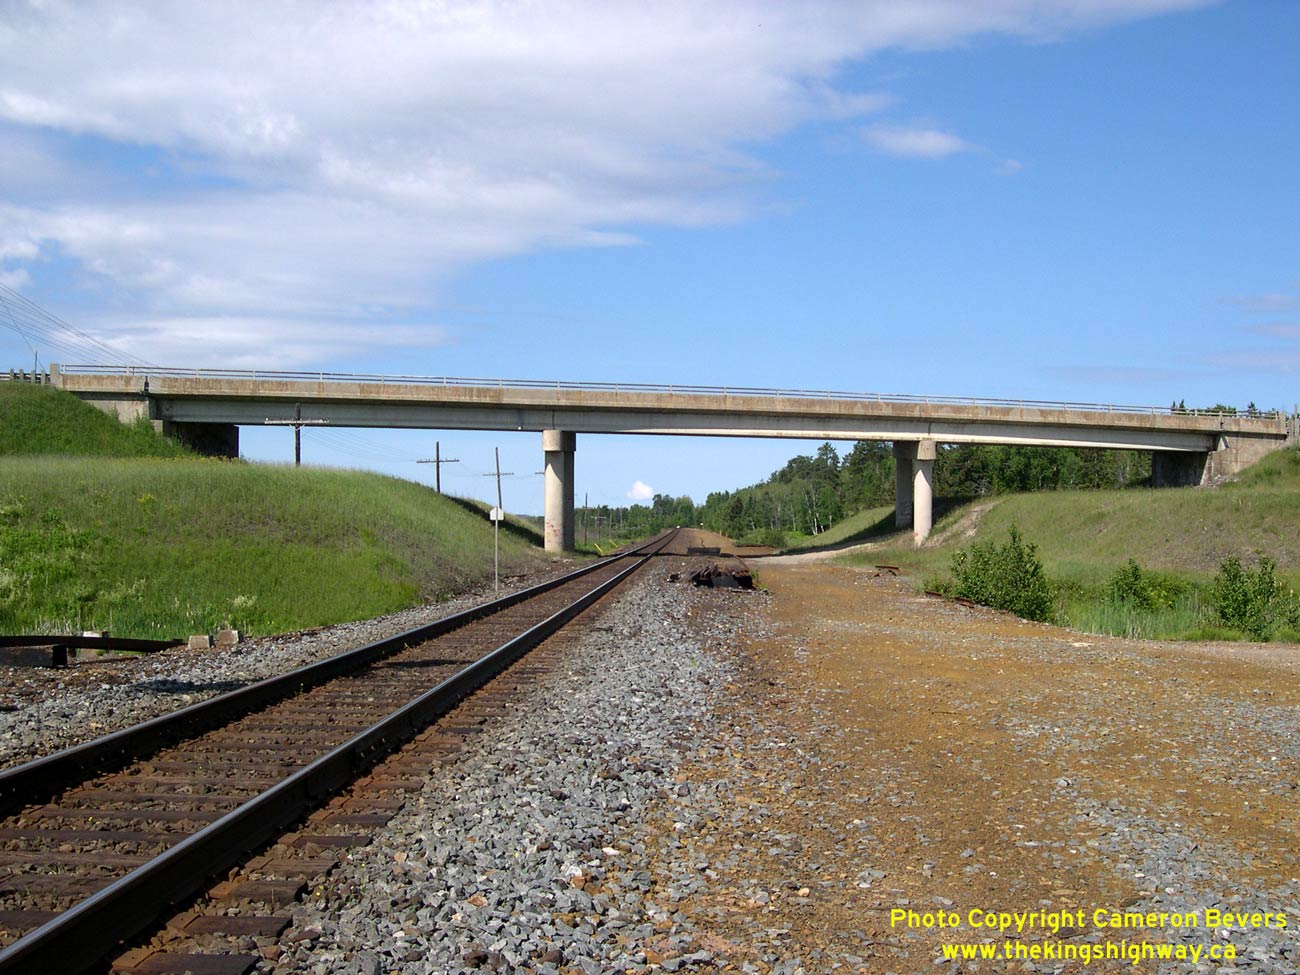
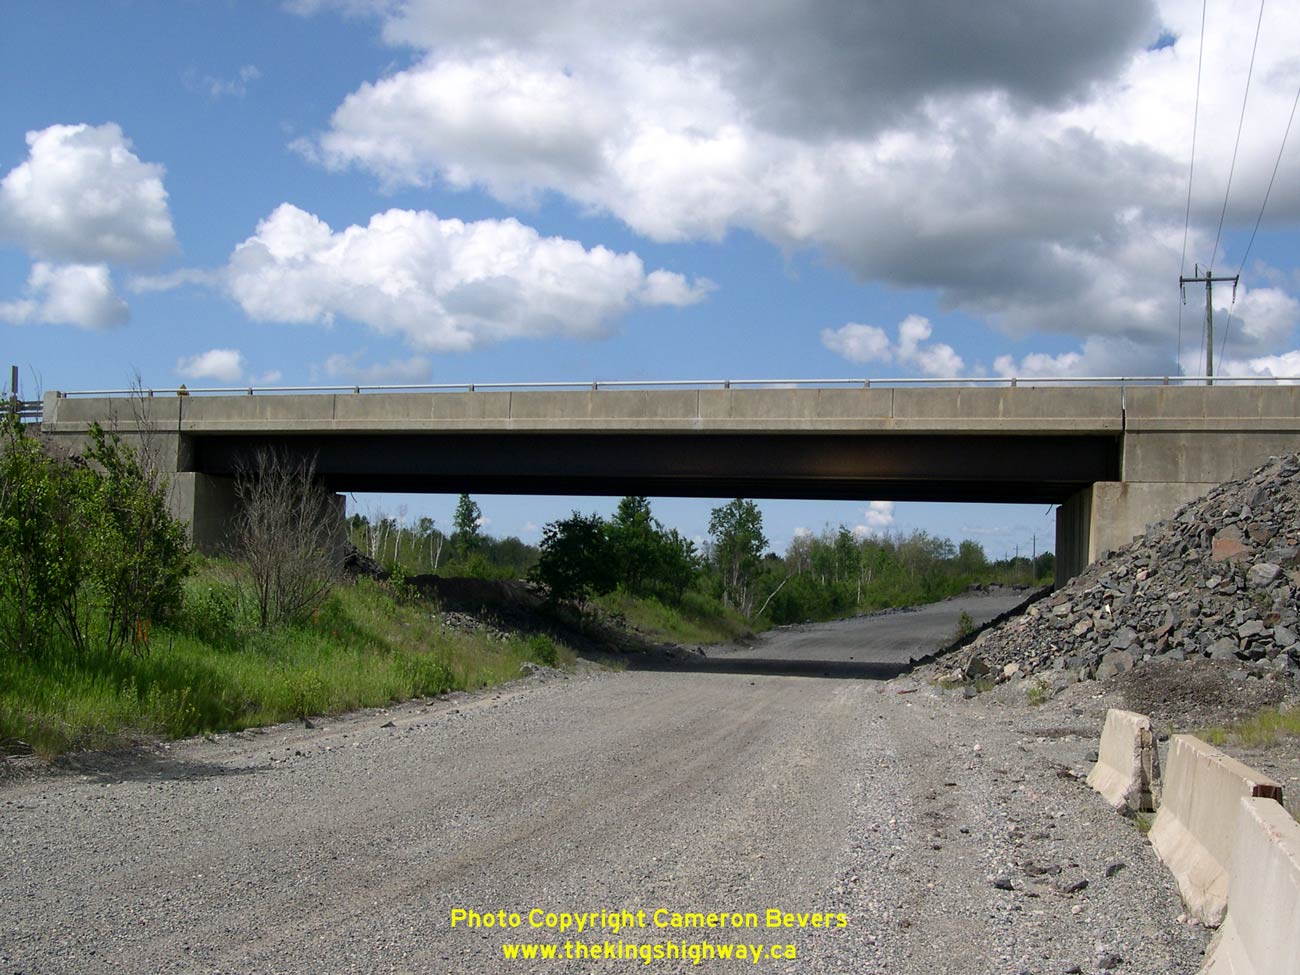
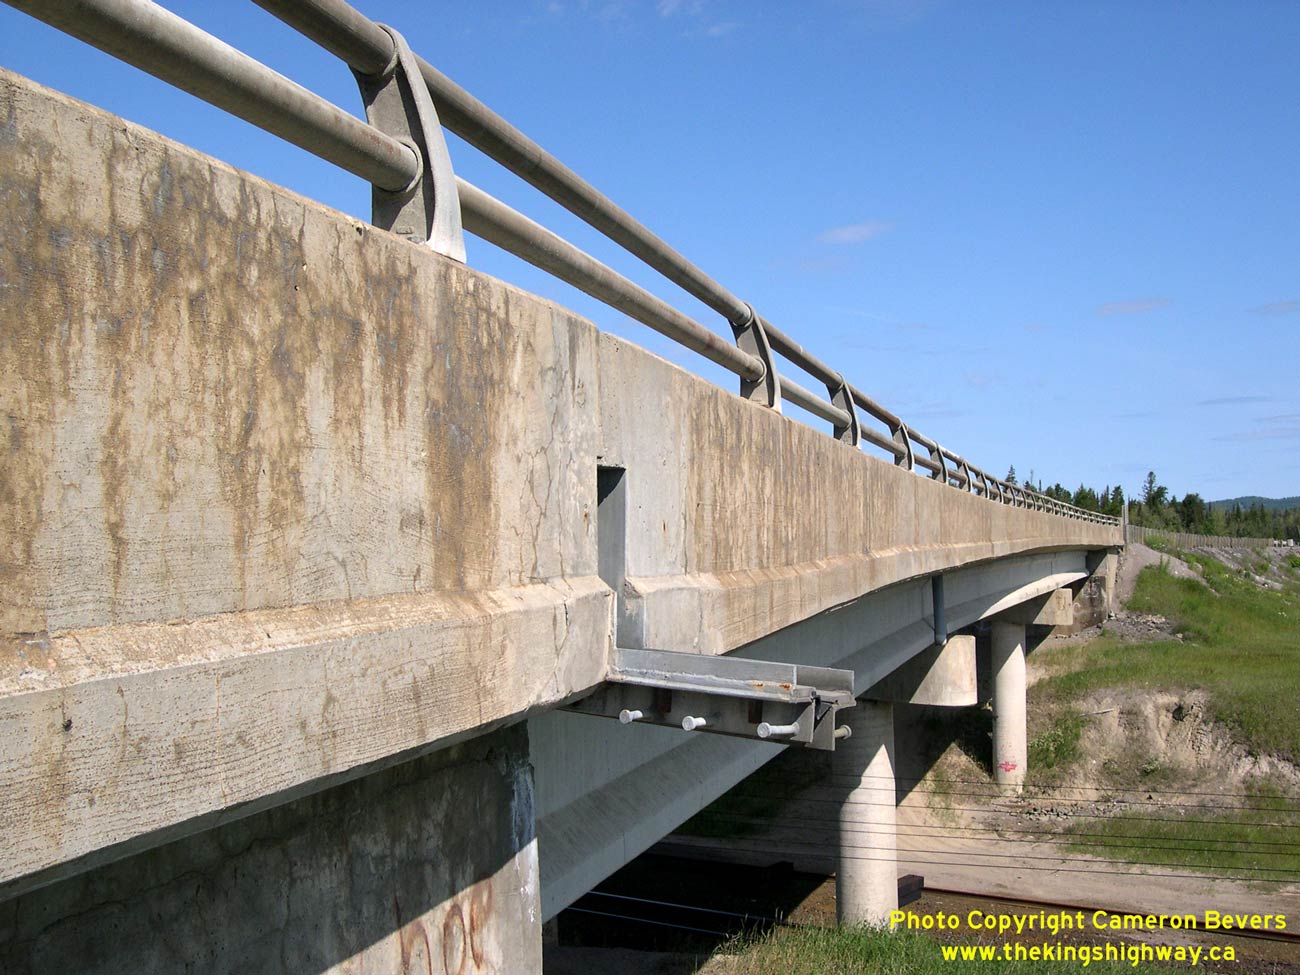
Left - Larchwood Canadian Pacific Railway (CPR) Overhead on Hwy 144, located about 4 km south of Dowling. See an
Enlarged Photo Here. (Photograph taken on July 2, 2007 - © Cameron Bevers) Right - The Larchwood CPR Overhead is a three-span concrete girder structure which was completed in 1972. See an Enlarged Photo Here. (Photograph taken on July 2, 2007 - © Cameron Bevers) 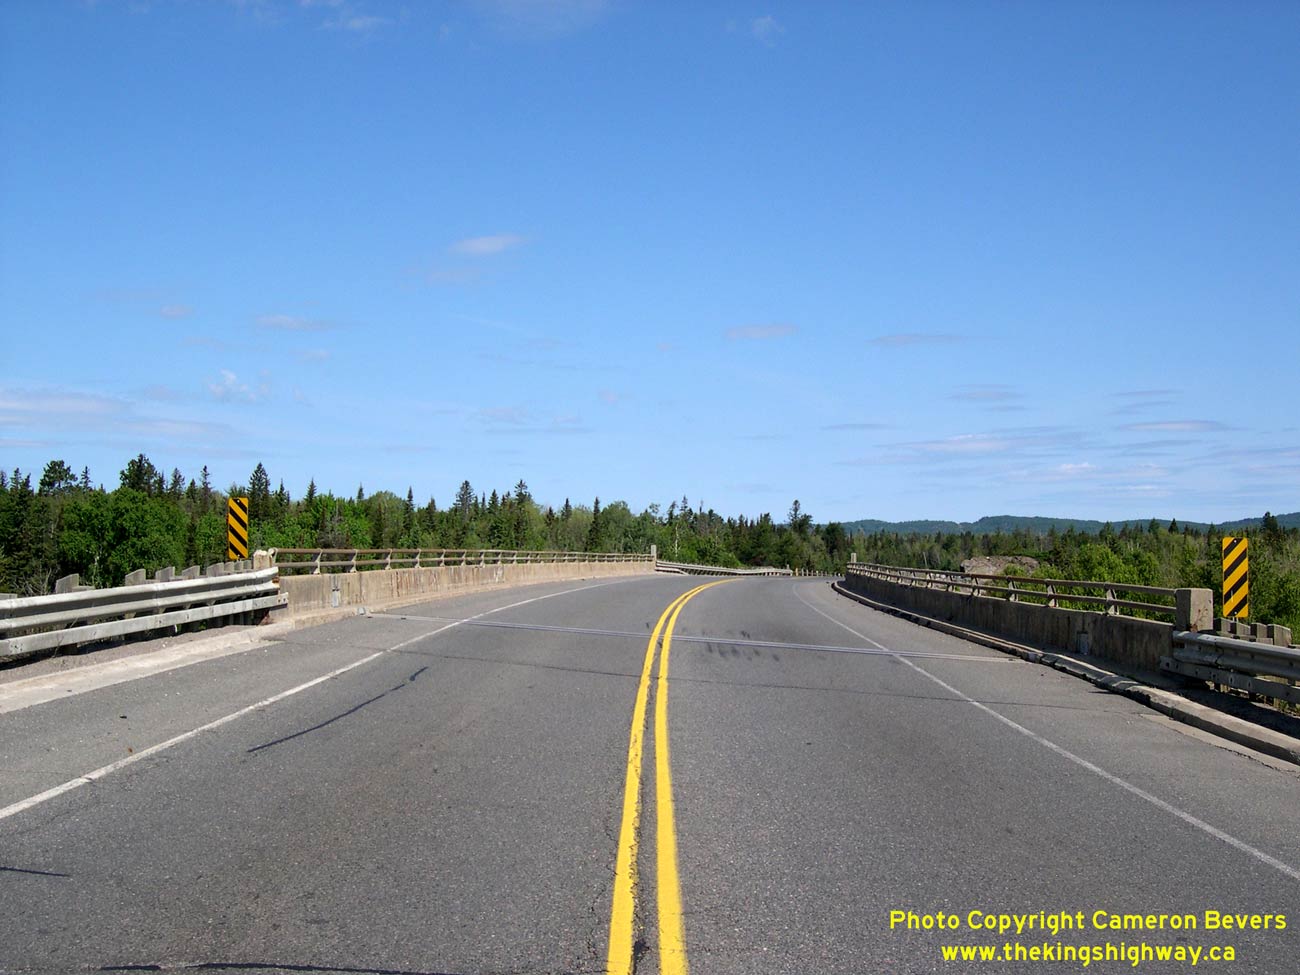
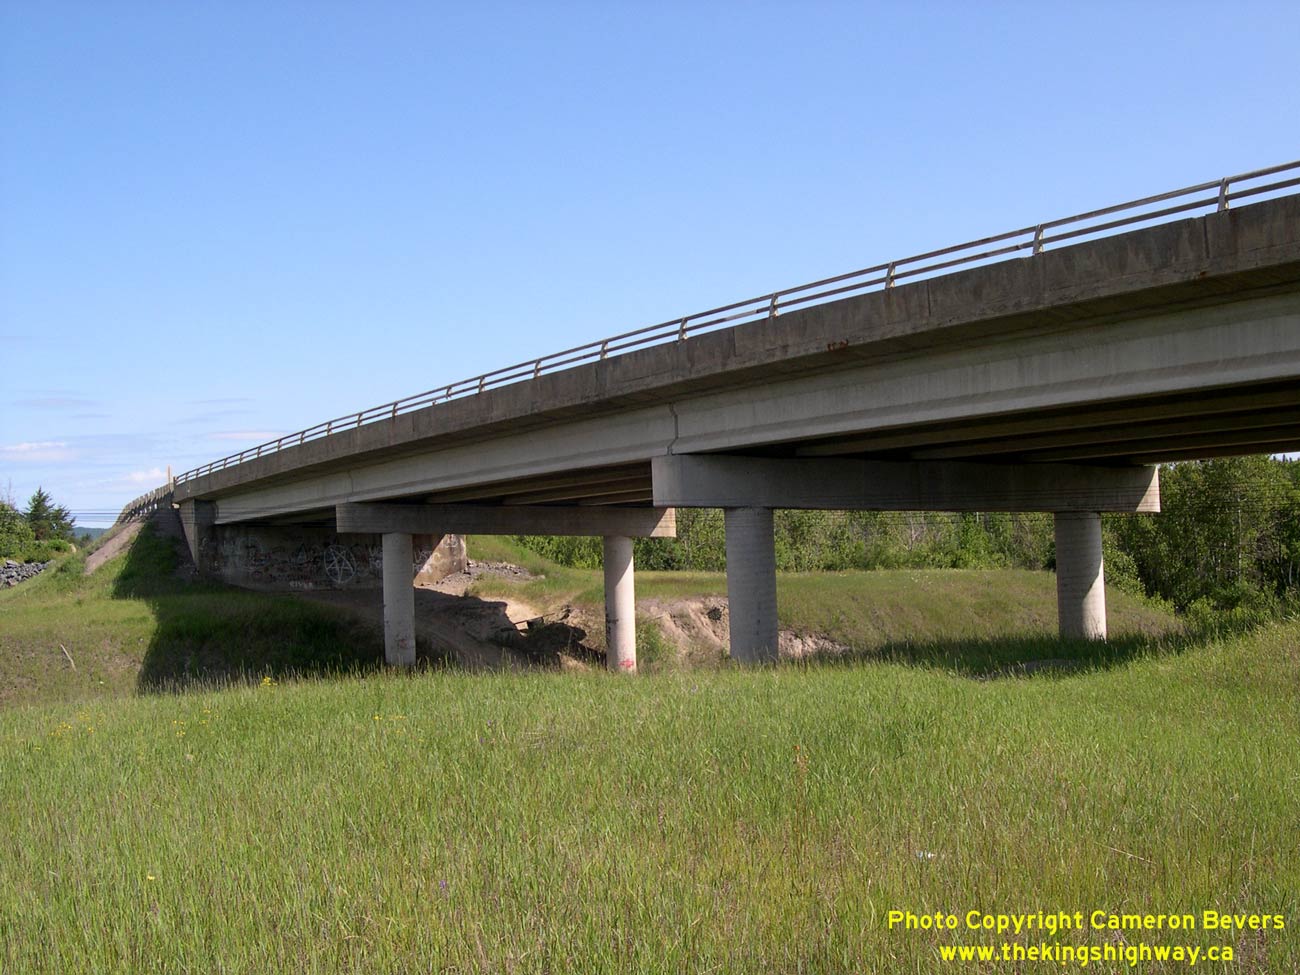
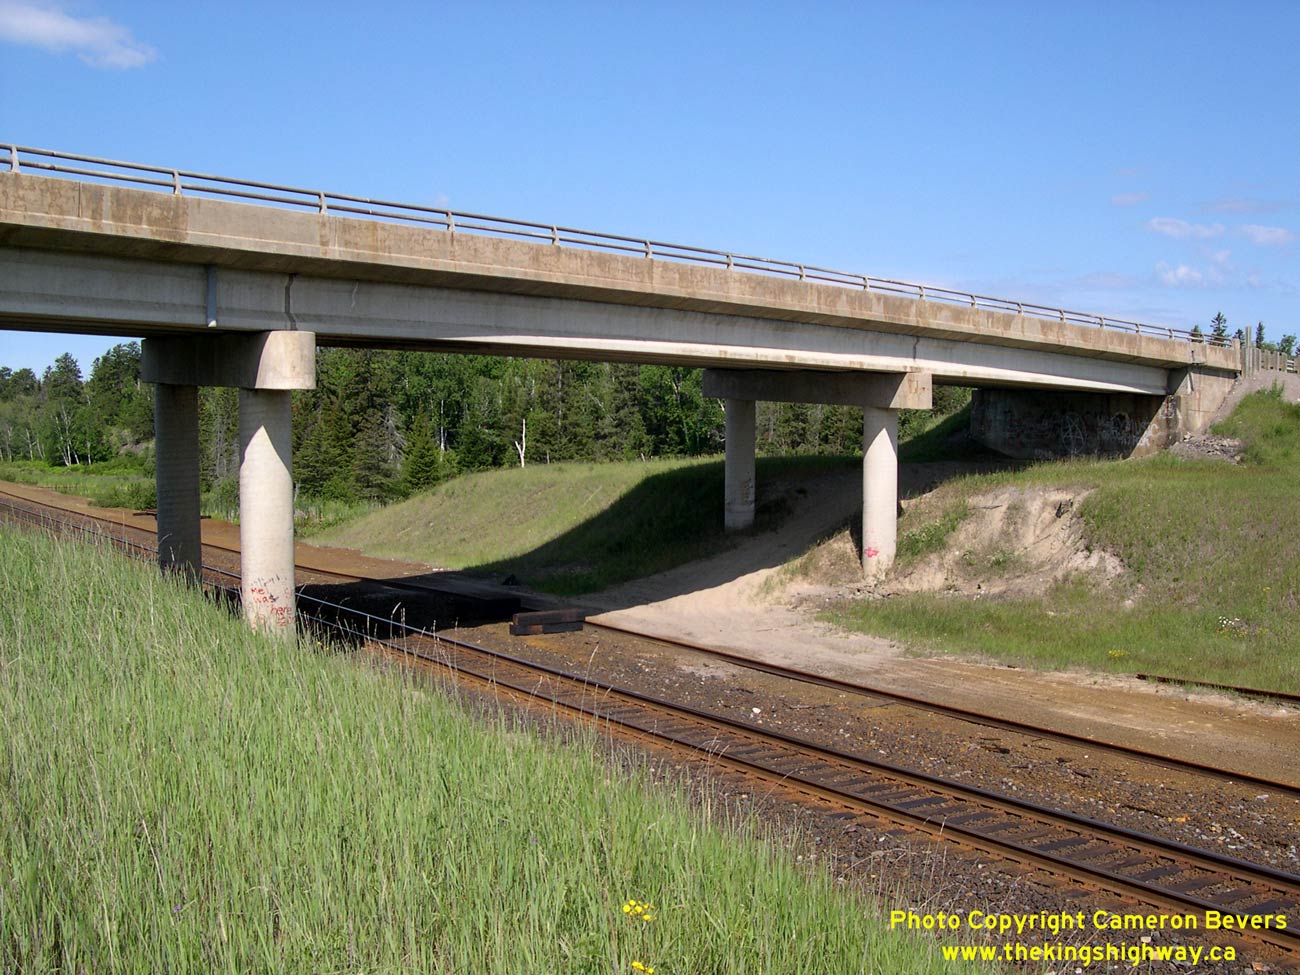
Left - Facing north along Hwy 144 towards Dowling at the Larchwood CPR Overhead. See an
Enlarged Photo Here. (Photograph taken on July 2, 2007 - © Cameron Bevers) Right - Western side of the Larchwood CPR Overhead on Hwy 144. See an Enlarged Photo Here. (Photograph taken on July 2, 2007 - © Cameron Bevers) 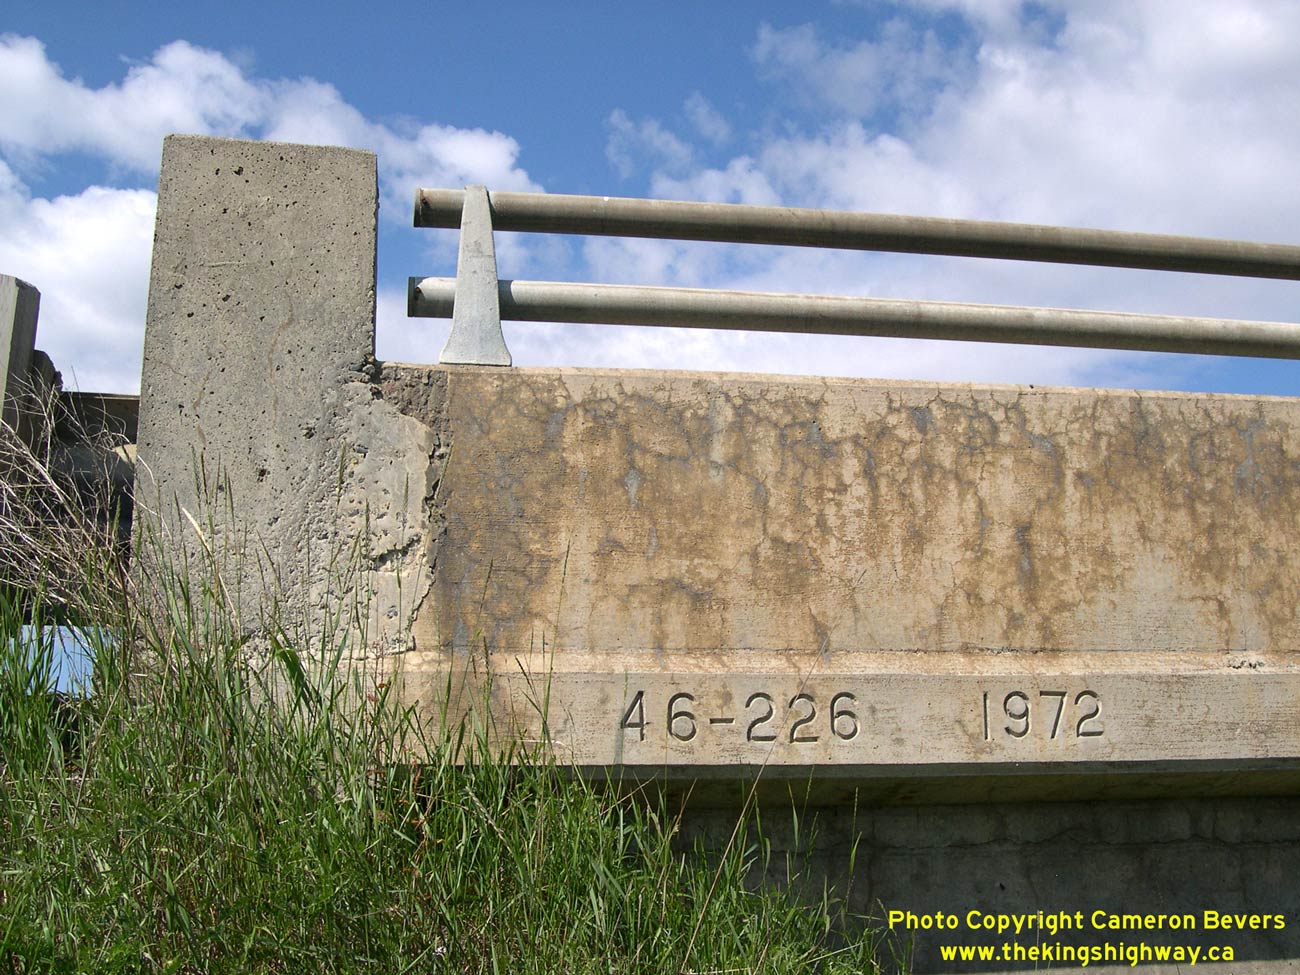
Left - Structure identification number and date stamp (1972) on the Larchwood CPR Overhead on Hwy 144. See an
Enlarged Photo Here. (Photograph taken on July 2, 2007 - © Cameron Bevers) Right - View of a typical Department of Highways of Ontario (DHO) double-rail parapet wall on the Larchwood CPR Overhead. This parapet wall design was widely used on provincial highway bridges constructed between 1963 and 1975, although some later examples also exist. See an Enlarged Photo Here. (Photograph taken on July 2, 2007 - © Cameron Bevers) 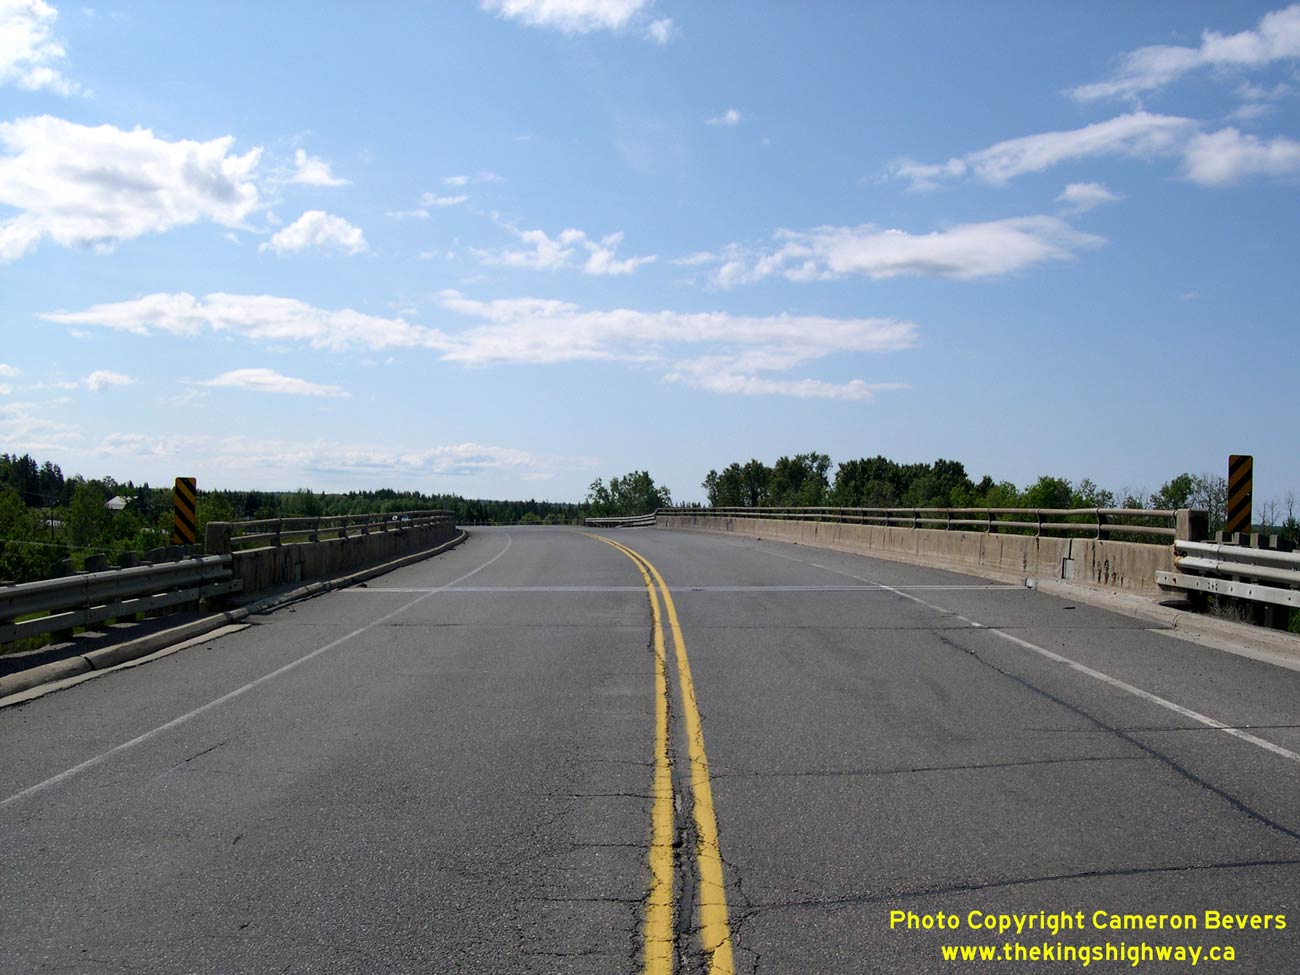
Left - Facing south along Hwy 144 towards Chelmsford at the Larchwood CPR Overhead. See an
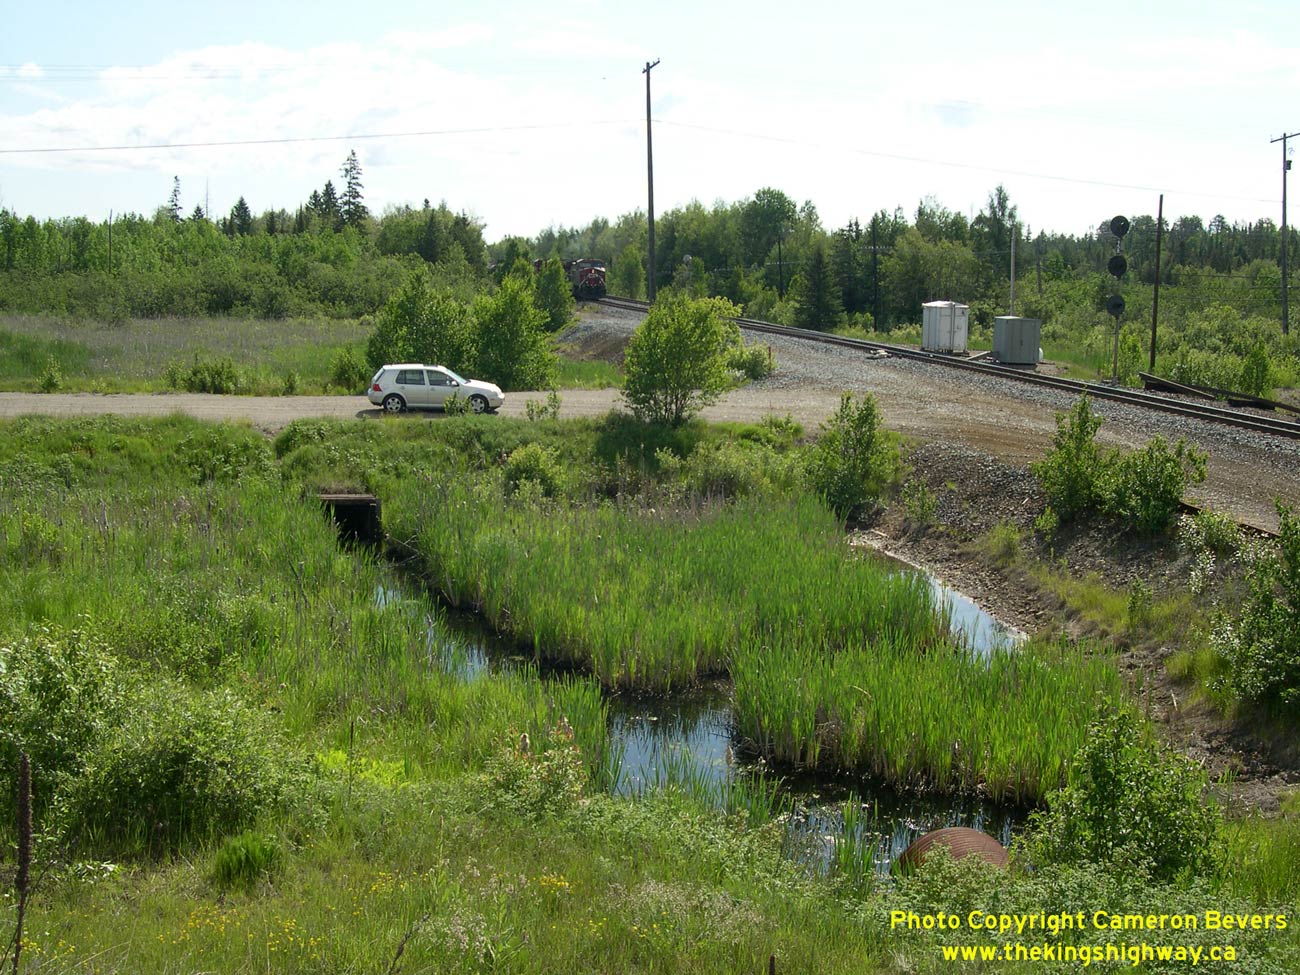
Enlarged Photo Here. (Photograph taken on July 2, 2007 - © Cameron Bevers) Right - View of the old at-grade CPR crossing at Larchwood on a bypassed section of Hwy 144. See an Enlarged Photo Here. (Photograph taken on July 2, 2007 - © Cameron Bevers) 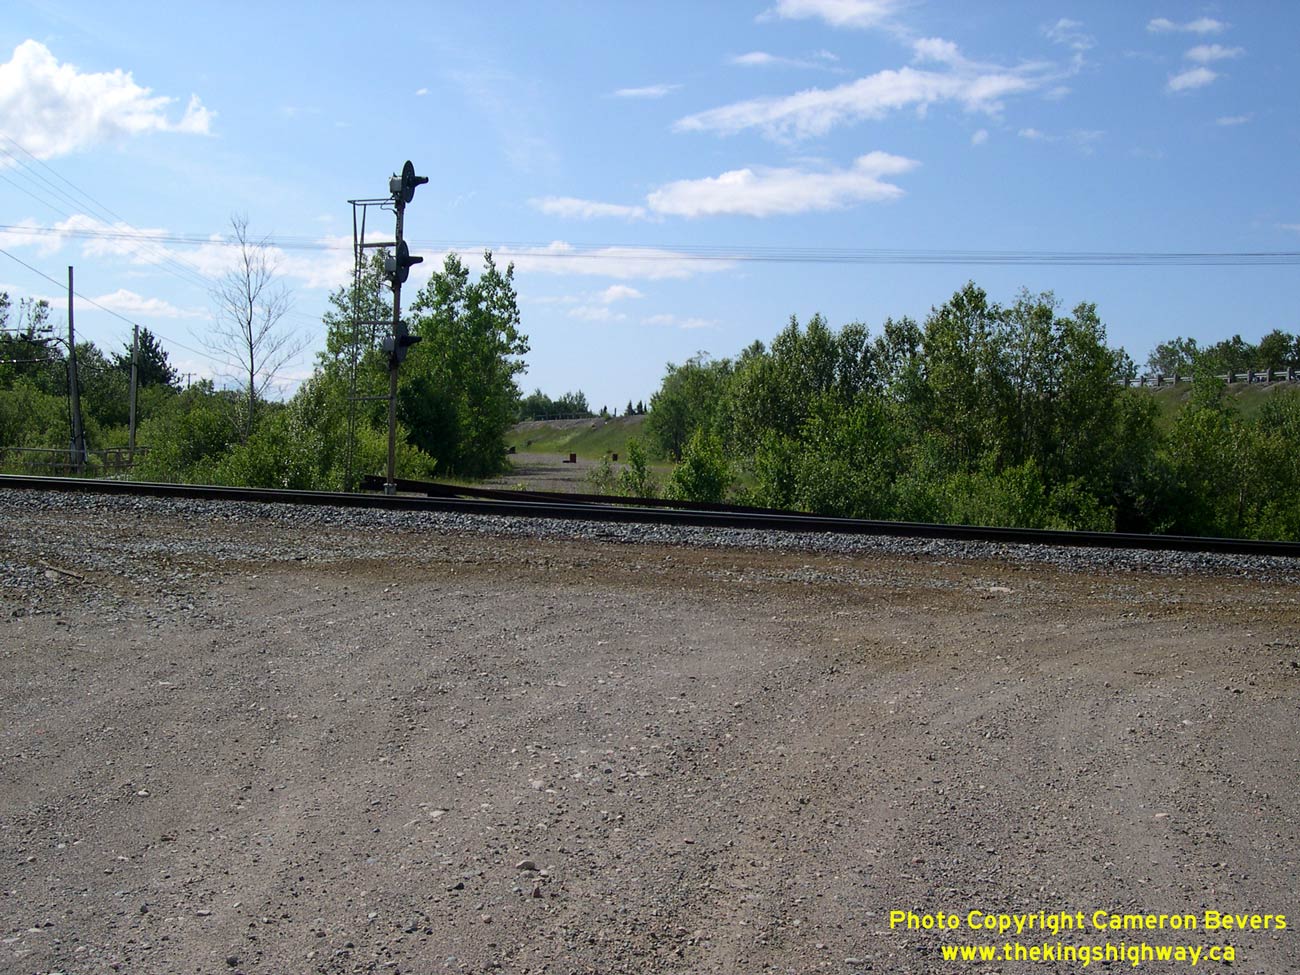
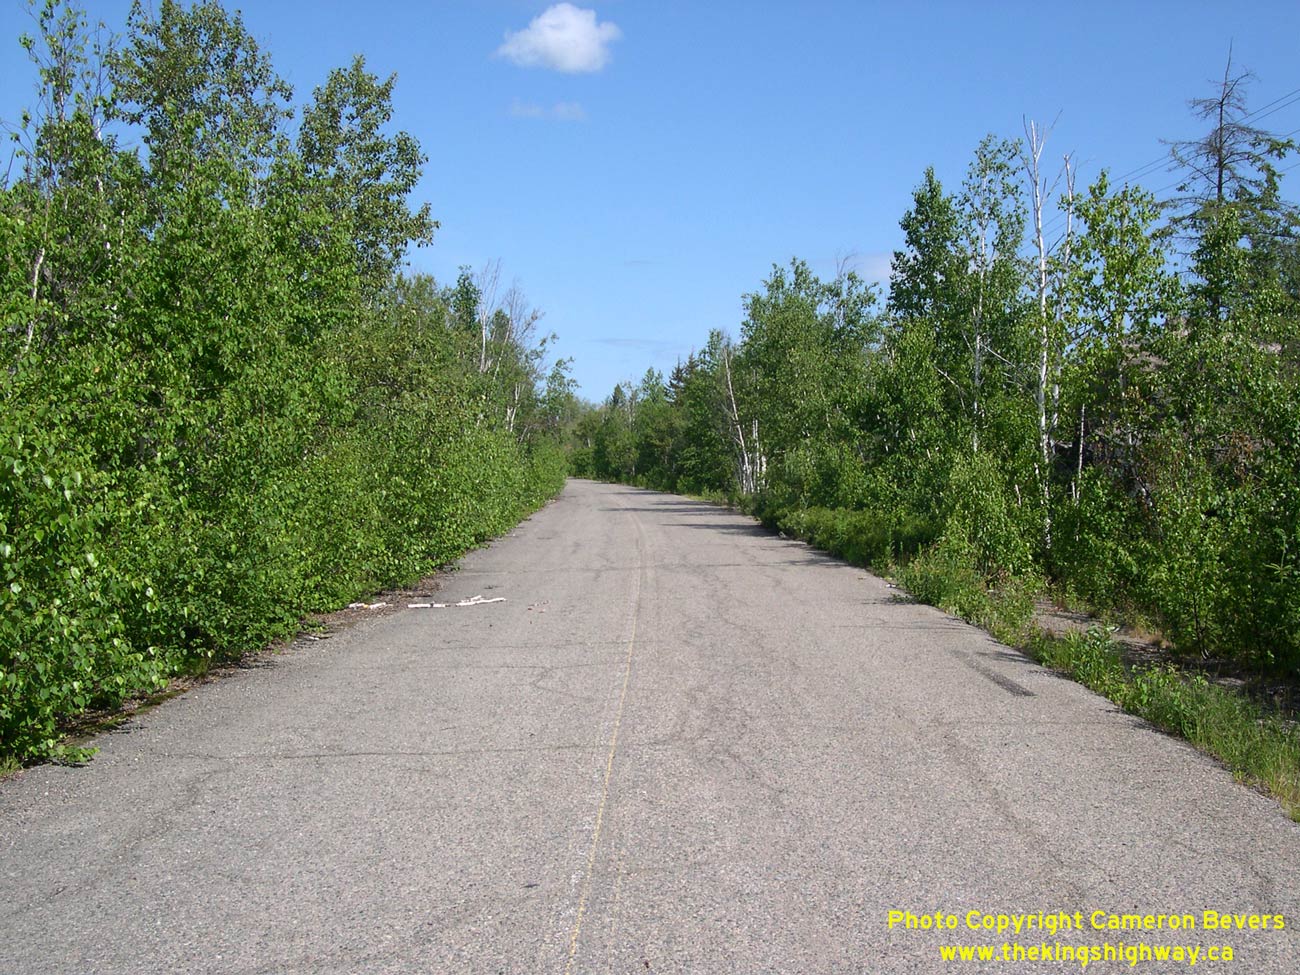
Left - Although the at-grade crossing itself is gone, a pair of abandoned Hwy 144 alignments approach the old CPR crossing site on both sides of the railway.
See an Enlarged Photo Here. (Photograph taken on July 2, 2007 - © Cameron Bevers) Right - Bypassed section of Hwy 144 at Larchwood, approaching the site of the old CPR crossing. This section of Hwy 144 was bypassed by a diversion and new grade separation in 1972. The old highway still serves as an access road to a railway maintenance yard. See an Enlarged Photo Here. (Photograph taken on July 2, 2007 - © Cameron Bevers) 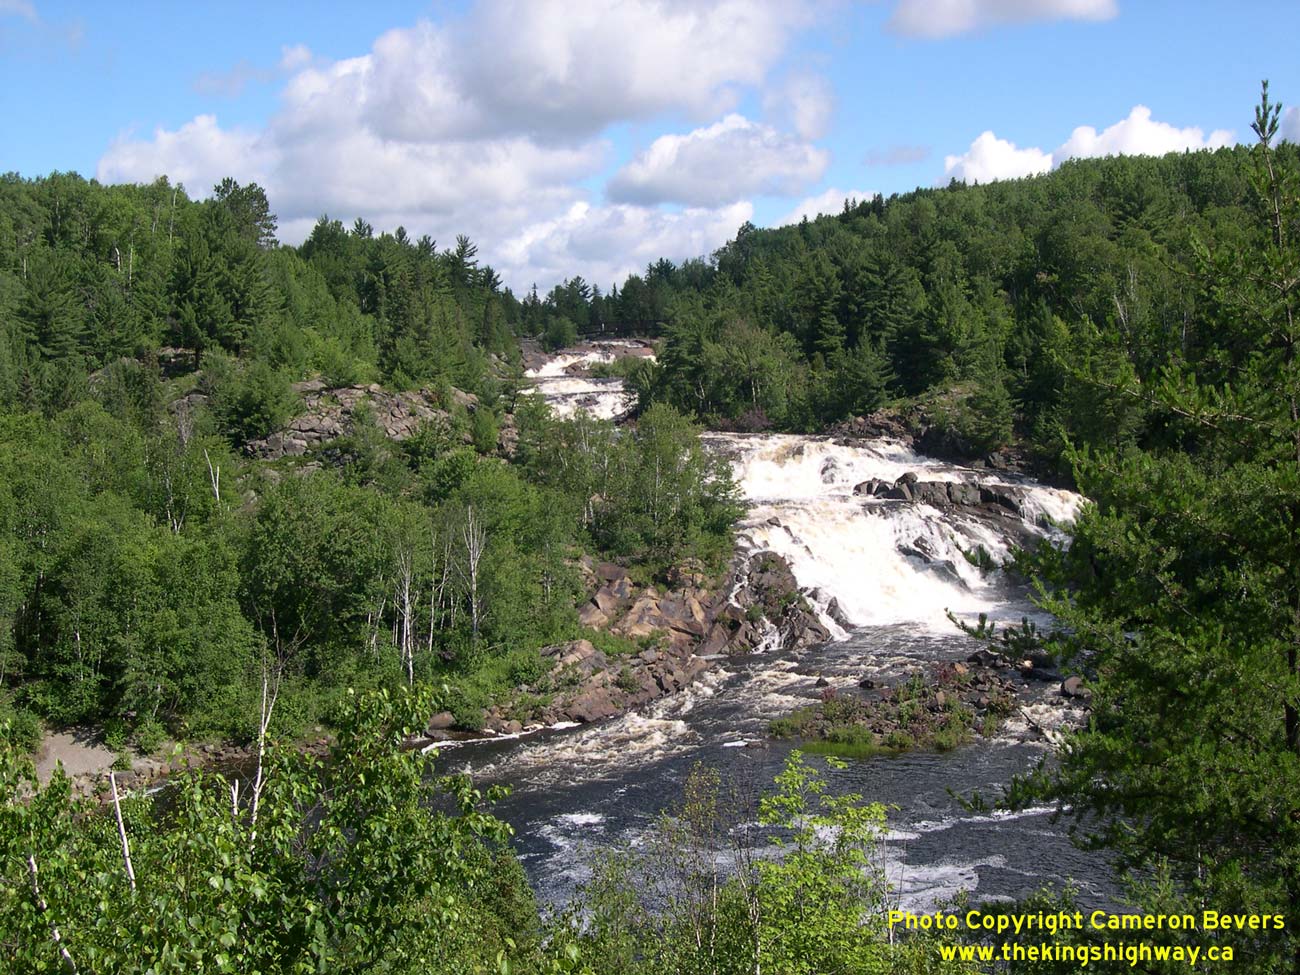
Left - Scenic High Falls on the Onaping River, as seen from the roadside park and lookout point on Hwy 144 about 4 km north of Dowling. Located immediately next
to the highway, these scenic roadside falls are definitely worth a stop if you are heading through this area from Sudbury. See an
Enlarged Photo Here. (Photograph taken on July 2, 2007 - © Cameron Bevers) Right - Facing north along Hwy 144 approaching the Levack CPR crossing. See an Enlarged Photo Here. (Photograph taken on July 2, 2007 - © Cameron Bevers) 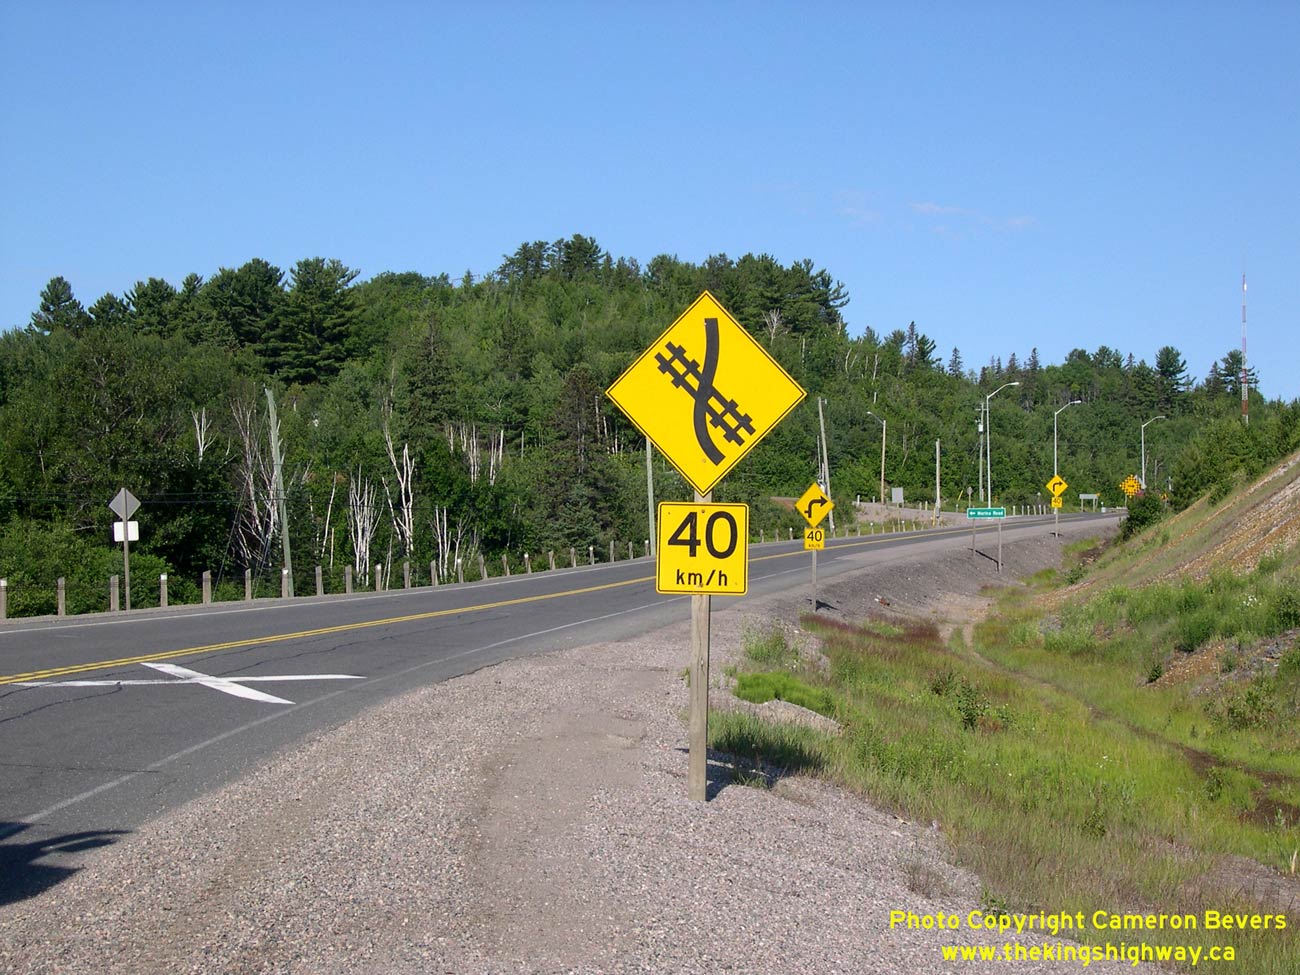
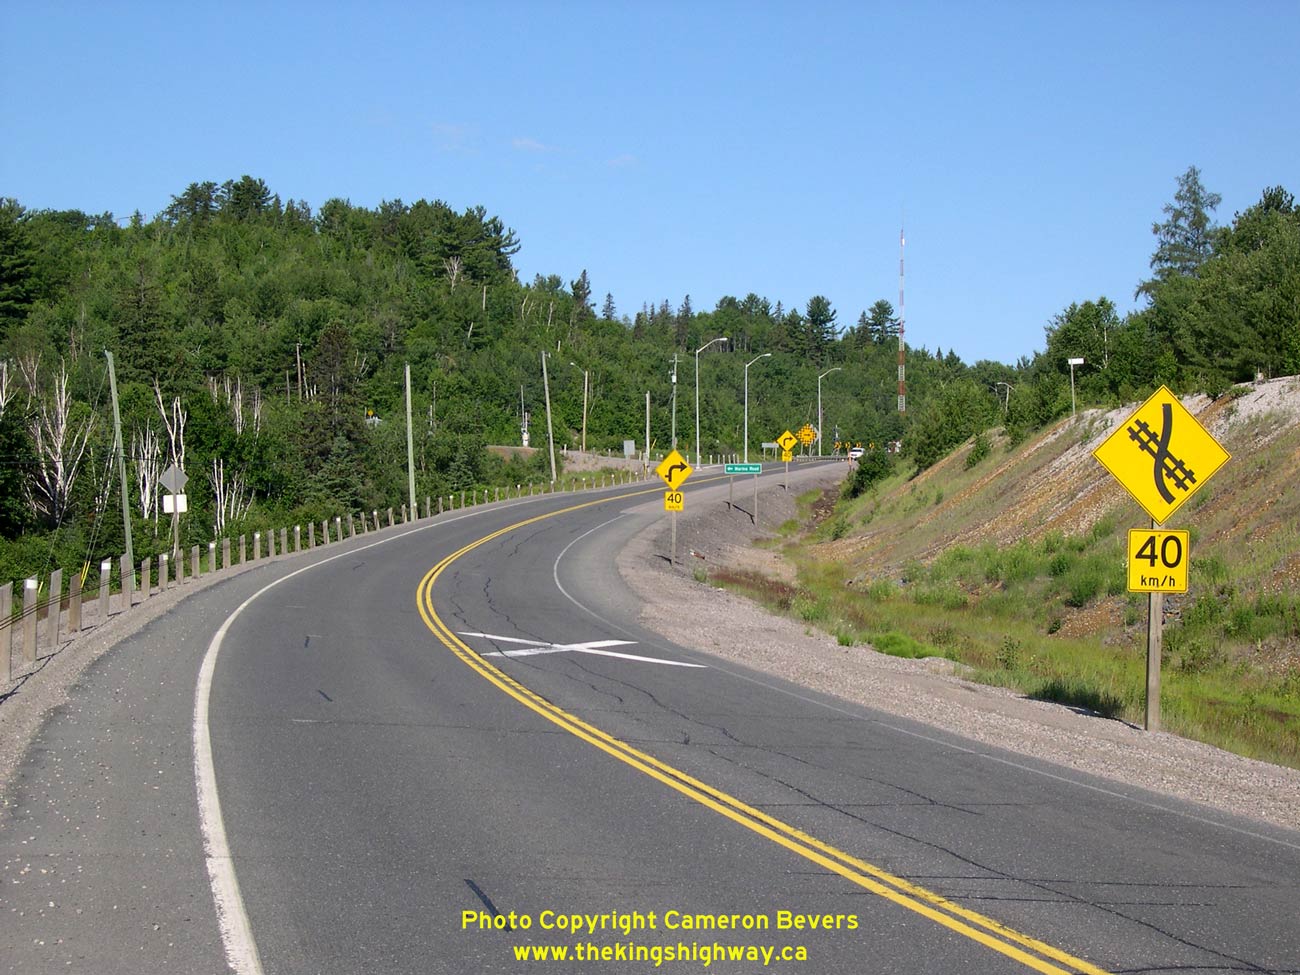
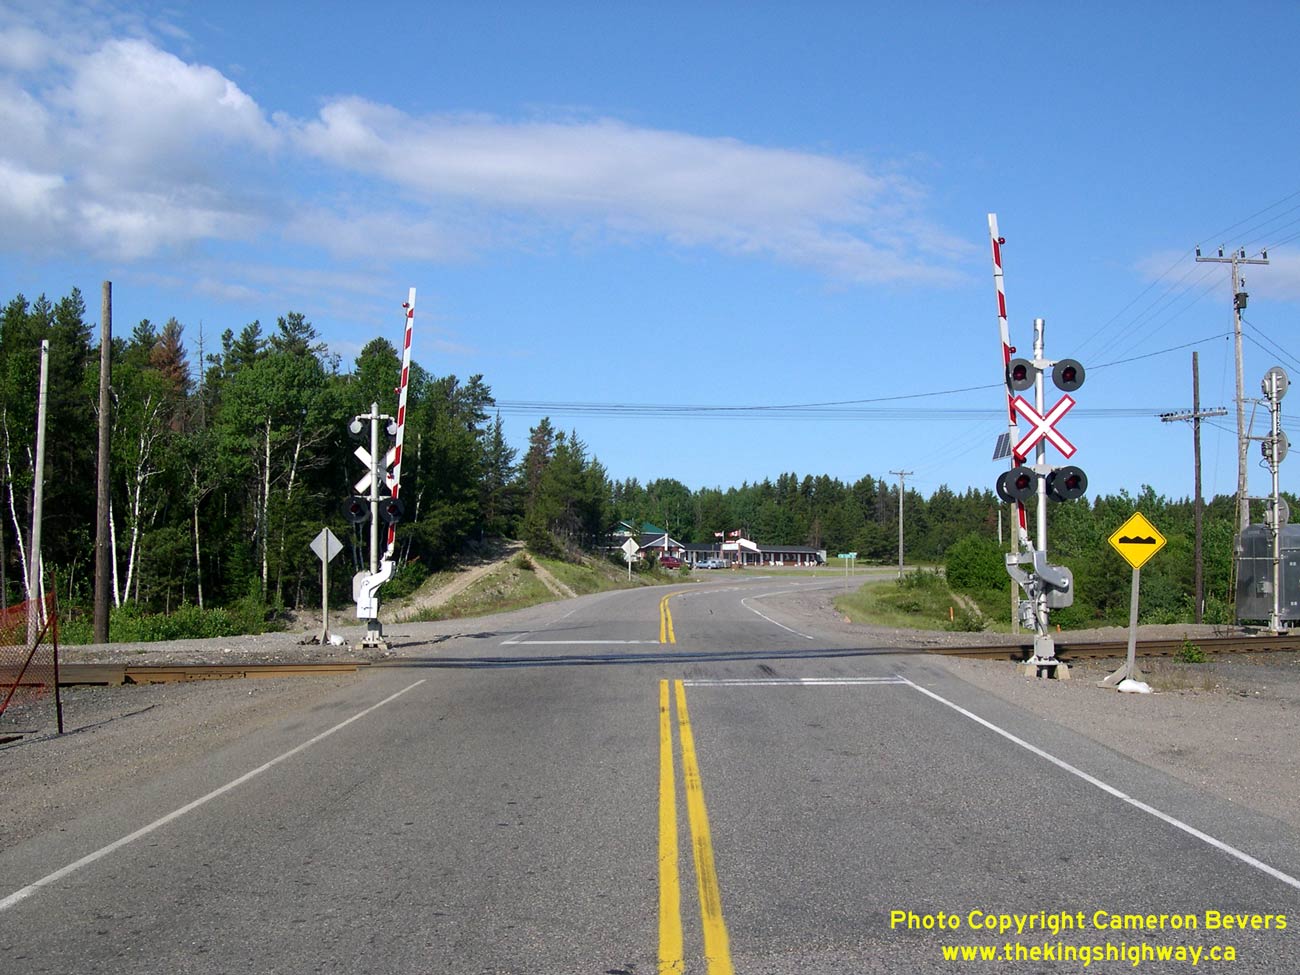
Left - This unusual warning sign accurately reflects the highway's alignment as it crosses the CPR tracks south of Levack. See an
Enlarged Photo Here. (Photograph taken on July 2, 2007 - © Cameron Bevers) Right - Hwy 144 crosses the tracks immediately after a horizontal curve. The highway's alignment is very constrained at this point, as it runs through a narrow valley sandwiched between two railway lines. Given these constraints, providing a grade separation between the highway and railway at this location would be extraordinarily difficult, if not impossible. See an Enlarged Photo Here. (Photograph taken on July 2, 2007 - © Cameron Bevers) 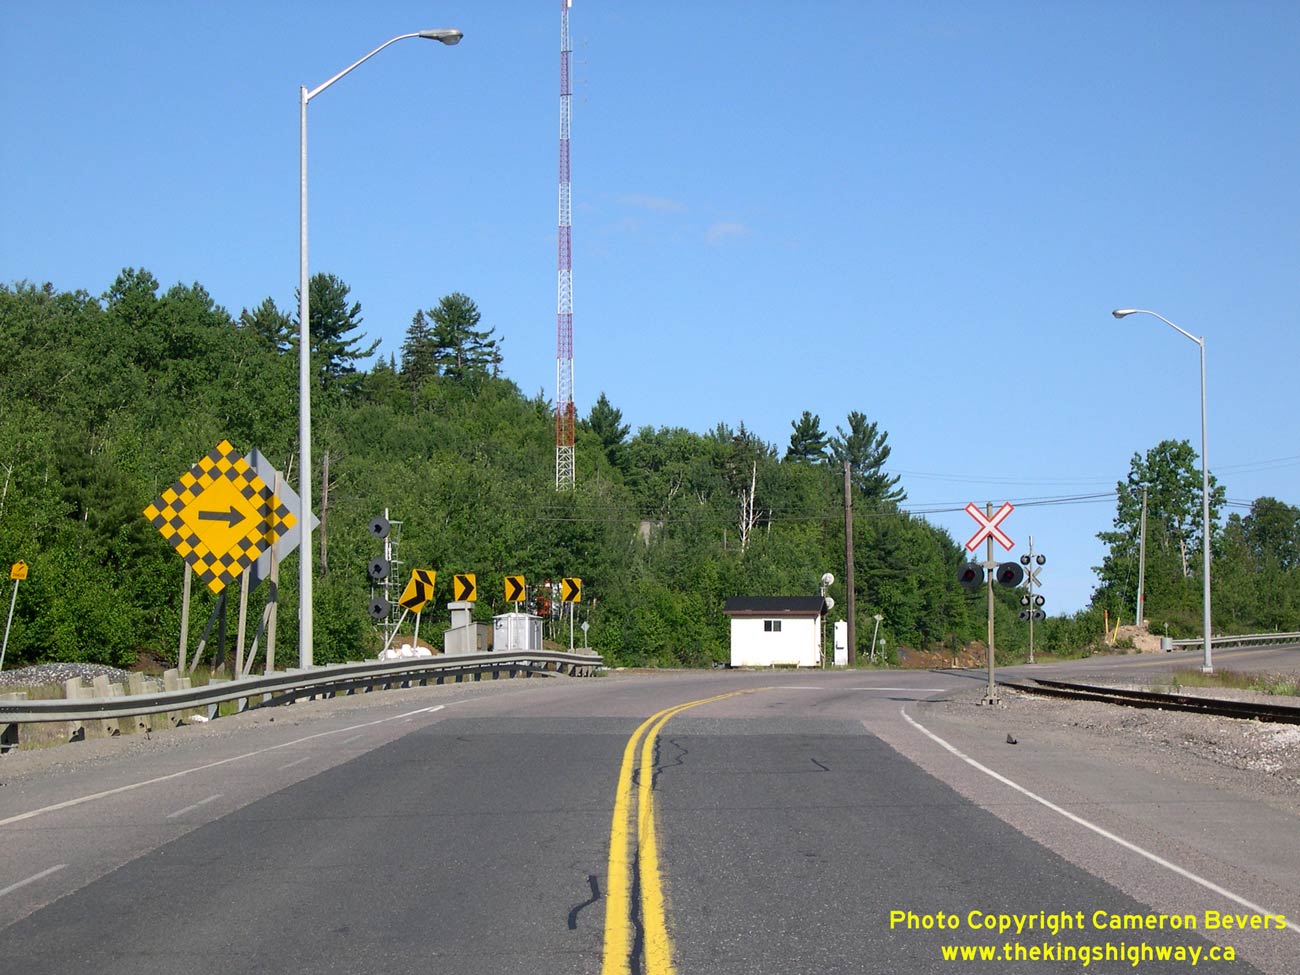
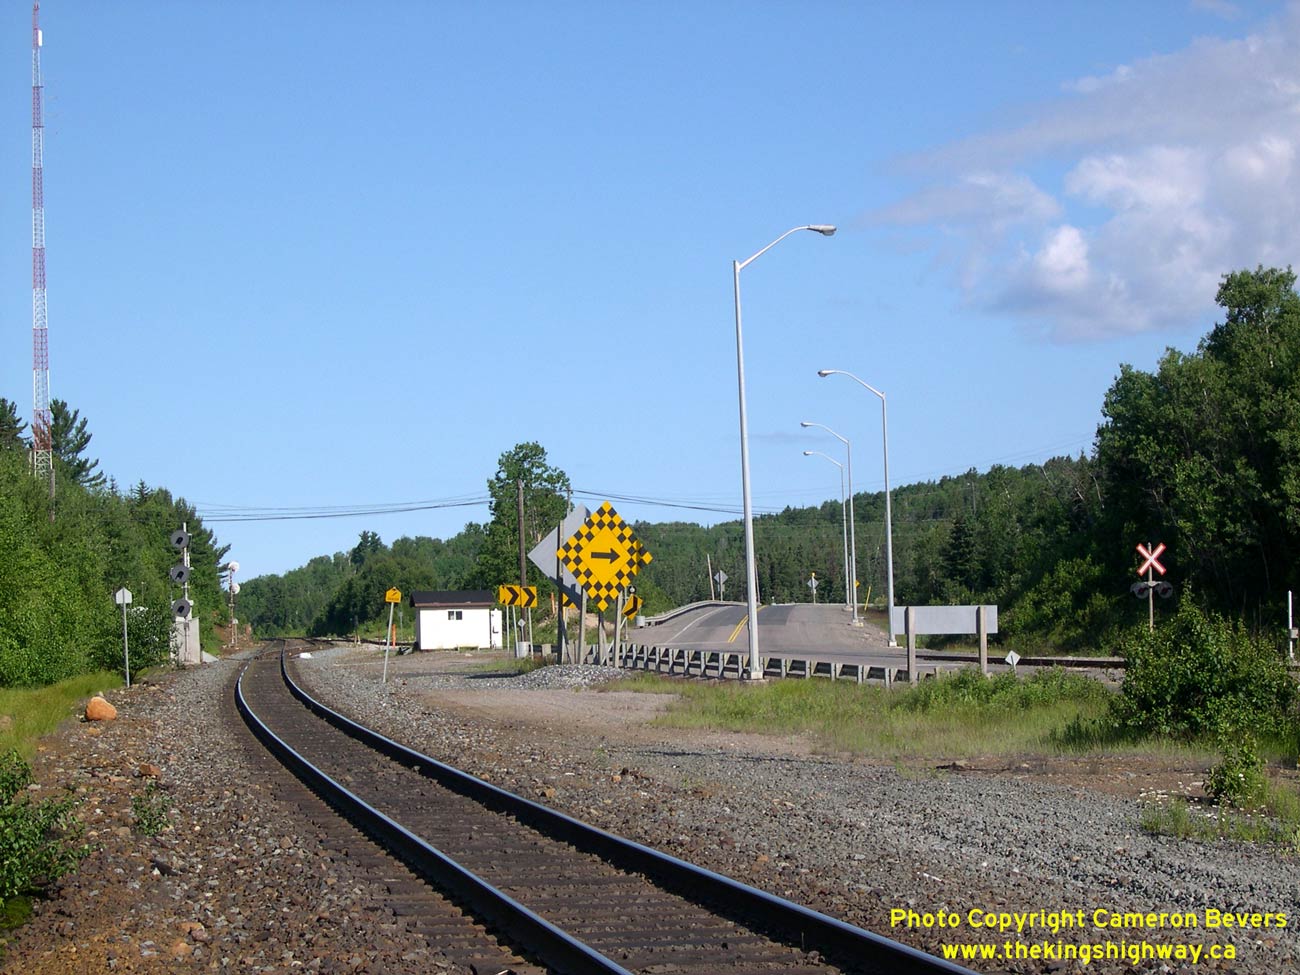
Left - Facing north along Hwy 144 at the CPR crossing south of Levack. See an
Enlarged Photo Here. (Photograph taken on July 2, 2007 - © Cameron Bevers) Right - The CPR line to Levack is a fairly busy industrial spur line, which connects to the main CPR line immediately west of Hwy 144. See an Enlarged Photo Here. (Photograph taken on July 2, 2007 - © Cameron Bevers) 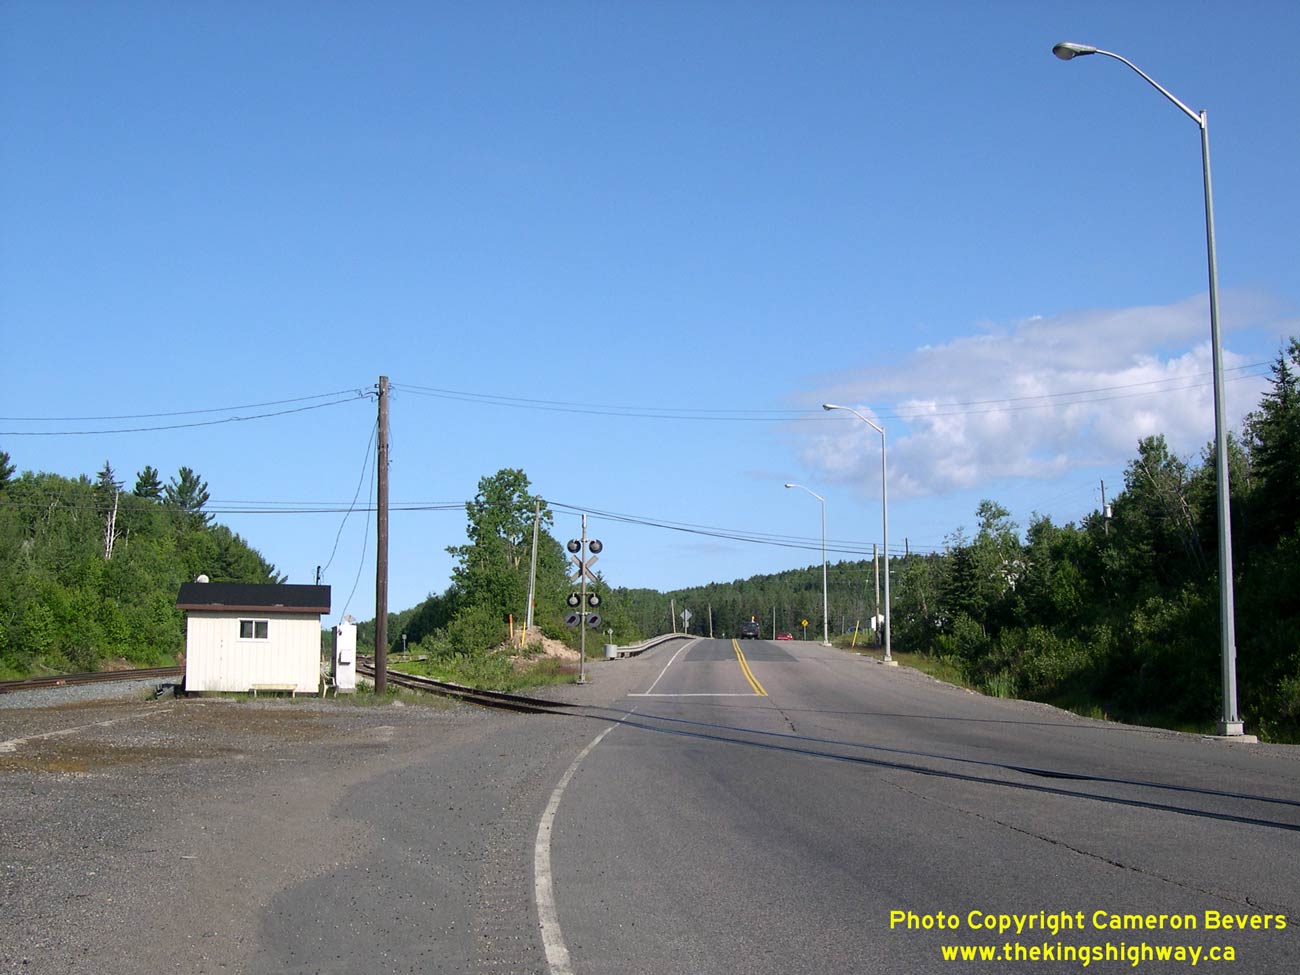
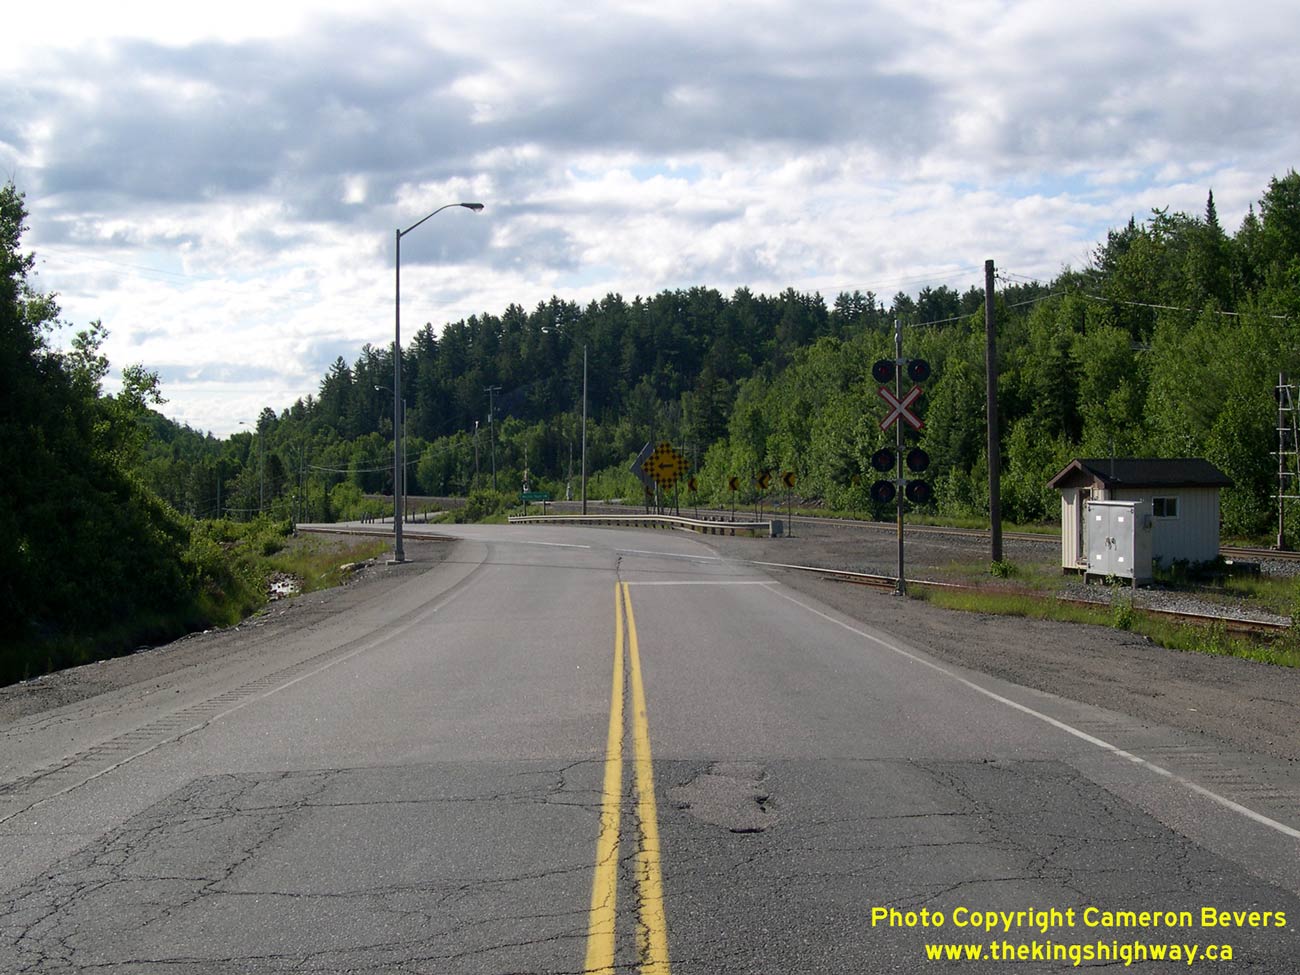
Left - Facing north along Hwy 144 towards Cartier at the CPR crossing south of Levack. See an
Enlarged Photo Here. (Photograph taken on July 2, 2007 - © Cameron Bevers) Right - Facing south along Hwy 144 at the CPR crossing south of Levack. See an Enlarged Photo Here. (Photograph taken on July 2, 2007 - © Cameron Bevers) 
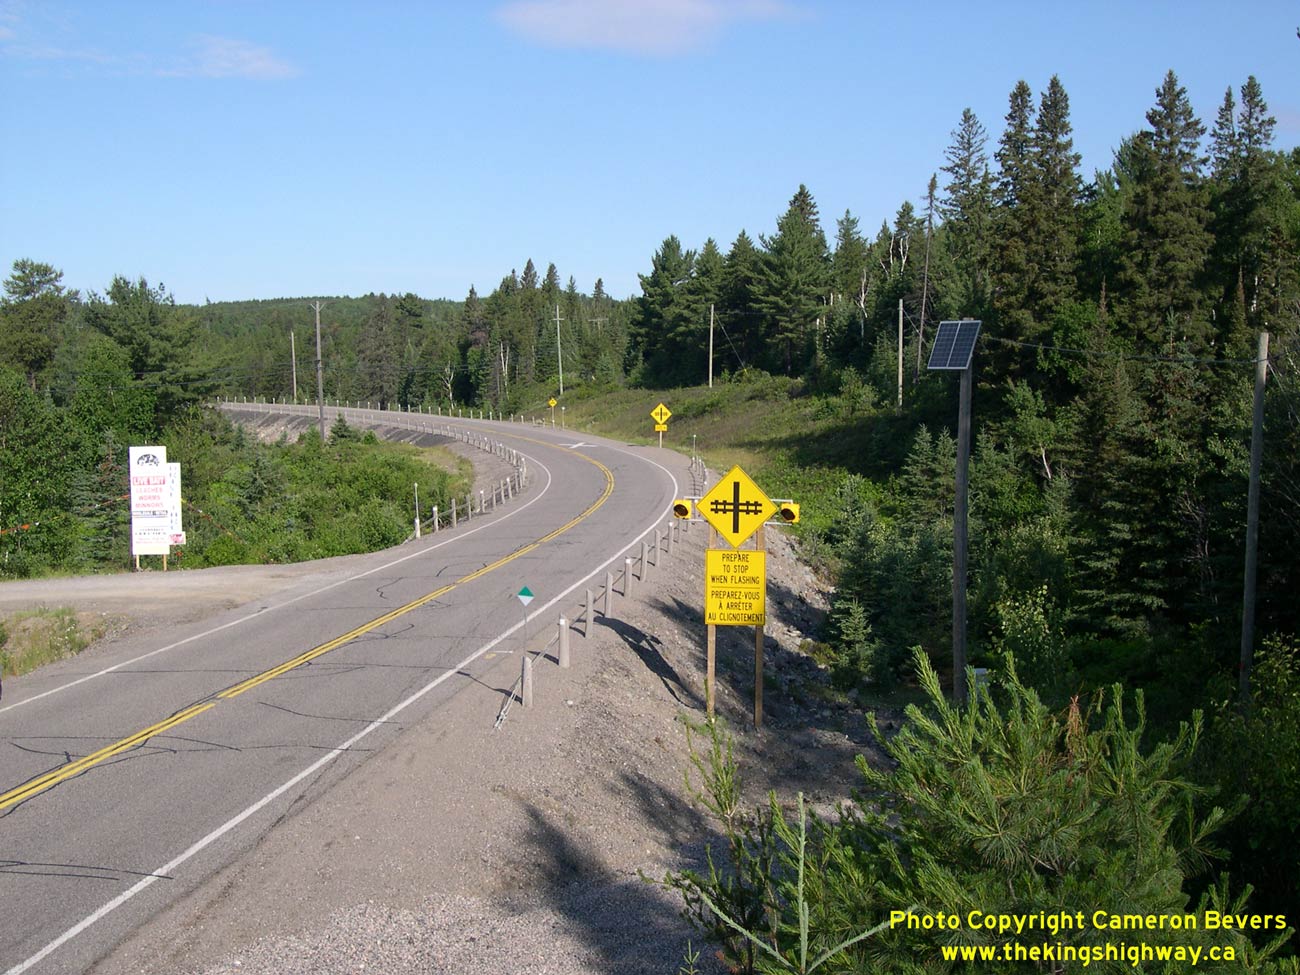
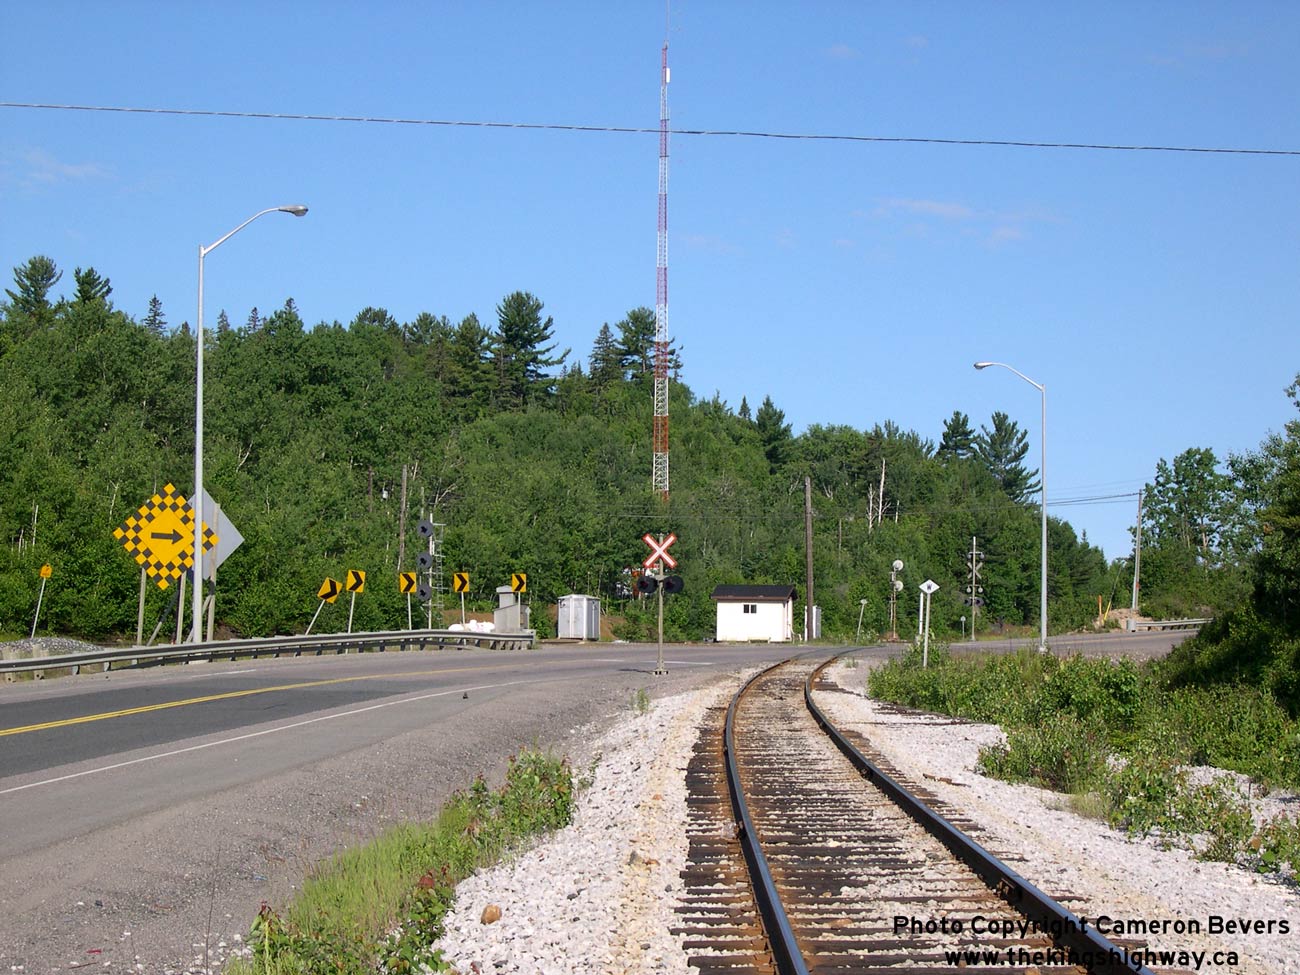
Left - View of the skewed CPR crossing on Hwy 144 south of Levack. Skewed railway crossings such as this are generally undesirable for a variety of technical
reasons. If the railway intersects a road on a skew, the road crossing distance becomes longer. The design of drainage features such as ditches and culverts becomes
more complicated, and it can be challenging to properly place all required warning devices. Visibility of approaching trains can be obscured at skewed crossings,
which creates a particular safety concern at uncontrolled crossings with no warning devices. However, this crossing is well signed and the highway approaches are
fully illuminated for maximum visibility of the railway crossing at night and during periods of poor weather. See an
Enlarged Photo Here. (Photograph taken on July 2, 2007 - © Cameron Bevers) Right - Warning sign and beacons approaching the CPR crossing on Hwy 144 at Windy Lake. See an Enlarged Photo Here. (Photograph taken on July 2, 2007 - © Cameron Bevers) 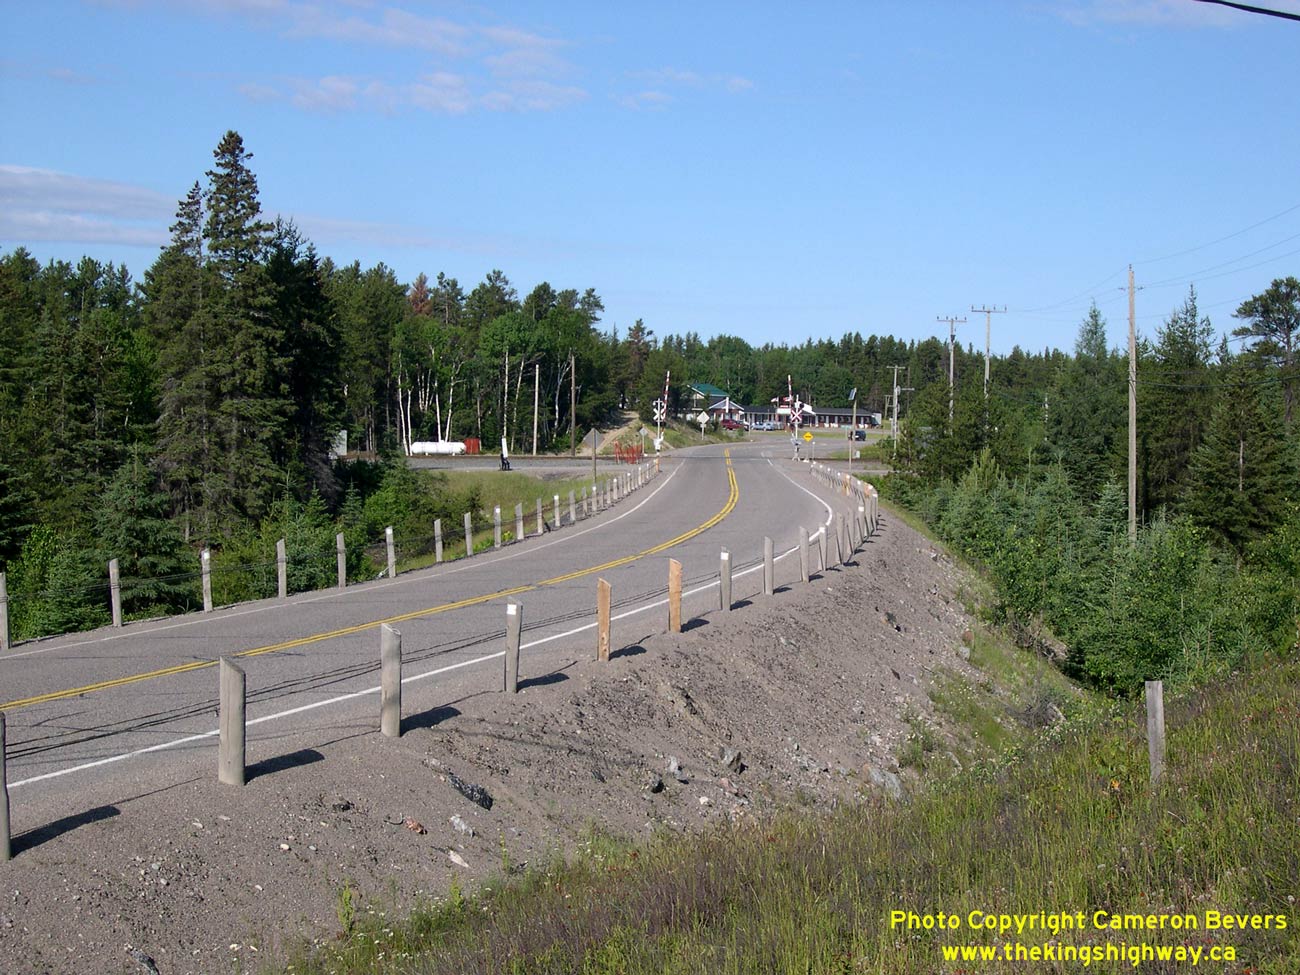
Left - Facing north along Hwy 144 towards Windy Lake. This small lakeside recreational community lies at the junction of Hwy 144 and the Old Cartier Road
(Hwy 7044), about 4 km north of the Levack turn-off at Onaping. It is home to Windy Lake Provincial Park, which was operated by the DHO as a roadside park and
campground for tourists from 1939 up until 1958. Jurisdictional responsibility for Windy Lake Park was transferred from the DHO to the Department of Lands and
Forests. The park was subsequently incorporated into the Ontario provincial park system. See an
Enlarged Photo Here. (Photograph taken on July 2, 2007 - © Cameron Bevers) Right - CPR crossing on Hwy 144 at Windy Lake, facing north towards Cartier. See an Enlarged Photo Here. (Photograph taken on July 2, 2007 - © Cameron Bevers) 
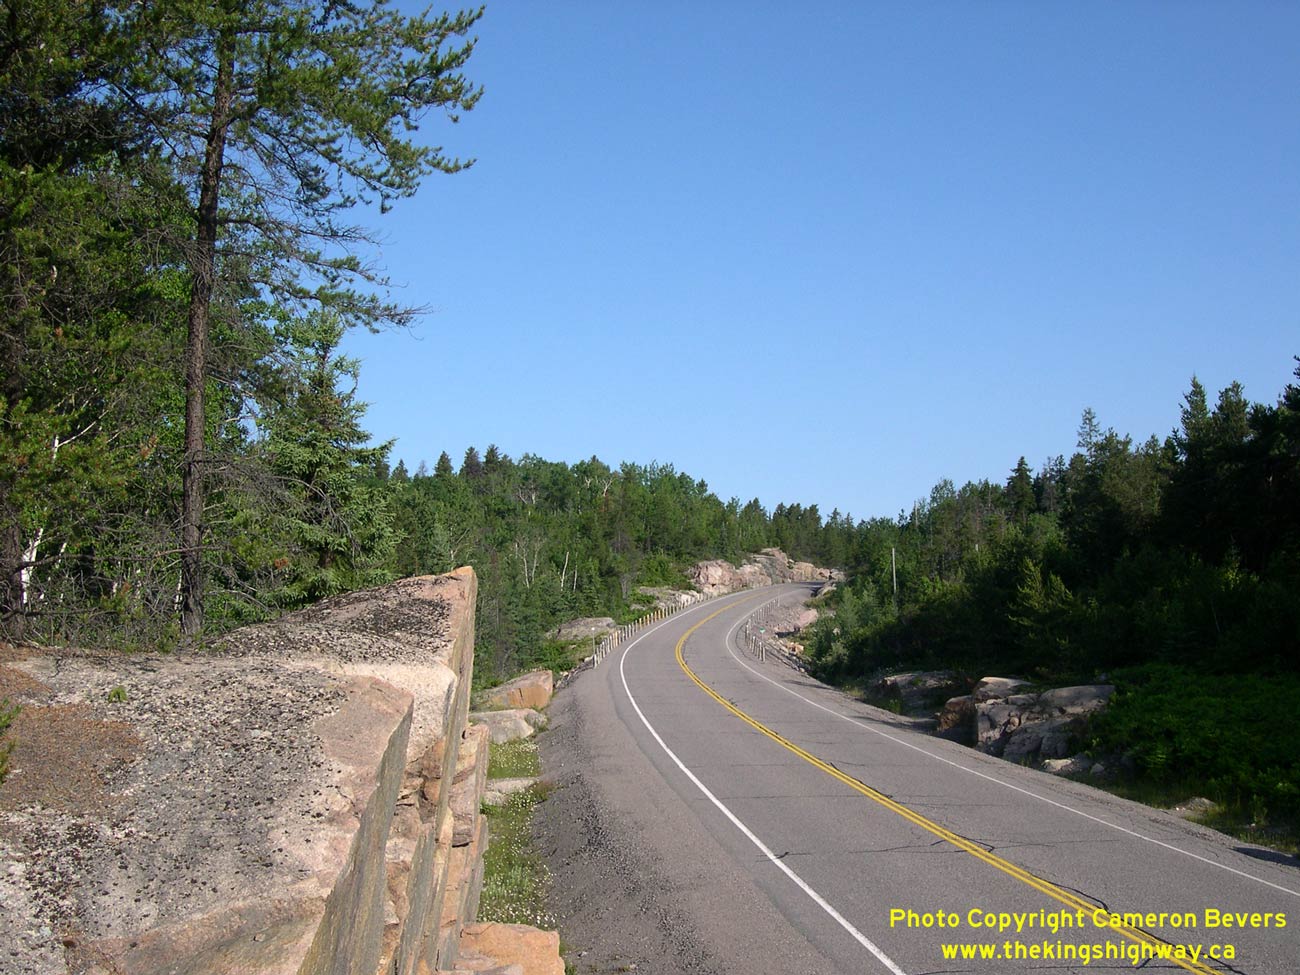
Left - Facing north along Hwy 144 about 4 km north of Windy Lake. This section of the highway is comparatively new. It was constructed in the mid-1960s in an
effort to improve the highway's horizontal and vertical alignment as well as shorten the highway distance between Sudbury and Cartier. See an
Enlarged Photo Here. (Photograph taken on July 2, 2007 - © Cameron Bevers) Right - Facing north along a rugged section of Hwy 144 about 5 km north of Windy Lake. This part of Hwy 144 is part of the Windy Lake-Cartier Diversion, a new 12 km highway alignment which was built between 1963 and 1965. When the new diversion was completed and opened to traffic in 1964, the distance between Sudbury and Cartier was reduced by about 10 km. The Old Cartier Road was left open to traffic, but it is a narrow and winding route that is seldom used, apart from local traffic. See an Enlarged Photo Here. (Photograph taken on July 2, 2007 - © Cameron Bevers) 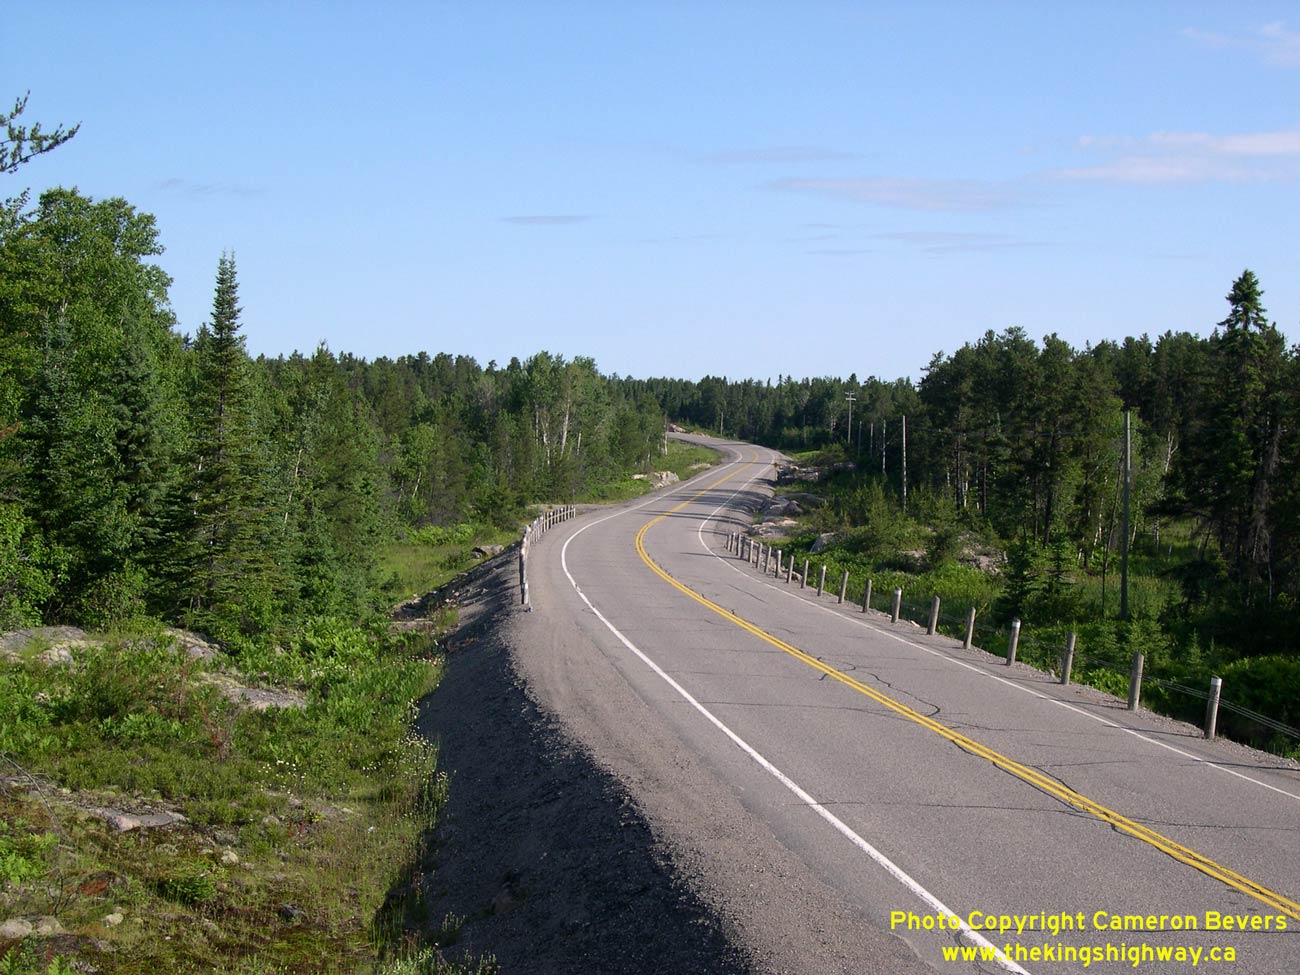
Above - Facing north along Hwy 144 about 7 km south of Cartier. See an
Enlarged Photo Here. (Photograph taken on July 3, 2007 - © Cameron Bevers)
Continue on to King's Highway 144 Photos: Cartier to Timmins (Future Page)
|
|---|
Links to Adjacent King's Highway Photograph Pages:
Back to Hwy 144 - Historical Photos (1950-1999)
Hwy 144 Photo Index
On to Hwy 144 - Cartier to Timmins (Future Page)
Back to King's Highway 141 Photos /
King's Highway 144 History /
Back to King's Highway 148 Photos
Ontario Highway History - Main Menu / Back to List of Highways Website contents, photos & text © 2002-2026, Cameron
Bevers (Webmaster) - All Rights Reserved / Contact Me
|
|---|