
| 
| |
|
|
This page contains present day photos (Year 2000 to date) of Ontario's King's Highway 169, arranged by location from the
Highway 11 Interchange at Washago northerly to Gravenhurst. Please note that Highway 169 was known as Highway 69 prior to 1976. All photographs displayed on this page
were taken by the Webmaster (Cameron Bevers), unless specifically noted otherwise. Click on any thumbnail to see a larger image!
Please note that all photographs displayed on this
website are protected by copyright. These photographs must not be reproduced, published,
electronically stored or copied, distributed, or posted onto other websites without
my written permission. If you want to use photos from this website, please
email me first for permission. Thank-you!
|
|---|
|
Page 3: Present Day King's Highway 169 Photographs (Washago to Gravenhurst)


Left - Hwy 169 South Overpass on Hwy 11 at Washago. Up until 1998, Hwy 169 ran concurrently with Hwy 11 between Washago and Gravenhurst. As a result,
there are actually two interchanges for Hwy 169 along Hwy 11, situated about 18 km apart. The Hwy 169 Interchange located at Washago is the southernmost of
the two junctions. (Photograph taken on June 6, 2009 - © Cameron Bevers) Right - The ramps of the Hwy 169 South Interchange are in a modified "B-Trumpet" configuration, with the loop ramp to Hwy 169 South lying downstream of the overpass. This interchange is situated on a small island at the convergence of the Green and Severn Rivers. The adjacent rivers created considerable space constraints when the interchange was being designed. Accordingly, the layout and ramp geometry of this interchange had to be configured to fit within these natural barriers. See an Enlarged Photo Here. (Photograph taken on June 6, 2009 - © Cameron Bevers) 

Left - The loop ramp from Hwy 11 South to Hwy 169 South has a 30 km/h advisory speed. The design of "B" loop ramps for traffic exiting a freeway
is normally discouraged in Ontario, because of the potential for traffic to enter the ramp from the freeway at a speed that exceeds the design speed of
the loop ramp. However, in this particular case, the interchange design options were limited by the natural constraints of the adjacent river and
surrounding topography. (Photograph taken on June 6, 2009 - © Cameron Bevers) Right - Looking underneath the Hwy 169 South Overpass on Hwy 11 at Washago. The bridge deck has been superelevated to compensate for the reduced radius of the ramps to and from Hwy 11 South. Structure completed in 1984. (Photograph taken on June 6, 2009 - © Cameron Bevers) 

Left - Date stamp (1984) and structure identification number on the Hwy 169 South Overpass. (Photograph taken on June 6, 2009 - © Cameron Bevers) Right - Northern side of the Hwy 169 South Overpass on Hwy 11 at Washago. (Photograph taken on June 6, 2009 - © Cameron Bevers) 

Left - Facing north along Hwy 11 towards Gravenhurst from the Hwy 169 South Overpass at Washago. See an
Enlarged Photo Here. (Photograph taken on June 6, 2009 - © Cameron Bevers) Right - Facing south along Hwy 11 towards Orillia from the Hwy 169 South Overpass at Washago. Note the two "buttonhook" on and off ramps which join Hwy 169 to Hwy 11 North on the left in the distant background. See an Enlarged Photo Here. (Photograph taken on June 6, 2009 - © Cameron Bevers) 

Left - Facing east across the Hwy 169 South Overpass on Hwy 11 at Washago. Prior to 1984, Hwy 169 South and Hwy 11 met at an at-grade intersection. (Photograph taken on June 6, 2009 - © Cameron Bevers) Right - Pre-advance overhead guide sign for the Hwy 169 North (Bethune Drive) Interchange at Gravenhurst on Northbound Hwy 11. Due to the unusual left-hand exit ramp at this interchange, this extra overhead sign was placed 2 km in advance of the interchange. The Hwy 169 North Interchange is very well signed, when compared to other interchanges along Hwy 11 between Barrie and North Bay. (Photograph taken on June 17, 2006 - © Cameron Bevers) 

Left - A setting sun and windswept pines form a pleasant backdrop for this overhead pre-advance guide sign on Northbound Hwy 11 approaching the Hwy 169
North (Bethune Drive) Interchange in Gravenhurst. Coincidentally, the Hwy 169 North Interchange is exactly 169 km from Toronto, so it is numbered as Exit #169. See an
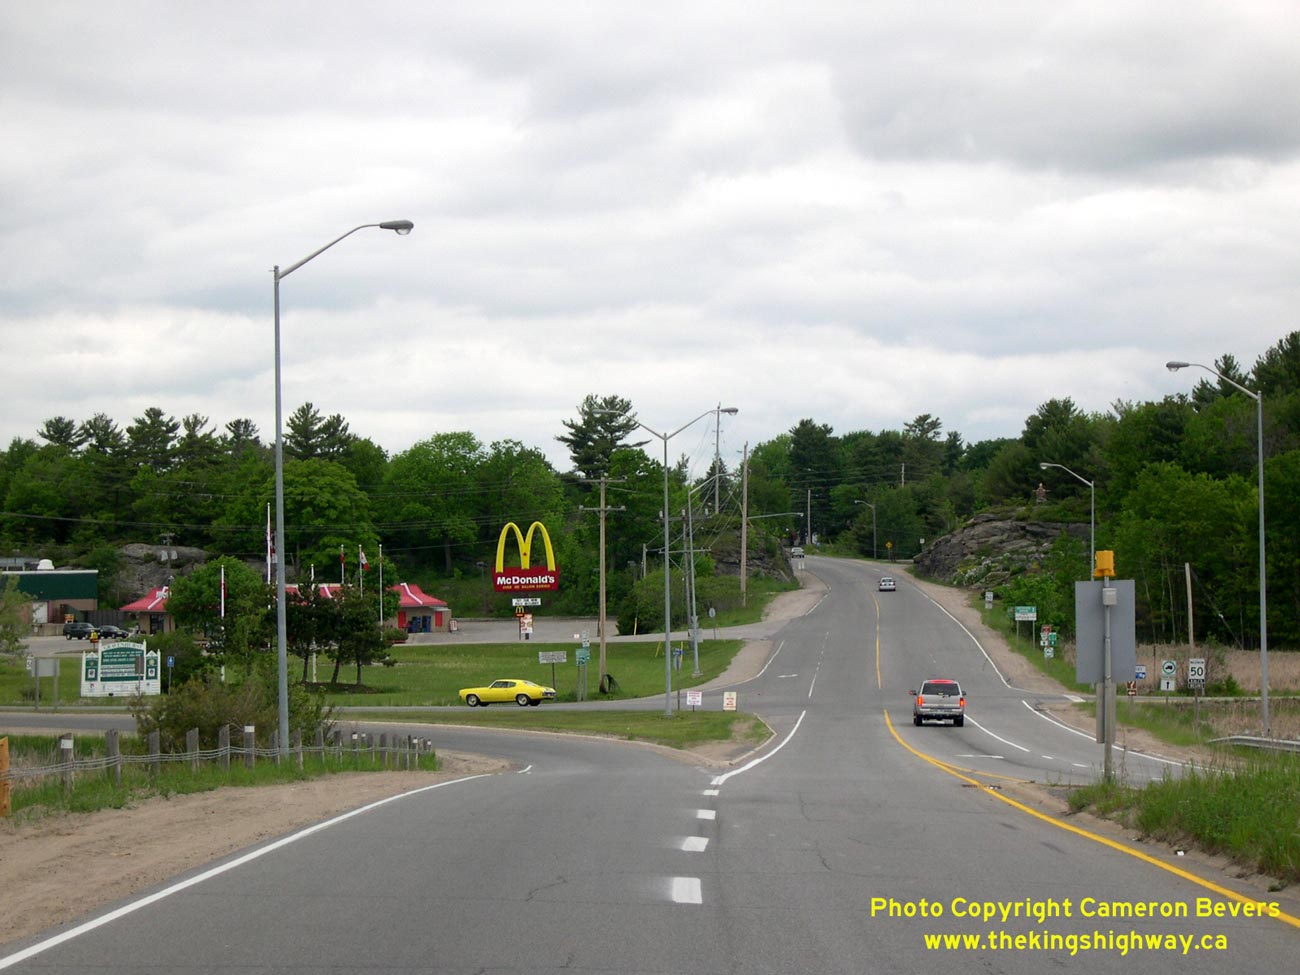
Enlarged Photo Here. (Photograph taken on May 24, 2013 - © Cameron Bevers) Right - A lone Hwy 11 route marker south of Gravenhurst. Up until 1998, Hwy 11 shared a concurrent route with Hwy 169 between Washago and Gravenhurst. The overlapped routing between Washago and Gravenhurst had existed in one form or another since 1937, when the Department of Highways took over responsibility for many of the trunk highways in Muskoka District. Originally, the concurrent designation between Gravenhurst and Washago was shared between Hwy 11 and Hwy 69, until the latter route was renumbered as Hwy 169 in 1976. (Photograph taken on May 24, 2013 - © Cameron Bevers) 

Left - Approaching the Hwy 169 North (Bethune Drive) Interchange on Hwy 11 in Gravenhurst, facing north. This interchange was constructed as part of the second
Gravenhurst Bypass across Gull Lake Narrows in 1969-1970. The project involved the construction of two new interchanges at Gravenhurst's north and south entrances.
See an Enlarged Photo Here. (Photograph taken on May 24, 2013 - © Cameron Bevers) Right - Overhead diagrammatic sign for the upcoming Hwy 169 North Interchange on Hwy 11. Compare this photo to the one below which I took in 2006, in which there were two smaller signs positioned here. Until recently, this diagrammatic sign was mounted onto the overhead sign support structure right at the exit ramp. See an Enlarged Photo Here. (Photograph taken on May 24, 2013 - © Cameron Bevers) 

Left - This large arched truss sign gantry south of Gravenhurst carries a secondary exit sign for the Hwy 169 North (Bethune Drive) Interchange on Northbound
Hwy 11. These two signs were relocated onto the turn-off overhead sign structure after this photo was taken. This is an older Aluminum Tapered Leg (ATL) overhead sign
support structure, commonly referred to by MTO as a "Type 1" gantry. These stylish arched truss sign support structures were used on Ontario's freeways from the mid
1960s until the late 1980s, but are quickly being phased out and replaced by new overhead sign support structures of different designs. See an
Enlarged Photo Here. (Photograph taken on June 30, 2006 - © Cameron Bevers) Right - Hwy 169 North (Bethune Drive) Interchange on Hwy 11 in Gravenhurst, facing north. This unusual semi-directional interchange features a left-hand exit ramp from Northbound Hwy 11 to Hwy 169. Left-hand exit ramps are very rare in Ontario. This was one of only a handful of left-hand exit ramps ever built by the province. The construction of left-hand exit ramps is generally discouraged today, because motorists do not normally expect an exit ramp to appear on the left side of the highway. See an Enlarged Photo Here. (Photograph taken on May 24, 2013 - © Cameron Bevers) 

Left - View of the Hwy 169 North (Bethune Drive) Interchange on Hwy 11 in Gravenhurst in 2006. Note that the overhead diagrammatic guide sign was in place at
that time. The sign was moved back about 400 metres to the advance overhead sign support structure after this photo was taken. See an
Enlarged Photo Here. (Photograph taken on June 30, 2006 - © Cameron Bevers) Right - Close-up of the diagrammatic overhead guide sign on Northbound Hwy 11 at the Hwy 169 North (Bethune Drive) Interchange in Gravenhurst in 2006. (Photograph taken on June 30, 2006 - © Cameron Bevers) 

Left - Close-up of the overhead guide signs for the Northbound Hwy 11 at the Hwy 169 North (Bethune Drive) Interchange in Gravenhurst as they appear today. (Photograph taken on May 24, 2013 - © Cameron Bevers) Right - Gravenhurst Flyover at the Hwy 169 North (Bethune Drive) Interchange on Hwy 11. Structure completed in 1969. This ramp carries traffic from Northbound Hwy 11 to Northbound Hwy 169. It is one of two interchanges serving Gravenhurst. (Photograph taken on May 24, 2013 - © Cameron Bevers) 

Left - Structure identification number and date stamp (1969) on the Gravenhurst Flyover on Hwy 11 at the Hwy 169 North (Bethune Drive) Interchange. (Photograph taken on May 24, 2013 - © Cameron Bevers) Right - Gravenhurst Flyover on Hwy 11 at the Hwy 169 North (Bethune Drive) Interchange, facing south. (Photograph taken on May 24, 2013 - © Cameron Bevers) 

Left - The southbound lanes of Hwy 11 pass below the Gravenhurst Flyover at Hwy 169 North (Bethune Drive). This fascinating interchange is incredibly
compact. It is not a full interchange, however. Traffic cannot access Hwy 11 North from Hwy 169 (Bethune Drive). See an
Enlarged Photo Here. (Photograph taken on May 24, 2013 - © Cameron Bevers) Right - Southbound lanes of Hwy 11 as seen from the Gravenhurst Flyover. The ramp from Southbound Hwy 169 can be seen entering Hwy 11 from the right in the background. (Photograph taken on May 24, 2013 - © Cameron Bevers) 

Left - Western side of the Gravenhurst Flyover at the Hwy 11 and Hwy 169 North (Bethune Drive) Interchange. (Photograph taken on May 24, 2013 - © Cameron Bevers) Right - Facing south from the Gravenhurst Flyover. Note the left-hand exit ramp from Northbound Hwy 11. This unusual interchange was one of two interchanges built along the second Gravenhurst Bypass in 1969-1970. The other interchange lay 6 km to the north at Bethune Drive (Former Hwy 11B). This was also a semi-directional interchange, but was eventually rebuilt as a complete interchange in 1998-1999 in order to provide a connection to adjacent Doe Lake Road. With the removal of the North Gravenhurst Interchange in the late 1990s, the Hwy 169 North (Bethune Drive) Interchange is now the oldest interchange along Hwy 11 north of Orillia. (Photograph taken on May 24, 2013 - © Cameron Bevers) 

Left - Facing north along Hwy 11 towards Bracebridge from the Gravenhurst Flyover at the Hwy 169 North (Bethune Drive) Interchange. The completion of the second
Gravenhurst Bypass across Gull Lake Narrows in 1970 removed a serious traffic bottleneck on Hwy 11, by completing a four-lane controlled-access bypass around the
town. Gravenhurst's first bypass (today's Bethune Drive) was built in 1948-1949 as a two-lane highway. Unfortunately, steps were not taken to limit roadside
development along Bethune Drive, so the first bypass quickly became another busy urban street, reducing its effectiveness as a through route for Hwy 11 traffic. See an
Enlarged Photo Here. (Photograph taken on May 24, 2013 - © Cameron Bevers) Right - Eastern side of the Gravenhurst Flyover at the Hwy 11 and Hwy 169 North (Bethune Drive) Interchange. (Photograph taken on May 24, 2013 - © Cameron Bevers) 

Left - Bethune Drive (Hwy 169) comes to an end at the Hwy 11 Interchange in Gravenhurst. Until the late 1990s, Hwy 11 and Hwy 169 shared a concurrent route
for 18 km between Gravenhurst and Washago. The overlapped routing along Hwy 11 was discontinued when Hwy 169 was transferred to the County of Simcoe and the District
Municipality of Muskoka in 1998. The Gravenhurst Flyover can be seen at left. (Photograph taken on May 24, 2013 - © Cameron Bevers) Right - Facing north along Hwy 169 from the Hwy 11 Interchange at Gravenhurst. This intersection was reconfigured in 2008 in order to address the problem of the predominant left turn movement from the Gravenhurst Flyover to Muskoka Road South (Muskoka Road 18). During peak holiday seasons, queuing from this left turn lane would occasionally back up across the Gravenhurst Flyover to a location where motorists would not expect to encounter stopped vehicles. By realigning the road to better serve this predominant movement, this problem has essentially been resolved. See an Enlarged Photo Here. (Photograph taken on May 24, 2013 - © Cameron Bevers) 
Above - Facing north along Hwy 169 from the Hwy 11 Interchange at Gravenhurst in 2005, before reconstruction. Until recently, Bethune Drive (Hwy 169 North) was
the through road at the intersection, while Muskoka Road South (Muskoka Road 18) was a left turn movement. The intersection as it appears here remained more or less
unmodified from the time the first Gravenhurst Bypass opened in 1948 until 2008. Click
here to see a photo of this junction as it appeared in 1949. See an
Enlarged Photo Here. (Photograph taken on June 4, 2005 - © Cameron Bevers)
Continue on to King's Highway 169 Present Day Photos: Gravenhurst to Foot's Bay
|
|---|
Links to Adjacent King's Highway Photograph Pages:
Back to King's Highway 148 Photos /
King's Highway 169 History /
On to King's Highway 400 Photos
Ontario Highway History - Main Menu / Back to List of Highways Website contents, photos & text © 2002-2026, Cameron
Bevers (Webmaster) - All Rights Reserved / Contact Me
|
|---|