
| 
| |
|
|
This page contains present day photos (Year 2000 to date) of Ontario's King's Highway 17, arranged by location from Agawa
River northerly to Wawa. All photographs displayed on this page were taken by the Webmaster (Cameron Bevers), unless specifically noted otherwise. Click on any
thumbnail to see a larger image!
Please note that all photographs displayed on this
website are protected by copyright. These photographs must not be reproduced, published,
electronically stored or copied, distributed, or posted onto other websites without
my written permission. If you want to use photos from this website, please
email me first for permission. Thank-you!
|
|---|
|
Page 28: Present Day King's Highway 17 Photographs (Agawa River to Wawa)


Left - Sand River Bridge on Hwy 17 in Lake Superior Provincial Park. The rocky riverbed and the sparkling waters of Lake Superior beyond the bridge make this
one of the most photogenic bridge locations in Ontario. See an Enlarged Photo Here. (Photograph taken on July 16, 2007 - © Cameron Bevers) Right - Facing south along Hwy 17 towards Agawa Bay at the Sand River Bridge. See an Enlarged Photo Here. (Photograph taken on July 2, 2006 - © Cameron Bevers) 

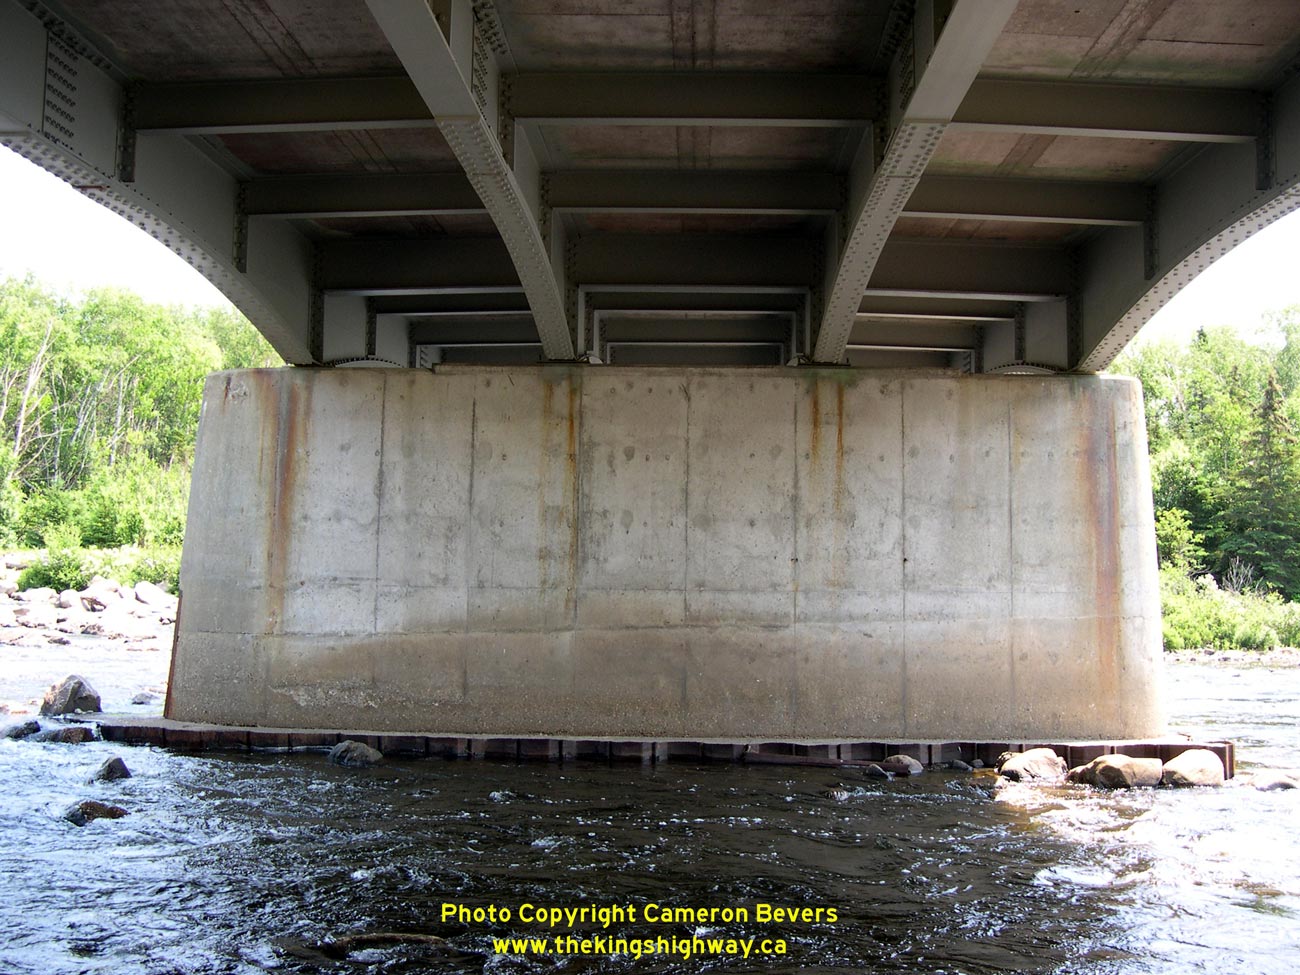
Left - Western side of the Sand River Bridge on Hwy 17. Structure completed in 1960. See an
Enlarged Photo Here. (Photograph taken on July 2, 2006 - © Cameron Bevers) Right - Continuous steel plate girder superstructure of the Sand River Bridge on Hwy 17. See an Enlarged Photo Here. (Photograph taken on July 2, 2006 - © Cameron Bevers) 

Left - Facing south along Hwy 17 towards Katherine Cove, Lake Superior Provincial Park. See an
Enlarged Photo Here. (Photograph taken on July 2, 2006 - © Cameron Bevers) Right - Hwy 17 route marker in Lake Superior Provincial Park. See an Enlarged Photo Here. (Photograph taken on July 2, 2006 - © Cameron Bevers) 

Left - Coldwater River Bridge on Hwy 17 south of Wawa. Structure completed in 1959. See an
Enlarged Photo Here. (Photograph taken on July 2, 2006 - © Cameron Bevers) Right - Facing north along Hwy 17 towards Wawa at the Coldwater River Bridge. See an Enlarged Photo Here. (Photograph taken on July 2, 2006 - © Cameron Bevers) 

Left - Lake Superior Provincial Park is primarily a wilderness park, incorporating over 125 km of rugged Lake Superior coastline, craggy inland mountain peaks,
clear sparkling rivers and thick forests. While the scenery is absolutely spectacular, motorists should take note that there are no services along Hwy 17 through the
park. Telephones are located at two of the park's campgrounds and at the park's visitor centre. See an
Enlarged Photo Here. (Photograph taken on July 2, 2006 - © Cameron Bevers) Right - This ancient mountain peak beside Hwy 17 was gnarled by numerous glacial ice sheets throughout the millennia. See an Enlarged Photo Here. (Photograph taken on July 2, 2006 - © Cameron Bevers) 

Left - Facing south along Hwy 17 towards Lake Superior at Bald Head. See an
Enlarged Photo Here. (Photograph taken on July 2, 2006 - © Cameron Bevers) Right - An absolutely stunning vista emerges as Hwy 17 rounds the curve at Bald Head. Montreal River Hill can easily be seen on a clear day, almost 30 km to the south. This is one of the most picturesque highway scenes in Ontario. The rugged and remote coast of Lake Superior represented an enormous engineering challenge to highway builders. As a result, the Lake Superior Park section of Hwy 17 was the very last piece of this highway to open. This area was completely inaccessible other than by boat and by airplane until 1960. See an Enlarged Photo Here. (Photograph taken on July 2, 2006 - © Cameron Bevers) 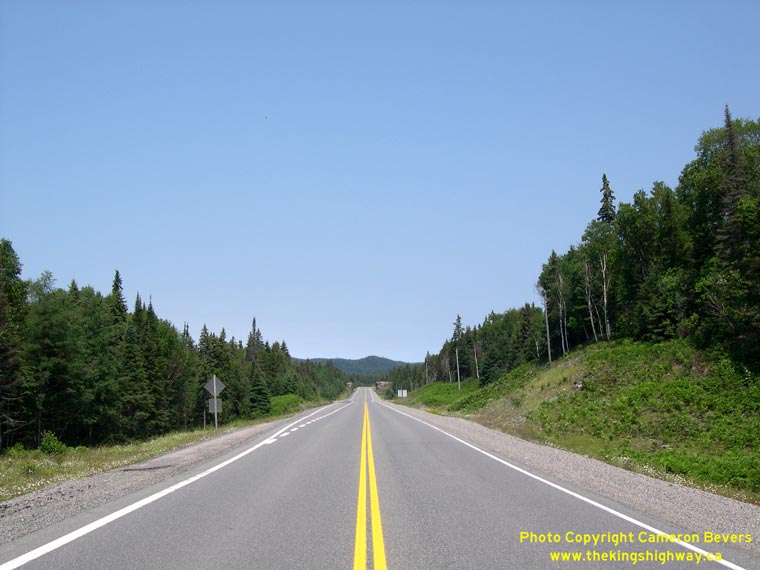

Left - Facing north along Hwy 17 towards Wawa north of Bald Head. See an
Enlarged Photo Here. (Photograph taken on July 2, 2006 - © Cameron Bevers) Right - Natural obstacles will often force highway designers to adopt slightly inferior design criteria. The large rock formation at right forced a situation where the highway's downhill grade leading into the next sag curve was made somewhat steeper than what would normally be prescribed. The result is that the road surface briefly disappears from view beyond the curve in the foreground. In this situation, it was simply not economical to remove the rock face (and the entire hill lying behind it) in order to construct a highway curve with ideal geometric conditions. See an Enlarged Photo Here. (Photograph taken on July 2, 2006 - © Cameron Bevers) 

Left - A large rock cut on Hwy 17 near Rabbit Blanket Lake Campground. See an
Enlarged Photo Here. (Photograph taken on July 2, 2006 - © Cameron Bevers) Right - Facing north along Hwy 17 near Rabbit Blanket Lake Campground. See an Enlarged Photo Here. (Photograph taken on July 2, 2006 - © Cameron Bevers) 

Left - Rock cut on Hwy 17 near Rabbit Blanket Lake Campground. See an
Enlarged Photo Here. (Photograph taken on July 2, 2006 - © Cameron Bevers) Right - Guide sign marking the Old Woman Bay Picnic Area on Hwy 17. All guide signs along Hwy 17 within Lake Superior Provincial Park are brown with yellow lettering. See an Enlarged Photo Here. (Photograph taken on July 2, 2006 - © Cameron Bevers) 

Left - Facing north along Hwy 17 at the Old Woman River Bridge. See an Enlarged Photo Here. (Photograph taken on July 2, 2006 - © Cameron Bevers) Right - Western side of the Old Woman River Bridge on Hwy 17. See an Enlarged Photo Here. (Photograph taken on July 2, 2006 - © Cameron Bevers) 

Left - View of the steel plate girder superstructure of the Old Woman River Bridge. See an
Enlarged Photo Here. (Photograph taken on July 2, 2006 - © Cameron Bevers) Right - Eastern side of the Old Woman River Bridge. Structure completed in 1960. See an Enlarged Photo Here. (Photograph taken on July 2, 2006 - © Cameron Bevers) 

Left - Facing north along Hwy 17 towards Brule Hill from the Old Woman Bay Picnic Area. A thick fog bank has completely engulfed Brule Hill. Fog is a common
problem on this section of Hwy 17. See an Enlarged Photo Here. (Photograph taken on July 2, 2006 - © Cameron Bevers) Right - A tranquil beach at Old Woman Bay. Hwy 17 brushes the edge of Old Woman Bay before ascending Brule Hill. Note the transport truck on the curve, just visible through the fog bank in the centre of the photo. See an Enlarged Photo Here. (Photograph taken on July 2, 2006 - © Cameron Bevers) 

Left - Facing south along Hwy 17 from Brule Hill towards Old Woman Bay. The monolithic mountains rise from the depths of Lake Superior and majestically tower
over Old Woman Bay, reaching heights of almost 1,000 feet in places. The mountains of Old Woman Bay are one of the most striking natural features in Ontario. See an
Enlarged Photo Here. (Photograph taken on July 16, 2007 - © Cameron Bevers) Right - Facing north along Hwy 17 towards Wawa at Fenton Lake. See an Enlarged Photo Here. (Photograph taken on July 2, 2006 - © Cameron Bevers) 
Above - Moose warning sign on Hwy 17 near Lake Superior Provincial Park's northern boundary. Moose are very common around Lake Superior. These enormous animals
can often be seen crossing the highway corridor. This represents a serious collision hazard, because these animals are difficult for motorists to see at night.
Collisions with moose are often fatal for both the motorist and the moose, so please watch for moose and slow down after dark on all Northern Ontario highways. See
an Enlarged Photo Here. (Photograph taken on July 2, 2006 - © Cameron Bevers) 

Left - Facing south along Hwy 17 at Lake Superior Provincial Park's northern boundary. See an
Enlarged Photo Here. (Photograph taken on July 2, 2006 - © Cameron Bevers) Right - Facing north along Hwy 17 towards Wawa near Lake Superior Provincial Park boundary. See an Enlarged Photo Here. (Photograph taken on July 2, 2006 - © Cameron Bevers) 

Left - Facing south along Hwy 17 towards Sault Ste. Marie at Crozier Lake. See an
Enlarged Photo Here. (Photograph taken on July 2, 2006 - © Cameron Bevers) Right - Facing north along Hwy 17 towards Wawa at Crozier Lake. See an Enlarged Photo Here. (Photograph taken on July 2, 2006 - © Cameron Bevers)
Continue on to King's Highway 17 Photos: Wawa to White River
|
|---|
Links to Adjacent King's Highway Photograph Pages:
Back to Hwy 17 - Mamainse Harbour to Agawa River
Hwy 17 Photo Index
On to Hwy 17 - Wawa to White River
Back to King's Highway 16 Photos /
King's Highway 17 History /
On to King's Highway 18 Photos
Ontario Highway History - Main Menu / Back to List of Highways Website contents, photos & text © 2002-2026, Cameron
Bevers (Webmaster) - All Rights Reserved / Contact Me
|
|---|